7 Reasons Seedling Leaves Curl Down and How to Fix Them
Seedling leaves curling down? Learn how to separate dry soil, soggy roots, cold, fertilizer burn, pests, disease, and pH stress—and fix each one.
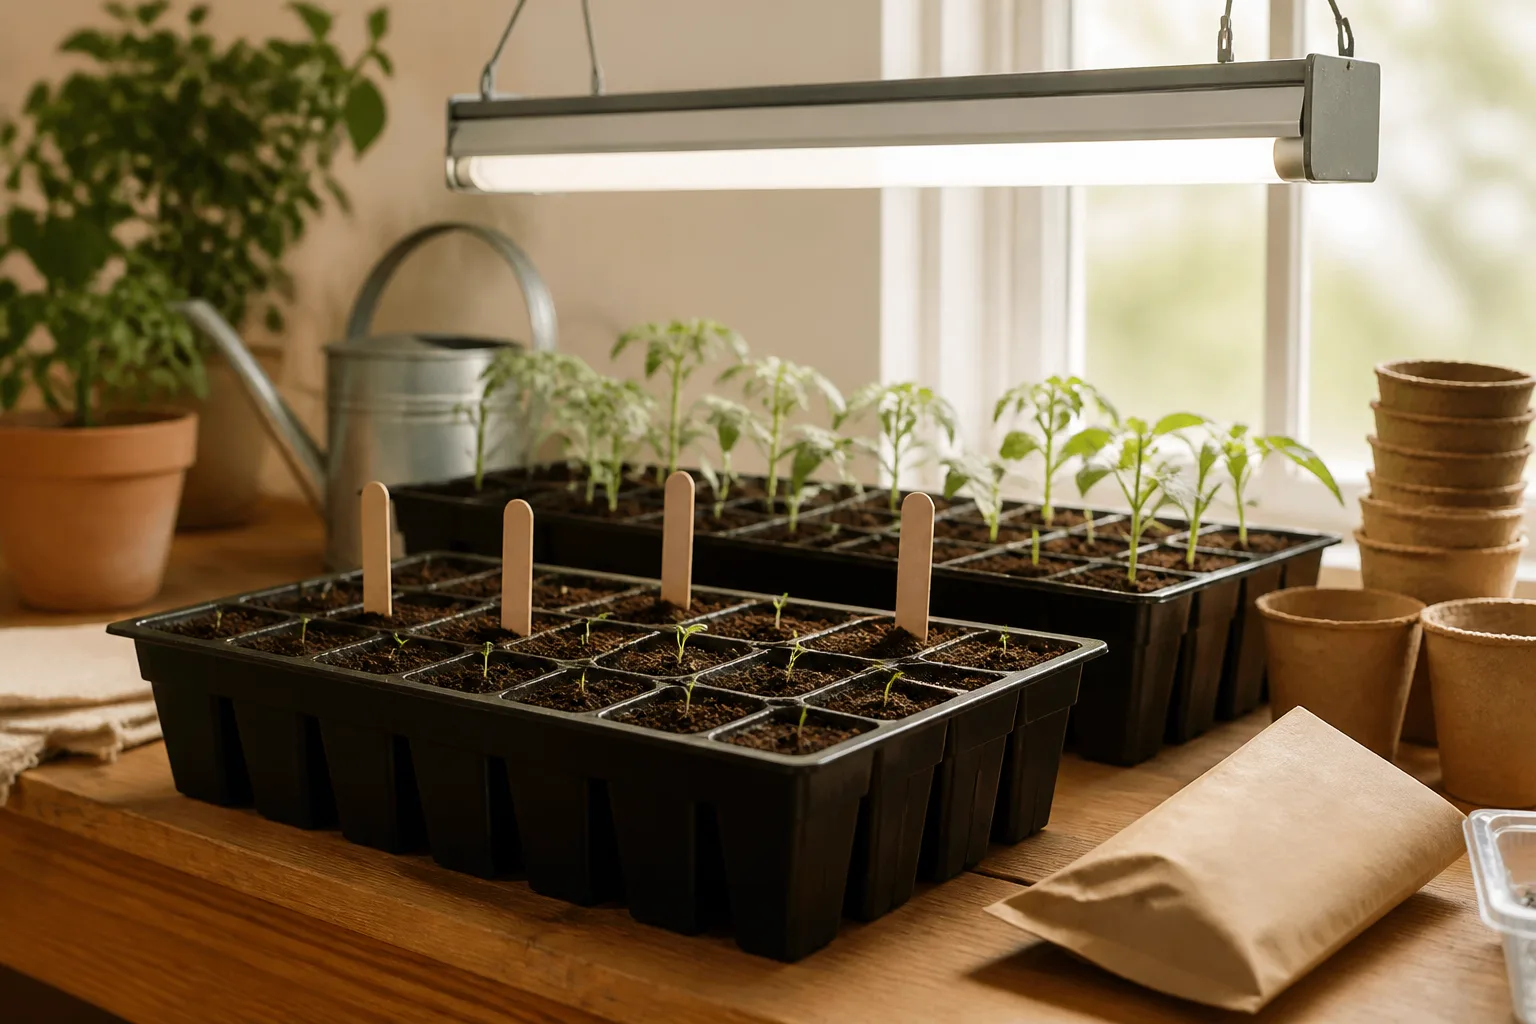
Downward-curling leaves are a distress signal, not a diagnosis. A seedling may be thirsty, sitting in airless mix, chilled by a window, burned by fertilizer, attacked by sap-sucking insects, or losing roots to disease. The fastest way to save it is to inspect the growing conditions before adding anything to the tray.
Start with the seedling’s age and crop. A slight fold in a cotyledon can be normal, while a new true leaf that suddenly droops, puckers, or curls at the same time as the stem softens deserves immediate attention. The seven causes below overlap, so use the checks—not just the appearance of the leaf—to choose your first move.
Start with a 60-Second Triage
Before watering, fertilizing, misting, or spraying, look at four places: the mix, the drainage hole, the newest leaves, and the stem at the soil line. A dry, light cell with a seedling that perks up after a thorough drink points toward underwatering. A dark, heavy cell that stays wet, smells sour, or produces a limp seedling points toward poor drainage or root trouble.
Turn the tray slightly and inspect the underside of the leaves with a bright light. Aphids cluster around tender tips and leaf veins; thrips leave silvery scarring or black specks; mites may leave fine stippling or webbing. Then compare several plants. If every seedling in the tray changed at once, look first at a shared condition such as watering, temperature, light, or fertilizer. If only one or two are affected, inspect those cells and their neighbors for a blocked hole, damaged root, or insect.
What Downward Curling Usually Means
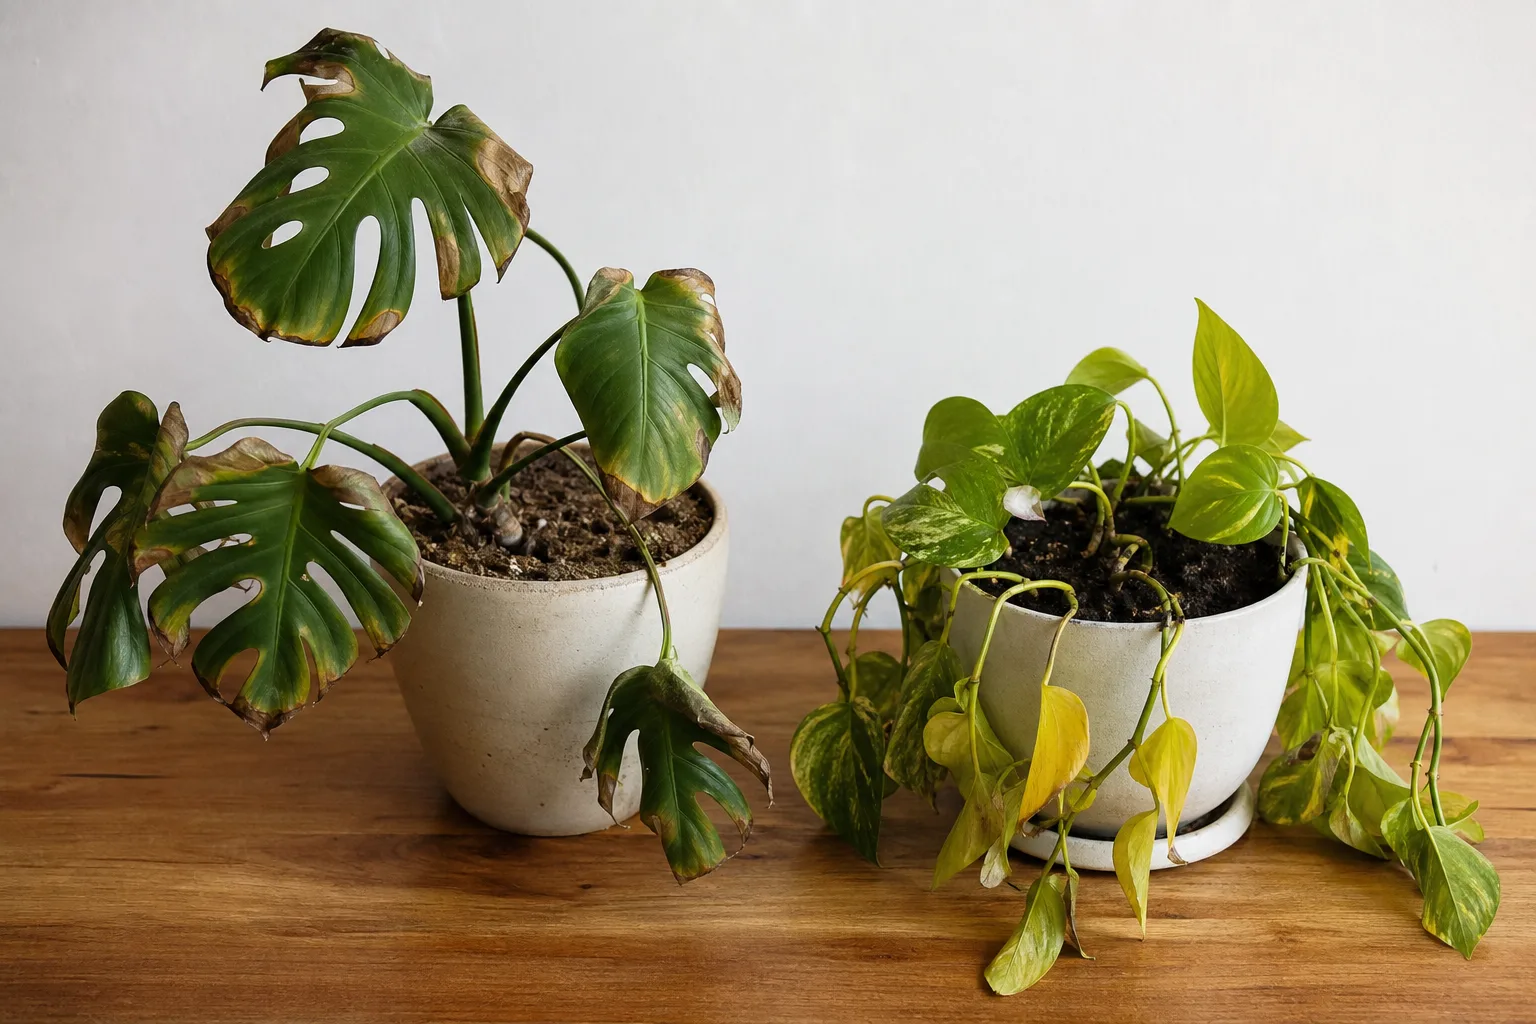
Curling is often a plant’s attempt to reduce water loss or cope with impaired water movement. That is why both a dry root ball and a waterlogged root ball can produce drooping leaves: one cannot supply enough water, while the other has roots that cannot breathe or function normally.
The direction of the curl matters less than the pattern around it. Soft, green leaves and a dry mix suggest a short-term moisture problem; yellowing, translucent, or water-soaked leaves suggest excess moisture; distorted new growth suggests pests or chemical stress; and a pinched, brown stem at the soil surface is a disease emergency. Correct the strongest clue first, then watch the newest growth for several days rather than expecting damaged leaves to become perfect again.
1. Underwatering or Uneven Moisture
Seedlings have small root systems in small volumes of mix, so they can move from evenly moist to dangerously dry faster than a mature plant. A cell beside a heat mat, a sunny window, or a fan may dry out before the rest of the tray. The surface can also look damp while the lower root zone is dry if water has run down the sides of a hydrophobic mix.
Dry-root stress usually makes leaves look limp, thin, or slightly shriveled. The mix may pull away from the cell wall, feel dusty at the surface, or fall away from the drainage hole. The plant often looks worse during the brightest or warmest part of the day and may partly recover in the evening. If only the top layer is dry but the cell is heavy and moist below, do not keep adding water just because the surface color changed.
How to Confirm Dry-Root Stress
Lift the cell or tray. A genuinely dry cell is surprisingly light. Touch the mix just below the surface without disturbing the stem; in a small cell, a clean fingertip and crumbly mix are useful clues. For a seedling that is clearly dry, set the cell in a shallow dish of room-temperature water for a few minutes, then remove it and let excess water drain completely. This wets the full root ball without blasting seeds or stems.
If the mix has become water-repellent, one slow watering may not be enough. Add water in two small passes, allowing a minute between them, and stop when the drainage hole releases a little water. Do not keep the tray sitting in runoff. A consistently moist, airy mix is the goal—not a permanently wet one. Once the plant has recovered, adjust the check frequency for that location instead of putting the whole tray on a rigid calendar.
2. Overwatering or Poor Drainage
Overwatering is not simply “watering too often.” It is any combination of water, container, and mix that leaves the roots short of oxygen for too long. A seedling can be overwatered in one generous session if the cell has no drainage hole, the tray is left in standing water, or the mix is dense enough to stay saturated.
An overwatered seedling may look heavy and limp rather than crisp and shriveled. Older leaves can yellow, the mix can stay dark for days, and algae or a sour smell may appear at the surface. Roots may be brown and soft when the plant is lifted. Waterlogged roots cannot reliably deliver water to the leaves, so adding more water usually deepens the problem.
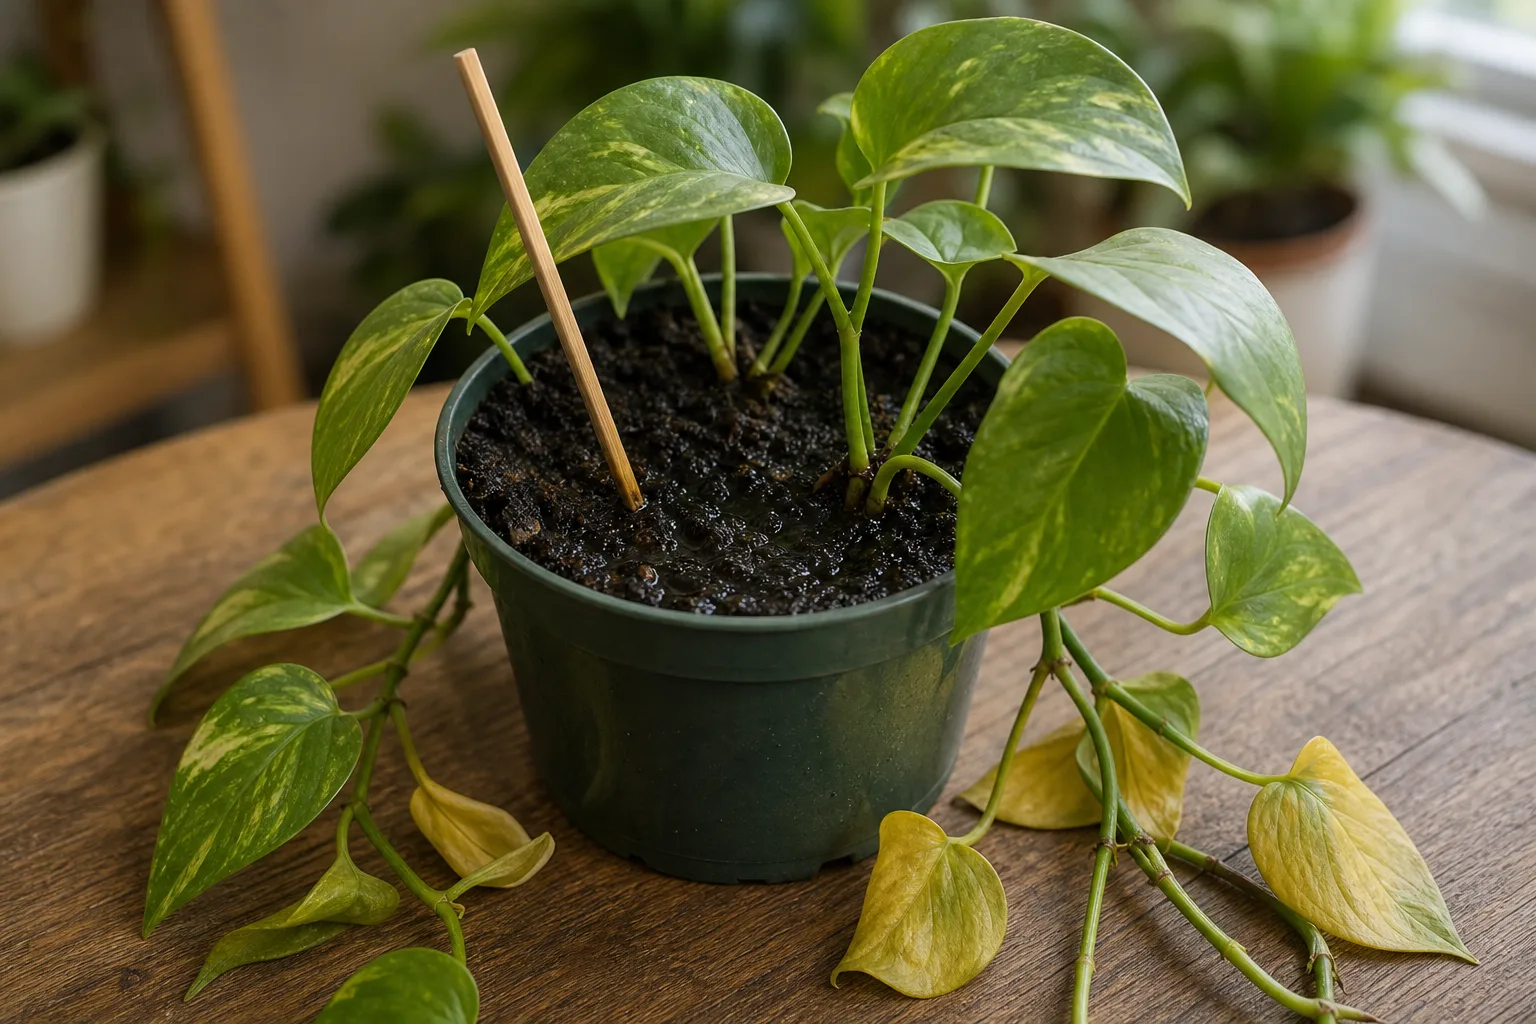
First confirm that every cell has an open drainage path and that the tray is not sitting in a full saucer. Empty collected water, move the seedlings into bright indirect light with gentle airflow, and allow the upper part of the mix to become just slightly less wet before watering again. Do not swing from saturated to bone-dry; fragile roots still need moisture while the mix regains air.
When Damping-Off Enters the Picture
Damping-off is a group of diseases that can rot seeds, roots, or the stem near the soil line. The University of California IPM guide to damping-off describes the classic pattern: seedlings emerge poorly, wilt and collapse, or develop decay in cold, wet, compacted conditions. A downturned leaf by itself is not proof of damping-off, but a narrow dark stem, mushy tissue, rapid collapse, or several seedlings dying in the same wet tray raises the concern.
Remove a collapsing seedling and the mix immediately around it rather than spreading the problem through the tray. Do not reuse the contaminated mix. Clean reusable cells, use fresh seed-starting mix, improve airflow, and water carefully. Once a stem has rotted through, a spray or household remedy is unlikely to restore the plant; prevention and a clean restart are more reliable.
3. Temperature Swings, Drafts, Heat, or Low Humidity
Young plants respond quickly to their surroundings. A cold window at night, a heat mat that runs too warm, a draft from an air conditioner, or a fan pointed directly at the leaves can change water loss faster than the roots can replace it. Very dry indoor air can add another layer of stress, especially when seedlings are growing in tiny cells.
Temperature stress often affects a whole side of the tray or all the seedlings nearest a window, vent, or heater. Cold-stressed plants may grow slowly and remain dark or purplish; heat- or wind-stressed plants may curl inward, droop in the afternoon, or develop dry edges. Low humidity is more likely when the mix is only moderately moist but the foliage is losing water quickly. The same curl can also appear after moving indoor-grown plants outdoors too suddenly.
Protect Seedlings from Abrupt Change
Move the tray away from direct drafts and radiators, and use a thermometer at leaf height rather than relying on the room thermostat across the room. A heat mat is useful for germination, but after emergence the crop may need a different setup; follow the seed packet or extension guidance for the species instead of assuming warmer is always better. Give seedlings bright light and gentle air movement, not a strong stream that bends the leaves all day.
If seedlings are ready to leave the house, acclimate them gradually. Savvy Gardening’s hardening-off guide recommends starting in shade, bringing plants in when nights are cold or frost threatens, and increasing sun over about a week. A sudden move from protected indoor air to sun and wind can curl or scorch leaves even when the roots are perfectly watered. Fix the transition, not the leaf, and new growth should be a better indicator of recovery.
4. Fertilizer Burn or Salt Buildup
Seed-starting mix is often designed to provide a clean, lightly fed environment while the seed uses its stored reserves. Adding fertilizer before the seedling has established roots can raise the salt concentration around those roots. The result may be curled tips, browned margins, stalled growth, or a seedling that looks wilted even though the mix is moist.
Do not assume that a pale or curled seedling needs more food. Check whether fertilizer was applied recently, whether the product was intended for seedlings, and whether the concentration was stronger than the label suggests. The University of Maine Cooperative Extension’s troubleshooting example shows why it is useful to pause before making another amendment: a low pH, poor drainage, and recent fertilizer can overlap, and correcting all three at once makes the real cause impossible to see.
If the plant is otherwise green and the mix drains freely, stop feeding and let it grow through the stress. For a clear overapplication in a container with strong drainage, slowly pass plain water through the mix once or twice and let it drain fully; do not flood a tray with no drainage. A seedling with badly damaged roots may not tolerate flushing, so replacing the mix at transplant time can be gentler. Never use vinegar, Epsom salts, or a homemade “detox” as a default leaf-curl treatment.
5. Aphids, Thrips, or Mites Are Distorting New Growth
Sap-sucking pests can make young leaves curl, pucker, twist, or stop expanding. The newest leaves are the best place to look because soft growth is easier to feed on. Aphids may sit in clusters on the underside or around the growing tip; thrips can leave silvery streaks and dark droppings; mites often cause fine pale speckling and may produce webbing in severe cases.
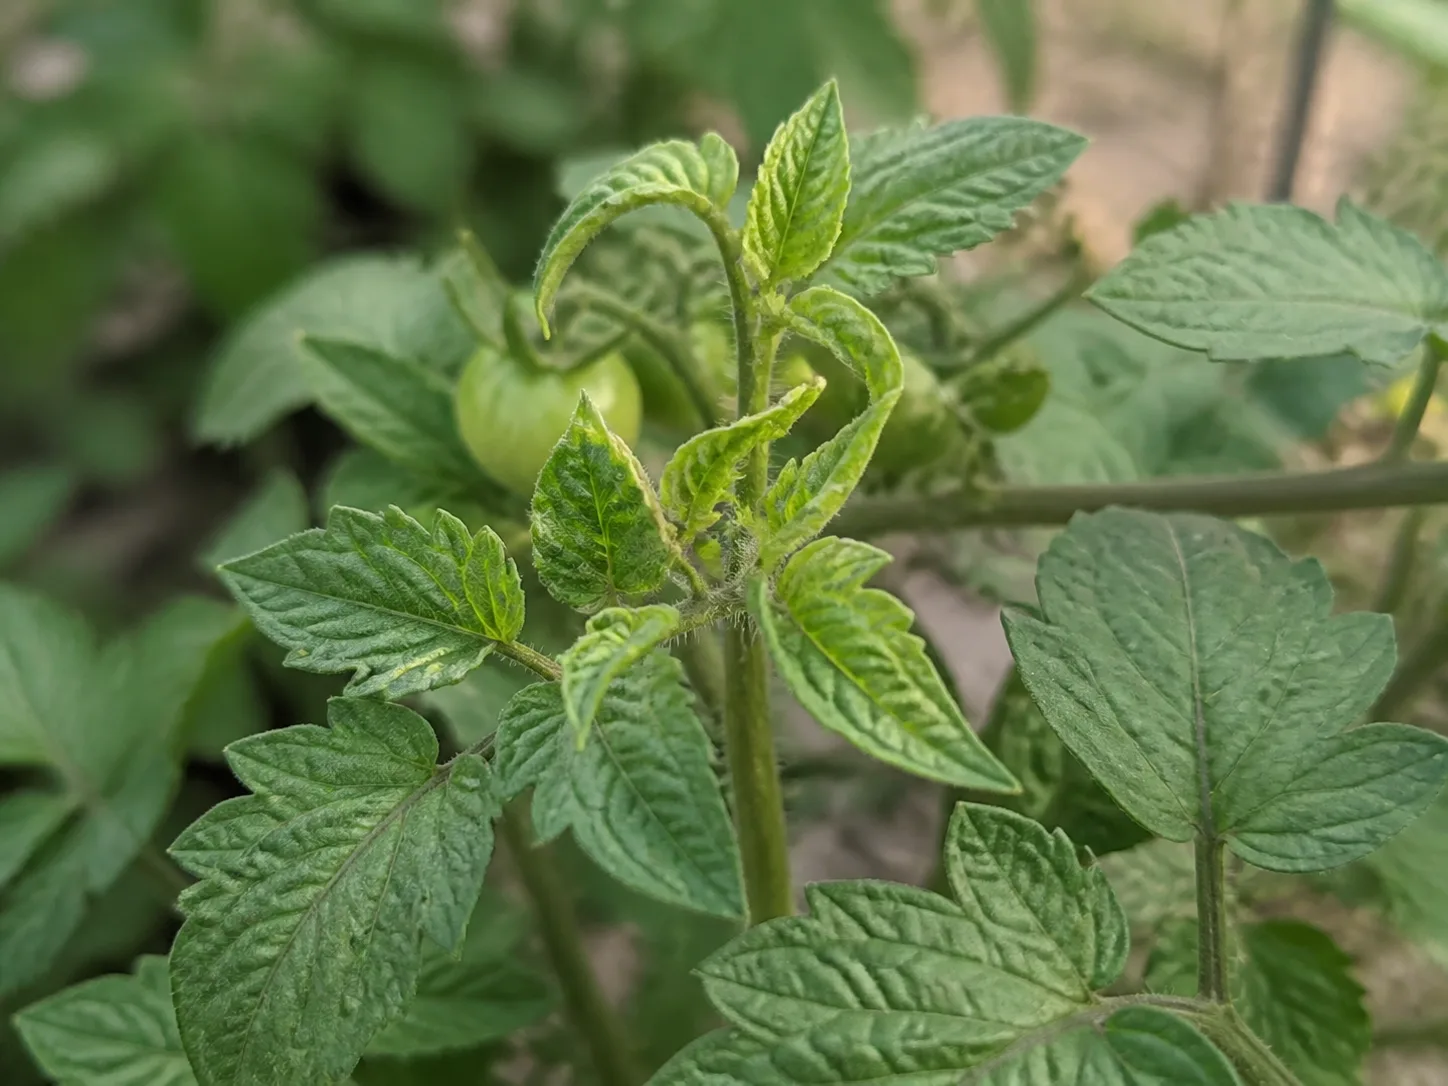
Pest curl usually starts on selected leaves rather than every plant at the same time. It may also be accompanied by sticky honeydew, black sooty residue, stippling, or a distorted growing point. A hand lens helps, but even a careful look under the leaves is more useful than spraying first and identifying later.
The Safest First Response
Move an affected tray away from houseplants and inspect nearby plants, since pests can travel between them. Rinse sturdy seedlings gently with lukewarm water, concentrating on leaf undersides without snapping stems. Repeat the inspection every few days because eggs or hidden adults can outlast one rinse.
If a product is needed, use only one labeled for the crop and pest, follow the label exactly, and test a small area first. Avoid applying oils or soaps in hot sun, under intense grow lights, or to drought-stressed seedlings. Young leaves are easy to burn, and broad spraying can harm beneficial insects once the tray goes outdoors. Savvy Gardening’s leaf-curling guide is useful for the practical clue that curled leaves should be checked underneath for insects, residue, webbing, and discoloration—not treated as a watering problem by default.
6. Damping-Off, Root Damage, or Stem Trouble
Some seedlings curl down because the plant is losing its plumbing below the soil. Root damage from saturated mix, rough transplanting, compacted medium, or a blocked cell can reduce water uptake before the foliage shows obvious symptoms. Damping-off is the most urgent version because it can move through a crowded, wet tray quickly.
Inspect the soil line. A healthy stem should remain firm and continuous where it enters the mix. A pinched, brown, gray, translucent, or mushy section is more concerning than a leaf that merely hangs. Pulling gently on a suspect seedling can reveal whether roots still hold the plant; do not tug hard enough to tear healthy roots just to confirm a guess.
What to Do with a Collapsing Seedling
If the stem is firm and only the roots are mildly stressed, let the mix drain, improve airflow, and avoid repeated disturbance. If the stem is rotted, the seedling is lying across the mix, or several neighboring cells are following the same pattern, remove affected plants and restart in clean materials. UC IPM recommends clean containers, fresh or pasteurized growing media, good drainage, warm conditions, and avoiding saturated soil.
Do not rely on cinnamon, hydrogen peroxide, or a random fungicide to rescue a rotted stem. These remedies can create a false sense of control while the tray remains too wet or dirty. The practical fix is to remove the source of infection and change the conditions that allowed it: clean cells, airy mix, correct sowing depth, spacing, and careful moisture.
7. Wrong pH or an Unsuitable Seed-Starting Mix
Curling may be the visible end of a root-zone chemistry or texture problem. A dense garden soil, unfinished compost, exhausted reused mix, or an unusually acidic or alkaline medium can restrict roots or reduce nutrient availability. The seedling may be moist but still show slow growth, pale or purple foliage, and distorted new leaves because the roots cannot access what the plant needs.
Small seedling cells are a poor place for aggressive pH experiments. A home meter can be imprecise in a tiny, soilless cell, and adding lime, vinegar, baking soda, or other amendments without a reliable test can push the mix farther from the crop’s needs. The Maine extension example notes that even when a tomato seedling’s pH is low, replacing or diluting the medium at transplant can be safer than trying to correct a small root zone with a guessed dose.
When pH Testing Helps
Test when the pattern persists across otherwise well-watered plants, the mix is known to be unusual, or older and newer leaves show a consistent nutrient-availability pattern. Compare the label and ingredients of the seed-starting mix, check that it is fresh and made for seedlings, and look for adequate drainage. For a small batch with questionable mix, transplant into fresh, airy medium rather than performing chemistry in place.
Also separate a mix problem from a light problem. Seedlings that are tall, thin, and leaning toward a window are usually asking for stronger, closer light rather than fertilizer. Weak stems can make leaves hang down, but adding food will not replace adequate light or spacing. Epic Gardening’s seed-starting guidance likewise emphasizes the interaction between moisture, drainage, timing, spacing, and a well-drained seed-starting medium.
A Recovery Plan for the Next Seven Days
Once you have chosen the most likely cause, make one controlled change and observe. Changing water, fertilizer, light, temperature, and soil all at once may feel thorough, but it removes the clues that tell you what worked. Keep a quick note of the date, the crop, the mix condition, and what you changed.
- Today: Check the cell weight and moisture below the surface, open drainage holes, inspect the underside of leaves, and examine the stem at the soil line.
- Next 24 hours: Correct the moisture problem, move the tray away from a draft or hot glass, or isolate a pest-affected cell. Stop fertilizer while you diagnose.
- Days 2–3: Check the tray at the same time each day. Look for firm stems, less limp new growth, and a reasonable dry-down between waterings. Do not judge success by old curled leaves alone.
- Days 4–5: Thin crowded seedlings, improve gentle airflow, and adjust light height or direction if the stems are stretching. Remove dead or clearly rotting plants.
- Days 6–7: Compare the newest true leaves with the original symptom. If new growth is normal, keep the routine steady. If symptoms are spreading despite good drainage and stable conditions, reassess pests, roots, and disease rather than increasing fertilizer.
The goal is not to make every damaged leaf uncurl. Leaves that were physically distorted may stay that way; recovery is better measured by firm stems, active roots, and new leaves that expand normally.
When to Discard a Seedling and Restart
Restart when a seedling has a rotted stem, collapsed completely, blackened roots, or a disease pattern spreading through a tray. Also restart when the mix has no drainage and the root system has been repeatedly saturated. One lost seedling is cheaper than nursing a contaminated tray into the next planting.
Keep a healthy seedling when the stem is firm, roots are light-colored and intact, and the curl began after a clear, reversible event such as a missed watering, a cold night, or abrupt outdoor exposure. Give it stable conditions and judge the next leaf. A plant can outgrow cosmetic damage even when the original leaves never return to a flat shape.
How to Prevent Curling in the Next Batch
Use clean containers with drainage holes and a fresh, airy seed-starting mix. Moisten the mix evenly before sowing, then keep it damp but not saturated. Covering a tray can help germination, but remove the dome or vent it after emergence so humidity does not stay excessive around tender stems.
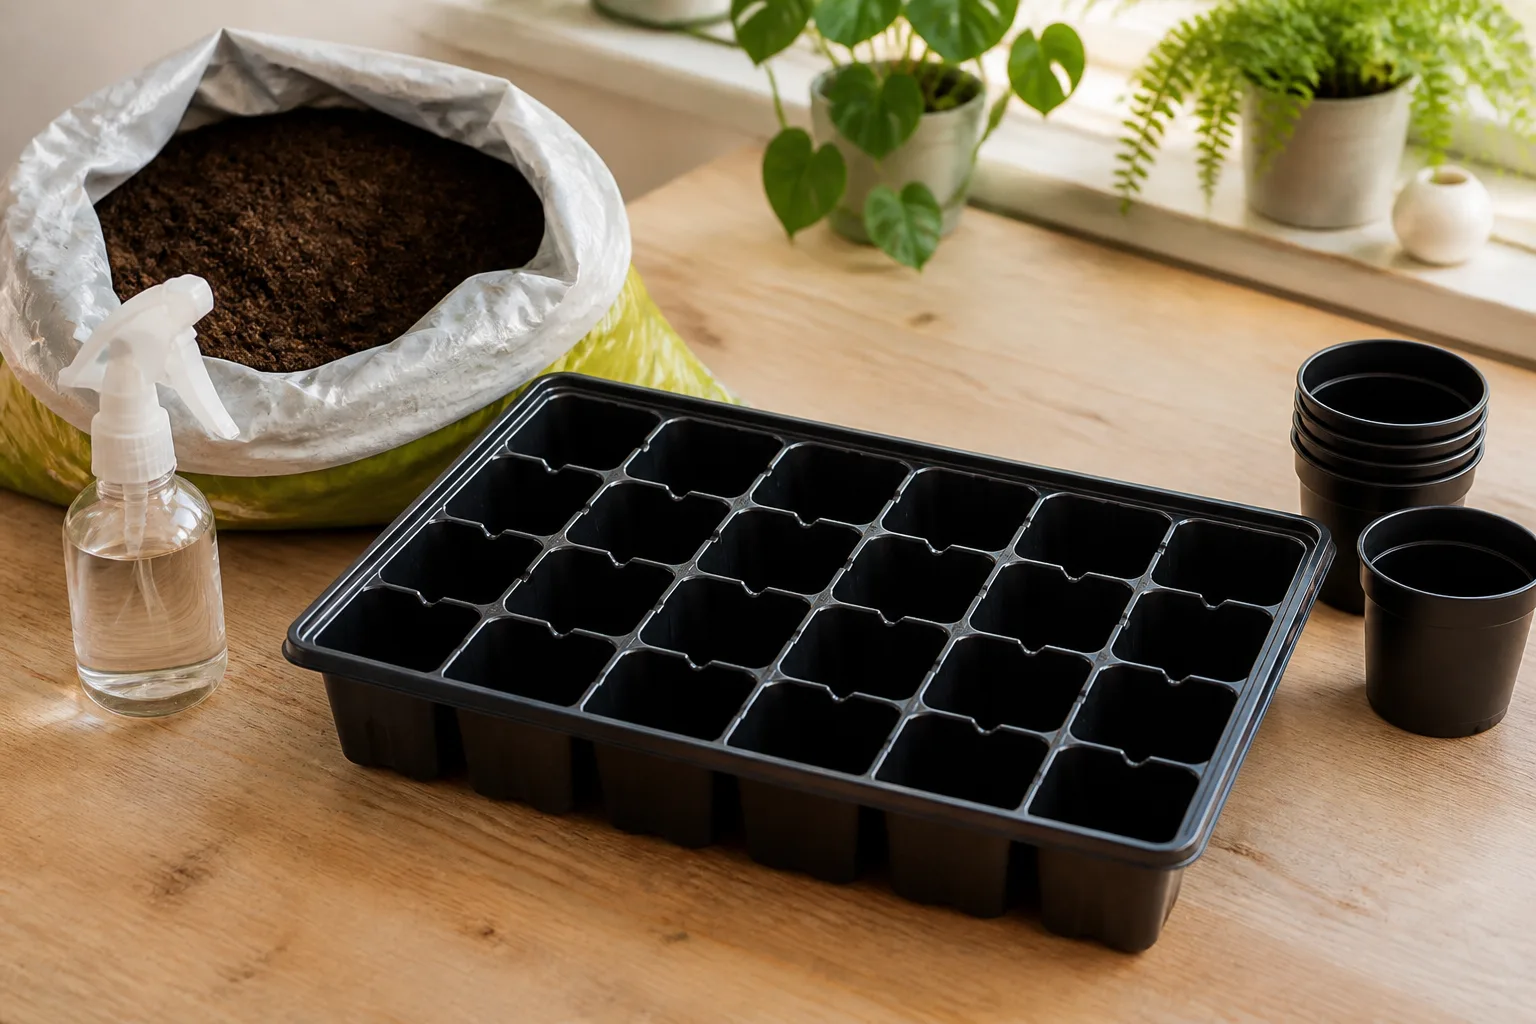
Label sowing dates and crop names. Keep seedlings evenly spaced, provide adequate light as soon as they emerge, and use gentle air movement to strengthen stems and reduce stagnant moisture. Warmth should match the crop and stage: a heat mat can help germination, while mature seedlings may need it removed.
Check the tray daily, but water according to the mix and plant rather than the clock. Bottom watering can wet the root ball evenly, while careful top watering is useful when you need to avoid keeping the entire tray wet. Either method fails if runoff is left standing. Before moving plants outside, harden them off over several days so sun, wind, and temperature do not add a second stress event.
Conclusion
Seedling leaves curling down are most often a moisture or environmental warning, but the reliable fix comes from looking at the whole plant. Check whether the root zone is dry or saturated, inspect drainage and the stem line, look under new leaves for pests, and consider recent fertilizer, temperature, light, or transplant changes.
Correct one likely cause, then watch the newest growth for a week. Stable moisture, clean airy mix, appropriate light, gradual transitions, and restraint with fertilizer will save more seedlings than any quick household remedy. When a stem has rotted or disease is spreading, restart cleanly; when the stem and roots are sound, give the seedling time to grow past the damage.



