Seedlings Falling Over: Diagnose Damping-Off or Weak Stems
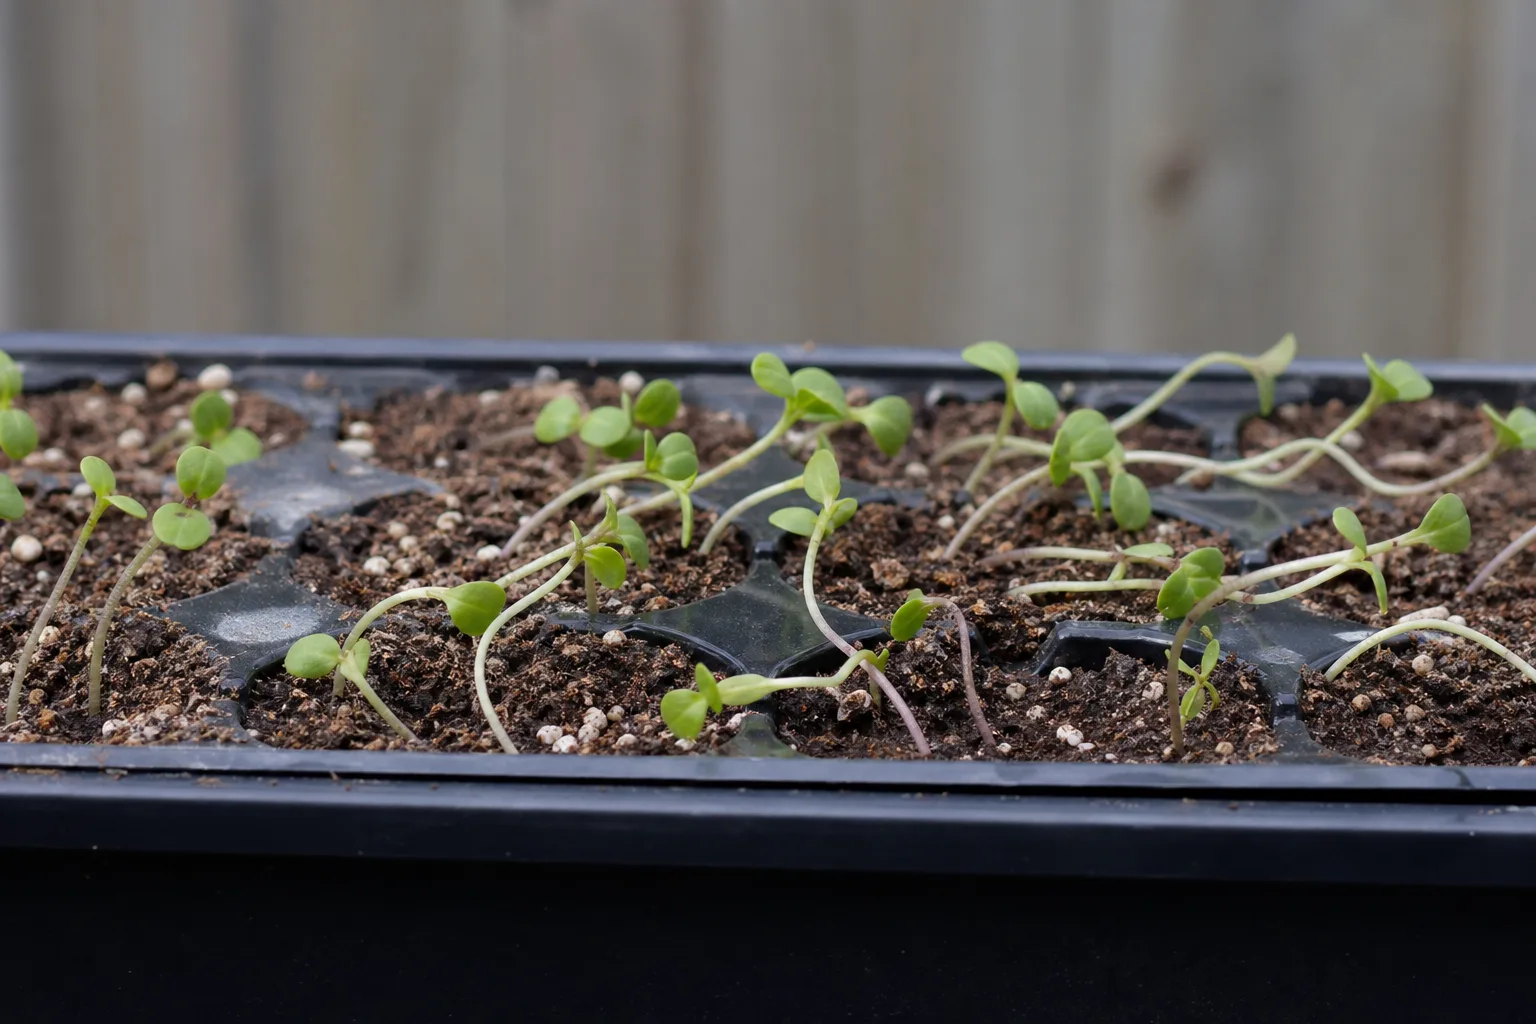
A seedling that falls over is either structurally weak or diseased at the stem base. Leggy seedlings stretch toward weak light and collapse under their own weight. Damping off rots the stem at soil level and spreads across wet trays. Tell them apart: leggy plants are tall and pale but the stem base stays firm; damping off pinches the stem, turns it brown, and kills seedlings in clusters. Both improve when you reduce surface moisture, add airflow, and place grow lights 2–4 inches above the canopy for 14–16 hours daily.
Seedlings Falling Over on Houseplants
Still unsure?Match your symptoms to the most likely problems in under a minute.Run diagnosis →Understand and fix seedlings falling over
A seedling that falls over is either structurally weak or diseased at the stem base. Leggy seedlings stretch toward weak light and collapse under their own weight. Damping off rots the stem at soil level and spreads across wet trays. Tell them apart: leggy plants are tall and pale but the stem base stays firm; damping off pinches the stem, turns it brown, and kills seedlings in clusters. Both improve when you reduce surface moisture, add airflow, and place grow lights 2–4 inches above the canopy for 14–16 hours daily.
Overview
A seedling that falls over is either structurally weak or diseased at the stem base. Leggy seedlings stretch toward weak light and collapse under their own weight. Damping off rots the stem at soil level and spreads across wet trays.
Tell them apart: leggy plants are tall and pale but the stem base stays firm; damping off pinches the stem, turns it brown, and kills seedlings in clusters. Both improve when you reduce surface moisture, add airflow, and place grow lights 2–4 inches above the canopy for 14–16 hours daily.
How to identify it
- Seedlings lean, stretch, or fall over at the base
- Mold or algae on soil surface in the tray
- Only some cells affected vs entire tray
- Soil never dries on top between waterings
- Heat mat without adequate light causing weak growth
When to worry
Seedlings collapsing at soil line (damping off) or mold covering the tray means reduce moisture and improve airflow immediately.
Common causes
Overwatering seed-starting mix
Seed mix should stay lightly moist, not soggy. Excess water causes Seedlings Falling Over and fungal collapse.
Insufficient light
Weak light produces leggy, floppy seedlings that fall over and invite disease.
Poor airflow in covered trays
Humidity domes left on too long trap moisture and encourage mold and damping off.
Crowded sowing density
Too many seeds per cell compete for light and airflow, weakening every seedling.
Step-by-step fix
Let the surface dry slightly between waterings
Bottom-water trays and pour off excess. Avoid misting constantly.
Provide strong light close to seedlings
Grow lights 2–4 inches above tops for 14–16 hours daily prevents stretch.
Increase airflow
Remove domes after germination. Run a gentle fan to strengthen stems.
Thin or transplant crowded seedlings
One strong seedling per cell survives better than a dense clump.
Discard severely affected cells
Do not let damping off spread-isolate healthy trays.
Prevention tips
- Use sterile seed-starting mix for indoor sowing
- Remove humidity domes once seeds sprout
- Water from below to keep foliage dry
- Do not overcrowd seeds in each cell
- Document which leaves show symptoms first and whether the soil is wet, dry, or compacted before changing multiple variables at once.
- Isolate newly affected plants for two weeks when pests or fungal issues are suspected so problems do not spread through the collection.
- Match your fix to the most likely cause from the diagnosis table instead of fertilizing, repotting, and spraying on the same day.
Common mistakes
- Leaving dome lids on after germination
- Growing seedlings on a windowsill only in winter
- Watering on a schedule instead of checking mix moisture
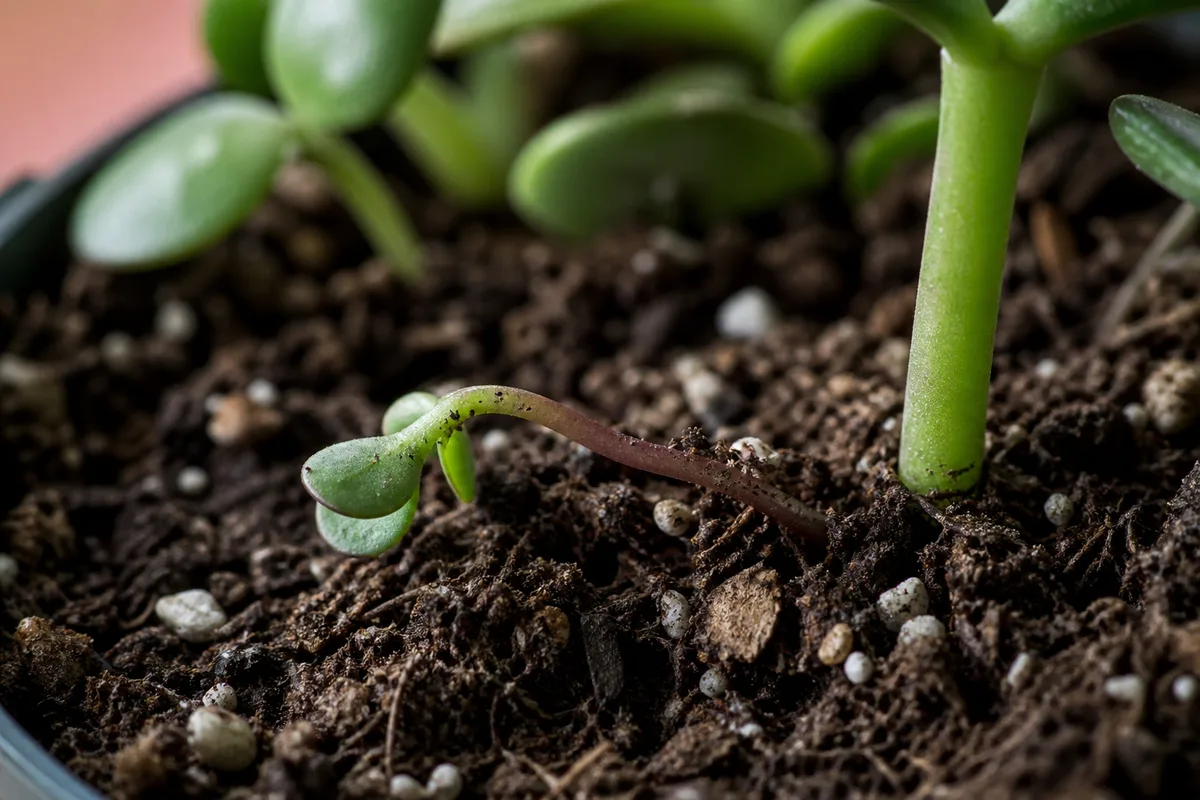
A fallen seedling presents one urgent question: is the stem merely bent, or has tissue at the media line been destroyed? Lift the leaves without pulling the plant. A long, firm, continuous stem suggests legginess or physical lodging. A pinched, translucent, darkened, or water-soaked band at or just below the surface is consistent with post-emergence damping-off and is not repaired by staking.
Map the pattern before moving the tray. One kinked plant beside a label may be mechanical damage; a row leaning toward a window may be light-related; a spreading patch of collapsed cells in the wettest part of the tray raises disease concern. Photograph the whole tray and the stem bases, then isolate clearly affected cells from healthy trays. Do not handle healthy plugs with the same wet tool or fingers before cleaning them.
Damping-off is a syndrome associated with several soilborne organisms rather than one visually identifiable pathogen. The Royal Horticultural Society, University of Wisconsin–Madison Extension, and NC State Extension describe losses before or after emergence and emphasize clean materials, drainage, appropriate moisture, and airflow. A home inspection can recognize a pattern, but it cannot identify the causal organism.
Act conservatively: remove collapsed plug material, drain standing water, improve spacing and air movement, and preserve healthy cells without repeatedly disturbing their roots. If losses continue to advance after environmental correction, recur across sowings, or involve valuable production material, submit fresh symptomatic seedlings and growing medium to a diagnostic clinic before selecting a pesticide.
Triage a fallen seedling without guessing
A seedling on its side may be diseased, stretched, dry, physically damaged, or simply pulled by a heavy seed coat. Isolate the event before acting. Support the shoot and inspect the media line with a hand lens. Note whether the stem is firm and uniformly colored or pinched, dark, translucent, and soft. Check nearby cells for the same sequence.
Inspect three plants if the tray permits: one just beginning to lean, one recently collapsed, and one upright plant at the patch boundary. A completely decayed specimen has lost the early clues. Record the stem-base appearance, plug moisture, roots, and whether the failure point is at the surface or higher on the stem. This gives a defensible comparison without uprooting the entire tray.
Inspect the stem exactly at soil level
The stem base is the most useful dividing line. A long, intact stem that bends higher up suggests weak growth; a constricted lesion at the surface strongly raises concern for post-emergence damping-off. Lift one expendable plant with its plug and inspect roots. Healthy white or pale roots do not rule out every problem, but brown sloughing tissue supports a root or crown disease.
The surface alone does not reveal the disease environment. Lift representative plugs and inspect the lower mix, drainage holes, and catch tray. A dry-looking crust can cover a saturated plug. Drain standing water and stop splashing between cells, but do not abruptly desiccate healthy survivors; the goal is moist, aerated media with foliage and stem bases able to dry.
Use this comparison before deciding that every fallen plant has damping-off:
| Stem and tray evidence | More compatible with | Immediate response | Rescue outlook |
|---|---|---|---|
| Pinched, translucent, brown, or water-soaked band at the media line | Post-emergence damping-off | Remove the affected plug, isolate the tray, drain standing water | Girdled tissue does not reconnect |
| Empty cell containing a softened seed or decayed radicle | Pre-emergence damping-off or seed decay | Sample only a few cells, review saturation and sanitation | Resow after correcting the cause |
| Long, firm stem leaning toward one side | Legginess from uneven or inadequate usable light | Improve light coverage and provide loose temporary support | Often salvageable if the base and tip are sound |
| Limp plant with a firm, unlesioned base and a dry plug | Moisture loss | Rewet evenly and improve irrigation consistency | May recover if tissue has not crisped or creased |
| One sharply folded stem beside a label or tray edge | Mechanical injury | Remove the obstruction and support only if tissue remains intact | Depends on whether the stem is crushed |
| Several new collapses expanding through a wet patch | Active disease-conducive pattern | Isolate, remove affected material, correct moisture and airflow | Seek diagnosis if spread continues |
Handle the boundary of a suspected patch as carefully as the center. The newest symptomatic seedlings retain the most useful tissue for diagnosis, while fully decomposed plants may be colonized by additional organisms. Photograph a plant at first lean, then remove it with the surrounding plug. Avoid shaking mix over neighboring cells, and do not reuse runoff from the suspect tray.
Environmental correction protects survivors but is not a cure for destroyed stems. Empty the catch tray, verify that drainage holes are open, increase spacing, and direct gentle air across—not directly into—the canopy. Keep the plugs evenly moist rather than forcing them dry. Severe drying can topple otherwise healthy seedlings and make the pattern harder to interpret.
Chemical treatment is not the default household response. “Damping-off” can involve different organisms, and a product labeled for one pathogen, crop, or site may not be appropriate for another. Never use a household disinfectant, spice, or unlabeled garden product as though it were a proven seedling fungicide. If losses justify pesticide consideration, obtain a diagnosis and follow the product label for the exact crop and use site.
Understand pre- and post-emergence damping-off
Damping-off is a syndrome caused by several fungi and fungus-like water molds, not one organism. Penn State identifies organisms including Rhizoctonia, Fusarium, Pythium, and Phytophthora and distinguishes seed decay before emergence from collapse afterward in its damping-off overview. That diversity is why a household spray chosen without diagnosis is unreliable.
Empty cells can reflect decay before emergence, while emerged plants may be girdled at the surface. The pathogen cannot be named from this pattern alone. Excavate a few representative empty cells with a clean tool: a softened seed or decayed radicle supports pre-emergence loss, whereas a hard, unswollen seed directs attention toward viability, moisture, depth, or crop-specific temperature.
Separate disease from legginess and thirst
Thirsty seedlings usually lose firmness without a rotted collar and may recover after the plug is evenly rewetted. Leggy seedlings have long, thin, intact stems and lean toward light. Mechanical damage is commonly isolated and follows handling. Disease more often creates a damaged base and may spread in patches under wet, crowded conditions. None of these clues alone is perfect; use several together.
Temperature evidence is useful only when it matches the moment of failure. Collapse that begins soon after a warm, enclosed tray emerges deserves a closer look at sustained root-zone heat and surface wetness; a seedling that folds after a cold draft may instead have lost turgor or suffered chilling. Put the thermometer probe into a representative plug, compare the reading with that crop’s packet guidance, and log day and night conditions. After emergence, remove a germination mat unless the crop still needs it, because a warm tray beneath a cool room can remain wetter than its surface suggests.
Map how collapse moves through the tray
Draw a simple tray grid and mark each fallen cell by day. Damping-off frequently begins in localized wet areas and expands, while uniform leaning toward one side indicates uneven light. A whole tray collapsing immediately after drying is different from two expanding wet patches. Mapping prevents memory from turning separate events into one imagined outbreak.
Once seedlings are up, the dome can turn a propagation aid into a disease-friendly chamber. Vent it as emergence begins and remove it when most cells have opened, unless the crop protocol specifically requires continued enclosure. Use only enough fan movement to make leaves tremble occasionally; a direct blast can topple healthy stems and imitate the symptom under investigation. Penn State links damping-off severity with excessive moisture and high humidity, so the practical target is a draining plug and a surface that does not remain continuously glossy—not wind for its own sake.
Remove diseased cells and protect neighbors
Remove clearly rotted seedlings and their immediate plug material without dragging them across healthy foliage. Seal the waste, clean the tool, and wash hands before touching another tray. Do not compost suspect material near seed production. Move unaffected trays apart and stop splashing water between them. Removal reduces inoculum but does not replace correction of the wet environment.
Number the rows and mark each newly fallen cell by date. A patch that expands from the wettest area supports a different response from a uniform lean toward one side or whole-tray wilt after the plugs dried. Preserve this spatial evidence before rotating, separating, or watering the tray. It is often the best record a diagnostic clinic has after the original plants deteriorate.
Correct moisture without dehydrating survivors
Do not respond to damping-off by letting every surviving root dry hard. Instead, water only when the plug needs it, distribute moisture evenly, and drain the tray. Water early enough that surfaces do not remain wet through a cool night. Bottom-watering can reduce splash, but prolonged standing water still creates saturation. The root zone needs both water and oxygen.
Fertilizer is not a treatment for a stem that has already been girdled. Cotyledons cover the earliest growth period, and salts added to a saturated plug can further stress roots without changing the organism or injury at the stem base. Feed only intact survivors that have begun producing true leaves, using the mix label and crop directions rather than the appearance of the fallen plants. UMass describes seedling fertility as an interaction among concentration, alkalinity, medium, and crop response in its bedding-plant guidance. Keep fertilizer off the triage list until drainage and stem integrity are settled.
Improve drainage, spacing, and air movement
Open or remove humidity covers after emergence, thin crowded cells, and verify that drain holes are open. Use gentle cross-flow if the room is stagnant. High humidity is not automatically harmful, but high humidity combined with wet media, susceptible tissue, and poor air exchange favors disease. Avoid aiming a strong fan directly at seedlings as a substitute for fixing saturation.
Clean from the healthy side of the bench toward the suspect tray, not the reverse. Bag collapsed plants with their plug material, wash away debris, and disinfect reusable containers and tools before the next sowing. Penn State includes clean growing medium and disinfected containers in damping-off prevention. Do not pour drainage from the affected tray through other flats, and do not return unused wet mix to its original bag. Those small traffic-control choices matter more than spraying an unidentified disease after stems have already failed.
Restore adequate light after emergence
Weak light can produce stems that fall without infection and can make an already stressed tray less resilient. Place emerged seedlings under even supplemental light and rotate only after recording the original pattern. If the stem base is firm and new growth becomes compact, the plant may remain usable. Light will not rescue a stem that has been girdled by rot.
Sort fallen seedlings into three groups before intervening. A plant with an unbroken, firm stem that was simply knocked sideways can be reset and lightly supported; a long, intact stem that bends toward light needs a light correction; a seedling with a translucent waist, brown lesion, or separated top should be removed with its plug. Do not stand a diseased stem upright and call that recovery. The deciding tissue is the narrow band at the media surface, because once that conducting tissue is destroyed, staking cannot reconnect it.
Clean trays, tools, and the growing area
For future trays, wash reusable containers, remove old roots and media, then disinfect according to extension guidance and product directions. Store clean trays dry. Use unopened or properly stored seed-starting medium rather than garden soil indoors. Keep hoses, watering cans, labels, and benches clean because sanitation fails when only the tray receives attention.
Photograph collapse at the level where it happens. One overhead image should show whether losses form a spreading patch; a side image should show whether stems are long and bent or sharply pinched; a close view should include the media line of a fresh casualty. Add a healthy comparison from the same tray and note the plug moisture and time since watering. A diagnostic clinic can do more with that sequence than with an isolated picture of a leaf, because damping-off is defined by progression and damaged stem tissue rather than leaf color alone.
Avoid unreliable rescue treatments
Cinnamon, peroxide drenches, chamomile tea, and other household remedies are commonly promoted but should not replace sanitation and environmental control. Some can damage delicate roots or provide inconsistent exposure. Commercial fungicides have crop, site, and organism limitations; use only a labeled product after diagnosis. Once a seedling is girdled, no drench can rebuild the missing stem.
For the next seven days, count new casualties at the same time each day and mark their cells on a tray sketch. Zero new pinched stems for several days, firmer plug surfaces between irrigations, and upright new leaves on intact survivors indicate that containment is working. A survivor that remains upright only because of a stake is not proof of recovery; inspect the base again. If the line of losses advances across adjacent cells, stop experimenting with household remedies and isolate the flat.
Monitor survivors for seven days
Inspect each morning and evening for new pinching at the media line, spreading water-soaked lesions, wilting despite moist mix, or fresh patches. Mark removals and keep conditions stable. A lack of new cases is more meaningful than cosmetic improvement in already damaged plants. Healthy survivors should maintain posture and continue making leaves and roots.
Seek a diagnostic opinion when collapse continues after the tray is drained and isolated, when the same sequence appears in separate sowings, or when the crop is valuable enough to justify treatment decisions. Send a newly affected plant with roots and surrounding medium rather than a dried, decomposed stem. Include a tray map, sowing and emergence dates, media brand, water source, recorded temperatures, and every product applied. Different organisms can produce damping-off, so laboratory identification is especially valuable before selecting a fungicide; a label must also authorize the crop, site, and use.
Know when diagnosis or disposal is warranted
Discard a tray when collapse continues rapidly, contamination is widespread, or saving a few cells risks other valuable seedlings. Seek a diagnostic clinic when the crop is valuable, the pattern repeats across sowings, or a pesticide decision depends on identifying the pathogen. Provide fresh edge-of-lesion plants and complete cultural history rather than only dead stems.
For the next sowing, build controls into the setup. Keep a small portion of seed for a paper-towel viability test, sow a few extra cells, use a thermometer at media depth, and label each tray with date and cultivar. Follow packet depth rather than applying one rule to every seed. Iowa State’s indoor seed-starting instructions emphasize clean containers, suitable media, careful sowing, light, and acclimation. A repeatable setup makes failures easier to interpret and successes easier to reproduce; it also prevents a single disappointing tray from becoming a vague conclusion that the seed or room is “bad.”
Prevent collapse in the next sowing
Prevention combines clean inputs, crop-appropriate temperature, accurate sowing depth, even moisture, prompt light, spacing, and ventilation. Do not keep domes on because a few cells are late; separate late germinators if practical. Inspect daily during emergence, when tissue is most vulnerable. The objective is not a sterile home but a growing environment that does not consistently favor pathogen activity.
Before moving seedlings outdoors, harden them gradually. Indoor leaves and stems formed under protected light, low wind, and stable moisture can be injured by abrupt sun, temperature swings, and drying wind. Begin in shelter, increase exposure over several days, and bring trays back under protection if conditions are severe. Water based on plug moisture during the transition. Hardening does not repair a diseased or profoundly weak seedling, so select the healthiest plants first. A smaller number of compact, well-rooted transplants is usually more valuable than preserving every compromised cell.
Conclusion
The decisive observation is usually at the media line. A long but firm stem can be supported while light and moisture are corrected. A pinched, rotted, or water-soaked base is not a staking problem: remove the affected plug, protect neighboring cells, and correct the wet, crowded conditions that favor further loss.
If new collapses appear after those changes, stop experimenting with home remedies and use a local extension or plant-diagnostic service. For the next sowing, begin with clean trays and mix, reliable drainage, crop-appropriate temperature and depth, prompt light after emergence, and enough spacing for surfaces to dry. Preventing a disease-conducive environment is more dependable than trying to rescue girdled seedlings.
Plants commonly affected
These houseplants often struggle with seedlings falling over. Open a care guide or plant-specific troubleshooting page for tailored fixes.
 Medium
Jade Plant
Likely causeSep 1, 2025 · Seeing your beloved jade plant struggling under its own weight can be disheartening, but now you have a complete action plan. You know how to diagnose the problem, provide immediate support, and perform the crucial long-term f
Quick fixConfirm diagnosis on your Jade Plant, then address the most likely care or pest factor described in current extension guidance.
 Medium
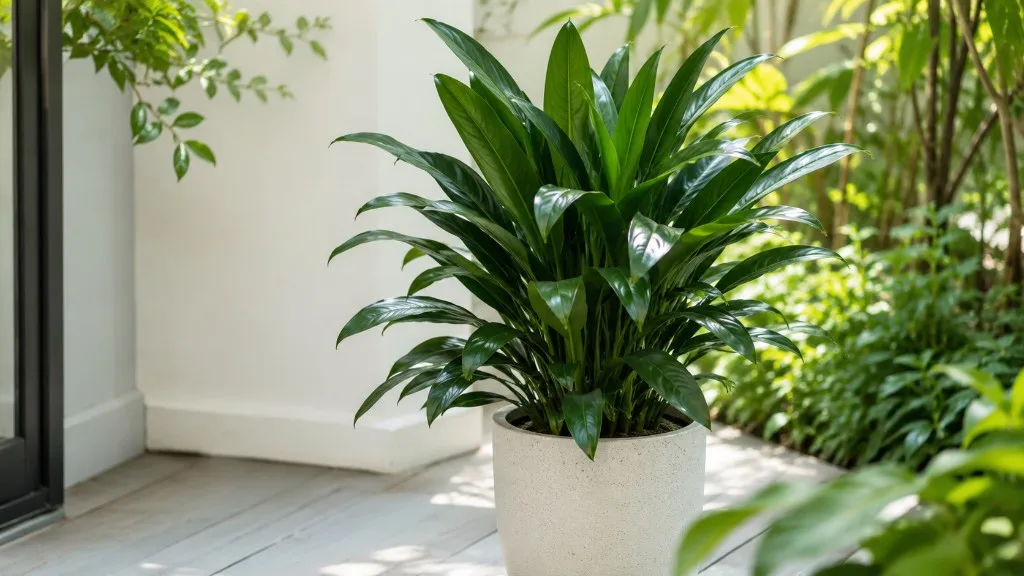
Janet Craig Dracaena
Likely causeFeb 10, 2024 · In this post, we'll explore why your plant might be falling over and how you can help it regain its upright glory. From watering mishaps to unexpected pests, we'll cover the common culprits and offer practical solutions for e
Quick fixConfirm diagnosis on your Janet Craig Dracaena, then address the most likely care or pest factor described in current extension guidance.
 Easy
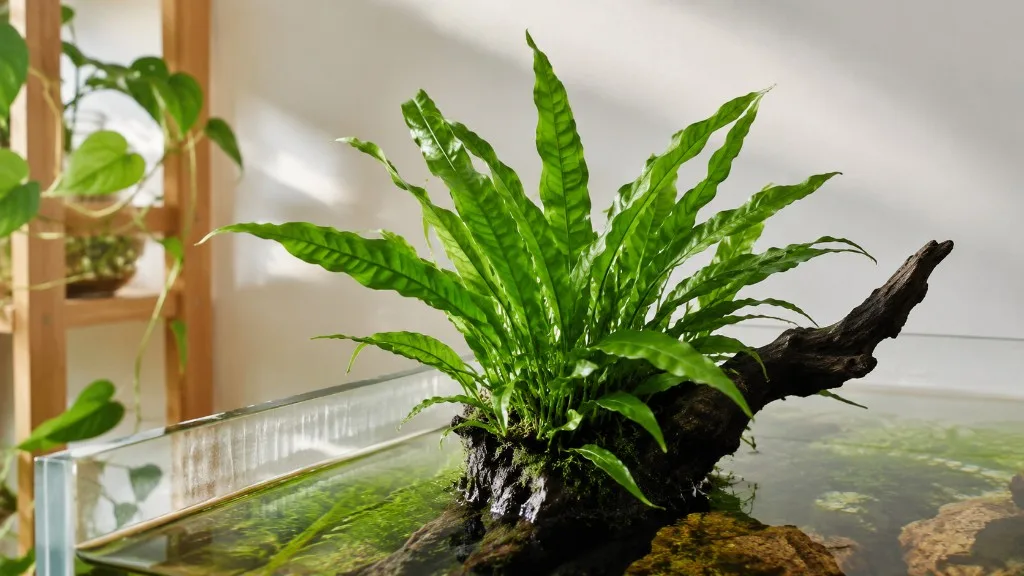
EasyJava Fern
Likely causeSource: https://www.2hraquarist.com/ Now the question comes if your java fern is really dying or not. Well, sometimes people tend to get afraid the moment they see their fern turning yellow, brown, transparent, etc. But we need to clear it
Quick fixConfirm diagnosis on your Java Fern, then address the most likely care or pest factor described in current extension guidance.
 Medium
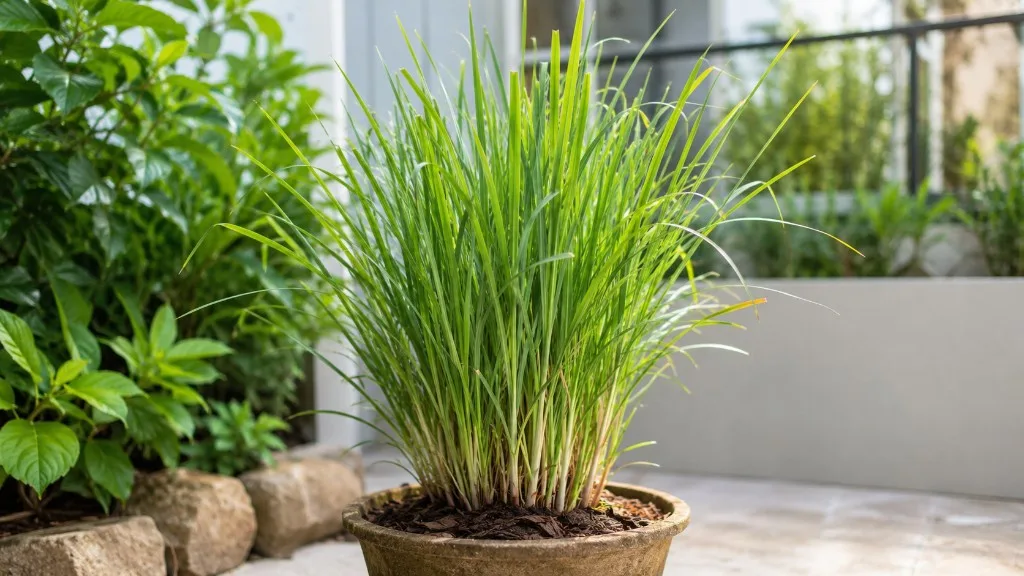
Lemongrass
Likely causeJul 13, 2023 · However, sometimes you may notice that your lemongrass plant is falling over or leaning to one side, which can be concerning for any plant enthusiast. In this article, we will explore the reasons behind this issue and provide
Quick fixConfirm diagnosis on your Lemongrass, then address the most likely care or pest factor described in current extension guidance.
 Medium
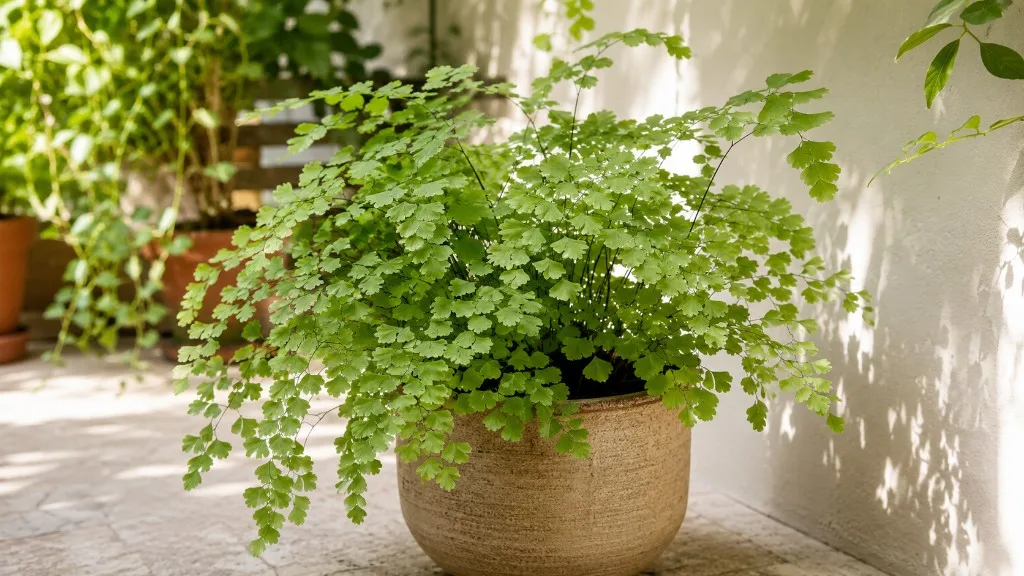
Maidenhair Fern
Likely causeFeb 13, 2024 · This post will explore the common reasons why maidenhair ferns might fall over and provide practical tips to keep your plant happy and upright. From watering habits to lighting conditions, we’ll help you troubleshoot and nurt
Quick fixConfirm diagnosis on your Maidenhair Fern, then address the most likely care or pest factor described in current extension guidance.
 Medium
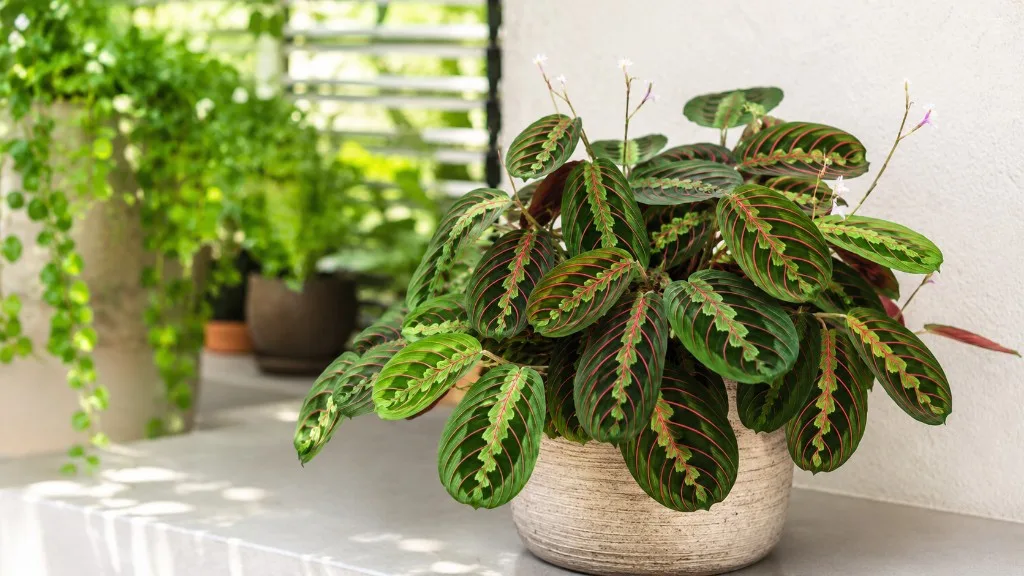
Maranta Leuconeura
Likely causeJul 14, 2023 · If your Maranta Prayer Plant is falling over , it’s essential to identify the underlying cause to restore its health and vigor. Evaluate your plant’s lighting conditions, watering routine, humidity levels, nutrient supply, an
Quick fixConfirm diagnosis on your Maranta Leuconeura, then address the most likely care or pest factor described in current extension guidance.
 Medium
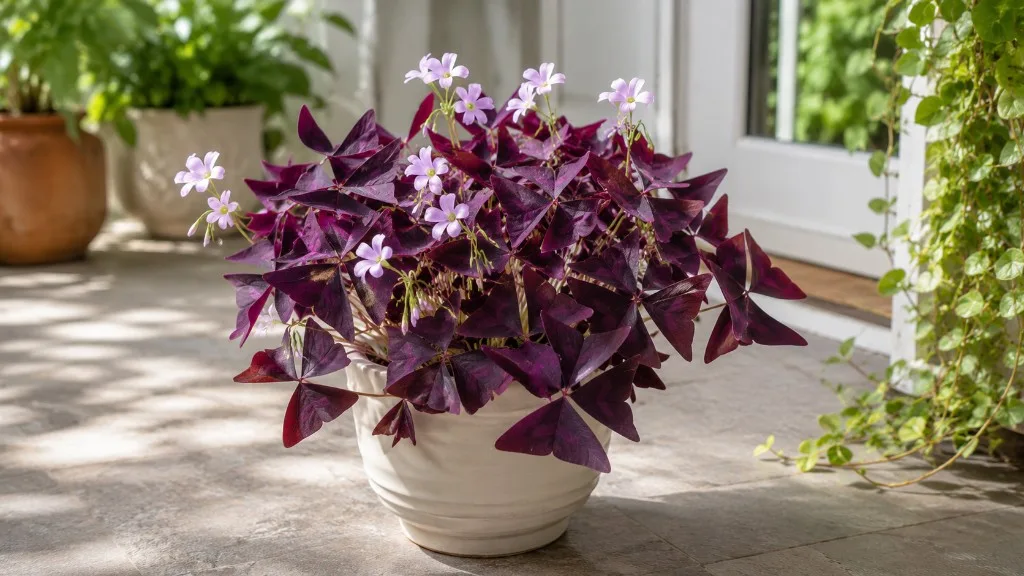
Oxalis Triangularis
Likely causeOxalis sp. (possibly Oxalis hispidula) Oxalis (UK: / ɒksɑːlɪs / ok-SAH-liss, [1] US: / ˈɒksəlɪs / OK-sə-liss[2]) is a large genus of flowering plants in the wood-sorrel family, Oxalidaceae, comprising over …
Quick fixConfirm diagnosis on your Oxalis Triangularis, then address the most likely care or pest factor described in current extension guidance.
 Medium
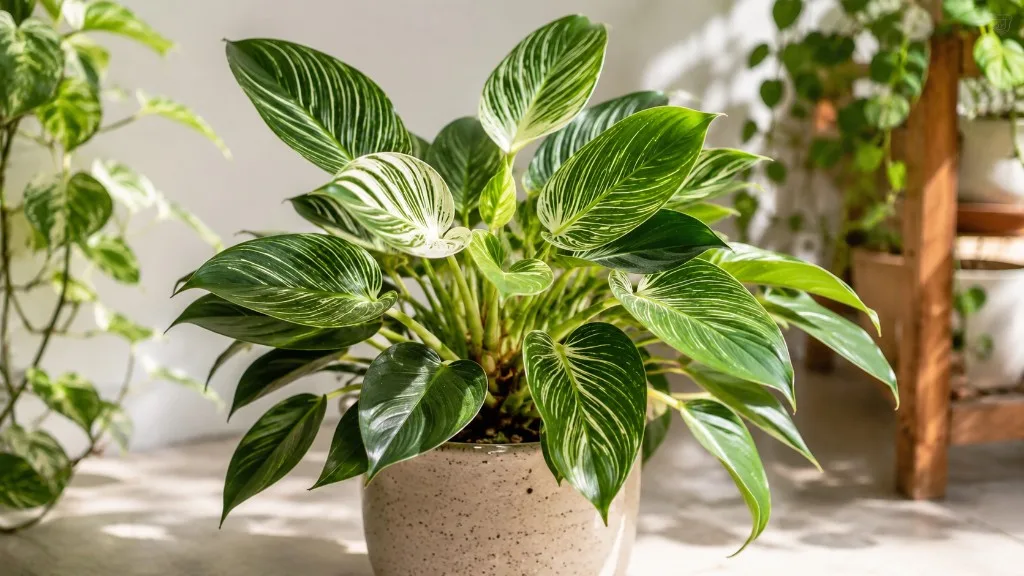
Philodendron Birkin
Likely causeJul 21, 2023 · If you find your Philodendron Birkin leaning or toppling over , don’t panic! In this article, we will explore the possible reasons behind this issue and provide practical solutions to help your precious plant regain its uprig
Quick fixConfirm diagnosis on your Philodendron Birkin, then address the most likely care or pest factor described in current extension guidance.
 Medium
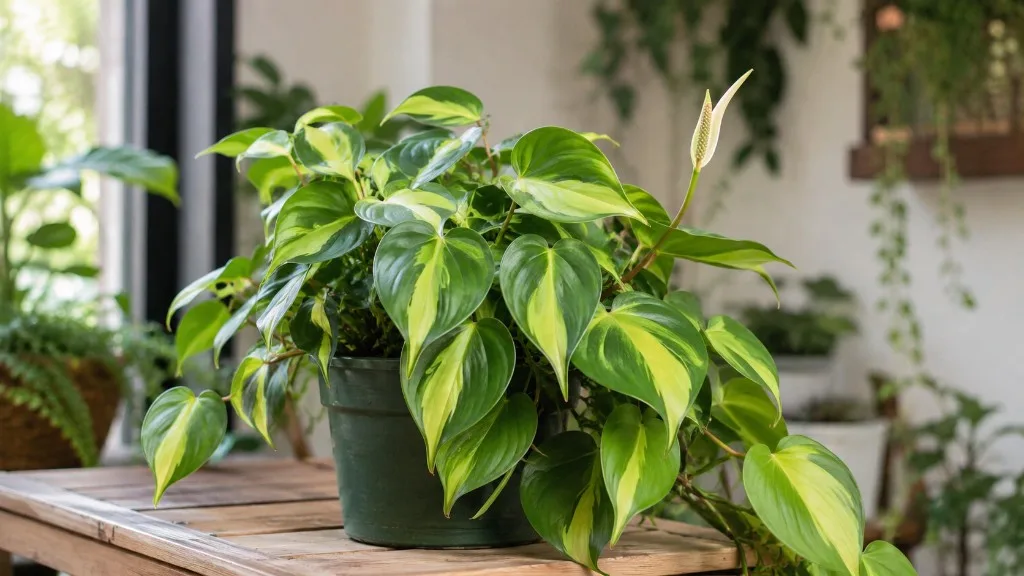
Philodendron Brasil
Likely causeFeb 10, 2024 · But what happens when your once-perky Philodendron Brasil starts looking a bit droopy or worse— falls over entirely? This article will explore common reasons why your Philodendron Brasil might be struggling to stay upright an
Quick fixConfirm diagnosis on your Philodendron Brasil, then address the most likely care or pest factor described in current extension guidance.
 Medium
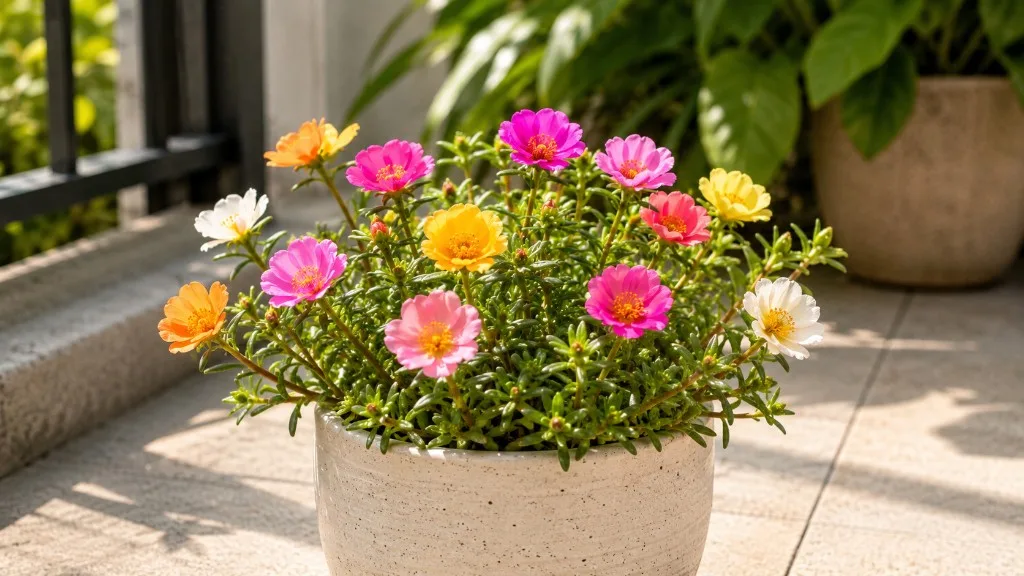
Portulaca
Likely causeJul 13, 2023 · However, one common issue that many people face with their Portulaca plants is them falling over or becoming leggy. In this article, we will explore the reasons behind this problem and discuss some solutions to help your Port
Quick fixConfirm diagnosis on your Portulaca, then address the most likely care or pest factor described in current extension guidance.
 Medium
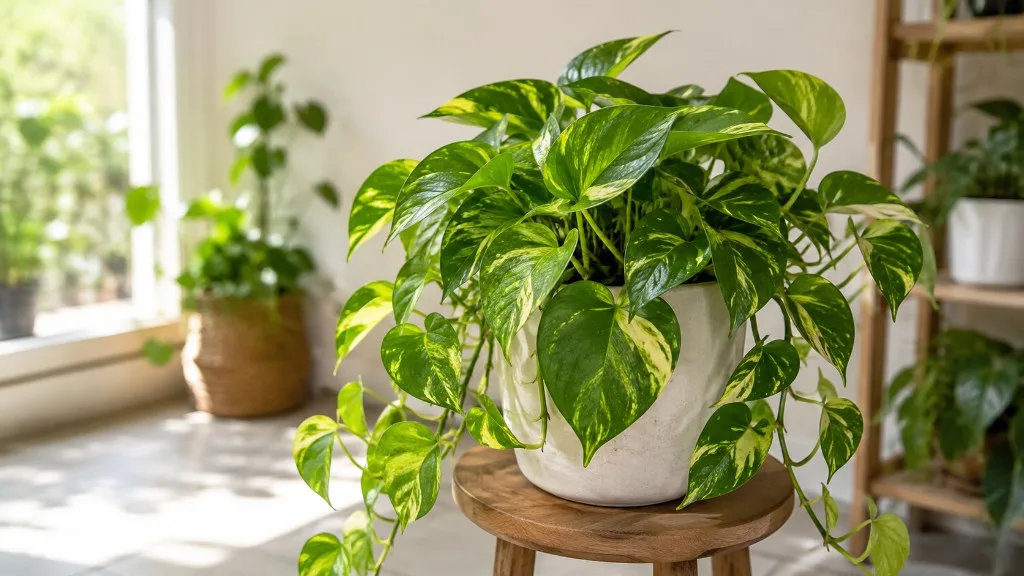
Pothos
Likely causeJul 17, 2023 · In conclusion, a pothos hanging plant falling over can be attributed to various factors such as lack of support, watering issues, inadequate light, nutrient deficiencies, overcrowded roots, or pests and diseases.
Quick fixConfirm diagnosis on your Pothos, then address the most likely care or pest factor described in current extension guidance.
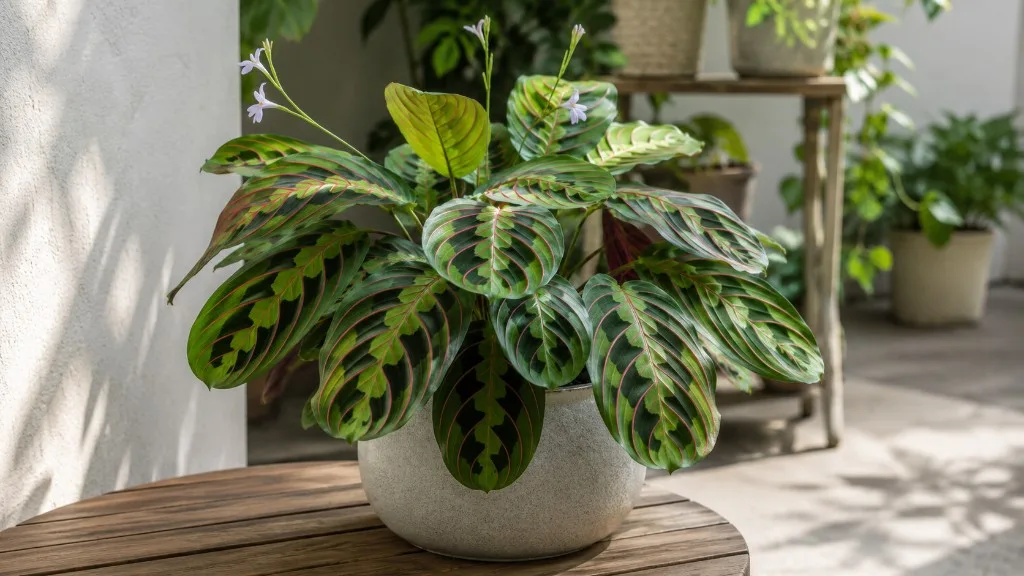 Medium
Prayer Plant
Likely causeJul 14, 2023 · If your Maranta Prayer Plant is falling over , it’s essential to identify the underlying cause to restore its health and vigor. Evaluate your plant’s lighting conditions, watering routine, humidity levels, nutrient supply, an
Quick fixConfirm diagnosis on your Prayer Plant, then address the most likely care or pest factor described in current extension guidance.