Yellow Seedlings: Diagnose Cotyledons, Roots, and Light
Yellowing in seedlings differs from mature houseplant chlorosis. Young plants have small root systems and are sensitive to soggy mix, cold trays on windowsills, and nitrogen lack in sterile seed-starting media. Check whether yellowing appears on cotyledons only (sometimes normal as true leaves emerge) or on new true leaves (action needed). Improve drainage, warm the root zone gently, increase light, and begin dilute fertilizer only after the first set of true leaves unless the label says otherwise for that crop.
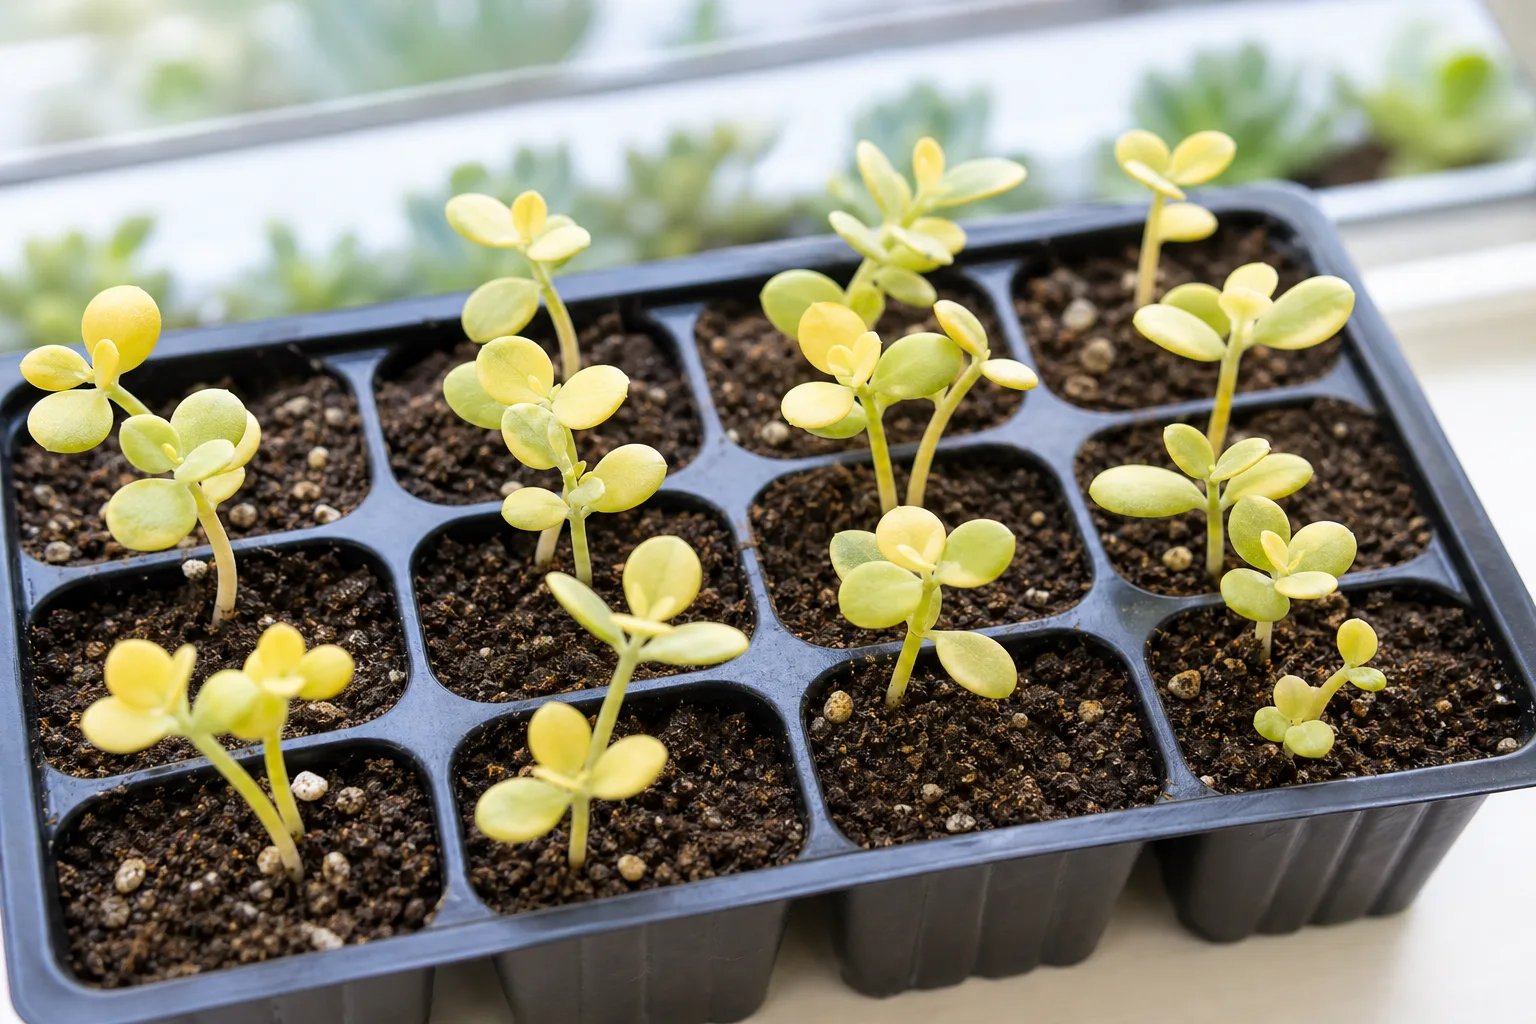
Yellow Seedlings on Houseplants
Still unsure?Match your symptoms to the most likely problems in under a minute.Run diagnosis →Understand and fix yellow seedlings
Yellowing in seedlings differs from mature houseplant chlorosis. Young plants have small root systems and are sensitive to soggy mix, cold trays on windowsills, and nitrogen lack in sterile seed-starting media. Check whether yellowing appears on cotyledons only (sometimes normal as true leaves emerge) or on new true leaves (action needed). Improve drainage, warm the root zone gently, increase light, and begin dilute fertilizer only after the first set of true leaves unless the label says otherwise for that crop.
Overview
Yellowing in seedlings differs from mature houseplant chlorosis. Young plants have small root systems and are sensitive to soggy mix, cold trays on windowsills, and nitrogen lack in sterile seed-starting media.
Check whether yellowing appears on cotyledons only (sometimes normal as true leaves emerge) or on new true leaves (action needed). Improve drainage, warm the root zone gently, increase light, and begin dilute fertilizer only after the first set of true leaves unless the label says otherwise for that crop.
How to identify it
- Seedlings lean, stretch, or fall over at the base
- Mold or algae on soil surface in the tray
- Only some cells affected vs entire tray
- Soil never dries on top between waterings
- Heat mat without adequate light causing weak growth
When to worry
Seedlings collapsing at soil line (damping off) or mold covering the tray means reduce moisture and improve airflow immediately.
Common causes
Overwatering seed-starting mix
Seed mix should stay lightly moist, not soggy. Excess water causes Yellow Seedlings and fungal collapse.
Insufficient light
Weak light produces leggy, floppy seedlings that fall over and invite disease.
Poor airflow in covered trays
Humidity domes left on too long trap moisture and encourage mold and damping off.
Crowded sowing density
Too many seeds per cell compete for light and airflow, weakening every seedling.
Low nutrients after true leaves appear
Seed-starting mix is usually low in fertilizer. Once seedlings develop true leaves, pale yellow growth can mean they need weak, balanced feeding.
Poor tray airflow
Crowded, humid flats stay wet longer. Stagnant air encourages weak growth and uneven drying across cells.
Step-by-step fix
Let the surface dry slightly between waterings
Bottom-water trays and pour off excess. Avoid misting constantly.
Provide strong light close to seedlings
Grow lights 2–4 inches above tops for 14–16 hours daily prevents stretch.
Increase airflow
Remove domes after germination. Run a gentle fan to strengthen stems.
Thin or transplant crowded seedlings
One strong seedling per cell survives better than a dense clump.
Discard severely affected cells
Do not let damping off spread-isolate healthy trays.
Feed lightly after true leaves appear
Once seedlings have true leaves, use a diluted balanced fertilizer at quarter strength. Do not fertilize tiny new sprouts too early.
Thin overcrowded seedlings
Leave one strong seedling per cell so roots are not competing in the same wet plug.
Prevention tips
- Use sterile seed-starting mix for indoor sowing
- Remove humidity domes once seeds sprout
- Water from below to keep foliage dry
- Do not overcrowd seeds in each cell
Common mistakes
- Leaving dome lids on after germination
- Growing seedlings on a windowsill only in winter
- Watering on a schedule instead of checking mix moisture
The first diagnostic step is not fertilizer—it is identifying the yellow tissue. Cotyledons are the original seed leaves and often differ in shape from the true leaves that follow. Cotyledons yellowing after healthy true leaves expand can be normal senescence. Yellowing that begins in true leaves, affects the growing point, accompanies stalled growth, or advances with a damaged stem base needs investigation.
Read three dimensions together: leaf age, pattern, and tray distribution. Record whether yellowing affects cotyledons, older true leaves, or the newest growth; whether it is uniform, between veins, or concentrated at margins; and whether it occurs in one plug, one wet patch, a shaded edge, or the entire tray. Pattern narrows the possibilities, but a photograph alone does not establish a specific nutrient deficiency.
Check roots before feeding. Lift representative plugs from a yellow area and a healthy control, note firmness and natural root color, and assess moisture through the plug rather than at the surface. Saturated, poorly aerated roots may fail to support green growth even when nutrients are present. Conversely, a low-charge soilless mix may require a crop-appropriate feeding program after true leaves expand. These situations call for different actions.
Use a low-risk order: rule out stem decay, correct standing water and drainage, verify crop-appropriate media temperature, provide even usable light, and then review the mix label, fertilizer history, water alkalinity, pH, or electrical conductivity where relevant. UMass notes that seedling nutrition depends on fertilizer concentration, media, water quality, and crop response in its bedding-plant seedling guidance. Escalate spreading collapse, persistent new-leaf chlorosis, or repeated tray-wide failure to an extension or diagnostic service.
Identify which leaves are actually yellow
First distinguish cotyledons—the seed leaves—from true leaves. Cotyledons often have a simpler shape and sit lowest on the stem. Note whether yellowing is confined to them, begins between veins, starts at tips, or affects the whole plant. Compare several seedlings of the same crop under the same conditions; one yellow cell and an evenly pale tray imply different causes.
Photograph the tray under the same neutral light each day and mark one emerging leaf. Camera exposure can exaggerate or hide pale color, so compare the same crop and age side by side. Also record the last irrigation and feed, media temperature, fixture position, and whether the yellowing follows a wet or shaded zone. These observations connect color with a plausible cause.
Know when yellow cotyledons are normal
Cotyledons supply early reserves and may yellow after true leaves are established, especially as the plant reallocates resources. That can be normal when the growing point is green, roots are active, and new true leaves expand. It is not automatically normal when cotyledons yellow before emergence is complete, the stem base narrows, or the entire seedling stops growing.
Normal cotyledon decline should occur alongside an active green center and expanding true leaves. It is less reassuring when the seed leaves yellow before the plant establishes, when the newest leaf is also pale, or when the stem base narrows. Do not remove attached cotyledons simply because they look old; let them detach naturally unless decay creates a sanitation concern.
Use this evidence-to-action table before reaching for fertilizer:
| Yellowing pattern and supporting evidence | More plausible category | Lowest-risk next step |
|---|---|---|
| Only older cotyledons yellow while true leaves expand green | Normal cotyledon senescence | Continue stable care and watch new growth |
| Whole tray is pale and stretched, especially at fixture edges | Insufficient or uneven usable light | Improve coverage gradually and check leaf temperature |
| Yellowing is strongest in wet cells; roots are sparse, soft, or discolored | Saturated root zone or root injury | Drain standing water, improve aeration, and pause feeding |
| Yellowing begins soon after fertilizer; white crust or burned margins appear | Excess soluble salts is plausible | Stop feeding, verify drainage, mix, water quality, and label rate |
| Older true leaves pale while roots remain healthy in a low-charge mix | Nutrition may warrant review | Check mix formulation and begin only the crop-appropriate labeled program |
| New growth remains pale or interveinal after environmental correction | pH, micronutrient availability, or root dysfunction may be involved | Seek crop-specific pH/EC testing rather than guessing a supplement |
| Yellowing advances with a pinched stem base or spreading collapse | Damping-off or another disease process | Isolate, remove affected plug material, and obtain diagnostic help if spread continues |
The table ranks categories, not diagnoses. Nutrient-mobility patterns are tendencies that can be obscured by mixed deficiencies, root damage, pH, cultivar color, and camera exposure. Applying iron, magnesium, or nitrogen solely from an image can delay correction of a saturated root zone and may add salt injury. Use the newest leaf and root condition as the main follow-up evidence.
If pH or electrical conductivity testing is appropriate, sample consistently and interpret results against the crop, medium, fertilizer, and laboratory method. A number without those boundaries is not a universal diagnosis. UMass emphasizes that substrate fertility is a system involving fertilizer concentration, alkalinity, media, and crop response. For small home trays, an extension office or reputable growing-media laboratory may be more useful than an uncalibrated meter.
Yellowing associated with collapse requires faster action than stable pale color. Inspect the stem at the surface and roots from the plug edge. Penn State describes the relationship between damping-off and excessive moisture and high humidity. Remove clearly girdled plants, separate suspect trays, and correct standing water; do not spray tender foliage for an unidentified problem.
Read the pattern on true leaves
Older-leaf yellowing can accompany mobile nutrient shortage, prolonged root stress, or normal cotyledon senescence. Yellow new leaves may point toward root dysfunction, pH-related nutrient availability, micronutrient problems, or damaged growing tissue. Pattern narrows possibilities but does not prove one deficiency. Avoid diagnosing “nitrogen” solely from a phone photograph.
Use light as a diagnosis only when the color pattern supports it. Pale, stretched seedlings concentrated at fixture edges suggest weak or uneven coverage, while a compact seedling with green veins and pale tissue may require a root-zone or nutrition investigation. The University of Minnesota’s indoor seed-starting guidance recommends putting emerged seedlings under supplemental light promptly, and the University of Maryland explains how fixture type, distance, and duration shape indoor light exposure. Correct the footprint gradually, mark the newest leaf, and watch whether its color improves without bleaching.
Check the root zone before adding fertilizer
Lift representative plugs and inspect drainage before feeding. Healthy roots are generally firm and light-colored, though natural pigmentation varies. Brown, soft, sparse, or foul-smelling roots indicate that nutrient delivery may be limited by injury or low oxygen even if fertilizer is present. Adding nutrients to damaged roots can increase salt stress without resolving the cause.
Temperature can turn a nutrient-looking symptom into a root-function problem. A cold, wet plug may stay saturated and support little root activity, while excessive mat heat can dry cells unevenly or push shoots faster than roots and light can support. Measure within the root zone at the pale and green parts of the tray rather than trusting the thermostat display. Compare those readings with crop guidance, remove unnecessary post-emergence heat, and insulate trays from cold stone or glass before adding nutrients.
Diagnose excess water and poor aeration
Saturated media reduces air-filled pore space and can impair roots, producing pale, slow seedlings. Water only after checking the plug, then drain completely. Reduce standing water and improve the mix or container setup if saturation persists. If stems are pinched at the surface or yellowing advances into collapse, isolate affected cells and assess damping-off rather than treating this as simple chlorosis.
Yellowing in the wettest cells calls for drainage work, not a stronger breeze. Empty standing water, confirm that each cell drains, and let the upper plug lose its glossy wet appearance before irrigating again. After emergence, vent the dome and use mild room circulation so leaf surfaces dry without chilling or desiccating the tray. Penn State associates damping-off with excess moisture and high humidity; if pale seedlings also develop a pinched base, treat the change as possible disease progression rather than ordinary chlorosis.
Correct insufficient or uneven light
Low usable light can produce pale, stretched growth; uneven coverage can create a yellow edge or shaded center. Move the tray under even light and verify height, heat, and duration. Do not expose tender seedlings suddenly to intense outdoor sun. Correct light gradually enough to avoid bleaching or scorch, then judge the color of newly formed leaves.
Map color before rotating or feeding the tray. Shade each pale cell on a simple grid and compare that map with fixture edges, water entry points, drainage outlets, and heat-mat zones. A yellow band along one side can reveal uneven light; pale cells nearest a blocked drain support root-zone stress; one uniformly pale crop beside green crops may reflect species-specific fertility or temperature needs. Recheck the map after one controlled correction so improvement is attributable rather than anecdotal.
Review temperature and root-zone stress
Cold, wet roots often take up water and nutrients poorly, while excessive warmth can accelerate growth beyond available light and root capacity. Measure the media temperature at the tray, especially on stone sills, near glass, or above a mat. Match the crop’s range. Temperature correction is more defensible than adding fertilizer to a tray whose roots are outside their functional range.
Fertilizer earns a place only after the pale tissue is identified and the roots pass inspection. Cotyledons yellowing beneath healthy true leaves rarely justify feeding; uniformly pale true leaves on intact roots in an uncharged mix may. Check the mix label, water history, and previous applications first. UMass explains that seedling nutrition depends on concentration, alkalinity, medium, and crop response in its bedding-plant guidance. Apply a conservative labeled program to a small comparison group, then judge the next leaf rather than chasing immediate dark green.
Assess nutrition only after true leaves emerge
After true leaves expand, seedlings in a low-nutrient soilless mix may need a measured fertilizer program. Use the mix label, crop guidance, water alkalinity, and product directions. UMass notes that fertility must be managed with crop response and growing-system factors, not a single universal dose. Begin conservatively and apply evenly; “more green” is not a reason to exceed the label.
When pale seedlings also show decay, handle them as a sanitation problem before interpreting their color. Remove girdled plants with the surrounding plug, clean the tool between tray sections, and keep runoff away from healthy flats. Penn State recommends clean medium and disinfected containers for damping-off prevention. Do not compost diseased plug material beside the seed-starting bench. A clean replacement sowing provides a better comparison than repeatedly spraying tender yellow foliage for an organism that has not been identified.
Recognize fertilizer salts and root injury
White crust, burned margins, stalled roots, or yellowing soon after feeding raises concern for soluble salts. Stop applications and verify drainage. Do not repeatedly flush tiny cells without considering water quality and root damage; excessive leaching can also keep plugs saturated. When production value warrants it, measure substrate electrical conductivity and pH or consult a diagnostic service.
Keep a yellow seedling when its growing point is intact, the stem base is firm, and roots are producing light-colored tips. Its older seed leaves may continue to fade even while the correction succeeds. Remove a plant when the crown is dead, roots are soft and decomposing, or a lesion has girdled the stem; greening the leaves would not restore those structures. In borderline cases, label the cell and wait for one new leaf rather than repeatedly unpotting it.
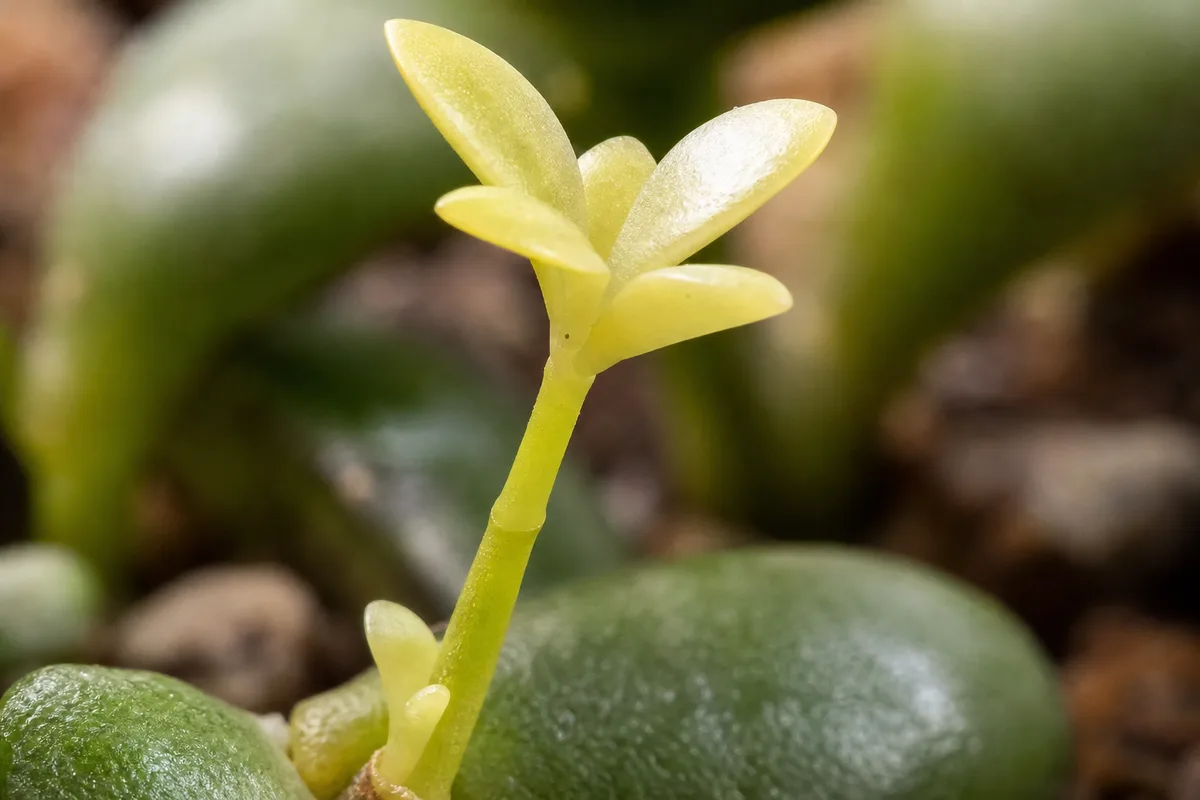
Rule out damping-off, pests, and disease
Inspect undersides and growing points with magnification for mites, thrips, or aphids, but remember that seedling yellowing is more often evaluated first through roots and environment. Look at the media line for constriction and lesions. Penn State advises removing symptomatic damping-off plants and correcting overwatering and poor drainage. Avoid spraying an unidentified problem on tender foliage.
Color photographs need a reference. Shoot the yellow and green comparison seedlings together under the same neutral light, disable beauty or vivid filters, and include both leaf surfaces plus one root plug. Add an overhead tray image to show whether pale cells align with the fixture or irrigation pattern. Record which leaves are cotyledons, which are new, and what changed since the previous image. That sequence cannot prove a deficiency, but it prevents exposure shifts and leaf-age confusion from masquerading as recovery.
Make a low-risk correction plan
Prioritize safety: correct standing water, bring temperature into the crop range, provide even light, and improve spacing. Make one major change, then watch the newest leaves. Feed only if the seedling has true leaves, intact roots, and a credible nutritional gap. Repot only when the medium or container is demonstrably unsuitable; routine transplant shock can worsen an uncertain diagnosis.
Recovery is a color-and-growth trend, not the recoloring of one old cotyledon. Mark the leaf that was emerging when conditions changed, then compare its expansion and color with a same-age healthy reference. New root tips, a firm stem, and a normally sized next leaf strengthen the case that the correction worked. If every newly formed leaf remains pale while roots and environment appear sound, stop rotating through supplements and obtain crop-specific pH, electrical-conductivity, or tissue guidance.
Track whether new growth is improving
Mark one emerging leaf and photograph it under consistent lighting. Improvement means the new leaf opens greener and at normal size while roots and posture strengthen. Old yellow cotyledons may continue to decline. If every new leaf is paler despite corrected water, light, and temperature, test pH and fertility or seek crop-specific advice rather than cycling through supplements.
Ask an extension office or diagnostic laboratory for help when new leaves remain chlorotic after roots, light, moisture, and temperature are corrected, or when yellowing advances into lesions and collapse. Submit both an early-stage affected plant and a healthy comparison with intact roots and medium. Include crop and cultivar, mix and fertilizer labels, water source, application rates, temperatures, and dated photographs. Those details let an adviser distinguish fertility availability, salt injury, root disease, and environmental stress more reliably than a detached yellow leaf.
Decide which seedlings remain worth growing
Retain seedlings with intact centers, firm stems, viable roots, and improving new leaves. Remove those with spreading rot, a destroyed growing point, or severe stunting when they threaten spacing and sanitation. A small pale plant can recover; a girdled one cannot. Selection is not failure—it protects limited light and airflow for the plants most likely to become sound transplants.
Choose survivors by the tissue that can still grow: an intact center, firm stem base, and viable roots. Record whether the next true leaf opens greener before discarding a merely pale plant. For future comparisons, label crop and sowing date, keep one healthy reference plug, record the mix and fertilizer charge, and measure media temperature. Those details are more useful for chlorosis diagnosis than a generic calendar.
Prevent yellowing in the next tray
Use clean media, accurate labels, even sowing, prompt lighting, measured temperatures, and consistent drainage. Thin early and establish a conservative feeding plan for the chosen mix before deficiency appears. Keep a healthy reference cell and record inputs. Prevention works because it makes yellowing less likely and gives you a trustworthy baseline when one seedling diverges.
NC State Extension’s guidance on damping-off in vegetable and flower seedlings reinforces the value of clean containers and medium, careful watering, and environmental management. Those measures do not prevent every cause of chlorosis, but they reduce the chance that yellowing caused by root or stem disease is mistaken for a fertilizer shortage.
Prevent repeat yellowing by matching the seed-starting mix and feeding plan. Know whether the mix contains a starter charge, begin any required feed only after the crop reaches the appropriate stage, distribute water and fertilizer evenly, and ensure complete drainage. Check fixture coverage at the edges and remove unnecessary heat after emergence according to crop guidance. A healthy reference cell makes subtle color changes easier to judge.
Conclusion
Yellow cotyledons can be part of normal development; yellow true leaves or a pale growing point deserve a closer look. Use leaf age and pattern together with roots, plug moisture, temperature, light distribution, and recent feeding. Correct the strongest environmental evidence before assuming a named nutrient deficiency.
Judge success by the next leaf, not by forcing old yellow tissue to become green. If the growing center remains pale after roots, drainage, temperature, and light are corrected, review the crop’s fertility program and obtain pH or electrical-conductivity help where appropriate. Isolate seedlings whose yellowing advances with stem constriction, root decay, or spreading collapse.
Plants commonly affected
These houseplants often struggle with yellow seedlings. Open a care guide or plant-specific troubleshooting page for tailored fixes.
 Medium
Jade Plant
Likely causeApr 7, 2026 · Jade plant turning yellow ? Overwatering, poor drainage, and low light are the top culprits. Diagnose your plant's issue fast and save it from leaf drop.
Quick fixConfirm diagnosis on your Jade Plant, then address the most likely care or pest factor described in current extension guidance.
 Medium
Jasmine
Likely causeDiscover fragrant yellow jasmine seeds , perfect for gardeners and floral enthusiasts. Explore rare, heirloom, and night-blooming varieties, offering beautiful white and blue blooms for your garden and home.
Quick fixConfirm diagnosis on your Jasmine, then address the most likely care or pest factor described in current extension guidance.
 Medium
Lavender
Likely causeMar 27, 2021 · Rare woody perennial native to the Iberian Peninsula. Early spring flowers are fragrant and resemble French Lavender (Lavandula stoechas) except for the yellow color. Flowers to 3 feet. Plants prefer full sun and a dry to mes
Quick fixConfirm diagnosis on your Lavender, then address the most likely care or pest factor described in current extension guidance.
 Medium
Lucky Bamboo
Likely causeDec 8, 2025 · Lucky bamboo turning yellow is a common headache that hits fast, but it's rarely fatal if caught early. Here's how to fix it.
Quick fixFollow extension or botanical guidance for Lucky Bamboo yellow seedlings; adjust care before applying broad treatments.
 Medium
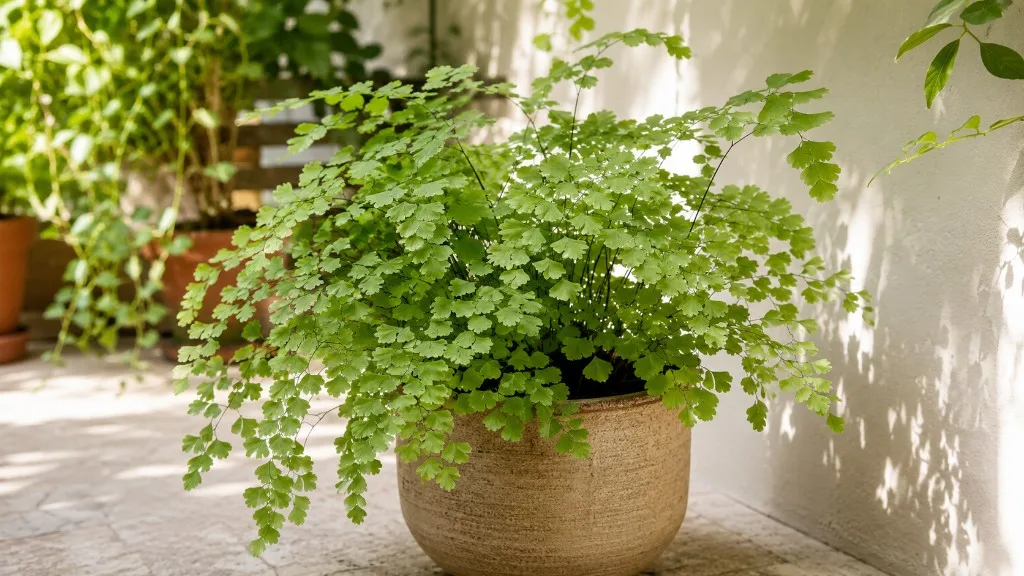
Maidenhair Fern
Likely causeMay 14, 2025 · Growing maidenhair ferns indoors can be tricky, as you need to replicate the conditions in their native habitat in the tropical Americas and the West Indies—indirect or dappled light, warm, humid conditions, and constantly mo
Quick fixFollow extension or botanical guidance for Maidenhair Fern yellow seedlings; adjust care before applying broad treatments.
 Medium
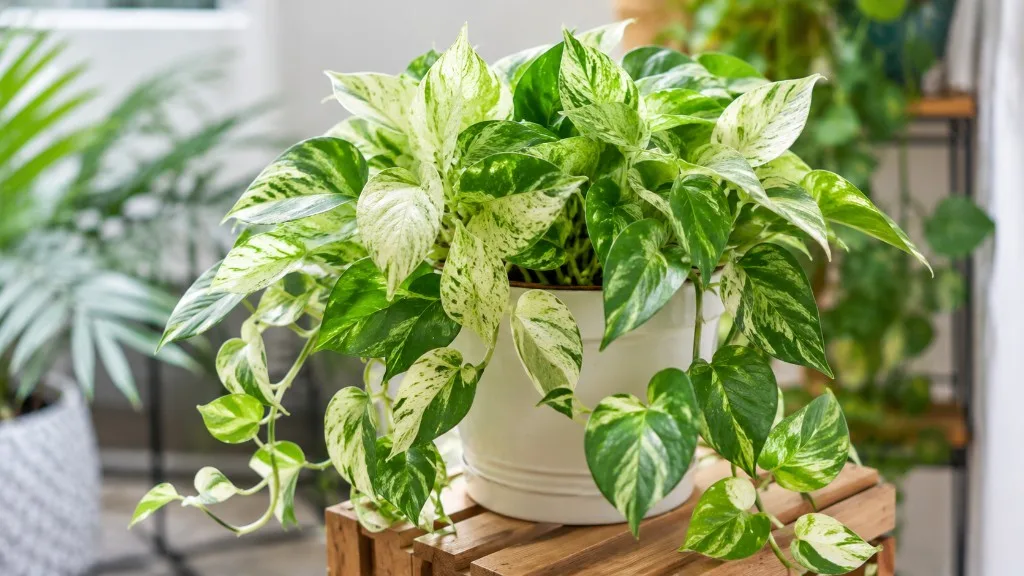
Marble Queen Pothos
Likely causeJul 5, 2022 · A Marble Queen pothos plant is a beautiful variegated form of the regular pothos plant. It has heart-shaped leaves that are variegated with yellow , white, and green colors.
Quick fixConfirm diagnosis on your Marble Queen Pothos, then address the most likely care or pest factor described in current extension guidance.
 Medium
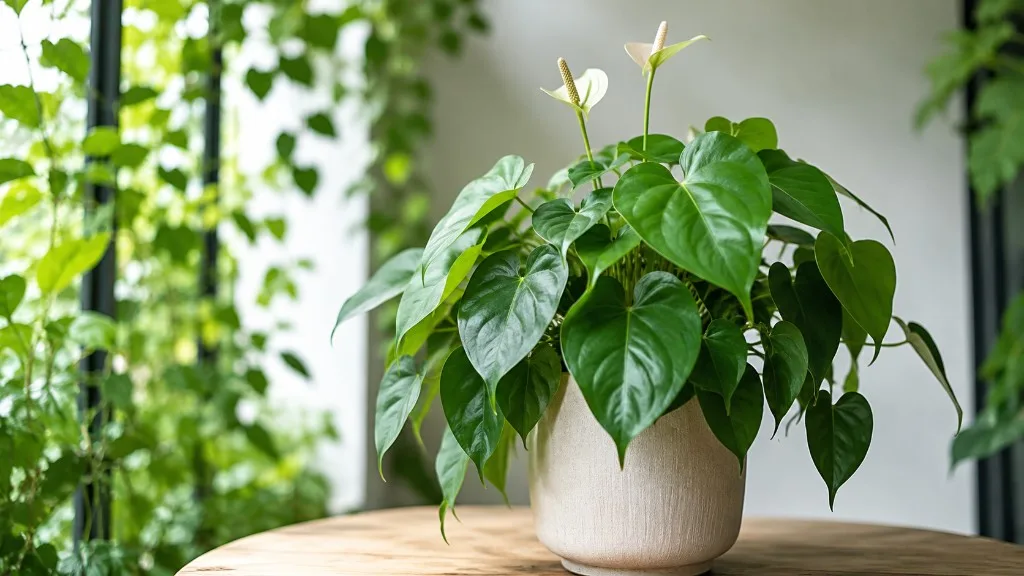
Heartleaf Philodendron
Likely causeWhy are my new Heartleaf Philodendron leaves yellow ? New-leaf yellowing usually signals nutrient deficiency or root damage. Check root health (mushy = rot), and consider feeding with half-strength balanced fertilizer (10-10-10) every 4 wee
Quick fixConfirm diagnosis on your Heartleaf Philodendron, then address the most likely care or pest factor described in current extension guidance.
 Medium
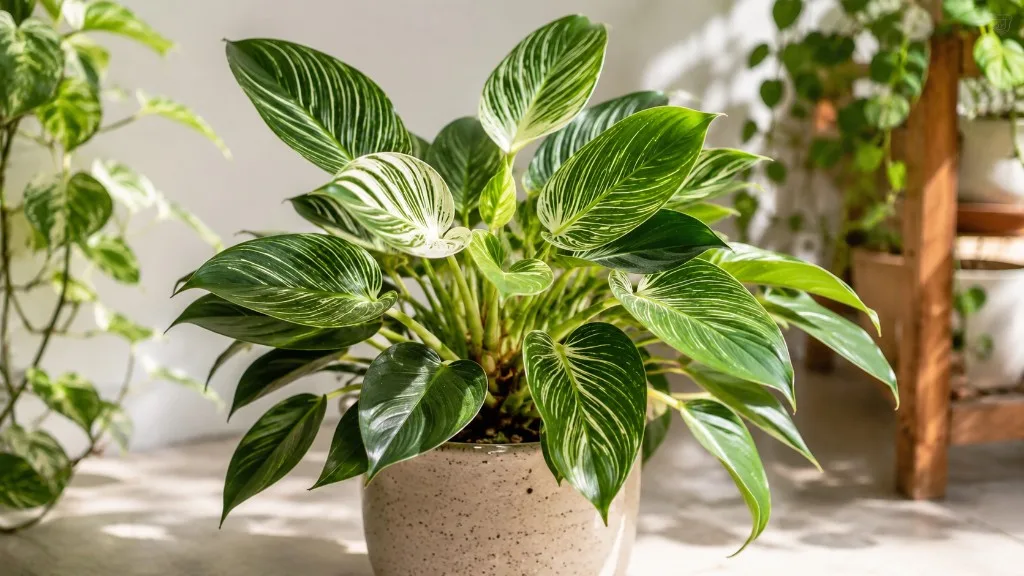
Philodendron Birkin
Likely causeSep 16, 2025 · It stands out because of the unique creamy white or yellow streaks on the green leaves. It has a thick, upright, self-supporting stem, promoting a more tree-like appearance. Slow-growing and compact, it's a great plant for sm
Quick fixFollow extension or botanical guidance for Philodendron Birkin yellow seedlings; adjust care before applying broad treatments.
 Medium
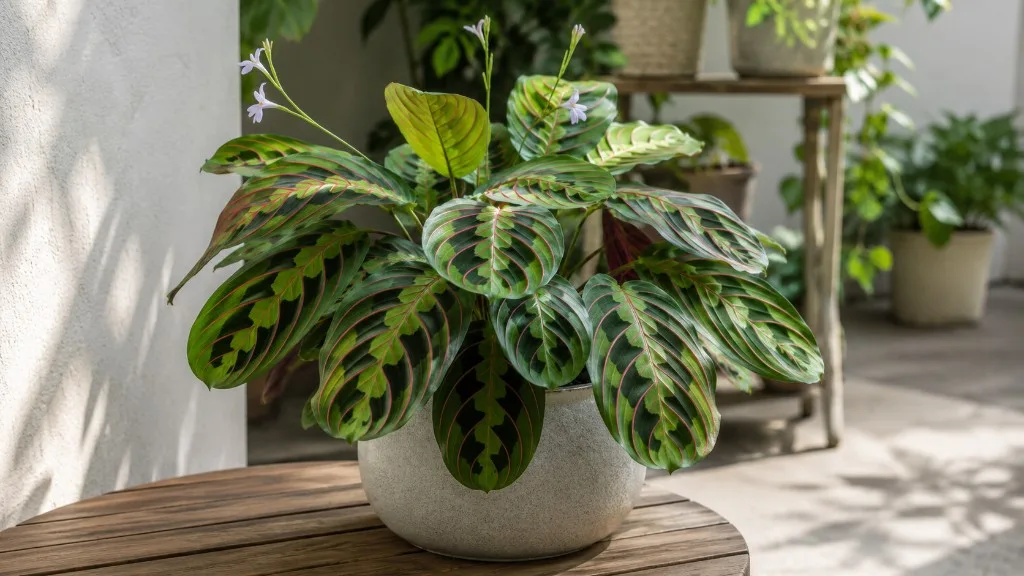
Prayer Plant
Likely causeThis detailed guide will talk about the different reasons why prayer plant leaves turn yellow , as well as effective ways to treat or avoid this common issue. What Causes Yellow Leaves on Prayer Plants ?
Quick fixConfirm diagnosis on your Prayer Plant, then address the most likely care or pest factor described in current extension guidance.
 Medium
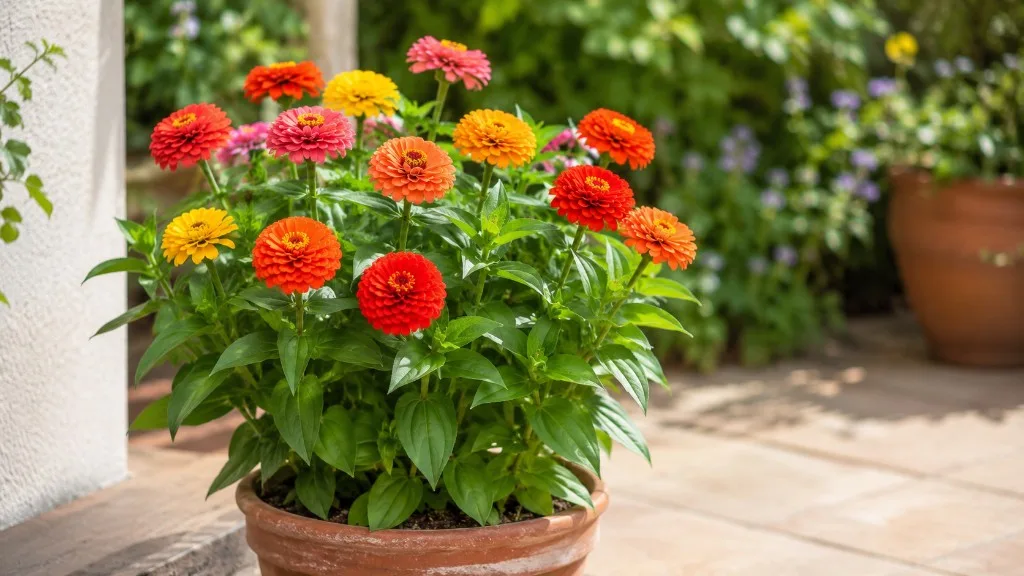
Zinnia
Likely causeOverwatered or nutrient-poor seed-starting mix causes yellow zinnia seedlings.
Quick fixReduce watering; ensure sterile mix and adequate bottom heat for fast growth.