Leggy Seedlings: Causes, Rescue Steps, and Prevention
Leggy seedlings grow tall, pale, and fragile with long gaps between leaves. This is etiolation: the plant reaches for photons. Windowsills alone often fail in late winter, and humidity domes left on too long can compound weak growth. The fix is stronger, closer light-not more water or feed. Position full-spectrum grow lights 2–4 inches above seedlings, run them 14–16 hours per day, and remove domes after germination. You can bury elongated stems slightly when transplanting some species, but prevention at germination is easier.
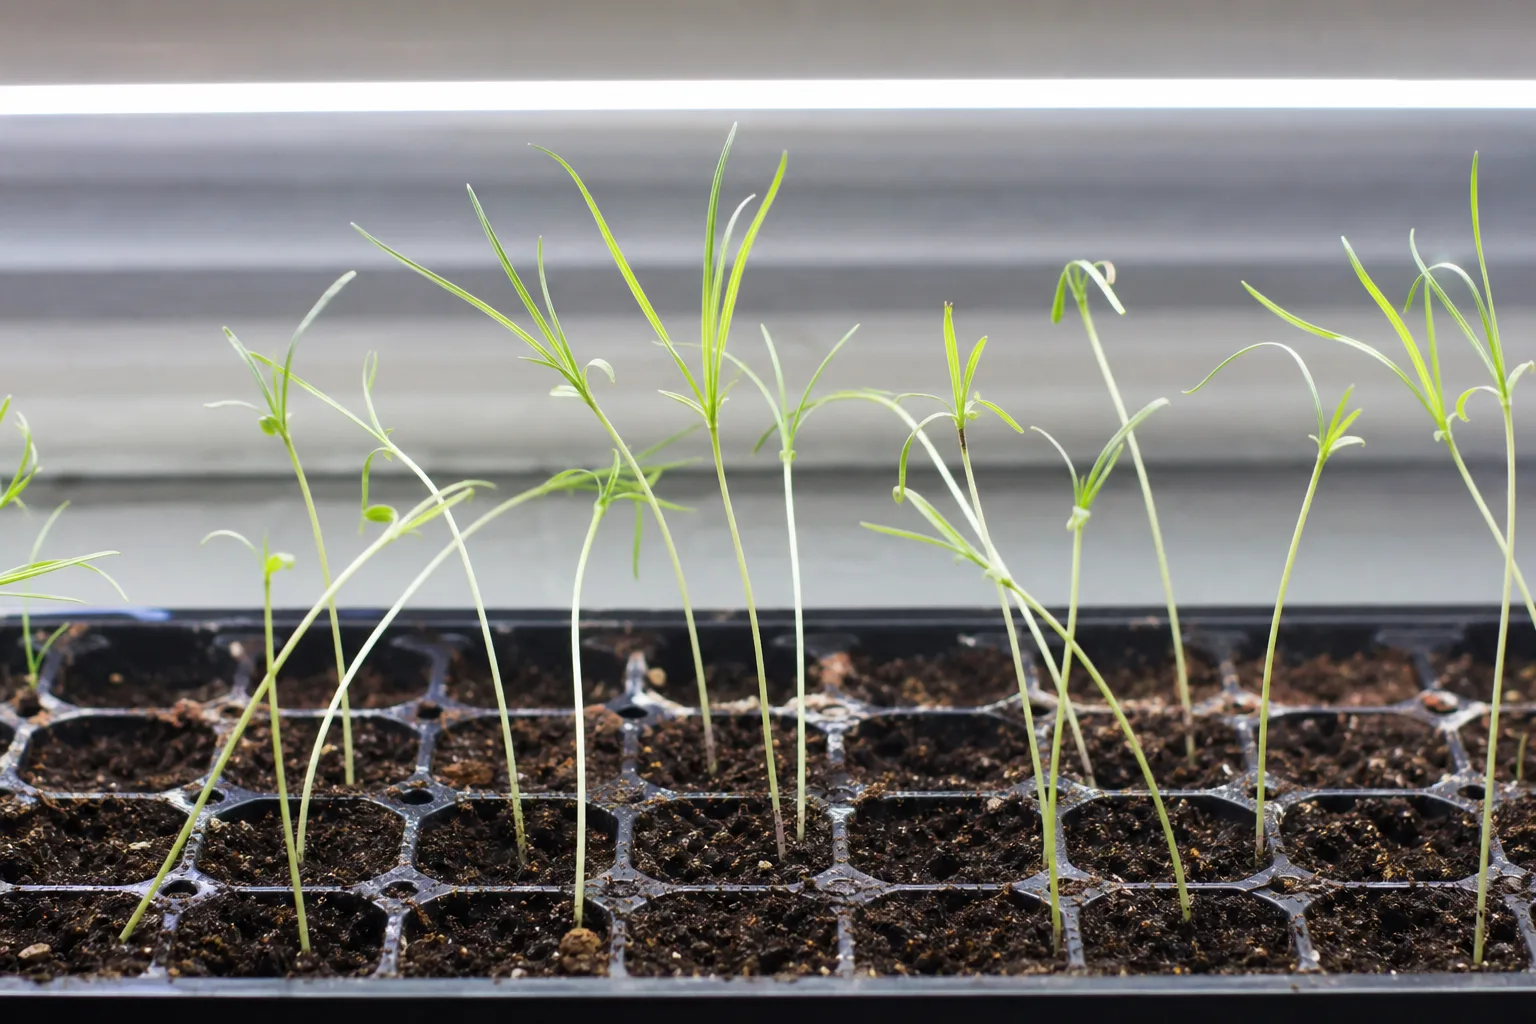
Leggy Seedlings on Houseplants
Still unsure?Match your symptoms to the most likely problems in under a minute.Run diagnosis →Understand and fix leggy seedlings
Leggy seedlings grow tall, pale, and fragile with long gaps between leaves. This is etiolation: the plant reaches for photons. Windowsills alone often fail in late winter, and humidity domes left on too long can compound weak growth. The fix is stronger, closer light-not more water or feed. Position full-spectrum grow lights 2–4 inches above seedlings, run them 14–16 hours per day, and remove domes after germination. You can bury elongated stems slightly when transplanting some species, but prevention at germination is easier.
Overview
Leggy seedlings grow tall, pale, and fragile with long gaps between leaves. This is etiolation: the plant reaches for photons. Windowsills alone often fail in late winter, and humidity domes left on too long can compound weak growth.
The fix is stronger, closer light-not more water or feed. Position full-spectrum grow lights 2–4 inches above seedlings, run them 14–16 hours per day, and remove domes after germination. You can bury elongated stems slightly when transplanting some species, but prevention at germination is easier.
Leggy Seedlings patterns: what you see vs. likely cause
Match your plant to the closest pattern, then start with the first step before trying other fixes.
| What you see | Likely cause | First step |
|---|---|---|
| Symptoms appear on new growth first while older leaves still look normal | Active pest feeding or early moisture stress on expanding tissue | Inspect stem tips and leaf undersides with good light before treating the whole plant |
| Multiple plants show similar damage within one to two weeks | Shared pest introduction, watering habit, or environmental stress | Isolate affected plants and compare recent care changes across the group |
How to identify it
- Seedlings lean, stretch, or fall over at the base
- Mold or algae on soil surface in the tray
- Only some cells affected vs entire tray
- Soil never dries on top between waterings
- Heat mat without adequate light causing weak growth
When to worry
Seedlings collapsing at soil line (damping off) or mold covering the tray means reduce moisture and improve airflow immediately.
Common causes
Overwatering seed-starting mix
Seed mix should stay lightly moist, not soggy. Excess water causes Leggy Seedlings and fungal collapse.
Insufficient light
Weak light produces leggy, floppy seedlings that fall over and invite disease.
Poor airflow in covered trays
Humidity domes left on too long trap moisture and encourage mold and damping off.
Crowded sowing density
Too many seeds per cell compete for light and airflow, weakening every seedling.
Step-by-step fix
Let the surface dry slightly between waterings
Bottom-water trays and pour off excess. Avoid misting constantly.
Provide strong light close to seedlings
Grow lights 2–4 inches above tops for 14–16 hours daily prevents stretch.
Increase airflow
Remove domes after germination. Run a gentle fan to strengthen stems.
Thin or transplant crowded seedlings
One strong seedling per cell survives better than a dense clump.
Discard severely affected cells
Do not let damping off spread-isolate healthy trays.
Prevention tips
- Use sterile seed-starting mix for indoor sowing
- Remove humidity domes once seeds sprout
- Water from below to keep foliage dry
- Do not overcrowd seeds in each cell
- Document which leaves show symptoms first and whether the soil is wet, dry, or compacted before changing multiple variables at once.
- Isolate newly affected plants for two weeks when pests or fungal issues are suspected so problems do not spread through the collection.
- Match your fix to the most likely cause from the diagnosis table instead of fertilizing, repotting, and spraying on the same day.
Common mistakes
- Leaving dome lids on after germination
- Growing seedlings on a windowsill only in winter
- Watering on a schedule instead of checking mix moisture
Leggy seedlings announce the problem in their proportions: the stem between the mix and the cotyledons becomes unusually long and thin, neighboring leaves sit far apart, and shoots lean toward the brightest part of the room. That pattern usually develops when shoot growth outruns the usable light reaching the leaves. It is different from a seedling that topples because the stem is pinched or rotted at the media line. Make that distinction before burying, staking, watering, or discarding anything.
Start with the tray as it stands. Photograph it from above and from the side, note which edge faces the window or fixture, and compare seedlings of the same crop and sowing date. Record the lamp model, current distance, timer setting, media temperature, and whether a heat mat is still running. A lean concentrated on one edge points toward uneven coverage; uniformly long internodes across the tray point toward an overall light–growth imbalance; a few collapsed stems in a wet patch require a disease check instead.
The first correction is environmental, not cosmetic. Improve usable light within the fixture maker’s safe placement guidance, level the fixture over the canopy, and remove unnecessary bottom heat after emergence when crop instructions allow. Then let the next node show whether the correction worked. Existing stretched tissue will not shorten, so judging the old stem can make a successful correction look like failure.
This guide is based on current university-extension guidance and uses crop instructions as the final authority because tomato, lettuce, pepper, brassica, and flower seedlings do not share one ideal temperature or transplant depth. Treat distances and visual clues as diagnostic prompts, not universal thresholds. If the stem base is water-soaked or constricted, losses spread rapidly, or pesticide use is being considered, separate affected material and consult a local extension office or diagnostic clinic.
Recognize legginess before seedlings collapse
Leggy seedlings have unusually long, thin stems, wide spacing between leaves, and a strong lean toward the brightest direction. The stem is usually intact at the media line, unlike a damping-off collapse. Compare plants of the same crop and age: species differ naturally, so “tall” is meaningful only in context. Pale color may accompany stretching, but color alone is not diagnostic.
Use the cotyledon height as a simple comparison point. If ten same-age tomato seedlings range from compact to stretched, measure the media-to-cotyledon stem on a representative compact plant, an average plant, and the tallest plant. The numbers are not universal standards, but they make change visible and reveal gradients across the lamp footprint. Mark the newest node after correcting the setup; shorter spacing above that mark is stronger evidence of recovery than the appearance of the older hypocotyl.
Why seedlings stretch toward light
Stretching is a growth response, not a moral failure in the seedling. When usable light is inadequate relative to temperature-driven growth, the shoot elongates in an attempt to reach a better-lit position. The old internodes cannot contract after conditions improve. The practical goal is to stop further stretch and produce compact new growth, not to make the existing stem look young again.
Etiolation is not repaired by “strengthening” the old stem. The meaningful response occurs at the growth point after light and temperature are brought back into balance. Adequate moisture still matters, but extra water does not make a thin stem sturdier. Check the whole plug and drain standing water so a light problem does not acquire a second problem—oxygen-poor roots or damping-off.
Use this evidence-to-action matrix before changing the setup:
| What you observe | What it supports | Lowest-risk next action | What would change the diagnosis |
|---|---|---|---|
| Every same-age seedling has a long media-to-cotyledon stem | Overall light is weak relative to growth rate | Improve fixture coverage and verify distance within maker guidance | A pinched or wet stem base indicates disease, not simple stretch |
| Only edge cells lean and elongate | The fixture footprint is uneven | Center the tray, level the fixture, and measure edge coverage | Random isolated collapse suggests damage or root-zone trouble |
| Growth became longer while a heat mat stayed on after emergence | Warmth may be accelerating extension beyond available light | Compare media temperature with crop guidance and remove unneeded heat | A crop requiring continued bottom warmth needs a crop-specific plan |
| Stems are long but firm, green, and continuous at the surface | Legginess remains more likely than damping-off | Correct environment and support only valuable plants | Dark, translucent, constricted tissue at the surface raises disease concern |
| New nodes stay compact after the change | The correction is working | Keep the setup stable and continue monitoring | Bleaching, curl, or heat at leaf level means the fixture may be too intense or close |
Do not treat fixture distance as a universal prescription. Two lights hung at the same height can deliver very different intensity because output, optics, age, canopy area, and reflective surroundings differ. Begin with the manufacturer’s seedling range, then use plant response and temperature at leaf level. Lowering a lamp until leaves heat, curl, or bleach replaces one stress with another. Extending an already long photoperiod is also not equivalent to improving weak coverage during the useful hours.
Crop architecture matters when deciding whether a seedling is truly abnormal. A tomato, a lettuce seedling, and a cosmos do not share the same natural hypocotyl length or leaf spacing. Compare the same cultivar, sowing date, and treatment rather than using a photograph of another species as a standard. If only one cultivar stretches in a mixed tray, verify its packet guidance before changing conditions for every crop.
The keep-or-discard choice should account for future handling. A modestly stretched seedling with a firm base and compact new nodes may become a serviceable transplant. A plant that must be tightly tied, repeatedly buried, or handled by its fragile stem is a poor candidate. Preserve the strongest individuals, space them so leaves do not overlap, and lift plugs by leaves or root ball rather than the stem. This protects limited light and reduces the chance that rescue work causes the injury being diagnosed.
Check light intensity, coverage, and timing
Move seedlings under a suitable fixture promptly after emergence. Check that every cell is within the useful footprint and that leaves are not overheating. A bright-looking room can still provide weak plant light, especially beside a winter window. Use the fixture maker’s seedling guidance as a starting point, then respond to leaning, continued elongation, bleaching, or heat.
Light recommendations must be interpreted through the fixture and the plant response. Distance alone is not a universal dose: lamp output, optics, heat, duration, and canopy coverage all matter. The University of Minnesota’s indoor seed-starting guidance recommends supplemental lighting and emphasizes placing seedlings under light promptly after emergence. The University of Maryland also explains how fixture type, distance, and duration shape indoor plant light exposure. Keep the fixture level, raise it as plants grow, and check edge cells for leaning. If stems continue stretching, improve intensity or coverage before extending an already long photoperiod. Seedlings also need a dark period; continuous lighting is not a shortcut to sturdy growth.
Separate low light from excess warmth
A heat mat can create a mismatch after germination: rapid extension continues while the available light remains modest. Measure media temperature and compare it with the crop’s recommended range. Turn off unnecessary bottom heat after emergence. Do not chill seedlings as a “strengthening” treatment; use moderate crop-appropriate temperatures and stronger light instead.
Temperature has two jobs that are easy to confuse. A warm root zone may speed germination for a warm-season crop, but continued high heat after emergence can accelerate soft top growth when light is limited. Measure the mix rather than relying on room temperature, especially near cold windows or on heat mats. Follow the crop-specific packet range because lettuce, tomatoes, peppers, and many flowers do not share one optimum. Once most cells have emerged, remove unneeded bottom heat unless the crop instructions say otherwise, then keep seedlings away from radiator blasts and cold glass.
Rule out damping-off and physical damage
Leggy seedlings bend along a long but continuous stem. Damping-off more often produces a narrowed, discolored, water-soaked, or rotted section near the soil line, followed by rapid collapse. Penn State describes post-emergence damping-off as stem rot at or below the soil line. A crease caused by handling or a pet can also fell one plant without indicating disease.
Air movement is useful when it is gentle and paired with sensible moisture management. It helps wet surfaces dry and reduces stagnant humidity, but a strong fan can desiccate small plugs or chill tender shoots. Remove a humidity dome after emergence unless a crop-specific method requires it, open vents first if the change is abrupt, and aim a fan across rather than directly at the tray. Penn State notes that damping-off becomes more severe with excessive soil moisture and high humidity; airflow helps manage that environment, but it cannot restore tissue already girdled by disease.
Correct the setup in the first hour
First, improve light coverage and remove unnecessary heat. Then space cells, remove the dome, and correct standing water. Do not fertilize, bury, fan aggressively, and repot everything on the same day. Stabilize the environment first; healthy growth tips can respond quickly, while excessive interventions add root disturbance to a light problem.
Correct the highest-confidence cause and leave a small group unchanged for comparison when doing so is safe. For example, place the stretched half of a healthy tray within a better-covered part of the fixture while documenting lamp distance and temperature; do not use a diseased tray as an experiment. Compare only new internodes over the following days. This one-variable approach tells you more than simultaneously lowering the lamp, adding fertilizer, changing the potting mix, and increasing fan speed.
Support stretched stems without hiding the cause
A small label stake or loose support can keep a valuable seedling upright while stronger growth develops, but never tie soft tissue tightly. Brushing or strong fan “training” is not a substitute for light and can abrade fragile stems. Support is temporary; if the top continues stretching, the environmental cause remains.
Do not add fertilizer merely because growth looks weak. Many seed-starting mixes contain little nutrition, but cotyledons initially support the seedling and young roots are sensitive to soluble salts. Wait for true leaves and evidence of active growth, then follow the product and crop directions at a conservative concentration. UMass explains that seedling nutrition programs must account for fertilizer concentration, alkalinity, media, and crop response in its bedding-plant seedling guidance. If white crust, burned tips, or sudden wilt follows feeding, stop fertilizing and reassess rather than adding another corrective product.
Know when deeper planting is safe
Tomatoes can often be planted deeper because buried stems may form adventitious roots, but that cannot be generalized to every crop. Avoid burying crowns, rosettes, or species prone to stem decay. Check crop-specific transplant guidance. When deeper planting is appropriate, use clean mix, keep foliage above the surface, and avoid snapping the stem.
Sanitation matters most before a problem appears. Begin with clean trays, clean tools, fresh soilless seed-starting medium, and potable water. Do not reuse a diseased plug mix or compost collapsed seedlings into a seed-starting area. Penn State recommends sterile growing medium and disinfected containers as part of integrated damping-off prevention. Household growers generally gain more from cleanliness, drainage, spacing, and correct watering than from preventive fungicide use. If a pesticide is considered, identify the problem first and follow the product label; labels define legal crops, sites, rates, and safety precautions.
Manage water, airflow, and crowding
Crowding shades neighbors and restricts air movement. Thin by cutting extras at the surface if pulling them would disturb the chosen plant. Water the plug evenly, then let excess drain. Legginess itself is primarily a light-growth balance problem; constant wetness is a separate stress that increases the risk that a weak tray also develops disease.
A rescue decision should consider the stem base, root condition, and remaining growth point. A seedling with a firm stem and healthy center may recover when the environment is corrected. A seedling pinched at soil level, water-soaked, rotting, or missing its growth point usually will not become a strong transplant. Remove clearly collapsed cells with a margin of surrounding mix, clean the tool afterward, and protect unaffected seedlings. Avoid aggressive root washing or repeated transplanting during diagnosis; both can create new injury that obscures whether the original correction worked.
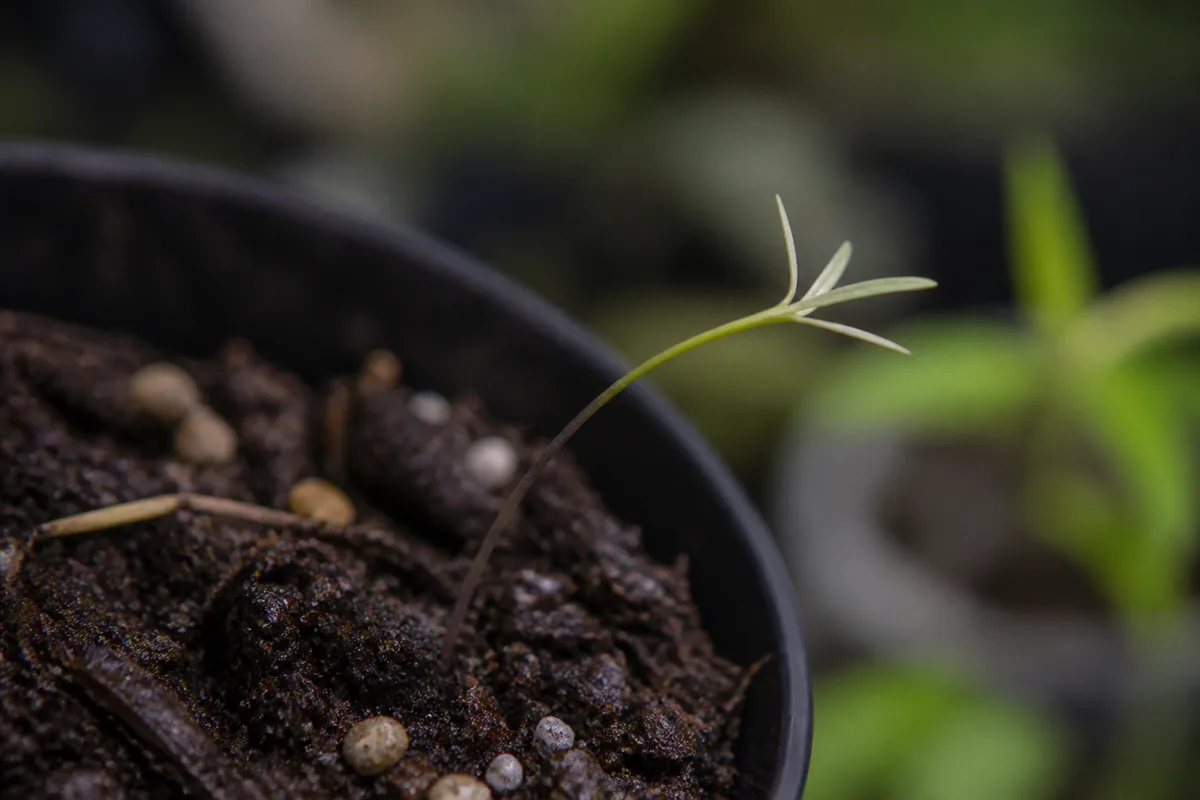
Feed only after roots and true leaves are ready
Seed reserves sustain early emergence, and fertilizer cannot compensate for insufficient light. Begin a dilute program only after true leaves expand and the crop is growing, accounting for any charge already in the mix. Too much fertilizer can injure roots and create even softer growth. Treat nutrition as a measured input, not emergency medicine.
Use the two images as comparison prompts, not as proof that your crop has the same cause. In the tray view, trace whether lean and stem length change with distance from the light. In the close view, confirm that the stem remains continuous and firm at the media line. When requesting remote help, add a side profile with a ruler, the lamp label and distance, a media-temperature reading, and one healthy seedling of the same crop and age.
Track recovery through new growth
Mark the newest node today. Over the next several days, evaluate whether new internodes are shorter, leaves are broader and greener, and the stem remains upright. The original stretched section will stay long. If new growth remains elongated, reassess fixture output and coverage rather than merely lowering the lamp until leaves heat or bleach.
Create a dated reference mark at the newest node. Successful correction shows as shorter new internodes, leaves opening more horizontally, less directional lean, and a stem that remains firm through watering and the dark period. Failure shows as continued long spacing even after coverage improves, bleaching or leaf curl from a fixture placed too close, or new constriction at the soil line. Reassess the measured setup rather than lowering the light blindly.
Decide which seedlings to keep or discard
Keep seedlings with firm stems, intact growing points, and active roots even if they need temporary support. Discard those that are rotted, sharply creased, or too weak to handle without repeated injury. Choosing the best plants improves airflow and focuses space under the strongest light; keeping every cell can perpetuate the crowding that contributed to the problem.
Escalate when loss spreads despite corrected conditions, when several trays fail in the same pattern, or when valuable or regulated crops are involved. A local cooperative-extension office or plant diagnostic clinic can evaluate representative plants and media. Submit fresh symptomatic material rather than completely decayed tissue, and include the crop, cultivar, seed source, dates, temperatures, irrigation method, media, fertilizer, and any treatment history. A laboratory diagnosis is especially useful before applying a fungicide because “damping-off” can involve different organisms and products do not work equally against all of them.
Prevent legginess in the next tray
Set lights before sowing, test the timer, and leave room to raise the fixture. Sow at the packet depth and thin promptly. Move emerged cells into light even if slower cells in the same tray have not sprouted; use separate covers when possible. A prepared system prevents the common delay between first emergence and finding a workable light source.
Prevent the delay that creates stretch: test the timer and fixture before sowing, reserve enough vertical space to raise the light, and check the useful footprint at the tray edges. Move emerged cells into light promptly even when slower cells remain covered elsewhere. Iowa State’s indoor seed-starting instructions emphasize suitable media, careful sowing, supplemental light, and acclimation. Label each crop and sowing date so naturally taller species are not compared with unrelated seedlings.
Harden off compact seedlings for transplanting
Stretched seedlings are especially vulnerable to wind and sun scorch. Harden only after compact new growth and roots show the plant is progressing. Shield the elongated stem during transport, plant at a crop-appropriate depth, and provide temporary outdoor support if needed. Do not assume outdoor sun will instantly correct a weak indoor stem.
Harden only the seedlings that have produced compact new growth and rooted their plugs. Begin in bright shelter, increase sun and wind exposure gradually, and support a stretched hypocotyl during transport so it is not kinked. Outdoor sun cannot reverse old etiolation, and abrupt exposure can add scorch or wind injury. Follow crop-specific transplant depth: the deeper-planting approach often used for tomatoes is not a general remedy for every vegetable or flower.
Conclusion
Leggy seedlings can often remain usable when the stem base and growing point are sound. Correct the light–temperature imbalance, support the plant only as needed, and judge the intervention by the nodes formed afterward. Do not promise the old stretched section will thicken or shorten into a compact seedling.
Discard seedlings with a rotted or sharply creased stem base, and seek diagnostic help if collapse spreads through corrected trays. For the next sowing, have the fixture running before emergence, remove unneeded heat at the crop-appropriate stage, thin before seedlings shade one another, and record lamp distance and media temperature. Those controls target the actual mechanics of legginess rather than its appearance.
Plants commonly affected
These houseplants often struggle with leggy seedlings. Open a care guide or plant-specific troubleshooting page for tailored fixes.
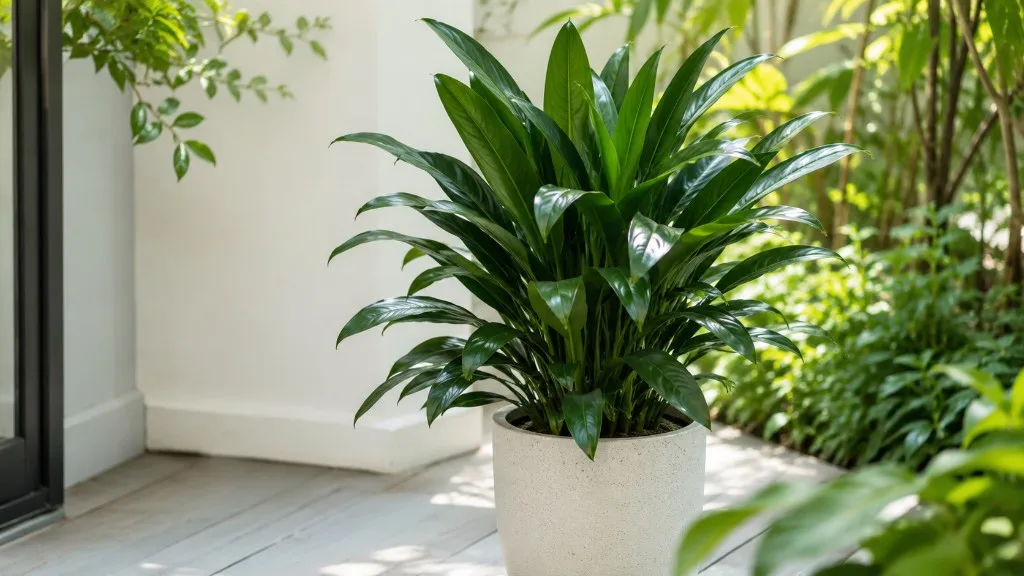 Medium
Janet Craig Dracaena
Likely causeNov 19, 2024 · In this article, we’ll explore what causes a Janet Craig Dracaena to become leggy , how to fix it, and tips to prevent it from happening again. Stick around, and you'll soon be on your way to nurturing a healthier, happier pl
Quick fixConfirm diagnosis on your Janet Craig Dracaena, then address the most likely care or pest factor described in current extension guidance.
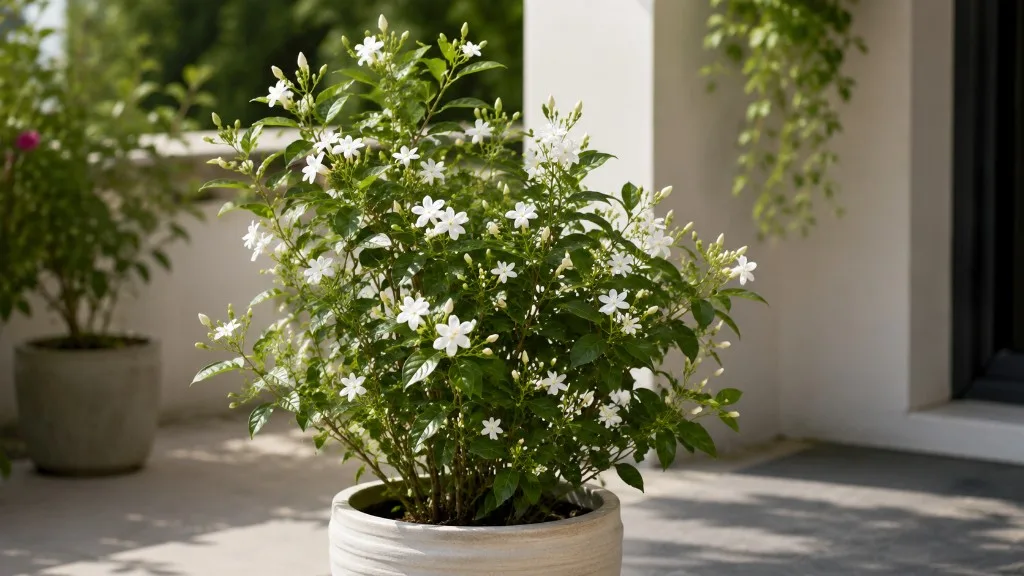 Medium
Jasmine
Likely causeNov 20, 2024 · In this article, we'll go through how to recognize leggy growth in your Madagascar Jasmine and the steps you can take to encourage it to grow fuller and healthier.
Quick fixConfirm diagnosis on your Jasmine, then address the most likely care or pest factor described in current extension guidance.
 Medium
Lavender
Likely causeApr 8, 2026 · Leggy lavender is one of the most common problems gardeners bring to us — and in most cases, it’s completely fixable. But the fix depends entirely on which of the five causes is driving the problem.
Quick fixConfirm diagnosis on your Lavender, then address the most likely care or pest factor described in current extension guidance.
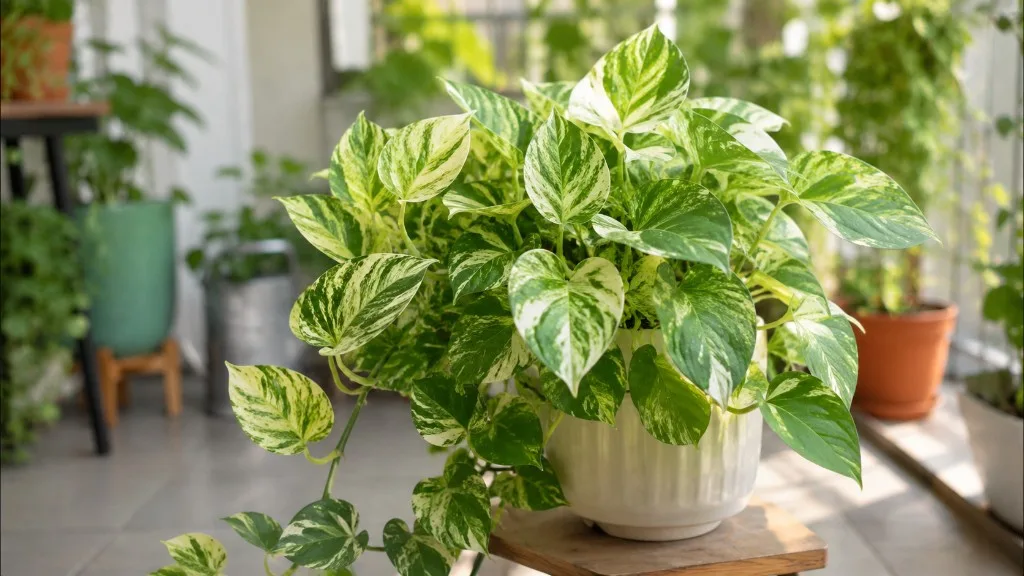 Medium
Manjula Pothos
Likely causeApr 11, 2024 · As the vines on manjula pothos grow, its oldest leaves may die and fall off, which is normal. To avoid this, prune long, leggy vines with sharp, clean scissors. This will inspire the plant to put out new growth points, possib
Quick fixFollow extension or botanical guidance for Manjula Pothos leggy seedlings; adjust care before applying broad treatments.
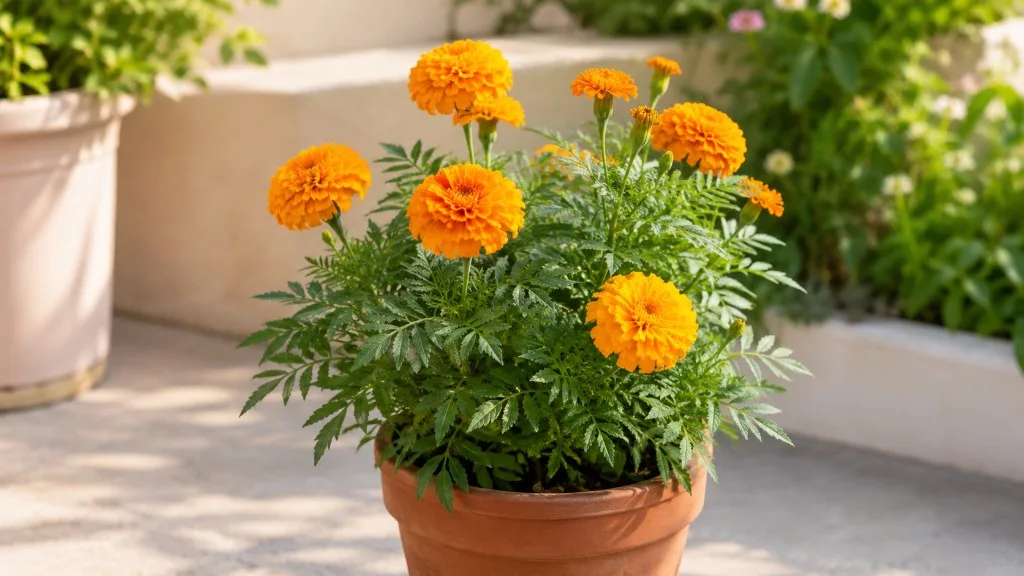 Medium
Marigold
Likely causeApr 29, 2026 · In this guide, we will walk through the exact steps to rescue your stretching plants and ensure your future batches grow thick, sturdy, and full of vibrant blooms. Let’s turn those spindly stems into the lush, bushy marigolds
Quick fixConfirm diagnosis on your Marigold, then address the most likely care or pest factor described in current extension guidance.
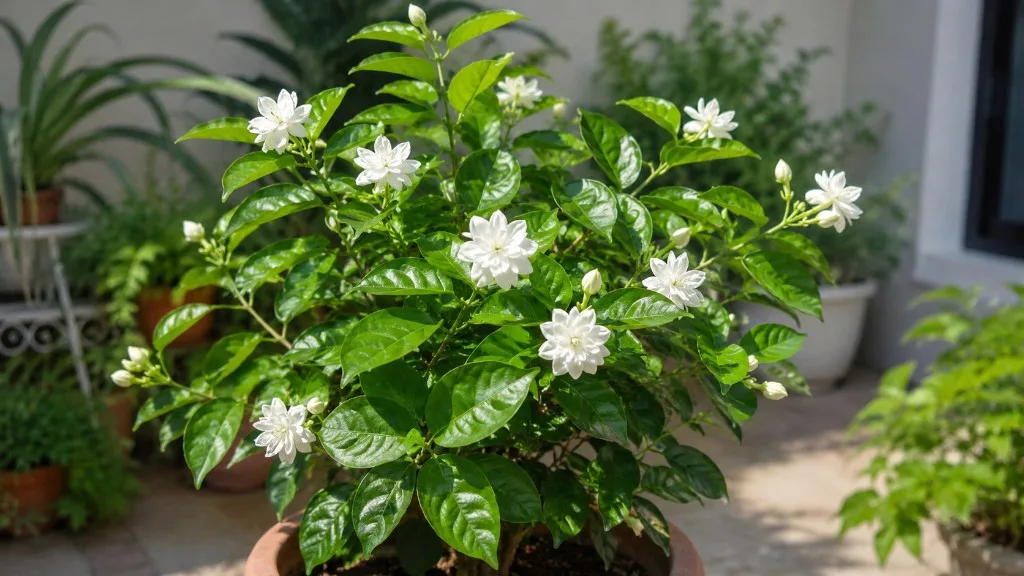 Medium
Mogra
Likely causeSep 23, 2024 · Growing Mogra (Arabian Jasmine) from seeds requires patience and attention to detail, but it’s a rewarding experience. By carefully preparing the seeds, providing the right environment, and consistently nurturing the seedling
Quick fixConfirm diagnosis on your Mogra, then address the most likely care or pest factor described in current extension guidance.
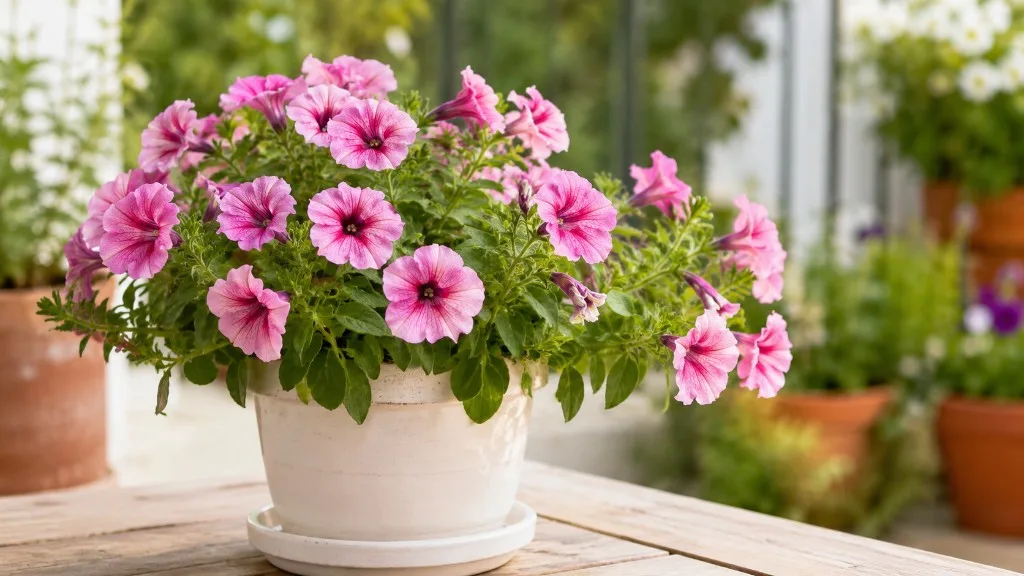 Medium
Petunia
Likely causeIndoor petunia seedlings stretch when grow lights are too weak, distant, or days are too warm without light.
Quick fixKeep lights 5–8 cm above seedlings for 14–16 hours daily; pinch above the first true leaves.
 Medium
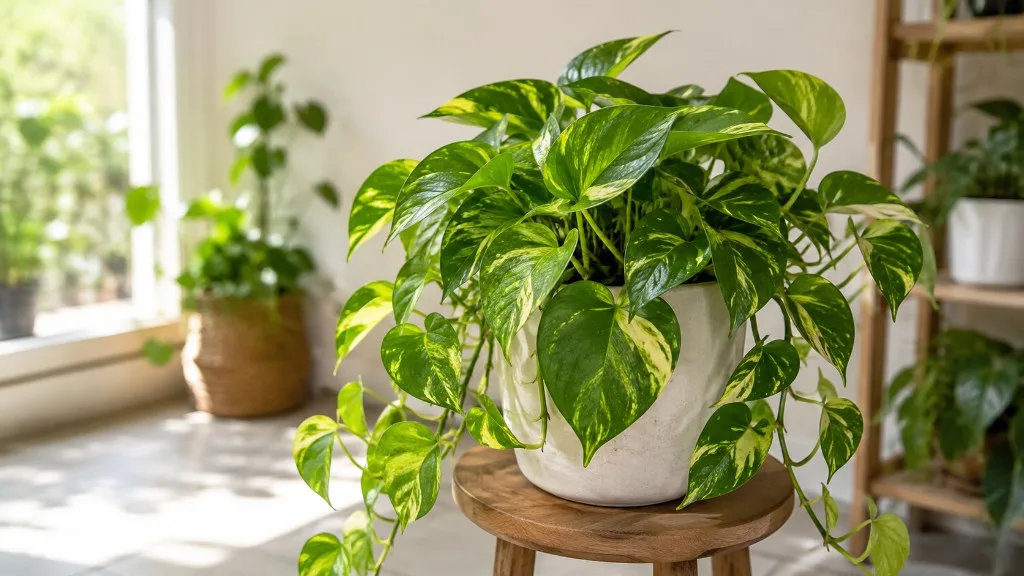
Pothos
Likely causeJul 4, 2022 · What is a Leggy Pothos? A leggy Pothos has long vines with a small number of leaves. Instead of making new leaves or roots, the plant puts most of its growth into making long stems. This process of extending the length is call
Quick fixConfirm diagnosis on your Pothos, then address the most likely care or pest factor described in current extension guidance.
 Medium
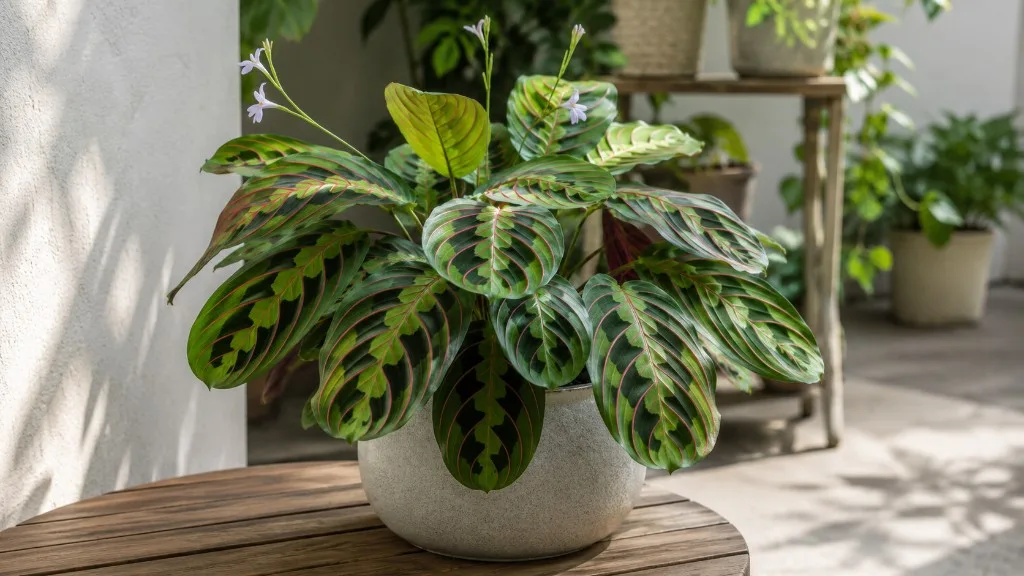
Prayer Plant
Likely causeAug 10, 2025 · Transform your sparse prayer plant into a vibrant, full specimen. Discover the causes of leggy growth and proven strategies for restoration and ongoing health.
Quick fixConfirm diagnosis on your Prayer Plant, then address the most likely care or pest factor described in current extension guidance.
 Medium
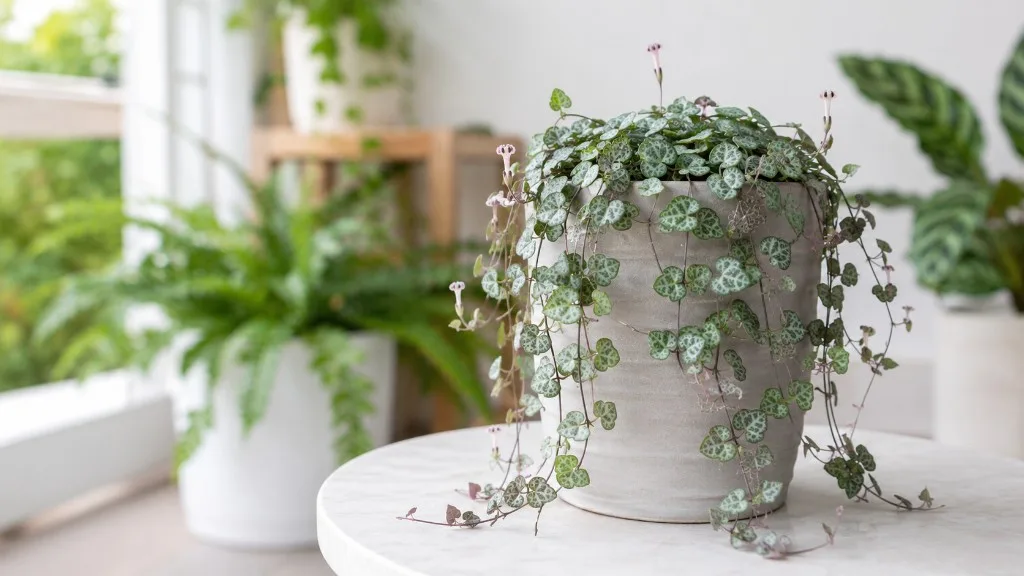
String of Hearts
Likely causeOct 14, 2025 · In insufficient light, string of hearts becomes leggy with long spaces (3-4 inches/7.5-10 cm or more) between tiny leaves. The silver marbling fades, and growth slows significantly. While the plant can survive in medium light
Quick fixConfirm diagnosis on your String of Hearts, then address the most likely care or pest factor described in current extension guidance.
 Medium
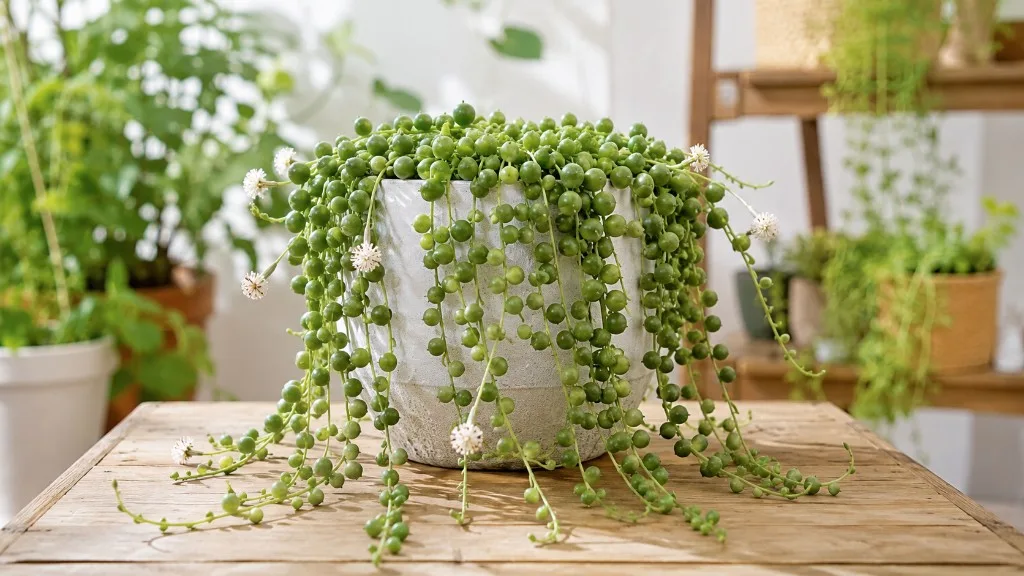
String of Pearls
Likely causeLeggy string of pearls growth shows up as long bare spaces between pearls, smaller beads, and strands that stretch toward the window. The plant is trying to find enough light to keep its succulent leaves compact.
Quick fixConfirm diagnosis on your String of Pearls, then address the most likely care or pest factor described in current extension guidance.
 Medium
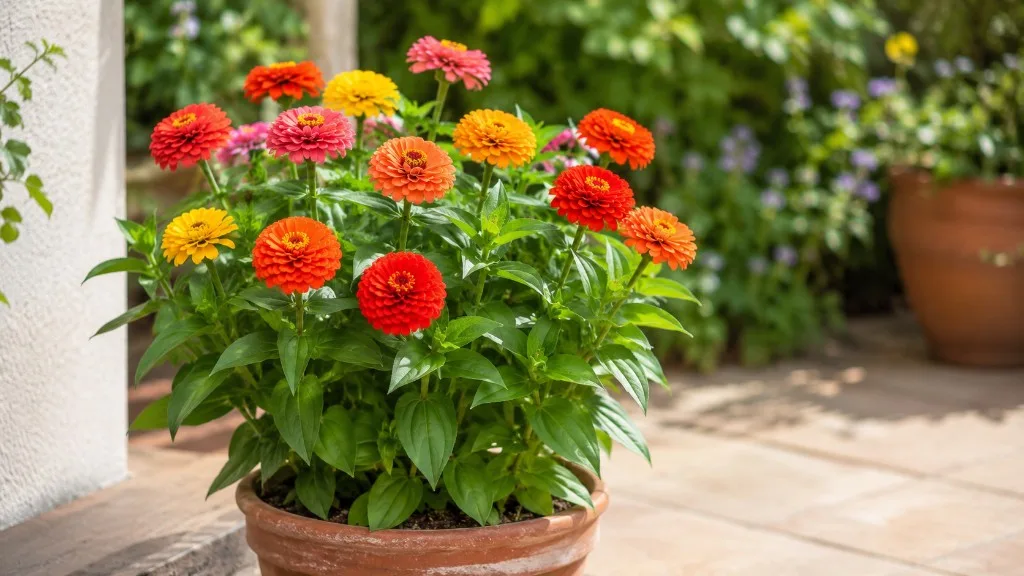
Zinnia
Likely causeInsufficient light during seed starting produces thin stretched zinnia seedlings.
Quick fixProvide grow lights 2–3 cm above seedlings for 14–16 hours daily.