How to Plant Tomatoes Sideways or Deep for Strong Plants
Planting a tomato stem underground can grow extra roots. Follow this careful method for leggy seedlings, containers, raised beds, and garden soil.
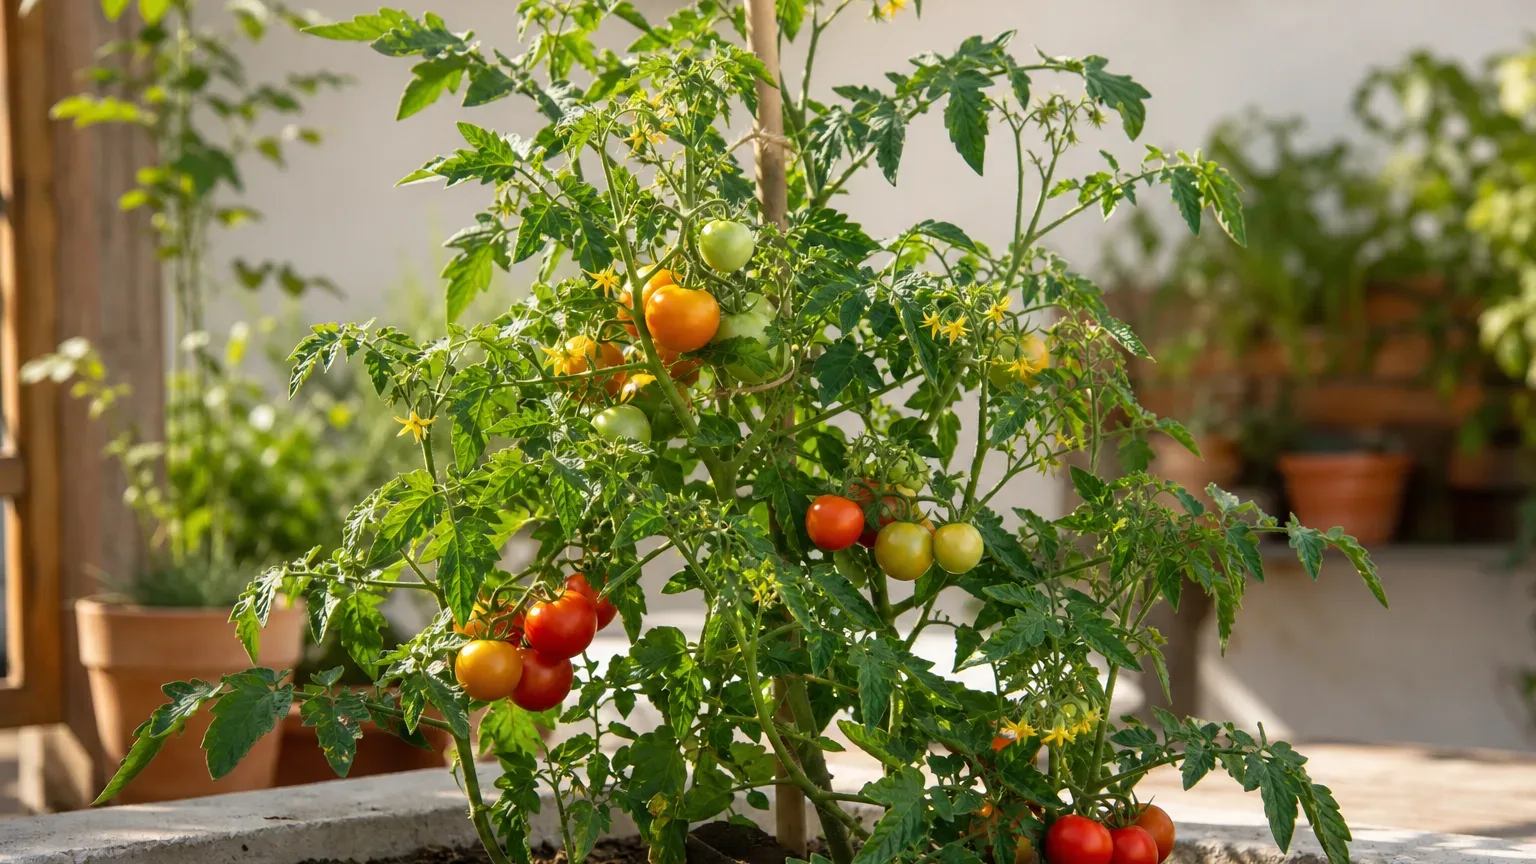
Tomatoes are one of the few common vegetables that can be planted deeper than they grew in their nursery pot. The practical reason is not a tomato-growing “secret” so much as a useful bit of plant biology: a healthy tomato stem can form adventitious roots along the portion covered by moist soil. More roots can mean a larger root zone, better anchoring, and more capacity to take up water and nutrients once the plant is established.
The most useful version of the trick is planting a tomato sideways in a shallow trench. You remove the lower leaves, lay the stem nearly horizontal, curve the leafy top upward, and bury the bare stem while leaving the growing tip above ground. A leggy seedling can benefit especially because the method turns an awkward length of stem into additional root-making surface.
It is not a guarantee of more fruit, and it is not a reason to plant into cold, saturated soil. The technique succeeds when the transplant is healthy, the soil is warm enough for active root growth, drainage is good, and the top of the plant remains oriented toward the light. If those conditions are not ready, a conventional planting at the root-ball depth is safer.
The short answer: why burying a tomato stem works
Tomato stems are capable of producing roots from points that would normally remain above the soil. Those new roots do not appear instantly; they develop as the buried stem stays in contact with warm, aerated, consistently moist soil. The benefit is a broader underground network rather than a single tight plug of nursery roots.
That extra root area can help a plant recover from transplanting and remain steadier as its canopy and fruit load grow. It may also be useful for a tall, thin transplant that has stretched toward indoor light. Instead of trying to keep all of that bare stem upright with a deep hole, you use the soil surface as a guide and let most of the stem run below ground.
Think of the technique as root-zone design, not a fertilizer shortcut. It cannot compensate for shade, compacted clay, a pot without drainage, a transplant with damaged roots, or a planting date that is too early. A tomato with more roots still needs sun, warmth, water, support, and appropriate fertility.
Choose the planting method for your seedling
Inspect the plant before deciding how much stem to bury. A short, sturdy transplant with a compact root ball may need only a deeper hole. A tall, healthy plant with a long bare stem is a good candidate for a horizontal trench. A plant with a soft, dark, cracked, or diseased stem should not be buried deeper in an attempt to rescue it; discard it or seek a diagnosis before planting.
Horizontal planting versus vertical deep planting
| Method | Best fit | Main advantage | Main caution |
|---|---|---|---|
| Horizontal trench | Healthy, leggy seedlings; open beds; loose soil | Uses a long stem to create a broad root zone | Needs careful bending and a sunny, warm site |
| Vertical deep planting | Compact starts; containers; narrow beds | Simple and quick; keeps the plant upright | Do not bury leaves, and do not force a deep hole into cold or wet soil |
| Conventional root-ball planting | Cold soil, poor drainage, fragile stems, or very small starts | Lowest handling risk | Produces no extra roots along the buried stem |
For a container, vertical planting is usually easier because the pot limits the direction available for a trench. If the container is wide rather than deep, a shallow sideways planting can work, but leave enough root volume below the stem and reserve room for a sturdy support. Never use the method to squeeze a full-size indeterminate tomato into a small pot.
Check the site before you dig
The planting technique matters less than the conditions around it. Tomatoes are warm-season plants. Set transplants outdoors only after they have been hardened off and the danger of frost has passed for your area. The University of Minnesota’s tomato guidance emphasizes full sun, warm conditions, and preparation for a long frost-free growing season; local extension offices can refine those dates for your climate.
Soil temperature, frost, sun, and drainage
Use a soil thermometer if you have one, or wait until the bed feels consistently springlike rather than relying on one warm afternoon. A practical target is soil around 60 to 65°F at planting depth, with warmer soil better for quick establishment. The exact threshold varies by variety and local conditions, but a cold root zone slows root growth even when the air feels pleasant.
Choose a site with at least six hours of direct sun, and more if the growing season is short or cloudy. The Royal Horticultural Society’s tomato-growing guidance likewise treats sun, warmth, watering, and support as a linked care system rather than isolated tricks. Water should drain away after irrigation or rain. If a trench fills with water, do not bury the stem there. Improve the bed, plant in a raised mound, or wait for it to dry. Buried stems need air as well as moisture; saturated soil can deprive roots of oxygen and encourages decay.
Prepare the support before planting. A tomato cage, stake, trellis, or string system is easier to install while the bed is empty. Pushing a stake through the root zone later can sever the new roots you are trying to grow.
Prepare the tomato without damaging it
Water the seedling a few hours before planting so the root ball holds together, but do not plant a dripping, waterlogged pot. Handle the plant by the root ball or the strongest part of the stem, not by the leafy top.
Remove the lower leaves that would otherwise be buried. Use clean fingers or pruners and leave the top cluster of healthy leaves intact. Do not strip every leaf from a small plant: the remaining leaves power recovery and help the growing point resume upright growth. Remove flowers or tiny fruit from a stressed transplant if the plant is very small; this redirects energy toward roots and shoots during establishment.
If the stem is tall and flexible, plan the bend before placing it in the trench. Tomatoes can curve upward, but a sharp crease can interrupt water movement and permanently weaken the plant. Make the trench long enough that the top rises gradually rather than at a right angle.
How to plant a tomato sideways
Dig the trench and position the stem
- Dig a narrow trench about 3 to 5 inches deep, or deep enough to cover the leafless portion of the stem while leaving the top foliage above ground. Loosen the soil at the bottom so the stem is not pressed against a hard layer.
- Gently remove the seedling from its pot. If the roots are tightly circling, loosen only the outermost roots; do not tear the root ball apart.
- Lay the bare lower stem in the trench with the root ball near one end and the leafy top pointing toward the direction where it can receive full sun.
- Curve the top upward gradually. Leave the top 3 to 5 inches of stem and the strongest leaves above the soil surface. The growing point must remain exposed.
- Backfill with the soil you removed. Cover the stem, but do not bury leaves or pack the soil like concrete around it. A light, even firming is enough to eliminate large air pockets.
- Water slowly at the soil line until the entire root zone is moist. If the plant settles, add soil around the stem rather than tugging on the top.
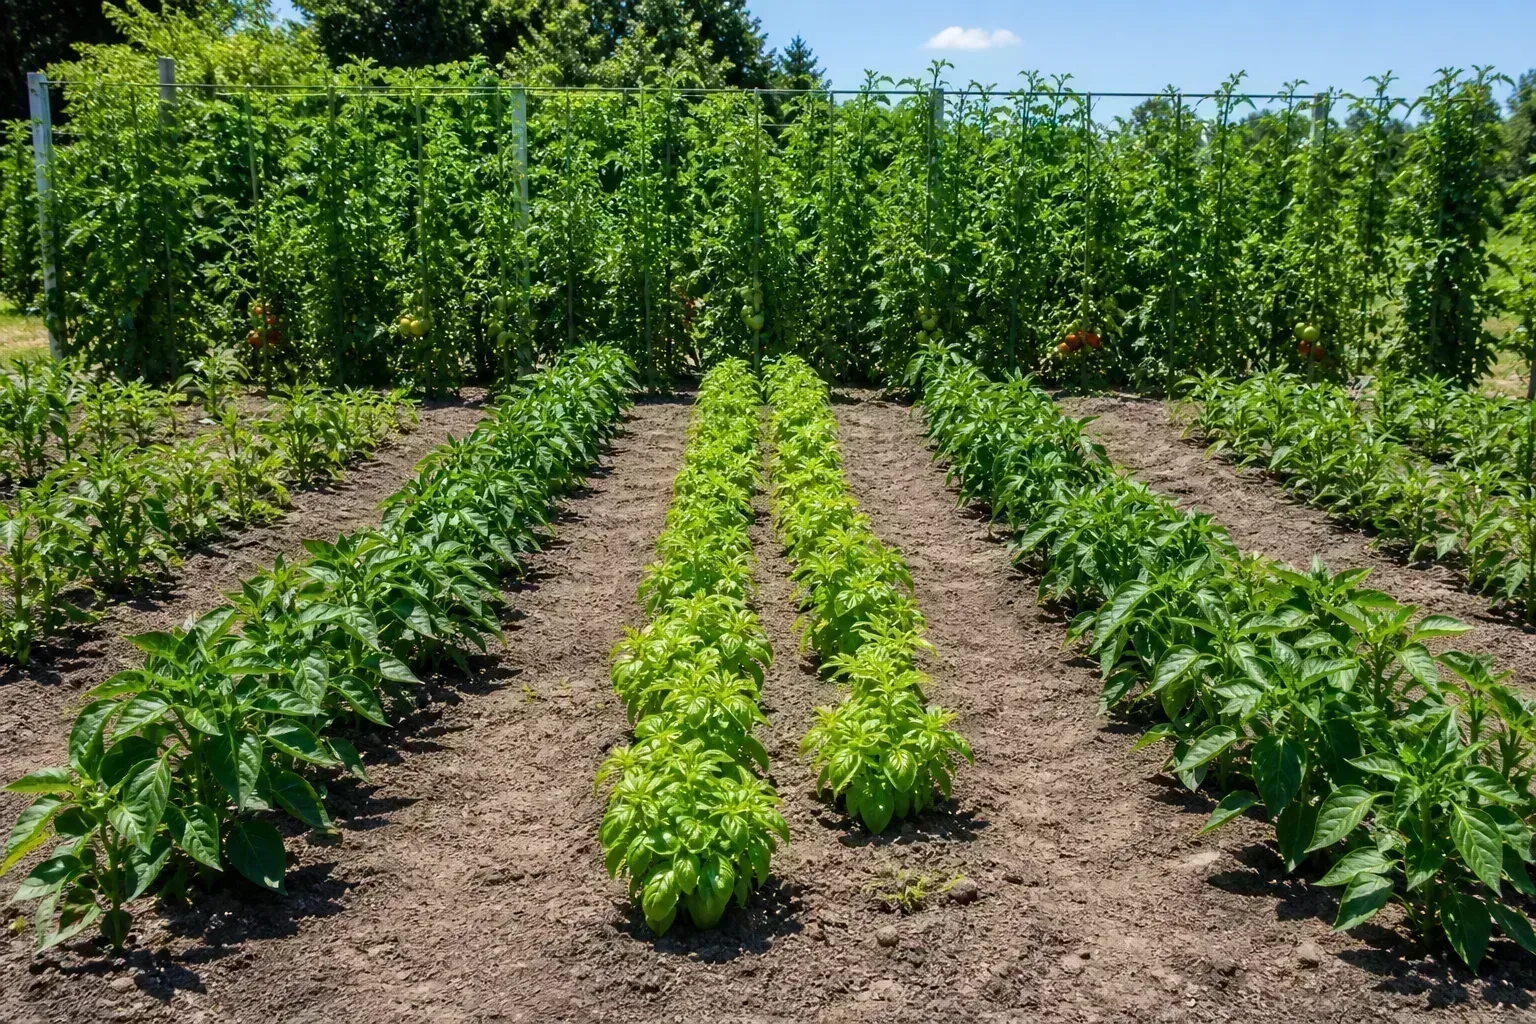
The top may look temporarily tilted or even sideways. That is normal. Within several days, the growing tip will turn toward the light. Keep the support near the upright portion, but do not tie it tightly enough to pinch the stem as it thickens.
Backfill, water, and support the top
Do not create a bowl that holds water around the stem. Shape the finished soil so irrigation moves into the root zone and excess rain can drain. Add a thin layer of mulch after the soil has warmed, keeping mulch a few inches away from the stem. Mulch touching the stem keeps it wet and can increase the chance of rot.
The first watering should be thorough, not a constant shallow sprinkle. After that, check the soil with a finger or trowel several inches down. Water again when the root zone begins to dry, adjusting for heat, wind, rain, container size, and soil type. The goal is steady moisture, not permanent saturation.
How deep to plant a tomato vertically
Vertical deep planting is the simpler option for a compact transplant. Dig a hole deep enough to cover the lower stem after removing its lowest leaves, then set the plant so the remaining foliage stays above soil. In loose, well-drained soil, burying roughly one-half to two-thirds of the stem can be reasonable for a vigorous plant, but the root ball should not be folded, and leaves should never be buried.
Depth is limited by conditions, not by a magic number. If the bed is cool, heavy, waterlogged, or shallow over rock, stop at the depth where the soil is workable and drains. A smaller root zone in good soil is better than a larger buried stem in anaerobic mud. In a raised bed, measure usable soil depth rather than the height of the frame; tomatoes need enough volume for roots to expand through the season.
After planting, mark the location of the original root ball if you want to monitor progress. A plant can look unchanged above ground while producing roots below. Avoid digging around the stem to check; that disturbs the new root zone.
Adapt the method for containers and raised beds
A container tomato needs a large pot with drainage holes and enough soil to buffer hot, dry weather. The horizontal method is possible in a wide grow bag or planter, but it is not a way to make a small pot large enough. Use one tomato per container unless the variety is explicitly compact and the planter has substantial root volume.
In a container, place the root ball so roots have several inches of mix beneath them, then cover the lower stem without leaving buried leaves. Keep the pot stable before adding a cage or stake. Containers dry faster than beds, so check moisture frequently, but resist watering on a fixed schedule if the mix is still wet.
In raised beds, inspect the soil beneath the added mix. If the bed sits on concrete or compacted fill, the tomato cannot explore downward and needs more effective depth and consistent irrigation. If it is open to native soil, loosen the layer below the bed where possible and keep the planting zone free of hardpan. Utah State University Extension’s tomato, pepper, and eggplant guide is useful for checking spacing and planting context, while UC Agriculture and Natural Resources’ tomato guidance helps keep transplanting decisions connected to later pest and disease scouting.
Care for the transplant during its first week
The first week is about reducing stress while new roots form. Keep the soil evenly moist, protect the plant from extreme wind, and check the stem each day for bending or abrasion against the support. Do not apply a strong fertilizer immediately after planting unless a soil test or label specifically calls for it. Fresh roots are sensitive to concentrated salts.
Temporary shade can help during an unusually hot transplant day, but do not turn a full-sun tomato into a permanently shaded plant. Remove the cover once the heat passes. If the plant was hardened off gradually, it should begin to recover as the root zone settles.
Watch the growing tip rather than the oldest leaves alone. Mild drooping for part of the first day can reflect transplant shock. Persistent wilt despite moist soil may indicate broken roots, a kinked stem, waterlogged soil, or a disease problem. If the soil is dry, water deeply; if it is wet, improve drainage and wait before watering again.
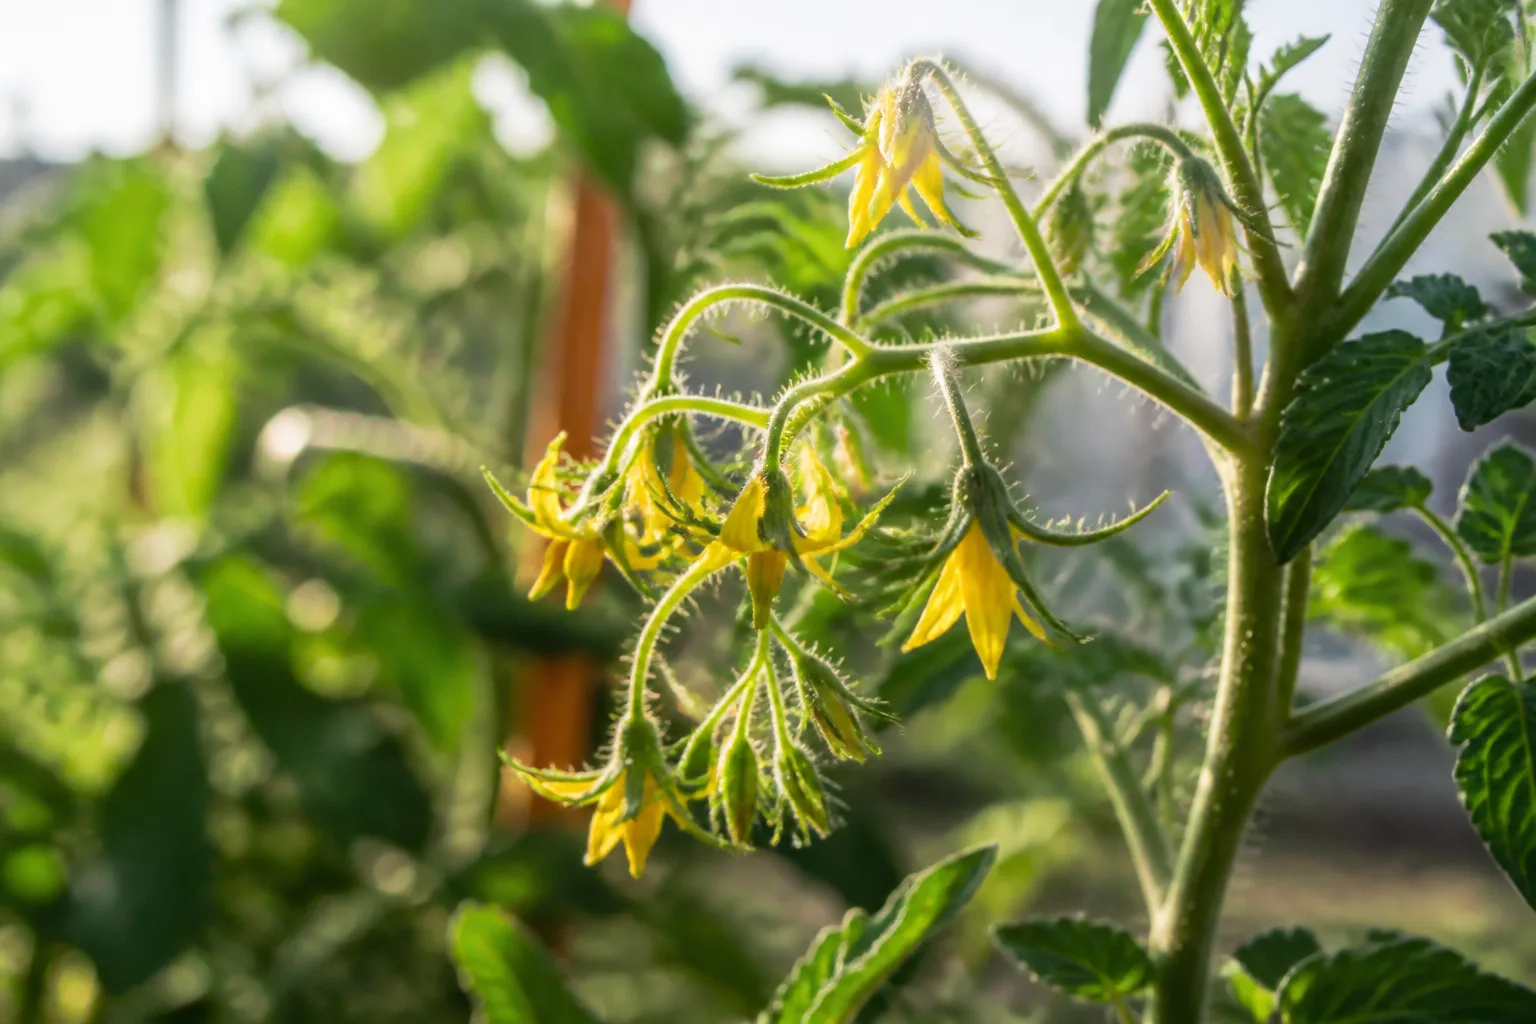
Once new growth is firm and upright, begin the normal care routine: support the plant, water at the base, keep foliage as dry as practical, and mulch the soil surface. Consistent moisture during flowering and fruit enlargement is more likely to protect yield than adding a special “root booster.”
Mistakes that weaken buried-stem tomatoes
Burying leaves. Leaves under soil decay and create a wet, airless contact point. Remove lower leaves first and keep every remaining leaf above ground.
Breaking the stem at the bend. A tomato can curve, but it cannot recover well from a sharp crease. Make the trench longer, or choose vertical planting.
Planting before the soil is ready. A deep hole does not warm the root zone. Wait for suitable soil temperature and a reasonable frost window.
Using a waterlogged bed. Extra roots are not useful if oxygen cannot reach them. Fix drainage or raise the planting zone.
Installing support too late. Driving a stake through an established root zone can undo the advantage of the technique. Place support at planting.
Overwatering because the stem is buried. The plant does not need a daily soak simply because it was planted deeply. Check moisture at root depth and account for rain.
Treating the method as a cure-all. Sideways planting cannot fix insufficient light, poor variety selection, nutrient imbalance, a diseased transplant, or severe pest pressure. It is one sound planting option inside a larger care plan.
Troubleshoot wilting, yellowing, and slow growth
If the plant wilts while the soil is dry, water slowly and check again later. If it wilts while the soil is saturated, stop watering and inspect drainage. A plant that remains limp after the soil is corrected may have a damaged stem or roots.
Yellowing of one or two older leaves immediately after transplanting can be stress. Widespread yellowing, foul soil, or a soft stem is more concerning. Remove a plant with clear disease symptoms from the bed rather than burying more of its stem and spreading the problem through shared soil and tools.
Slow growth can simply reflect cool weather. Confirm sun exposure, soil temperature, root-zone moisture, and planting depth before adding fertilizer. Tomatoes are heavy feeders once actively growing, but feeding a cold or waterlogged plant often creates more problems than it solves.
What the method can and cannot improve
Planting sideways can make a leggy tomato easier to anchor and may give a vigorous transplant more space for roots. It is especially useful when the plant has a healthy, flexible stem and the bed is warm and well drained. It is less useful when the stem is brittle, the container is too small, or the season is still too cool.
The method also changes the shape of the plant’s underground starting point, not its genetic habit. An indeterminate tomato will still need a tall, strong support and room for a long season of growth. A determinate variety may stay more compact, but it still benefits from full sun, steady moisture, and airflow.
The best test is not whether the plant looks dramatic the day after planting. Track whether it resumes firm new growth, stays upright, and develops a healthy canopy over the next few weeks. If it does, the technique has done its job: it helped the plant establish without creating a new problem.
Conclusion
The tomato-growing hack is simple: remove the lower leaves, bury a healthy section of stem, and let the leafy top rise above the soil. The buried stem can form adventitious roots, giving the transplant a broader foundation. But the method works only when the basics are right—warm soil, good drainage, full sun, gentle handling, support installed early, and steady rather than excessive watering.
Use a horizontal trench for a healthy leggy seedling, vertical deep planting for a compact start or a container, and conventional planting when soil or stem conditions are risky. That small decision is what turns a popular trick into reliable tomato care.



