How to Grow Thai Basil in Garden Beds and Containers
Grow Thai basil from seed or starts with warm-weather timing, the right pot and soil, a simple pinching routine, and a plan for harvesting leafy stems.
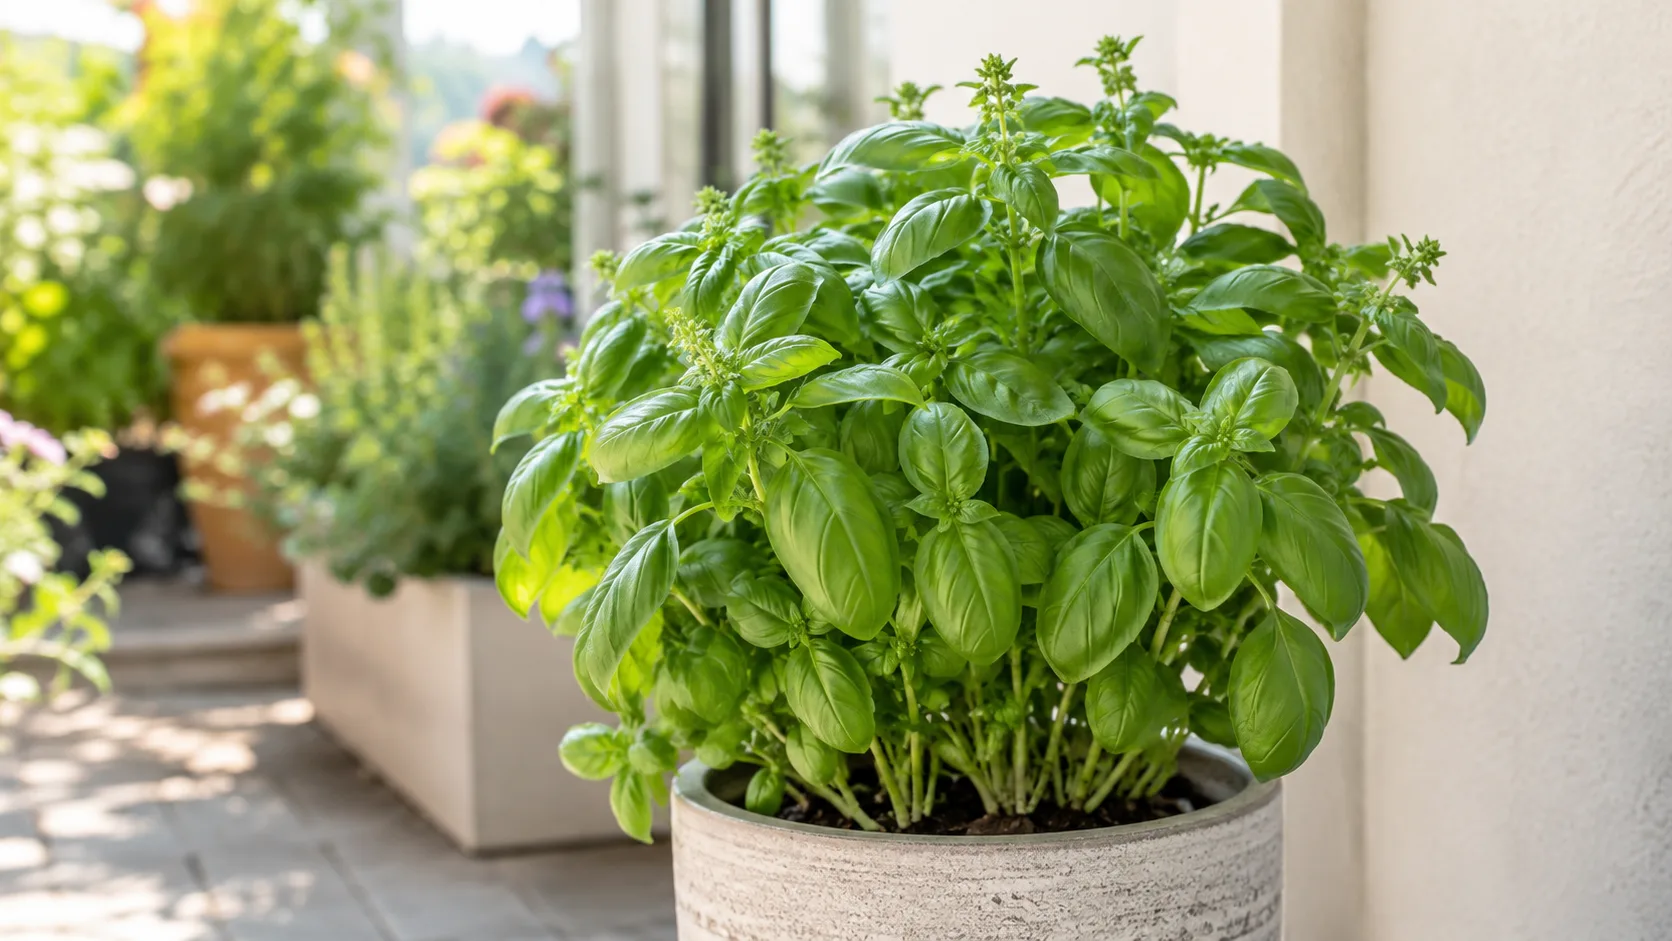
Thai basil is a warm-season herb with a distinctive anise-clove aroma, upright purple stems, and leaves that hold their character in dishes where ordinary sweet basil can taste too soft. The reliable way to grow it is to wait for warmth, give it sun and quick drainage, and harvest the growing tips before the plant becomes tall and flower-heavy. In a short summer, starting indoors saves time; in a long hot season, a pot can make watering and harvest easier to control.
Thai Basil at a Glance
Thai basil is usually sold as a culinary basil within Ocimum basilicum. It is frost tender, so most gardeners in temperate climates grow it as a warm-season annual, even though the plant can persist longer in frost-free conditions. Expect green leaves, often narrower than Genovese basil, purple-tinged stems, and small pink-to-purple flower spikes; exact size and color depend on the cultivar and growing conditions.
A productive plant needs at least six hours of direct light, warm soil, moisture that does not leave roots waterlogged, and enough room for air to move through the foliage. Think of it as a steady-harvest herb rather than a plant that benefits from deep shade, frequent heavy feeding, or occasional severe cutting. Penn State Extension gives a practical baseline for basil: full sun, fertile well-drained soil, and planting only after frost risk has passed and soil has warmed (Penn State Extension).
Choose the Right Basil Before You Plant
“Thai basil” is a culinary and market name used for several related basil selections. Seed packets may list Siam Queen, Queenette, or Cardinal as Thai-style basil; these are useful choices if you want a plant selected for Southeast Asian cooking and the recognizable spicy, sweet aroma.
If flavor is your priority, buy seed or a labeled transplant from a supplier that identifies the variety instead of relying on a generic “basil” tag. Penn State Extension lists Thai-style selections separately from common sweet basil and notes their spicy licorice flavor (Penn State Extension’s basil guide).
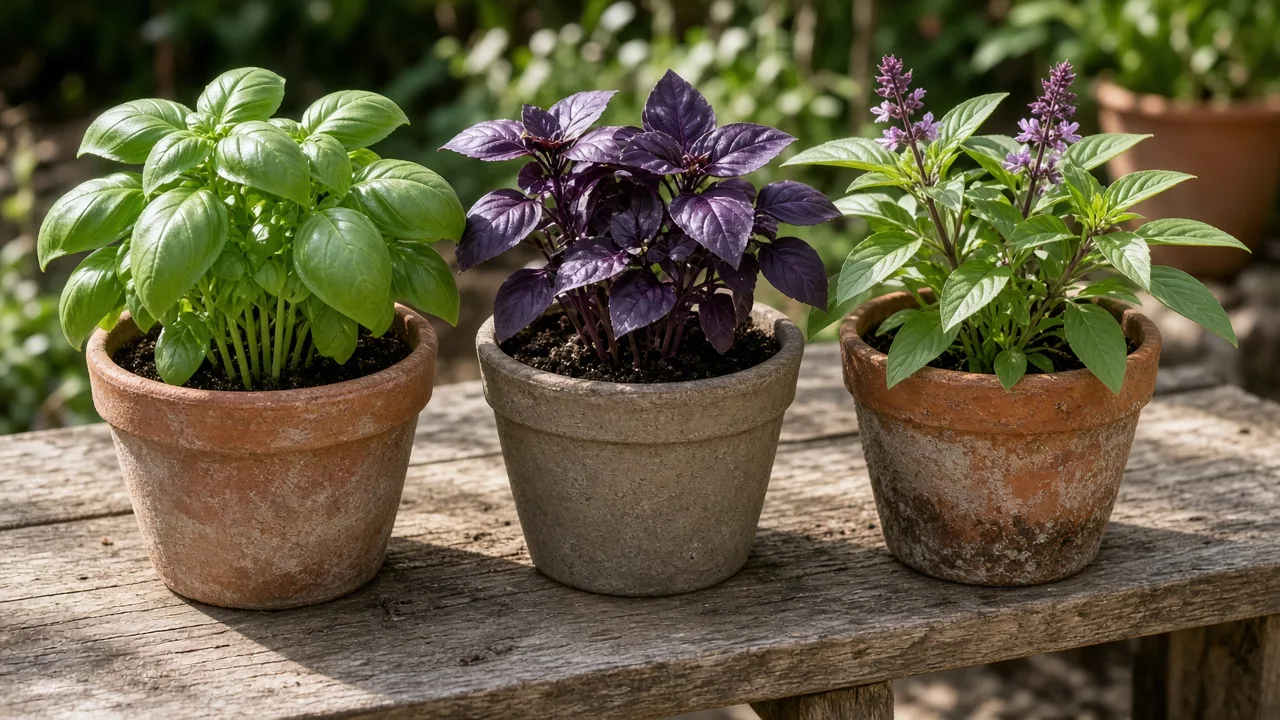
Thai basil is not the same plant as holy basil, also called tulsi. Thai basil is generally treated as a culinary form of O. basilicum, while holy basil is O. tenuiflorum; the leaves can smell somewhat similar, but the species and typical culinary uses differ.
Sweet or Genovese basil is another O. basilicum type, usually with broad, soft leaves and a gentler flavor. NC State Extension identifies Thai and Genovese basil as cultivars of O. basilicum and distinguishes holy basil as a related but different plant (NC State Extension Plant Toolbox).
Start From Seed or Buy a Transplant?
Starting from seed gives you the broadest choice of cultivar and lets you begin before outdoor conditions are ready. A transplant is the quicker route when warm weather has arrived, but check the label carefully: nursery benches may group several basils together, and a plant labeled simply “basil” is not necessarily Thai basil. Either route can work; the important difference is whether you can give a young plant enough warmth and light.
Sow Seed for More Choice and a Longer Season
For a short-season climate, sow indoors about six weeks before your expected last spring frost. Use a clean tray or small pots filled with seed-starting mix, moisten it first, then sow the seeds roughly one-eighth to one-quarter inch deep and cover lightly. Keep the mix evenly damp, not saturated, and warm: basil germination improves in warm soil, with Utah State University Extension reporting a useful range of 75–85°F and a typical 10–14-day emergence period (Utah State University Extension).
Once seedlings emerge, give them strong light immediately. A bright window may work if it receives several hours of direct sun, but leggy seedlings usually need a closer grow light or a brighter location, not extra fertilizer.
If many seedlings share a cell, thin or transplant them while small so their leaves dry quickly and their roots do not become tangled. Harden them off gradually before moving them outdoors: expose them to sheltered outdoor conditions for increasing periods over roughly a week, then leave them out overnight only when nights are mild.
Sow Right Seeds also recommends starting Thai basil indoors in a warm range and moving seedlings out only after frost danger has passed (Sow Right Seeds Thai basil guide). Treat that timing as a head start, not a reason to put tender seedlings into cold soil early.
Set Out Transplants Only When Nights Are Warm
Do not use the calendar alone to decide when basil can go outside. Wait until frost danger has passed, the soil feels warm, and nights are generally above about 60°F; cold nights slow growth and can damage a tender transplant even when the afternoon is sunny.
The specific threshold varies among recommendations, so treat 60°F as a cautious home-garden trigger rather than a universal biological cutoff. Penn State Extension likewise emphasizes warm soil and waiting until after frost, while the RHS recommends planting basil outdoors only after conditions become consistently warm (RHS basil growing guide).
Choose a compact, healthy transplant with several sets of leaves, no spots or insects, and a stem that is not stretched thin. Water the root ball before planting, set it at the same depth it was growing, and water again to settle soil around the roots. If the forecast turns chilly after planting, cover the plant overnight with a breathable garden cover and remove it in the morning; do not let plastic rest on the leaves.
Pick a Warm, Sunny Site
Give Thai basil at least six hours of direct sun for strong, compact growth and good leaf aroma. In cooler summers, all-day sun is usually the best placement.
In very hot inland or desert climates, morning sun with light afternoon shade can reduce midday wilting, especially for plants in dark containers, which heat up faster than open garden soil. If stems stretch toward the light or the plant stays sparse despite healthy roots, increase sun gradually rather than feeding more.
Warmth matters throughout the season, not only on planting day. A sheltered patio or the warm side of a building can extend growth, but reflected heat off a wall or pavement can bake a small pot.
Avoid a low pocket that holds cold air, a windy site that dries leaves, and dense planting where air cannot move through the canopy. Thai basil can look fine at midday yet show stress by evening in a hot pot, so watch the plant and the soil together before deciding whether it needs water or shade.
Prepare Soil and Space Plants for Airflow
In a garden bed, choose soil that drains after rain and mix in a modest amount of finished compost if the ground is poor. Basil wants moisture and fertility, but compacted soil that remains wet around the roots is a worse starting point than ordinary garden soil with good drainage. If water pools after irrigation, improve the bed or plant in a raised bed or container instead of trying to fix the problem with more fertilizer.
Space plants about 12 inches apart as a practical starting point, then widen that spacing in humid climates or in spots with weak air movement. Crowded foliage stays damp longer and is harder to inspect, while a little open space makes harvesting easier.
Utah State University Extension recommends a final spacing near 12 inches; local cultivar size and the growing season may justify more room (Utah State University Extension). Keep weeds down while seedlings establish, because young basil competes poorly for water and light.
Water by Soil Condition, Not by the Calendar
Aim for consistently moist soil, not a fixed number of watering days. Check the top inch of the bed or potting mix: if it is dry and the pot feels light, water thoroughly until excess runs out of the drainage holes; if the mix is still cool and damp, wait and check again later.
During a heat wave, a container may need water daily, while a mulched bed may go longer. A small pot in full sun and a large bed do not share the same watering schedule.
When the plant wilts, first feel the soil rather than reaching automatically for the hose. Dry mix, drooping leaves, and a light pot point toward thirst; wet mix, yellowing lower leaves, or a sour smell suggest poor drainage or overwatering. Correct the cause: water deeply if dry, but let a saturated pot drain and do not water again until the root zone begins to dry.
Water at the soil line in the morning when possible. Mulch in-ground plants lightly to slow evaporation, keeping mulch a little away from the stems; do not bury a container’s crown under mulch.
Grow Thai Basil in a Container
A container makes Thai basil easy to position in sun, move out of a cold snap, and keep close to the kitchen. Choose one with open drainage holes and enough volume to hold moisture between checks; a pot around 12 inches wide and deep is a reliable size for one full-size plant.
Smaller pots dry rapidly and restrict roots, while several plants packed into a shallow bowl compete for water and air. The RHS suggests a container at least 20 centimeters wide and deep for basil, a useful minimum to adapt to the plant’s growth habit (RHS).
Use a fresh, free-draining potting mix, not dense garden soil. Set the pot where it gets the light required but can be shaded briefly from brutal afternoon heat, and empty any saucer after watering so the roots are not left sitting in water.
Unglazed terracotta can dry faster than glazed ceramic or plastic; that is not inherently wrong, but it means checking moisture more often. If you travel or miss watering, a larger pot is usually a simpler fix than adding water-retentive material that keeps the root zone soggy.
Pinch for Branching and Feed Lightly
When a young plant has several sets of true leaves and is established, pinch or snip the main growing tip just above a pair of leaves. The two leaf axils below the cut can then form side shoots, creating a fuller shape with more harvest points.
Use clean fingers or scissors and avoid cutting so low that only a couple of leaves remain. Repeat the cut on strong side stems once they have developed enough growth; each cut should leave healthy leaves below it to support regrowth.
Flower removal and shaping are related but not identical jobs. Cutting a leafy stem above a leaf pair encourages branching; pinching only the flower spike may delay seed formation but does not guarantee a flush of new leaves. If your goal is a continuous leaf harvest, remove flower stems as they appear and keep harvesting growing tips.
Basil in fertile ground often needs little additional feed, whereas a frequently harvested pot can benefit from a diluted, balanced fertilizer used according to its label. Too much nitrogen can produce soft, lush growth with weaker aroma, so do not feed a struggling plant until you have checked light, temperature, and drainage. NC State Extension describes pinching basil tips to promote branching and a bushier form (NC State Extension); Utah State’s guidance also notes that container-grown and repeatedly pinched plants may need more nutrients than those in garden soil.
Epic Gardening’s basil guide similarly treats regular tip cuts as both pruning and a way to maintain harvestable growth (Epic Gardening). The useful distinction is where you cut: a leafy stem cut above a node can branch, while removing a flower spike alone mainly delays seed set.
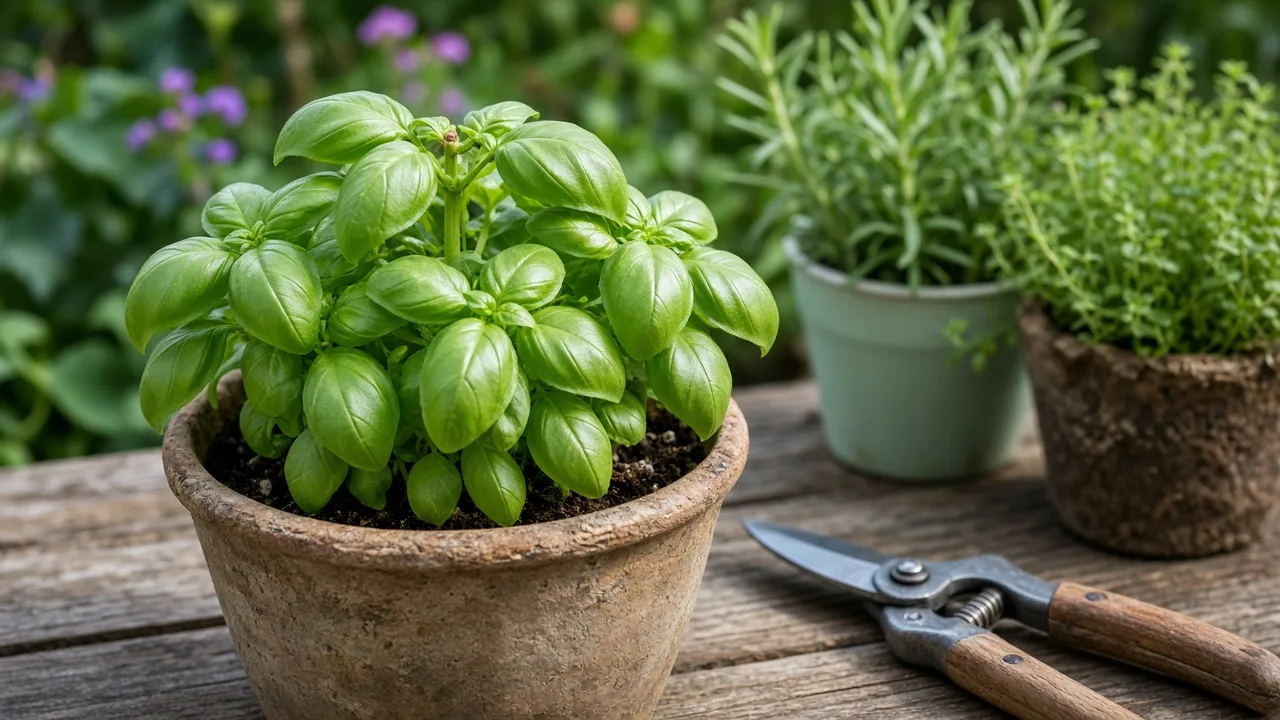
Propagate a Backup From a Stem Cutting
Take a backup cutting while the plant is healthy and before the stem flowers. Snip a 4- to 6-inch nonflowering tip just below a node, remove leaves from the lower half, and place that bare section in clean water while keeping the leaves above the surface. Set the glass in bright light out of hot direct sun and refresh the water when it becomes cloudy.
When the cutting has several roots, pot it into moist, free-draining mix and keep it warm while it adjusts. Do not start with a weak, pest-covered, or diseased stem, because a cutting carries those problems with it. The RHS describes basil as easy to propagate from summer softwood cuttings and recommends rooting a nonflowering shoot before potting it up (RHS basil growing guide).
Harvest Stems Without Stripping the Plant
Begin harvesting once the plant is established and has enough leafy growth to recover, rather than plucking every large leaf from the base. Cut the upper stem just above a leaf pair so the remaining nodes can branch; take a few tips from several stems instead of removing all the best growth from one side. If you need a large quantity, harvest from multiple plants or take no more than about one-third of one plant at a time, then let it regrow before making another substantial cut.
Harvest in the morning after dew has dried and before afternoon heat, when leaves are firm and easy to handle. Use clean scissors to avoid crushing stems.
If flower buds have begun to form, cut below the flower cluster to a leafy node; if the plant has already bloomed, the leaves remain usable, though their flavor can become stronger or less tender. Penn State Extension advises regular picking to maintain bushy growth and recommends bringing in the remaining crop before cold weather (Penn State Extension).
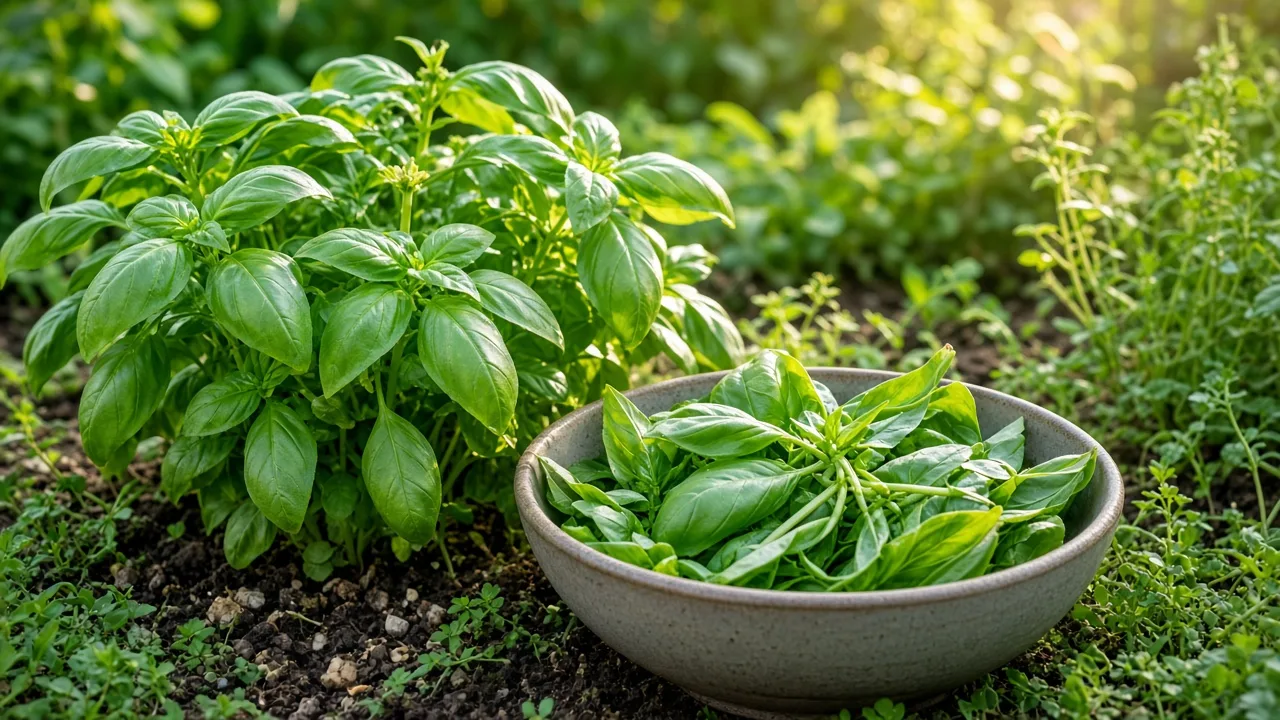
Store Fresh Leaves for the Next Meal
For use over the next day or two, trim stem ends and stand the sprigs in a glass with a little water, away from direct sun. Keep leaves out of the refrigerator if you want to avoid cold damage; basil can discolor in a chilly fridge.
For longer storage, dry leaves gently in a shaded, well-ventilated spot or freeze chopped leaves in a small amount of water or oil. Frozen whole or chopped basil works well in cooked dishes, but thawed leaves usually lose the crisp texture needed for a fresh garnish.
Do not wash a large harvest and seal it while wet. Surface moisture encourages decay, so rinse only what you will use soon and dry it well.
If preserving a lot, separate clean leaves from stems, remove damaged material, and label frozen portions by date so you can use the oldest first. Drying reduces the fresh, bright character of Thai basil, so freezing is often a better choice when you want the aroma to remain noticeable in soups, curries, and sauces.
Decide What to Do When Thai Basil Flowers
Flowering is a normal stage, not a sign that the plant is sick. Long days, heat, dry soil, crowding, and plant maturity can all bring on flower spikes.
If you want the largest possible supply of tender leaves, remove the spikes while they are small and continue cutting leafy stems above nodes. If you prefer to support pollinators or save seed, allow one healthy plant to flower and keep harvesting the others.
A plant that has started flowering can still provide leaves; you do not have to discard it. The leaves may become stronger in flavor or coarser as the plant matures, and stem growth can shift toward flowers and seed, so treat flowering as a signal to harvest what you want now.
To save seed, leave flower spikes until blooms fade and seed heads dry, then collect mature seed heads in a paper bag and allow them to finish drying indoors. Seed from open-pollinated plants can vary, especially where several basil types flower nearby, so the next generation may not match the parent exactly.
Prevent Pests and Recognize Disease Early
Inspect the newest growth and the undersides of leaves once or twice a week. Aphids cluster on soft tips and may leave sticky residue; caterpillars and beetles chew visible holes; slugs often feed overnight and leave ragged damage or slime.
For a small number of pests, hand-pick them or rinse them from the plant, then recheck new growth. Keep the bed weeded, give plants air, and avoid choosing a control for an edible herb until you have identified the pest.
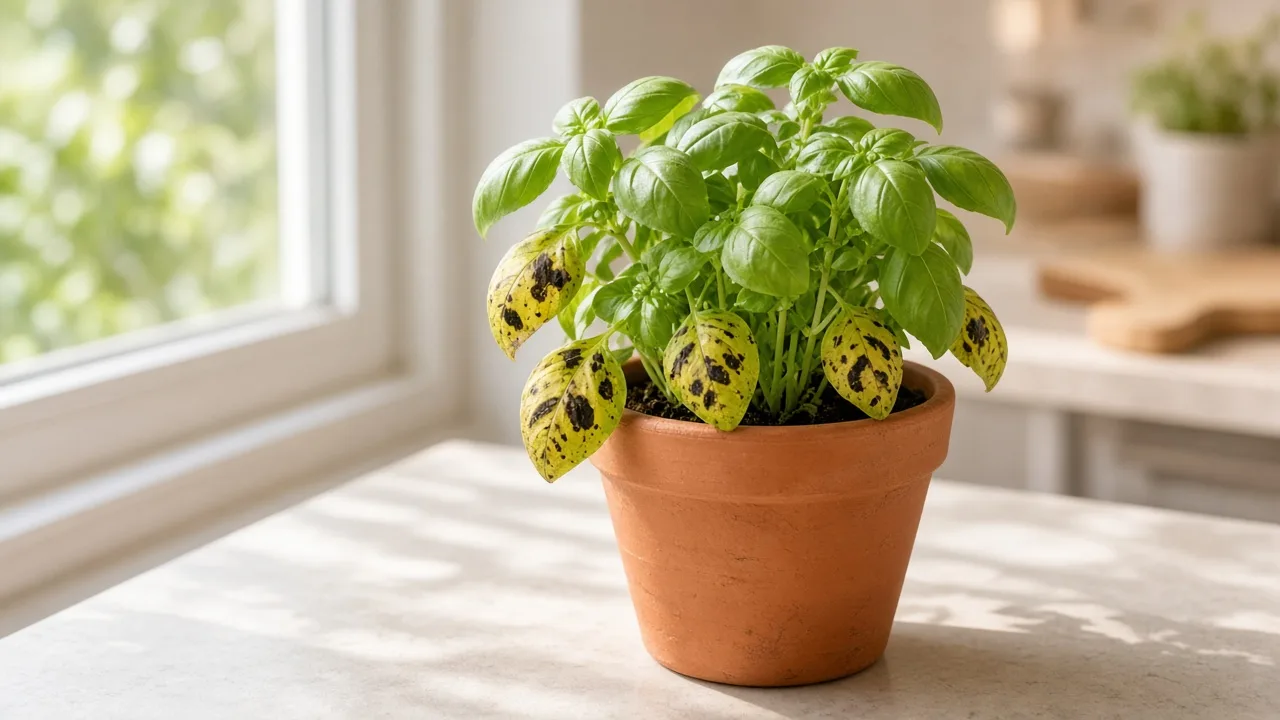
If growth is weak, rule out the growing conditions before diagnosing a nutrient problem. Cold nights, low light, a pot that dries in hours, and soil that stays saturated can all slow Thai basil. Yellowing leaves with dark lesions are a different pattern from uniform pale growth; look underneath leaves and along stems, and compare several leaves before acting.
Remove badly affected material with clean tools and avoid adding suspicious diseased foliage to a home compost pile. The photo below shows one kind of leaf spotting, but spots alone do not identify a specific disease.
Identify Basil Downy Mildew Before Treating
Basil downy mildew often begins as yellowing between leaf veins, with a gray or purplish downy growth on the undersides of affected leaves when humidity is high. It can look like a simple watering problem from above, so inspect leaf undersides before increasing fertilizer or changing the entire watering routine. Penn State Extension notes that the disease spreads by airborne spores and recommends good sunlight and air movement, avoiding overhead watering, and promptly bagging affected plants rather than composting them (Penn State Extension).
No single cultural step guarantees prevention, and a dry leaf surface does not rule the disease out. Water at the soil, space plants so foliage can dry, and avoid working among wet plants.
If several leaves show the characteristic underside growth or the plant declines quickly, remove the badly affected plant and seek a local extension diagnosis; do not assume every dark spot is downy mildew. Some basil types are less susceptible than others, but resistance is not immunity, so start with clean seed or healthy transplants and inspect new growth regularly.
Keep a Plant Going Into Cool Weather
Thai basil is sensitive to cold, and a warm afternoon does not cancel a forecast of chilly nights. In a pot, move the plant to a bright sheltered spot when temperatures dip; in a bed, harvest generously before the first frost and use a temporary cover for a brief cool spell. A cover can buy time during a mild night, but it will not turn Thai basil into a cold-hardy perennial.
You can bring a healthy potted plant indoors before cold weather, but expect it to need the brightest window available or a grow light. Inspect it for aphids and other pests before moving it inside, and reduce watering when growth slows in lower light.
Many gardeners will get a more dependable winter supply by rooting a clean stem cutting or starting fresh seed next season rather than trying to preserve an old, woody plant indoors. In frost-free regions, a plant may continue longer, but flowering and woody growth still make periodic renewal useful.
Conclusion
The most reliable Thai basil routine is simple: choose seed clearly labeled for Thai-style basil, give seedlings warmth and strong light, and wait for mild nights before planting outside. Use a draining bed or a roomy pot, water when the root zone begins to dry, then pinch leafy stems above a pair of leaves and harvest from several branches instead of stripping one side.
When growth falters, check temperature, sun, and soil moisture before reaching for fertilizer. Remove flower spikes when you want to prolong a tender leaf harvest, or let one plant bloom for pollinators and seed. With those choices matched to your climate and cooking needs, Thai basil can produce a steady succession of aromatic leaves through the warm part of the season.



