Seeds Not Germinating: A Practical Troubleshooting Guide
Failed germination is frustrating because the problem happens before you see any seedlings. Indoors, seeds need stable warmth, consistent light moisture (not soaking), and correct sowing depth for that species. A packet’s days-to-germinate range assumes these conditions. Start by checking seed age and storage, soil temperature at root depth, and whether the mix dried out or stayed waterlogged. Many failures are environmental and fixable on the next sowing rather than a bad batch-though very old seed may need a viability test first.
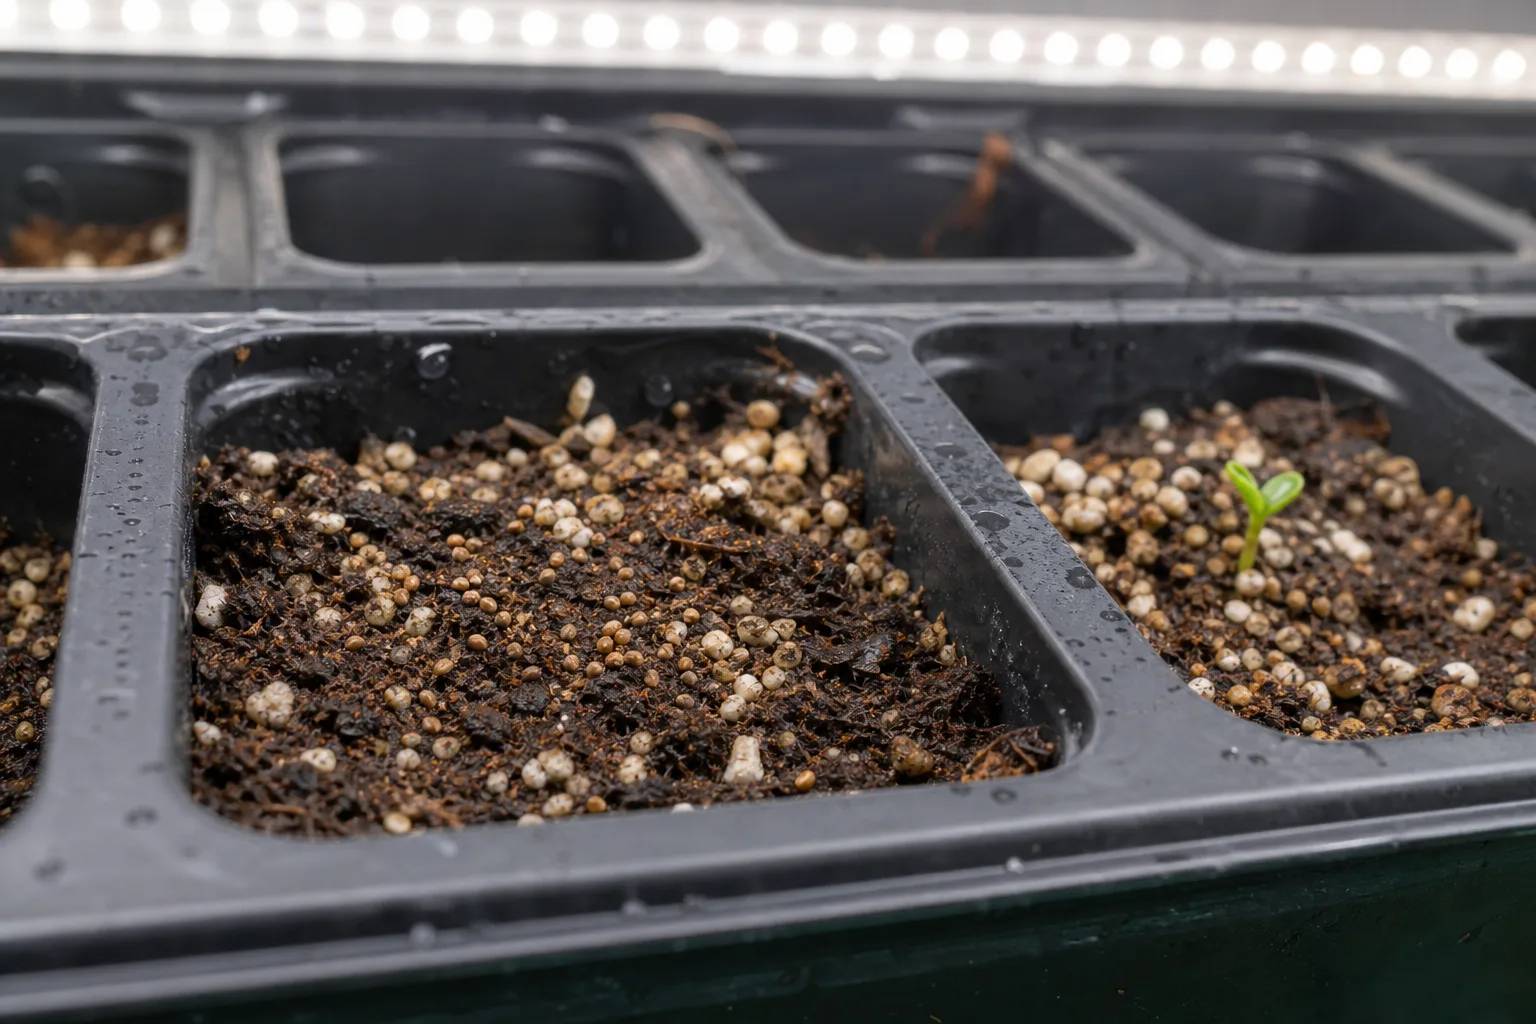
Seeds Not Germinating on Houseplants
Still unsure?Match your symptoms to the most likely problems in under a minute.Run diagnosis →Understand and fix seeds not germinating
Failed germination is frustrating because the problem happens before you see any seedlings. Indoors, seeds need stable warmth, consistent light moisture (not soaking), and correct sowing depth for that species. A packet’s days-to-germinate range assumes these conditions. Start by checking seed age and storage, soil temperature at root depth, and whether the mix dried out or stayed waterlogged. Many failures are environmental and fixable on the next sowing rather than a bad batch-though very old seed may need a viability test first.
Overview
Failed germination is frustrating because the problem happens before you see any seedlings. Indoors, seeds need stable warmth, consistent light moisture (not soaking), and correct sowing depth for that species. A packet’s days-to-germinate range assumes these conditions.
Start by checking seed age and storage, soil temperature at root depth, and whether the mix dried out or stayed waterlogged. Many failures are environmental and fixable on the next sowing rather than a bad batch-though very old seed may need a viability test first.
Seeds Not Germinating patterns: what you see vs. likely cause
Match your plant to the closest pattern, then start with the first step before trying other fixes.
| What you see | Likely cause | First step |
|---|---|---|
| Symptoms appear on new growth first while older leaves still look normal | Active pest feeding or early moisture stress on expanding tissue | Inspect stem tips and leaf undersides with good light before treating the whole plant |
| Multiple plants show similar damage within one to two weeks | Shared pest introduction, watering habit, or environmental stress | Isolate affected plants and compare recent care changes across the group |
How to identify it
- Seedlings lean, stretch, or fall over at the base
- Mold or algae on soil surface in the tray
- Only some cells affected vs entire tray
- Soil never dries on top between waterings
- Heat mat without adequate light causing weak growth
When to worry
Seedlings collapsing at soil line (damping off) or mold covering the tray means reduce moisture and improve airflow immediately.
Common causes
Overwatering seed-starting mix
Seed mix should stay lightly moist, not soggy. Excess water causes Seeds Not Germinating and fungal collapse.
Insufficient light
Weak light produces leggy, floppy seedlings that fall over and invite disease.
Poor airflow in covered trays
Humidity domes left on too long trap moisture and encourage mold and damping off.
Crowded sowing density
Too many seeds per cell compete for light and airflow, weakening every seedling.
Step-by-step fix
Let the surface dry slightly between waterings
Bottom-water trays and pour off excess. Avoid misting constantly.
Provide strong light close to seedlings
Grow lights 2–4 inches above tops for 14–16 hours daily prevents stretch.
Increase airflow
Remove domes after germination. Run a gentle fan to strengthen stems.
Thin or transplant crowded seedlings
One strong seedling per cell survives better than a dense clump.
Discard severely affected cells
Do not let damping off spread-isolate healthy trays.
Prevention tips
- Use sterile seed-starting mix for indoor sowing
- Remove humidity domes once seeds sprout
- Water from below to keep foliage dry
- Do not overcrowd seeds in each cell
- Document which leaves show symptoms first and whether the soil is wet, dry, or compacted before changing multiple variables at once.
- Isolate newly affected plants for two weeks when pests or fungal issues are suspected so problems do not spread through the collection.
- Match your fix to the most likely cause from the diagnosis table instead of fertilizing, repotting, and spraying on the same day.
Common mistakes
- Leaving dome lids on after germination
- Growing seedlings on a windowsill only in winter
- Watering on a schedule instead of checking mix moisture
An empty tray is not yet a diagnosis. Seeds may be viable but slow, dormant, too cold, too warm, too dry, too wet, sown at the wrong depth, deprived of a crop-specific light cue, or decayed before emergence. Begin with the packet’s germination window and conditions. Count elapsed time from sowing, not purchase, and compare the actual media temperature and moisture with crop guidance.
Preserve evidence before digging. Record species, cultivar, seed lot, storage history, sowing date, depth, pretreatment, medium, temperature, and watering method. Note whether failure is uniform, confined to a tray edge, or associated with one wet patch. A few early sprouts show that at least some seed is viable; a whole unsprouted tray may implicate a shared condition or the seed lot.
Use a small sample to decide what happens next. A controlled germination test can compare the seed lot outside the tray, while careful excavation of only a few cells can reveal a hard unswollen seed, a swollen intact seed, an emerging radicle, or decay. Penn State’s overview of seed and seedling biology explains that germination depends on viable seed and suitable environmental conditions; it also distinguishes dormancy from simple delay.
Crop specificity is essential. Lettuce, peppers, tomatoes, many native perennials, and tropical ornamentals do not share one temperature, depth, light response, or pretreatment. Use this article to locate the failed requirement, then defer to the packet, breeder, extension crop guide, or propagation protocol. If a valuable or regulated seed lot repeatedly fails under documented suitable conditions, retain the packet and lot information and consult the supplier or an accredited seed laboratory.
Confirm that germination is actually late
Start with the packet’s expected range, counted from sowing under suitable conditions—not from the day the packet was purchased. Cooler media can lengthen the process, and different cultivars may vary. Look for lifted mix, a visible radicle, or one early cell before excavating. Repeated digging can damage seeds that are progressing normally.
Do not use a universal “number of days” from a generic chart to declare failure. Check the packet range and whether your tray actually met its conditions. Daily media temperatures are more informative than room temperature, especially on a heat mat or cold sill. If the crop-specific window has not closed, leave most cells undisturbed and inspect only obvious anomalies.
Check seed viability before blaming the tray
Viability declines at different rates depending on species, seed quality, moisture, temperature, and storage. A printed date is useful context but not a direct germination result. Test a counted sample separately before discarding the lot. Oregon State Extension describes a household method for testing seed germination; the percentage that sprouts helps distinguish a weak lot from a failed tray setup.
Run the viability test with a counted sample and record how many produce normal seedlings under the recommended conditions. Oregon State Extension describes a household seed germination test. A poor result supports a seed-lot problem; a strong result beside a failed tray points back toward sowing conditions. A home test does not assess genetic purity, every dormancy mechanism, or seedborne disease.
Use a small sample and this matrix to decide whether to wait, test, or resow:
| Evidence from the packet, tray, and sample | More likely explanation | Next step |
|---|---|---|
| The crop-specific germination window is still open and seeds are swollen but intact | Normal variation or slower-than-expected progress | Restore stable recommended conditions and wait without repeated excavation |
| A counted test germinates well but the tray remains empty | Tray temperature, moisture, depth, light, or medium is unsuitable | Recreate the test conditions in a small second sowing |
| Both the tray and a correctly run test perform poorly | Low viability or a seed-lot issue | Repeat once if handling was uncertain, then contact the supplier with the lot record |
| Seeds remain hard and unswollen | Water did not reach the seed, the coat excludes water, or a pretreatment is missing | Verify moisture and crop-specific scarification or stratification instructions |
| Seeds are swollen but no radicle appears | Conditions may be outside the crop range or dormancy may remain | Check temperature and species protocol; do not assume more heat is always better |
| Seed or radicle is soft, dark, or foul | Decay before emergence | Remove affected material and correct saturation and sanitation before resowing |
| Failure follows one tray edge or depth band | Uneven watering, temperature, sowing depth, or media contact | Correct the physical gradient and compare a small resowing |
Moisture errors can occur in both directions. Fine seed near the surface may lose contact with moisture quickly, while deeply buried seed can remain in an oxygen-poor zone when the mix is saturated. Judge moisture at seed depth. A dome can slow evaporation, but condensation on the lid does not prove that the seed zone has the right balance of water and air.
Temperature should be measured in the medium, not inferred from the thermostat. Heat mats, sunny windows, cold masonry, and overnight room changes can move the seed zone away from the crop’s range. More heat is not a universal correction; cool-season and warm-season crops respond differently, and extreme conditions can reduce germination or promote decay. Record daytime and overnight readings when failure is unexplained.
Pretreatments are species-specific processes, not generic hacks. Scarification, cold-moist stratification, warm stratification, soaking, and exposure to light are not interchangeable. An unnecessary treatment can injure seed or create misleading results. Use the supplier’s instructions or a propagation reference for the exact species and provenance, especially for native plants, woody species, and seed collected without a tested protocol.
Match temperature to the specific crop
There is no universal “warm” temperature for seeds. Warm-season vegetables often germinate faster in warmer media, while some cool-season crops perform poorly at excessive heat. Measure at seed depth and use the packet or extension crop table. A heat mat without a thermostat can overshoot, especially under a dome or in sun. Air temperature is an imperfect proxy for the mix.
Do not use a grow light as the default explanation for an unopened seed. Some species need light at the seed surface, others germinate beneath a covering of mix, and many are indifferent once moisture and temperature are suitable. Follow the packet’s depth and light instructions rather than applying a houseplant-light rule. The University of Minnesota’s seed-starting guidance emphasizes species-appropriate sowing and prompt lighting after emergence. If light-requiring seeds were buried, resow a small comparison on the surface instead of excavating every cell.
Diagnose media that dried out or stayed saturated
A seed must imbibe water to begin germination, but prolonged saturation limits oxygen and favors decay. Inspect both center and edge cells because small trays dry unevenly. If a peat-based surface becomes hydrophobic, slow bottom-watering may rewet it more evenly; drain afterward. If the mix smells sour or seeds are soft and brown, adding more water is unlikely to help.
Germination temperature belongs to the seed, not to a generic “warm” or “cool” label. Record the temperature inside the mix at seed depth, because a sunny dome, a heat mat, and a cold sill can each make it diverge from room air. Compare that reading with the crop’s packet range for several day–night cycles. A pepper tray that is simply too cool may remain viable, while lettuce can be inhibited by excessive warmth; moving both to the same heated shelf would solve one problem and deepen the other.
Correct sowing depth and light requirements
Tiny seeds may require surface sowing or light, while larger seeds are commonly covered to a crop-specific depth. Deep sowing can exhaust reserves before emergence; shallow sowing can allow drying or poor anchorage. Use the packet instruction rather than “twice the seed diameter” when precise crop guidance is available. Press for seed-to-media contact without compacting the whole plug.
Before emergence, moisture must reach the seed without excluding air from the pore spaces around it. A dome can slow surface drying, but condensation on the lid does not prove the seed zone is correctly moist; lift a control plug or weigh the tray instead. If the surface is crusted while the lower plug is saturated, more misting compounds the mismatch. Penn State associates damping-off with excess moisture and high humidity, so correct drainage and irrigation first rather than trying to dry a waterlogged tray with a fan.
Account for dormancy and pretreatments
Some species germinate readily after moisture and suitable temperature; others have physiological or physical dormancy. Stratification, scarification, soaking, alternating temperatures, or light may be required, but the wrong pretreatment can kill seed. Identify the botanical species and follow a reputable propagation protocol. Do not scarify every hard-looking seed or cold-treat tropical seed by default.
Read an empty tray as a map of the sowing process. A clean row failure may trace to a mislabeled packet, missed watering pass, or different planting depth; failures over one end of a heat mat suggest a temperature gradient; scattered gaps within otherwise strong emergence fit individual nonviable seeds. Record the pattern before shifting cells. When two lots of the same crop share conditions but only one fails, viability or dormancy moves up the list; when every crop in the flat fails, examine shared mix, water, temperature, and handling.
Inspect for pre-emergence damping-off
Seeds can rot before any shoot appears. Penn State defines pre-emergence damping-off as destruction of the radicle and hypocotyl before emergence. Carefully open two or three representative cells: intact, firm seeds may still be delayed; mushy, discolored seeds with decayed roots suggest failure. Do not excavate the entire tray, because healthy seeds can be injured or desiccated.
Unopened seeds do not need a corrective fertilizer dose. Their first growth is powered by stored reserves, while concentrated salts around an imbibing seed can make water uptake more difficult and introduce another variable. Resow the comparison batch in plain, fresh seed-starting medium unless the crop protocol explicitly calls for something else. Fertility becomes a separate management decision after emergence and true-leaf development; it cannot restore viability to an aged seed or substitute for a required scarification, stratification, temperature, or moisture condition.
Compare uniform failure with patchy failure
Uniform failure across every cell points toward timing, temperature, seed viability, a shared moisture error, or an incompatible treatment. A dry edge pattern suggests uneven watering; failure in the wettest center suggests saturation or disease. One cultivar failing beside another may reflect seed quality or species requirements. Preserve these comparisons before moving or remixing the tray.
For a second sowing, eliminate carryover before comparing techniques. Use a clean tray, fresh soilless medium, clean labels and tools, and water that has not drained through another flat. Penn State recommends clean medium and disinfected containers to reduce damping-off risk. Keep the original seed packet and lot information with the test. Reusing the failed medium may preserve a drainage, salt, or pathogen problem and make a viable replacement lot appear faulty.
Decide whether to wait, excavate, or resow
Wait when the packet range has not passed and conditions are now correct. Excavate a small sample when the range has passed or rot is suspected. Resow when seed is decayed, the lot tests poorly, or the setup was clearly unsuitable. If only some cells failed, sow replacements separately so watering and emergence needs do not conflict with established seedlings.
Choose between waiting and resowing from evidence, not frustration. Wait when the packet’s normal window has not closed, the seed zone remains evenly moist, and a gently uncovered sample is swollen or beginning to root. Resow when the timetable is well past, the seed is soft and decayed, the tray repeatedly dried, or a controlled paper test shows poor viability. If only part of a cell has emerged, cut extras later rather than repeatedly digging through the mix and damaging a radicle that was simply late.
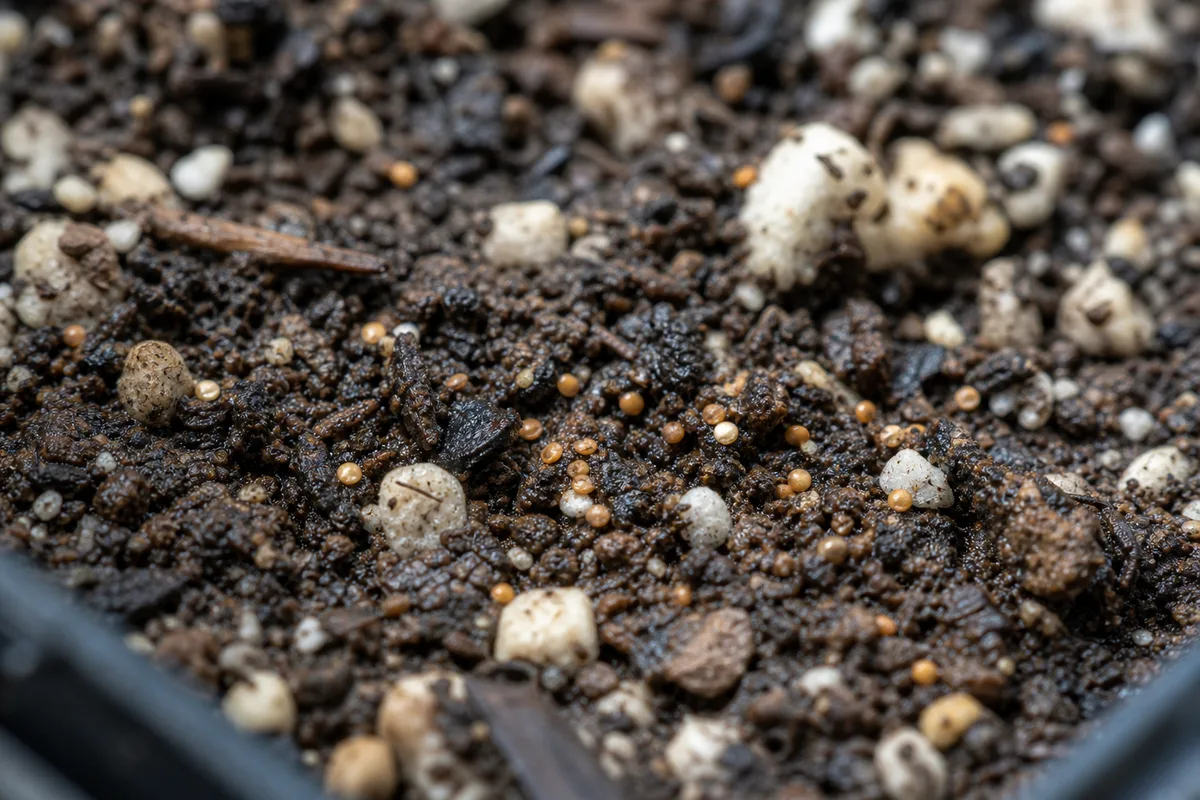
Run a simple controlled germination test
Count at least ten seeds when supply allows, place them in a consistently moist—not dripping—paper medium, keep them at the appropriate temperature, and record normal sprouts. A small sample gives an estimate, not certainty; twenty or more improves usefulness. Compare the test with the tray. Good test germination plus tray failure implicates the sowing environment more than the seed lot.
An image of bare mix proves very little, so document the variables a photograph cannot show. Place the seed packet beside the tray, photograph the row labels and emergence pattern, then record sowing depth, media temperature, irrigation dates, and any pretreatment. If you inspect a sacrificial cell, photograph an intact seed beside a split, firm seed or a soft, decomposed one. That evidence helps a supplier or extension educator separate likely lot failure from a depth, dormancy, moisture, or temperature mistake.
Improve labels, storage, and seed handling
Record species, cultivar, lot, source, purchase year, sowing date, depth, pretreatment, media temperature, and first emergence. Store unused seed dry, cool, dark, and sealed as appropriate for the species. Do not leave packets in a humid greenhouse or hot vehicle. Clear labels prevent a surprisingly common “failure”: waiting for a slow species using the schedule of a faster one.
Judge a corrected germination setup by emergence rate and timing in the comparison sowing. Count seeds tested, record the day each radicle appears, and calculate how many produce normal seedlings rather than stopping at “something sprouted.” Keep temperature, water, depth, and seed lot constant while changing one suspected factor. That design can show whether scarification, chilling, surface sowing, or a warmer seed zone mattered; changing all four at once produces seedlings but not an answer.
Avoid common germination shortcuts
More heat, deeper planting, daily fertilizer, constant misting, and sealed domes are not universal accelerators. Each can create a new constraint. Fertilizer does not activate a viable dormant seed and can increase soluble salts around emerging roots. A dome conserves moisture but can also conceal overheating and saturation. Apply only the crop-specific intervention supported by the evidence.
Contact the supplier when a properly stored lot performs poorly in a documented germination test while a comparison lot succeeds. Provide the printed lot number, purchase and storage details, crop and cultivar, seed count, method, temperature range, dates, and photographs. For rare, expensive, native, or regulated seed, ask a local extension office or seed laboratory before sacrificing the remainder. Their protocol may specify a dormancy treatment or formal test that cannot be inferred from a home tray alone.
Build a better second sowing
For the second sowing, use a small batch, fresh clean mix, measured depth, and a thermometer. Divide seed between two controlled conditions only when testing a plausible variable, such as two temperatures recommended for an uncertain crop. Keep all other inputs alike. This turns resowing into a useful comparison rather than repeating the first method with more anxiety.
Build the second sowing as a comparison. Reserve some seed, label the lot and date, measure media temperature at seed depth, and use the packet’s depth and pretreatment. If testing one plausible variable, such as two recommended temperature ranges, keep container, mix, moisture, depth, and seed lot alike. Iowa State’s indoor seed-starting instructions emphasizes clean containers, suitable medium, correct sowing, moisture, and prompt post-emergence light.
Know when seed suppliers or labs can help
Contact the seller when a correctly performed viability test is far below the labeled standard or when several unopened packets from the same lot fail. Save the packet, lot number, receipt, photographs, and test record. For important restoration, breeding, or commercial seed, use an accredited seed-testing laboratory; household towel tests do not assess every aspect of seed health or purity.
Supplier or laboratory help is most useful when accompanied by records. Save the original packet and lot number, photograph the sowing setup, and provide the test sample size, number of normal sprouts, temperature, medium, dates, and pretreatments. Do not mail wet or decaying material without the recipient’s instructions. A household towel test is a screening tool; formal testing may evaluate germination, purity, vigor, or health under standardized protocols.
Conclusion
When seeds do not emerge, first decide whether they are genuinely late under the crop’s required conditions. Then use distribution, a few excavated cells, and a counted germination test to distinguish a weak lot from unsuitable temperature, moisture, depth, light, dormancy treatment, or pre-emergence decay. Avoid repeatedly digging through seeds that may still be progressing.
Wait when intact seeds are within their crop-specific window and conditions are stable. Resow when evidence shows decay, a failed viability test, or a clearly unsuitable setup that cannot be corrected without disturbing the tray. Document the second sowing so it tests a plausible cause instead of repeating the same uncertainty.
Plants commonly affected
These houseplants often struggle with seeds not germinating. Open a care guide or plant-specific troubleshooting page for tailored fixes.
 Medium
Jade Plant
Likely causeJul 26, 2023 · If you are interested in starting your own jade plant from seed, this guide will provide you with all the information you need on storing, sowing, and germinating jade plant seeds .
Quick fixConfirm diagnosis on your Jade Plant, then address the most likely care or pest factor described in current extension guidance.
 Medium
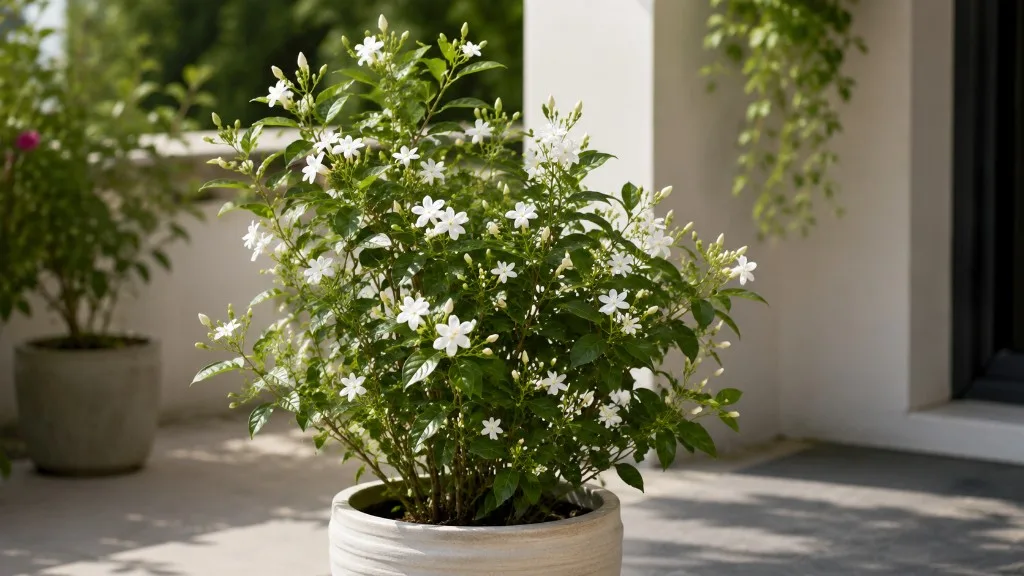
Jasmine
Likely causeJun 9, 2023 · Keep the seeds at 70°F to encourage germination , with 8 to 10 hours of indirect sunlight a day. If you cannot maintain this temperature, use a heating pad underneath the starter tray. Fill a clean spray bottle with water and
Quick fixConfirm diagnosis on your Jasmine, then address the most likely care or pest factor described in current extension guidance.
 Medium
Lavender
Likely causeLavender seeds typically take 14 to 21 days to germinate in warm soil. It’s important to note that the seeds should only be barely covered with soil, as using too much soil can hinder germination. Additionally, it’s important to avoid using
Quick fixConfirm diagnosis on your Lavender, then address the most likely care or pest factor described in current extension guidance.
 Medium
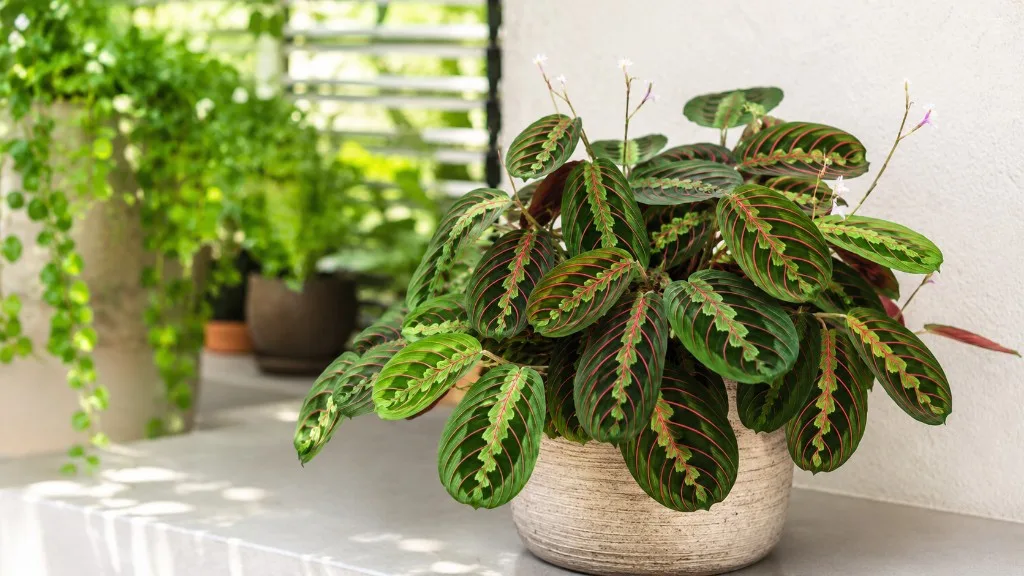
Maranta Leuconeura
Likely causeSep 22, 2025 · The prayer plant (Maranta leuconeura ) is a low-growing tropical plant native to South America. Learn how to grow this unique and popular houseplant. View all Sep 4, 2022 · Place the seeds on the surface of the soil, spacing
Quick fixFollow extension or botanical guidance for Maranta Leuconeura seeds not germinating; adjust care before applying broad treatments.
 Medium
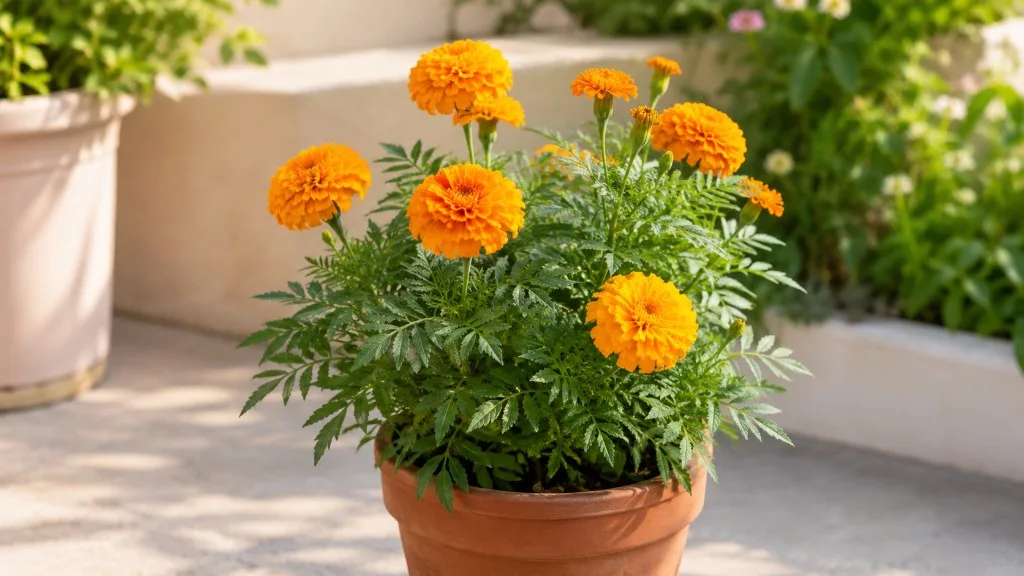
Marigold
Likely causeApr 29, 2026 · It is incredibly frustrating to wait for those first green hooks to emerge, only to realize your marigold seeds not germinating is becoming a real problem. Don’t worry—these flowers are perfect for beginners, and most germina
Quick fixConfirm diagnosis on your Marigold, then address the most likely care or pest factor described in current extension guidance.
 Medium
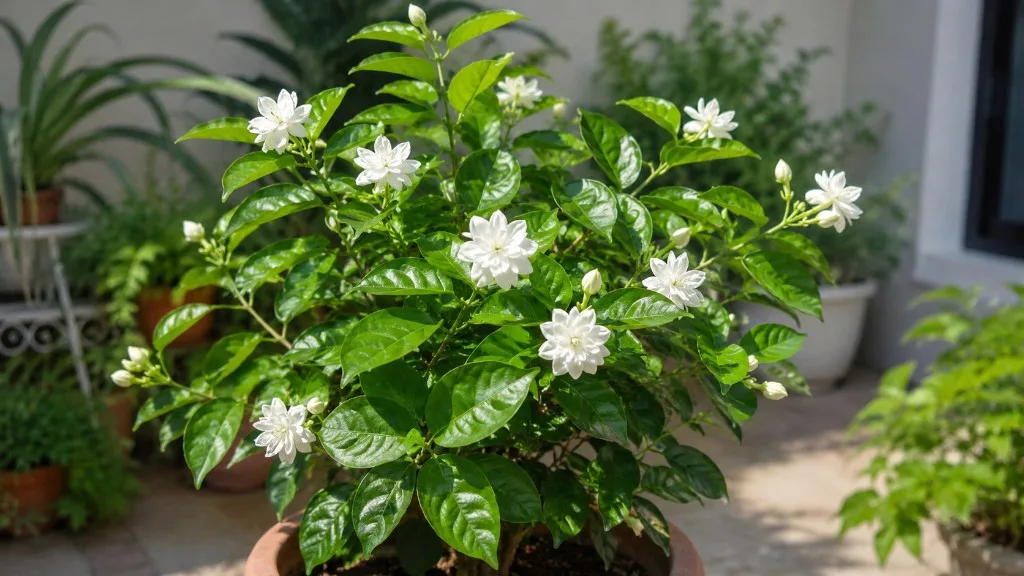
Mogra
Likely causeMogra Flower Seeds for Planting – Heirloom, Non-GMO, Premium Quality Organic Garden Seeds with High Germination
Quick fixConfirm diagnosis on your Mogra, then address the most likely care or pest factor described in current extension guidance.
 Medium
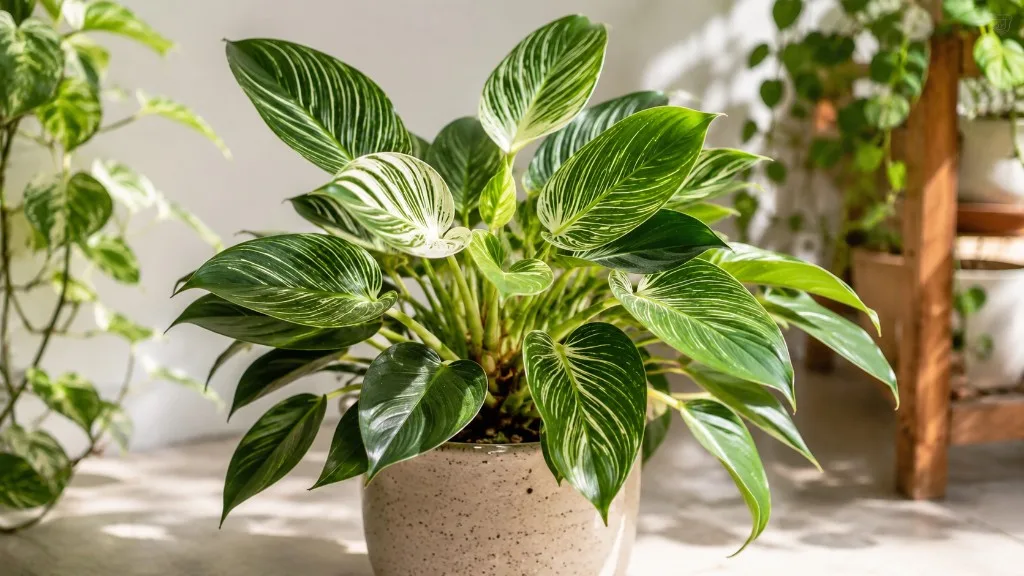
Philodendron Birkin
Likely causeJul 4, 2023 · By following these guidelines, you can successfully store, sow, and germinate Philodendron Birkin plant seeds . Remember that growing plants from seeds requires patience and care, but the reward of watching your own Philodendr
Quick fixConfirm diagnosis on your Philodendron Birkin, then address the most likely care or pest factor described in current extension guidance.
 Medium
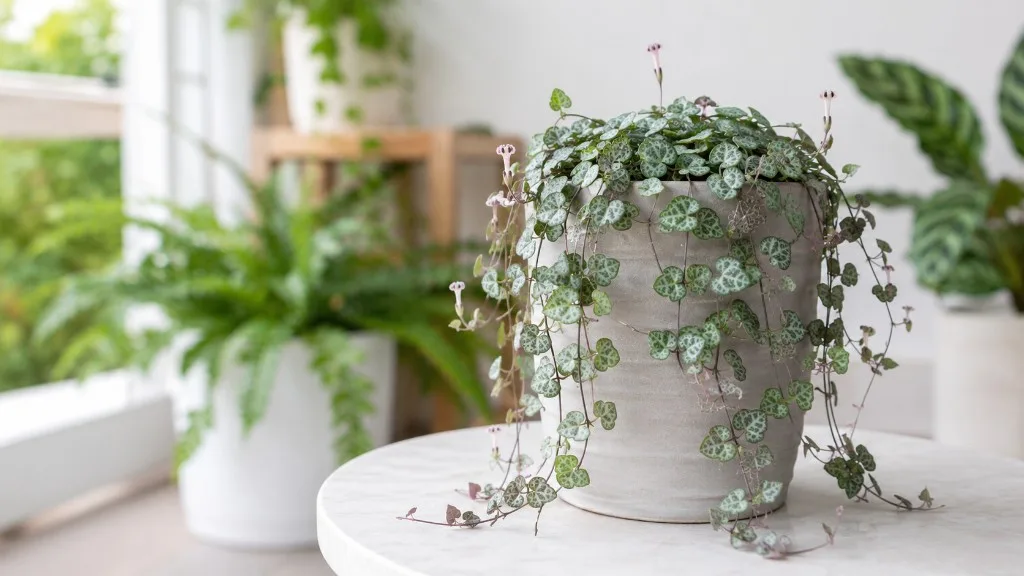
String of Hearts
Likely causeMar 17, 2024 · We will guide you through the process of starting String of Hearts from seed, including preparing the seeds , planting them, and providing the right conditions for germination .
Quick fixConfirm diagnosis on your String of Hearts, then address the most likely care or pest factor described in current extension guidance.
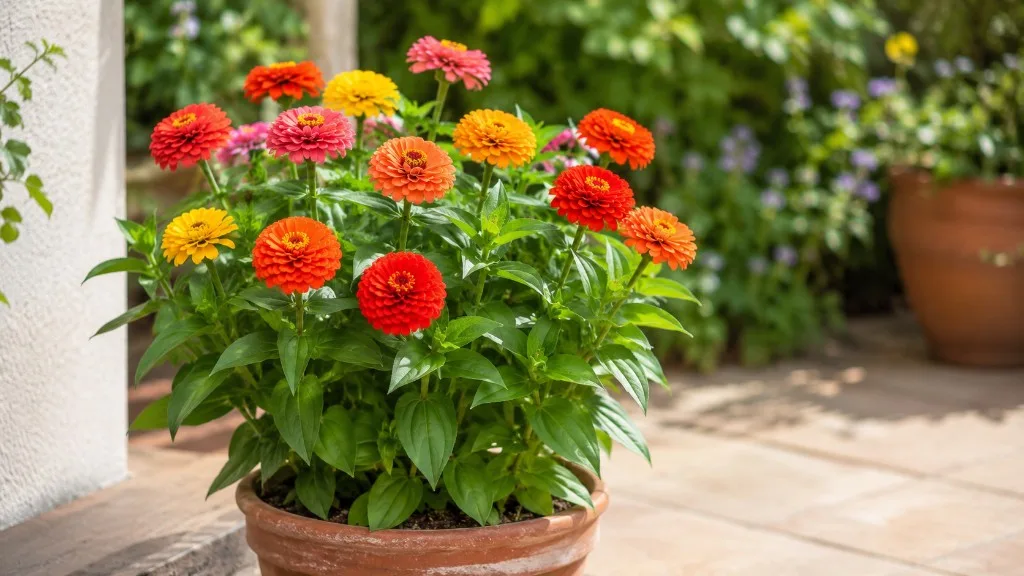 Medium
Zinnia
Likely causeCool wet soil or pre-emergence damping-off prevents zinnia seeds from sprouting.
Quick fixSow at 22°C+ with sterile mix; bottom-water and use a heat mat.