Seedling Transplant Timeline: Timing, Hardening, Frost
A seedling transplant timeline that beats calendar guessing: true leaves, soil temperature, hardening-off days, and fixes for leggy or root-bound starts.
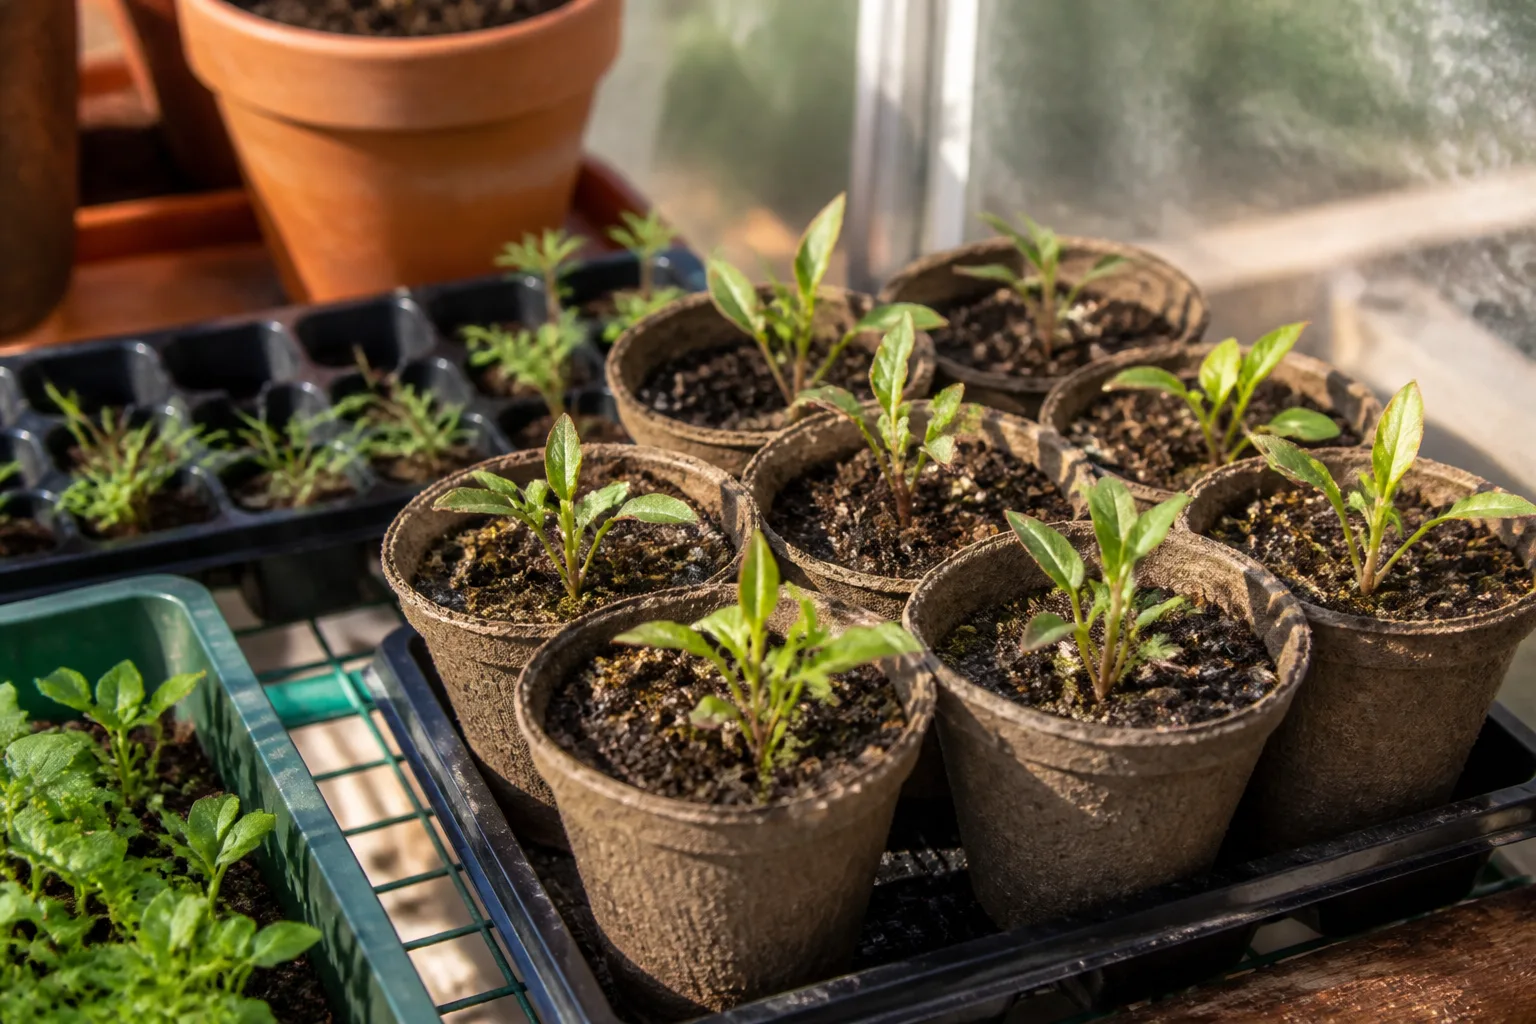
You did the hard part: lights on a timer, sterile mix, labels you can still read. Then spring arrives and every tray looks ready at once—until half the row wilts in afternoon sun or a surprise frost turns your tomatoes black. When to transplant seedlings is not one date on the calendar. It is a sequence of two moves, a hardening-off bridge, and a handful of signals that matter more than stem height.
Why Seedling Timing Is a Two-Move Problem, Not One Calendar Date
Indoor seedlings live in a bubble: steady warmth, weak air movement, and light that rarely matches June sun. Moving them straight from that bubble into open ground is how trays die in a single afternoon. The fix is not “wait until spring feels nice.” It is matching each transplant to what the plant can handle right now—roots, leaves, night temperature, and soil warmth included.
Most home gardeners need two transplants between germination and harvest. The first happens indoors when roots outgrow a cell. The second happens outdoors after hardening off and frost risk drops. Skipping the indoor pot-up crowds roots and produces weak tops. Skipping hardening off sends soft tissue into wind and UV it has never seen. Planting warm-season crops before soil warms stalls growth even when air feels pleasant.
If you are still building your indoor schedule, start with our guide to how to start seeds indoors and work backward from your local last-frost date. Transplant timing is the payoff for that upfront planning.
Two Moves, Two Timelines: Pot Up Indoors vs Plant Outdoors
Potting up moves a seedling into a larger container while it still lives indoors or under shelter. Transplanting (in the garden sense) means setting that plant into outdoor soil or a permanent outdoor pot for the season. Same gentle handling; different destinations and different weather gates.
What Potting Up Buys You
Potting up gives roots room to branch before they circle and stall. The RHS tomato guide recommends moving seedlings into individual pots once they have a couple of true leaves—typically a couple of weeks after germination for tomatoes. Hold each plant by a leaf, not the stem, and replant leggy stems deeper so the first true leaves sit just above the compost surface; buried stem tissue roots along its length.
Signals it is time to pot up: roots peeking from drainage holes, soil drying within hours, or growth that suddenly slows even under good light. A 3- to 4-inch pot is enough for most vegetables until outdoor planting week.
What Outdoor Transplanting Demands
Outdoor transplanting requires more than a big seedling. You need hardened tissue, safe night temperatures, and—for warm-season crops—warm soil. Gardening Know How notes tender flowers and vegetables should not go out until your average last frost has passed unless you are growing deliberate cool-season crops with frost protection. Even then, seedlings should carry three to four true leaves and have finished 7 to 10 days of hardening off—longer for very tender plants.
True Leaves vs Cotyledons: Count These, Not Inches
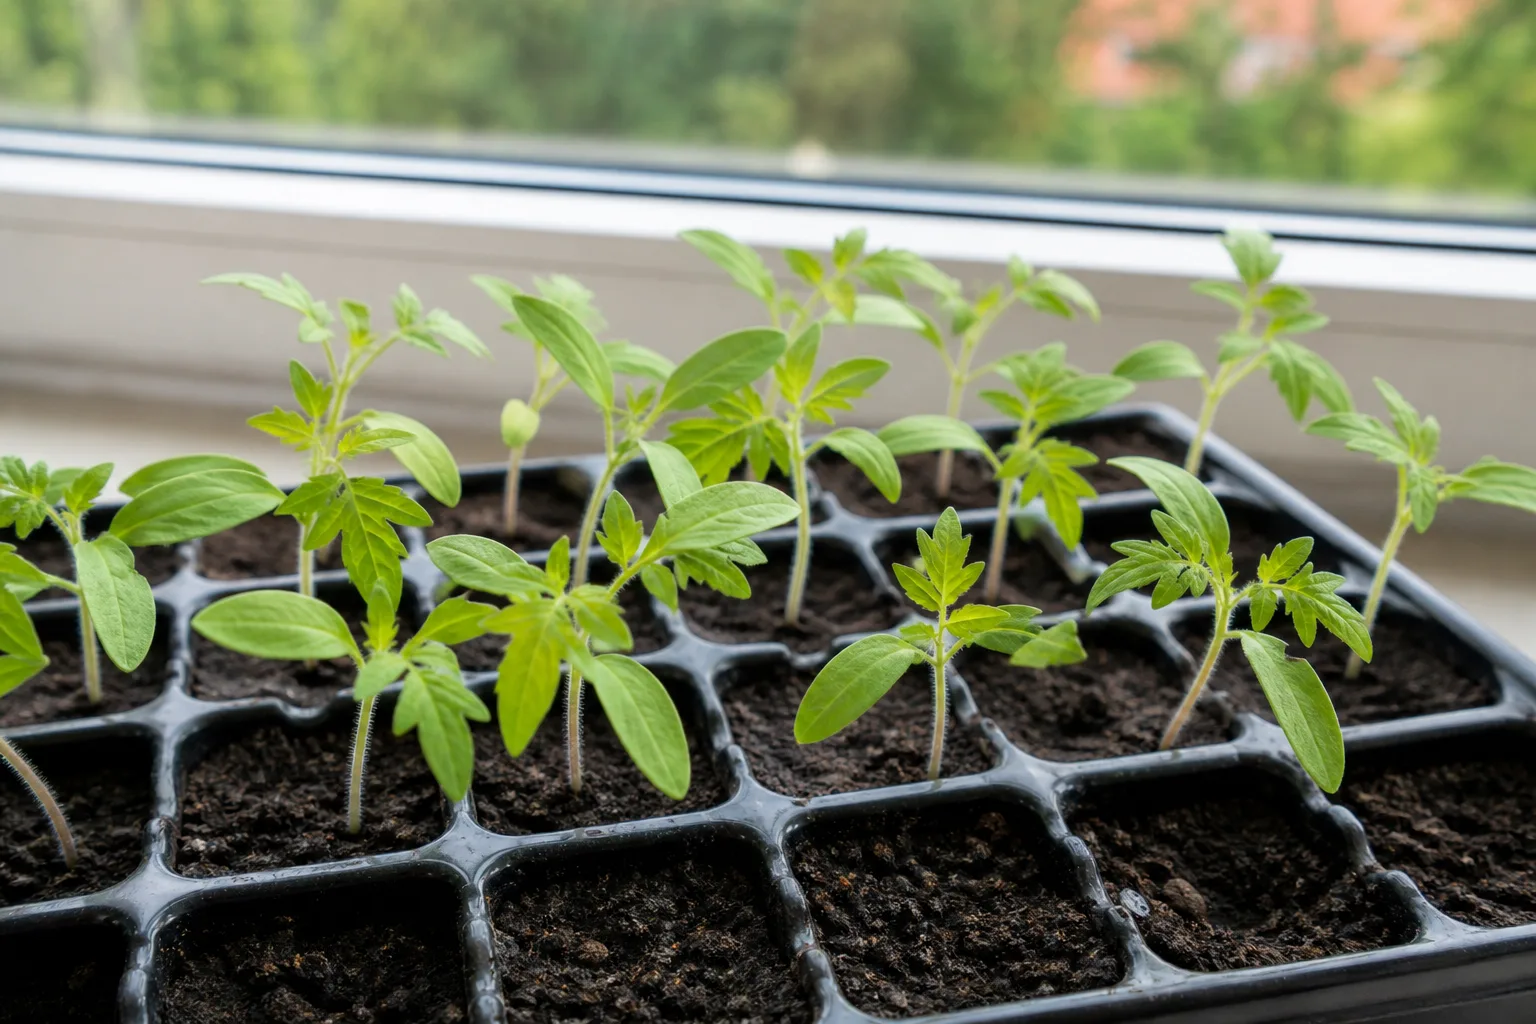
The first leaf pair you see is almost never a clue about maturity. Those cotyledons (“seed leaves”) are stored-food structures. They often look round, smooth, or nothing like the mature plant. True leaves come next and resemble the foliage the plant will carry all season.
Count true leaves for every go/no-go decision. Gardening Know How uses three to four true leaves as the usual threshold for planting out after hardening off. For the earlier indoor pot-up, two true leaves with a sturdy stem is enough for most crops.
Height alone misleads. A tomato under a dim window can hit 6 inches with only two true leaves and a pencil-thin stem. A stocky cabbage with four true leaves may look shorter and still be the healthier transplant. When in doubt, count leaves and inspect roots—not rulers.
Height Is a Trap—Leggy Seedlings Lie About Readiness
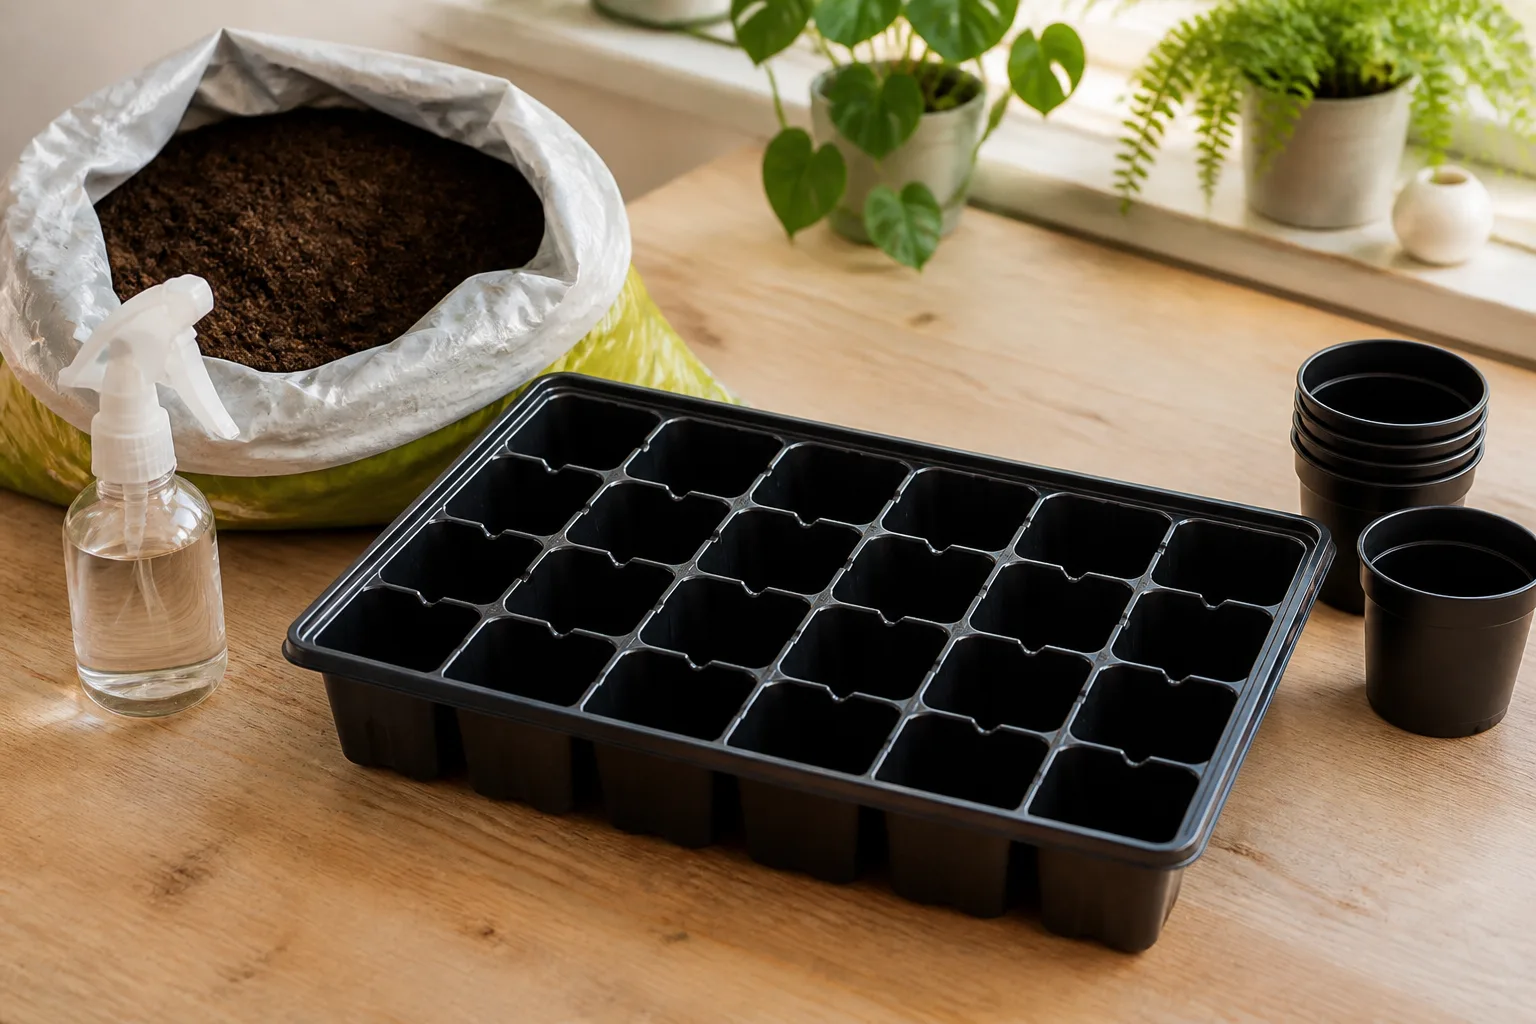
Leggy seedlings stretch because they are reaching for light, not because they are advanced. High heat plus low light produces fast, weak internodes. Those plants are often less ready for outdoor wind, not more.
Fix legginess before outdoor week, not after. Add a grow light 2–4 inches above tops, run it 14–16 hours daily, and lower room temperature slightly if trays are on a heat mat. When potting up, bury elongated stems as the RHS recommends for tomatoes—extra roots along the buried stem anchor the plant. For crops that rot if buried (most brassicas and lettuce), prioritize better light and an earlier pot-up instead of deep planting.
If stems flop the moment you brush them, delay outdoor planting even if the calendar says go. Strength beats size every time.
When to Pot Up Indoors (Your First Transplant)
Pot up when any of these show up—whichever comes first:
- Two true leaves fully open, with the second set at least as large as the cotyledons (Northern Homestead uses this visual test for brassicas and lettuce).
- Roots visible at drainage holes or wrapping the root ball when you gently slide the cell out.
- Watering frequency jumps—mix dries in hours because roots filled the cell.
- Crowded trays where leaves overlap and block light to neighbors.
Work on a tray, pre-moisten potting compost, and dib a hole deep enough that the seedling sits at the same depth it grew before—except tomatoes and other stem-rooting crops, which benefit from deeper planting at this stage. Water with a fine rose or mist, then return plants to bright light immediately. Skip fertilizer for the first few days; let roots find the new mix.
Seedlings can stay in small cells only as long as the cell volume allows. Large 72-cell trays buy you a week. Tiny 128-cell inserts demand earlier pot-ups. When in doubt, move up a pot size rather than waiting for a perfect outdoor window.
Cool-Season vs Warm-Season: Who Goes Out Before the Last Frost
Calendar rules split by crop metabolism, not mood.
Cool-season crops—cabbage, broccoli, kale, cauliflower, lettuce, onions, peas—prefer to establish in cool soil and often tolerate light frost once hardened. Many can go out several weeks before your last frost date if they have been hardened off and you keep row cover handy for sharp dips. They fail when planted too late into warming soil; bolting and bitter flavor follow heat stress.
Warm-season crops—tomatoes, peppers, eggplant, basil, cucumbers, squash, melons—need settled warmth. Plant them after last frost and once soil and nights cooperate. Gardening Know How suggests working backward from last frost when starting seeds indoors: tomatoes, peppers, and eggplant about 6–8 weeks before transplant week; broccoli and cabbage 4–6 weeks; cucumbers and squash about 4 weeks.
For a full crop list with beginner-friendly picks, see easy vegetables to grow.
Frost Dates, Night Temperatures, and Soil Thermometers
Air temperature on your phone is not enough. Soil cold stalls root growth even when afternoons feel fine.
Use these benchmarks from Gardening Know How:
- Cool-season transplants: soil at least 50°F (10°C) at planting depth.
- Warm-season transplants: soil at least 60°F (16°C)—tomatoes especially sulk below this.
Stick a soil thermometer 2–4 inches deep in the planting bed at mid-morning. If nights still drop into the 40s°F, warm-season seedlings belong indoors or in a cold frame a bit longer, even if the calendar frost date passed last week.
The RHS is explicit: hardening off does not make frost-tender plants hardy. Acclimation thickens leaves and slows soft growth; it does not turn a tomato into kale. Keep fleece, cloches, or an indoor retreat plan for late cold snaps.
How to Harden Off Seedlings the Right Way
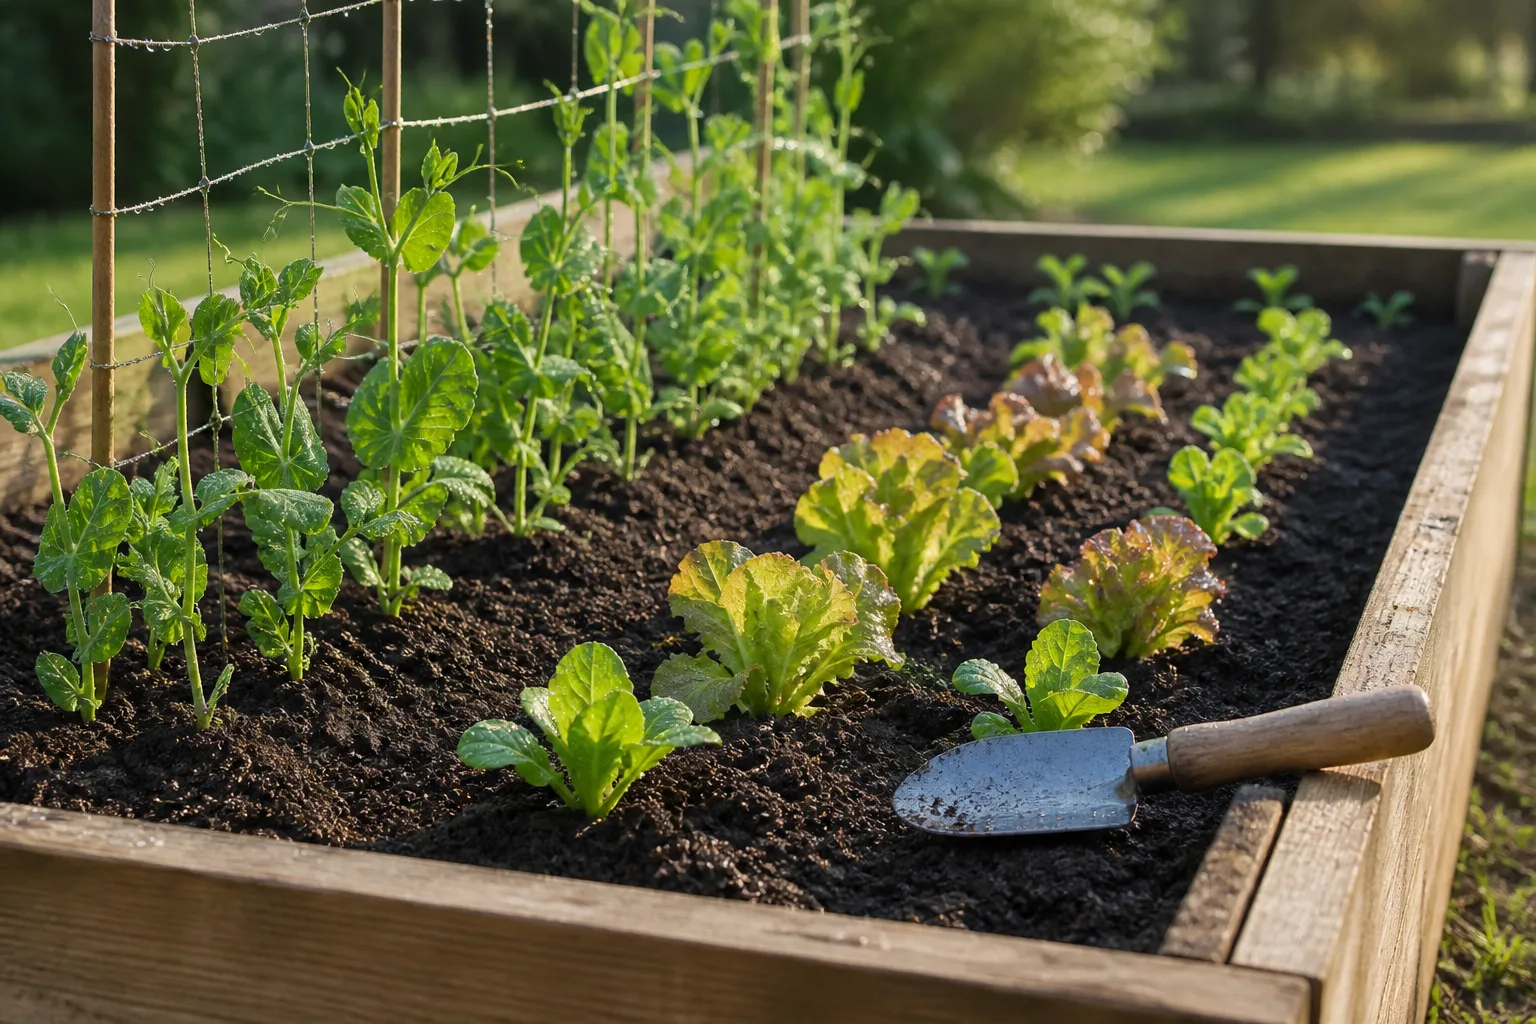
Hardening off gradually exposes indoor seedlings to outdoor light, wind, and temperature swings so leaf wax and cell structure toughen. Skipping it is the fastest route to sun-scorched leaves and collapsed stems.
The RHS recommends two to three weeks for tender plants, longer if they grew in very warm indoor conditions. Half-hardy types acclimate faster than fully tender ones. Gardening Know How uses a 7–10 day minimum for many vegetables—treat that as the floor, not the ceiling, for heat-loving crops.
Basic rules:
- Start in shade or dappled light for short periods; increase sun exposure daily.
- Bring plants in at night until lows stay above roughly 50°F (10°C) for warm-season crops.
- Reduce watering slightly so cells toughen, but never let plants wilt.
- Hold fertilizer during hardening; soft nitrogen growth undoes the process.
- Watch the forecast—cover or bring trays in when frost, hail, or hard rain threatens.
A cold frame works well: ventilate by day, close at night, and widen openings over two weeks until lids stay off. No frame? A sheltered patio or north-facing wall beats open lawn for the first days.
A Day-by-Day Hardening Schedule You Can Actually Follow
Adjust for wind and your crop’s tenderness, but this 10-day ladder keeps decisions simple:
| Day | Outdoor time | Sun exposure | Night plan |
|---|---|---|---|
| 1–2 | 1–2 hours | Full shade, sheltered | Indoors |
| 3–4 | 3–4 hours | Morning sun, afternoon shade | Indoors |
| 5–6 | 5–6 hours | Partial sun most of day | Indoors unless lows >50°F |
| 7–8 | 8–10 hours | Mostly full sun | Outdoors if mild; else indoors |
| 9 | All day | Full sun | Outdoors if forecast safe |
| 10 | Plant-out window | Full sun | In ground if checklist passes |
If leaves bleach or curl, back up one step for two days—plants are telling you the jump was too big. Resume the ramp more slowly.
The Outdoor Go/No-Go Checklist
Before you dig, every item should be yes:
- True leaves: at least three to four sets for outdoor planting (two for pot-up already done).
- Hardening: minimum 7–10 days complete; 14–21 for tomatoes, peppers, and basil.
- Frost: last average frost passed for warm-season crops—or deliberate protection in place for cool-season ones.
- Soil temperature: ≥50°F for cool crops, ≥60°F for warm crops at planting depth.
- Night lows: consistently above ~50°F for heat lovers.
- Weather window: overcast or cool morning preferred; brutal heatwave postponed.
- Seedling vigor: stems resist gentle bending; no active wilting indoors.
If you pass six of seven, wait three days. Transplanting is cheaper than re-sowing in June.
How to Transplant Seedlings Into the Garden Without Crushing Roots
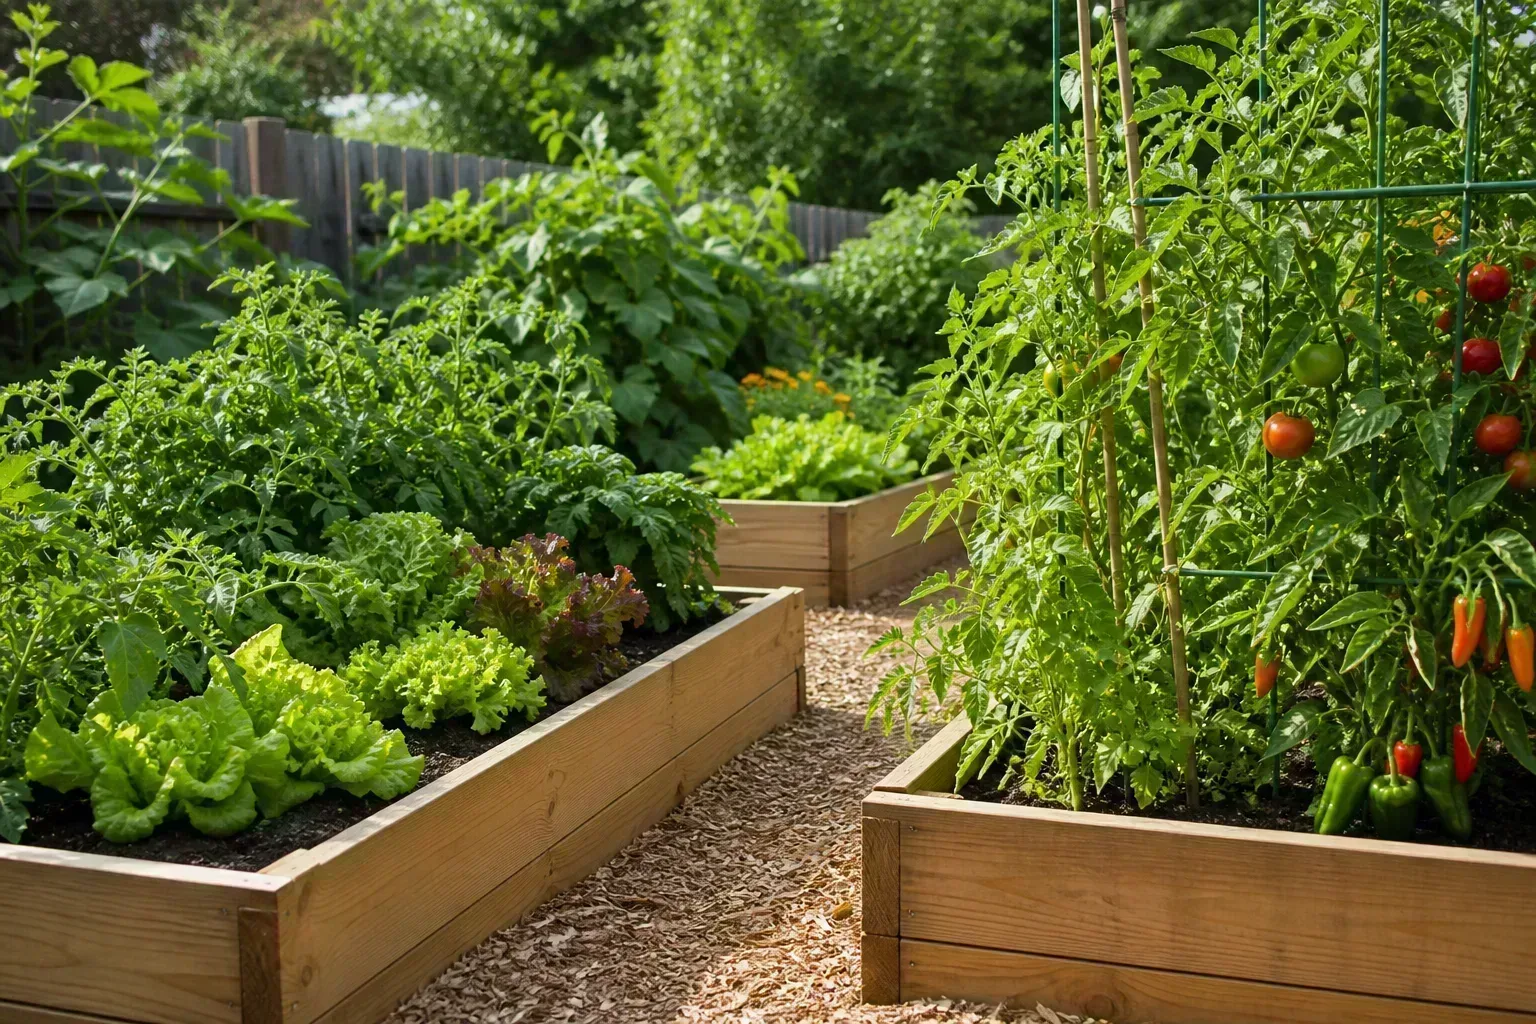
Choose a calm, overcast morning or late afternoon. Gardening Know How and Northern Homestead both recommend avoiding harsh midday sun on fresh transplants. Hot sunny days call for temporary shade cloth for 48 hours.
Prep the bed first. Weed, loosen soil, and mix in compost. In heavy clay, a slightly wider hole than the root ball helps roots escape the planting pocket. For raised beds, confirm mix is moist top to bottom—not dust dry below the surface.
Water seedlings 12 hours before moving. Moist root balls hold together; dry peat crumbles and tears roots.
Dig a hole as deep as the pot and a little wider. Slide the plant out by squeezing the pot—never yank the stem. If roots circle, tease the bottom gently or make two shallow vertical cuts on the root ball.
Set the plant at the correct depth (see below), backfill, and firm lightly to remove air gaps without compacting clay. Water slowly at soil level until the hole is saturated. A dilute seaweed or vitamin B transplant drench is optional; plain water works if timing and depth are right.
Hold seedlings by leaves, not stems. A crushed stem is fatal; a torn leaf is not.
Planting Depth Rules by Crop
Depth mistakes cause more post-transplant stalls than pests do early in the season.
- Tomatoes, peppers, and stem-rooting crops: plant deeper than the pot—bury the lower stem so additional roots form. The RHS advises burying so the first leaf pair sits just above soil.
- Brassicas, lettuce, and celery: keep the crown at the same level it grew in the pot; buried hearts rot.
- Cucurbits and melons: level planting—stem bases are prone to rot if buried.
- Onions and leeks: deep enough to anchor, but do not bury the growing point on onions; leeks often benefit from a shallow trench filled in over time.
When spacing, use mature width on the seed packet, not current pot size. Container gardeners should upsize outdoor pots at transplant rather than cramming full-size tomatoes into one-gallon buckets.
Watering Before, During, and After the Move
Think in three phases:
Before: thorough watering half a day ahead so roots bind the mix.
During: have water ready at the hole. Do not let root balls sit bare in wind while you dig the next row.
After: soak immediately, then maintain even moisture for 7–10 days. Soil should feel like a wrung-out sponge—not mud, not dust. Mulch after soil warms (especially for warm-season crops) to reduce surface evaporation. Avoid overhead sprinkling at noon on new transplants; soil-level watering limits leaf scorch and disease splash.
Once new growth appears—usually within a week for healthy brassicas, sometimes two for peppers—shift toward deeper, less frequent watering to encourage roots downward.
Rescuing Leggy, Root-Bound, and Overgrown Seedlings
Leggy: improve light, pot up deeper (where appropriate), and delay outdoor planting until stems stiffen. Pinching is crop-specific—tomatoes can be buried; heading lettuce cannot.
Root-bound: before planting, score or tease circling roots. A tight pancake of white roots at the bottom needs disturbance or the plant will never anchor properly.
Overgrown in the pot: if outdoor conditions are not ready, move to the next pot size rather than holding in a six-pack until roots strangle. Northern Homestead warns that overgrown seedlings shock harder than modest ones started on time. A month of indoor growth is an advantage only when roots still have room.
Multiple seedlings per cell: separate gently with a dibber, replant the sturdiest, and compost the runts. Crowded twins fight forever.
What Transplant Shock Looks Like—and When to Worry
Mild transplant shock is normal: slight droop for a day, paused growth for three to five days, older leaves yellowing one at a time. Recovery means perky new growth at the top within a week.
Worry when:
- All leaves wilt by evening on day two—roots may be dry, damaged, or planted in cold soil.
- Stem pinches or blackens at soil line—usually depth, rot, or cold injury.
- New growth never appears after 10 warm days—roots failed or fertility is off.
Shade, steady moisture, and patience fix most cases. Replanting the same plant rarely helps; prevention beats surgery.
Seven Transplant Mistakes That Waste a Month of Indoor Growing
- Using height as the only signal—leggy equals under-lit, not ready.
- Skipping the indoor pot-up—roots circle in cells until outdoor week is a rescue mission.
- Planting warm crops on calendar date alone—cold soil stalls them worse than a late frost would.
- One afternoon of “outdoor practice”—that is not hardening off.
- Transplanting at noon on a 90°F day—even hardened plants cook.
- Burying crowns that need to stay above soil—cabbage and lettuce hearts rot fast.
- Letting hardened trays sit in six-packs two extra weeks—outdoor-ready plants become root-bound prisoners.
Conclusion
Strong transplants come from matching two moves to real plant signals: pot up at two true leaves or first root crowding, harden off for at least 7–10 days (longer for tender crops), then plant out when true leaves, soil temperature, and nights all agree. Count leaves, not inches. Warm the soil before you warm the air with optimism. Harden slowly, plant on a cool morning, and bury tomatoes deep while keeping lettuce crowns high. Get that sequence right and the tray you tended under lights becomes the garden that does not need replacing in June.



