Seedling Watering: Bottom or Top? When to Switch
Should you water seedlings from the bottom or top? Learn when to switch methods by growth stage, how long to soak trays, and how to prevent damping off.
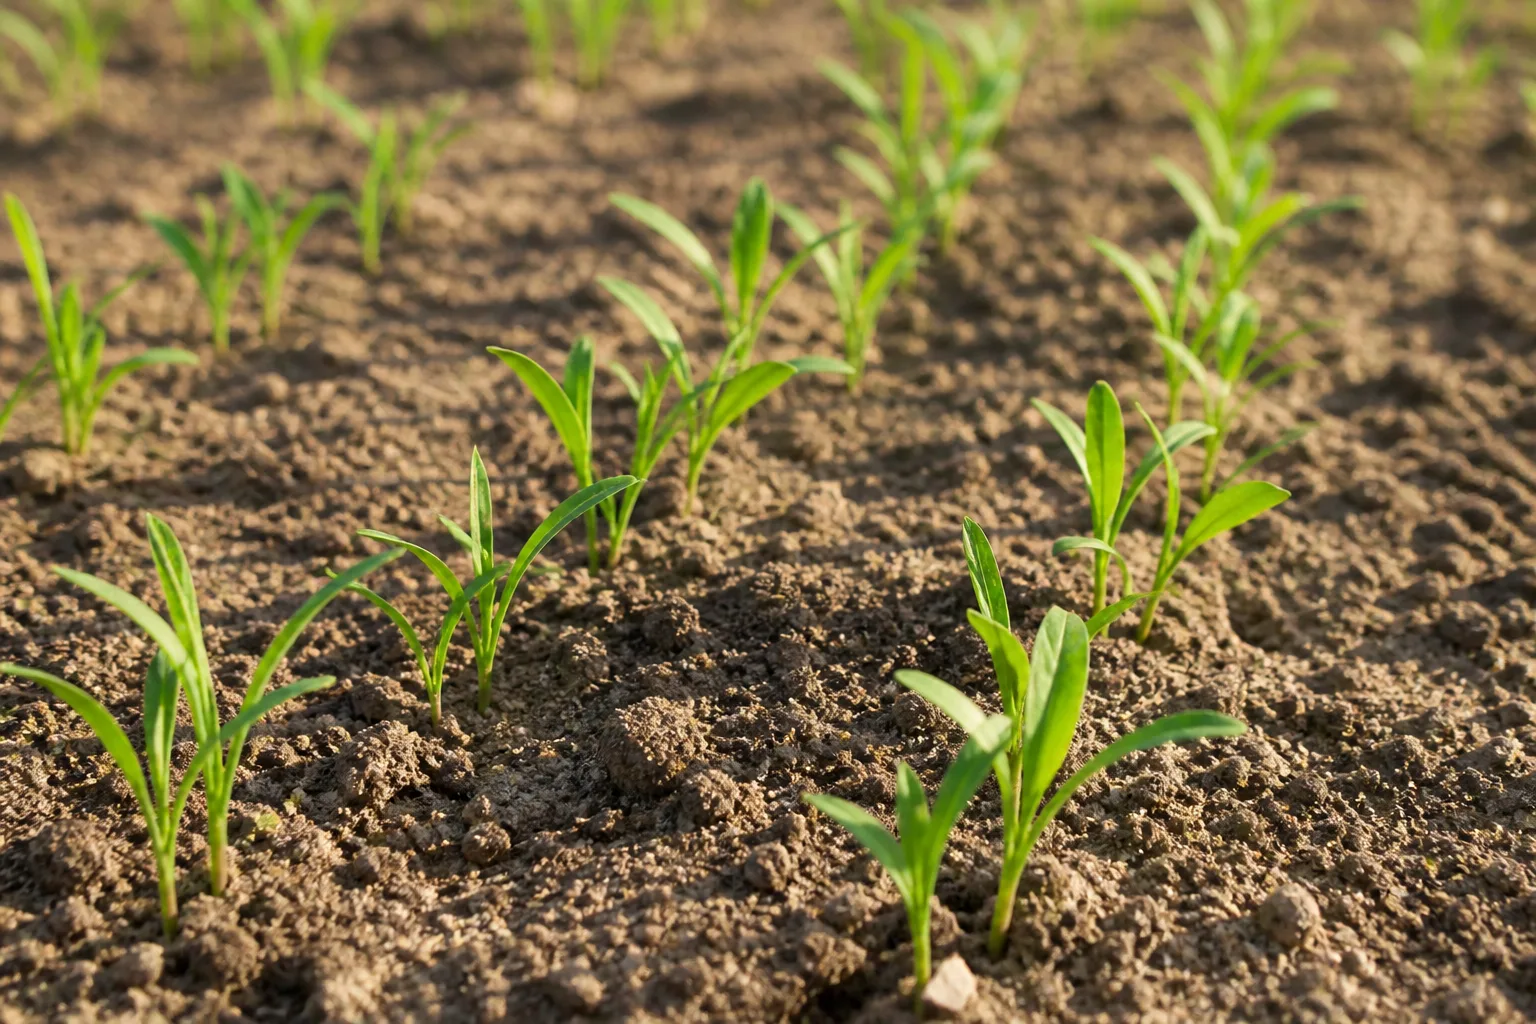
You read that bottom watering builds stronger roots, so you slid every tray into a shallow pan and walked away. A week later the mix is green with algae, stems are pin-thin, and half the cells collapsed overnight. The habit was not bottom watering itself—it was using the wrong method at the wrong stage and leaving trays sitting in water far too long.
Seedling watering is not a forever choice between top and bottom. It is a sequence: keep the seed zone evenly moist from above until roots exist, then lean on bottom watering to hydrate without soaking fragile leaves—while still checking moisture daily and draining on time. Get that sequence right and both methods work beautifully. Skip it and even “best practice” advice will kill trays.
The Short Answer: Match Your Watering Method to the Seedling Stage
Before germination: water from the top (or mist) so the seed and upper mix stay continuously moist. There are no roots to pull water up from a tray yet.
After sprouts emerge and roots reach the tray bottom: switch to bottom watering as your primary method—short soak sessions, then drain completely.
After true leaves form and plants grow taller: use a hybrid—bottom water for deep hydration, top water lightly when only the surface dries out, especially in deep cells.
That three-stage rule answers the headline question without dogma. Bottom watering is excellent once roots can wick; it is a poor sole strategy before roots exist or when trays never leave the water bath.
Why Watering Method Matters More for Seedlings Than Mature Plants
Mature plants have woody stems, extensive root systems, and leaves that tolerate occasional splashing. Seedlings have none of that armor. A seed coat must imbibe water to germinate; a newly emerged stem is a soft straw standing in fungus-friendly humidity; roots are shallow threads that can dry out in hours in a 72-cell tray under grow lights.
The University of Maryland Extension notes that vegetable seedlings are vulnerable to damping off—a group of soil-borne fungi including Pythium and Rhizoctonia that attack stems at the soil line when conditions stay cool, wet, and stagnant. Watering method does not cause damping off by itself, but it controls how long leaves stay wet and how saturated the root zone remains. Those two variables decide whether fungi get the upper hand.
What Goes Wrong When Moisture Swings Too Far
Too dry: seeds fail to imbibe, sprouts stall, or tiny roots desiccate in small cells that bake under lights. Peat- and coir-based mixes can also turn hydrophobic when they dry completely—water runs down the cell sides instead of rewetting the root zone.
Too wet: pore spaces fill with water, roots suffocate, algae coats the surface, and damping-off fungi thrive. Bottom watering makes this worse when trays sit in standing water for hours or days “because the plants look thirsty.”
Too inconsistent: alternating flood and drought stresses seedlings and produces weak, uneven stands. The goal is not constant saturation—it is even moisture with brief dry-down cycles at the surface between drinks.
Stage 1 — Top-Water or Mist Until Seeds Sprout
From the moment you cover seed until cotyledons break the surface, your job is simple: keep the seed zone moist without washing seed away. Bottom watering alone often fails here because capillary rise may not reach a seed sitting near the top of a dry cell, especially in freshly filled trays where the mix is still settling.
If you have just planted, water from the top each day—or twice daily under hot, dry conditions—until you see green loops above the soil. A mister or spray bottle works well for tiny seed sown on the surface (lettuce, basil, snapdragon). A narrow-spout watering can with a rose or fan breaker gives more volume once cells are filled and seeds are covered lightly with mix.
For outdoor direct sowing, nature top-waters with rain. Your hose with a fan nozzle mimics that—gentle, moving spray held well above the bed, never a concentrated blast on one spot.
Pre-Moisten Mix Before You Fill Trays
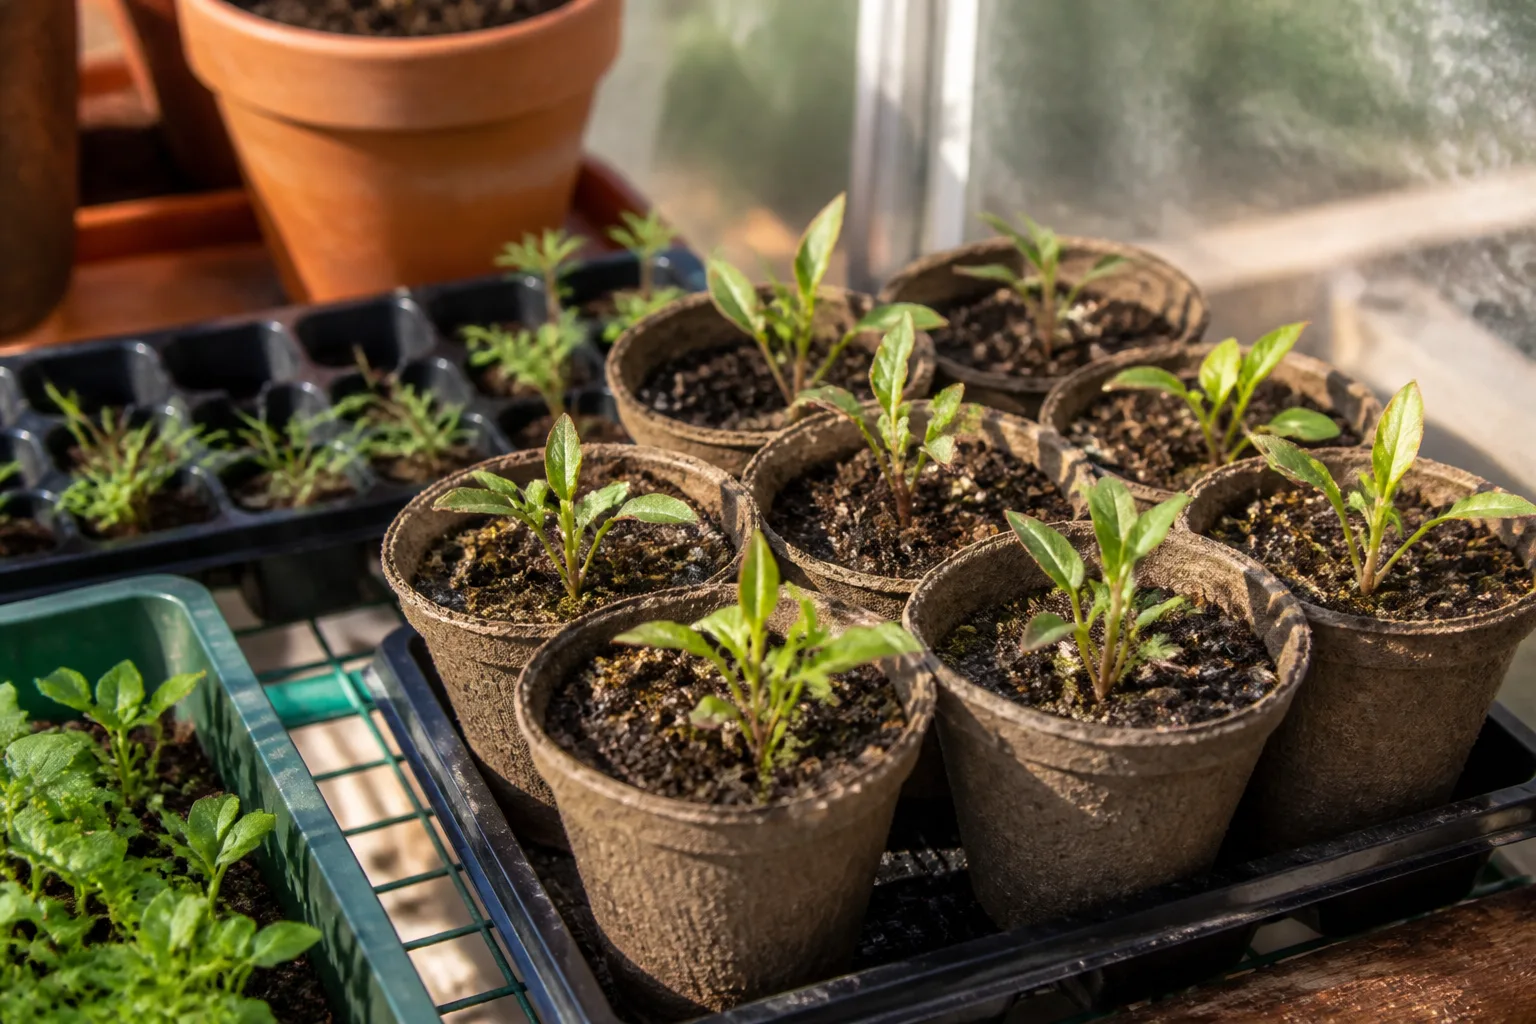
Dry peat and coco coir repel water. Epic Gardening’s seed-starting guidance recommends hydrating mix before it goes into trays: add warm water to a tub of dry medium, stir, wait ten minutes, repeat until the batch holds moisture like a wrung sponge—damp enough that a squeezed handful releases a few drops, not a stream.
Pre-moistening accomplishes two things: seeds make immediate contact with wet particles, and your first post-sowing top watering is maintenance, not an emergency rewet of hydrophobic fiber.
Misting, Watering Cans, and Gentle Top Water for Germination
Misting slows evaporation on the surface without disturbing seed. Use it when domes are on and ambient humidity is low. Mist until the top looks dark and slightly glossy, not dripping.
Watering cans suit covered seed in deeper cells. Pour along the cell edge, not directly on the seed, so mix absorbs water without floating seed to the surface.
Germination domes reduce how often you must top-water during Stage 1. Vent them daily—even a cracked lid—to exchange humid air for fresh airflow. Remove domes once most seedlings in a tray reach about an inch tall or when mold appears on the dome interior.
If you are still calibrating timing, our guide on how long seeds take to sprout pairs soil-temperature targets with realistic emergence windows so you know how long Stage 1 should last for each crop.
Stage 2 — Shift to Bottom Watering Once Roots Can Reach the Tray Floor
Once cotyledons are up and white roots show at drainage holes—or you can lift a cell and see roots threading the bottom—bottom watering becomes your primary tool. Capillary action pulls moisture up through the mix while leaves stay dry, which lowers fungal pressure on tender stems.
This is the stage most “bottom water everything” advice actually describes. The common backfire happens when growers start bottom watering before roots exist, assume wicking will magically hydrate a dry top layer, and leave trays in water all afternoon because “the soil still looks dry on top.”
How Capillary Bottom Watering Works
Water enters through drainage holes and moves upward by adhesion between water molecules and mix particles. The mix wicks until it reaches equilibrium—typically when the surface darkens and a fingertip pressed lightly leaves a faint mark. At that point, remove the tray from the water bath and let excess drain. The mix should feel evenly moist, not squishy.
Bottom watering does not eliminate the perched water table at the bottom of each cell—the saturated layer that exists in any container after drainage. What it changes is how water arrives and whether foliage gets drenched. For a deeper comparison of mechanics, see our top watering vs bottom watering guide for houseplants; the capillary physics are the same in seed trays.
The Bottom-Watering Protocol That Actually Prevents Soggy Trays
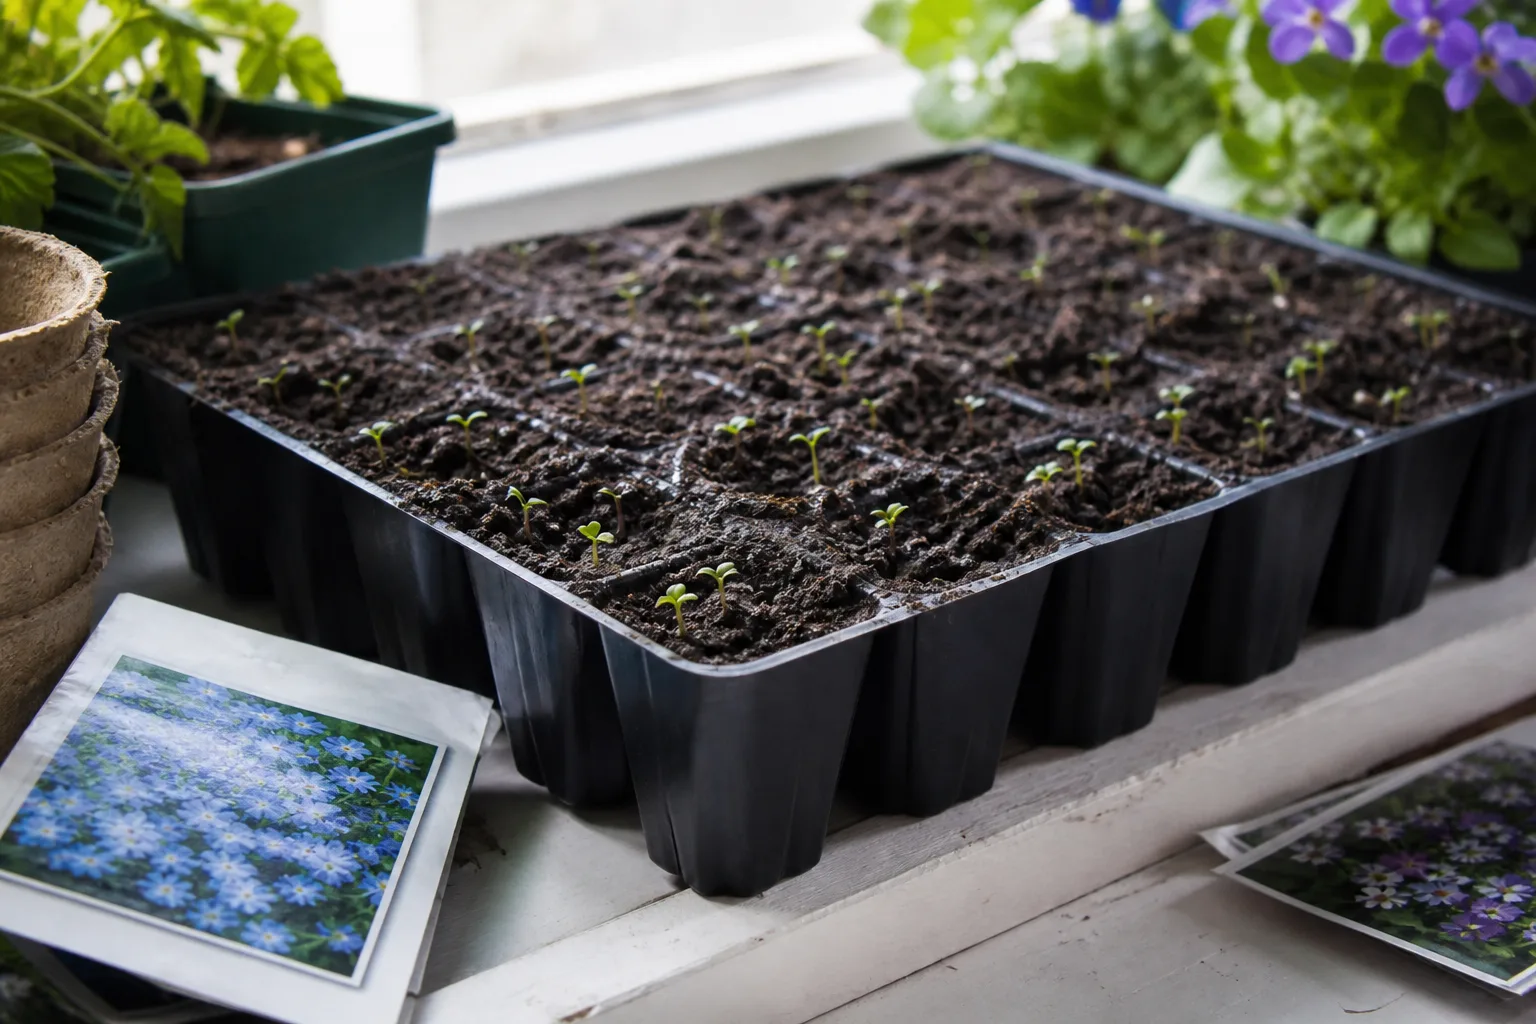
Follow this sequence every time you bottom water in Stage 2 and beyond:
- Choose a watertight tray wider than your cell flat—a 1020 solid tray, storage-bin lid, or baking sheet with a lip. The tray holds water; the cell flat has holes.
- Add room-temperature water to about ½–1 inch depth—enough to contact all drainage holes without submerging cell tops.
- Set the flat in the bath and start a timer. Most 72-cell trays need 20–45 minutes; deep 4-inch pots may need up to an hour on the first pass of the day.
- Check the surface. When the top of the mix darkens and feels cool and slightly damp to a light touch, pull the flat out.
- Drain completely. Prop the flat at an angle over the sink or an empty tray for five to ten minutes. Never return a dripping flat to a heat mat or windowsill saucer that holds water.
- Empty the bath before the next round. Reusing stale water spreads pathogens tray to tray.
Soak Time, Drain Time, and When to Skip a Session
Soak too short: bottom half wet, top dry—roots in the saturated zone while the seed line desiccates. Extend soak five minutes or give a light top mist on stubborn surface dry spots only.
Soak too long: entire cell waterlogged, algae within days, damping off within a week. If you forgot a tray for three hours, drain immediately, ventilate with a fan, and skip watering until the surface dries slightly.
Skip bottom watering when the tray feels heavy for its size, algae is spreading, or seedlings look yellow and limp despite wet mix—those are overwatering signals, not thirst. Let the top quarter-inch dry before the next soak.
When Bottom Watering Backfires (and Top Watering Saves the Tray)
Bottom watering is not gentler by default—it is less leaf-wet when done correctly. It becomes destructive when:
- Trays sit in water continuously. Roots never get an oxygen-rich dry-down cycle. Fungus gnats breed in perpetually moist saucers. This is the “common habit” in the title: treating bottom watering as set-and-forget irrigation.
- No roots reach the bottom yet. Pre-germination bottom watering leaves the seed zone dry while the tray floor is wet—a recipe for uneven germination.
- Mix is hydrophobic. Water wicks into the lower half but cannot climb through repelling peat. Top water slowly along cell walls, or bottom-soak longer while pricking the surface with a fork to break crust—then fix your pre-moisten routine next sowing.
- You need to flush salts. If you have been feeding with soluble fertilizer or using hard tap water, occasional top watering until runoff leaches minerals from the cell. Bottom-only schedules can accumulate salts at the surface over weeks.
Top watering also wins when trays hold mixed crops at different sizes—one dry cell beside a saturated neighbor. You can target the thirsty pot without soaking the whole flat.
The Hybrid Schedule Most Experienced Growers Use
Professional growers rarely stick to one method forever. A practical calendar:
| Growth stage | Primary method | Secondary / backup | Watch for |
|---|---|---|---|
| Sowing → emergence | Top mist or gentle pour | Pre-moistened mix | Surface drying under dome |
| Cotyledons → first true leaf | Bottom soak 20–45 min, drain | Light top mist if surface alone is dry | Algae, stem rot at soil line |
| True leaves → transplant size | Bottom soak 1–2× daily as needed | Top water to flush salts monthly | Leggy stretch, light green/yellow from overwater |
| Hardening off outdoors | Top water with hose fan nozzle | Bottom tray on calm days | Rain filling saucers |
As seedlings put on true leaves—the second set that looks like the mature plant—they drink faster. A full tray of tomatoes near transplant size may need two bottom soaks per day in warm conditions, each followed by full drain—not a permanent puddle.
How to Tell If Your Seedlings Need Water Today
There is no universal “½ cup per cell” rule. Container size, mix composition, heat mats, fan airflow, and crop type all change the clock. The only reliable approach is daily observation with three quick tests.
Finger, Weight, and Drain-Hole Checks
Surface touch: Press a clean fingertip on the mix. If it feels cool and slightly tacky, wait. If it is dusty, pale, or cracks when you press, water today. In tiny 128-cell trays where a finger would disturb roots, touch only the top millimeter or judge by color.
Tray weight: Lift the flat. A properly moist tray feels noticeably heavier than a dry one. Compare against a freshly hydrated tray once so your hands learn the target. Weight catches dry bottoms that still look fine on top—a common bottom-watering blind spot.
Drain-hole peek: Tilt a corner cell and look underneath. White, active root tips need moisture; shriveled, brown roots signal drought stress. Dark, waterlogged mix at the hole with no air gap means drain longer before the next soak.
Check trays at least once daily during germination; twice daily under grow lights, heat mats, or when seedlings have true leaves. Seed-starting season is not vacation season—ten minutes of checking beats restarting a flat from seed.
Common Seedling Watering Mistakes and Fast Fixes
Keeping mix constantly soggy. Seedlings need moisture, not swamp. Let the surface dry slightly between sessions. If stems go thin and fall over at the soil line, reduce water and increase airflow immediately.
Never increasing airflow. A small fan on low mimics wind, strengthens stems, and dries leaves faster. Without a fan, brush seedlings gently with your hand twice daily. More airflow means more frequent moisture checks—fans dry trays quicker.
Watering on a calendar instead of conditions. “Every Tuesday” fails. Water when tests say so. Cool, cloudy weeks may mean every other day; sunny weeks under lights may mean twice daily.
Using cold tap water on heat-mat trays. Room-temperature water prevents shocking warm roots. Fill jugs the night before if your tap runs ice-cold.
Ignoring light while obsessing over water. Leggy, pale seedlings are usually light-starved, not thirsty. Most vegetables want 14–16 hours of strong light daily—see our how to start seeds indoors guide for setup basics. Adding water to stretched seedlings makes rot more likely, not less.
Filling trays from a blasting hose outdoors. Use a fan nozzle, keep the spray moving, and water early in the day so foliage dries before cool nights.
Indoor Trays vs Outdoor Direct-Sown Beds
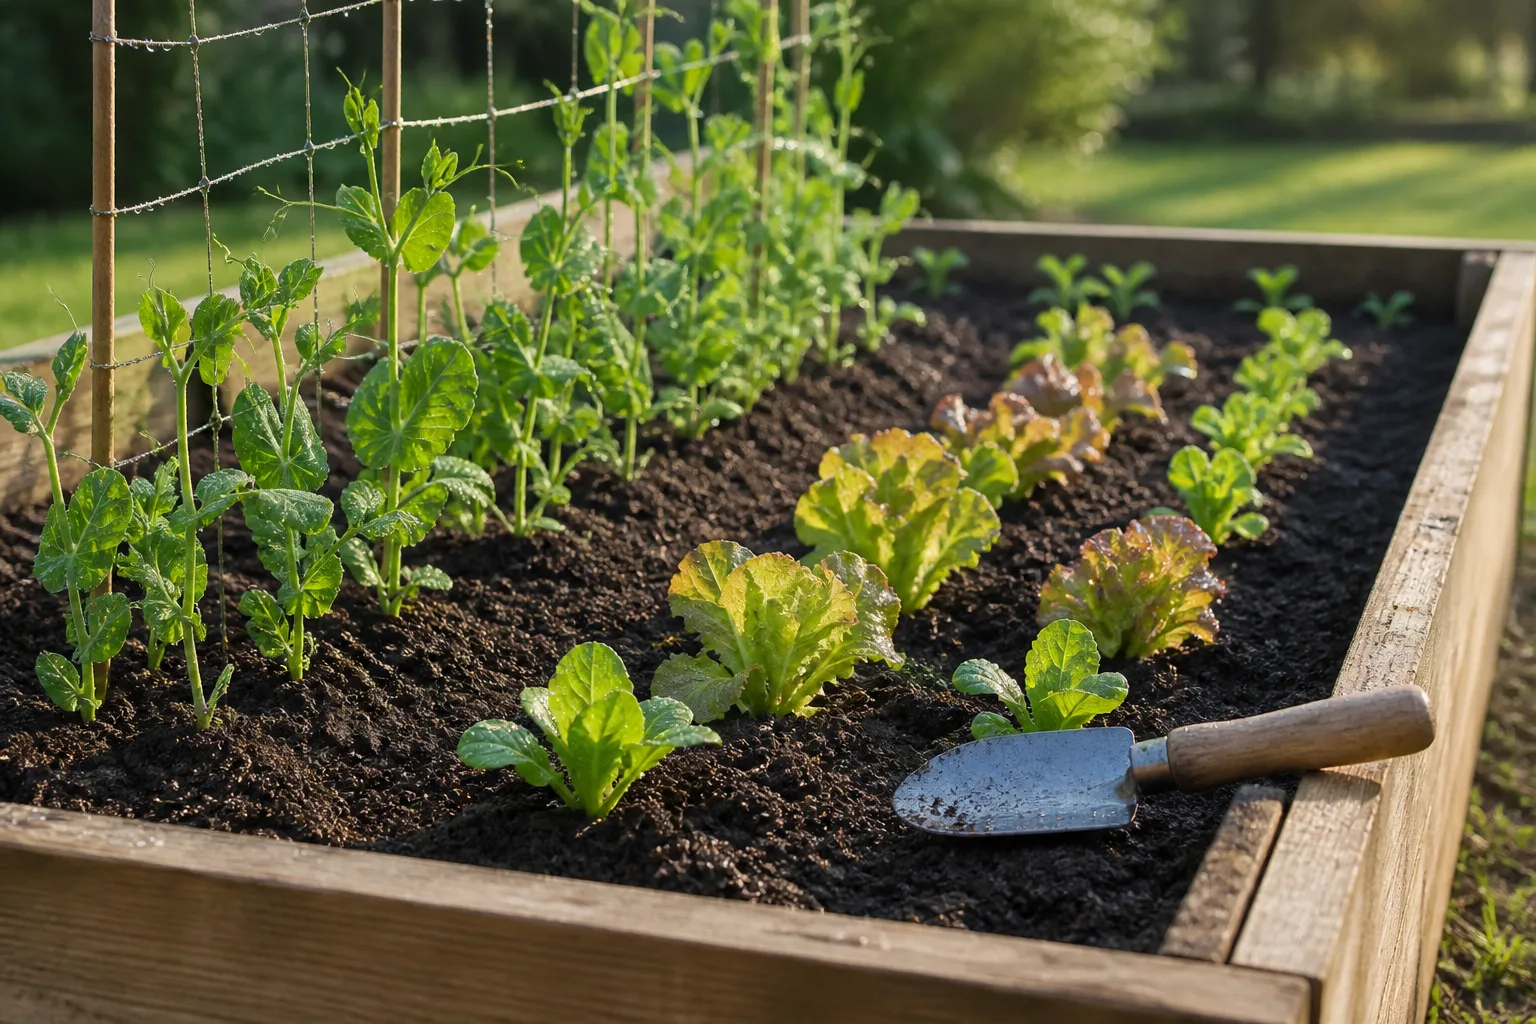
Indoor cell trays reward bottom watering after emergence because flats sit in solid trays anyway, drainage is uniform, and dry furnace air pulls moisture fast from small volumes.
Outdoor garden rows are top-water territory until plants are large enough for drip lines. Germinating seed in open soil needs shallow, frequent irrigation—often daily light watering until emergence, then deeper, less frequent soaks that encourage roots to follow moisture downward. Drip irrigation works well after establishment but often fails for bare seed because emitters do not wet the full germination zone.
Raised beds dry faster than in-ground plantings. Mulch after seedlings have true leaves to hold moisture, but keep mulch off the row until sprouts are visible so you do not smother emergence.
Light, Airflow, and Soil Temperature—Watering’s Silent Partners
Watering advice falls apart when temperature and light are wrong. Oregon State University Extension documents wide germination ranges: lettuce can sprout in soil near 40°F but slowly; tomatoes and peppers prefer 60–85°F at the root zone for reliable emergence.
Cool-season crops in a cold room need less frequent watering than pepper seedlings on a 70°F heat mat under intense lights—the mat accelerates both growth and evaporation. Match water to soil temperature and light intensity, not the calendar month.
The Iowa State germination requirements chart is worth bookmarking when you are deciding whether slow emergence is a watering problem or a cold-soil problem. If soil is below the crop’s minimum, no watering method will force sprouts.
Troubleshooting Damping Off, Algae, and Leggy Seedlings
Damping off shows as pinched, discolored stems at the soil line and seedlings that flop over healthy-looking above. Remove affected plants immediately, reduce watering, improve airflow, and consider a light surface scrape to remove algae. Avoid heavy nitrogen feeds on stressed trays. Prevention beats cure: drain after every bottom soak, vent domes early, and never let flats sit in saucers of water overnight.
Green algae on the surface means too much moisture and too little air—not necessarily dead plants underneath. Scrape lightly, let the top dry, bottom-water shorter sessions, and run a fan. Algae competes with seedlings for oxygen at the crown.
Leggy, floppy seedlings point to insufficient light far more often than underwatering. Move lights closer (keep LED panels several inches above foliage per manufacturer guidance), extend photoperiod to 14–16 hours, and resist “rescuing” stretch with extra water.
Mold on spent domes is a hygiene signal—wash domes between crops with hot soapy water, not a reason to keep humidity sky-high on established seedlings.
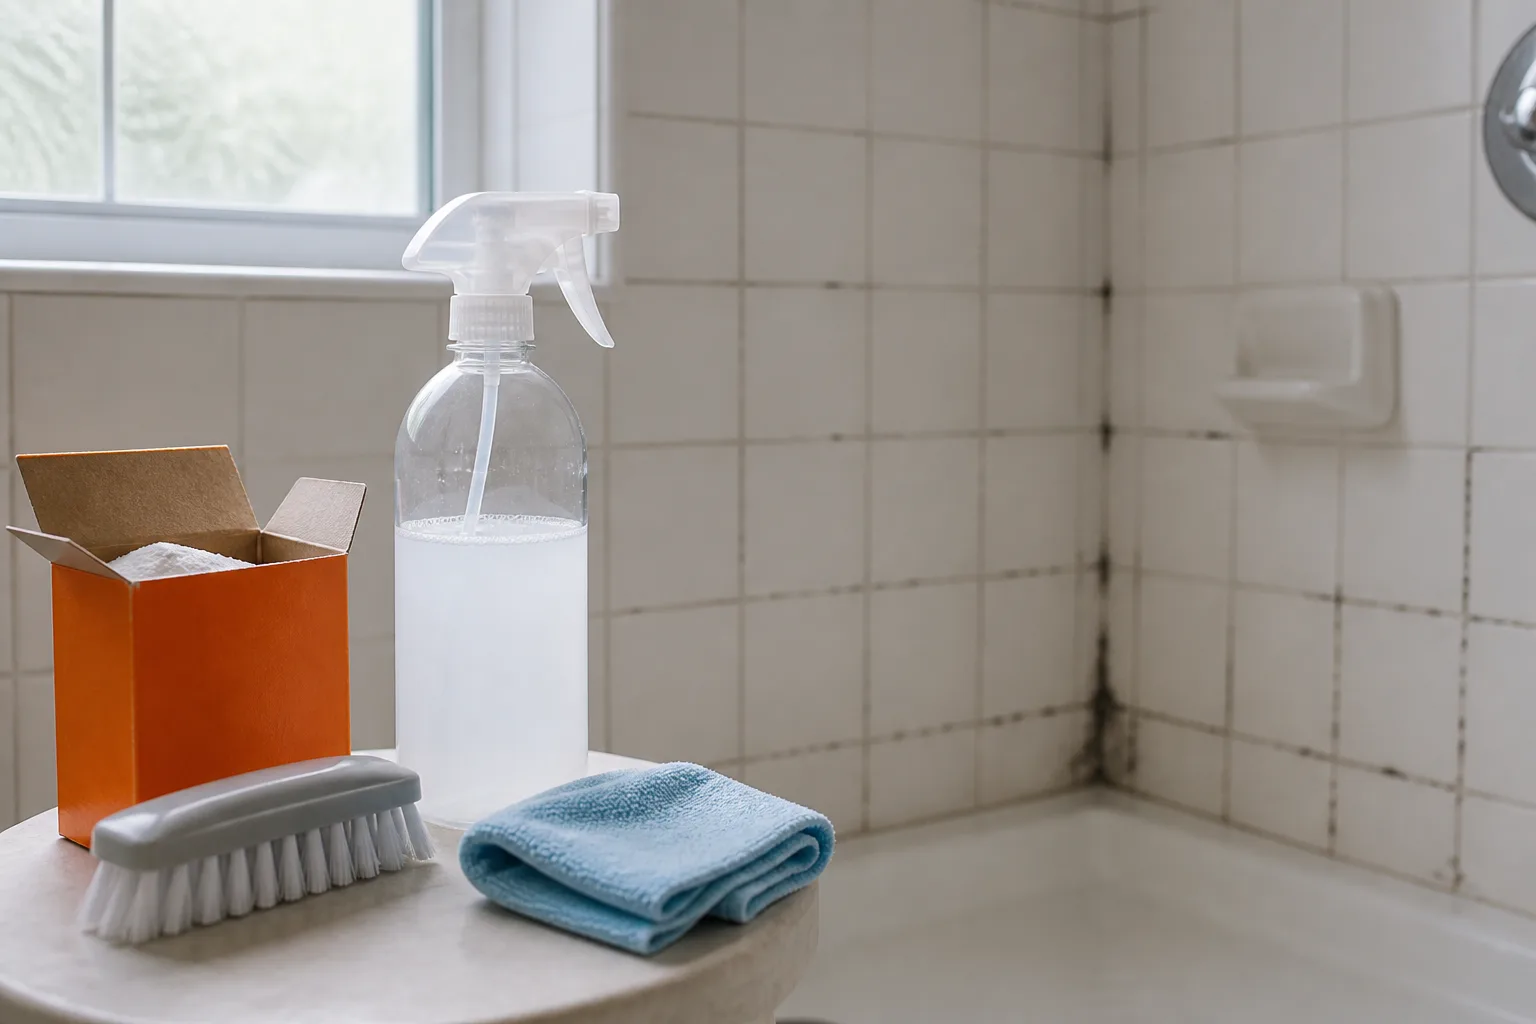
If white fuzzy growth is your main worry, our guide on whether baking soda kills mold covers where household treatments help—and where they do not—on plant surfaces.
Conclusion
Bottom watering and top watering are not rivals—they are tools for different moments in a seedling’s life. Top-water or mist until roots exist and cotyledons are up. Bottom-water in timed soaks with full drainage once roots wick from the tray floor. Blend both as plants grow, flushing salts from above when needed and never letting flats marinate in standing water.
The habit that backfires is not choosing bottom watering—it is choosing one method too early, too late, or for too long without checking the tray. Lift the flat, feel the surface, peek at drain holes, and match the next drink to what you see. Do that daily and your seedlings get the moisture they need without the fungi that thrive when growers set a tray in a pan and forget the timer.



