Signs You Have Mice in Your House (Pest Pro Guide)
Pest pros look for scratching sounds, ammonia odor, rice-sized droppings, and shredded nests. Here is how to inspect your home and what to do when you find two or more signs.
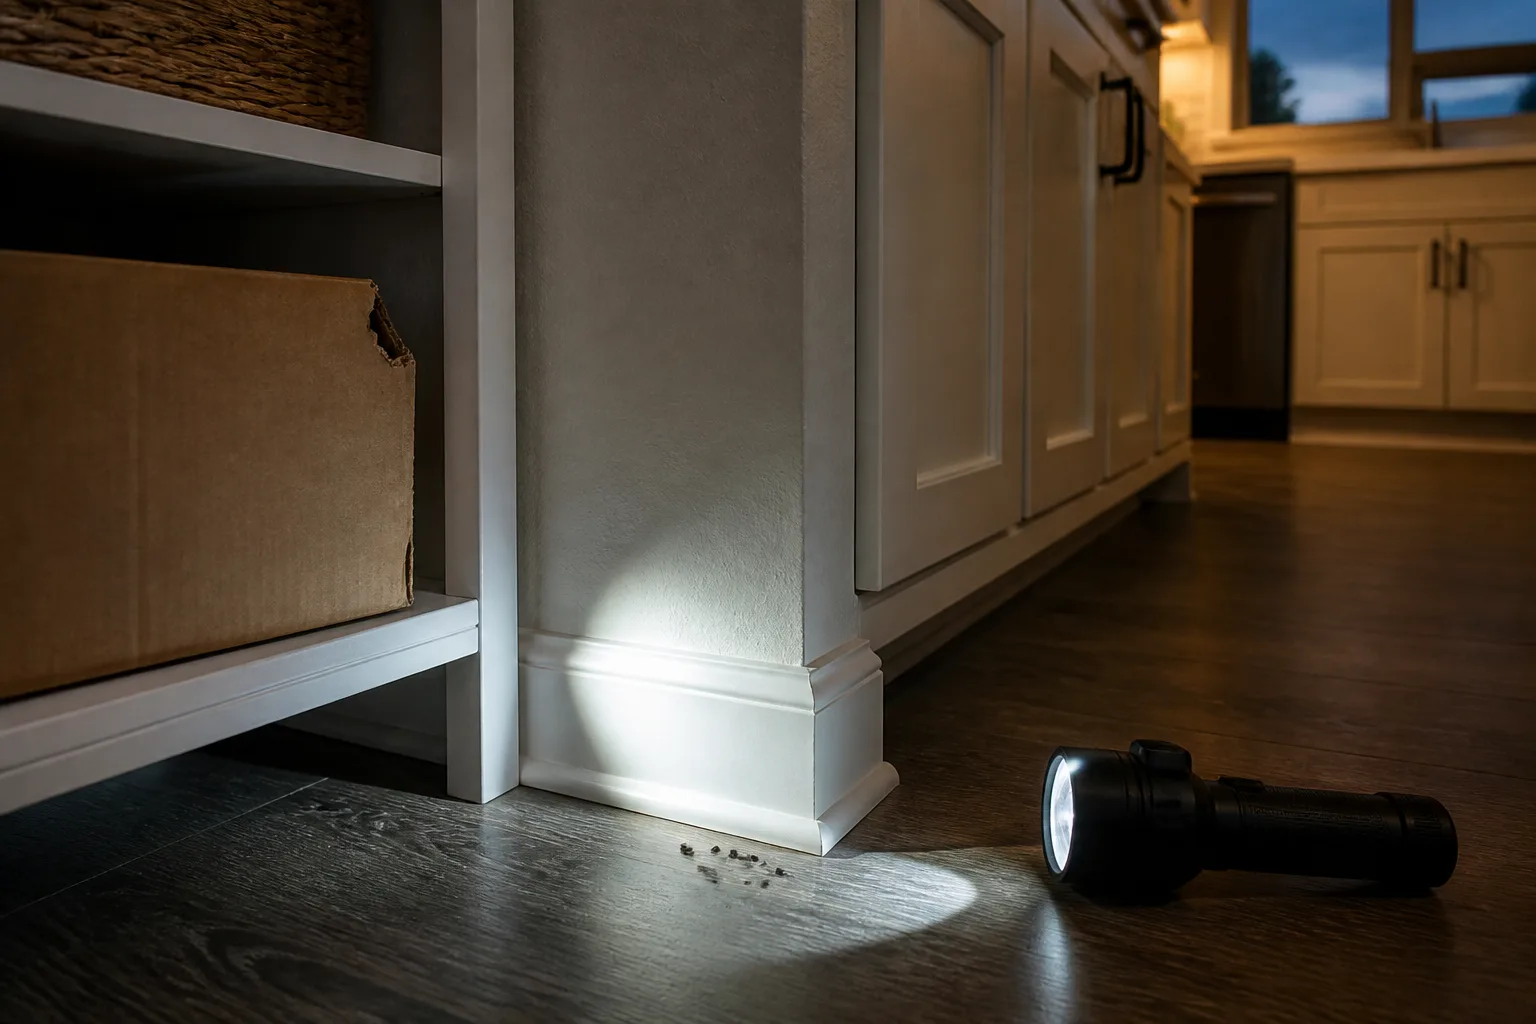
A single rustle behind the dishwasher at 11 p.m. is not proof of an infestation—but it is reason to look. The six signs pest professionals trust most are nighttime scratching or scurrying in walls and ceilings, a sharp ammonia or musky urine odor, rice-sized droppings along baseboards and in cabinets, fine gnaw marks on food packaging and trim, shredded nests in warm hidden spaces, and a pattern of worsening evidence that can include daytime sightings. One sign alone is a clue. Two or more in the same zone—kitchen baseboards, attic insulation, garage wall—usually mean house mice (Mus musculus) are actively using your home for food and shelter.
The CDC emphasizes that droppings and gnaw marks often appear before you ever see an animal. That is why a deliberate inspection beats waiting for a dramatic encounter. This guide walks through each sign the way an experienced technician would: what it looks like, where to check, how to separate active activity from old history, and what to do next without making the problem worse.
Why mice move indoors when temperatures drop
House mice do not hibernate. When outdoor food becomes scarce and nights turn cold—typically from late fall through early winter in most U.S. climates—they push into structures through gaps around utility lines, garage doors, crawl-space vents, and foundation cracks. A warm wall void with a nearby pantry is one of the best winter habitats a mouse can find.
Mice are mostly nocturnal and secretive. They travel along walls and vertical surfaces rather than crossing open floors, which is why damage clusters along baseboards, behind appliances, and inside seldom-opened drawers. They need very little: a hole about the diameter of a dime can admit a young mouse, and a few tablespoons of spilled pet food or birdseed can support repeated visits. If your home offers quiet routes and unsecured dry goods, mice can persist year-round—not only in winter.
Understanding that seasonal push helps you inspect smarter. Focus on transition zones: where the garage meets the house, where pipes enter kitchen cabinets, and where insulation meets framing in attics and crawl spaces. Those are the highways mice use before you ever spot one in the open.
How to inspect your home before you assume the worst
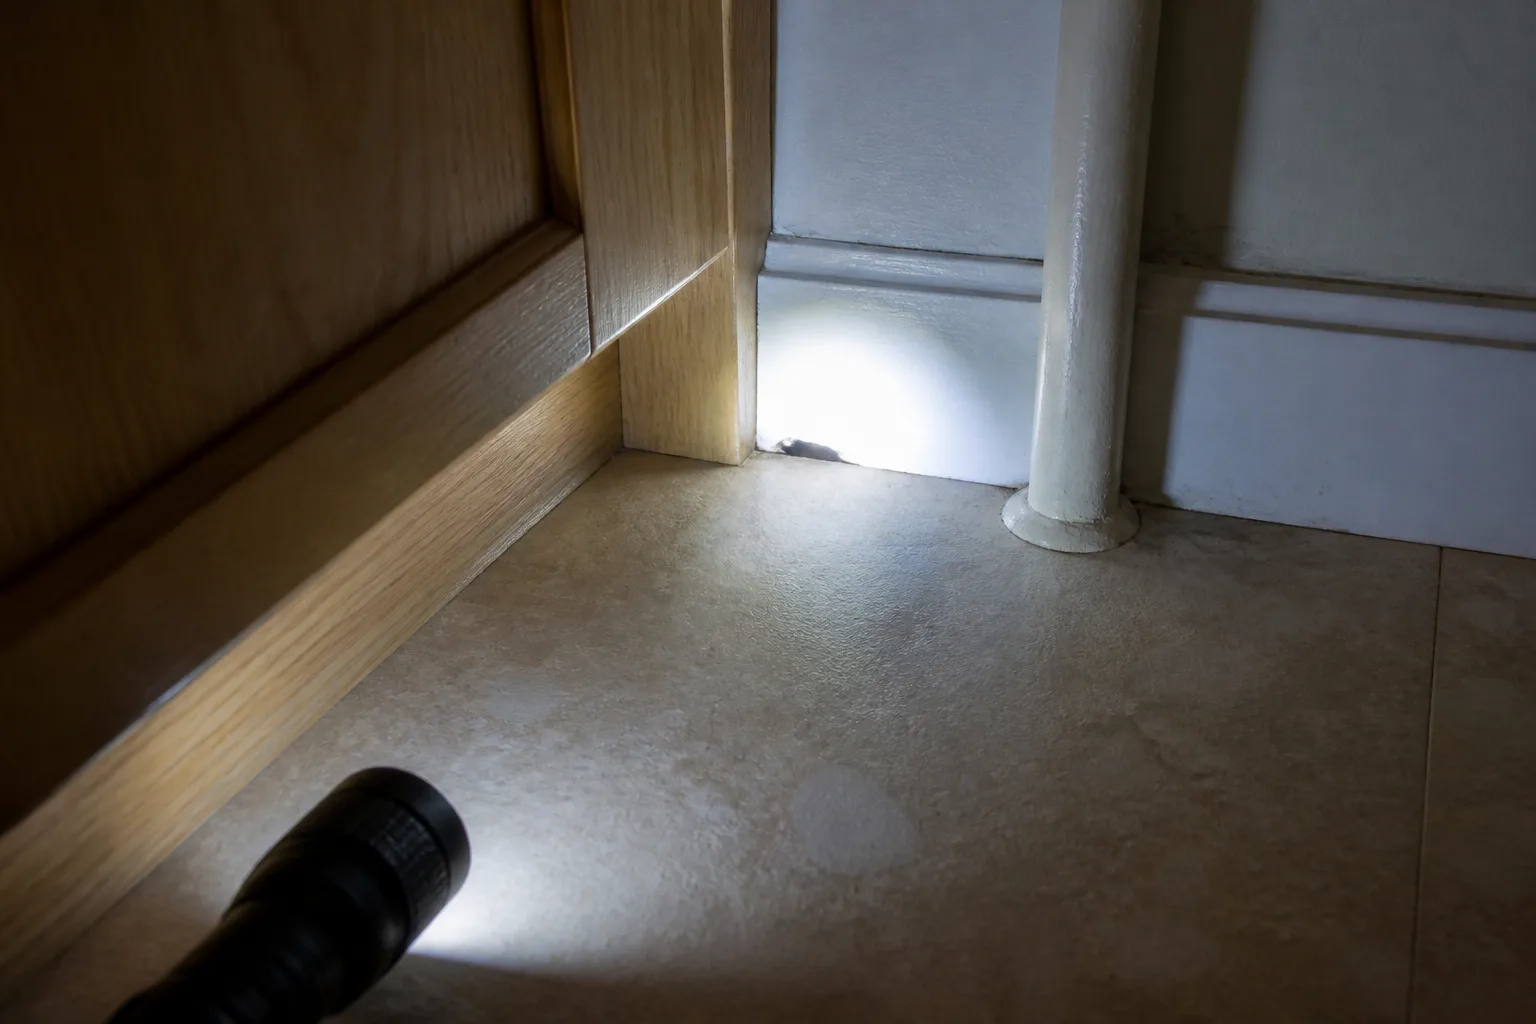
Do not start with poison tossed in a corner. Start with evidence. Grab a bright flashlight, disposable gloves, and your phone camera. Work at dusk or after dark, when nocturnal movement is most likely, and move quietly—heavy footsteps can send mice deeper into wall voids before you see sign.
Your goal is to answer two questions in every room: Is there a way in, and is anything using it right now? Note every opening, every chewed package, and every dropping cluster. Mark active-looking spots with painter’s tape if you plan to trap along that runway, but avoid sealing holes until you know whether animals are still moving through them—trapping a mouse inside a wall is worse than monitoring a gap for 24 hours while you set traps outside the void.
The 20-minute room-by-room checklist
Set a timer and work systematically. In the kitchen, pull the trash can forward, shine light along the kick plate under lower cabinets, and open the least-used drawer. Check behind the stove and refrigerator if you can access the gap safely. In bathrooms and laundry rooms, inspect where plumbing penetrates walls and where flexible dryer vent hose meets the exterior. In living areas, run the flashlight along baseboards behind furniture and inside floor-level entertainment centers.
Move to attached garages and mudrooms—prime entry corridors many homeowners skip. Finish in attic access, crawl-space hatches, and basement rim joists. You are looking for droppings, gnawing, shredded paper or insulation, rub marks, and gaps wider than a pencil. Photograph clusters with a date stamp so you can compare after cleanup. For a deeper whole-home exclusion mindset, see our guide on mouse-proofing for winter.
Sign 1: Nighttime scratching and soft scurrying in walls
The most common first alarm is sound: light scratching, skittering, or intermittent scurrying in walls, ceilings, or cabinet voids when the house quiets down for the night. Mice are small and light. Their movement tends to sound quick and fine rather than heavy.
Pest technicians often hear activity peak between late evening and early morning, when mice leave nesting sites to forage. Sound alone does not tell you how many animals are present, but new noise in the same wall night after night strongly suggests an established runway. Press your ear to a shared wall or place a glass rim against drywall with the open end toward your ear—an old inspector’s trick that can help localize movement without opening construction.
How to tell mouse sounds from rats, squirrels, and insects
Rats are heavier. Many homeowners describe rat movement as thumping or louder gnawing in the same spaces where mice sound delicate. Squirrels are usually active in daytime, especially dawn and dusk, and are more common in attics with roofline access than inside kitchen walls. Insects in wall voids—carpenter ants or bees—produce different rhythms: buzzing, ticking, or faint crackling rather than mammalian footfalls.
If you hear chewing on plastic or wood at night combined with droppings below, lean mouse or rat. If you hear frantic daytime scrambling above the ceiling near trees, consider squirrels. When sound is your only sign, pair it with a physical inspection the next morning along the wall base on that side of the house.
Sign 2: Ammonia or musky urine odor in closed spaces
Mouse urine carries a sharp, ammonia-like edge that builds as animals reuse the same routes. In a light infestation, you might only notice it inside a rarely opened cabinet or behind a heavy appliance. As population and activity increase, the smell can spread through a pantry, closet, or utility room.
Unlike the unforgettable stench of a dead rodent trapped in a void—which hits hard and localizes quickly—living-mouse odor is often described as stale, musky, and urine-forward. It may persist in enclosed spaces with poor air exchange even when you cannot see droppings yet. Sniff along baseboards, behind bins, and at the back corners of lower shelves where mice travel in the dark.
Where the smell concentrates and what intensity means
Odors stack where runways converge: under sinks, along the back of pantry shelves, inside boot closets on exterior walls, and around insulation in attics where mice mark territory repeatedly. Stronger smell plus visible staining—yellowish crusty deposits mixed with dirt or grease—usually means heavy reuse, not a single pass-through.
If odor is your only clue, treat it like droppings: photograph, ventilate if safe, and look for pellets and gnawing in the same zone. Do not mask the smell with air freshener and assume the problem left. Mice can be present for weeks before sighting.
Sign 3: Rice-sized droppings along runways and in drawers
Droppings are the most concrete sign mice leave behind. Individual pellets are typically about 1/8 to 1/4 inch long, dark, and pointed at one end—often compared to a grain of rice. You will find them along walls, in drawers, under sinks, behind stored boxes, and anywhere food packaging has been breached.
Mice defecate while moving, so quantity and clustering matter. A scattered few pellets along a garage wall may mean occasional exploration. Dozens of pellets in a kitchen drawer corner usually mean repeated feeding nearby. The CDC notes that droppings alone can be hard to date, which is why pairing them with gnaw marks and fresh food damage gives a clearer picture.

Fresh droppings vs old pellets: the clean-and-recheck test
Fresh droppings look dark and moist. Older pellets dry out, fade to gray, and crumble when touched. The most reliable homeowner test is simple: wearing gloves, disinfect and remove visible droppings in the suspect area—never sweep or vacuum them dry, which can aerosolize pathogens (CDC cleanup guidance). Recheck the same spot after one to three nights. New pellets mean active mice; none means you may be looking at stale history from a prior season or prior tenant.
Store any pantry items with chewed corners in sealed containers after inspection, and review our pantry mouse prevention guide if food zones were hit. Droppings near stored seed, pet food, or birdseed are especially common and easy to miss in opaque bins.
Sign 4: Gnaw marks on food packaging, trim, and wiring
Mice gnaw constantly. Their incisors grow continuously, so chewing files teeth down and opens holes into food, wall voids, and closet spaces. Fine, shallow gnaw marks on cardboard pasta boxes, plastic bread bags, or cereal liners are a hallmark of mice rather than many other household pests.
Look also at structural and utility targets: corner trim, cabinet toe kicks, flexible ducting, and electrical wire insulation. Gnawing on wires is a fire-risk reason to act promptly even when the population sounds small. Marks on food packaging remain one of the clearest giveaways because most insects and spiders do not shred cracker boxes the same way rodents do.

Grease rub marks along repeated travel paths
As mice run the same route night after night, oils from their fur leave dark smudges along baseboards, joists, or the bottom edges of cabinets—sometimes called rub marks or grease trails. These appear at mouse height along walls, not random smears in the center of a room. Rub marks plus droppings in the same lane are strong confirmation of an active runway.
If you find rub marks but no fresh droppings after cleanup, photograph the smudges and compare over a week. New marks overlapping cleaned areas mean the route is still in use. That is where snap traps belong: perpendicular to the wall, baited lightly, with the trigger side toward the baseboard—never scattered in the middle of the floor.
Sign 5: Shredded nests tucked in warm, undisturbed zones
Mice are nesting rodents. They shred paper, tissue, insulation, fabric, and dried plant material into loose balls hidden where disturbance is rare and temperature is stable. Typical nest sites include wall voids behind kitchen cabinets, storage boxes in attics, crawl-space insulation, garage clutter corners, and voids under seldom-moved appliances.
You may not see the nest itself at first. Shredded debris trails—insulation fibers, torn paper, lint clumps—along a wall or inside a drawer are often the first hint. Nests are usually within roughly 10 to 30 feet of food and water in residential settings, which is why pantry-adjacent walls and utility chases are prime real estate.
If you uncover nesting material, do not vacuum it dry. Follow wet cleanup principles: ventilate, glove up, mist with disinfectant, wait the label contact time, then remove and double-bag debris. Remove clutter that provides cover, especially in basements and garages, before you declare victory. Closet storage with wool or cotton textiles should be inspected too; see keeping mice out of closets if bedrooms were affected.
Sign 6: Escalating signs and unexpected daytime sightings
A single mouse sighting is not something to shrug off. Mice are secretive; seeing one in daylight often means nest sites are crowded or food pressure is pushing animals into the open. That is a red flag in professional assessments, not a one-off coincidence.
Watch whether signs multiply: more droppings after cleanup, new gnawing on different shelves, odors strengthening, or sounds spreading to a second wall line. Escalation usually tracks reproduction and territory pressure more than random bad luck.
How fast a few mice can become a household problem
House mice mature quickly—often in about five to seven weeks—and breed year-round indoors when conditions are good. Females commonly produce multiple litters per year, with roughly five to eight young per litter in many accounts from extension and public-health sources. Two mice with steady food and shelter can become dozens within a few months if entry points stay open.
That math is why pest pros treat early sign as an active problem, not a wait-and-see moment. You do not need to count every animal to justify sealing gaps, removing food access, and setting traps. If you already tried DIY steps and signs persist, review nine signs rodents are still active to separate stale evidence from an ongoing population.
Mouse or rat? ID the rodent before you buy traps
Traps, bait stations, and hole-sealing priorities change with species. Mouse droppings are roughly 3 to 6 mm long with pointed ends. Rat droppings are noticeably larger—often about 12 to 19 mm—with blunter ends. Gnaw marks from rats are broader; burrows near foundations suggest Norway rats, while attic-focused damage with roofline access may point to roof rats.
Behavior differs too. Mice are curious and often investigate new objects quickly; rats are cautious and may ignore traps for days until they feel safe. Sound, dropping size, and location together beat guessing from one pellet. The EPA’s rodent identification guidance remains a useful reference for sizing and habitat tendencies. Correct ID prevents the common mistake of setting mouse traps for a rat population—or vice versa—and wondering why nothing catches.
What to do when you confirm mice are inside
Confirmation does not require catching an animal on camera. Two aligned signs in the same zone—for example, fresh droppings plus gnawed packaging, or odor plus rub marks—are enough to start control. Your sequence should follow integrated pest management: remove food and shelter, seal entry, trap along runways, monitor, then reassess.
Seal entry points, remove food, and set traps on runways
Food storage comes first in kitchens. Move dry goods into glass or metal containers with tight lids. Pick up pet food overnight and store birdseed in chew-proof bins in the garage. Sealing targets gaps of about 1/4 inch and larger—utility penetrations, door sweeps, vent screens, and where siding meets foundation. Steel or copper wool backed by caulk or metal mesh beats foam alone, which mice can chew through.
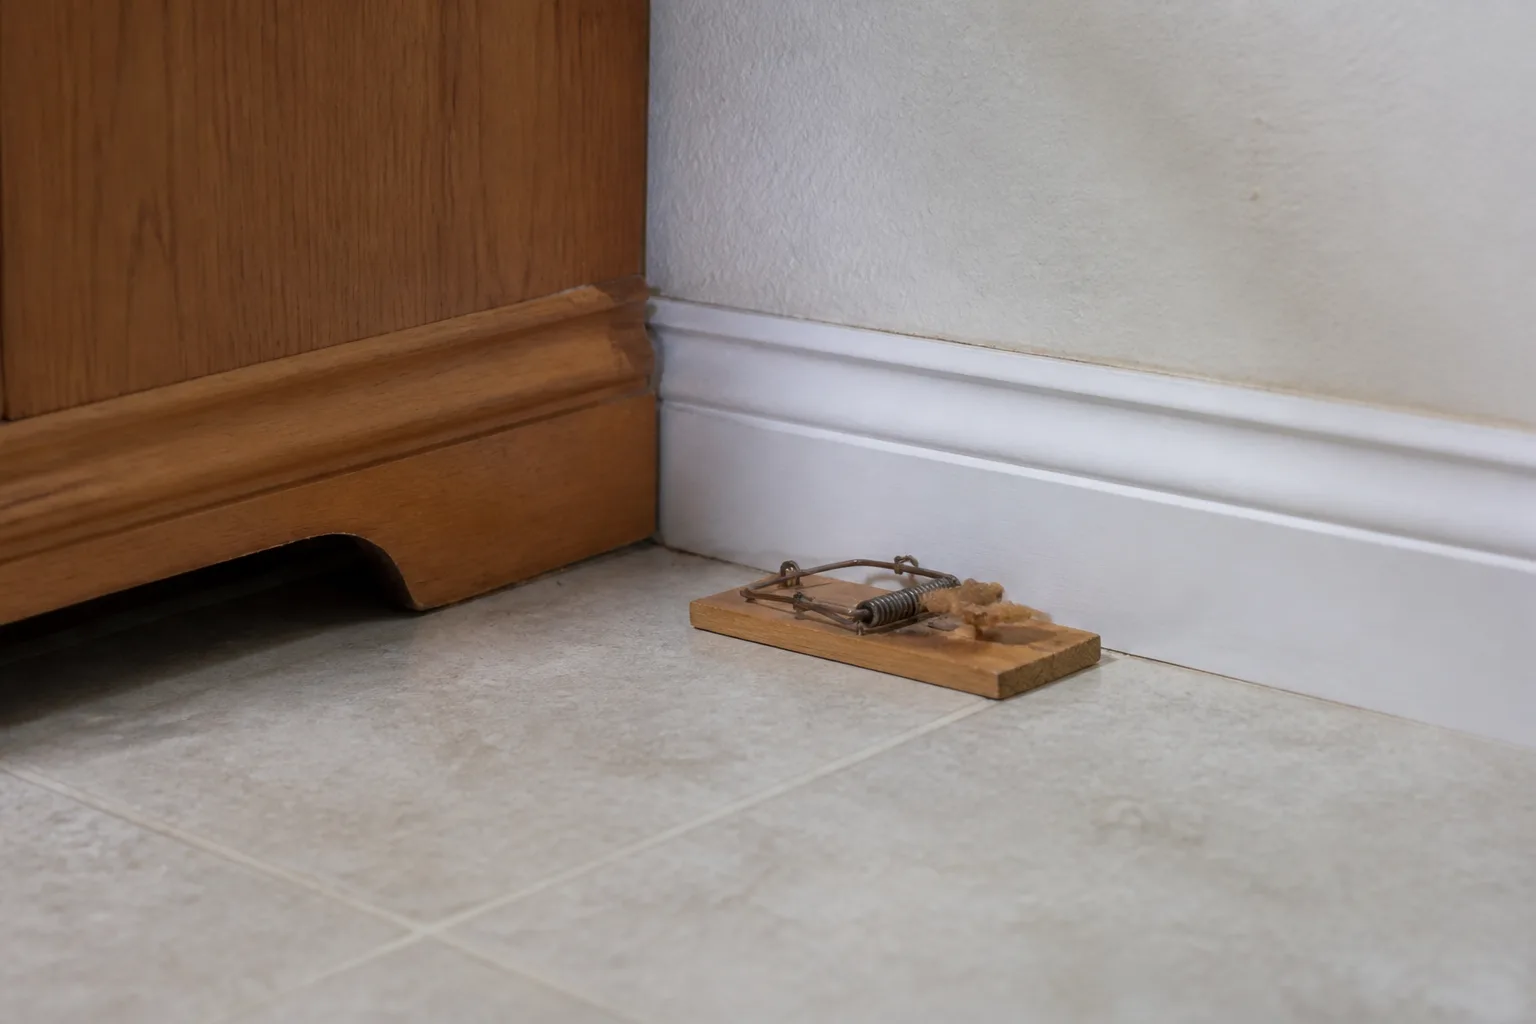
Set multiple snap traps along confirmed runways, not in the center of the room. Pre-bait unset traps for a night if animals seem trap-shy. Check daily, dispose of captures safely, and rebait. Natural repellents such as peppermint oil may briefly disturb a runway, but they do not close holes or remove food; treat them as secondary after exclusion. Our overview of natural mouse control methods pros actually use covers scent and live-trap limits in more detail.
When DIY ends and a pest professional makes sense
Call a licensed pest professional when you see daytime mice repeatedly, find large numbers of fresh droppings in multiple rooms, hear activity in several wall zones at once, suspect rat rather than mouse activity, or cannot safely access attics and crawl spaces where nesting is likely. Professionals also make sense if DIY trapping for two weeks fails to stop new sign.
Pros bring inspection tools, exclusion materials, and experience placing bait and traps where household pets and children are less likely to encounter them. Document your signs before the visit—photos with dates speed diagnosis and reduce repeat service calls.
Conclusion
Mice announce themselves quietly long before they skitter across a kitchen floor. Scratching at night, ammonia odor in closed cabinets, rice-sized droppings, fine gnaw marks, shredded nesting material, and a pattern of worsening evidence are the six signs pest professionals weigh most heavily. Treat one sign as a prompt to inspect; treat two aligned signs in the same area as confirmation to act.
Tonight, run the 20-minute checklist with a flashlight. Photograph what you find, clean droppings the safe way, seal the gaps you can reach, and set traps on runways—not in the open. If signs keep appearing after two weeks of consistent effort, or if you are seeing mice by day, bring in professional help before a small winter entry becomes a year-round population. Early action is cheaper, calmer, and far safer than waiting for chewed wiring or contaminated food storage to force the issue.



