Natural Ways to Keep Mice Out of a Closet
Natural ways to keep mice out of a closet: seal pencil-width gaps, remove food and nesting cover, use scents carefully, and clean droppings safely.
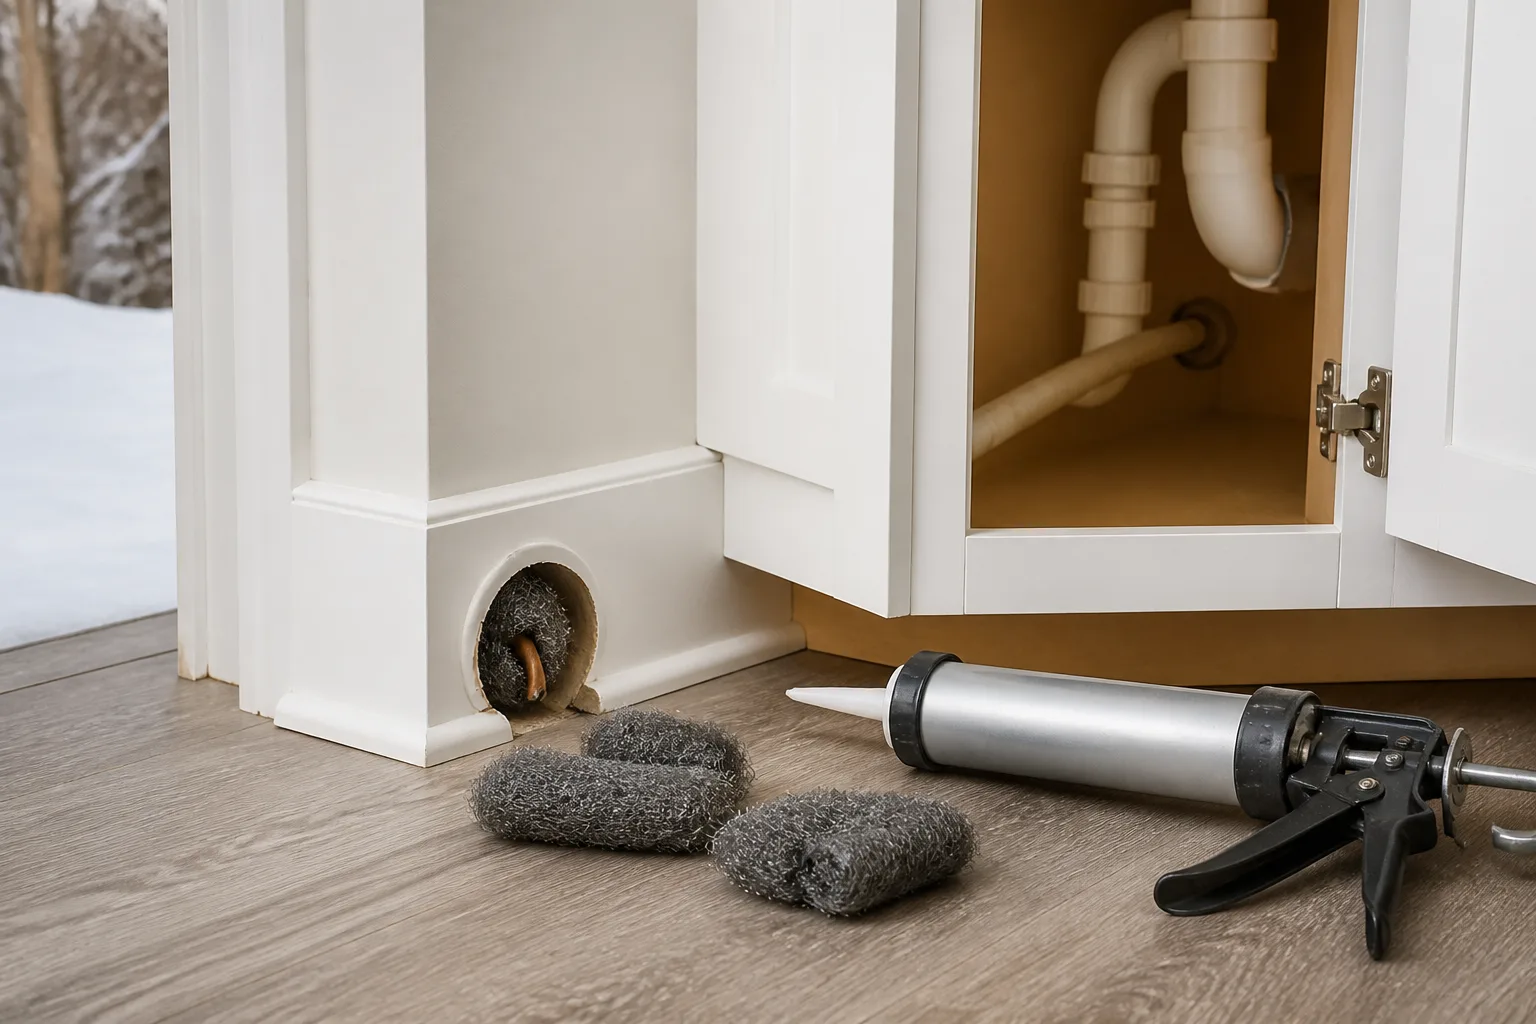
Cold weather can turn a quiet closet into exactly what a house mouse is looking for: darkness, soft material, little foot traffic, and a route to the warmer parts of a home. The closet is often not the original entry point; it is simply where a mouse finds a protected place to pause, forage, or build a nest.
The most useful natural ways to keep mice out of a closet are physical and behavioral: close openings, remove food and water, reduce nesting cover, and then use a scent only as a temporary extra layer. A strong smell may make a route less comfortable, but it cannot repair a gap or remove a mouse already living behind a wall.
Why a closet becomes an attractive winter shelter
Mice are not choosing your clothes because they are fussy about fashion. They are looking for shelter and fibers they can pull into a nest, while the rest of the house may provide crumbs, pet food, condensation, or warmth. A closet beside an exterior wall, plumbing chase, garage, attic, basement, or crawl space can be especially convenient because it combines cover with a nearby travel route.
Cold weather does not guarantee that mice will leave when spring arrives. If the home continues to provide a quiet nest and an easy food source, the animals may remain indoors. The CDC’s rodent-control guidance emphasizes removing food, water, and shelter and checking for signs before a population becomes established.
Before you deter mice, check whether they are already inside
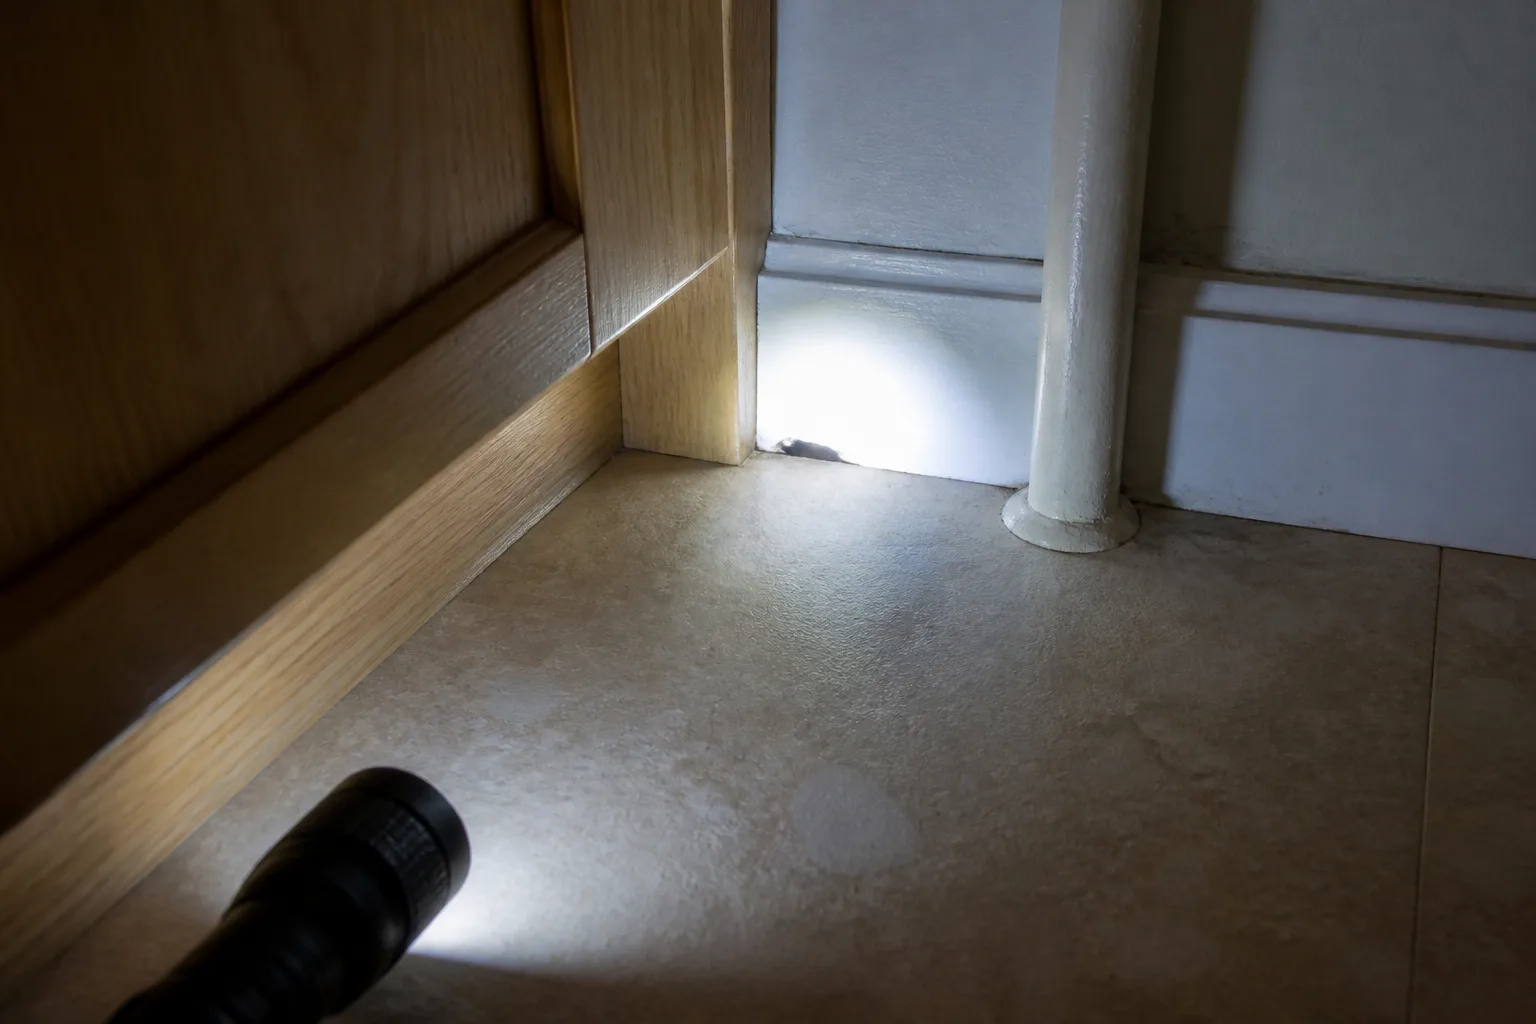
Do not start by spraying peppermint around a closet that may contain a nest. First empty the lowest shelf and floor area, put on disposable gloves, and use a bright flashlight to look for evidence without reaching blindly into a dark corner.
You are trying to answer two different questions: Is there a way in, and is anything currently using it? A single old dropping may show past activity, while fresh droppings, new gnawing, or a musky odor suggest that exclusion should be paired with a removal plan.
Droppings, gnaw marks, nesting, and tracks
Mouse droppings are usually small, dark pellets that may be pointed at one end. Look along baseboards, behind storage boxes, at the back corners of shelves, under hanging garments, and near any opening around pipes or cables. Shredded paper, cardboard, insulation, tissue, loose stuffing, or pulled threads can signal nesting rather than casual passage.
Gnaw marks on cardboard, wood, plastic packaging, or wiring are also useful clues. The CDC notes that droppings and gnaw marks are signs of rodent presence, but either sign alone cannot tell you exactly how many mice are present or whether the activity is current.

If you want a simple non-contact check after cleaning, take a dated photograph of the area and place a narrow strip of removable painter’s tape across a suspected gap without sealing it yet. New disturbance, droppings, or gnawing around that test point over the next night or two tells you to treat the route as active, not merely dusty.
A simple 20-minute mouse-proofing audit
Start inside the closet and work outward instead of searching the entire property at random. Bring a flashlight, ruler, painter’s tape, a notepad or phone camera, and a pair of gloves; the goal is to record every opening that could admit a pencil, not to guess which one caused the problem.
The CDC’s sealing checklist specifically calls out closet floor areas, corners, doors, windows, vents, and openings around electrical, water, gas, and sewer lines. That list is more useful than looking only at the visible door because a mouse may be entering the wall cavity and appearing in the closet through a second opening.
Inspect the closet itself
Pull boxes and folded items several inches away from the walls. Check the floor-to-wall joint, the two rear corners, the bottom edge of the trim, the closet rod supports, shelf pins, electrical outlets, and any pipe or duct chase. Use the flashlight from a low angle; light showing through a crack makes a small opening easier to see.
Measure suspicious gaps rather than dismissing them as too small. A mouse can fit through an opening about the width of a pencil, roughly 1/4 inch or 6 millimeters in diameter, so a crack that looks insignificant from standing height deserves attention. Mark each gap with tape and note whether it is on an exterior wall or next to a room with plumbing or utility lines.
Trace the path beyond the closet
Look at the room on the other side of the closet wall, then inspect the baseboard run toward the kitchen, laundry, garage, attic access, basement, or crawl space. Follow wires and pipes to their next penetration, and check where flooring meets the wall. If the closet shares a wall with an exterior door or window, inspect weather stripping and the sill outside as well.
This outward check matters because a neat closet can still show repeat activity if the building envelope remains open. The New York State Department of Health recommends yearly mouse-proofing checks and points out that mice can use gaps around vents, wires, pipes, doors, and other openings as routes through a home.
Hack 1: Seal every pencil-width gap
Exclusion is the highest-value fix because it removes the route instead of asking a mouse to dislike the route. Seal small gaps only after you have inspected both sides and considered whether a mouse is currently inside the wall or room; blocking an active animal into an inaccessible void can create a new odor problem and make confirmation harder.
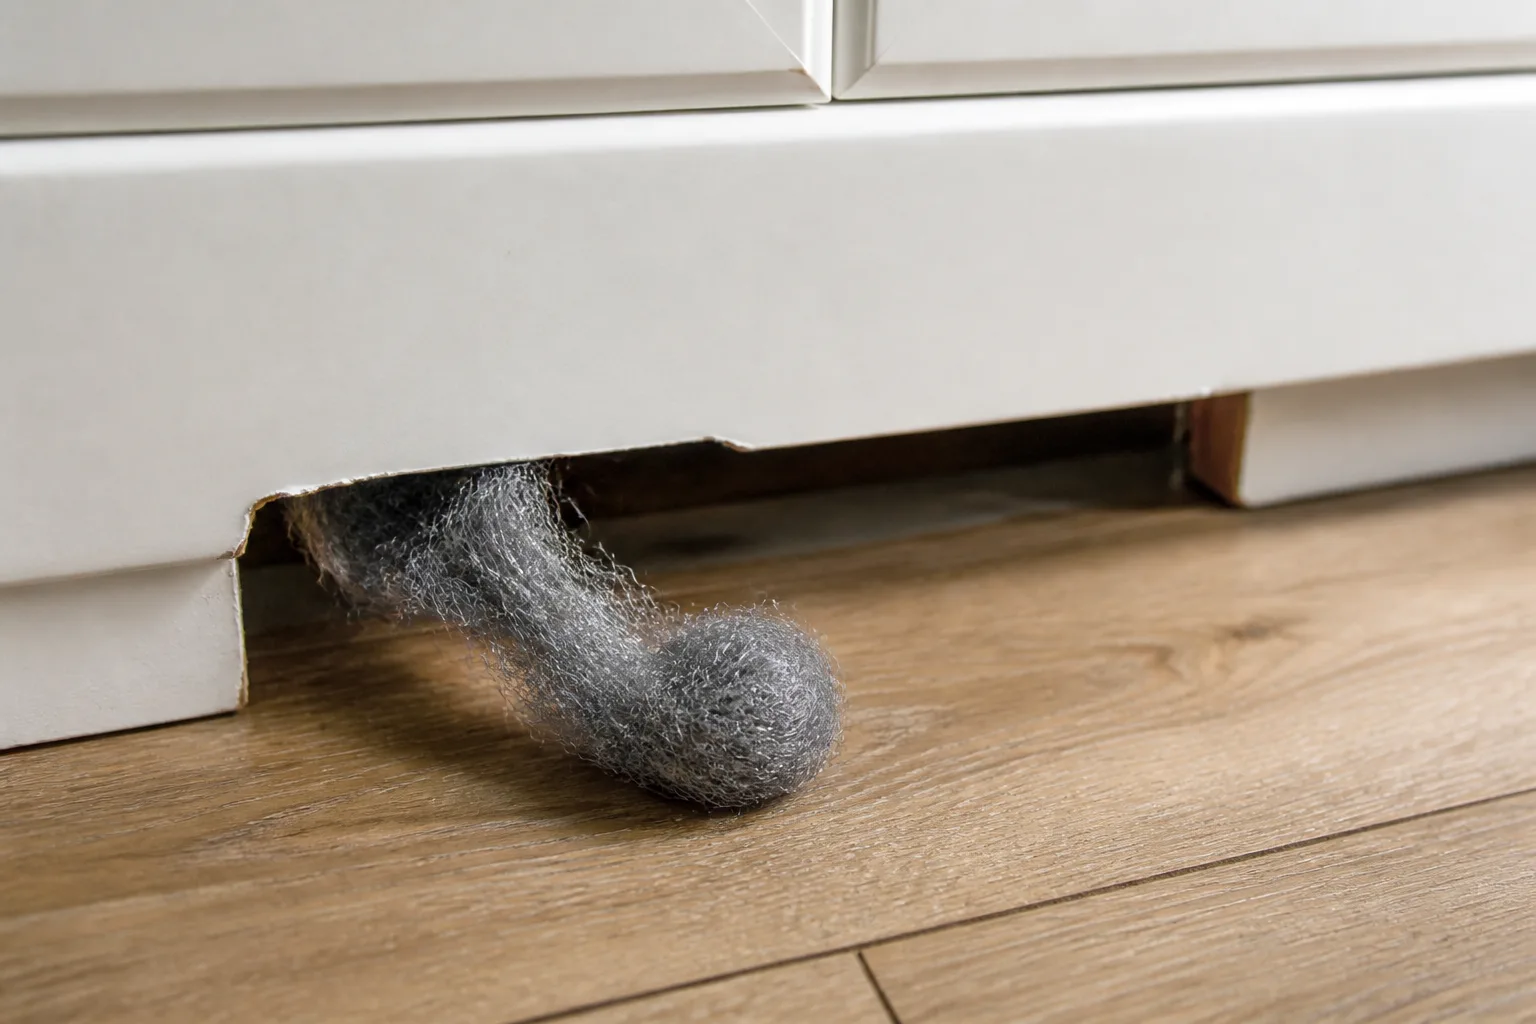
For a small crack, pack it firmly with a chew-resistant metal fiber or mesh, then secure the patch with caulk around the edges. The CDC recommends steel wool with caulk for small holes, while larger openings may need lath screen, hardware cloth, metal sheeting, or cement. The goal is a smooth, continuous surface with no loose edge for teeth to catch.
Choose a barrier mice cannot chew
Use a material matched to the opening rather than filling every hole with the same product.
| Opening or route | Better natural-proofing choice | Common failure |
|---|---|---|
| Hairline crack or narrow utility gap | Metal fiber or fine metal mesh held with caulk | A surface-only bead that leaves a tunnel behind it |
| Gap around a pipe or cable | Cut metal mesh or flashing snugly around the penetration, then caulk the edge | Spray foam alone, which can be gnawed or pulled out |
| Larger hole, vent, or damaged trim | 1/4-inch hardware cloth, metal, or cement with a smooth finish | Cardboard, fabric, thin plastic, or unreinforced wood |
| Gap at a movable door | A correctly fitted sweep or weather stripping | A sweep that leaves light at the corners or drags on the floor |
The Illinois Department of Public Health explains that soft materials such as plastic sheeting, screen, wood, and rubber are unsuitable as a standalone plug for mouse openings. If the repair is on a rented property, document it with photographs and ask the landlord to address structural gaps rather than making a hidden, temporary patch.
Check the repair after 24 hours and again after a week. Look for pulled fibers, fresh gnawing, a gap reopening as the building moves, or new droppings nearby; a repair that looks tidy but has been disturbed is not finished.
Hack 2: Close the door gap with a sweep
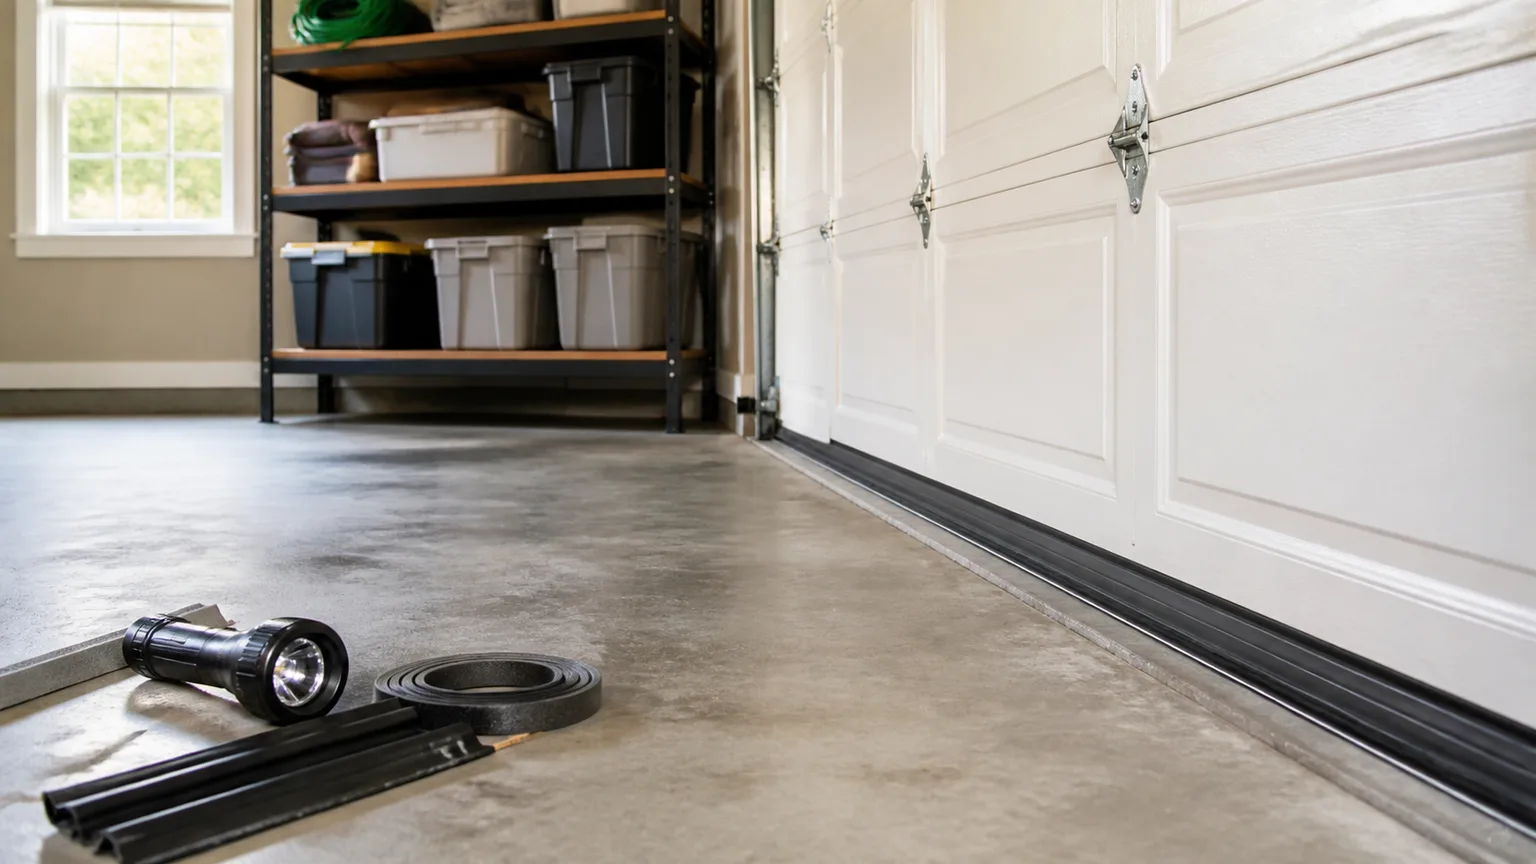
A closet door sweep is useful when the gap beneath the door is wide enough to create a direct runway. Choose a sweep that contacts the floor evenly when the door is closed but does not prevent the door from latching, and pay attention to both bottom corners. If the door opens over thick carpet, a brush-style sweep may move more reliably than a rigid fin.
This hack protects the closet from the room, not necessarily the house from mice. It is most helpful after you have sealed the wall, trim, and utility openings; otherwise a mouse may simply travel through the wall and emerge somewhere else. Use weather stripping around the jamb if the side gaps are visible, and repair a warped door or loose trim rather than relying on scent to cover the opening.
Hack 3: Remove food and water rewards
Closets often become mouse-friendly indirectly. A child’s snack, an open bag of pet treats, birdseed stored in a mudroom, a box of dried goods, or a leaking humidifier can reward a mouse that passes through the closet on its way to another room.
Move food, pet food, seed, and waste into thick plastic, glass, or metal containers with tight-fitting lids. Do not treat a thin bag or ordinary cardboard box as mouse-proof storage; the CDC recommends sealed thick plastic, metal, or glass containers, and advises putting pet food away after use rather than leaving bowls out overnight.

Water is easy to overlook in winter. Dry condensation under a cold pipe, repair a slow leak, empty pet bowls overnight if practical, and avoid storing damp textiles in the closet. The point is not to make a home sterile; it is to stop a quiet storage area from offering both shelter and a reliable drink.
Hack 4: Take away nesting material and floor cover
A mouse needs very little material to turn a closet into a base. Loose paper, open moving boxes, tissue, fabric scraps, foam packaging, bags of potting mix, and a pile of clothes on the floor all create cover that lets it move unseen and build a nest without crossing an open room.
Store seasonal clothing in lidded rigid bins rather than open cardboard cartons, and leave a narrow inspection gap between containers and the wall. Use shelves or a raised rack for luggage and blankets, keep the floor visible, and replace torn storage bags. Folded clothing should not be packed tightly against an exterior wall where a leak, condensation, or gnawing could go unnoticed.
The Gardening Know How guide to mouse prevention makes the same seasonal connection outdoors: fall cleanup removes hiding places before rodents settle in. Inside, the equivalent is a clear floor, fewer loose fibers, and containers that let you spot new disturbance quickly.
Do not throw suspected nesting material into a normal indoor trash can before wet cleaning it. Treat it as potentially contaminated, avoid shaking it, and follow the safe cleanup sequence below.
Hack 5: Use peppermint or another strong scent as a short-term barrier
Peppermint oil, clove, eucalyptus, cinnamon, and vinegar are commonly used as natural mouse deterrents because strong odors can make a familiar route less comfortable. They are best thought of as temporary route discouragers, not repellents that solve an infestation. The scent fades, mice can become accustomed to repeated conditions, and a hungry or nesting animal may ignore an odor when shelter is more valuable.
To use a scent cautiously, put a small amount on a cotton pad or disposable absorbent material and place it near a confirmed entry route, not directly on clothing, wood finishes, painted trim, food, or a pet’s bedding. Keep the pad inaccessible to children and animals, provide ventilation, and replace it when the odor is no longer noticeable rather than repeatedly flooding the closet with oil.
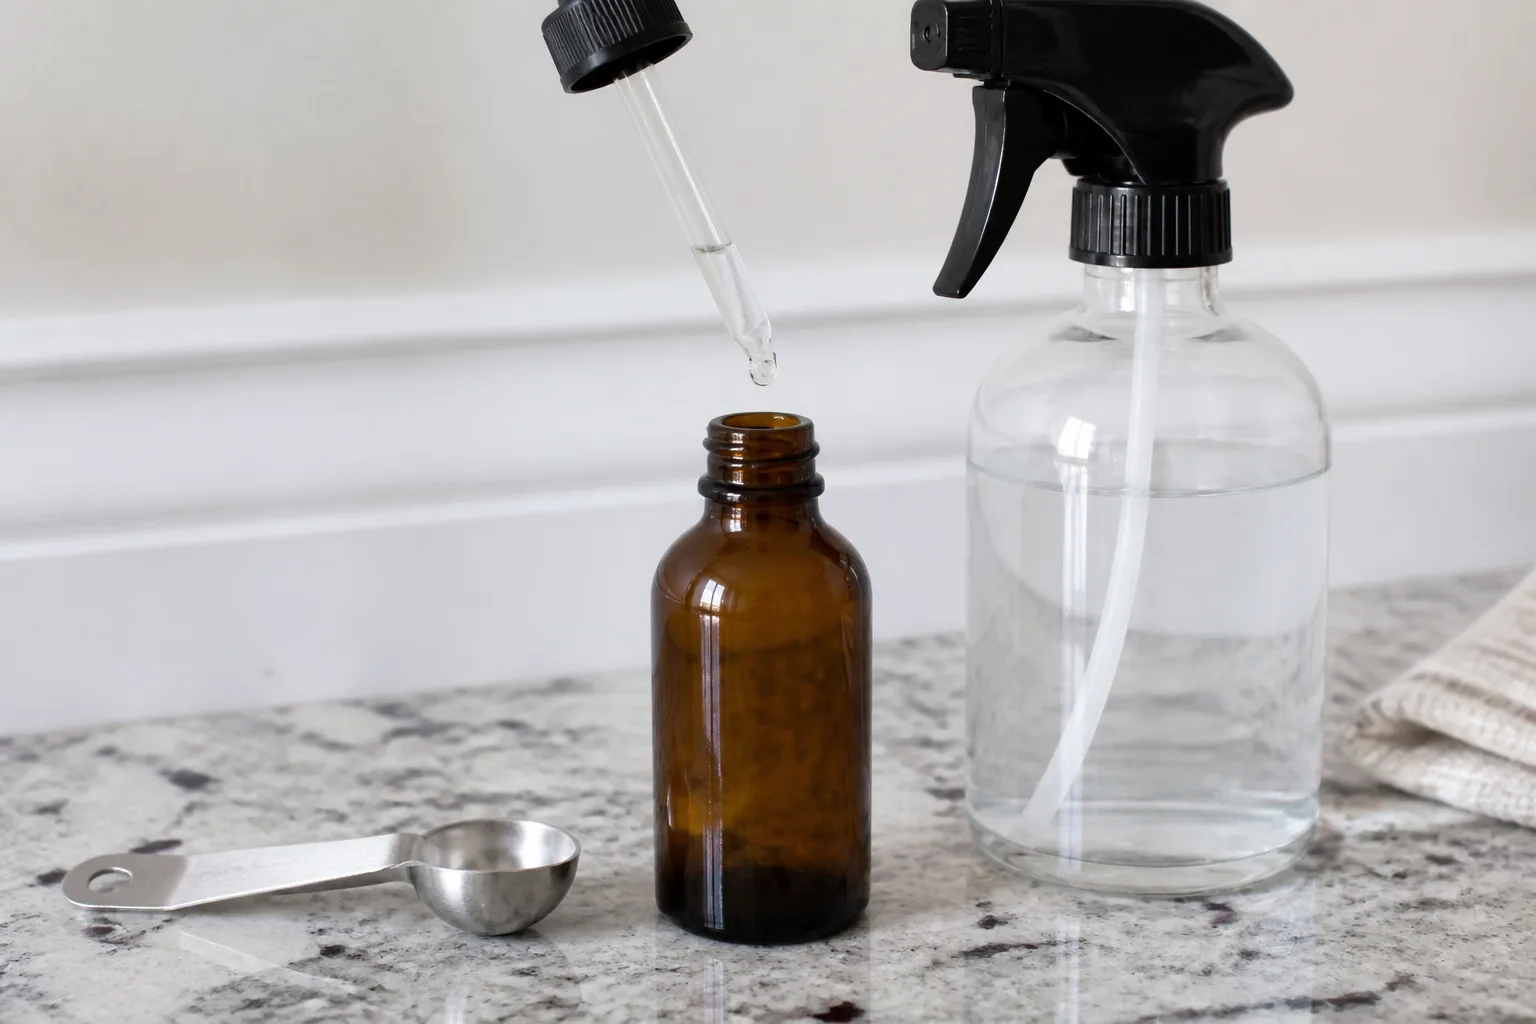
Apply scents without creating a new household hazard
Never put essential oil into an unmarked bottle, combine it with bleach or other cleaners, or spray a concentrated mixture around food-contact surfaces. “Natural” describes origin, not automatic safety; concentrated oils can irritate skin and airways, and animals or young children may be more vulnerable to exposure or ingestion. If you have cats, dogs, birds, asthma, or a child who can reach the closet, skip the scent and use exclusion plus sanitation instead, or ask a veterinarian or poison-control service about a specific product.
Avoid placing cotton pads over a hole you still need to seal. A mouse may move to a new gap, carry the material into a nest, or remain inside while you assume the smell has solved the problem. Fine Gardening’s practical guidance on nontoxic pest control emphasizes physical barriers, regular inspection, and rotating deterrents because animals can adapt to a single method; that is a useful rule for indoor mouse prevention as well.
Hack 6: Make the area around the home less mouse-friendly
Closet proofing works better when the exterior is not supplying a nearby staging area. Move firewood off the ground and away from the foundation, trim dense brush and ground cover beside walls, clean fallen seed and fruit, secure garbage, and close gaps in garages, sheds, basement windows, and crawl-space vents.
Do not create a new access ramp while cleaning up. Stacked lumber against siding, tall mulch against a threshold, vines touching the roofline, and bins tucked over a foundation vent can hide the exact gap you need to see. The San Diego County exclusion guidance recommends rodent-resistant repairs, metal weather stripping under doors, and removing food, water, and shelter that support activity around a structure.
Bird feeders and pet feeding areas deserve special attention. If seed is scattered below a feeder or kibble remains outside overnight, sweeping up the visible food is more useful than adding another odor sachet to the closet. Outdoor habitat reduction lowers the pressure on the whole house, while the indoor seal keeps a curious mouse from converting that pressure into a visit.
What natural fixes cannot do
No scent, herb, ultrasonic device, or tidy closet can guarantee that an established mouse population will disappear. Natural prevention is strongest when it means nonpoisonous exclusion, sanitation, storage, and monitoring; it is much weaker when “natural” is used to mean sprinkling a household ingredient near a dropping and waiting.
Ultrasonic products are also a poor substitute for closing openings. The Illinois Department of Public Health notes that sound devices have limited use because mice become accustomed to repeated sounds and because the sound does not penetrate well behind objects. A cat may notice mouse activity, but it is not a structural repair or a reliable population-control plan.
If you find repeated fresh evidence, hear activity in walls or ceilings, see chewed wiring, or cannot reach the suspected nest, switch from prevention-only thinking to removal and exclusion. For a small, accessible problem, properly placed snap traps can be safer and more verifiable than poison, but keep any trap away from children and pets and follow local guidance. A licensed pest professional is appropriate when the route is inaccessible, activity is widespread, or cleaning would expose you to contaminated insulation or droppings.
If you find droppings, clean without stirring dust
Do not sweep or vacuum dry mouse droppings, urine, or nesting material. Dry disturbance can put contaminated particles into the air, which is why public-health guidance favors wet cleaning. The CDC’s rodent cleanup instructions should be your primary reference for your situation; the San Diego County wet-cleaning steps likewise call for disinfectant, dwell time, bagging, and hand washing.
For a small accessible area, ventilate it first if it has been closed for a long time, put on intact gloves, and wet the droppings and nearby surfaces thoroughly with a suitable disinfectant according to its label. Let the product sit for the stated contact time, wipe up with disposable towels, and double-bag waste before washing gloved hands, removing the gloves, and washing bare hands.
Wash clothing or linens that may have contacted droppings according to the care label, and discard porous cardboard or nesting material that cannot be cleaned. If a closet contains a large amount of waste, a dead rodent, contaminated insulation, or strong ongoing odor, do not improvise a dry cleanup; contact your local health department or a qualified professional.
A winter maintenance schedule that catches failures
Mouse-proofing is not a one-afternoon promise because doors shift, caulk cracks, weather stripping compresses, and outdoor clutter changes. A short schedule makes the work dependable:
- Today: photograph the closet, remove floor clutter, secure food and pet supplies, inspect pencil-width gaps, and mark suspected routes.
- After 24 hours: recheck the fresh repair, door sweep, and any signs you cleaned or documented; look for disturbance rather than relying on smell.
- After one week: inspect the same corners, shelves, and adjoining wall; confirm that no new droppings or gnaw marks have appeared and that containers remain closed.
- Monthly in cold weather: look at the door bottom, utility penetrations, garage or basement threshold, and exterior foundation line.
- Before next winter: clear outdoor cover, inspect vents and screens, replace failed weather stripping, and reseal any new cracks.
Keep a simple note with the date, location, repair material, and result. If activity moves from one corner to another, that pattern is evidence about the route and is more useful than adding a stronger scent everywhere.
When to use traps or call a professional
A closet with no evidence, a clear repair, and no repeat signs is a prevention job. A closet with fresh droppings, a nest, repeated nighttime noise, or damage to wiring needs a removal plan as well as a barrier. Sealing every visible opening without addressing active mice can leave you with odor, contamination, or animals trapped in a wall void.
For a limited indoor problem, the Illinois Department of Public Health’s house-mouse guidance describes trapping as an effective option and stresses placement along walls and near evidence of activity. Use enough traps for the observed route, check them daily, and keep them inaccessible to children and pets; do not use glue boards where people, pets, or non-target wildlife can reach them.
Ask for professional help when signs continue after a careful exclusion attempt, activity is inside an inaccessible ceiling or wall, there is chewed electrical wiring, several rooms are affected, or anyone in the home has a health concern about contaminated material. The goal is not to prove that a household remedy failed; it is to stop the route, remove the animals safely, and make the repair durable.
Conclusion
The most reliable natural ways to keep mice out of a closet begin with a flashlight and a pencil-width standard, not a bottle of oil. Seal the route with metal and caulk, close the door gap, store food and textiles in ways mice cannot exploit, clear nesting cover, and reduce shelter around the outside of the home.
Use peppermint or vinegar only as a short-lived extra layer, and never let scent delay inspection, exclusion, or safe cleanup. Check your work after 24 hours and again after a week; if fresh evidence returns, treat it as an active rodent problem and escalate to traps or qualified help rather than adding more fragrance.



