6 Natural Ways to Keep Mice Out of Your Pantry
Seal quarter-inch gaps, store food in chew-proof containers, and use scent, sound, and live traps the right way to keep mice out of your pantry all winter.

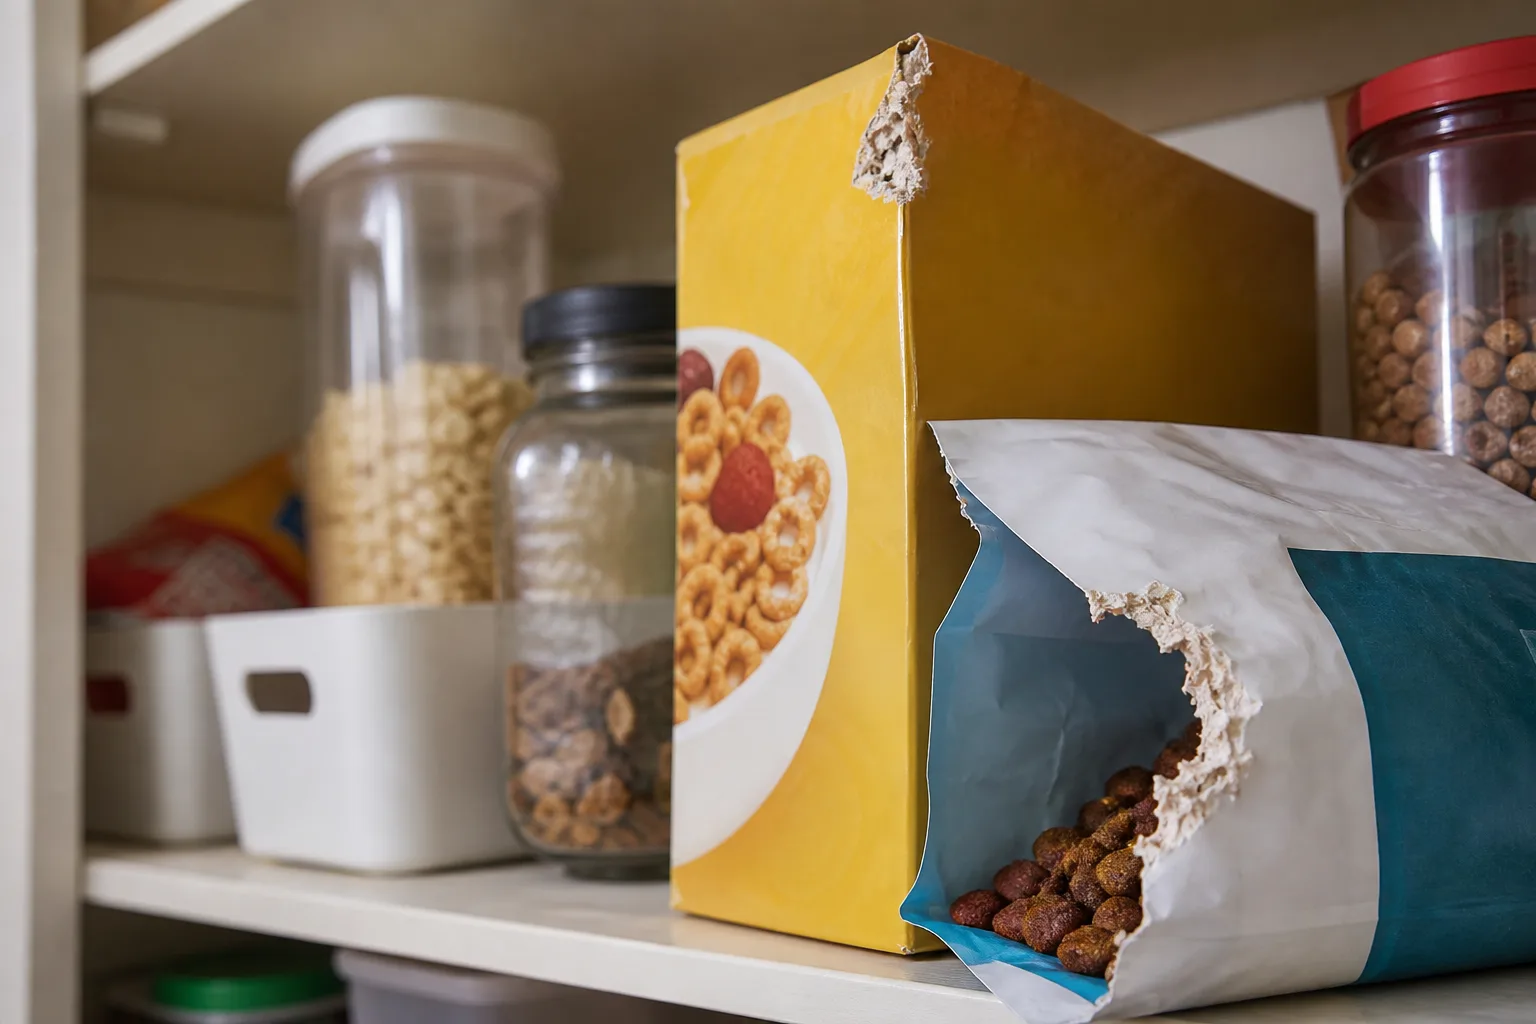
A rustle behind the cereal boxes, a corner gnawed out of a pasta carton, or tiny dark pellets along the baseboard are all signs that a house mouse has decided your pantry is worth the risk. Winter makes that decision easier for them: outdoor shelter gets scarce, nights get longer, and a warm kitchen wall with unsecured dry goods is one of the best food courts a mouse can find.
The six natural methods that work best for a pantry are not six separate tricks you can try at random. They are parts of an integrated pest management sequence: confirm activity, seal entry points, remove food access, add sound and scent disturbance, rotate those deterrents so mice do not adapt, and use live traps only when exclusion and sanitation still leave you with evidence of feeding. None of these steps replaces the others, and none of them works well if you skip the inspection at the start.
Why mice target your pantry when temperatures drop
House mice (Mus musculus) do not hibernate. When outdoor temperatures fall, they shift from foraging in fields and crawl spaces to exploiting gaps in human structures. A pantry is attractive for predictable reasons: cardboard packaging is easy to chew, shelves are rarely disturbed, and even a few tablespoons of spilled flour or birdseed can support repeated visits.
Mice also travel along walls and vertical surfaces rather than crossing open floors, which is why damage often appears at the back of lower shelves, behind the trash bin, or along the joint where cabinetry meets the floor. The CDC’s rodent-control guidance emphasizes that rodents need food, water, and shelter; a pantry usually supplies at least two of those within a few feet of each other.
Cold weather alone does not mean mice will leave in spring. If your home continues to offer quiet routes and unsecured food, the population can persist year-round. That is why winter pantry mouse problems should be treated as a structural and sanitation job first, with repellents and traps supporting the repair—not the other way around.
Before you repel mice, confirm whether they are already inside
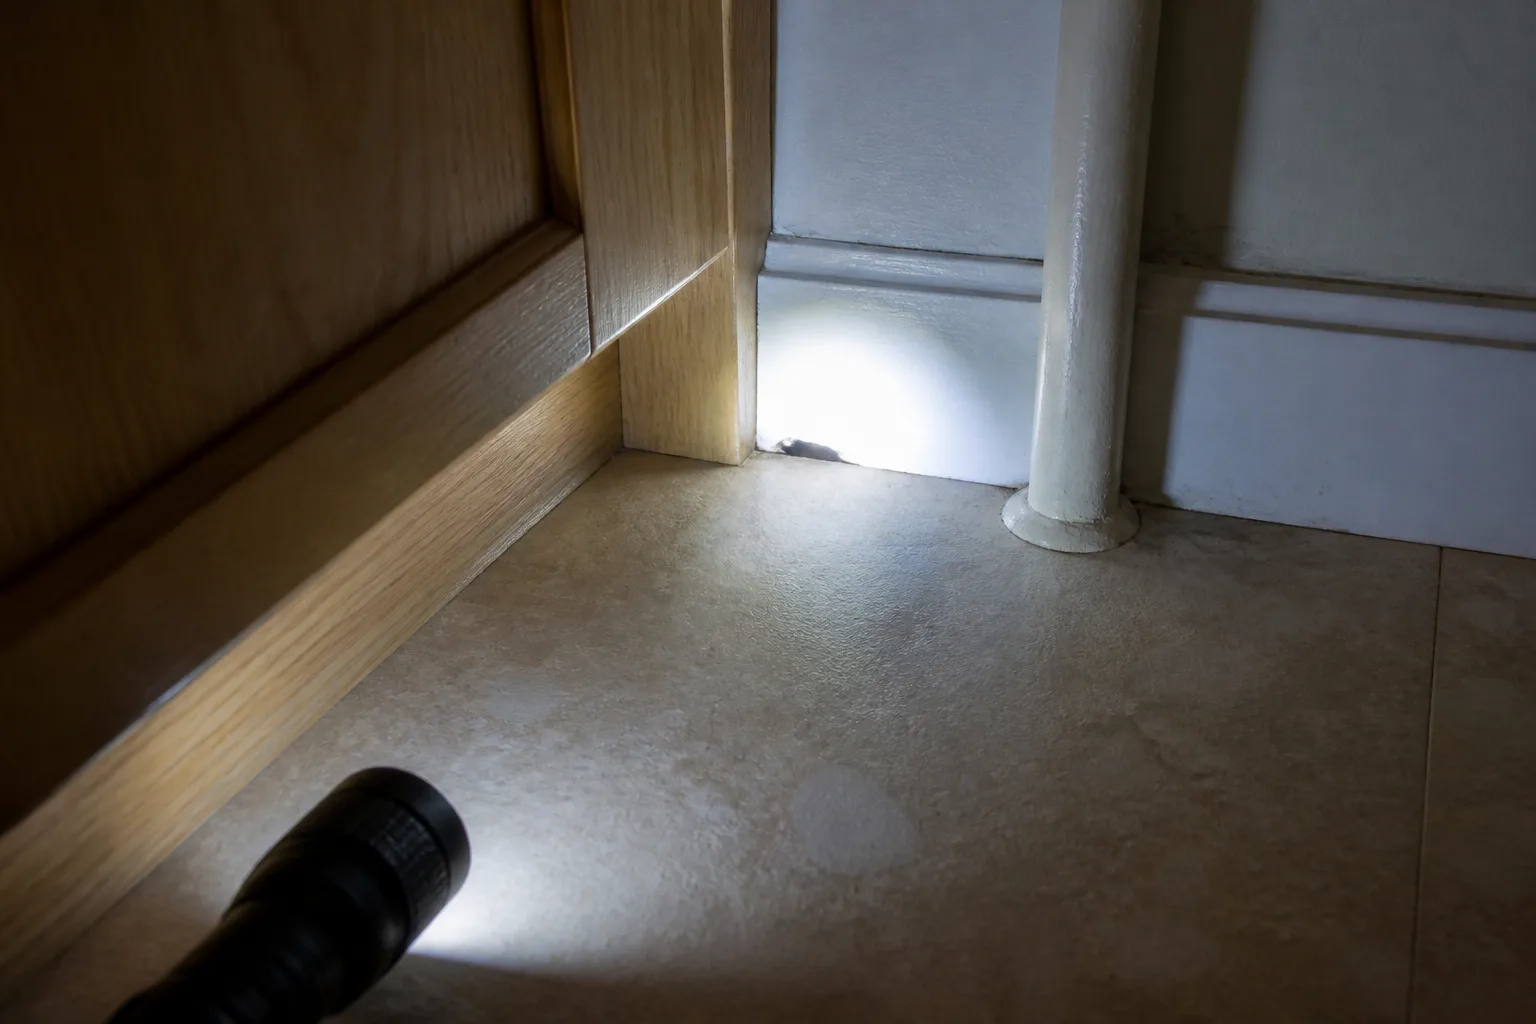
Do not soak cotton balls in peppermint oil until you know whether a mouse is actively feeding in the pantry or merely passing through a wall void nearby. Start with evidence, not assumptions. Empty the lowest shelf, pull forward anything stored against the back wall, and work with a bright flashlight and disposable gloves.
You are trying to answer two questions at once: Is there a way in, and is anything using it right now? Old droppings may show past activity; fresh pellets, new gnawing, or a sharp musky odor suggest you need removal as well as deterrence. If you are unsure, take dated photos and recheck the same spots after one or two nights of cleaning.
Droppings, gnaw marks, and grease trails
Mouse droppings are usually small, dark pellets about the size of a grain of rice, often pointed at one end. Look along baseboards, behind fixed bins, under shelf paper, at the back corners of cabinets, and anywhere a package has been chewed. Mice also leave gnaw marks on cardboard, thin plastic, wood trim, and wiring insulation.
In heavy traffic areas you may see rub marks—dark smears along a repeated runway where body oils contact the surface. Any of these signs near food storage is a reason to pause food handling in that zone until you have cleaned properly. The CDC warns against sweeping or vacuuming dry rodent waste because that can stir infectious particles into the air; wet the area with an appropriate disinfectant first, follow label contact time, then wipe up and double-bag the waste.
The 15-minute pantry inspection checklist
Set a timer and work top to bottom. Check the door sweep and hinges for gaps wider than a pencil. Inspect where plumbing, gas, or electrical lines pass through the back of cabinets. Look under the kick plate if your lower cabinets have one. Pull the trash can forward and examine the floor behind it.
Note every opening, every chewed package, and every dropping cluster on paper or in your phone notes. Mark active spots with painter’s tape without sealing them yet if you plan to trap first—sealing a mouse inside a wall is worse than leaving a monitored gap for 24 hours while you set traps along the runway. For a broader whole-home version of this audit, see our guide on keeping mice out of a closet and mouse-proofing for winter.
Seal the routes mice use to reach food storage
Sealing is the first natural method that actually changes the equation. Repellents may annoy a mouse; a properly closed quarter-inch gap removes the invitation. Mice reach pantries through wall voids, under sinks, along pipe chases, through gaps behind appliances, and sometimes from attached garages or crawl spaces—not always through the pantry door itself.
Work outward from the pantry: seal the cabinet backs and floor penetrations first, then inspect the rooms that share walls with the kitchen. Trim vegetation that bridges to the roofline, and close garage-to-house door gaps that many homeowners forget until they find pet food stored beside the interior door.
Gaps, pipes, and the quarter-inch rule
The CDC sealing checklist states that mice can fit through a hole about the width of a pencil—roughly 1/4 inch (6 mm). University of Nebraska–Lincoln Extension publication G1530 agrees: mice need only slightly more than a quarter-inch gap, and gnawing enlarges smaller defects quickly.
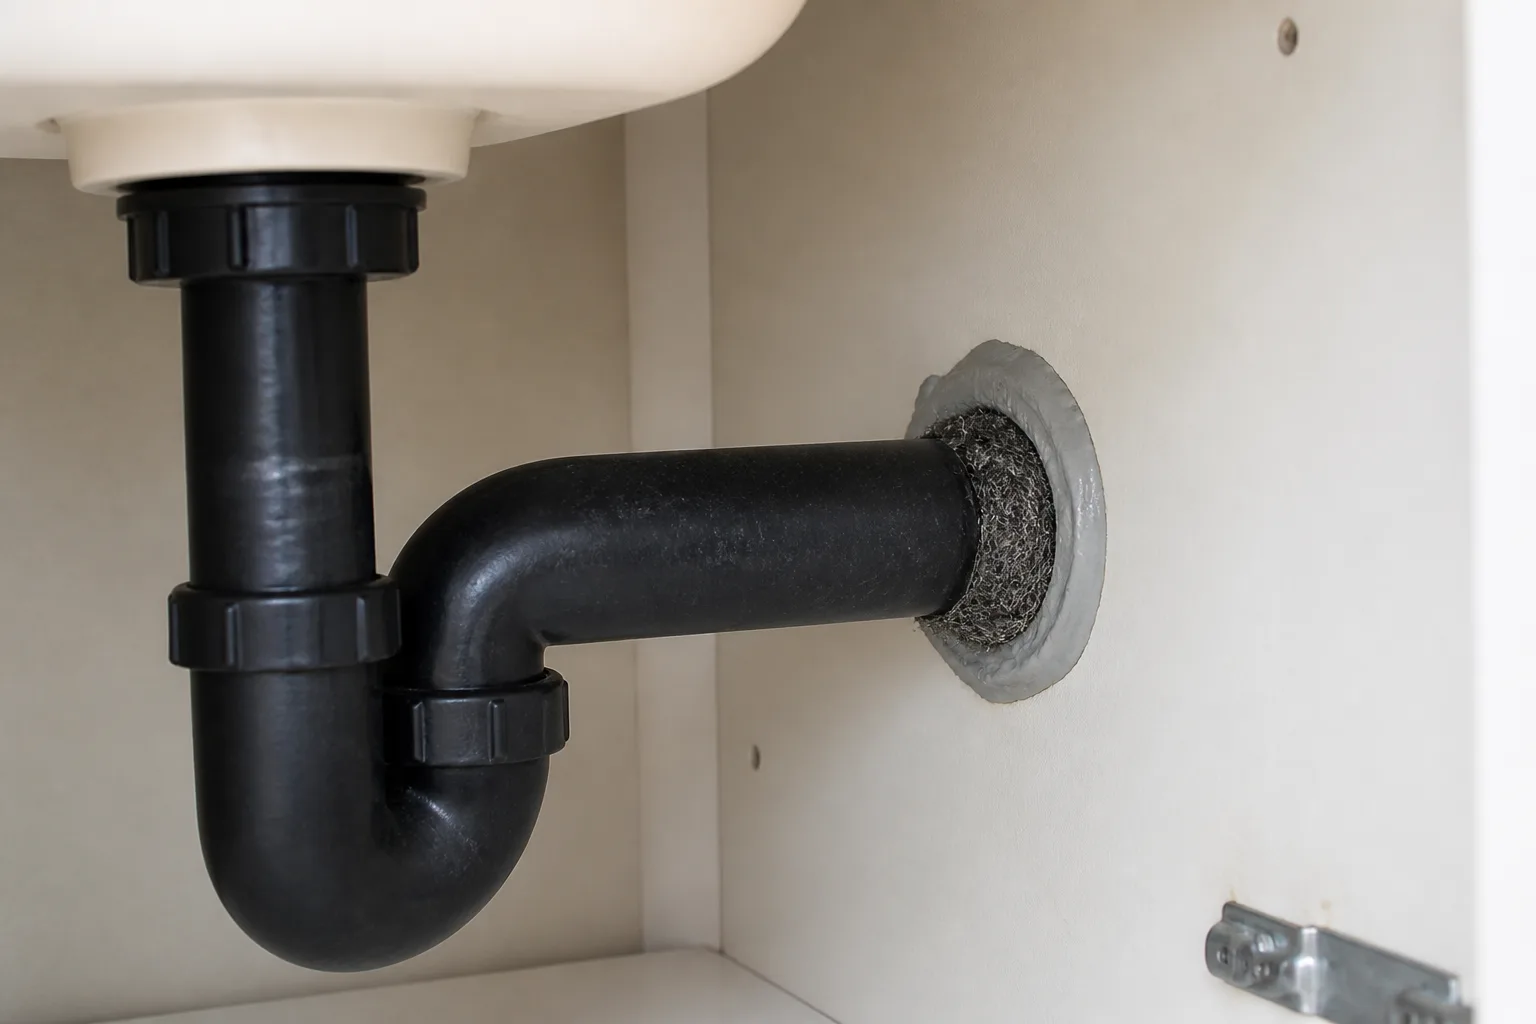
Pay special attention to oval holes where pipes pass through cabinets, the space under dishwasher and refrigerator plumbing covers, and the joint between countertop backsplashes and drywall. Door bottoms that sit more than a quarter-inch above the floor are common pantry-adjacent failures even when the pantry itself looks tight.
Materials that actually hold against chewing
Spray foam alone is a poor finish material where mice can reach it; they can gnaw through many foams and soft plastics. The durable approach is steel or stainless steel wool packed into the gap, then sealed with caulk or metal flashing so the wool cannot be pulled out. For larger openings, use 24-gauge hardware cloth with 1/4-inch mesh, galvanized sheet metal, or cement backer as recommended in UNL’s rodent-proof construction guide.
Install door sweeps that contact the floor evenly, add weather stripping at jambs, and place metal kick plates on softwood kickboards if mice have been chewing lower cabinet faces. Coarse steel wool works as a temporary patch but rusts; copper or stainless wool lasts longer in humid kitchens.
Remove the food smells that keep mice coming back
Even perfect sealing fails if attractive odors leak from cardboard and thin plastic every night. Food sanitation is the second natural pillar: make the pantry boring. You do not need to empty the room; you need to remove easy calories and nesting material within reach.
The NIH Integrated Pest Management team advises storing personal and animal food in sealed containers that are rodent-proof, preferably glass or metal, and keeping floors and concealed areas free of debris. That standard applies as directly to a home pantry as it does to a research facility break room.
What belongs in glass, metal, or hard plastic
Transfer dry goods—flour, rice, oats, baking mixes, pasta, crackers, birdseed, and pet kibble—into containers mice cannot chew through in one night. Glass jars with tight lids, metal canisters, and thick hard-plastic bins with snap seals outperform original store packaging. Thin reusable grocery containers and soft zipper bags are better than nothing but are not long-term mouse proof.
Store bulk items off the floor on a metal or sealed plastic shelf rack so you can see droppings underneath during weekly checks. Avoid leaving potatoes, onions, or fruit in open bowls in the same cabinet as grains; mice eat a wide diet, and ripening produce adds moisture and odor. If you need a full comparison of pantry storage tactics, our pantry storage and mouse guide walks through container choices in more detail—focus on the sealing section rather than bait myths.
Crumbs, pet food, and the forgotten snack drawer
Vacuum or wipe shelf surfaces, especially corners and shelf-pin holes where flour collects. Pull appliances forward seasonally and clean the crumbs that accumulate along their sides. If children keep snack packs in lower cabinets, move them to upper closed storage or hard bins until the mouse issue is resolved.
Pet food bowls in adjacent laundry rooms and open bags in garages are common pantry-mouse fuel sources because mice travel along walls between rooms. Store pet food in metal bins with locking lids, and avoid leaving bowls out overnight. Empty indoor compost caddies frequently, and rinse recyclables that held food residue before they sit in a kitchen bin.
Use sound and disturbance to make the pantry feel unsafe
Mice are prey animals. They prefer quiet, predictable spaces with cover. Adding intermittent sound and light disturbance is the third natural method: it does not replace sealing, but it can make a marginal route feel risky—especially when combined with scent rotation later.
A small radio on low volume, a plug-in timer that cycles a LED puck light, or simply opening the pantry door more often during the day can disrupt the sense of safety. The goal is irregular disturbance, not torture-level noise that bothers you more than the mouse.
Radio, timers, and ultrasonic devices—what to expect
Ultrasonic pest repellers are marketed heavily for kitchens, but field results are inconsistent. Some mice appear to avoid certain frequencies briefly; others ignore devices entirely, and furniture absorbs sound. If you already own units, place them according to manufacturer spacing and treat them as a possible supplement, not proof of control.
Radios and timers have the advantage of being cheap and easy to rotate. Move the radio to a different shelf every few days, vary the station or volume slightly, and pair the tactic with sealing and hard storage. If you hear activity despite weeks of ultrasonic coverage and clean shelves, the device is not failing—you simply need exclusion and trapping.
Add scent repellents without turning your kitchen into a spa
Peppermint and other strong plant oils are the fourth natural method most people try first—and the one most likely to disappoint when used alone. Mice have a keen sense of smell, and concentrated mint volatiles can make a runway less comfortable for a short time. That is not the same as removing access or eliminating a population.
Treat scent as a narrow-band disturbance along suspected routes: back corners, pipe chases, and gaps you have already sealed on the exterior side of the wall. Do not pour oil on food shelves, near open flour, or where pets and toddlers can touch residues.
Peppermint oil, cotton balls, and plant-based products
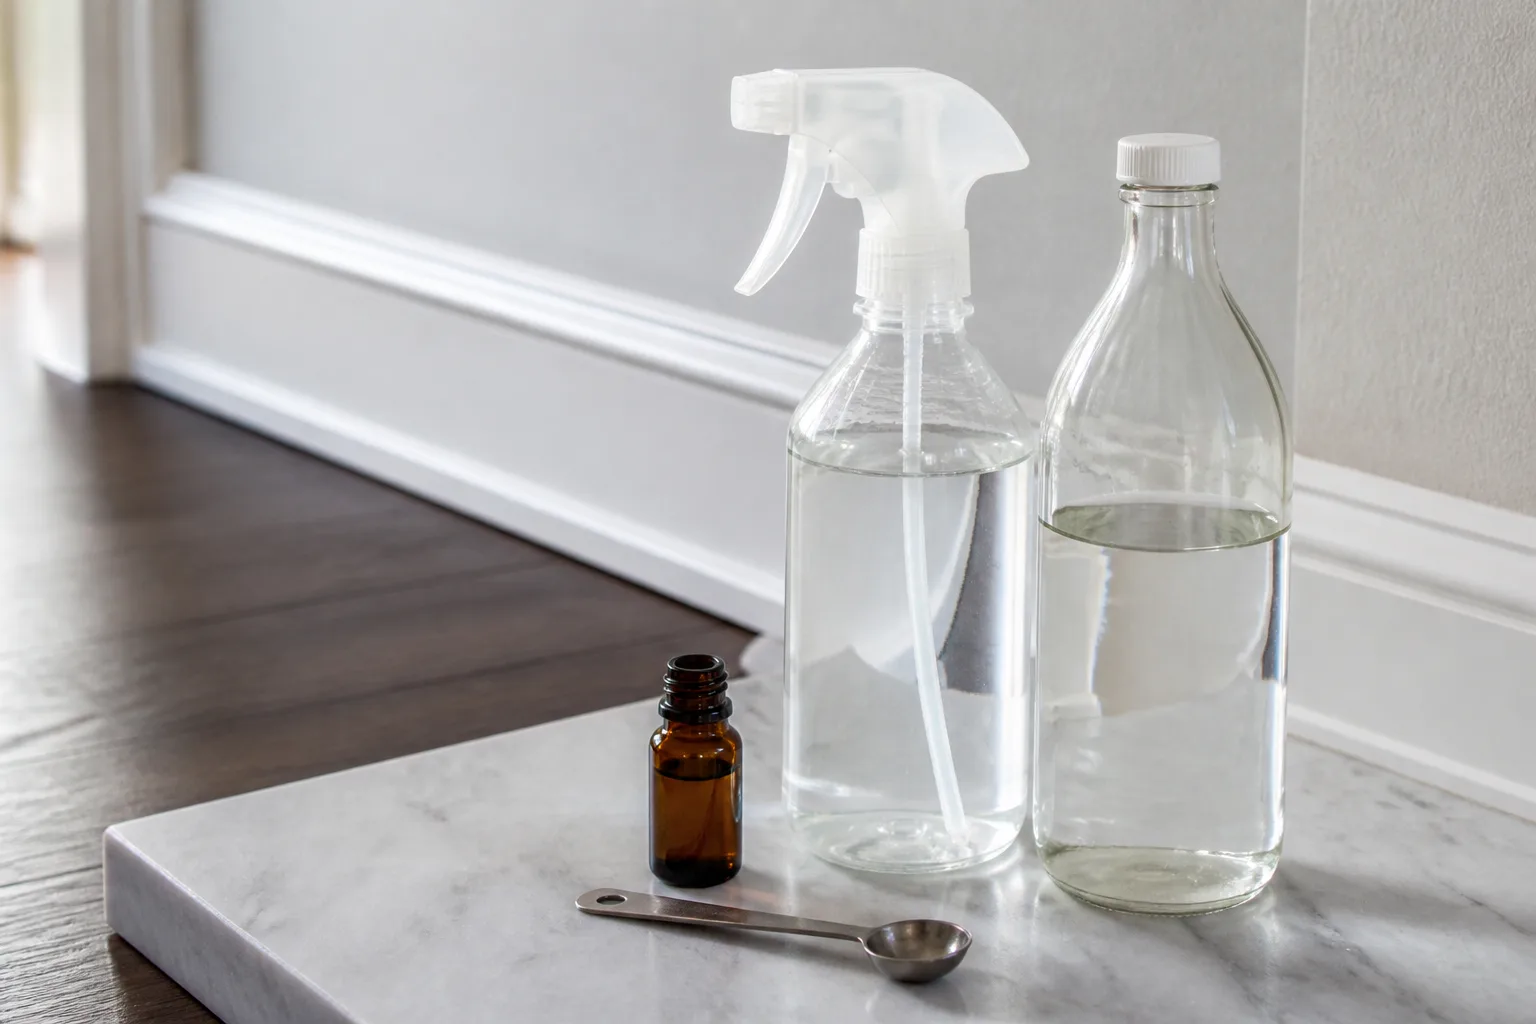
For a DIY approach, lightly saturate cotton balls or reusable felt pads with peppermint essential oil and place them in small dishes or mesh sachets where children and pets cannot reach them. Refresh every few days; kitchen air and cooking grease strip scent quickly. Commercial mint sachets follow the same logic with slower release.
Keep oils away from cats; mint-family compounds can be irritating or toxic to cats at high concentrations. Never rely on scent near food-contact surfaces without washing before use. For a deeper look at concentration, safety, and realistic expectations, read our dedicated peppermint oil for mice guide—then return to sealing and containers as your main work.
Rotate deterrents so mice do not habituate
Rodents are neophobic—wary of new objects and smells—but they also adapt when a threat never changes. Rotation is the fifth natural method: swap scents, move sound sources, shift light timers, and rearrange minor obstacles so the pantry does not settle into a new normal.
A practical winter rotation might look like this: week one, peppermint sachets on the left chase wall; week two, move sachets and add a low radio during daytime hours; week three, switch to a different mint-based product or add a vinegar-cleaned shelf refresh to remove food odor trails. Rotation without sealing is theater. Rotation after exclusion and hard storage can help discourage re-exploration.
Document what you changed and whether new droppings appear. If activity continues despite rotation, you are no longer in deterrence mode—you need traps or professional inspection.
When live traps make sense—and how to use them responsibly
Live traps are the sixth natural method, and they are the most misunderstood. They feel humane because no poison is involved, but a mouse left in a trap too long can die from stress, dehydration, or cold. Live trapping belongs after you have started sealing and food cleanup, not instead of them.
Use live traps when you have confirmed low activity—one or two mice, fresh droppings on a single runway—and you can check traps at least every morning and evening. They are a poor fit for heavy infestations, shared walls with unknown voids, or homes where traps cannot be monitored daily.
Bait, placement, release rules, and daily checks
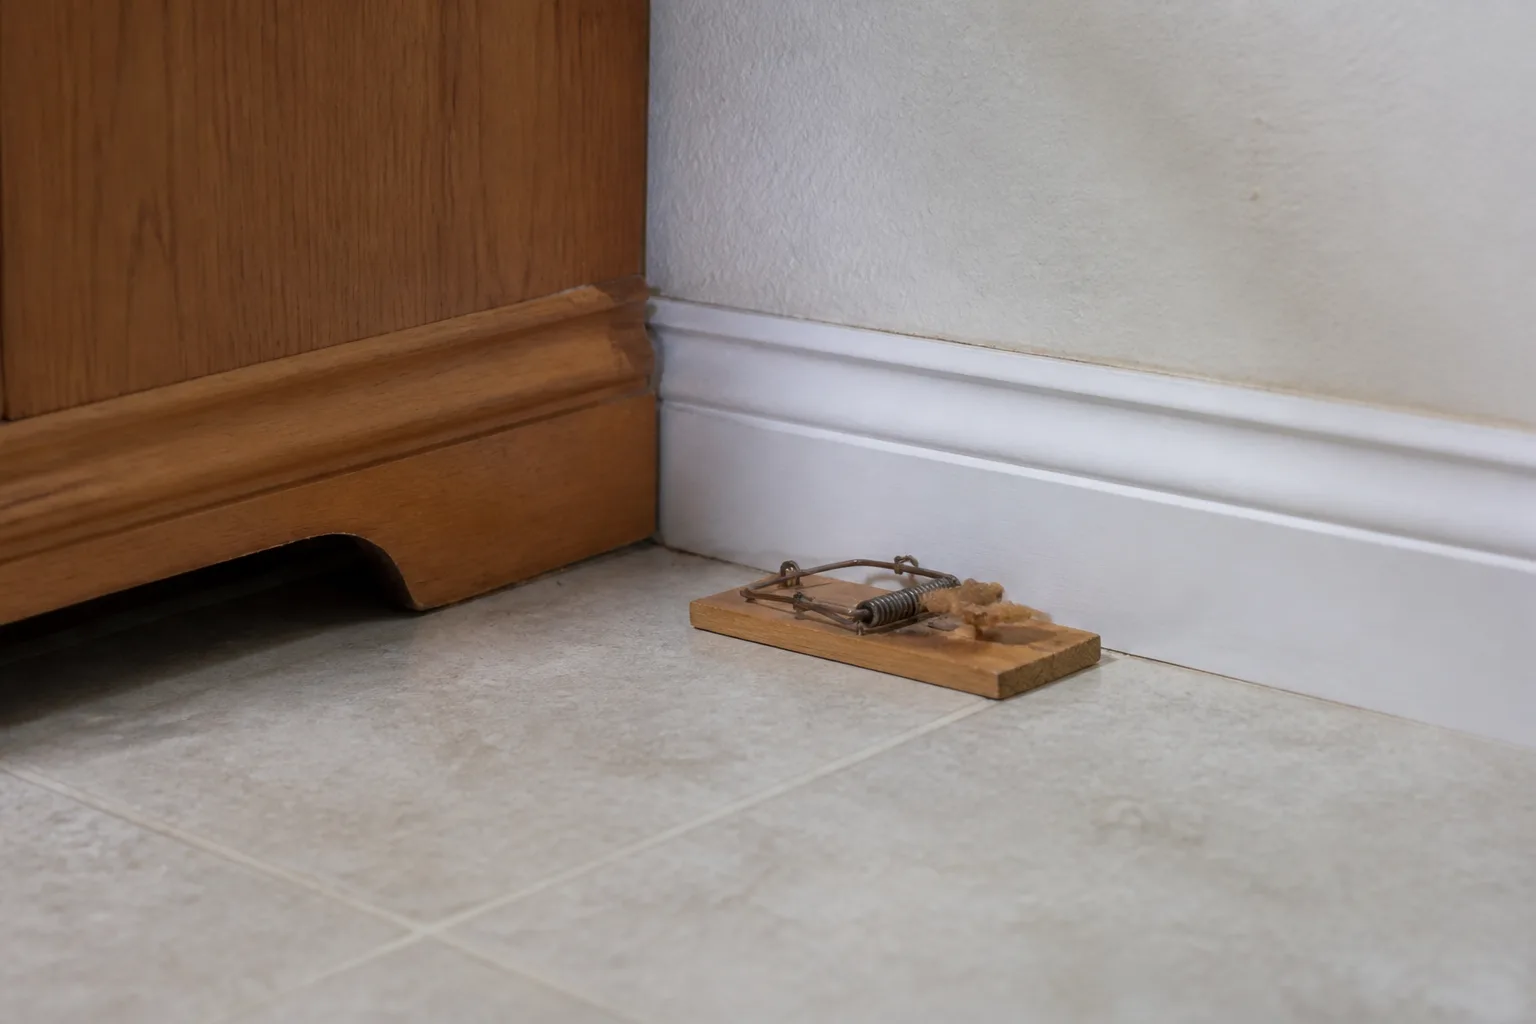
Bait with a pea-sized amount of peanut butter, sunflower seed, or a nut tied into the trigger area so the mouse must commit to the plate. Set traps along walls with the entry facing the baseboard, not in the center of the pantry floor. Mice run edges; center placement mostly catches curious juveniles.
Check traps at least twice daily. Provide shade and a small air hole if you must hold a mouse briefly before release, but minimize time in the trap. Release rules vary by state and municipality; some areas prohibit relocation by homeowners, and research shows house mice may return from surprising distances if released nearby. When in doubt, contact local animal control or use lethal snap traps placed per CDC trap guidance instead of prolonged live capture. Our best mouse traps guide compares humane, snap, and electronic options if live release is not legal or practical in your area.
Never use poison baits in or near food storage. Rodenticides can leave dead mice in wall voids, create secondary poisoning risks for predators, and contaminate areas where you store food.
What to do if natural methods are not enough
Call a professional or escalate to lethal trapping when you see fresh droppings daily after two weeks of sealing and sanitation, hear scratching in multiple walls, smell decay, find wiring damage, or have household members with asthma or immune conditions that make rodent exposure higher risk. Disease organisms associated with mice—including salmonella and, in some regions, hantavirus—are why cleanup and population reduction matter beyond chewed cereal boxes.
An exterminator should still prioritize exclusion and monitoring, not monthly poison alone. Ask for a written inspection map of entry points, materials used, and follow-up timing. If you rent, notify your landlord in writing with photos; pantry mice often indicate building-level gaps outside your unit.
EPA-registered rodenticides have a place in exterior control and some commercial settings, but they are a poor first choice inside a food pantry. Exhaust natural IPM—seal, store, disturb, trap—before considering any toxic bait indoors.
Conclusion
Keeping mice out of your pantry all winter long comes down to six natural methods used in the right order: inspect for signs, seal quarter-inch routes with chew-resistant materials, store food in glass or metal, add sound and scent disturbance, rotate those deterrents so mice do not adapt, and deploy live traps only with daily checks and legal release options. Peppermint, ultrasonics, and radio noise can help at the margins; they cannot compensate for cardboard pasta boxes and an open pipe gap behind the sink.
Start tonight with the 15-minute inspection and one hard-container upgrade for whatever the mice already hit. Seal the most obvious gap you find tomorrow. If activity persists after two weeks of real exclusion and sanitation, move to traps or professional help rather than stacking more sachets on the shelf. The pantry should be the most boring room in the house for a mouse—and the safest room in the house for you.