How to Arrange Houseplants for Year-Round Growth
Use this houseplant layout guide to map light, group plants by moisture needs, protect airflow, and adjust placement from winter to summer.
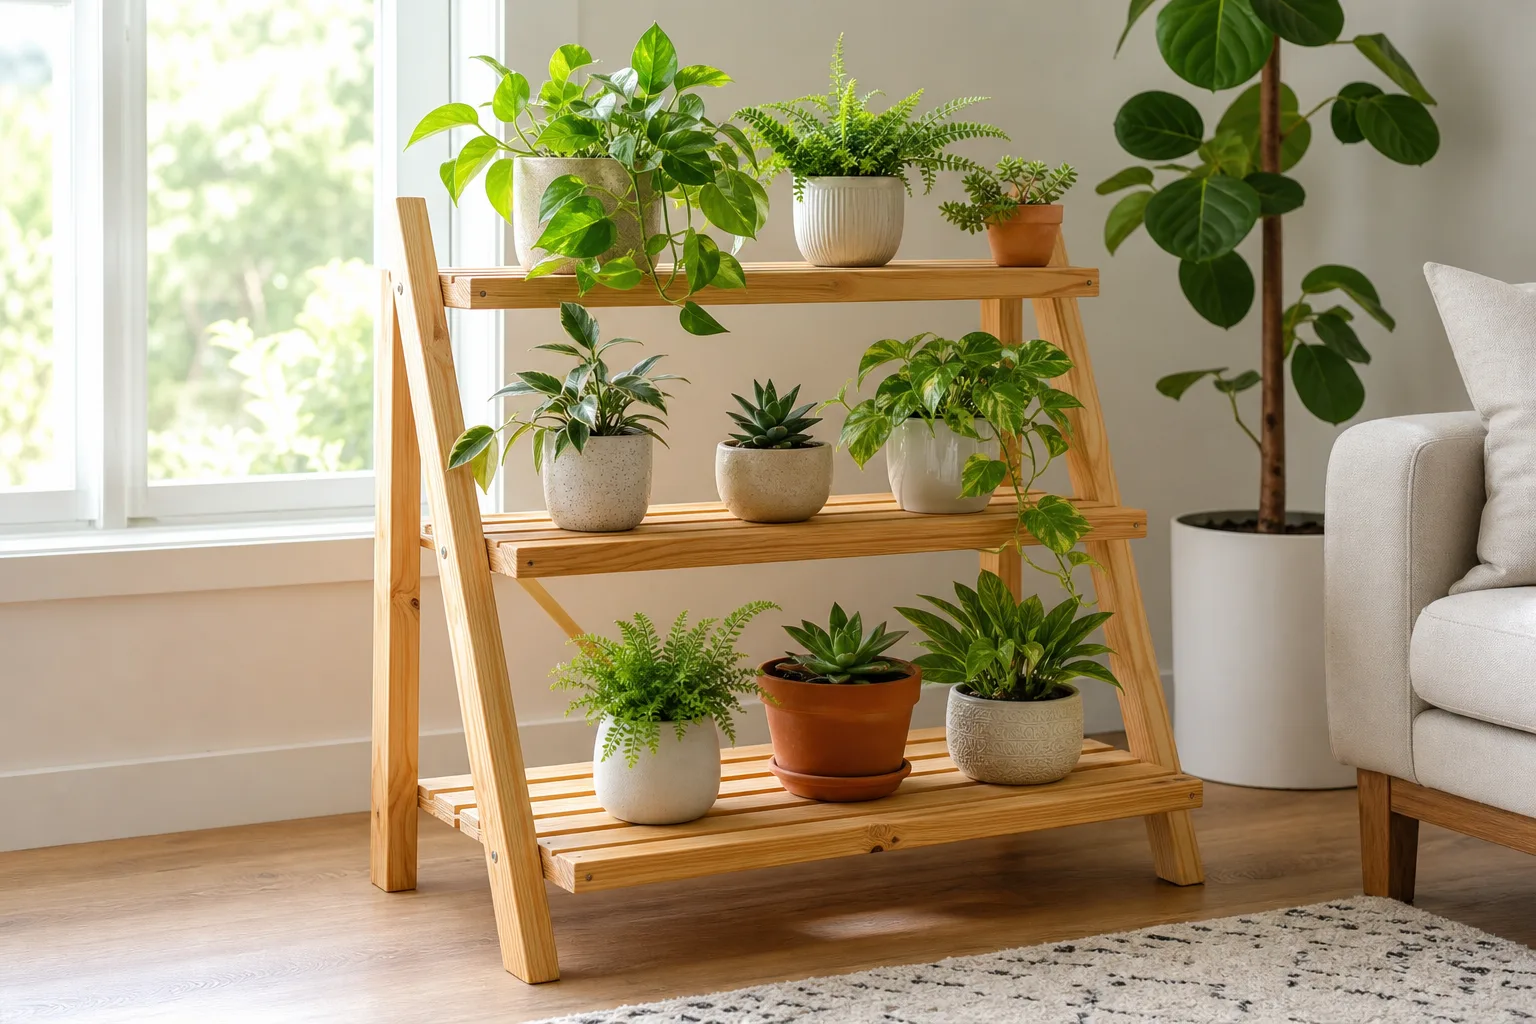
The best houseplant layout is not a straight line of pots on the prettiest shelf. It is a set of small, adjustable zones: plants that want similar light share one area, plants with similar moisture needs stay on the same care route, and no group is so crowded that you cannot inspect every leaf or lift every pot.
That distinction matters because a room has several climates at once. The window side may be bright but cold at night, the center of the room may be warm but too dim, and the shelf beside a humidifier may have moist air but poor airflow. Use the method below to arrange houseplants around their actual conditions, then revisit the layout as daylight and indoor temperatures change.
The layout rule: group plants by conditions, not by room
Start with a priority order: light first, then temperature, watering and drainage, airflow, humidity, and convenience. A plant can be near the sink and still fail if the corner is too dark; a beautiful tropical cluster can still develop problems if the pots stay wet and the leaves never dry.
Think of each spot as a bundle of conditions rather than a room label. “Bathroom plant” is not a care category by itself. A bright bathroom with a window may suit a fern or peace lily, while a windowless bathroom is dark even when the shower makes it steamy. Likewise, a “living-room plant” could mean a sunny sill, a dim media console, or a drafty spot beside a patio door.
The RHS houseplant growing guide makes the same broader point: indoor placement should account for light, temperature, water, and humidity instead of decoration alone. Before you move anything, sketch the room, mark windows and vents, and write down which areas stay bright, warm, cool, or difficult to reach.
Once you have that map, create loose groups rather than rigid rows. A plant may share light with one neighbor, humidity with another, and watering frequency with a third. Put the conditions that matter most to that species first, and let the room’s design follow the biology.
Make a light map before moving a pot
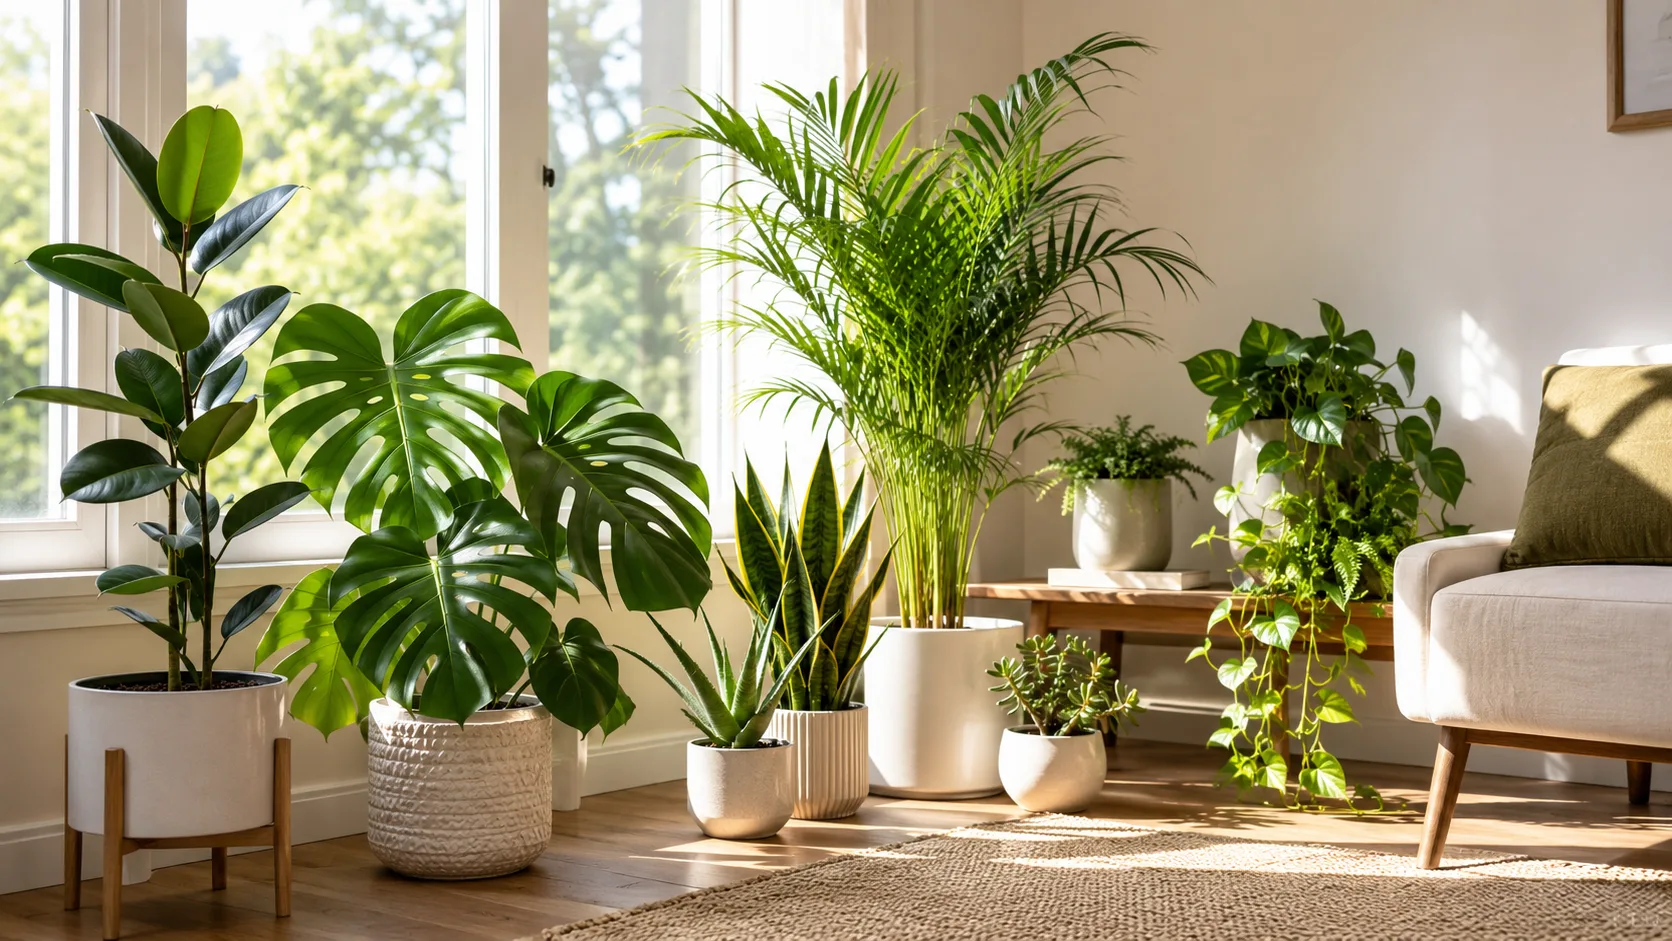
Light is the constraint most attractive layouts hide. A plant may look fine for a few weeks in a dim corner because it is living on stored energy, then stretch, shed lower leaves, or stop producing new growth. The University of Saskatchewan’s basic-care guidance notes that both light intensity and the number of hours of light matter, and that a spot that seems sunny indoors can still be relatively weak compared with outdoor shade.
Walk the room at three times—morning, midday, and late afternoon—and mark the useful light on a simple floor plan. Record whether sun reaches the leaves directly, passes through a sheer curtain, or only brightens the wall. Also note obstructions such as trees, balconies, neighboring buildings, tinted glass, deep overhangs, and curtains that stay closed most of the day.
Measure a spot instead of trusting the label
“Bright indirect light” is a direction, not a measurement. As a quick field test, hold your hand where the foliage will sit. A dark, defined shadow suggests stronger direct light; a soft shadow suggests filtered or bright indirect light; a barely visible shadow indicates a low-light position. Use the test at different times because one bright hour does not equal a bright day.
Distance from the glass is another useful starting point. Gardening Know How describes high-light plants as needing roughly five or more hours of bright light and often being kept within about six feet of a window, but that is only a starting range. A plant six feet from a large, unobstructed window may receive more usable light than one two feet from a small window shaded by a building.
If you use a phone light-meter app, treat the number as a comparison between spots in your own home, not as a laboratory reading. Measure the same way each time, with the phone at leaf height, and compare a shelf with the windowsill rather than chasing a single “perfect” value. The plant’s growth is the final test: compact new leaves and normal color are encouraging; long gaps between leaves, leaning, and smaller new growth usually mean the plant needs more light or a closer position.
Match plant groups to window exposures
In the Northern Hemisphere, a south-facing window generally offers the strongest light, while west-facing glass can bring intense afternoon heat. East-facing windows usually provide gentler morning sun, and north-facing windows tend to offer the lowest intensity. In the Southern Hemisphere, the north/south pattern reverses, so use the sun’s path and your own observations rather than a direction label alone.
| Light zone | Useful starting position | Plants that may fit | Layout caution |
|---|---|---|---|
| Strong direct light | Close to a bright window, with summer filtering if needed | Many cacti and succulents, aloe, ponytail palm, sun-loving herbs | Glass can magnify heat; watch for bleaching, tan patches, or crisp scorch |
| Bright filtered light | Near an east or west window, or behind a sheer curtain | Rubber plant, monstera, pothos, many orchids and flowering plants | Do not let taller pots shade every plant behind them |
| Medium indirect light | Bright room set back from glass, or a lightly shaded window | Peace lily, some ferns, aglaonema, adaptable foliage plants | Growth may continue while flowering slows |
| Low light | The brightest available interior spot, or supplemental grow light | Snake plant, ZZ plant, cast iron plant, some pothos | “Low light” does not mean no light; dark rooms still need a solution |
Use the table to decide where to test a plant, not to force every specimen into a category. Variegated plants often need more light to hold their pattern, flowering plants commonly need more light to bloom, and a plant that tolerated a dim winter room may scorch if moved directly into summer sun.
Arrange the brightest plants closest to the glass, then step shorter or more shade-tolerant plants back. If a plant shelf sits in front of a window, place open gaps between pots so light can reach lower tiers. A dense, beautiful front row can turn the back row into a low-light zone even when the whole shelf looks bright from across the room.
Build humidity zones without keeping leaves wet
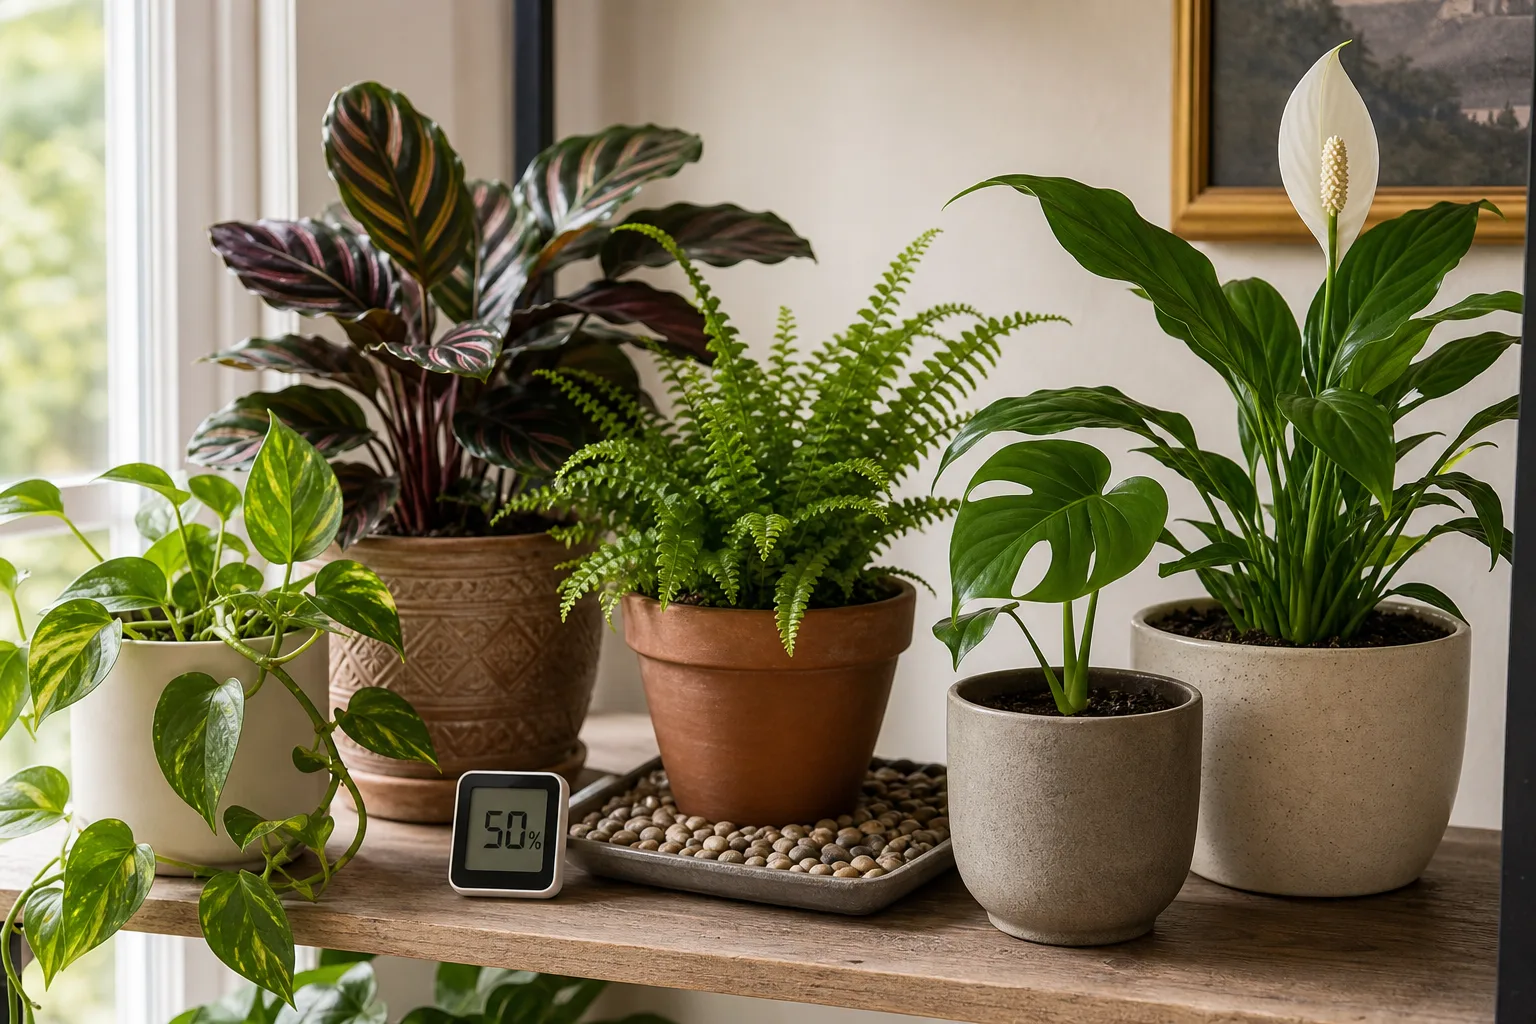
Humidity is most useful as a supporting condition, not a reason to ignore light or drainage. The RHS guidance on choosing houseplants explains that room humidity varies: bathrooms and kitchens may be more humid, while centrally heated living spaces can be drier, especially in winter. That difference can change how quickly foliage loses water and how often a pot dries.
Group plants that genuinely benefit from a moister pocket, but leave enough room for air to move around them. A cluster can create a small local microclimate, and a humidifier can help a larger area, but neither fixes a cold window, a dark corner, or soil that stays saturated.
Put tropical foliage together and dry-loving plants apart
Make a tropical foliage zone for plants such as ferns, calatheas, fittonia, peace lilies, and many aroids. A bright bathroom with a window, a plant shelf near—but not in the path of—a humidifier, or a bright kitchen corner can work. Keep the humidifier on a stable, water-resistant surface, leave space around the leaves, and use a hygrometer to notice whether the room is actually dry instead of assuming it is.
Place cacti, succulents, ponytail palms, and other plants with strong water-storage tissues in a separate, brighter and drier zone. Do not put them in the middle of a mist-loving cluster just because their pots match. They generally need the potting mix to dry more fully, and extra humidity does not compensate for low light or slow-draining soil.
A pebble tray can offer a small local buffer when it is set up correctly: use a shallow watertight tray, keep the pot on top of the pebbles, and keep the water below the pot base. It is not a substitute for drainage, and it will not turn a dry room into a greenhouse. If a plant’s leaves stay wet, develop spotting, or the surface around the pot remains clammy, reduce crowding and improve air exchange before adding more moisture.
Create a watering route that prevents missed pots
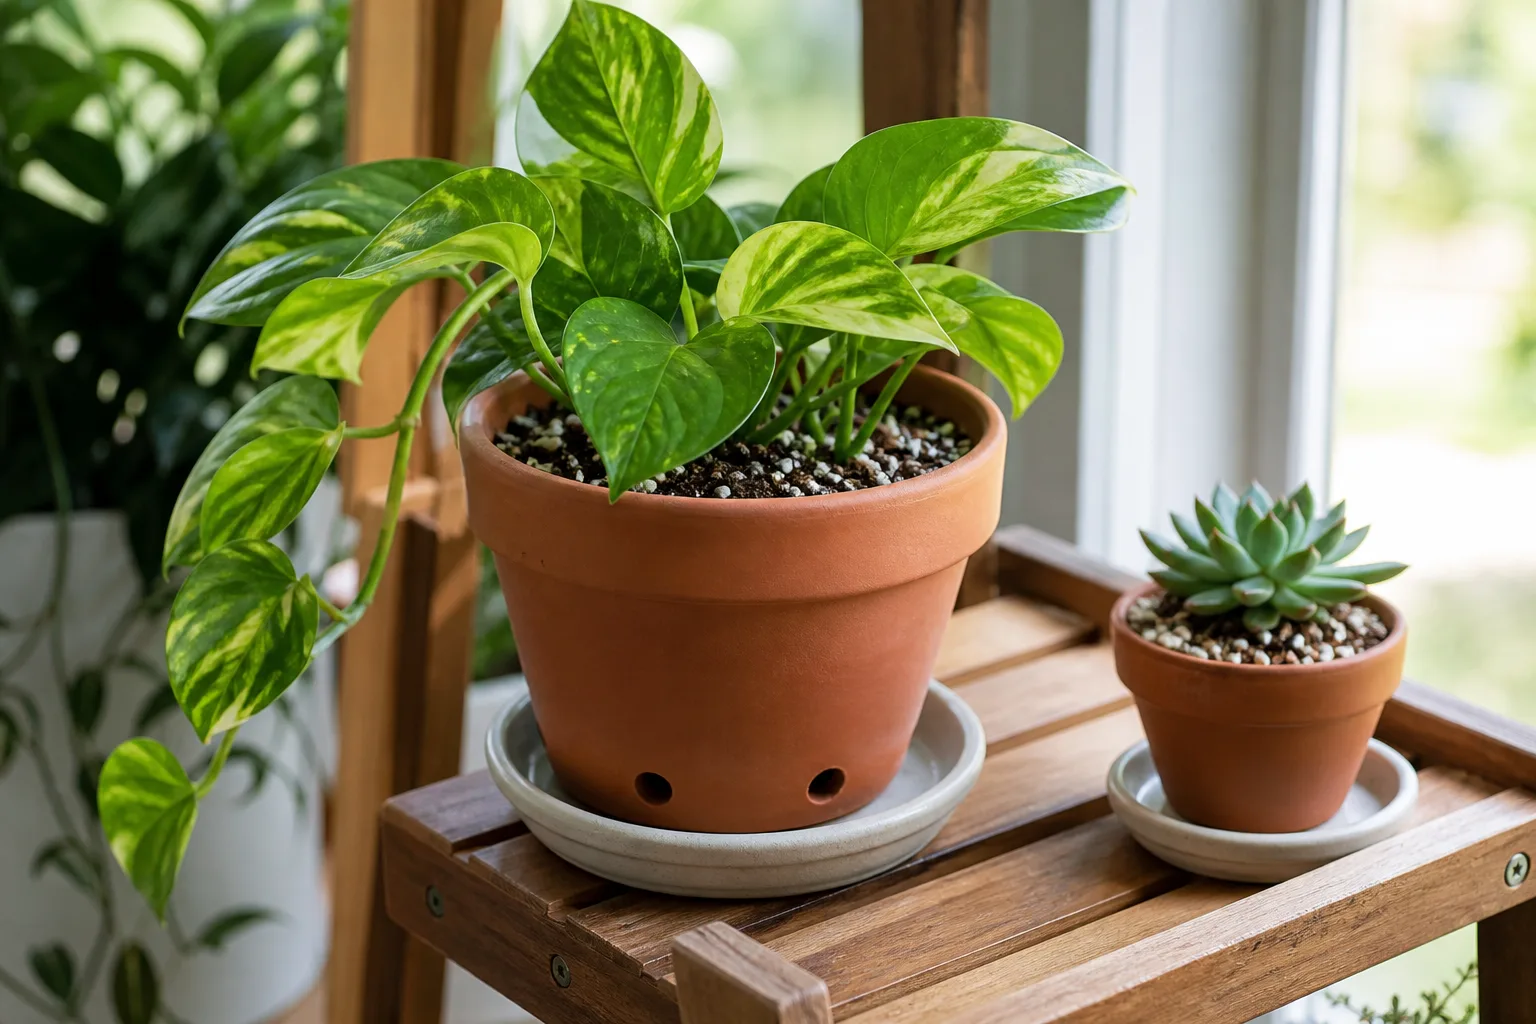
Grouping by watering frequency is one of the most useful layout ideas because it reduces missed plants. It works only if you treat the groups as inspection routes, not permission to water every pot on the same day. The University of Saskatchewan notes that water needs depend on both the species and the conditions in your home; a warm, breezy shelf can dry sooner than a cool bathroom even when the pots are identical.
Give each group a simple care label in your notes: “check often,” “check when partly dry,” or “let dry more fully.” Lift the pot when you can, feel the mix at the depth that matters for that plant, and check for drooping or unusually light foliage. If two plants share a shelf but one has a much smaller pot, a terracotta container, or a trailing canopy exposed to moving air, inspect it separately.
Keep high-demand plants within reach
Put plants that need regular checks near the sink, shower, or a clear table where you can lift the pot. Ferns, thirsty tropicals, seedlings, and plants in small containers become easy to ignore when they are high on a crowded shelf. A plant you can inspect in ten seconds is less likely to be watered by habit or forgotten until it is severely wilted.
Keep low-demand plants—such as many snake plants, ZZ plants, and succulents—on a separate route so their long dry intervals do not confuse the care of the thirsty group. Do not cluster them simply because they are “easy.” Their care becomes easier when the layout makes their different rhythm visible.
The Gardening Know How houseplant-care guide recommends checking the plant’s actual light and water needs rather than assuming every houseplant follows one routine. That is the principle behind a good watering layout: organize the work, then make the final decision pot by pot.
Make drainage part of the layout
Every plant that you water thoroughly needs a place to drain. Use a nursery pot with a drainage hole inside a cachepot, or set a draining pot on a saucer that can be emptied. Keep a small open area on the shelf or a waterproof mat nearby so watering is not forced to happen in place while water runs onto books, wood, or electrical cords.
After watering, let excess flow out and empty the saucer or cachepot rather than returning a pot to standing water. The RHS houseplant guide specifically warns that long periods in water replace air spaces in the potting mix and can suffocate roots. A layout that looks tidy but hides a full cachepot is a root problem waiting to happen.
Use plant risers only when they improve airflow or protect the surface, not to create a sealed bowl around the pot. Keep heavy containers low and stable, and leave enough clearance to remove each pot without dragging neighboring leaves through it. Good drainage is partly a container choice, but the layout decides whether you will notice and maintain it.
Use height and rotation for even growth
A tiered display can make a small room hold more plants, but every level changes the light and the watering experience. Put the heaviest pots on the lowest stable surface, medium plants in the middle, and light trailing or compact plants where they will not shade or obstruct the plants below. Keep a clear path to the back of the shelf so a pretty arrangement does not become a row of inaccessible pots.
Use height to create visual rhythm, not to hide a plant that is already short on light. If a tall monstera or rubber plant blocks a small calathea from the window, move the tall plant sideways or farther back before adding a grow light. Leave gaps between foliage so you can see the soil, the stems, and the undersides of leaves.
Keep every pot visible and serviceable
You should be able to answer three questions without dismantling the display: Is the soil dry enough for this plant? Is water draining freely? Are there pests on the stems or leaf undersides? If the answer is no because a pot is wedged behind another, the group is too dense or the shelf is too deep.
Rotate plants that lean toward a bright window instead of relocating them every few days. Gardener’s Path recommends a small regular turn for plants in sunny positions to encourage more even growth. A quarter turn every week or two during active growth is a reasonable starting routine, but slow-growing plants need less attention and a plant with a delicate bloom may be better left alone until flowering ends.
Leave airflow lanes and a quarantine space
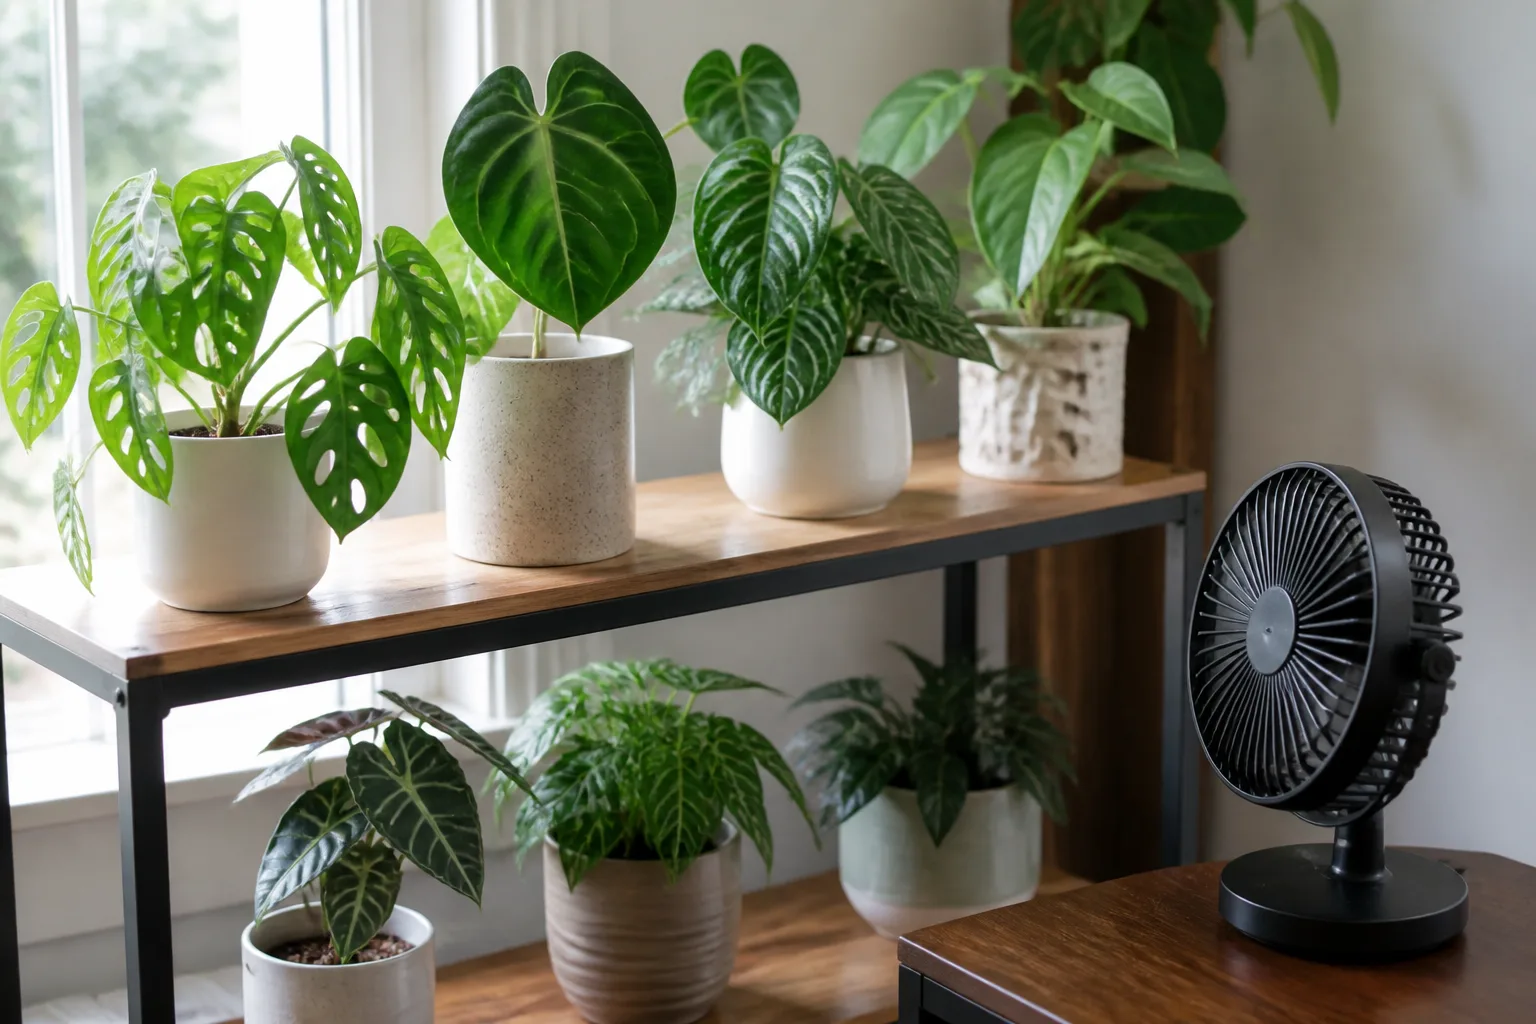
Airflow does not mean blasting houseplants with a fan. It means leaving enough open space for warm, humid air to move away from leaves and for you to notice problems before they spread. Keep plants away from the direct stream of heating and cooling vents, and avoid packing foliage tightly against a cold window or wall.
Space plants so you can inspect them
Leave a few inches between pots as a starting point, then widen the gap when leaves touch, a plant has a broad canopy, or you cannot reach the back of the group. The goal is not a precise measurement; the goal is separation that lets you see stems, wipe leaves, lift pots, and remove one plant without brushing every neighbor.
Put a small fan across the room or on a low setting if air is persistently stagnant, but do not aim a strong stream directly at tender foliage. A fan beside a humidifier should mix the air gently, not dry one plant while leaving another in a wet plume. If leaves are constantly damp after watering, reduce the group’s density and water earlier in the day so the surface can dry.
Hold new plants separately before joining the group
Make a quarantine spot part of the layout, even if it is only a bright, uncluttered table several feet away from the main collection. New plants can bring scale, mealybugs, thrips, or fungus gnats into an otherwise healthy group. Inspect the pot rim, stems, leaf joints, undersides, and soil surface repeatedly over the next couple of weeks before merging the plant with the others.
Keep tools, saucers, and wiping cloths from moving directly between a visibly infested plant and the rest of the collection. Remove badly affected leaves or isolate the whole plant according to the pest’s needs, and avoid spraying a treatment in a closed, crowded display where neighboring leaves will also be exposed. The safest layout is one that gives a problem plant somewhere to go immediately.
Reset the layout as the seasons change
“All year” does not mean “never move a plant.” The sun’s angle, day length, heating, air-conditioning, and window temperature all change. The RHS advises checking temperature over a full 24-hour cycle because a spot that feels comfortable at midday can become cold at night, and it notes that strong summer sun through glass can damage susceptible foliage while the same window may be valuable in winter.
Make a seasonal reset part of your routine rather than waiting for a dramatic symptom. At the beginning of winter and summer, walk the room again, repeat the shadow test, feel the temperature near windows and vents, and re-sort plants that have outgrown their original zone. Move one variable at a time when possible so you know what helped.
Winter placement: more usable light, fewer shocks
In winter, pull light-hungry plants closer to the brightest usable window if the glass and sill are not cold. Remove plants from the pocket behind closed curtains, where nighttime temperatures can drop, and keep tropical foliage away from radiators and forced-air vents. A sunny window may still be too cold at night, so use a thermometer at leaf height rather than judging by the room’s thermostat.
Expect watering to change after a winter move. Shorter days, cooler soil, and slower growth often mean a pot stays wet longer; warm dry air from heating can pull moisture from leaves while the root zone remains damp. Check the mix and pot weight instead of increasing watering to compensate for brown tips, because brown tips can also follow low humidity, salts, heat, or root stress.
If natural light is not enough, a properly placed grow light can make a shelf usable, but it should be part of the light plan rather than an excuse to put plants in a dark room. Keep the light on a consistent schedule, allow space between the fixture and foliage, and monitor for bleaching or excessive heat.
Summer placement: filter heat and acclimate slowly
In summer, the brightest window may become the hottest one. Use a sheer curtain, move susceptible foliage a little farther from west-facing glass, or shift plants to bright filtered light before leaves scorch. Make changes gradually; a plant that spent months behind a curtain can be damaged by sudden outdoor sun or an unfiltered pane.
If you move houseplants outdoors, treat it as acclimation rather than a simple change of address. The RHS guidance on moving houseplants outdoors recommends a shady, sheltered start for many leafy tropical plants because outdoor light is much more intense, and it notes that increased air movement can dry pots faster. Bring plants back before nights become too cool for their species; the RHS uses 10°C (50°F) as a general return point for many common houseplants, while some tropical plants need warmer conditions.
On the return indoors, give the plants a bright but not extreme transition spot, check carefully for pests, and expect watering and humidity to change again. A plant can drop leaves after a sudden change from outdoor humidity to heated indoor air, so re-acclimate it over a couple of weeks and avoid making several other major changes at the same time.
Diagnose a layout that is failing
When a plant declines after rearranging, do not immediately add water, fertilizer, humidity, or a new product. Write down what changed, inspect the roots and pot drainage if the soil is staying wet, and compare the plant with its neighbors in the same zone. One symptom can have several causes, so use the simplest location test first.
| What you notice | Layout-related possibilities | First test |
|---|---|---|
| Long stems, wide gaps, leaning | Too little usable light or shade from a larger neighbor | Move it closer to the window or open the shelf, then watch new growth |
| Bleached, tan, or papery patches | Sudden direct sun, hot glass, or a heat source | Filter the light and check the leaf temperature near the window |
| Crispy edges or brown tips | Dry air, missed watering, salts, heat, or root damage | Check soil moisture, room humidity, drainage, and vent location before misting |
| Yellow, soft, or dropping leaves | Wet roots, low light, cold drafts, or a watering route that is too frequent | Check the pot’s drainage and moisture before watering again |
| Whitefly, scale, mealybugs, or webbing | New plant introduced pests or foliage is too crowded to inspect | Isolate the plant and examine leaf undersides and stem joints |
| Soil stays wet for a long time | Oversized pot, poor drainage, low light, or a cool position | Confirm a drainage hole, lift the pot, and move it to a brighter stable zone |
Do not diagnose from a room name or a single bad leaf. Older leaves can age naturally, and a newly moved plant can pause while it adjusts. Look at the newest growth, the pattern across the canopy, how fast the pot dries, and whether nearby plants show the same response.
If one zone repeatedly fails, change the zone before changing the plant. Open a blocked window path, separate a wet tropical cluster from a dry-loving plant, move the group away from the vent, or create a drainage station. The best layout is not the one that looks unchanged; it is the one that makes the next correct care decision obvious.
Conclusion: build a living layout, not a permanent display
Arrange houseplants around conditions in this order: give each plant usable light, protect it from temperature shocks, organize watering without a shared calendar, provide drainage, preserve airflow, and then fine-tune humidity and convenience. A plant stand, bathroom, windowsill, or shelf is only successful when the plant can grow there and you can still reach, inspect, water, and move it.
Start with one room and a small light map. Group plants that share the same environmental needs, leave inspection space, hold new arrivals apart, and make a short winter and summer reset part of your routine. That approach gives you a layout that can change with the plants and the seasons—and that is far more reliable than a display designed once and forgotten.



