4 Garden Measurements to Take Before Summer
Weak summer growth often starts with wrong light, poor drainage, off pH, or crowded plants. Run these four spring garden measurements before planting season peaks.
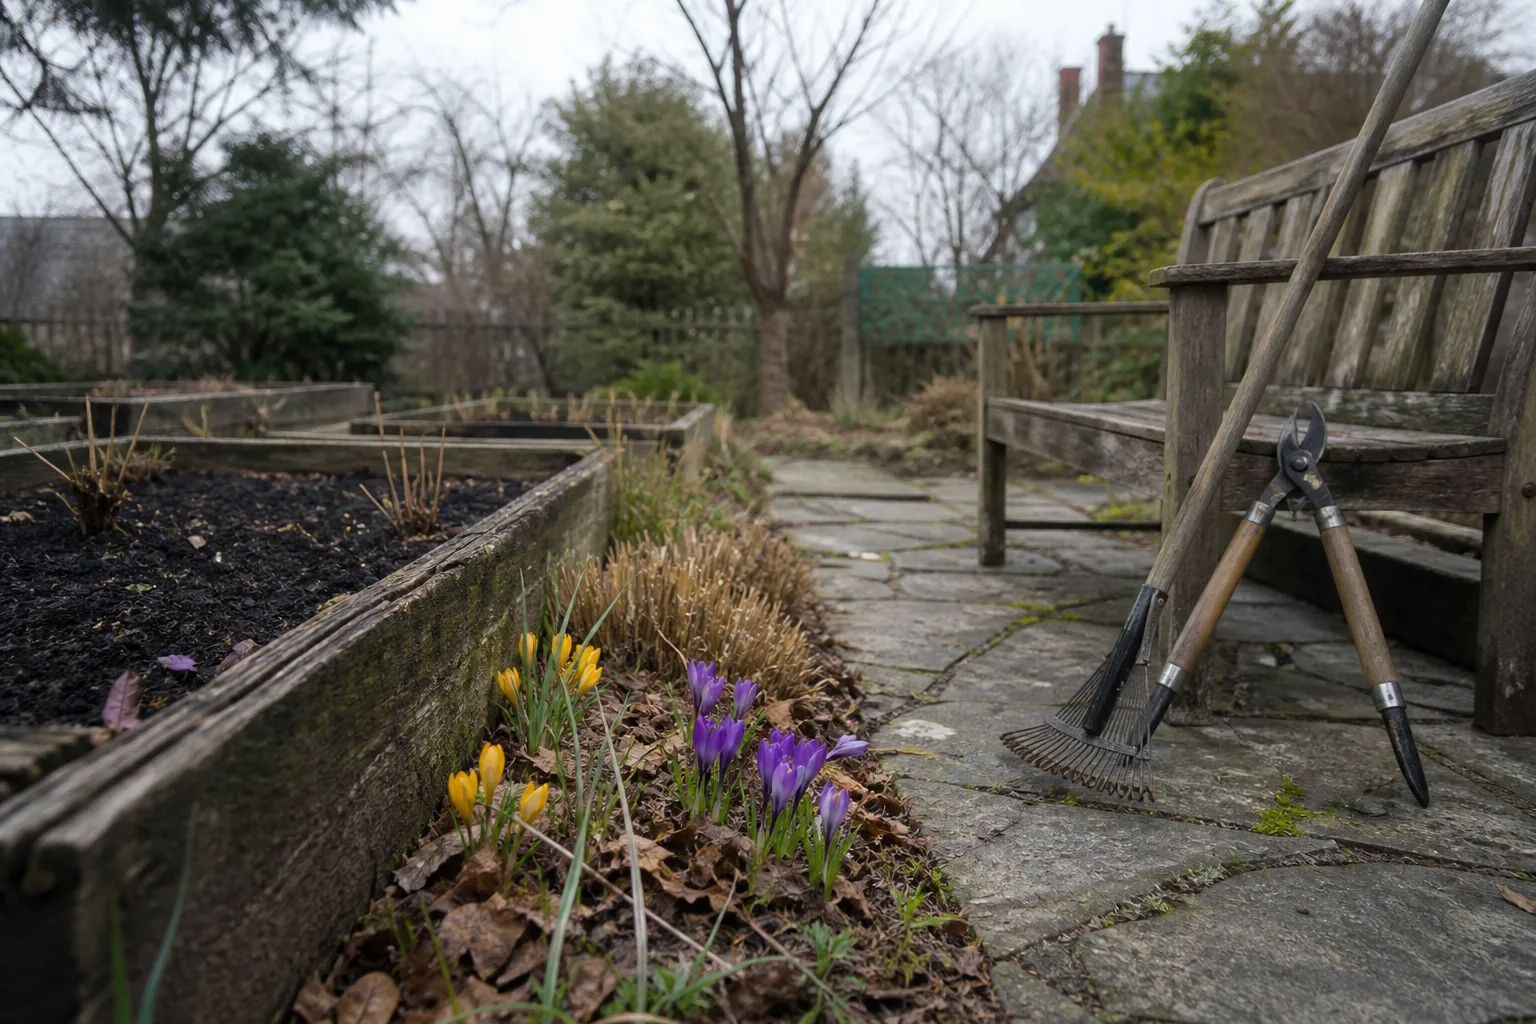
A leggy tomato in July, a hydrangea that never blooms, a perennial that stalls after one good year — most gardeners blame heat, pests, or bad luck. More often, the problem was baked in months earlier: wrong light, soggy roots, locked-up nutrients, or plants packed shoulder to shoulder before they had room to grow. Spring is when those failures are still cheap to fix. Once summer stress arrives, you are managing symptoms instead of correcting the site.
Four measurements — sun exposure, soil drainage, soil pH, and mature plant spacing — take about half an hour across a typical yard. You do not need a lab coat or expensive gear. You do need a notebook, a tape measure, and the discipline to measure before you buy another flat of annuals.
Why Spring Measurements Beat Summer Guessing
Deciduous trees are still bare or thinly leafed in early spring, so light patterns you map now are close to what sun-loving vegetables and summer annuals will receive. Wait until leaves fully expand and that south bed you thought was “full sun” may drop to part shade by June. Soil is warming but usually not baked dry yet, which makes texture and drainage tests safer and more accurate than mid-August probing.
Extension services recommend sampling soil in early spring or late fall so you have results before buying lime and fertilizer (Penn State Extension). Spacing corrections are also easiest while plants are still dormant or just breaking bud — root balls are smaller, shock is lower, and you have not yet woven a tangled root mass between neighbors.
If you already ran our signs your garden soil is not ready for planting checks, think of this guide as the next layer: not just “can I dig today?” but “will this spot still work when plants are full size and the sun is high?”
The 30-Minute Garden Audit: What to Record Before You Change Anything
Walk your garden in a slow loop. Mark four to six zones — a front foundation bed, a vegetable plot, a side shade strip, a container cluster on the patio. For each zone, capture:
- Sun hours (estimated direct sun on a clear late-spring day)
- Soil texture (squeeze test result: sand, loam, or clay tendency)
- Drainage rate (percolation test in minutes)
- Soil pH (kit reading or last lab result with date)
- Largest plant in the zone and its mature spread from the label
- Actual spacing between that plant and its nearest neighbor
Do not amend, transplant, or shop until every zone has numbers. Mixing fixes before you measure is how people lime a bed that only needed better drainage, or split a shrub that only needed afternoon shade.
Your Simple Measurement Log
Copy this table into a notebook or phone note. One row per garden zone is enough.
| Zone | Sun (hrs direct) | Texture | Drain (min) | pH | Plant / mature width | Current spacing | Fix priority |
|---|---|---|---|---|---|---|---|
| Front left bed | |||||||
| Veg plot | |||||||
| North side |
Fix priority is your call after all four measurements: H (fix before planting), M (fix this season), L (monitor). A bed with four hours of sun and a “full sun” rose gets H for light. Clay that drains in 45 minutes but pH 6.5 might get L — structure is the long game, chemistry is fine.
Measurement 1 — Daily Sun Exposure by Garden Zone
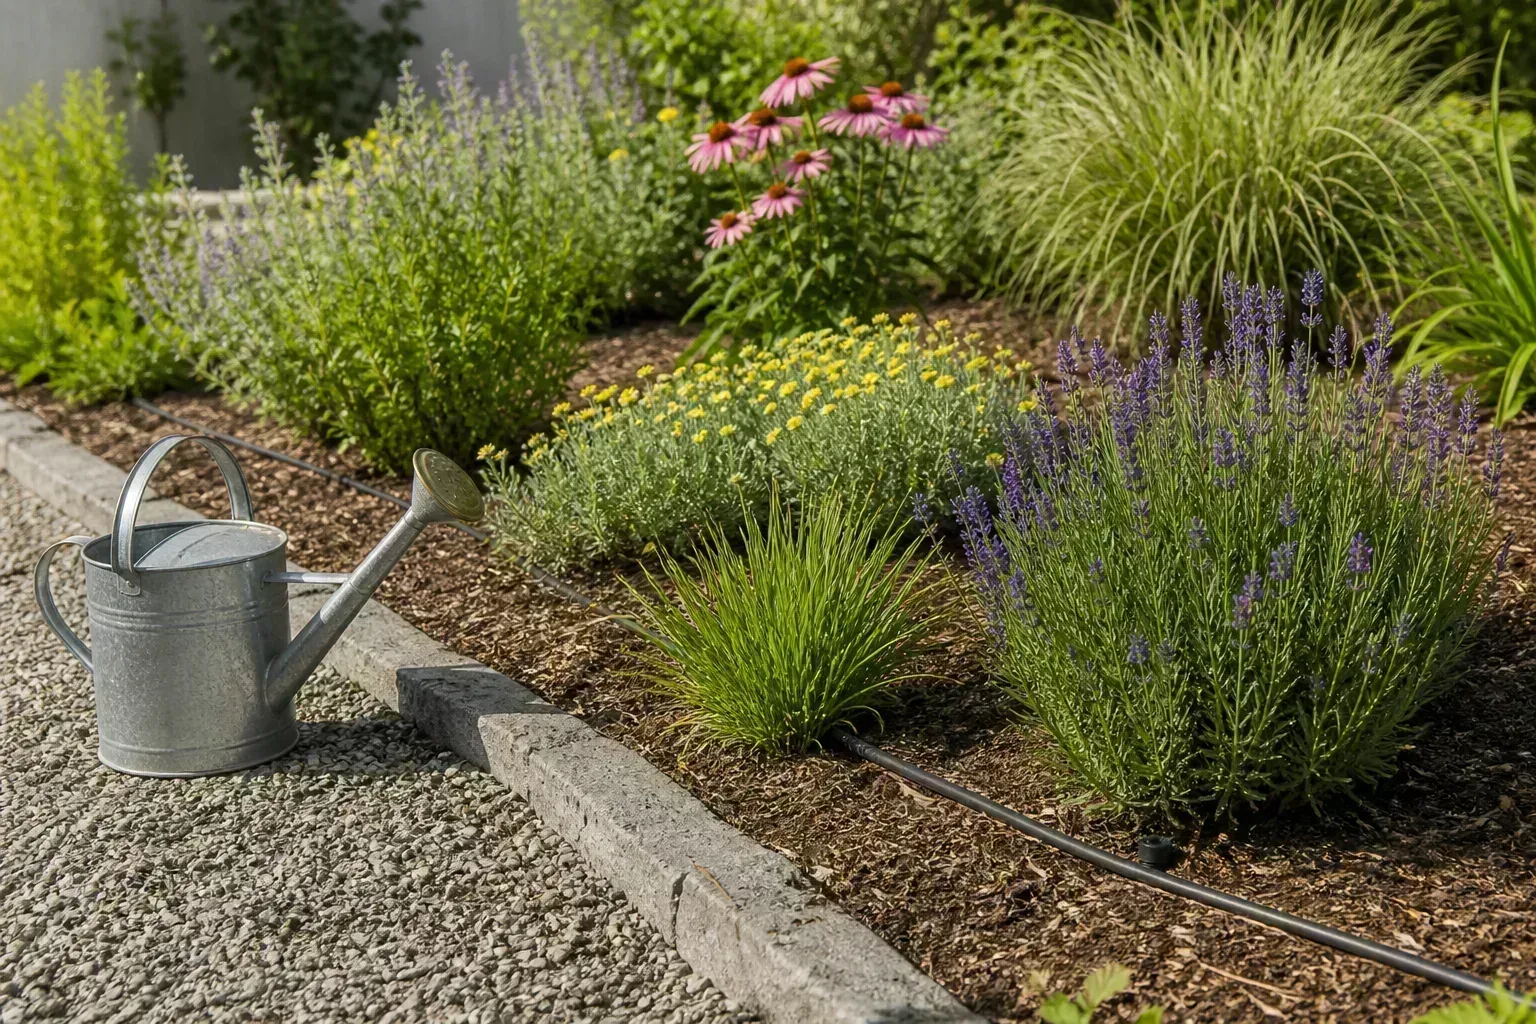
Sunlight is the fuel every plant runs on. A mismatch between label and reality is the most common reason a “easy care” shrub underperforms. Labels use standard terms — full sun, part sun, part shade, full shade — and those terms have specific hour counts behind them.
What Full Sun, Part Shade, and Full Shade Actually Mean
Industry definitions used on nursery tags break down this way (Proven Winners):
- Full sun: more than six hours of direct sun per day
- Part sun: four to six hours of direct sun, with some of that in the afternoon
- Part shade: four to six hours of direct sun, mostly morning — “cool sun”
- Full shade: less than four hours of direct sun (not zero — dense shade is a separate, darker category)
“Direct sun” means the plant casts a sharp shadow. Bright shade under a high tree canopy does not count toward full-sun hours. Reflected light off a white wall helps a little but does not replace direct rays for tomatoes or lavender.
In hot southern and southwestern climates, the same six hours hits harder than in the Upper Midwest. A plant labeled “part sun to sun” may need afternoon protection in Atlanta that thrives in full sun in Chicago (Proven Winners). Factor intensity, not just the clock.
How to Map Sun Hours Without a Light Meter
Pick a clear day in late spring when trees have leafed enough to be realistic but before the summer solstice shortens shadows in odd ways. Starting around 8 a.m., check each zone every hour until dusk. Note Y if direct sun hits the planting area, N if not. Add the Y’s.
For a faster method, log three checkpoints: 9 a.m., 1 p.m., and 5 p.m. If two of three are sunny, count that as a sunny hour block. Repeat on a second day and average. Sketch a quick map — south fence, tree line, house shadow — so you remember why the numbers change in fall when the sun angle drops.
South-facing beds usually win on hours; east gets cool morning sun; west gets hot afternoon; north stays brightest shade. Porches, fences, and HVAC units create pockets that defy the rest of the yard.
When Sun Exposure Fails the Match (and What to Do)
Too little sun for the plant: Expect stretching, few flowers, pale leaves, and powdery mildew on prone species. Fix options ranked by effort: move the plant in early spring or fall; prune overhanging branches if you own the tree; swap the plant for a shade-tolerant species; for containers, relocate the pot.
Too much sun for the plant: Scorched leaves, wilt despite wet soil, bleached color. Add afternoon shade cloth, move containers, or replace with sun-tolerant varieties. Do not solve scorch with extra water alone — you are fighting physics.
If you are still planning the season, our garden chores before the first day of spring checklist pairs well with sun mapping so pruning and bed prep happen before you commit to the wrong bed.
Measurement 2 — Soil Texture and Drainage Rate
Soil type controls how water moves, how roots breathe, and how often you irrigate. A plant that wants sharp drainage will rot in heavy clay even if you “water correctly.” Texture and drainage are related but not identical — you can have sandy soil that drains fast but holds almost no nutrients, or clay that drains slowly but holds minerals well once you open it up.
The Squeeze Test and What It Tells You
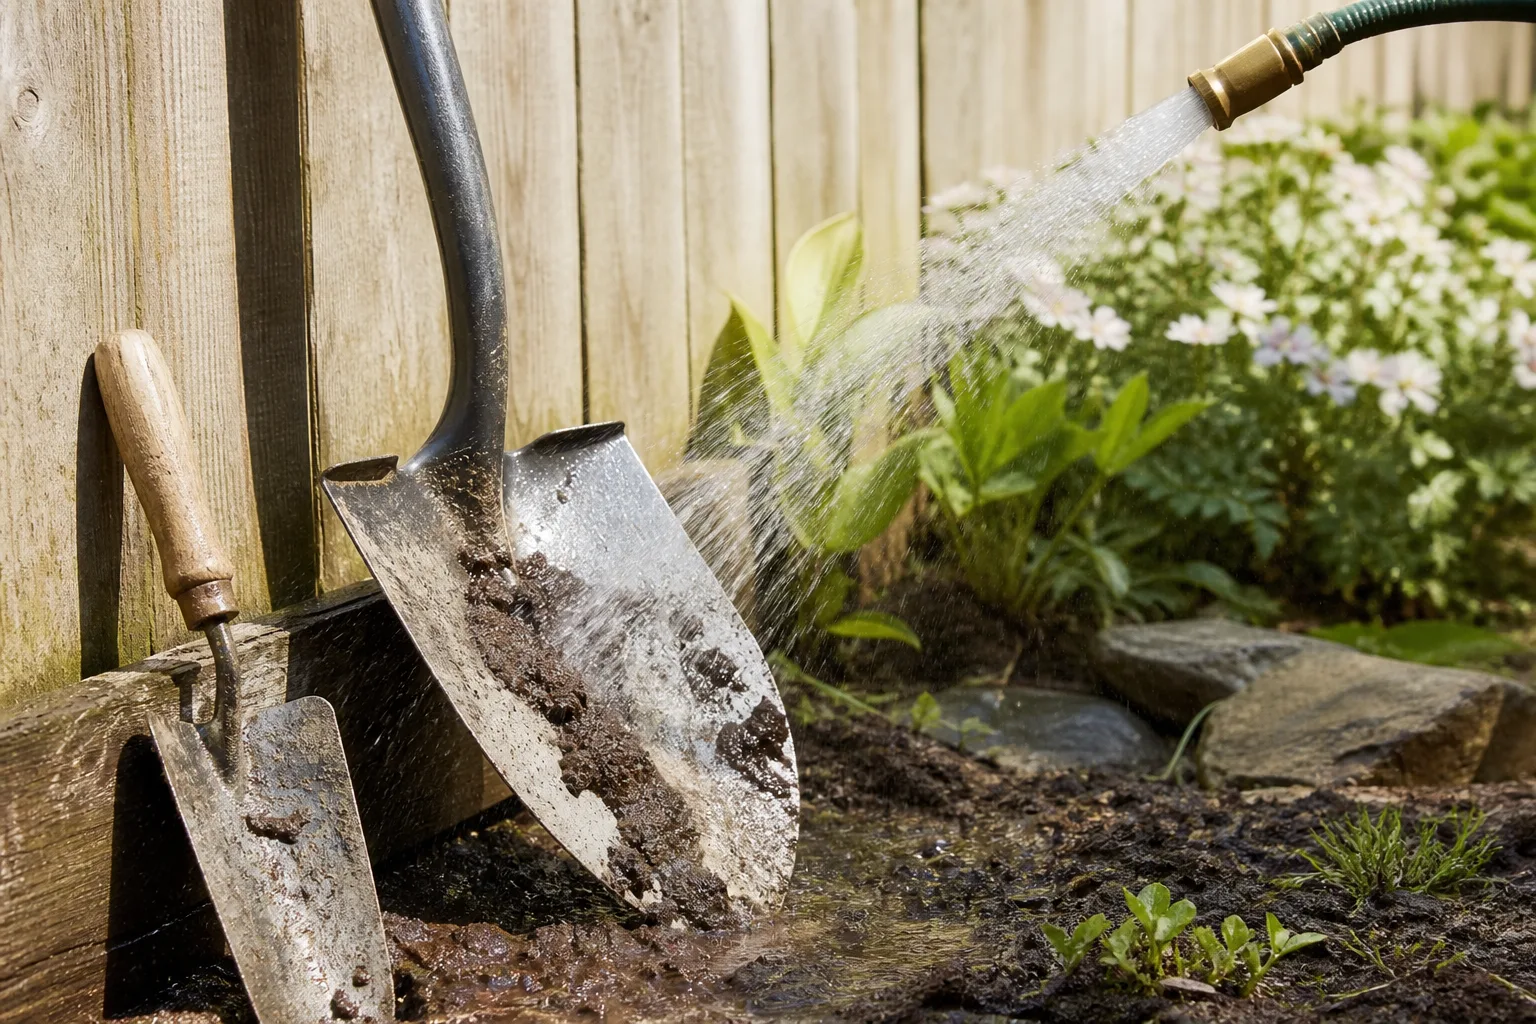
Scoop a handful of soil from 6 inches deep after a light rain or a day after watering — not dust-dry, not mud. Squeeze firmly, then open your hand (Gardening Know How):
- Sandy: falls apart immediately; gritty
- Loam: holds a crumbly ball that breaks when poked — the gardener’s sweet spot
- Clay: forms a tight ribbon or sausage that keeps its shape; sticky when wet
Colorado State Extension notes that soil texture — the proportion of sand, silt, and clay — drives water-holding capacity and workability (CSU Extension). Loam, roughly equal parts of the three, is the ideal most amendments aim toward over seasons, not a single weekend.
Record texture per zone. Vegetable rows in pure clay need a different summer plan than a sandy border that dries by noon.
The Percolation Test Most Gardeners Skip
The squeeze test tells you what soil is. Percolation tells you what water does in your hole — which is what roots experience.
- Dig a hole 12 inches deep and wide in the zone you are testing (not in a path).
- Fill with water; let it drain completely overnight or until empty.
- Fill again. Time how many minutes until the water drops one inch (stick a ruler in the side).
Rough benchmarks:
- Under 10 minutes per inch: fast drainage — common in sand; plan for more frequent water and organic matter to hold moisture
- 10–60 minutes per inch: typical loam range for many ornamentals and vegetables
- Over 60 minutes per inch: slow drainage — root-rot risk for lavender, rosemary, and many Mediterranean herbs
If water sits for hours, do not plant drainage-sensitive species there without raising the bed or installing a French drain. Amending the top six inches alone will not fix a hardpan layer below.
Fixing Slow Drainage vs. Fast-Draining Sand
Slow clay: Work in compost when soil is moist but not wet — never dig saturated clay (RHS soil cultivation guidance). Raised beds lift crowns above the wettest layer. Gypsum helps some sodic clays but is not a magic bullet for all heavy soil.
Fast sand: Layer 2–3 inches of compost into the top 8–12 inches before planting. Mulch to slow evaporation. Accept that you may water more often with less volume per session.
If water beads on the surface instead of soaking in, you may have hydrophobic patches — a separate issue covered in our how to fix hydrophobic soil guide.
Measurement 3 — Soil pH and Nutrient Access
pH is not a nutrient itself. It is the gatekeeper: it controls how available nitrogen, phosphorus, potassium, and micronutrients are to roots. A plant can sit in “rich” soil and still yellow or fail to fruit if pH locks iron or phosphorus out of reach.
Reading pH Results and Plant Preferences
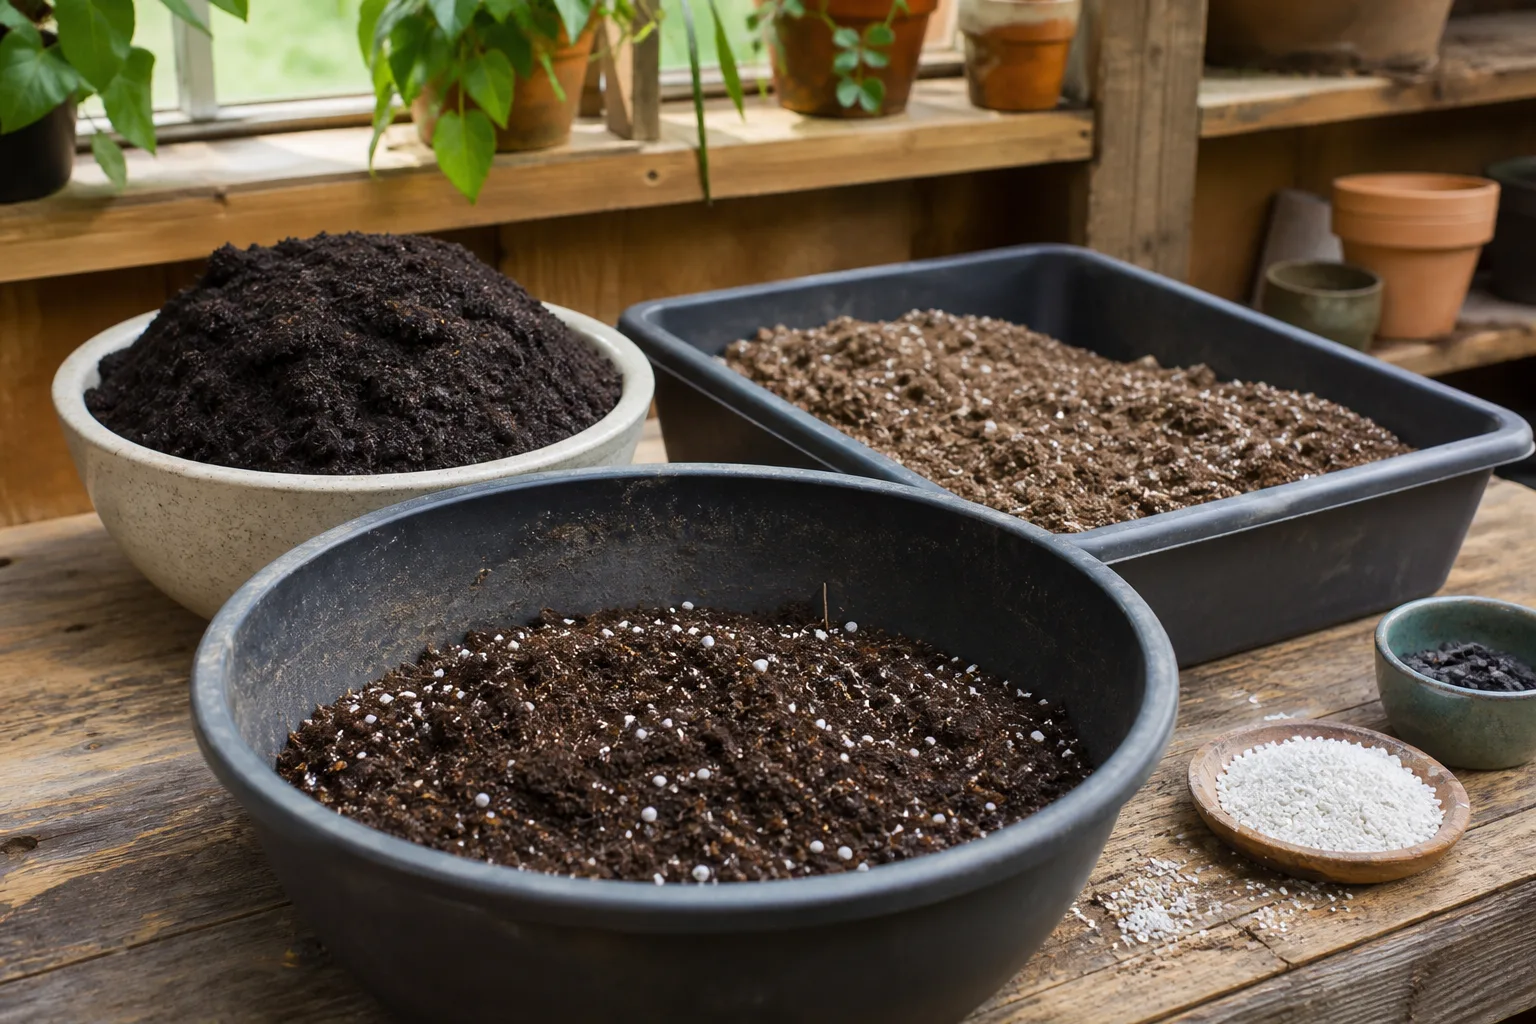
The pH scale runs 0 (extremely acid) to 14 (extremely alkaline), with 7 neutral. For most vegetables, flowers, and lawn grasses, 6.2 to 6.8 is the productive range (Penn State Extension). In that band, nutrients are broadly available and beneficial soil organisms thrive.
Specialty groups break the rule:
- Acid lovers (blueberry, azalea, rhododendron, camellia): prefer roughly 4.5–5.5. Never lime these beds blindly.
- Some brassicas and beets tolerate slightly alkaline soil better than blueberries do acid.
When pH is wrong, symptoms look like fertilizer problems: interveinal yellowing, stunted growth, blossom end rot on tomatoes (often linked to calcium uptake, which liming can help when pH is low). Dumping more fertilizer without testing pH wastes money and can burn plants.
DIY vs. Lab Soil Tests — When Each Makes Sense
DIY kits and probe meters give a ballpark in minutes. Good for: quick checks, comparing zones side by side, deciding whether lab testing is worth it. Limitations: accuracy varies; surface readings miss subsoil; they rarely tell you how much lime to apply.
University or commercial lab tests (often under twenty dollars through county extension offices) return pH plus nutrient levels and specific lime or sulfur rates (Penn State Extension). Penn State recommends testing every three to five years, or whenever you open a new bed. Sample in early spring or late fall so you can amend before the main planting push.
To sample: pull 6–8 cores from one zone at 6 inches deep, mix in a clean bucket, send one combined cup. Label acid-loving areas separately on the form so the lab does not recommend lime for your blueberry patch.
Raising pH uses calcitic or dolomitic lime depending on magnesium needs; lowering uses elemental sulfur applied per label rates over months — not vinegar dumps that harm soil biology.
Measurement 4 — Mature Plant Spacing
Every plant competes for light, water, and root room. Spacing errors are invisible in May and obvious in August when peonies flop into paths and shrubs merge into one green blob.
Center-to-Center vs. Edge-to-Edge Spacing
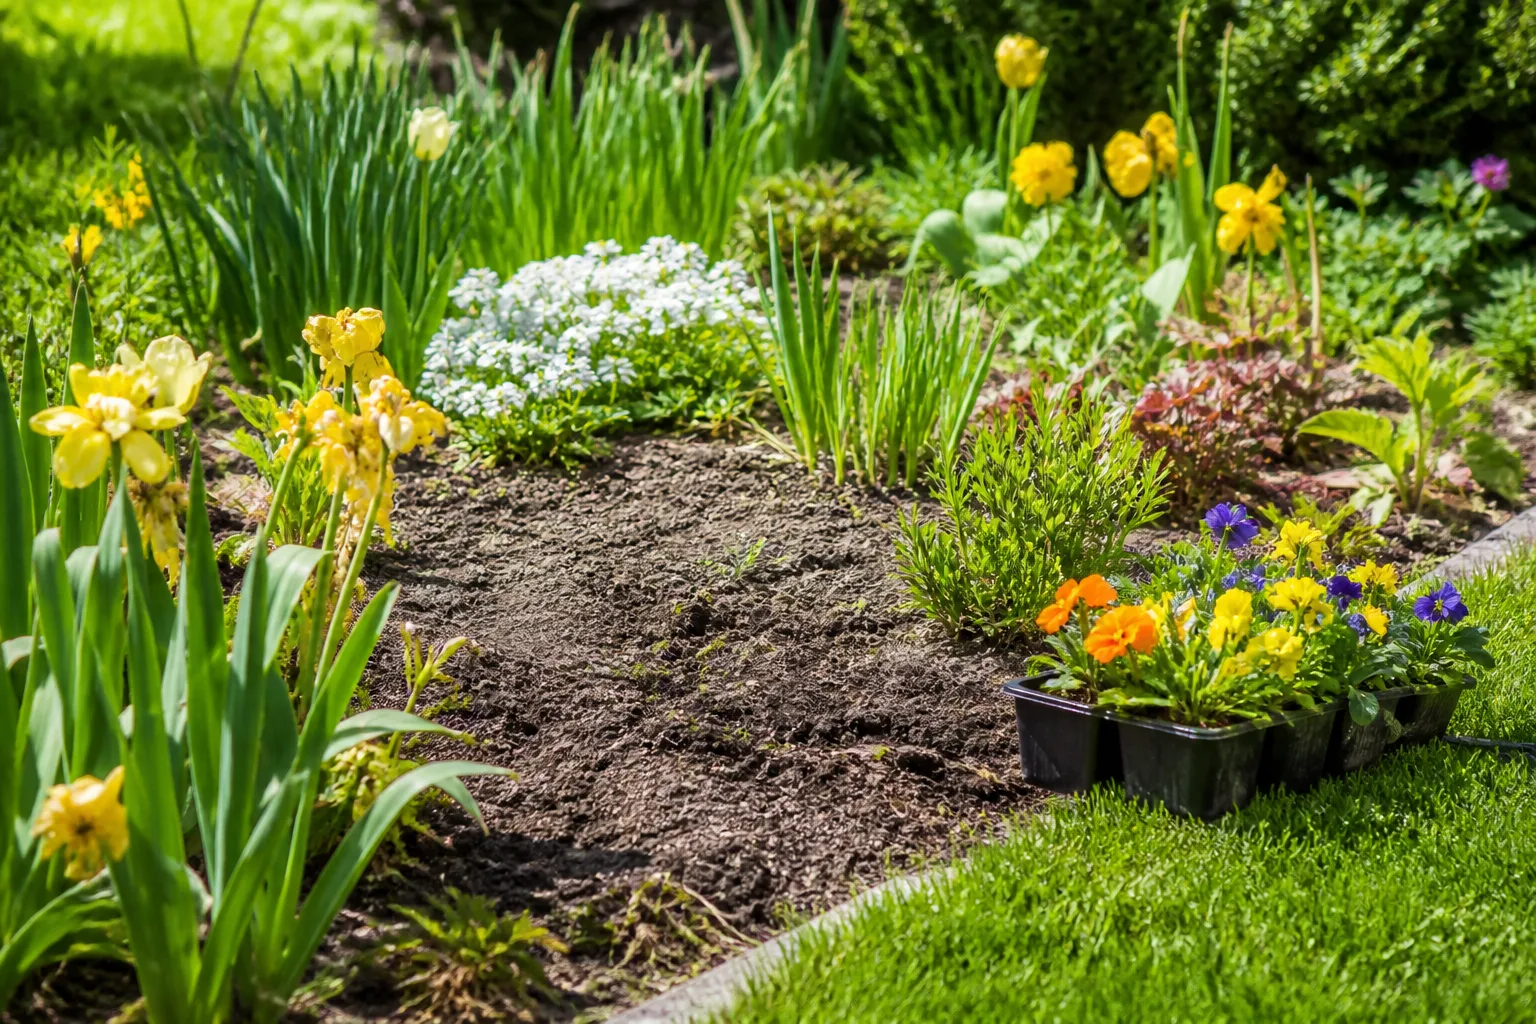
Nursery tags list mature width — how far the plant spreads at full size. Professional plans use on-center spacing: measure from the center of plant A to the center of plant B.
Example: two shrubs with 6-foot mature width should have centers 6 feet apart so canopies touch at maturity without overlapping trunks. If you measure edge to edge at planting time using the current pot size, you will underspace by years of growth.
For hedges meant to knit together, spacing is tighter — often one-third to one-half of mature width on center depending on species. For specimen shrubs, use full mature width on center so each plant has its own air circulation halo.
In vegetable rows, seed packets give in-row and between-row spacing. Respect both; crowding in-row increases disease pressure even when paths are wide.
When Crowded Plants Are Still Fixable in Spring
Early spring — while buds are swelling but leaves are not fully expanded — is the best window to divide or move perennials and relocate shrubs that are already too close. Dig a wide root ball, replant at the same depth, water well, and mulch. Avoid transplanting on the first hot windy day after a move.
If two woody plants have grown together for years, you may need to remove the weaker one rather than risk tearing both. For this year’s vegetables, thin seedlings to label spacing even if it feels wasteful — the survivors will outproduce a crowded row.
When you are moving seedlings from indoors, spacing in the ground should match mature expectations from day one for bush beans and determinates; indeterminate tomatoes need cages and vertical space planned now, not when vines flop. Our spring seedling transplant guide covers hardening off and soil-warmth gates that pair with spacing decisions.
Turning Your Numbers Into a Summer Action Plan
Once your log is filled, sort fixes by impact:
Fix before you plant (H): Sun mismatch for major plantings; pH below 5.5 or above 7.5 for general crops; percolation over 60 min/inch for drought-loving herbs; spacing less than half recommended mature width.
Fix this season (M): Gradual compost incorporation for clay; sulfur or lime per lab rate; transplant one misplaced shrub; thin seedlings.
Monitor (L): pH 6.0–7.0 with good growth; loam texture with acceptable drain; sun within one hour of label.
Do not stack every fix on one weekend. Lime needs weeks to move pH; digging wet clay destroys structure; transplanting and major pruning the same day stresses plants unnecessarily. Sequence: test and map first week of spring, amend and move second, plant third.
Re-check sun in late June once — long-day sun can reveal a hot afternoon surprise on west walls. Re-check spacing in mid-summer with a tape measure against labels; catching a 2-foot error on a 4-foot shrub is still easier than waiting three years.
Conclusion
Weak summer growth rarely arrives without warning. It starts with a shade bed sold as sunny, clay that holds water half a day, pH that locks nutrients away, or plants installed for today’s size instead of August’s spread. Measure sun, drainage, pH, and spacing in spring — write the numbers down, rank your fixes, and act while roots are small and weather is mild.
You do not need perfect data. You need consistent data across your own yard, compared to what your plants actually require. Get those four measurements on paper now, and summer becomes a season of growth you planned for — not a rescue mission you did not see coming.



