How to Fix Dry Soil That Won't Absorb Water
Water pools on dry soil instead of soaking in? Learn what hydrophobic soil is, how to test for it, and step-by-step fixes for beds and containers.
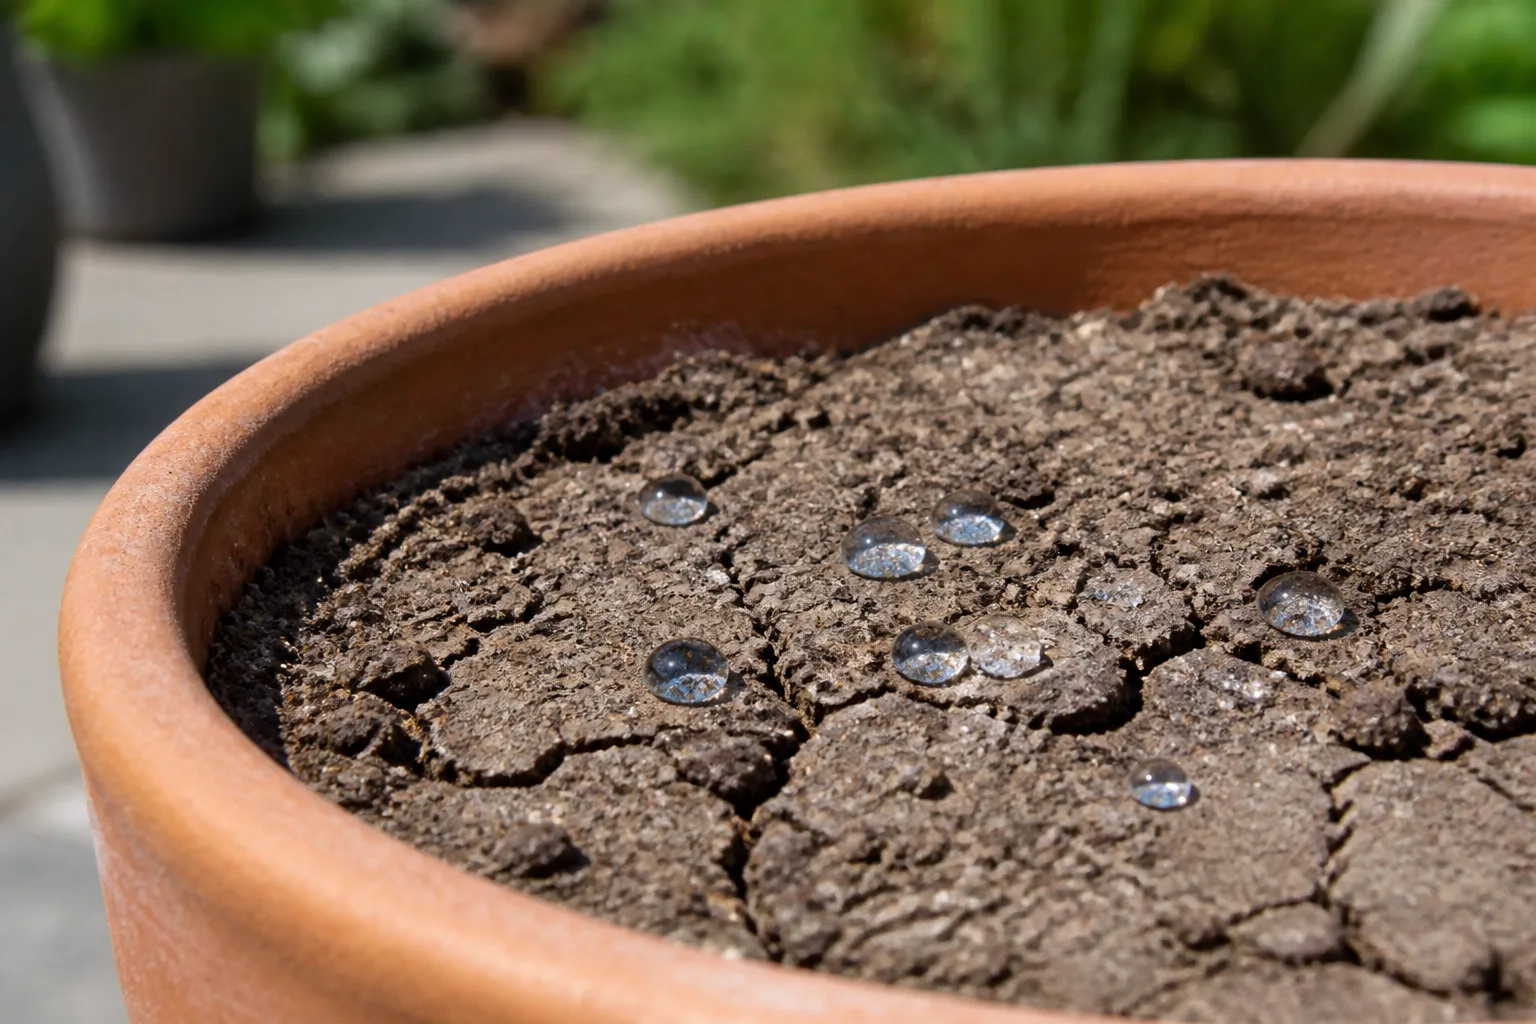
You water the bed—or the houseplant on the windowsill—and the water sits on top in shiny beads, runs down the inside of the pot, or races off the surface into the lawn. The soil looks dry. The plant looks thirsty. Yet nothing seems to soak in. That mismatch is the hallmark of hydrophobic soil: media that has become water repellent at the particle level, not simply “a little dry.”
Fixing it is straightforward once you confirm the diagnosis and match the method to the setting. Garden beds, raised planters, and containers each need a slightly different sequence, but the goal is the same—break the repellent layer, reintroduce moisture into the root zone, rebuild structure with organic matter, and change the conditions that let soil bake into hydrophobia again.
What Hydrophobic Soil Actually Is
Hydrophobic soil is soil or potting mix that actively repels water instead of absorbing it. The term literally means “water-fearing.” Healthy soil pulls moisture in through tiny pores and holds it around roots. Hydrophobic soil does the opposite: water pools, beads, or channels along cracks while the interior stays powder-dry.
The change happens when organic matter dries past a critical point and leaves a thin, waxy coating on soil particles. Certain soil fungi produce water-repellent compounds as part of their normal biology; as those build up on particle surfaces, water slides off rather than spreading (Gardening Know How). Decomposing plant resins and old mulch can leave a similar film. The result is not “extra dry dirt”—it is dirt whose surface chemistry rejects water until you intervene.
How It Differs from Compaction and Poor Drainage
Hydrophobic soil is easy to misread because the symptoms overlap with other water problems. Compaction makes water sit on the surface because pore spaces are crushed shut; infiltration is slow, but a droplet usually sinks eventually if you wait. Poor drainage (heavy clay or blocked holes) leaves soil soggy below while the surface may still look wet—roots suffocate in saturated mix, which is the opposite of hydrophobia.
Hydrophobic soil often looks dusty and light. Water beads like rain on a waxed car. In containers, you may see moisture run down the gap between soil and pot wall while the center stays pale and dry (Gardening Know How). If you slide a plant out and roots are black, mushy, and foul-smelling, you are dealing with root rot from overwatering, not hydrophobic dry-out—adding soak time will make that worse.
Why Soil Stops Absorbing Water
Understanding the cause keeps you from repeating the same fix every heat wave. Hydrophobicity is almost always tied to how dry the media got and what it is made of, not a mysterious soil disease.
Fungal Coatings and Decomposing Organic Matter
In garden beds and containers alike, fungi and bacteria break down organic residues. When moisture drops low for long stretches, the waxy byproducts of that decomposition can coat individual particles. Sandy soils with little organic matter dry quickly and are especially prone to flipping hydrophobic after drought (Gardening Know How). Even rich loam can develop repellent patches where mulch or crop residue dried on the surface.
Peat-Based Mixes, Sandy Beds, and Extended Drought
Peat-based potting mix is marketed for water retention, which makes hydrophobia feel counterintuitive—until you have seen a shrunken, pale block of peat refuse a full watering can. Once peat fully desiccates, it is among the most stubborn materials to re-wet; the same can happen to old coir that was allowed to dry completely between waterings.
Outdoor beds left unwatered through vacation, heat waves, or irrigation gaps are common triggers. Container plants on sunny patios dry faster than in-ground plantings because limited soil volume cannot buffer drought. Indoor plants near heating vents or in overheated winter air face the same risk on a slower clock—February and March are frequent breaking points for houseplant soil that coasted through dry winter air (Gardening Know How).
When Mulch Forms a Water-Shedding Crust
Mulch is one of the best tools for keeping soil moist—until the mulch layer itself dries into a tight crust that sheds water before it reaches the soil line (Gardening Know How). Bark nuggets, fine shredded mulch, and straw can all crust in hot weather. You may be watering faithfully while the root zone below stays starved. Our mulch basics guide covers material choice and spacing; for hydrophobia, the lesson is simple: if water runs off the mulch surface, fix the crust before you blame the plant.
How to Confirm the Problem Before You Fix It
Do not renovate a whole bed on guesswork. A one-minute test saves hours of wrong fixes.
The Droplet Test and Other Quick Checks
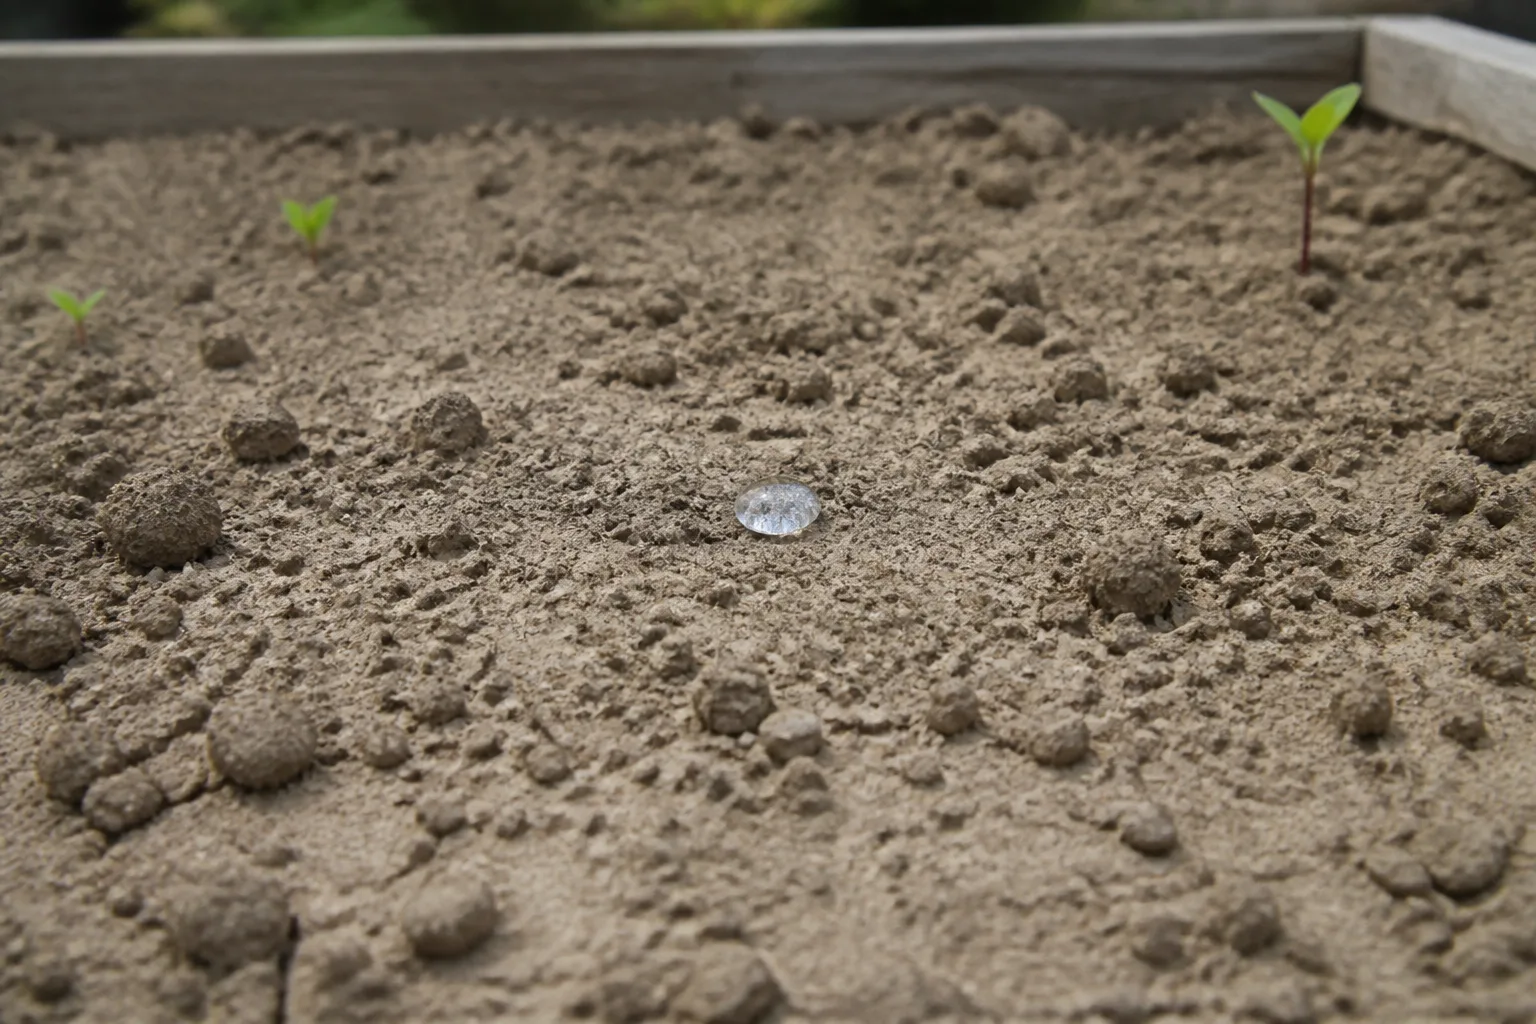
Scrape mulch aside if present and let the bare soil breathe for a minute. Place one drop of water on the surface and watch. On healthy, receptive soil, the drop vanishes almost instantly. On hydrophobic soil, the drop holds its shape; if it is still sitting there after 60 seconds, you have your answer (Gardening Know How).
Test several spots—repellency is often patchy. Press a finger or thin stake into the top inch: hydrophobic mix frequently feels dusty and sounds hollow. Lift a container; an inappropriately light pot for its size usually means the whole root ball dried out. After a normal top-watering, poke an inch down; if the surface darkened but the interior is still dry, water is channeling around a repellent core.
First Response: Which Fix to Use When
Match severity and location before you grab tools:
- Mild bead-up on houseplants or small pots: Bottom soak 15–30 minutes, then adjust watering rhythm.
- Moderate crust in a vegetable or flower bed: Fork the surface lightly, apply dilute surfactant or wetting agent, water slowly, then mulch.
- Severe hydrophobia or years-old peat shrinkage in containers: Soak once; if mix still will not hold moisture, repot with fresh amended mix rather than fighting the same block all season.
- Empty bed or pre-plant window: Till or fork the top 8–12 inches, incorporate compost, pre-moisten coir or peat amendments before mixing.
Pouring more water faster rarely works on hydrophobic soil—volume is not the limiting factor; surface tension and particle coating are.
Rehydrating Garden Beds and Raised Planters
Outdoor fixes combine physical disruption, chemical help (surfactants), organic matter, and slow deep watering. Work on a day when you can stay with the bed long enough to water in stages.
Break the Crust Without Damaging Roots
The first job is to open pathways for water. In an empty bed, dig or fork a shallow trench and loosen the top few inches. Around established plants, use a digging fork, not a shovel, and work between stems—rock the tines back and forth to crack the crust without severing surface roots. Tomatoes, peppers, and other crops with shallow root systems need especially careful fork work along the row, not through the root crown.
For thick mulch crust, rake or fluff the mulch layer so water can penetrate; replace or top-dress mulch after the soil below is re-wetted. On lawns with localized dry patch (repellent thatch and soil in spots), aeration and targeted wetting-agent application follow the same logic as garden beds—fix infiltration before you increase sprinkler run time (Gardening Know How).
Work In Organic Matter and Aeration Amendments
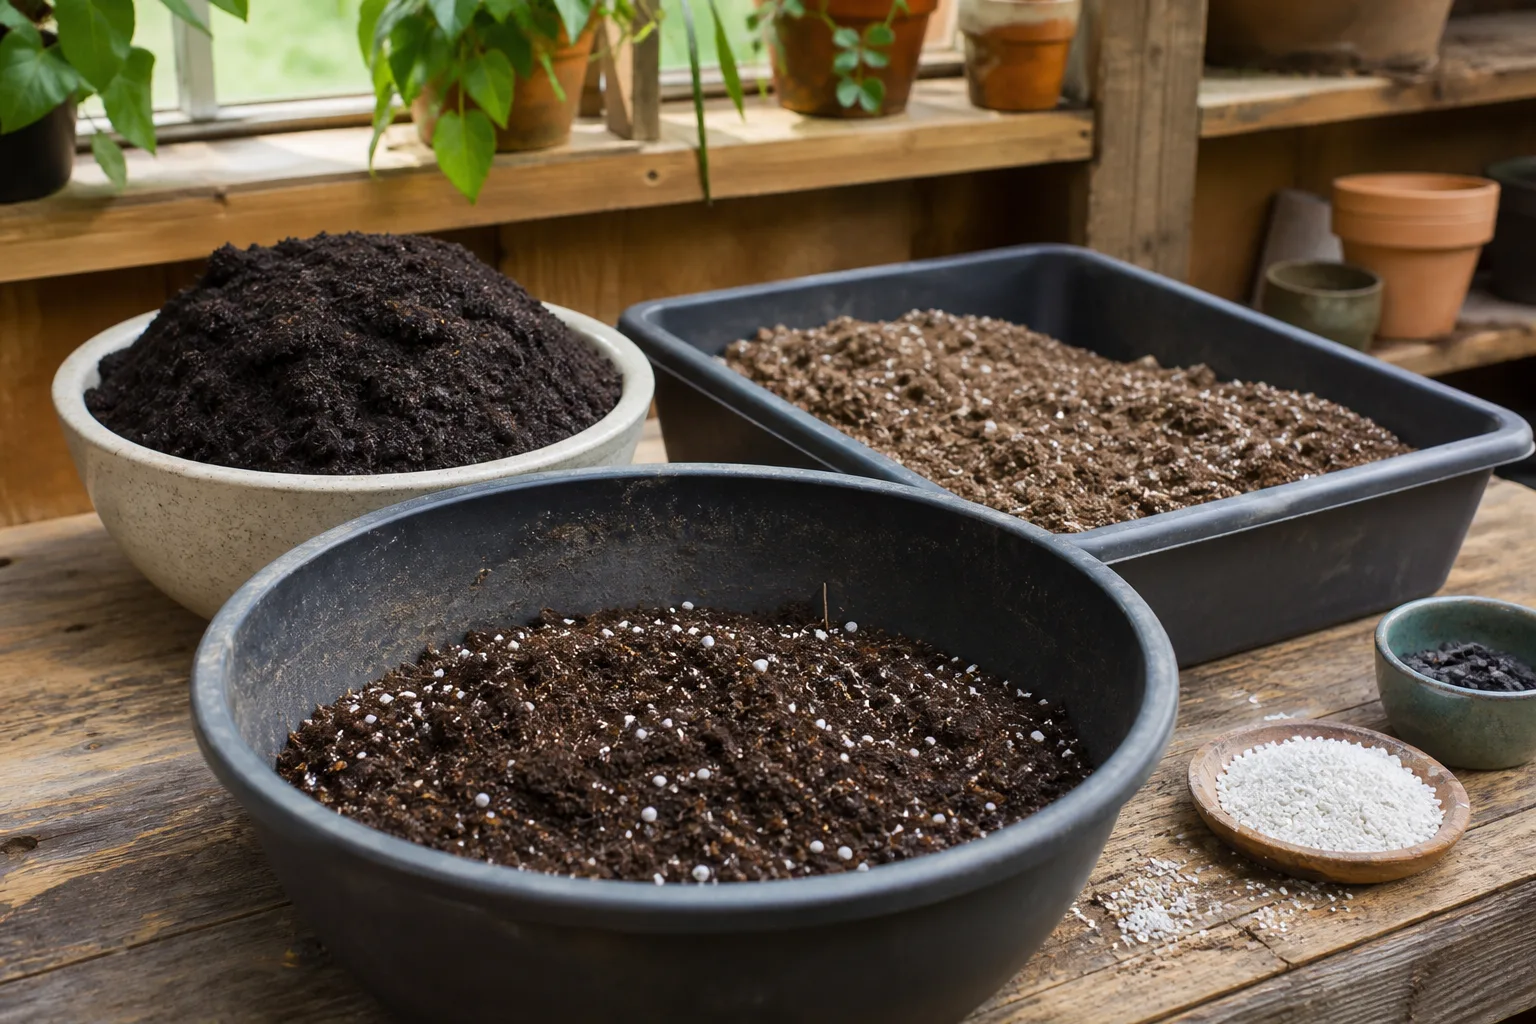
Once the surface accepts moisture, rebuild the soil’s ability to hold it. Spread 2–3 inches of compost, aged manure, or worm castings over the loosened area and mix into the top 8–12 inches for most annual crops; tap-rooted plants may benefit from deeper incorporation where practical. Compost reintroduces microbial activity and stable organic matter that stores water instead of shedding it (Gardening Know How).
Aeration amendments help, too. Coconut coir and vermiculite expand when pre-moistened and mixed in—critical detail: add dry coir to hydrophobic soil and you can make the problem worse. Rehydrate coir in a bucket or wheelbarrow until spongy, then fork it through the bed. A handful of vermiculite worked into the top few inches of a stubborn patch is often enough; more is not better in heavy soils. University of Maine Extension notes that organic matter in soil improves both nutrient supply and moisture retention (University of Maine Cooperative Extension).
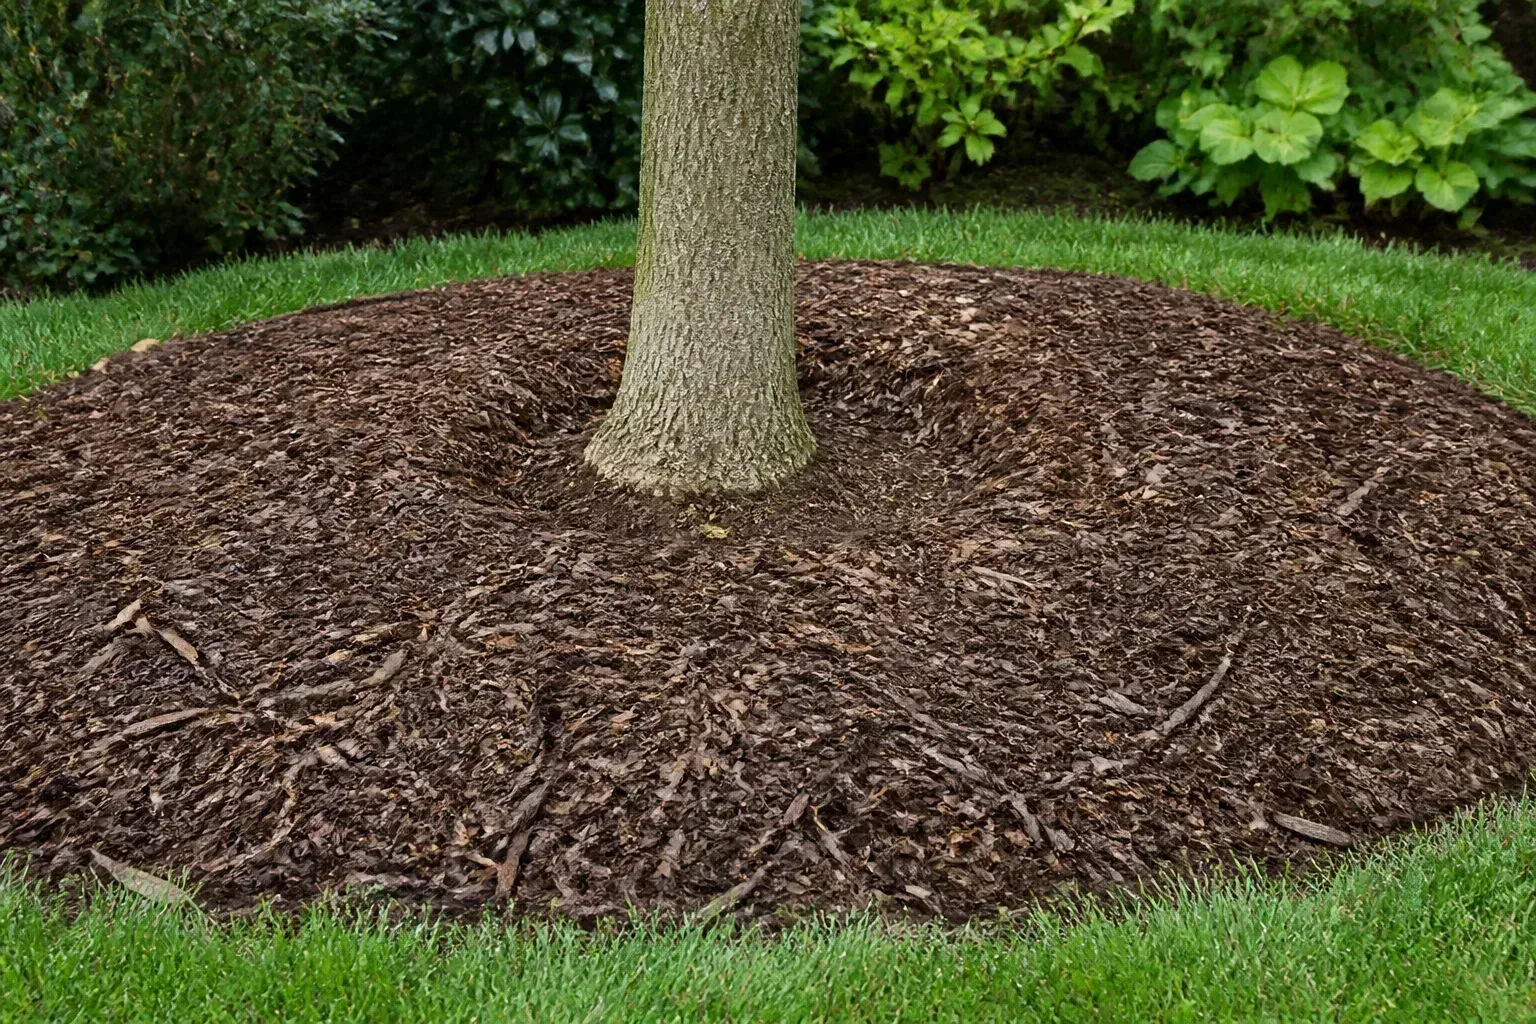
Finish with organic mulch—shredded bark, straw, or compost mulch—keeping material a few inches clear of stems. Fine Gardening emphasizes that consistent mulch moderates temperature and slows surface drying (Fine Gardening). Check monthly that the mulch is not forming a new water-shedding shell.
Using Wetting Agents and Soapy Water Safely
Wetting agents (soil surfactants) lower water’s surface tension so it spreads into coated particles instead of beading. Commercial products include yucca-based extracts and horticultural wetting agents labeled for gardens and lawns. They are useful bridges while organic matter rebuilds structure; they do not replace compost or correct watering habits.
For a home-scale fix, three to four drops of biodegradable, fragrance-free liquid soap in a full watering can is enough for a modest bed (Gardening Know How). Apply slowly with a rose or breaker head so the solution soaks rather than runs off. Avoid heavy degreasers, antibacterial additives, or repeated high doses that can harm beneficial soil biology. Skip soap drenches on seedlings and salt-sensitive plants; use plain soak-and-amend instead.
Follow label rates on packaged wetting agents—more concentrate does not speed recovery and can stress plants. One or two applications plus organic amendment usually breaks the cycle.
How to Deep-Water Once Soil Accepts Moisture
After the repellent layer is broken, water deeply and slowly. Light sprinkles only wet the top millimeter and encourage shallow roots; the goal is even moisture to the depth roots actually use. For most vegetables and flowers, that means moistening the top 6–8 inches; established shrubs may need deeper penetration in stages.
Water until the soil darkens evenly and a probe or finger shows moisture several inches down—then stop until the surface begins to dry slightly before the next session. Morning watering reduces evaporation loss in hot weather and gives foliage time to dry, which lowers disease pressure compared with evening soakings on susceptible crops.
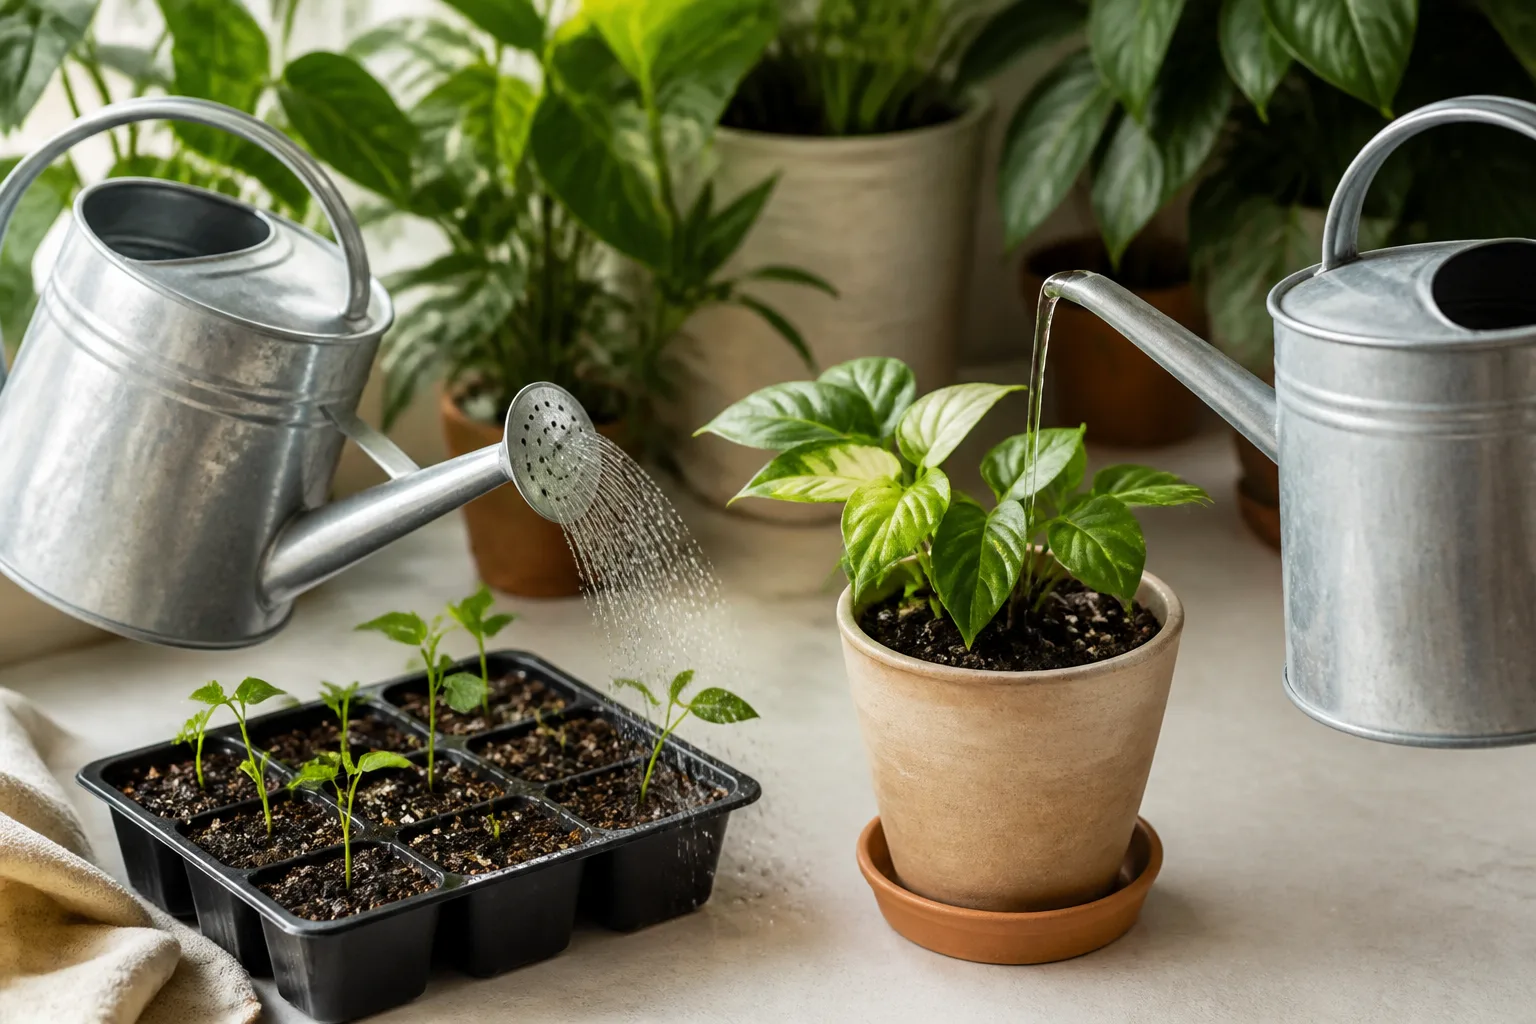
Pair technique with tools that match the job. A watering can with a rose spout or a soft hose breaker prevents surface compaction from a hard stream; see our watering can guide for rose vs. spout trade-offs on seedlings and beds.
Fixing Hydrophobic Potting Mix in Containers
Containers fail faster than beds because there is less buffer—and houseplant soil that shrinks away from pot walls creates gaps where water never touches the root ball. Container fixes center on capillary soaking and, when needed, fresh mix.
Bottom-Watering and Soak Methods
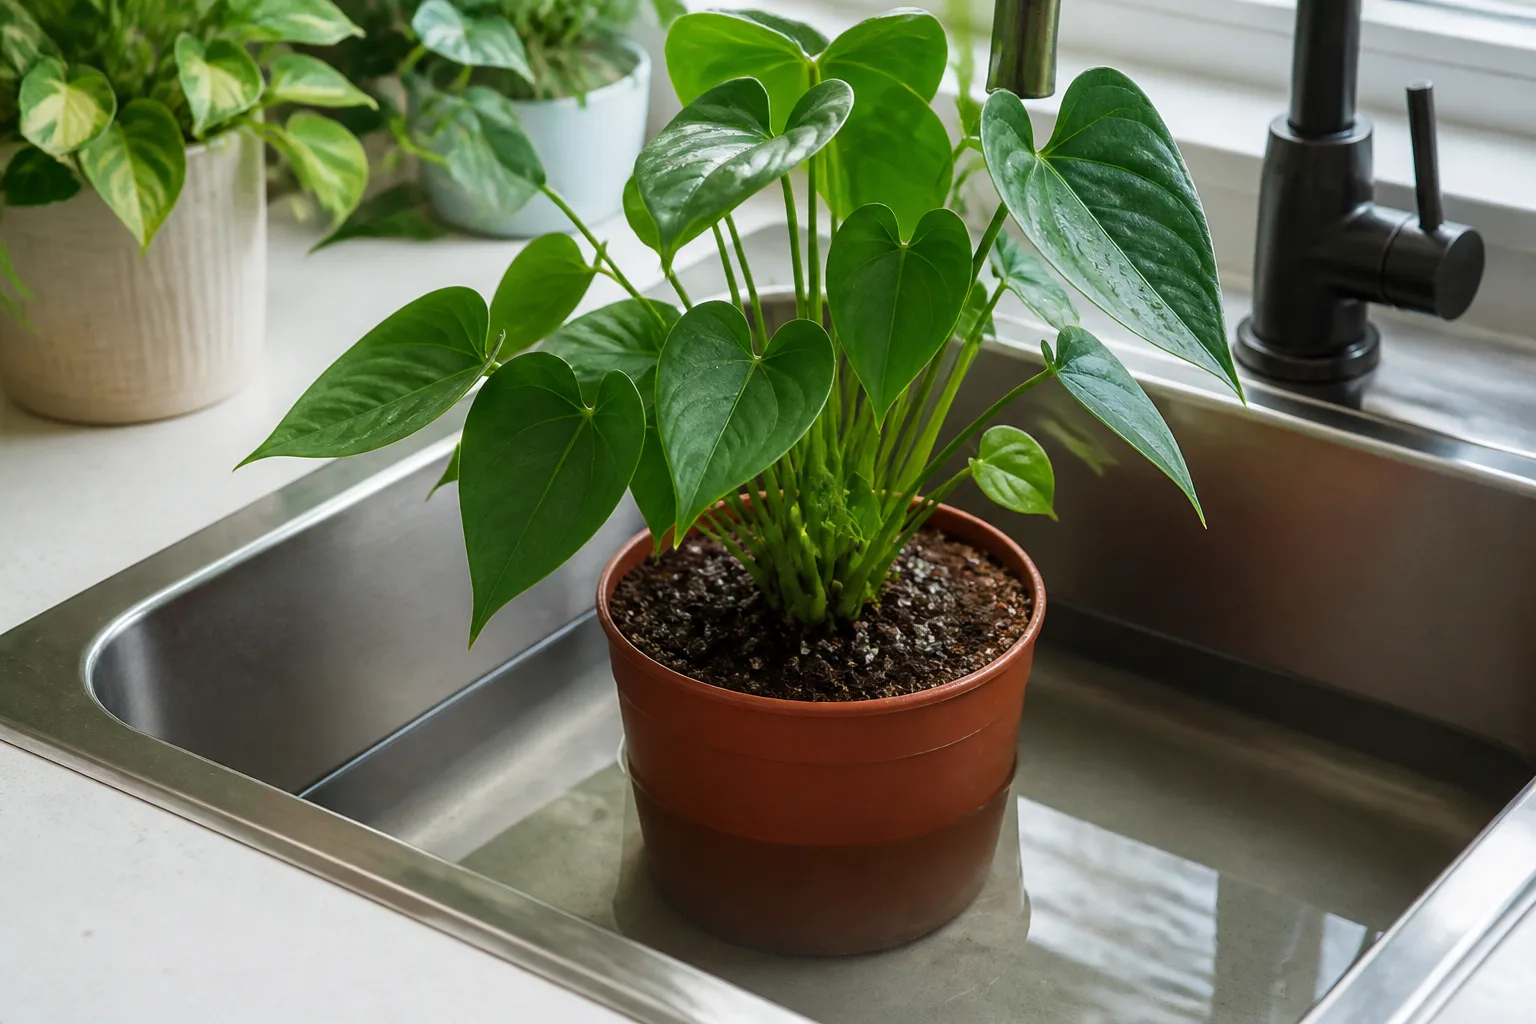
Bottom watering is the most reliable rescue for hydrophobic houseplants. Set the pot in a sink, tub, or bucket with 2–3 inches of tepid water. If the pot floats, set a few small stones on the soil surface to weight it down. Let it soak until the top of the mix darkens—usually 15–30 minutes, though severely dry large pots may need up to two hours (Gardening Know How).
While soaking, poke a chopstick or skewer into the mix to open channels without damaging roots. Drain thoroughly afterward; never leave the pot standing in water past saturation. For extreme bead-up, scrape off the top inch of dusty, repellent soil before soaking so water contacts fresher mix below.
Optional: add a few drops of wetting agent to the soak water once—not every watering. If you bottom-water monthly as maintenance, hydrophobic crashes become far less common.
When Repotting Is the Better Call
Soaking buys time; it does not resurrect spent, collapsed, or salt-crusted potting mix forever. Repot when:
- The root ball is tight and circling, with roots exiting drainage holes
- Mix has shrunk to less than half the pot height and pulls away from the sides every time you water
- You have soaked twice and the center still dries out within days
- White fertilizer salt crust covers the surface (flush and amend, or replace)
Fresh peat- or coir-based mix should be pre-moistened before potting—stir water into the bag until evenly damp, not dripping. Blend 10–30% perlite or coarse bark for houseplants that need airflow. If you are recycling old mix, follow our potting soil reuse guide—only reuse disease-free media, and expect peat-heavy spent mix to hydrophobe sooner than refreshed blends (OSU Extension).
RHS guidance on working organic matter into tired growing media applies equally here: refreshing structure with compost or new mix restores pore space and moisture retention better than repeated desperate top-watering (RHS).
Preventing Hydrophobic Soil from Coming Back
Prevention is cheaper than rescue. Consistent moisture beats boom-and-bust cycles—let the top inch of houseplant mix dry slightly, but do not leave pots bone-dry for weeks. In garden beds, mulch after soil is moist, and refresh mulch before it crusts. Pre-moisten coir and peat before blending new containers; dry amendments in dry pots invite the next failure.
Group plants by water needs so one pot does not bake while neighbors get daily sprinkles. On vacation, use deep saucer soaks, olla irrigation, or a trusted neighbor—not a single flood that runs off hydrophobic soil without soaking in. Indoors, raise humidity or move plants away from heat registers during winter dry spells.
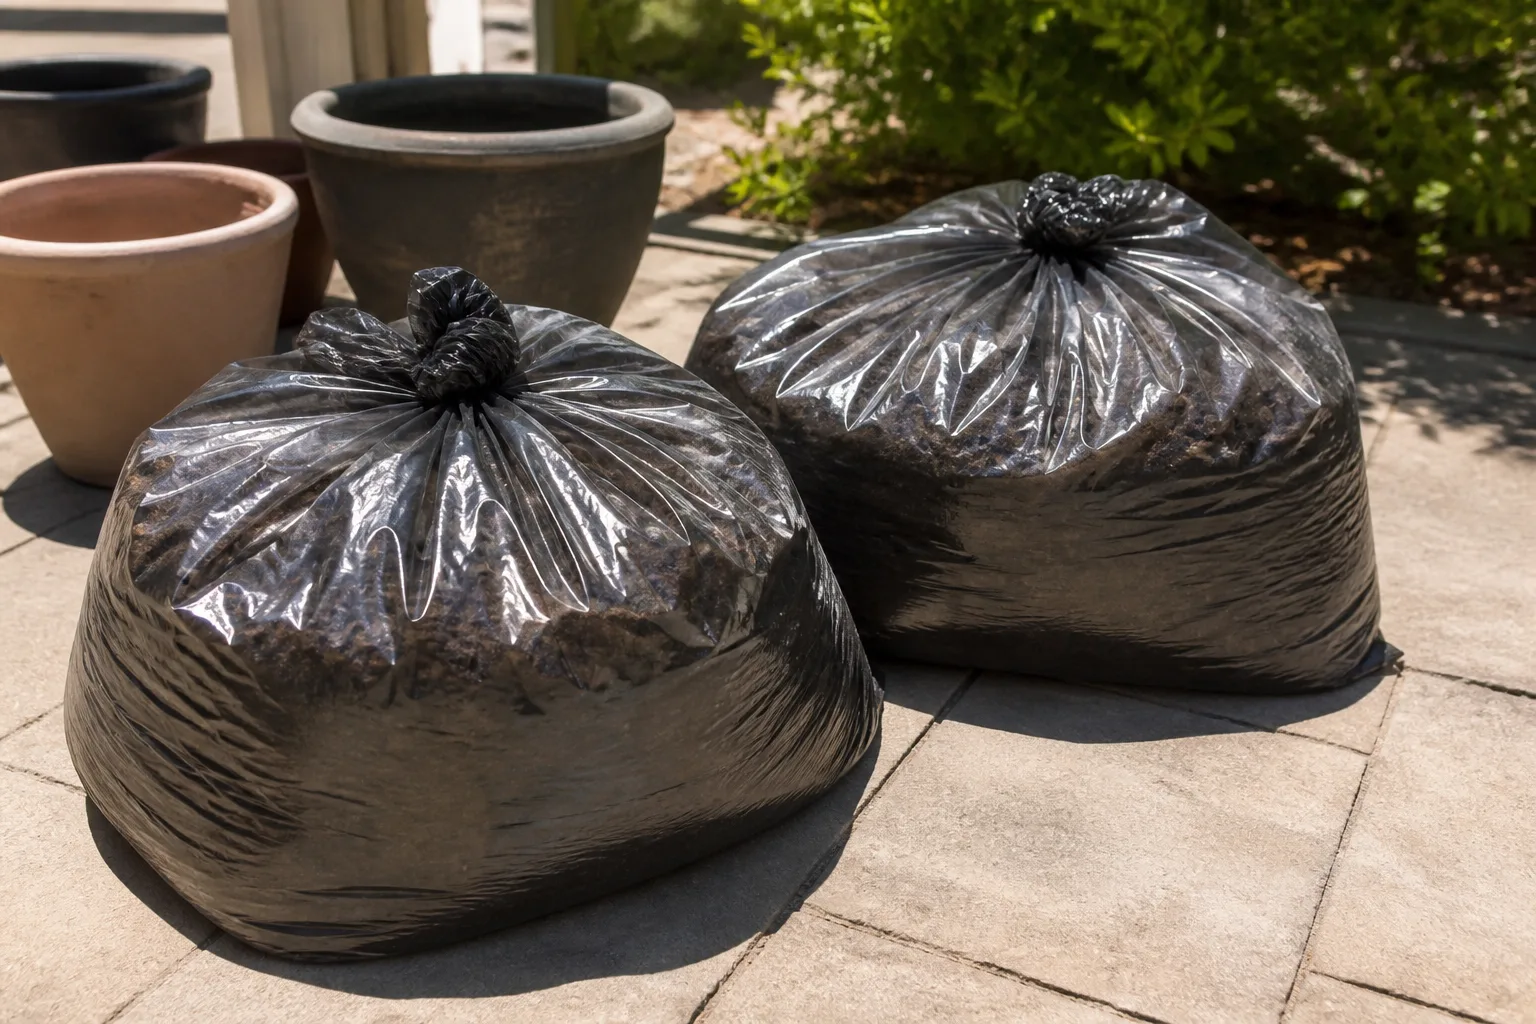
Bottom-water once a month as insurance on finicky houseplants. Repot before mix collapses—annual refresh for fast growers, every two years for slower specimens. When you store open bags of potting soil, seal them and keep them off hot concrete; dry storage ages peat toward hydrophobia before you even open the bag (OSU Extension).
Conclusion
Dry soil that will not absorb water is a fixable physics problem, not a mystery curse on your garden. Hydrophobic soil repels moisture because organic coatings and extreme dryness changed how particles interact with water—distinct from compaction, poor drainage, or root rot. Confirm with a droplet test, break the crust, use a surfactant or wetting agent sparingly if needed, rebuild structure with compost and pre-moistened coir, and water deeply once infiltration returns.
Containers respond best to bottom soaking and honest repotting when mix is spent; beds need fork work, amendment, and mulch managed so it sheds heat without shedding water. Keep moisture steadier going forward and hydrophobic soil stops being a recurring emergency—your plants get the drink you thought you were giving them all along.



