How to Reuse Potting Soil Safely Without Spreading Pests
Learn when you can reuse potting soil, how to sterilize spent mix, refresh nutrients, and which plants to avoid putting in recycled containers.
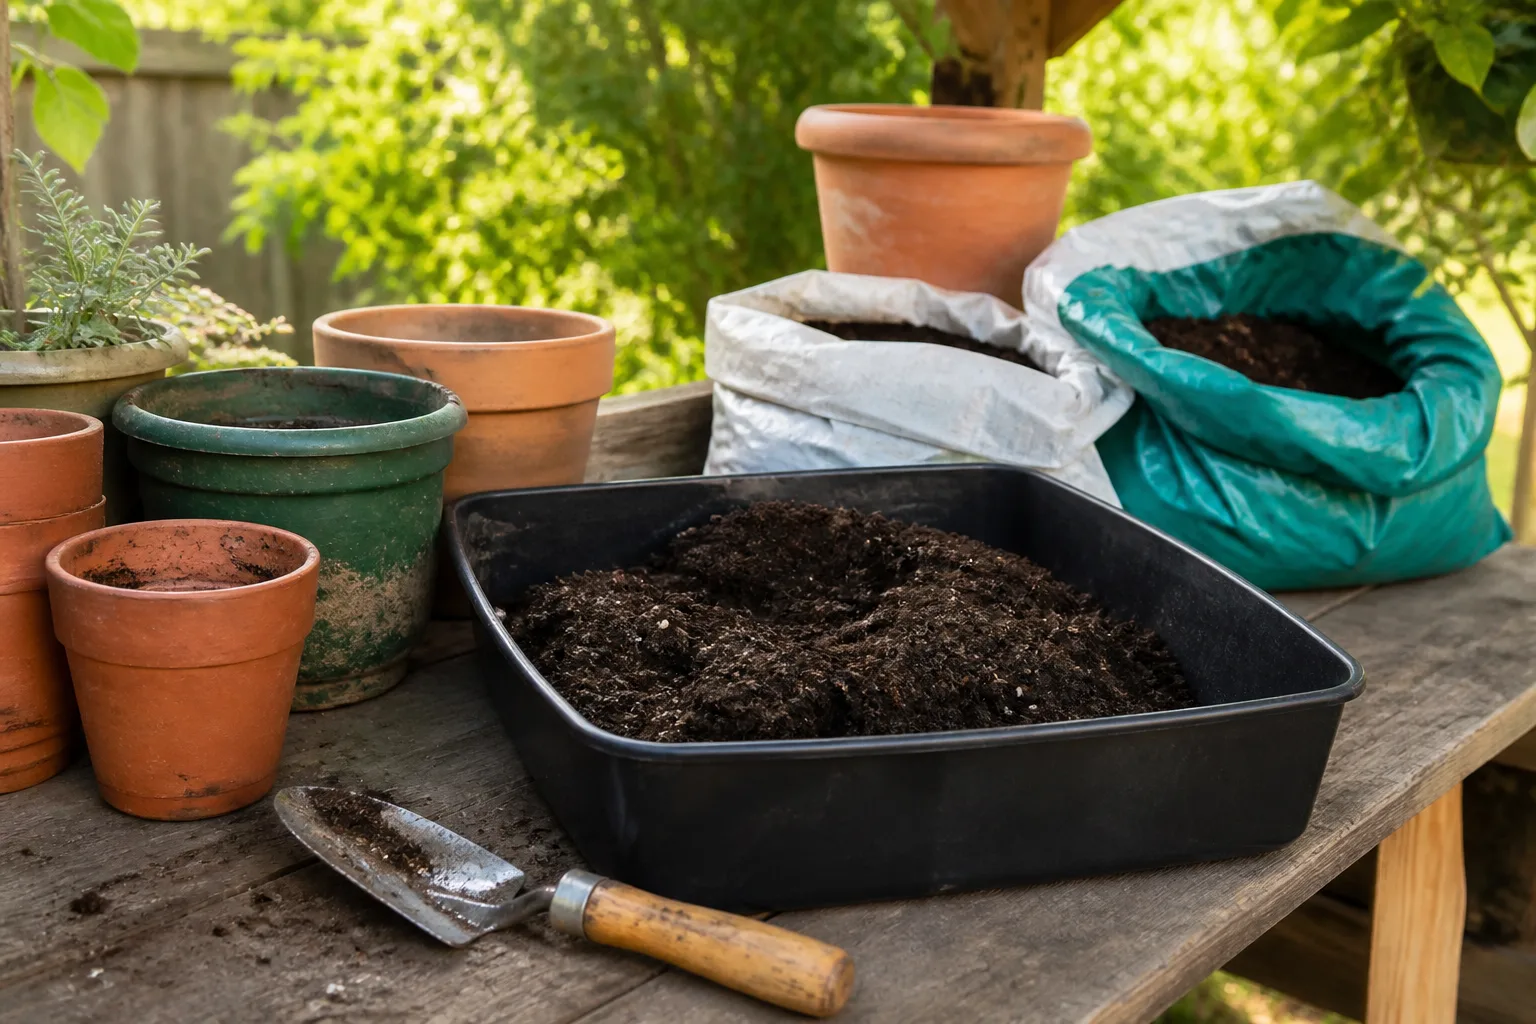
Last fall’s container tomatoes left you with half a garage full of used bags and planters still full of mix. Reusing potting soil is one of the fastest ways to cut container costs—but only if you treat spent mix like a liability until you prove it is clean and fertile again. The wrong shortcut imports last season’s fungus gnats, root rot, or nutrient crash into this year’s peppers. The right workflow—inspect, pasteurize when needed, refresh structure and fertility, then match the mix to the next crop—lets you recycle safely without a garden-center run for every pot.
When Reusing Potting Soil Actually Makes Sense
Yes, you can reuse potting soil when the plants that grew in it finished healthy, showed no disease on leaves or roots, and did not suffer chronic pest pressure. Annual flowers, herbs, and vegetables in containers often complete their life cycle in one season; if they died naturally at the end of that cycle, the mix is a reasonable candidate for recycling (LSU AgCenter). Oklahoma State Extension notes that if plants “did well last year and weren’t showing any signs of disease,” reusing the medium is generally fine—you will still need to restore porosity and nutrients before replanting (OSU Extension).
Potting soil is not garden dirt. Commercial and DIY mixes combine mineral particles (sand, loam, perlite) with organic matter that holds water and feeds roots (University of Maine Cooperative Extension). That organic fraction breaks down and compacts with every watering cycle, which is why “it still looks like soil” is not enough. Reuse makes sense when structure can be rebuilt and fertility replaced—not when the mix is contaminated or waterlogged.
Bagged potting soil stored dry and unopened is usually good for about two years before peat and added fertilizers degrade. Once plants have grown in a mix, nutrients from the original bag typically last three to six months before leaching and plant uptake leave the medium hungry (OSU Extension). Plan on refresh work every reuse cycle, not just the first time.
Potting mix (peat, coir, perlite blends with little true mineral soil) and potting soil (often loam-based with more mineral content) both compact and lose fertility, but loam-heavy mixes may hold structure slightly longer while peat-heavy mixes shrink and hydrophobe faster. Either can be reused with the same inspect-refresh workflow; peat-free mixes made from composted bark and coir still need organic matter added back after a full season because the woody fraction continues to break down.
If you only grew one small herb in a 12-inch pot and the plant was flawless, a light top-dress with compost and slow-release feed may be enough without full sterilization. Scale up the caution as pot size, crop value, and prior disease risk increase.
When You Should Throw It Out Instead
Some spent mix is cheaper to replace than to rehabilitate. Viruses, fungi, and bacteria from diseased plants can persist in container media long after the plant is gone (OSU Extension). LSU AgCenter is blunt: if plants died from bacterial, fungal, or viral disease, do not reuse the soil—soilborne pathogens may still be active (LSU AgCenter).
Disease and Root-Rot Warning Signs
Discard mix (or redirect it only to non-plant uses below) when you saw any of these on the previous crop:
- Wilting that did not respond to watering, especially with mushy brown roots when you pulled the plant
- White, gray, or fuzzy growth on stems at the soil line or on roots
- Sudden collapse of otherwise green plants in warm weather (common with some soilborne wilts)
- Spotting or mosaic patterns on leaves that spread through the container
- Chronic poor growth after you already ruled out light and watering mistakes
Savvy Gardening adds a practical rule: if water sat on top of the mix or drainage failed for long stretches, pathogens build up and the smell alone tells you to skip in-pot reuse (Savvy Gardening). Waterlogged soil is a root-rot incubator.
Pest Problems That Travel in Old Mix
Insects and their eggs hide where you are not looking. Slugs, earwigs, flea beetles, and cucumber beetles can leave eggs in container mix; fungus gnat larvae and shore flies breed in damp organic matter (Savvy Gardening). If last year’s pots had visible infestations—chewed leaves, sticky honeydew, larvae when you dumped the pot—replace the mix or pasteurize it before anything new goes in.
Vine weevil larvae are a special case in spent compost. RHS advice: spread suspect mix thinly on a tarp so birds can pick off the white grubs, then sweep up and use the soil for mulch or non-edible beds—not directly back into pots without heat treatment (RHS).
If weeds sprouted from the potting mix itself, assume a heavy weed-seed load. Either sterilize or discard; do not plant slow-to-establish crops in weedy recycled mix.
Inspect and Sort Your Spent Mix First
Before sterilizing or amending, dump each container onto a tarp or board—not back into a mystery pile. Pull out dead roots, stems, grubs, and hard clumps. LSU AgCenter recommends sorting into a bin and removing large roots and insects before any heat treatment (LSU AgCenter).
Run a quick smell and squeeze test. Fresh-ish mix smells earthy, crumbles in your hand, and does not drip when squeezed. Sour, ammonia, or swamp odors mean anaerobic breakdown—do not reuse in containers. If the mix has pulled away from pot sides and repels water, structure collapse is severe; heavy refresh or partial replacement is mandatory.
Label bags if you emptied multiple pots: “healthy petunias,” “tomato wilt—discard,” “herbs—refresh only.” One contaminated batch tossed into the general pile undoes the work.
Work on a light-colored tarp so grubs, white vine weevil larvae, and perlite flecks stand out. Sift through with gloved hands or a soil sieve if you are recycling for seed starting—stones and old root chunks block delicate seedling emergence. Keep a dedicated “clean” bin and a “yard only” bin side by side so you never cross-contaminate mid-sort. If one pot had suspicious roots, wash the tarp or flip to a fresh side before sorting the next batch.
Three Reliable Ways to Sterilize Used Potting Soil
Sterilization (really pasteurization in home settings) kills most pathogens, weed seeds, and insect eggs. It also kills beneficial microbes—so you must add organic matter after heat treatment to reintroduce life (Gardening Know How).
You need sterilized mix when:
- You are starting seeds or growing seedlings—tender tissue cannot fight soilborne disease
- You are planting disease-prone crops like tomatoes, begonias, or impatiens in recycled media (Savvy Gardening)
- You had minor pest pressure but want to reuse rather than buy new
- You are unsure of previous plant health but the mix looks otherwise fine
Healthy finished annuals in large patio pots can often skip sterilization if you refresh aggressively—but sterilizing is still the lower-risk choice.
Solarization in Black Bags
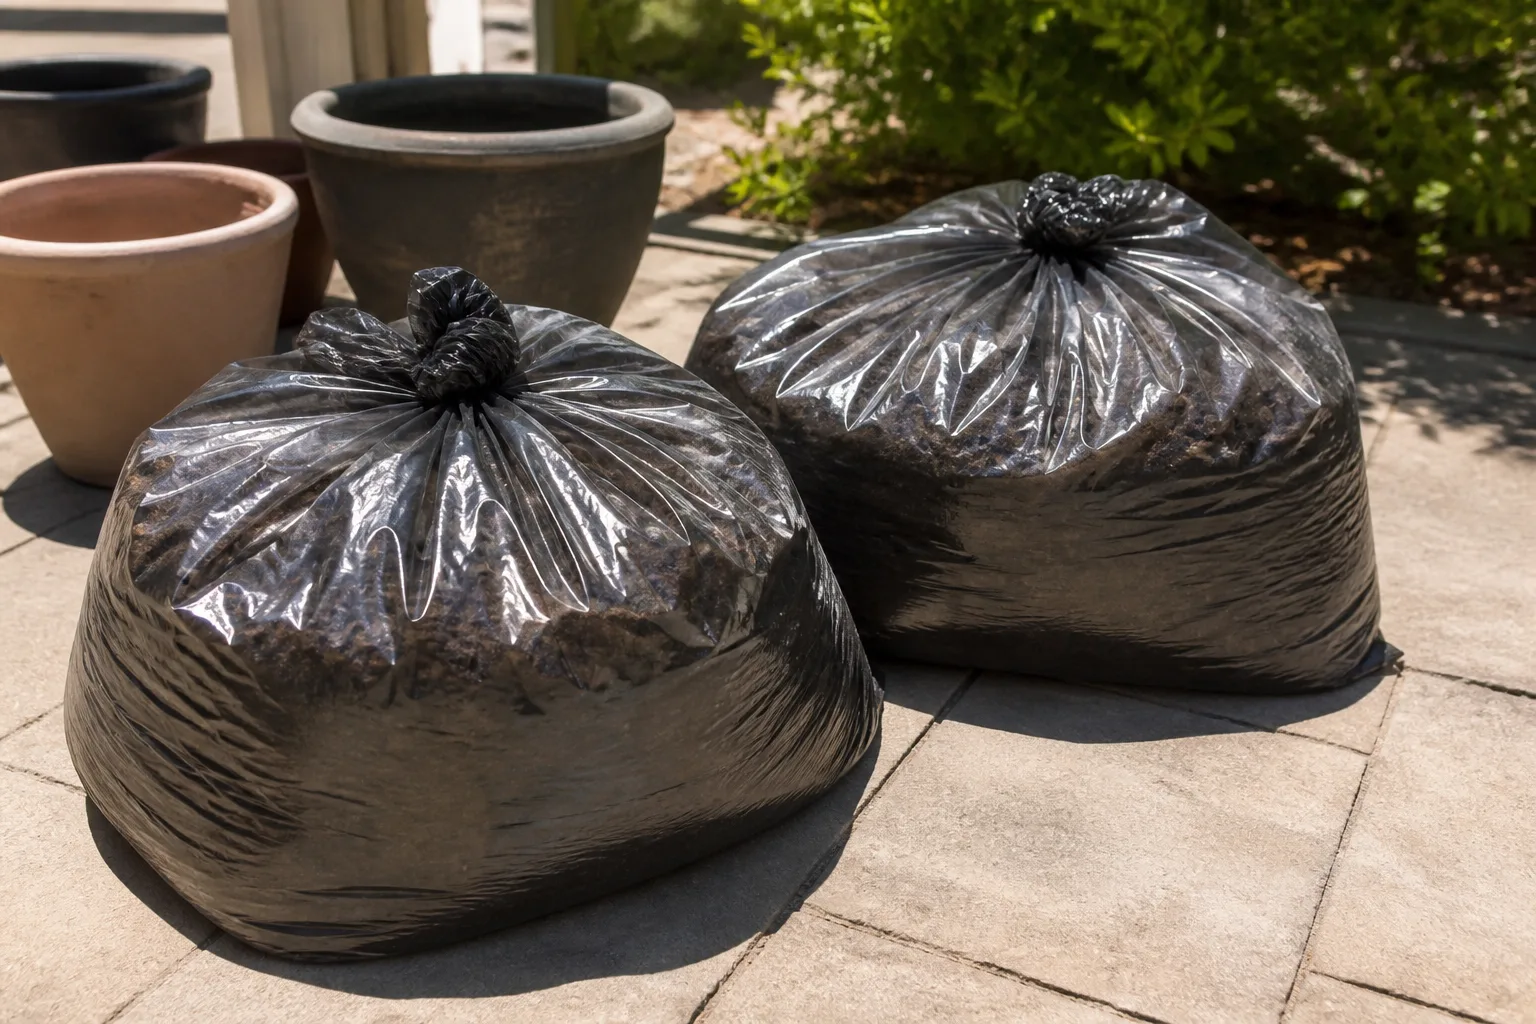
Solarization uses sun heat trapped in plastic. Fill black contractor bags or lidded dark containers with moist (not soggy) spent mix, seal tightly, and place in the sunniest spot for four to six weeks (LSU AgCenter). Start at the end of the growing season so mix is ready by spring (Gardening Know How).
Pros: No kitchen smell, handles larger volume than an oven, low cost. Cons: Requires hot weather and patience; less reliable in cool cloudy climates.
Clear plastic over a tarp works in garden beds; for bagged potting mix, black bags absorb more heat. Keep bags sealed so steam builds inside.
Oven Pasteurization for Medium Batches
For faster results, spread 3–4 inches of moist mix on an oven-safe tray, cover with aluminum foil to hold moisture, and bake at 175–200°F (79–93°C) for 30 minutes (LSU AgCenter; Savvy Gardening). Preheat the oven, use a meat thermometer in the center if you want confirmation, and keep the foil on until the mix cools so it does not dry out.
Insert a probe thermometer through the foil into the thickest part of the tray. You want the full mass to hold at or above 160°F (71°C) for the full half hour—surface crusting can fool you if the center stays cool. Stir once halfway through if the tray is deep. Multiple shallow trays pasteurize more evenly than one deep pan.
Warning: This smells intensely earthy. Run the range hood, open windows, or use an outdoor toaster oven dedicated to garden tasks. Do not exceed 200°F—higher temps can release harmful gases from organic matter.
Oven pasteurization is best for seed-starting trays and medium batches (a few trays at a time), not fifty gallons.
Microwave Method for Small Quantities
Microwave about 2 pounds of moist mix in a microwave-safe container at full power for 90 seconds (LSU AgCenter). Savvy Gardening suggests up to 15 minutes for larger microwave loads—watch for overheating dry pockets (Savvy Gardening). Cover loosely so steam escapes.
Practical for one seedling pot or a small propagation batch. Repeat in shifts if you have more soil. Same smell issue as the oven—ventilate.
After any heat method, let mix cool completely before adding compost or fertilizer; heat plus fresh amendments can cause chemical oddities and more odor.
Refresh Structure and Nutrients Before You Plant
Pasteurization solves biology; refreshing solves physics and chemistry. Used mix compacts, loses pore space, and sheds nutrients. Skipping refresh gives you clean but starving, suffocating soil.
Mix Ratios That Actually Work
Several trusted ratios converge on the same idea—do not plant 100% depleted old mix without new material:
- One part new potting soil to three parts old (LSU AgCenter)
- One third compost to two thirds used soil (Gardening Know How)
- 70% spent compost to 30% fresh organic matter (garden compost, leaf mold, or well-rotted manure) for container replanting (RHS)
For large containers, OSU Extension’s top 6-inch swap saves money: remove only the upper layer where roots fed most, replace with new mix, and blend into the old as you fill (OSU Extension). Roots in the lower zone often stay in stable structure while the nutrient-rich zone gets renewed.
Fluff the blend until it is crumbly and uniform—no whitewashed clods or dry peat bricks.
Amendments Worth Adding Back
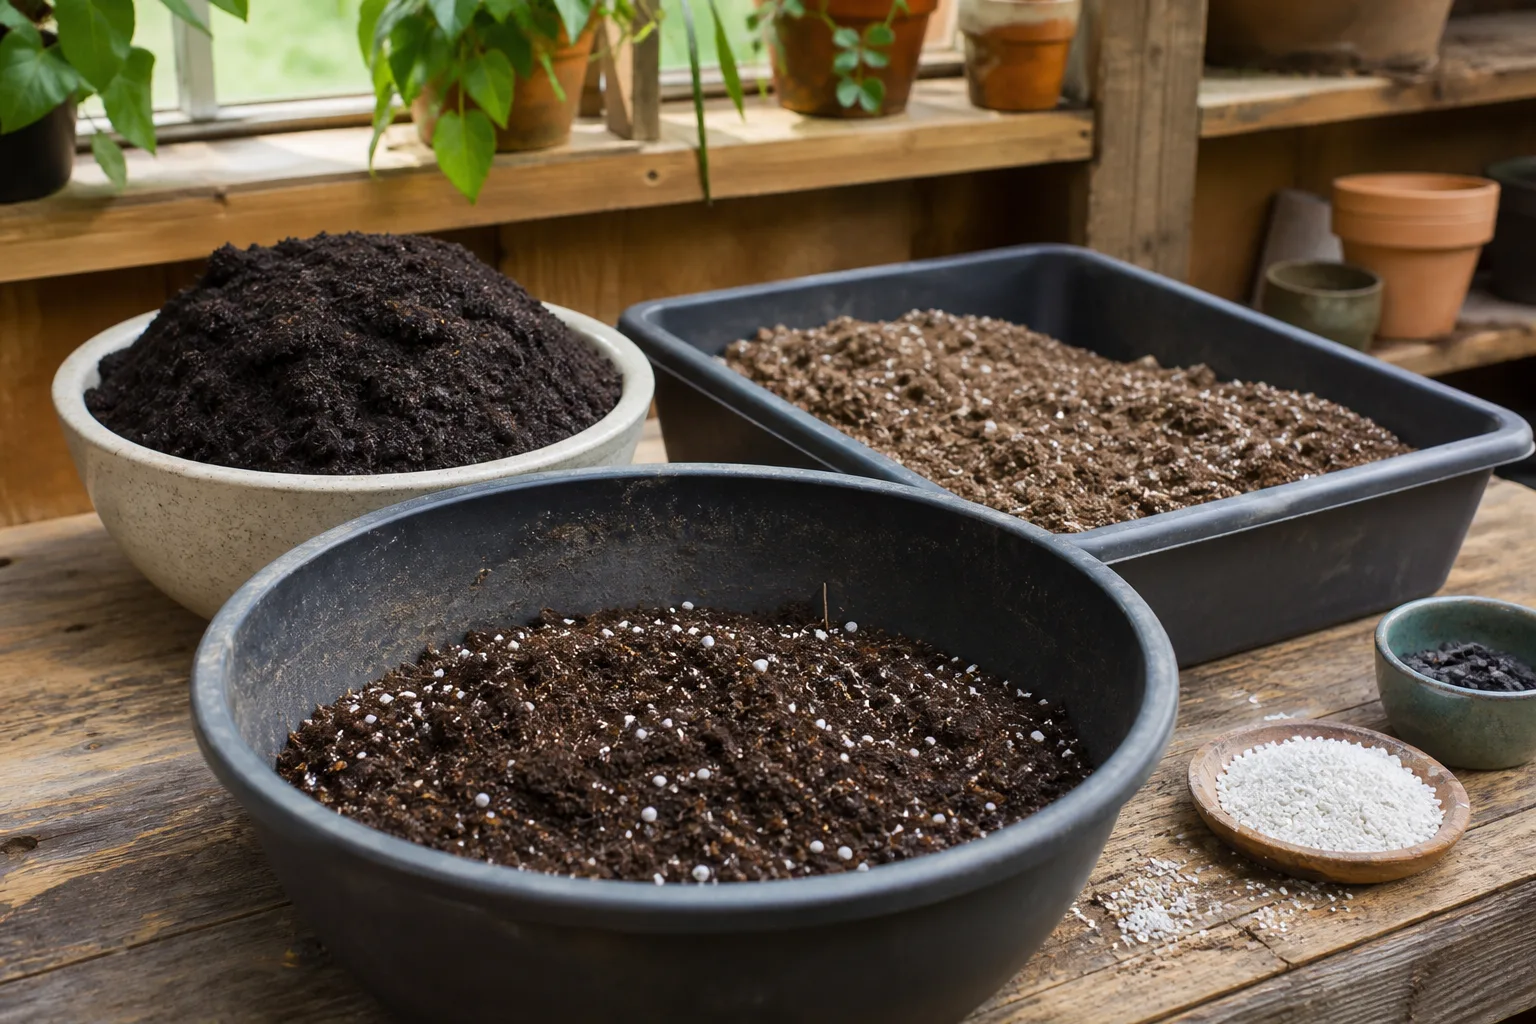
After heat treatment or a long season, add organic matter and mineral aerators:
- Compost or worm castings — nutrients and microbes
- Perlite — drainage and aeration without sand weight (LSU AgCenter)
- Vermiculite — water holding in seed mixes (use sparingly in already-heavy blends)
- Peat moss or coir — moisture retention; add sparingly to avoid waterlogging (LSU AgCenter)
- Slow-release organic fertilizer — replaces the 3–6 month charge from a new bag (OSU Extension)
Avoid dumping heavy sand into every pot—it improves drainage but makes large containers immovable. Perlite gives similar pore space with less weight.
Test pH and Fertility If Plants Struggled Last Year
If last season’s plants looked pale, stunted, or never bloomed despite good care, run a soil test or use a home kit before re-planting. Most container crops prefer roughly pH 6.5–7.5—slightly acidic to neutral. Below that range, add lime-type amendments per test instructions; above it, sulfur or acidifying products per label rates—not guesswork tablespoons.
A soil test also reports nitrogen, phosphorus, and potassium so you can target fertilizer instead of overfeeding. Recycled mix rarely tells you what it needs by sight.
Even when pH looks fine, assume nitrogen is low after a heavy feeder like tomatoes or corn in a pot. A balanced slow-release organic feed at refresh time covers baseline needs through the next season (OSU Extension).
Match Recycled Soil to the Right Plants
Not every container deserves your best refreshed mix. OSU Extension suggests routing recycled soil toward plants that do not demand rich, perfect media—hardy ornamentals, some herbs, filler pots—while saving premium fresh mix for vegetables and finicky flowers (OSU Extension).
Rotate Crops in Containers Like You Do in the Garden
Different plants pull different nutrients and attract different pests. Crop rotation in field soil breaks pest cycles and balances fertility (Rodale Institute). Apply the same logic to pots: follow heavy-feeding tomatoes with lighter herbs, or swap flower families instead of planting the same impatiens in the same soil three years straight.
Example rotation on one large patio planter: impatiens one year, peppers the next, then oregano or trailing thyme—each with refreshed mix and sterilization if any disease appeared. Matching plant to prior crop reduces the chance that leftover root pathogens find their favorite host again.
Seedlings and disease-prone edibles (tomatoes, peppers, brassicas) deserve sterilized, well-amended mix. Mature drought-tolerant succulents in refreshed but unsterilized mix are a lower-risk call if the previous occupant was healthy.
Store Spent Mix Correctly Between Seasons
How you hold mix between seasons affects whether reuse is safe. If you plan spring reuse, do not seal bone-dry soil in a shed for months—some gardeners leave pots outside to receive rain and snow so organic matter stays biologically active and does not turn brick-hard. Conversely, stacking wet mix in closed bags in a warm garage breeds fungus gnats.
For empty winter storage, dump mix into breathable bins or loosely tied bags in a cool spot. Moisten slightly if it has dried to dust. Label health status.
Stack bins off the ground on pallets or bricks so condensation does not pool underneath. In mild climates, leaving soil in empty pots outdoors over winter—as some master gardeners recommend—lets rain and snow keep organic matter from turning into a brick; cover pot rims with screen if local squirrels dig. In freezing regions, protect porous ceramic pots from ice expansion even if the soil stays outside. Never store wet, sealed bags in a heated garage for months—that combination is fungus gnat paradise.
Unopened commercial bags: store dry, out of sun; use within about two years for best structure.
Smart Alternative Uses When Reuse in Pots Is Risky
When mix is questionable for containers but not obviously toxic waste, redirect it:
- Top-dress landscape beds or fill low spots in the yard (LSU AgCenter)
- Mulch established trees and shrubs where soilborne vegetable diseases matter less (RHS)
- Add to the compost pile as brown/soil fraction—OSU Extension notes good compost needs green, brown, and soil components (OSU Extension)
- Improve garden soil structure by digging in spent mix for aeration, not as a full fertilizer substitute (RHS)
- Lawn top-dressing mixed with sand in autumn (RHS)
These paths keep material out of the landfill without risking your tomato seedlings.
When redirecting questionable mix to beds, avoid piling it against the stems of vegetables you plan to eat raw and keep it out of seed-starting rows. A 2–3 inch mulch layer on established perennials is lower risk than incorporating unknown mix into the top 6 inches of a salad greens bed. Composting still helps: high composting temperatures in an active heap can further reduce pathogen loads before the finished compost returns to containers—but do not assume a cold, slow pile sterilizes diseased soil.
Conclusion
Reusing potting soil is smart economics when you treat spent mix with the same skepticism you would a used seedling tray: inspect for disease, pests, weeds, and waterlogging; pasteurize when starting seeds or growing disease-prone crops; refresh with compost, aerators, and slow-release feed at proven ratios; test pH if plants struggled; rotate crops in containers; and store mix with enough moisture to stay workable. When reuse in pots is too risky, spent mix still has a job in beds, compost, and mulch. Follow that sequence and you save money without shipping last year’s problems into this year’s harvest.



