5 Early Spring Garden Chores to Finish Before March 21
Finish these early spring garden tasks before March 21: smart winter cleanup, safe pruning timing, tool prep, nursery stock-up, and seed viability testing.
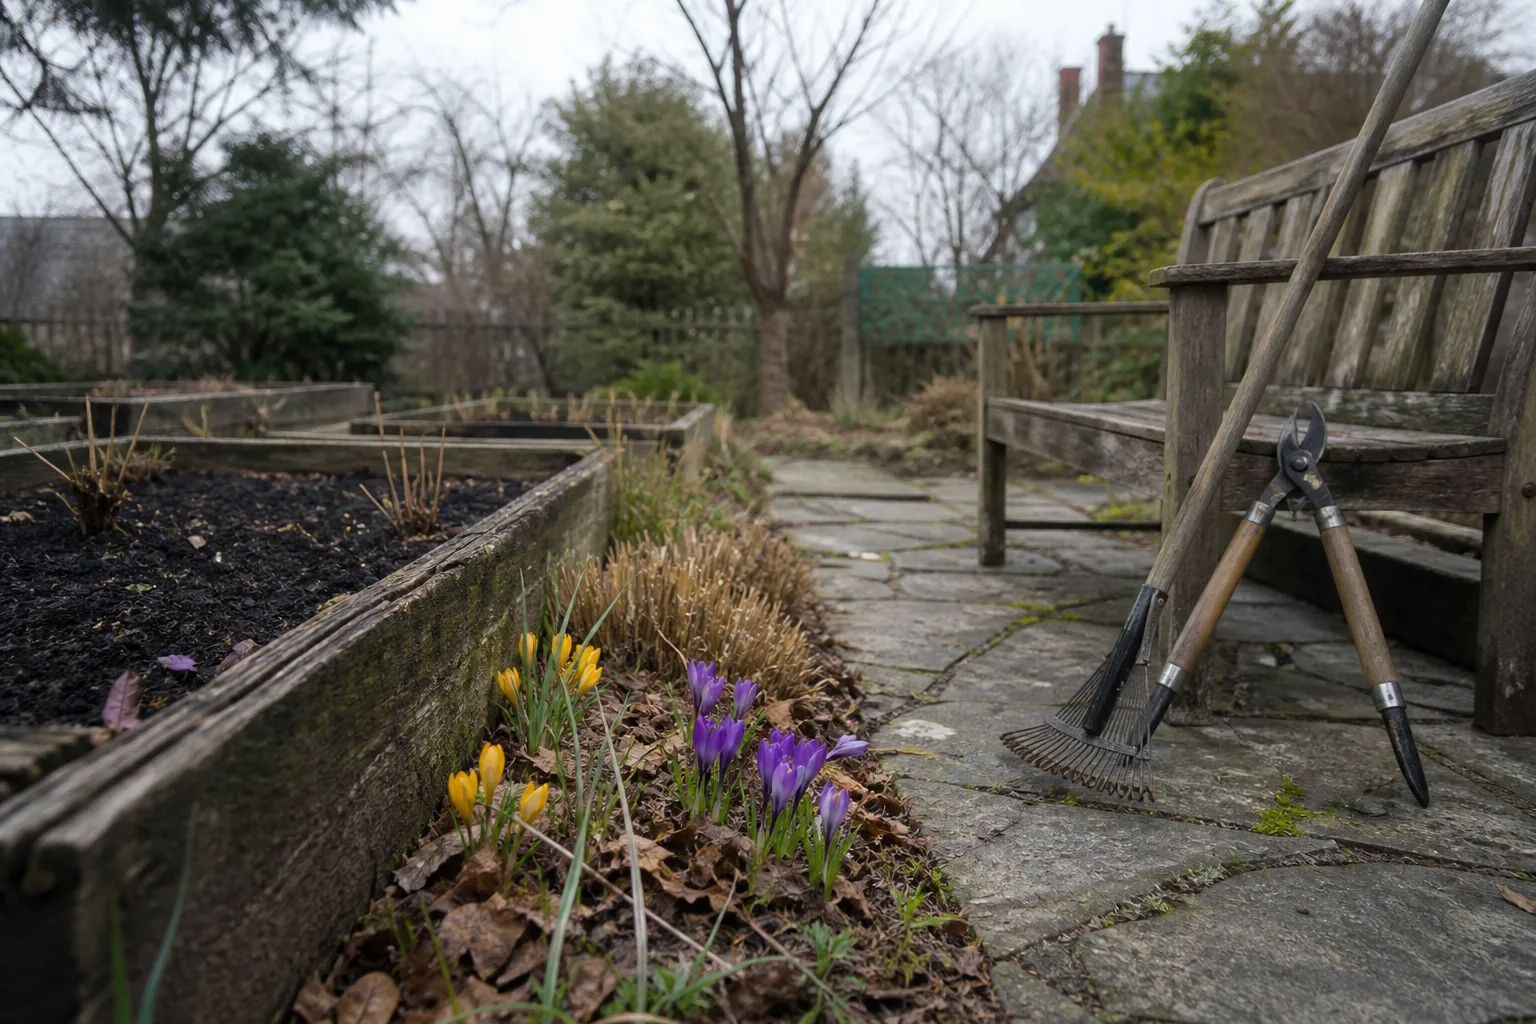
The first day of spring lands on the vernal equinox, usually March 19–21. That date is a useful deadline—not because your yard magically turns green overnight, but because it marks the window when northern gardeners should stop postponing the unglamorous prep work that makes April planting weekends actually productive.
I treat pre-spring as a five-chore sprint: smart cleanup, timed pruning, a tool and supply audit, one strategic errand run, and a seed reality check. None of these require warm soil. All of them prevent the mistakes I see every year—compacted beds, pruned-off spring blooms, dull pruners spreading disease, and flat seed trays full of packets that never germinate.
What “Before Spring” Means on Your Calendar—and in Your Soil
The equinox is a calendar line, not a weather guarantee. In USDA Zone 5–6, late February through mid-March often still means frozen crust, mud, and snow squalls. In Zone 7 and warmer, crocus and daffodils may already be up while nights still flirt with frost.
Vernal Equinox Timing vs Your Real Last-Frost Clock
Gardening time runs on last frost date, not the equinox. Finishing these five chores before March 21 simply clears your plate so that when soil hits workable temperatures—often two to six weeks after the equinox in cold climates—you are not still hunting for sharp pruners or discovering dead seed.
Write down two dates for your zip code: average last frost and soil-warming window when topsoil consistently reaches 40°F (cool greens and peas) and 50°F (cabbage, onions, Swiss chard). The Almanac spring gardening checklist groups tasks by soil temperature for exactly this reason—calendar spring and planting spring are different clocks.
Zone-by-Zone: What You Can Safely Do in Late February vs Early March
Zones 5–6: Focus on hardscape cleanup, tool prep, dormant pruning of summer-blooming wood, and indoor seed starts for tomatoes and peppers. Stay off saturated lawn and beds.
Zones 7–8: Add ornamental grass cutback, light perennial cleanup where new shoots are visible, and direct sowing of the hardiest crops once the mud test passes.
All zones: Errands and seed sorting happen indoors on rainy days—no soil required.
The Mud Test That Keeps You Off Compacted Beds
Before you rake a bed, edge a border, or till a vegetable plot, run the mud-ball test extension educators recommend: grab a handful of soil. If it forms a tight ball that smears instead of crumbling, stay out. Walking or working wet soil destroys structure you will spend the whole season trying to fix.
If you must cross a soggy area, lay plywood or stepping stones to spread your weight. Garden Design’s spring prep guidance notes that vegetable beds are ready to work only when a squeezed clump crumbles—same principle, stated for ornamentals and edibles alike.
Chore 1: Winter Cleanup That Does Not Trash Wildlife Habitat
Cleanup is not “strip everything bare.” The goal is safe circulation on surfaces you use daily while protecting overwintering insects and soil life in planted beds.
Hardscape, Lawn, and Pathway Reset
Start where winter left hazards: walkways, driveways, patios, and lawn traffic lanes. Gently rake sticks and matted leaves off turf you will mow soon—thick wet mats can smother grass and invite snow mold, the pink or gray fungal patches that show up when grass stays wet under cover all winter. A light rake in late winter breaks up those mats before the first mow.
Sweep or hose grit off pavers; wait for a dry stretch in the forecast before hosing, or you will recreate ice sheets on cold nights. Check downspout outlets and French drain grates while you are at it—blocked drainage turns thaw weeks into standing-water problems along foundations and bed edges.
Reset bird baths with mild soap and water, refill when nights stay above freezing, and stack firewood off bare soil so bottom logs do not rot. If you overwintered containers outdoors, tip them to drain ice and inspect for cracked glaze before you fill them in May. These jobs improve daily use without touching planting beds.
Flower Beds: Rake Now, Wait, or Leave the Leaves
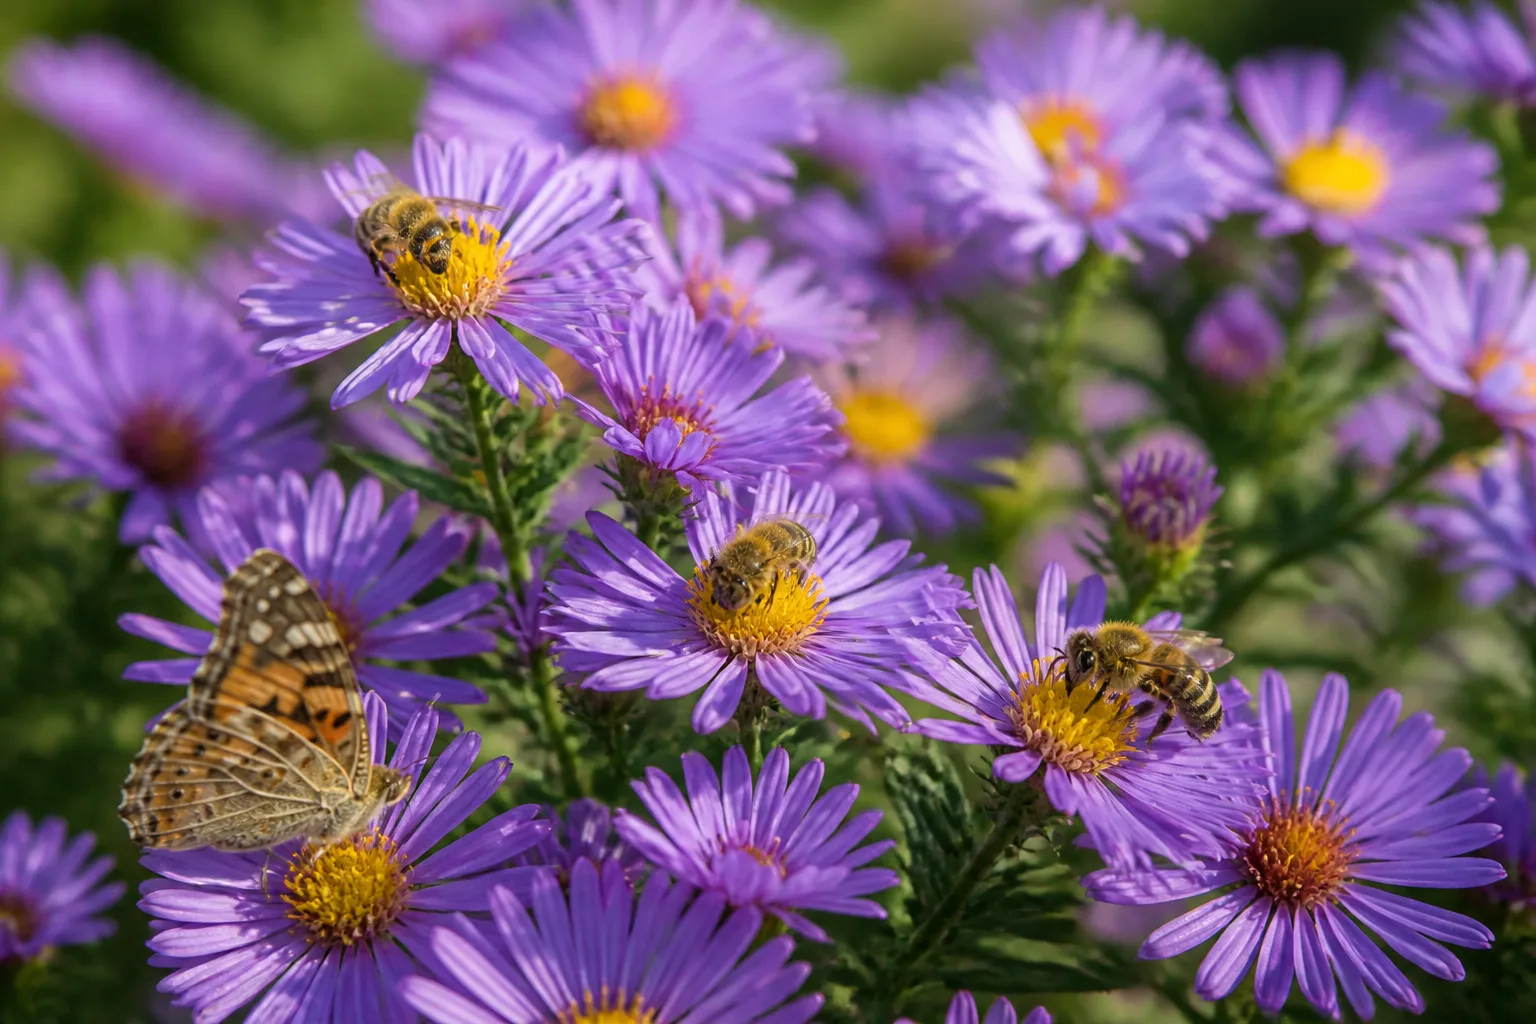
This is where gardeners split. My rule:
| Location | Before equinox | After consistent warmth |
|---|---|---|
| Lawn and paths | Remove debris that blocks use | Continue light raking |
| Planted beds with spring bulbs emerging | Pull leaves aside from shoots; do not bare soil | Gradual cleanup as temps stabilize |
| Empty vegetable beds | Wait for mud test; then remove surface debris to warm soil | Add compost when crumb test passes |
| Wilder pollinator corners | Leave leaves and standing stems until daytime temps stay above ~50°F regularly | Cut back in late spring if needed |
University of Minnesota Extension advises leaving leaves in beds and under trees when possible because they feed soil and shelter pollinators (leave leaves guidance). Oregon State Extension notes many butterflies and native bees overwinter in leaf litter and hollow stems (wildlife benefit of leaves). If you want more flowers later, see our tips to attract pollinators to your yard—habitat you preserve now pays off in summer.
Frost Heave and Bulb Emergence Fixes
Freeze–thaw cycles heave perennials out of the ground, exposing roots to drying air. When soil is moist—not frozen—press plants back in with your foot or heel them in with your boot. For bulbs poking through leaves, rake foliage aside for light and air without digging.
Chore 2: Early-Spring Pruning With a Timing Cheat Sheet
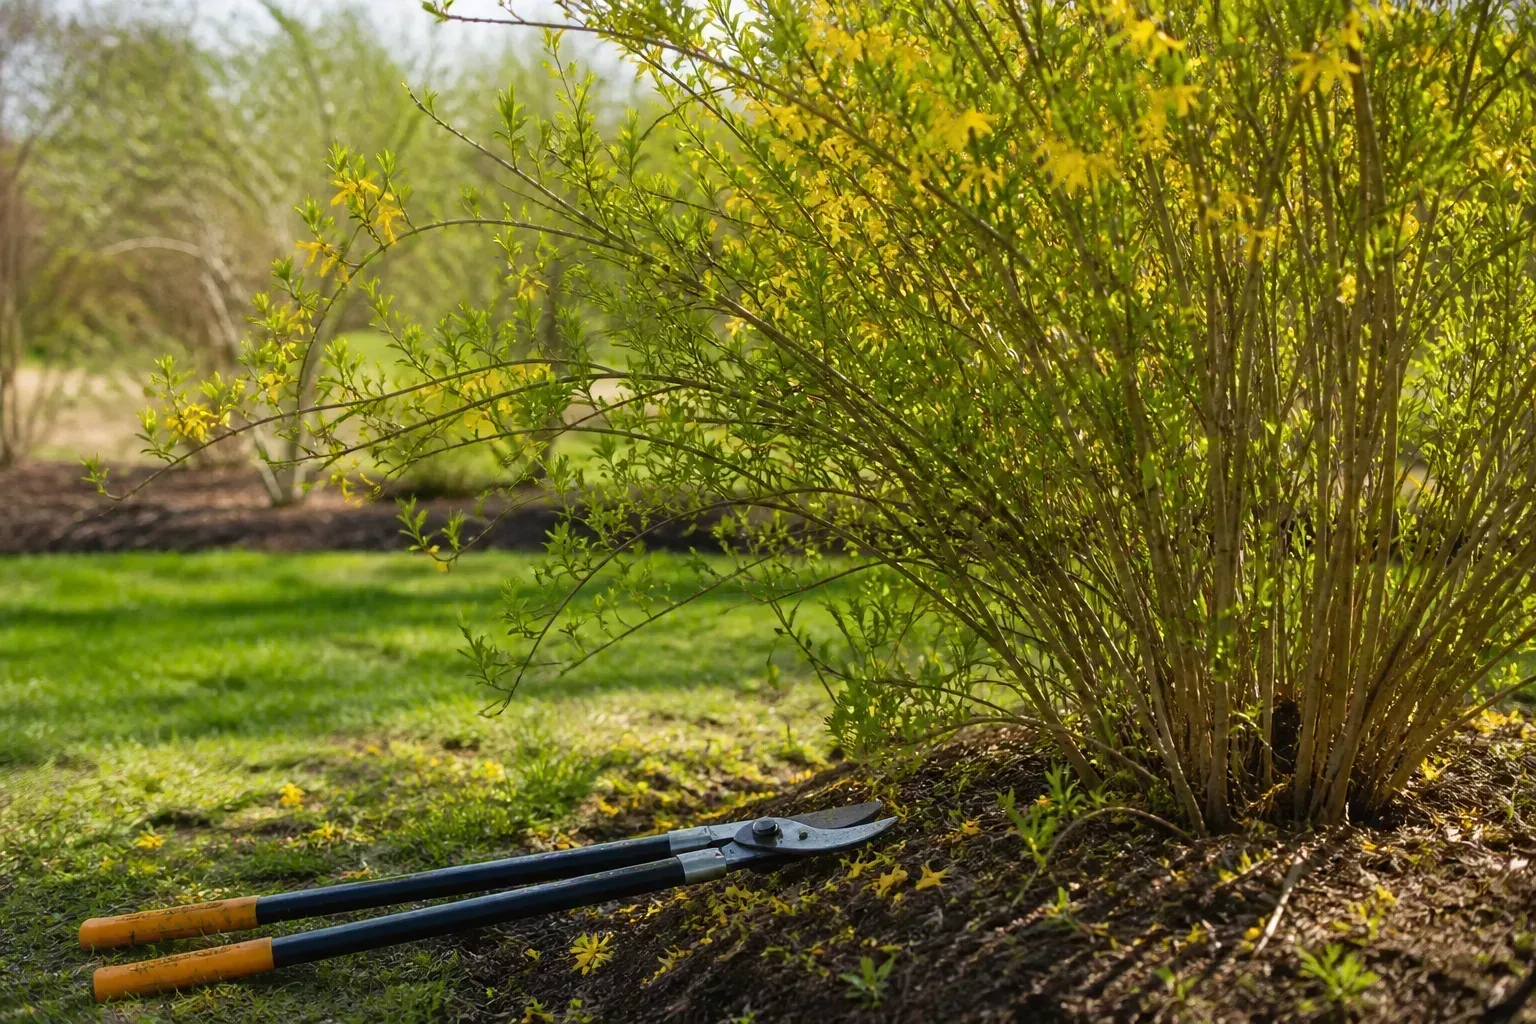
Pruning before the equinox is about removing dead weight and shaping summer-blooming wood while plants are still dormant or just waking. Get timing wrong and you delete this year’s flowers.
Shrubs and Perennials Safe to Cut Back Now
Generally safe in late winter/early spring (blooms on new wood or no showy spring bloom):
- Panicle hydrangeas — remove last year’s flowers; thin weak stems
- Ornamental grasses — tie clumps with twine, cut 4–6 inches above the crown with hedge shears or scissors before new green appears; compost the dry tops unless you want to save plumes for crafts
- Summer-blooming spirea, butterfly bush, bluebeard — hard cutback once you see buds breaking at the base
- Sedum, hosta, daylily foliage — clear last year’s mush; leave crown alone
- Raspberry canes and grapevines — follow cane-renewal rules for your variety
Use sharp bypass pruners for stems under ½ inch, loppers for thicker wood, and a pruning saw for branches you cannot bend. Mark uncertain branches with colored tape before cutting—confidence beats second-guessing halfway through.
Spring Bloomers You Must Not Touch Yet
If it flowers before June on old wood, wait until after bloom unless you are removing dead or damaged branches only:
| Plant | Prune after flowers fade |
|---|---|
| Lilac, forsythia, quince | Late spring |
| Rhododendron, azalea | Immediately after bloom |
| Bigleaf hydrangea (macrophylla) | After bloom; minimal wood removal |
| Spring-blooming clematis (Group 1) | Right after flowering |
Our perennials to prune in spring guide goes deeper on herbaceous types; for hydrangea confusion, see when to prune hydrangeas.
Fruit Trees, Roses, and Storm-Damaged Wood
Fruit trees get structural pruning in late winter while still dormant—remove crossing branches, water sprouts, and storm-split wood before sap runs hard. Roses vary by class; hybrid teas and floribundas often get a hard cut in early spring, while climbers need lighter shaping. When in doubt, remove dead, diseased, and damaged wood first—that is never the wrong season.
Never prune wet branches on large trees if you can avoid it; our guide on whether to prune a wet tree branch explains slip risk and tear damage. For bigger jobs, review tree pruning mistakes gardeners regret in spring before you climb a ladder.
Chore 3: Tool and Supply Audit Before the Rush Hits
April crowds the garden center and dulls your patience. A March audit turns “where is my trowel?” into a ready station.
Clean, Sharpen, and Disinfect Cutting Tools
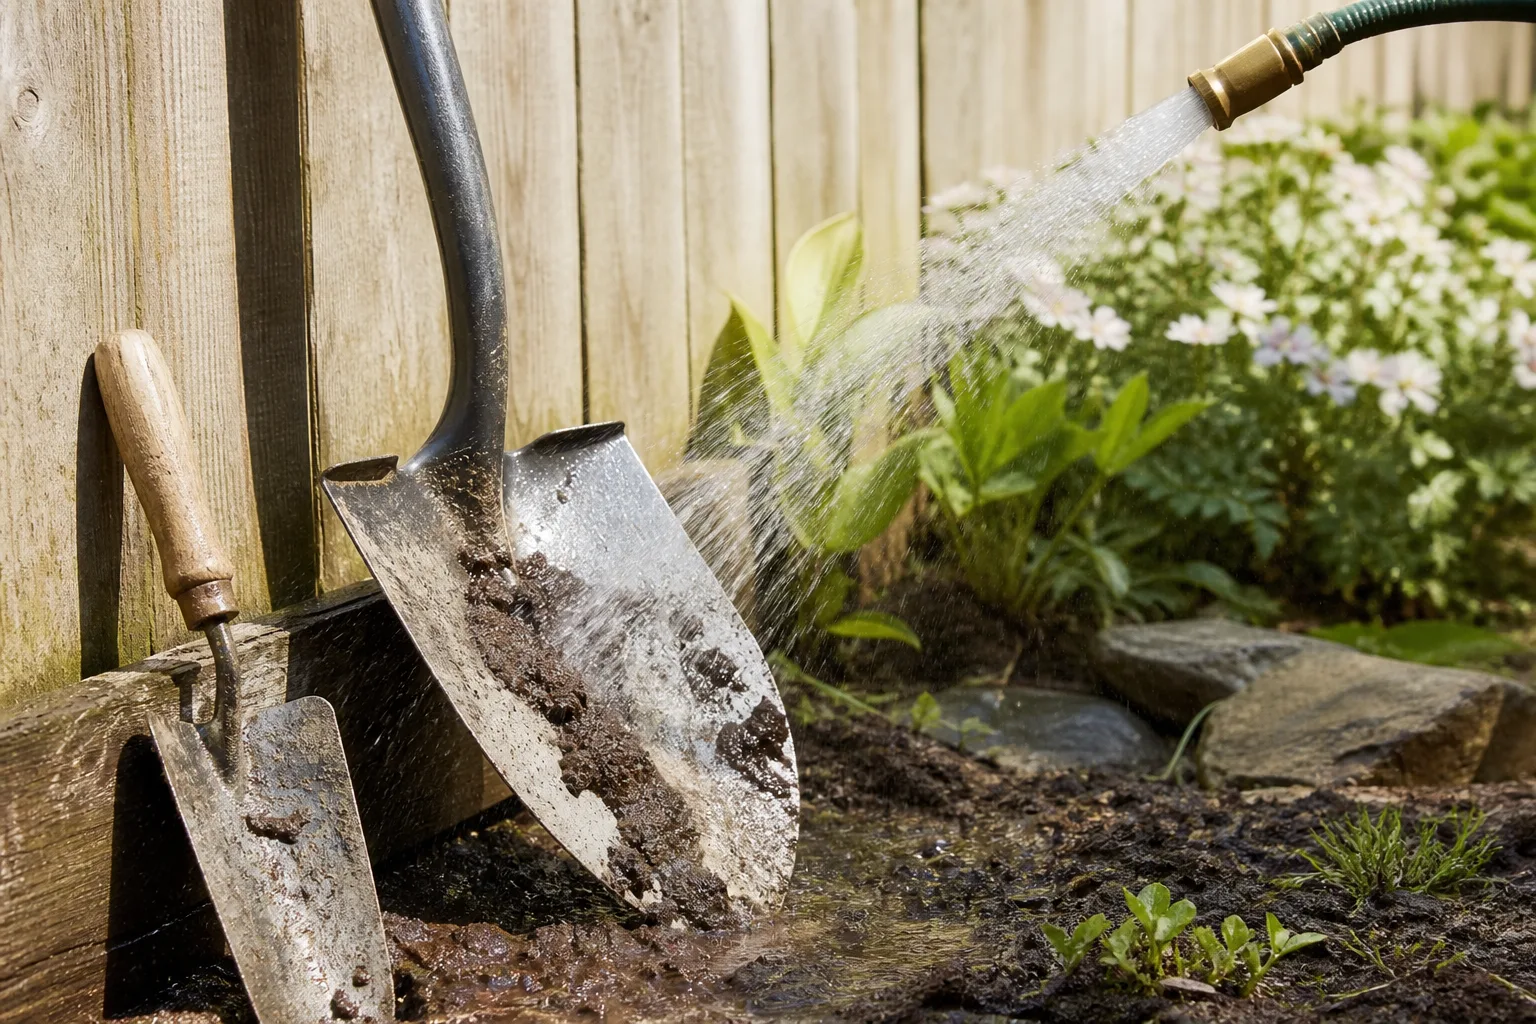
Even if you cleaned tools last fall, cutting tools need attention now—blades that spread bacteria during spring pruning do more damage than dull ones. Knock off dried soil, wash in soapy water, dry fully, and disinfect blades with 70% isopropyl alcohol between plants when disease was present last year. Colorado State Extension recommends regular cleaning and oiling to prevent rust (tool care tips); University of Minnesota Extension covers disinfecting containers and tools before seed starting (UMN tool disinfection).
Sharpen bypass pruners with a mill file or diamond hone, oil pivots with light machine oil, and coat metal with boiled linseed oil on wooden-handled tools. Full step-by-step: how to clean and disinfect garden tools.
Hoses, Containers, and Amendment Bags Worth Keeping
Walk your stash with a repair-or-replace mindset:
- Hoses patched more than once and still weeping → recycle; leaks waste water all summer
- Watering cans — check rose heads for clogs; bleach-rinse if algae grew over winter
- Opened bags of potting mix — smell test; discard if sour or moldy throughout; surface mildew on an otherwise dry bag can be scraped away
- Pots and trays — stack by size, trash cracked plastic, disinfect reused seed trays before starting seeds indoors
Note missing items on one master list—stakes, row cover, fresh gloves, mower oil—so errand day is single-trip. Hang long-handled tools on wall hooks with blades up and off concrete; floor contact invites rust even on “dry” garage slabs. A bucket of oiled sand for plunging shovels and trowels after washing is old-school, but it still works for rust-prone carbon steel.
Chore 4: Strategic Nursery and Hardware Errands
Rainy late-winter afternoons are perfect for shopping without FOMO. The mistake is buying tender annuals in March because the greenhouse is warm; the fix is buying what your calendar will actually use in the next 60 days.
If you have not tested soil in three years, add a soil test kit or lab mailer to this errand. Spring lime or sulfur applications depend on pH results—not guesswork—and many extension labs are backlogged once April hits. Bring your planting list, last year’s journal notes, and measurements for any new bed so you buy the right volume of compost and mulch on the first trip instead of making three.
Stock-Up List Matched to Planting Windows
Buy now (shelf-stable):
- Mulch, compost, lime/sulfur if soil tests call for them
- Seed-starting mix, labels, heat mat if indoor starts begin weeks before frost
- Paper yard-waste bags, twine, hose washers, drip fittings
- Replacement hand tools you flagged in the audit
Wait until after last frost (or harden-off date):
- Tender annuals, basil starts, impatiens, most tomatoes at big-box stores
- Pre-assembled hanging baskets
Buy on sale but store cool/dry:
- Seed potatoes, onion sets, bare-root fruit timed to your planting chart
Match purchases to your written last-frost date and indoor start schedule from flower seeds to start right now or easiest seeds to direct sow so you do not store leggy plants for three weeks.
Chore 5: Seed Inventory, Storage, and Viability Testing
Every gardener has a shoebox of half-used packets. Pre-spring is when I sort fantasy from germination.
How Long Saved Seeds Last by Crop Type
Storage conditions matter more than the printed date. Cool, dry, dark beats the fridge door every time. Rule-of-thumb viability if stored well:
| Crop type | Typical viable years | Examples |
|---|---|---|
| Short-lived | 1–2 years | Parsley, onion, leek, corn |
| Medium | 3–5 years | Tomato, pepper, brassicas, squash |
| Long-lived | 5+ years | Beans, peas, cucumber, many flowers (cosmos, zinnia, sunflower) |
Opened packets go into labeled zip bags with the year noted. Silica gel packets help in humid houses. Store the whole collection in a cool closet or basement drawer, not a sun-baked shed that cooks seed embryos by July. Refrigeration works for long-term storage only if packets are sealed and you let them warm to room temperature before opening—condensation kills viability fast.
The 7-Day Germination Test Before You Sow
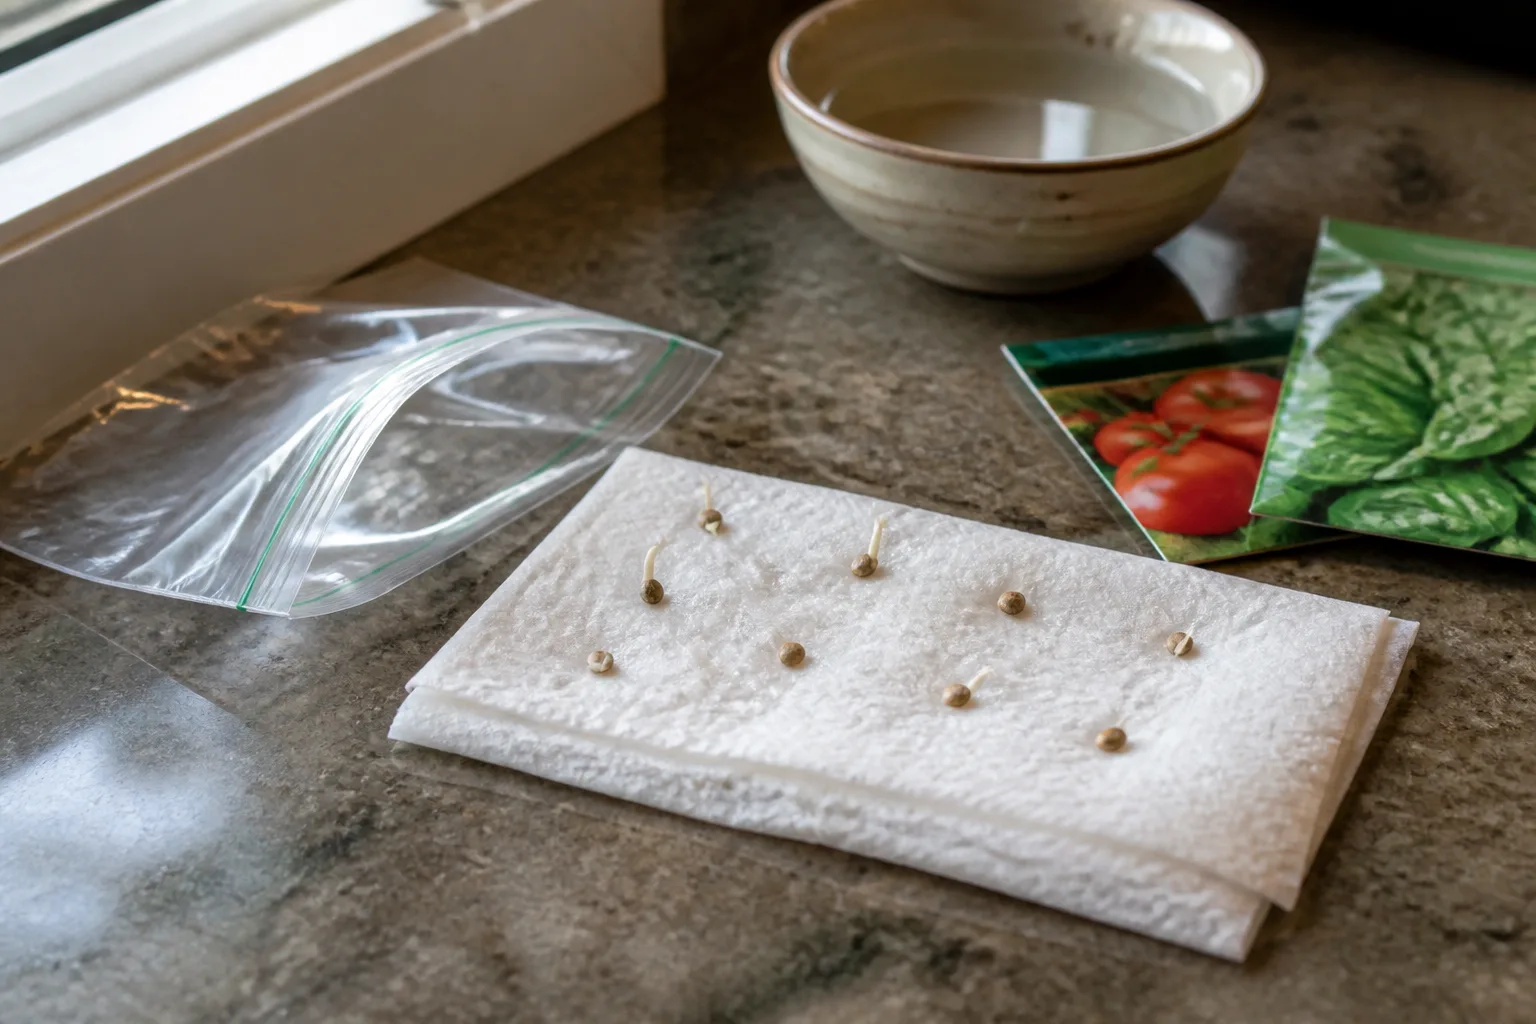
Penn State Extension recommends a simple home test before betting your row space on old seed (how to test seed germination):
- Count out 10 seeds from the packet.
- Moisten a paper towel, space seeds on half, fold over, seal in a bag.
- Keep warm (70–75°F for most vegetables) and check daily.
- After 7–10 days, count sprouted seeds. Eight of 10 = 80% germination—sow normally. Five of 10 = sow thickly or buy fresh. Fewer than five = replace the packet.
Run tests for parsley, onions, and leftover flower mixes first—they fail most often. Good results on kale, arugula, lettuce, basil, cosmos, and zinnia are common even at two years if storage was decent, but verify before you blame “bad soil” in May.
What to Skip Until Soil Warms and Frost Risk Drops
Finishing the five chores does not mean planting everything. Defer these until the mud test passes and nights stabilize:
- Tilling or broad forking wet beds — compaction and clods all season
- Heavy fertilization of lawns before grass actively grows — see regional guidance; many cool-climate lawns benefit more from fall feeding
- Stripping all bed mulch before weeds emerge — you lose moisture and invite early weeds
- Planting tomatoes and peppers outdoors before hardened off and frost-free
- Pruning spring-flowering shrubs for shape — you remove buds
- Dividing perennials until you see crown growth and can water transplants reliably
When soil crumbles and soil temperature hits 40°F, direct sow peas, spinach, radish, and kale; at 50°F, add cabbage, carrots, and beets per Garden Design’s cool-season timing notes. A simple soil thermometer pushed two inches into the bed removes guesswork—air temperature in March lies constantly.
Protect young shoots from late frosts with row cover or a cold frame if nights still dip below 28°F. Floating row cover also warms soil a few degrees during the day, which can pull your first sowing forward by a week in borderline climates. Remove or vent covers on sunny afternoons above 55°F so seedlings do not cook.
Conclusion
The first day of spring is not the finish line—it is the starting gun for organization. Clear hardscape and lawn debris, prune with a bloom-timing cheat sheet, restore your tools, shop against a real calendar, and test seeds before you sow. Leave habitat in planted beds until warmth holds, stay off mud, and push real planting until soil and frost cooperate.
Do these five chores before March 21 and you will not spend the first beautiful April weekend inside sharpening rusty shears or staring at empty seed trays. You will be outside planting—with blooms still on your lilacs and germination rates you already trust.



