Leaf Spot Disease on Houseplants: Diagnosis and Care
Indoor plant diseases are usually fungal or bacterial infections favored by moisture on leaves and poor ventilation. Leaf Spot Disease can weaken growth and spread to nearby plants if ignored. Use Circular brown, black, or yellow-edged spots on leaves as your starting point, then confirm whether you are dealing with infection, physical damage, or care stress. Track weekly progress after you change care, and note watering, light, and repotting dates so you can tell whether the symptom is improving or returning. Compare upper versus lower leaves, new versus old growth, and soil moisture at root depth before you treat, because the same visible symptom can come from watering, light, pests, or normal aging on different plants.
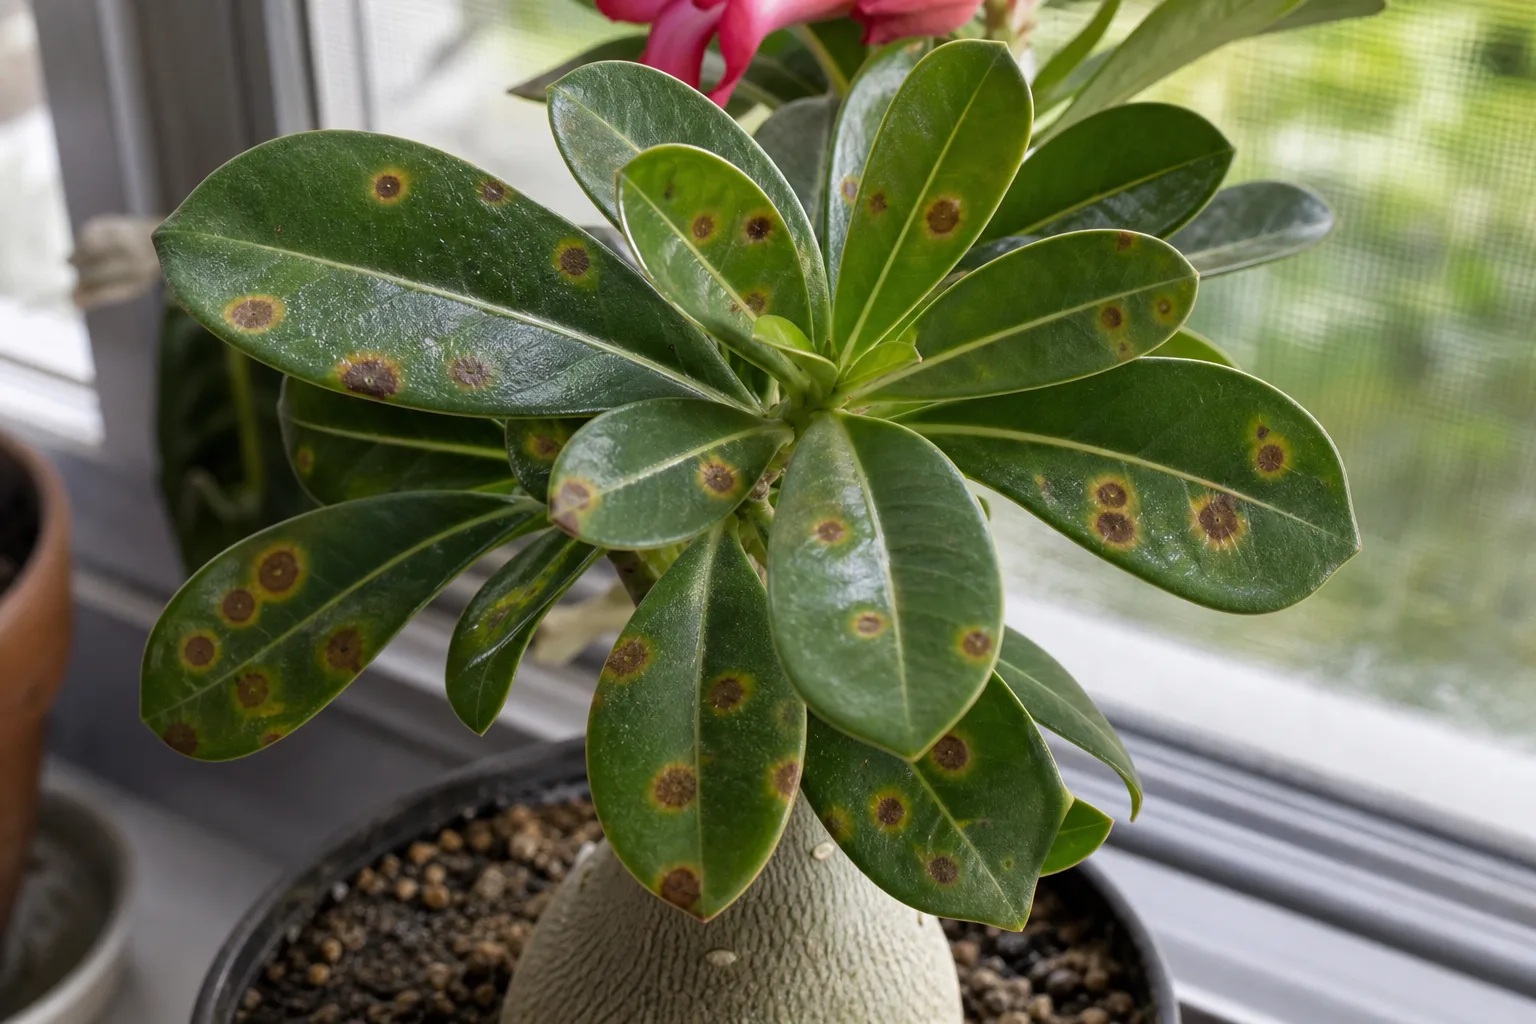
Leaf Spot Disease on Houseplants
Still unsure?Match your symptoms to the most likely problems in under a minute.Run diagnosis →Understand and fix leaf spot disease
Indoor plant diseases are usually fungal or bacterial infections favored by moisture on leaves and poor ventilation. Leaf Spot Disease can weaken growth and spread to nearby plants if ignored. Use Circular brown, black, or yellow-edged spots on leaves as your starting point, then confirm whether you are dealing with infection, physical damage, or care stress. Track weekly progress after you change care, and note watering, light, and repotting dates so you can tell whether the symptom is improving or returning. Compare upper versus lower leaves, new versus old growth, and soil moisture at root depth before you treat, because the same visible symptom can come from watering, light, pests, or normal aging on different plants.
Overview
Indoor plant diseases are usually fungal or bacterial infections favored by moisture on leaves and poor ventilation. Leaf Spot Disease can weaken growth and spread to nearby plants if ignored. Use Circular brown, black, or yellow-edged spots on leaves as your starting point, then confirm whether you are dealing with infection, physical damage, or care stress. Track weekly progress after you change care, and note watering, light, and repotting dates so you can tell whether the symptom is improving or returning. Compare upper versus lower leaves, new versus old growth, and soil moisture at root depth before you treat, because the same visible symptom can come from watering, light, pests, or normal aging on different plants.
How to identify it
- Look for spots with halos, powdery coating, or water-soaked margins
- Check if damage spreads over days vs stays static
- Note whether leaves were recently misted or watered overhead
- Inspect multiple plants in the same room for similar patterns
- Smell soil-sour odor suggests rot rather than surface disease alone
When to worry
Rapid defoliation, soft mushy stems, or spots enlarging daily mean isolate immediately and trim affected tissue.
Common causes
Water sitting on leaves overnight
Overhead watering and late-day misting keep foliage wet for hours-the perfect environment for leaf spot and mildew.
Poor airflow between plants
Crowded shelves and closed rooms trap humidity around leaves and speed up Leaf Spot Disease.
Infected tools or splashing water
Pruning with dirty shears or reusing drip trays without cleaning spreads pathogens plant to plant.
Weakened or stressed plants
Plants recovering from repotting, low light, or root issues are more susceptible to infection.
Step-by-step fix
Isolate affected plants
Move sick plants away from healthy ones until active spread stops.
Remove infected leaves
Cut off heavily spotted or mushy foliage with clean scissors. Dispose in trash, not compost indoors.
Improve airflow and watering technique
Space plants out, run a fan on low, and water at soil level without wetting leaves.
Apply fungicide if fungal disease is confirmed
For powdery mildew or leaf spot, use a houseplant-safe fungicide per label. Bacterial issues may need removal rather than spray.
Avoid fertilizer until recovery
Let the plant stabilize. New healthy growth confirms your changes are working.
Prevention tips
- Water at the soil line, not over leaves
- Provide spacing and gentle airflow in plant rooms
- Sterilize pruning tools between plants
- Quarantine new plants before mixing collections
Common mistakes
- Misting diseased leaves hoping humidity helps
- Leaving fallen infected leaves on soil surface
- Treating bacterial rot with fungicide only
A dark mark on a leaf is evidence, not a diagnosis. The same brown circle can result from a fungus, a bacterium, cold injury, sun scorch, mineral residue, edema, or damage that happened while the leaf was still unfurling. Treating every spot as a fungal infection wastes products and may injure a plant that was never infected.
Start by recording what is changing. Photograph both sides of several leaves, note whether the potting mix is wet or dry, and mark the newest lesion with a small dot on your photo rather than on the plant. Recheck in three to five days. New lesions, expanding margins, or a pattern moving from leaf to leaf matter far more than the color of one old scar.
The most useful response has four parts: separate the affected plant, reduce opportunities for splash and prolonged leaf wetness, remove only tissue that creates more risk than value, and monitor clean new growth. A pesticide comes later, if the diagnosis and product label support it. Dead leaf tissue will not turn green again, so recovery is judged by stability and healthy growth, not by cosmetic reversal.
This guide is an evidence synthesis based on current university Extension guidance, not a report of a laboratory diagnosis or a controlled treatment trial. The two African violet images are comparison aids for lesion distribution and surface detail; they do not establish that the pictured damage and a reader’s plant share the same cause.
What Leaf Spot Disease Actually Means
Leaf spot disease is an umbrella description for disorders that produce localized areas of dead or damaged tissue called lesions. Many unrelated fungi and bacteria cause leaf spots, and each pathogen has its own host range and environmental preferences. Even trained diagnosticians may need microscopy, culturing, or molecular testing to identify the causal organism from a sample.
The category matters because control is pathogen-specific. A fungicide cannot treat a bacterial disease, and neither kind of pesticide corrects sunburn or salt injury. Penn State Extension’s general diagnostic guidance emphasizes identifying the problem before selecting a control, because similar symptoms can arise from very different causes (plant disease identification).
For a home collection, the first goal is usually not to name the organism to species. It is to determine whether the pattern is active, whether it may be infectious, and whether simple cultural changes stop new damage. That staged approach contains risk while avoiding unnecessary treatment.
Read the Pattern Before You Treat
Inspect the entire plant rather than the worst leaf. Note which leaves are affected, whether spots cluster near the soil or on the window-facing side, and whether new growth is distorted. A pathogen spread by splashing water often produces a different distribution from scorch that appears on one exposed side.
Look for a sequence. An active leaf spot may begin as a tiny water-soaked or discolored area, enlarge, develop a darker border, and eventually dry in the center. Some lesions merge into irregular dead patches. Others remain sharply circular because veins or leaf structure constrain their expansion.
Use a hand lens if available. Tiny black dots embedded in dead tissue may be fungal fruiting structures, while a sticky exudate or strongly water-soaked margin can support a bacterial suspicion. These clues narrow possibilities; they do not prove an organism without a proper diagnostic test.
Color, Shape, Margin, and Location
Record four features: color, shape, margin, and location. Tan centers with purple or dark borders, yellow halos, concentric rings, and angular lesions bounded by veins are all useful descriptors. Virginia Cooperative Extension describes angular leaf spot lesions as water-soaked areas that become angular because leaf veins limit their spread, illustrating why geometry can be diagnostically useful (angular leaf spot symptoms).
Color alone is weak evidence. Black tissue can occur after chilling, root failure, chemical burn, or infection. Yellow halos can form around bacterial or fungal lesions but also accompany normal tissue responses around an injury. Ask whether the margin is advancing and whether comparable lesions appear under similar conditions.
Location adds context. Lower leaves near damp potting mix receive splash and stay shaded longer. A single bleached patch on the brightest-facing leaf suggests light or heat damage. Spots confined to places where water droplets dried may indicate residue or localized injury rather than a spreading disease.
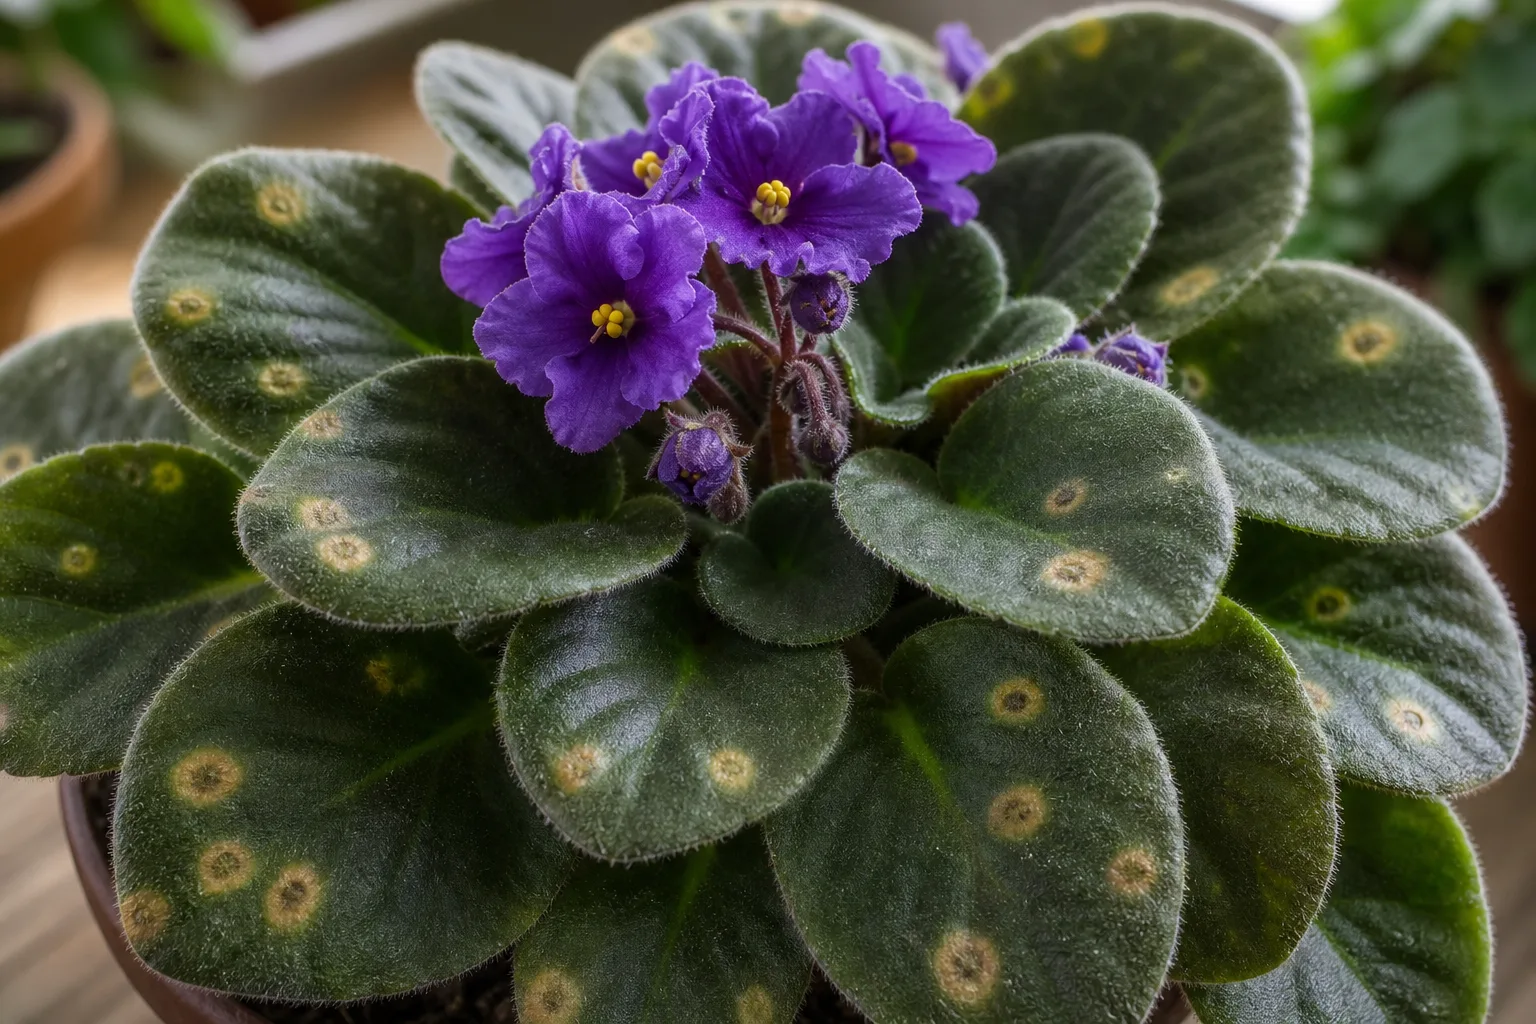
Use the lesion distribution and margins as comparison points. A photograph cannot identify the pathogen or prove that a spot is infectious.
Clues on the Underside and New Growth
Turn leaves over without rubbing them against healthy plants. The underside may reveal fuzzy growth, raised pustules, insect colonies, webbing, or edema-like corking that changes the diagnosis. Check petioles and stems as well; spotting plus soft stem tissue suggests a broader root, crown, or stem problem.
New growth provides a timeline. If only old leaves carry stable marks and new leaves emerge clean, the damaging event may have passed. If the youngest leaves repeatedly develop lesions, distortion, or mottling, the cause is still active or the plant is continuing to experience the same environmental stress.
Inspect roots when above-ground evidence points to chronic wetness: persistent wilting despite wet mix, yellow lower leaves, sour odor, or a soft crown. Do not unpot a stable plant merely to satisfy curiosity, because unnecessary root disturbance can add stress. The diagnostic value should outweigh the disturbance.
Fungal, Bacterial, or Neither?
Visual clues can prioritize possibilities, but fungal and bacterial leaf spots overlap. Fungal lesions may show concentric rings, visible spore structures, or a dry expanding margin. Bacterial lesions are often described as water-soaked, angular, or greasy, especially early, yet those features are not universal.
| Evidence | More consistent with | Important limitation |
|---|---|---|
| Concentric rings or embedded black dots | Some fungal leaf spots | Not every fungus produces visible structures |
| Water-soaked, angular lesions | Some bacterial leaf spots | Edema and cold injury can also look water-soaked |
| One-sided pale or crisp patch | Sun or heat injury | Damaged tissue may later invite secondary organisms |
| Fine stippling, webbing, or insects | Mites or sap-feeding pests | Inspect several leaves with magnification |
| Stable droplet outlines | Mineral or spray residue | Residue may coexist with a real disease |
Treat this table as triage, not confirmation. The University of Georgia notes that warm, wet conditions commonly favor leaf spot activity and spread, but the responsible organism and host still determine the details (leaf spot disease conditions). When treatment depends on knowing whether the cause is fungal or bacterial, professional diagnosis is the safer next step.
Common Look-Alikes
Sun scorch tends to affect exposed tissue and may appear bleached before turning tan or brown. Cold damage often follows contact with a chilled window or a sudden draft and can look dark, soft, or water-soaked. Fertilizer or pesticide injury may track droplet edges, leaf tips, or the timing of a recent application.
Edema occurs when roots take up water faster than leaves can release it. Small blisters or corky spots, often beneath leaves, can resemble infection. Sap-feeding pests create fine pale stippling, silvering, distorted growth, or sticky honeydew; a hand lens and white-paper tap test can reveal the insects.
Normal aging usually affects the oldest leaves first and progresses gradually. One aging leaf with a stable spot does not justify treating the whole collection. The stronger infectious pattern is continuing lesion development across multiple leaves or plants under conditions that allow spread.
Why Leaf Spots Develop Indoors
Disease develops when a susceptible plant, a capable pathogen, and favorable conditions overlap. This “disease triangle” explains why exposure does not always lead to visible symptoms. A plant may carry low levels of an organism until wet foliage, crowding, injury, or stress creates a better infection window.
Indoor environments can hold moisture longer than expected. Leaves packed against a wall, window, or neighboring plant have limited air movement. Decorative cachepots can retain drained water, and dense canopies shade the lower foliage. Misting can extend the time water remains on leaves without meaningfully correcting room humidity.
Plant condition also matters. Nutrient imbalance, root damage, temperature stress, and low light can reduce growth or create susceptible tissue, although stress alone does not prove infection. Correct the growing environment because it improves plant resilience and removes disease opportunities, not because every disease is “caused by stress.”
How Pathogens Move Through a Collection
Many fungal spores and bacterial cells move short distances in splashing water. Overhead watering, forceful spraying, wet cleaning cloths, and dripping plants can transfer contaminated droplets. Hands and tools can also move material when they contact a lesion and then healthy tissue.
New plants are another route. A recently purchased plant may show no symptoms during an early infection or may develop lesions after the environment changes. Quarantine is therefore a risk-reduction step, not a judgment that the plant is diseased.
Air currents can distribute some dry spores, while insects can create wounds or carry certain pathogens. The practical response is layered: physical separation, dry foliage, clean tools, removal of fallen debris, and regular inspection. No single measure blocks every route.
The First 24 Hours
Move the plant away from direct contact with other foliage, ideally to a bright location suitable for the species. Avoid carrying it over the collection, and do not shake or brush affected leaves. Place it on a washable tray that catches drainage without letting the pot stand in water.
Pause misting and overhead watering. Water the potting mix directly only when the plant actually needs it, then empty the saucer or cachepot. Remove fallen leaves with a damp paper towel or disposable glove so debris is not blown across the room.
Document the baseline: count affected leaves, photograph representative lesions, and note the date, recent watering, temperature changes, repotting, sprays, and new arrivals. This record makes the next inspection meaningful. Without it, normal old damage can feel like ongoing spread.
Set the Plant Up for a Clean Inspection
Use bright, neutral light and examine both leaf surfaces. A dark room plus a phone flash can exaggerate shiny tissue and flatten texture, while warm indoor lighting can hide yellow halos. Take one whole-plant photograph and several close-ups with a ruler or coin for scale.
Check the growing area as carefully as the plant. Look for condensation, a blocked vent, wet saucer, crowded leaves, and water marks that suggest frequent splashing. Measure moisture below the surface with a finger or wooden skewer rather than assuming a dry top means the entire root ball is dry.
Do not wash the whole plant before documenting it. Washing can spread bacteria and spores, erase useful signs, and keep foliage wet. If you test whether a mark is residue, wipe one small area with a separate damp swab and discard it immediately.
A Practical Treatment Plan
Match the response to severity. A stable spot on one old leaf calls for monitoring and corrected care. Several new lesions on multiple leaves justify isolation and selective pruning. Rapid spread, stem involvement, severe defoliation, or symptoms on multiple plants warrants diagnostic help and a more formal sanitation plan.
| Severity | Evidence | Proportionate response |
|---|---|---|
| Mild | One or two stable lesions; clean new growth | Document, correct conditions, monitor |
| Moderate | New spots on several leaves | Isolate, prune selectively, improve watering and airflow |
| Severe | Rapid spread, stem/crown symptoms, major leaf loss | Seek diagnosis; consider labeled treatment or disposal |
The objective is to stop new infection while preserving enough healthy foliage for recovery. Repeated aggressive pruning can weaken the plant, while ignoring heavily diseased debris can maintain inoculum. Reassess after each step instead of performing every possible treatment at once.
Prune Without Making the Problem Worse
Remove a leaf when it is mostly damaged, actively producing spores or ooze, touching healthy foliage, or unlikely to contribute meaningful photosynthesis. Leave lightly marked leaves when the plant has little healthy tissue, provided lesions are stable and can be monitored. A plant needs functioning foliage to rebuild.
Use sharp scissors cleaned before and after the session. Remove soil and plant debris before disinfecting because physical cleaning and disinfection are separate steps, as UF/IFAS tool-sanitation guidance explains. Cut into healthy petiole tissue without nicking the main stem, and place removed material directly into a bag. Do not compost suspect infectious material in a home pile unless local guidance confirms that the composting process will destroy the pathogen.
Avoid pruning wet foliage because moisture helps material adhere to tools and hands. If several plants are involved, work on apparently healthy plants first and the most affected plant last. Change gloves or wash hands between plants.
Change Moisture, Airflow, and Watering
Water the root zone, not the leaves. Apply enough water to wet the root ball evenly when the species-specific dryness threshold is reached, allow excess to drain, and empty the outer pot. Frequent small sips can leave part of the mix chronically damp while other roots remain dry.
Container drainage deserves a physical check, not an assumption. University of Connecticut guidance explains that surplus water held in a saucer or cachepot can keep potting mix saturated and displace oxygen around roots (watering houseplants). Lift the nursery pot after watering, confirm that its holes are open, and pour away collected water. Root stress from chronic saturation can produce spots and yellowing on its own while also leaving the plant less able to tolerate a foliar disease.
Improve airflow by spacing plants and opening the canopy, not by blasting an infected plant with a fan. Strong airflow can move dry spores and dehydrate leaf edges. Gentle room circulation combined with appropriate spacing helps foliage dry without creating a wind tunnel.
Raise light only within the plant’s tolerance. Better light can support stronger growth and faster drying, but moving a shade-grown plant directly into harsh sun adds scorch that looks like more disease. Make changes gradually and track which intervention corresponds with improvement.
When a Pesticide May Be Appropriate
A pesticide is most useful when the cause is reasonably identified, disease is active, and cultural controls alone are insufficient. Fungicides are generally preventive or suppressive; they protect healthy tissue better than they restore damaged tissue. A copper product may have activity against some fungi and bacteria, but it can injure sensitive plants and is not universally labeled for every indoor ornamental.
Read the entire label before purchase. Confirm the crop or ornamental use, disease, indoor site, mixing rate, protective equipment, ventilation, interval, and maximum number of applications. Clemson Cooperative Extension advises using products only as labeled and highlights that houseplant disease management begins with clean plants and correct culture (houseplant disease management).
Do not improvise stronger concentrations or combine oils, soaps, sulfur, copper, and household ingredients. Mixtures can burn foliage or create unsafe exposure. Test a permitted product on a small area and wait through the label’s observation period before broader application.
Monitor Recovery and Prevent a Repeat
Inspect the plant on a fixed schedule, such as every three or four days initially and weekly after the situation stabilizes. Use the same viewing angle and lighting. Count new lesions rather than repeatedly judging old scars, which remain visible even after control succeeds.
Recovery looks like lesions that stop enlarging, no additional leaves becoming affected, and normal new growth. Some damaged leaves may yellow and drop later as the plant reallocates resources. That delayed loss does not automatically mean treatment failed if the rest of the evidence is improving.
Keep the plant separated until it has produced a reasonable period of clean growth appropriate to its pace. Slow-growing plants need a longer observation window than fast annuals. When it returns to the collection, preserve spacing and root-zone watering rather than restoring the conditions that favored the outbreak.
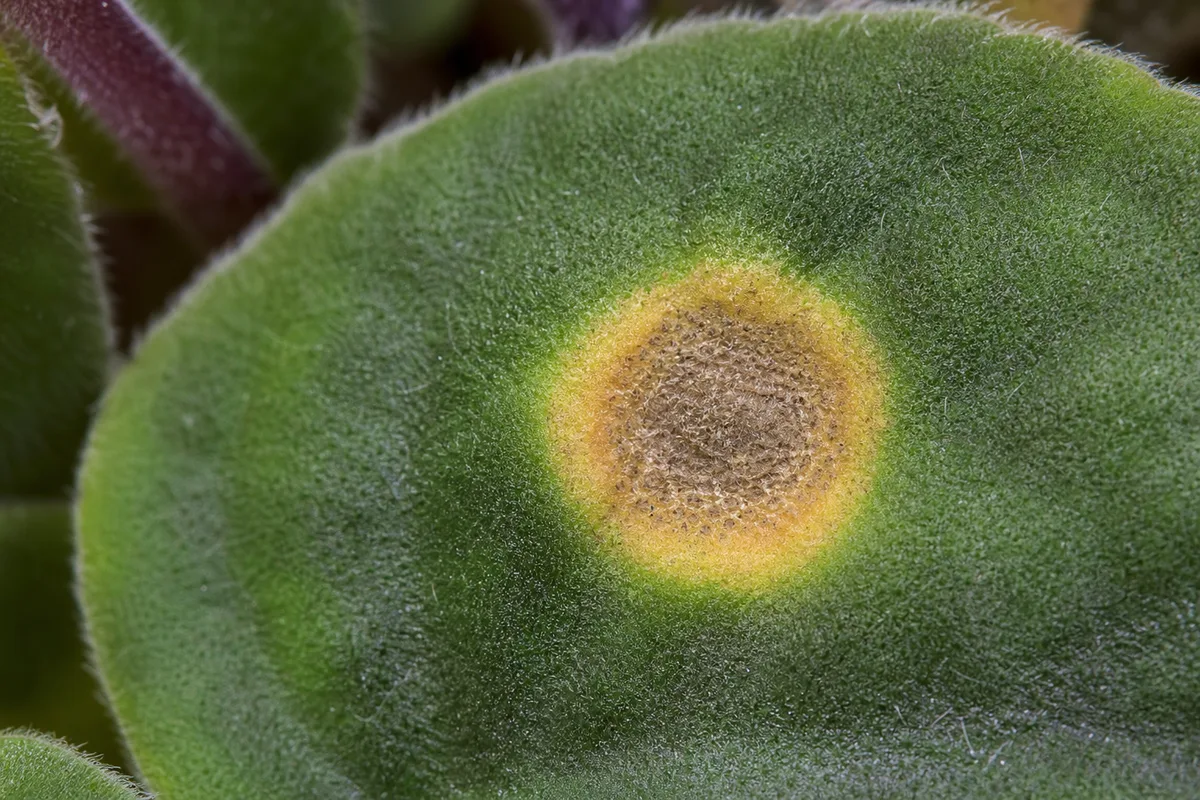
A close view helps track margins and surface structures. Compare changes over time instead of diagnosing from one isolated frame.
When to Ask for a Laboratory Diagnosis
Seek a diagnostic laboratory when lesions continue despite corrected care, several valuable plants are affected, symptoms involve stems or crowns, or the pesticide decision depends on knowing the organism. Extension plant clinics usually request a fresh sample that includes both healthy and affected tissue plus photographs of the whole plant and its environment.
Do not send a completely dead, dried, or chemically treated sample unless the laboratory requests it. A transition zone at an active lesion contains more useful evidence than tissue that has decomposed. Include the plant name, timeline, watering method, recent products, and whether nearby plants show symptoms.
Diagnostic results may identify a genus or a broader disease category rather than a single species. That level can still change the action: bacterial disease, fungal disease, root disorder, insect injury, and abiotic damage require different control paths. The value is reducing guesswork.
Conclusion
Leaf spot disease is managed best as a diagnostic process, not a spray reflex. Describe the lesions, study their distribution, isolate the plant, remove splash and prolonged leaf wetness, and watch whether new damage appears. Those steps protect the collection even before the exact organism is known.
Prune only when removal lowers risk more than it reduces the plant’s healthy leaf area. Use a pesticide only when the likely cause, plant, indoor site, and label all align. If the pattern keeps advancing or threatens valuable plants, a university Extension diagnostic service can turn visual clues into a defensible diagnosis.
Old spots are permanent records. The success signal is quieter: stable lesions, no new spread, and healthy leaves emerging under better conditions.
Plants commonly affected
These houseplants often struggle with leaf spot disease. Open a care guide or plant-specific troubleshooting page for tailored fixes.
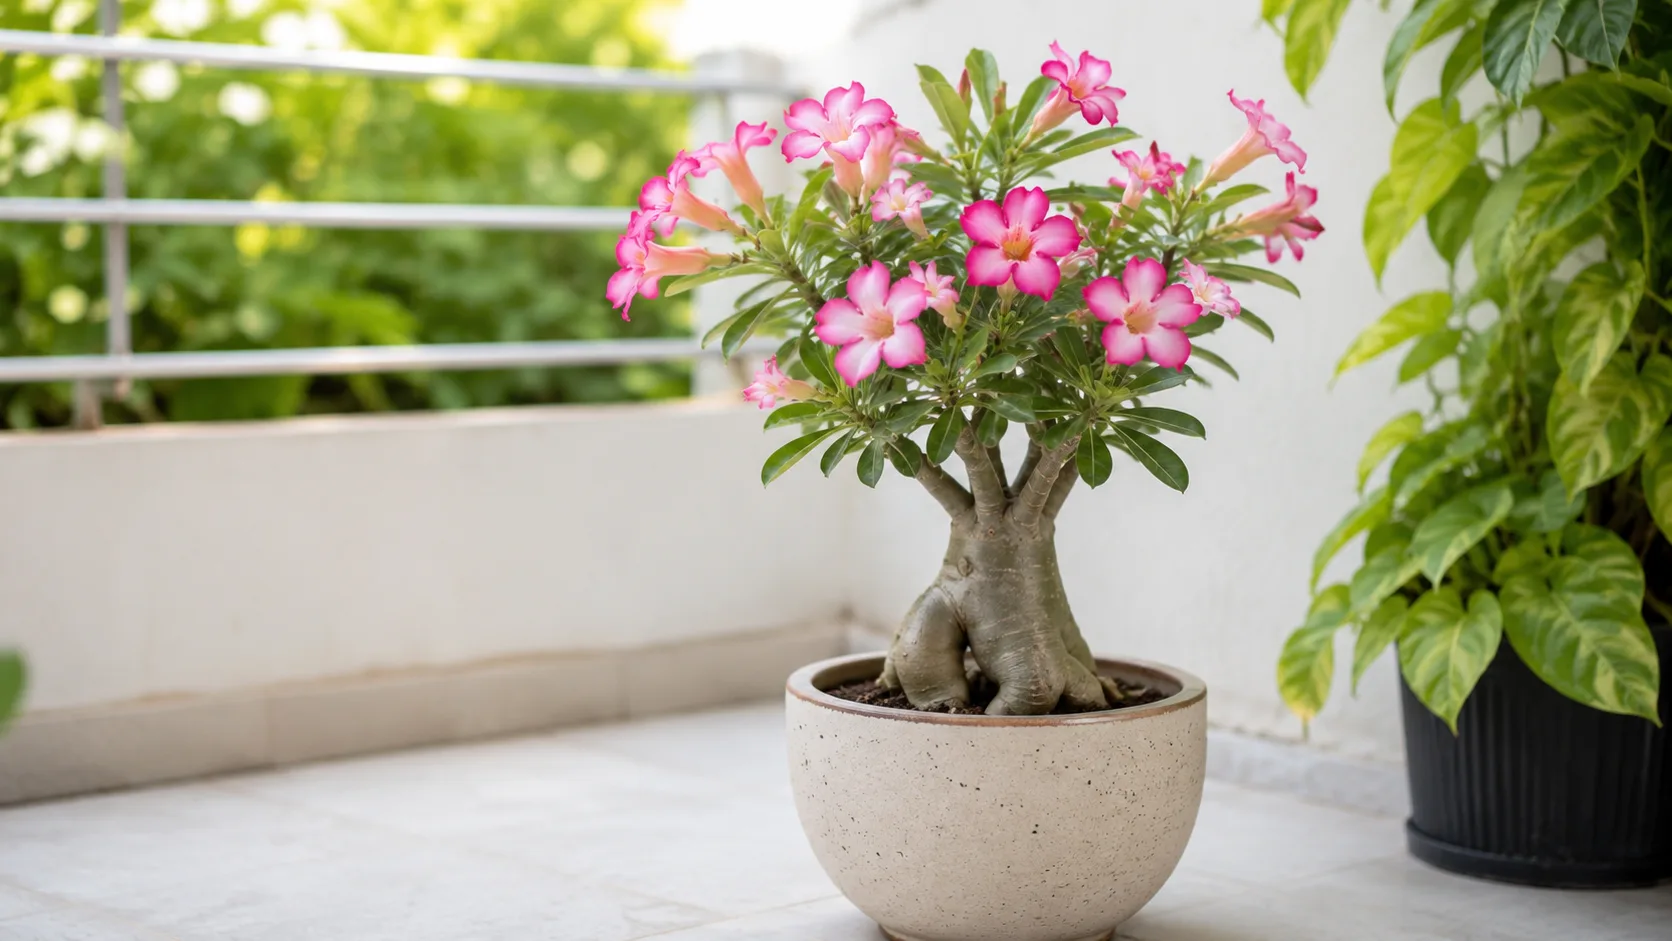 Medium
Adenium
Likely causeFungal leaf spot from wet foliage and poor ventilation causes circular brown/black lesions and defoliation.
Quick fixRemove spotted leaves, keep foliage dry, improve airflow, and avoid overhead watering.
 Medium
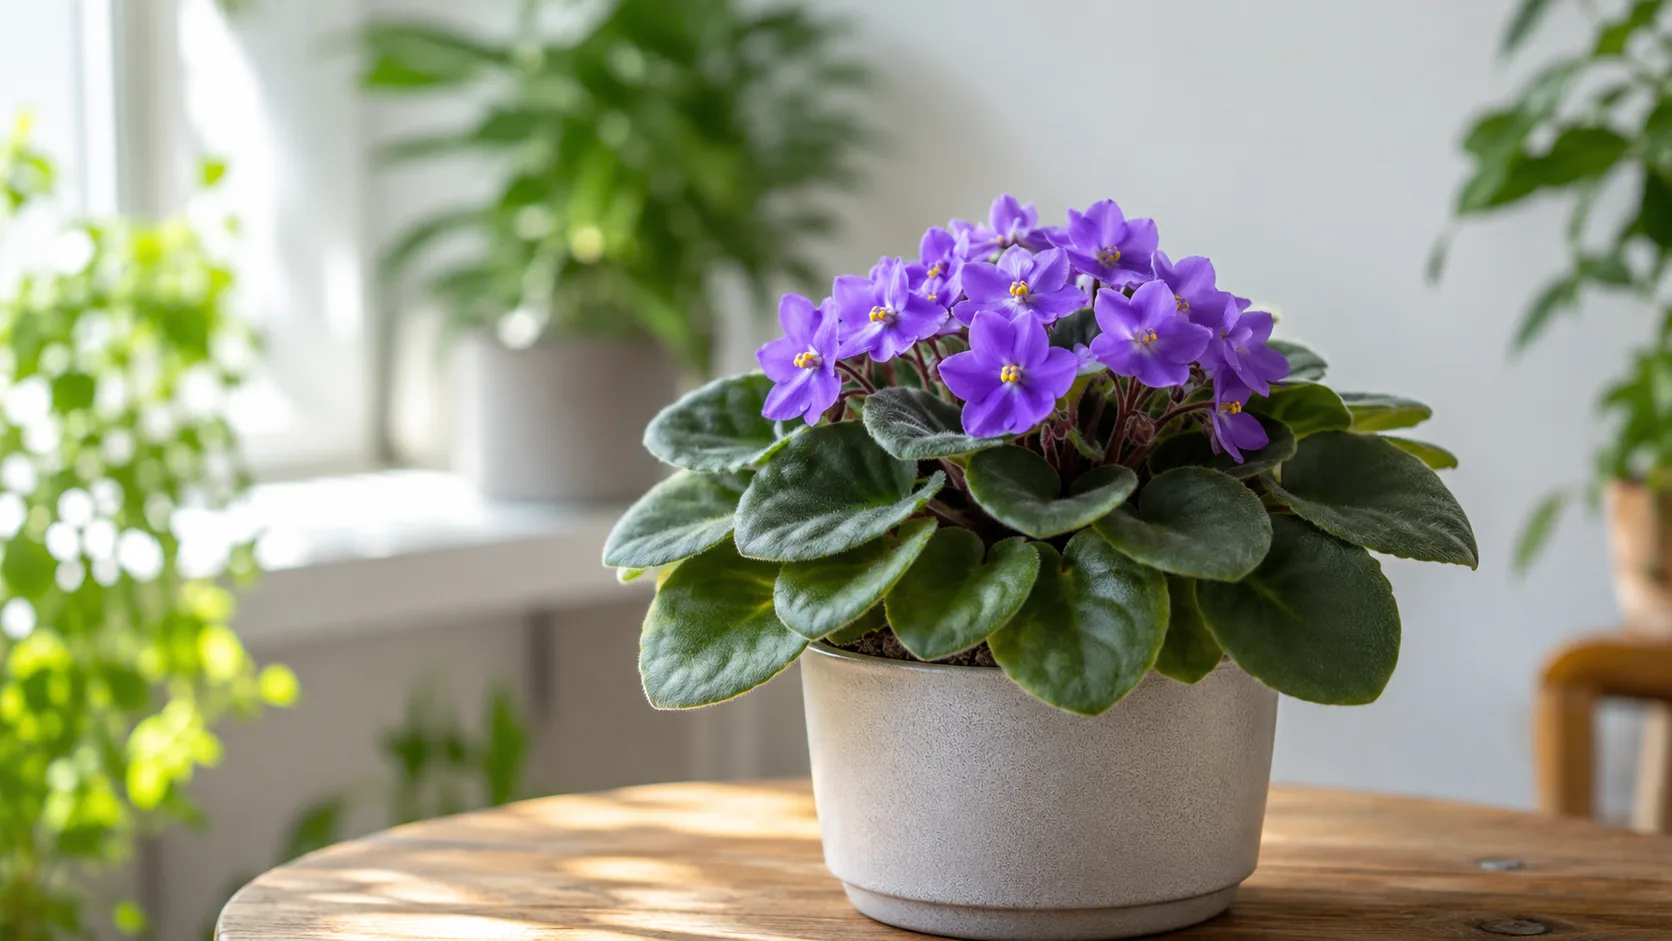
African Violet
Likely causeLeaf Spot Disease on African Violet: Learn the most common African violet diseases, their symptoms, causes, and simple prevention tips to keep your plant healthy.
Quick fixInspect African Violet, confirm leaf spot disease matches your symptoms, then adjust care or treat per authoritative guides.
 Medium
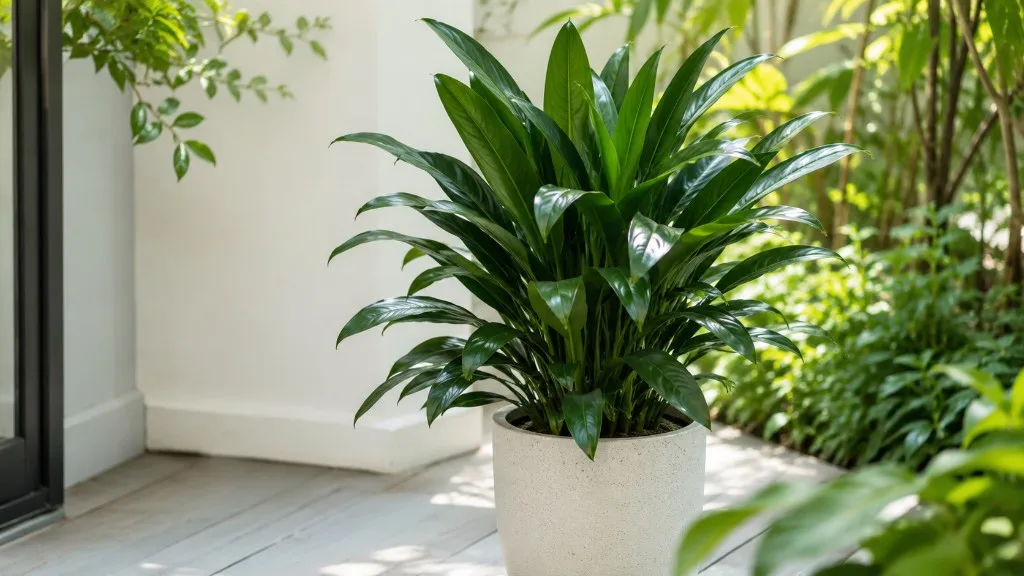
Janet Craig Dracaena
Likely causeAug 25, 2024 · In this article, we'll look into the common diseases that can affect your Janet Craig Dracaena and how to treat them, so you can keep your plant happy and healthy.
Quick fixConfirm diagnosis on your Janet Craig Dracaena, then address the most likely care or pest factor described in current extension guidance.
 Easy
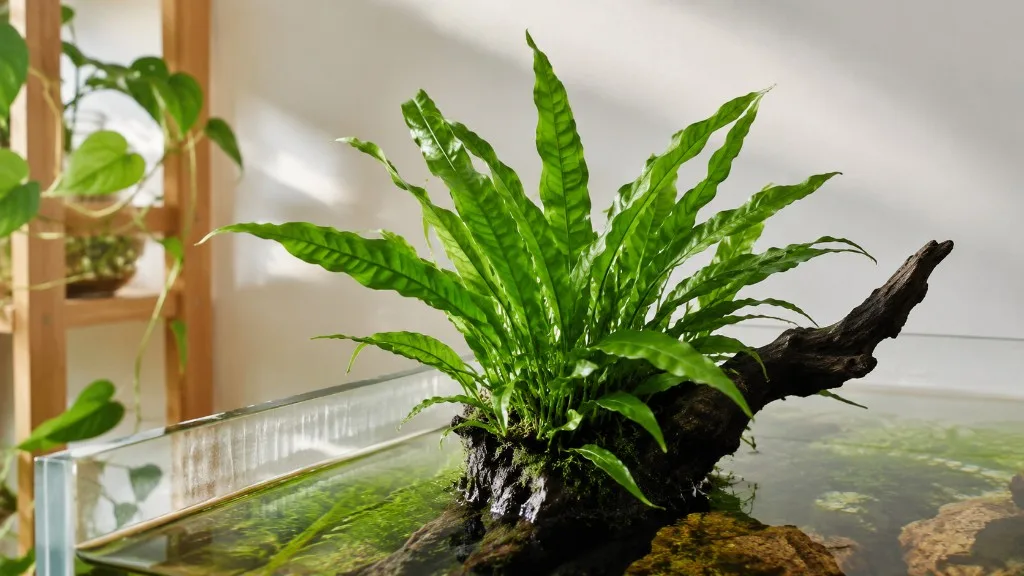
EasyJava Fern
Likely causeAug 17, 2025 · By far, the most frequent cause of black spots and melting leaves on a Java fern is a potassium (K) deficiency. In the plant world, potassium is a “macronutrient” that’s vital for regulating water uptake and enzyme activation
Quick fixConfirm diagnosis on your Java Fern, then address the most likely care or pest factor described in current extension guidance.
 Medium
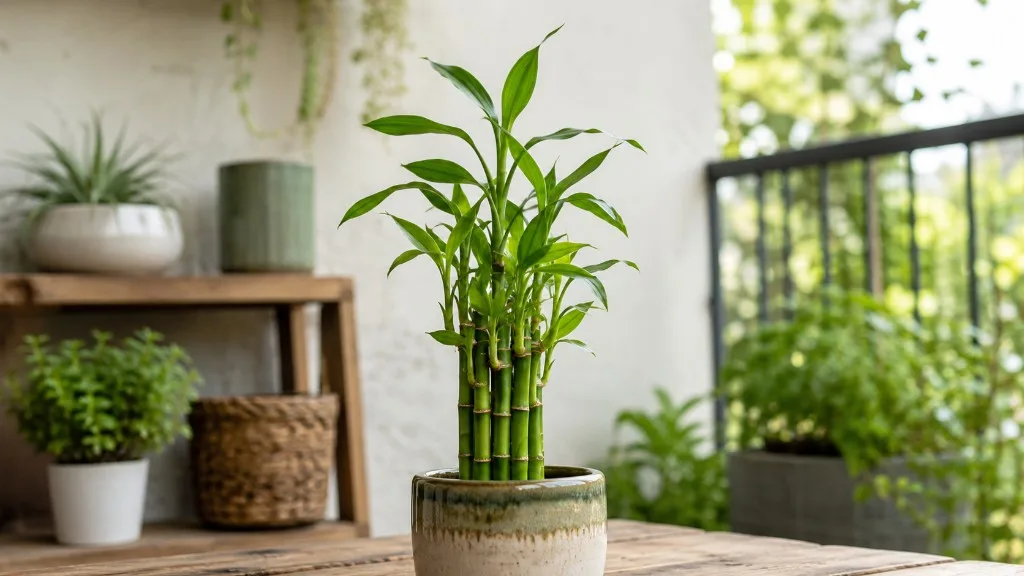
Lucky Bamboo
Likely causeYour lucky bamboo has leaf spots ? Don't panic — Leaf spot disease on Lucky Bamboo manifests as discrete lesions coalescing to cover…. Here's exactly how to fix it.
Quick fixConfirm diagnosis on your Lucky Bamboo, then address the most likely care or pest factor described in current extension guidance.
 Medium
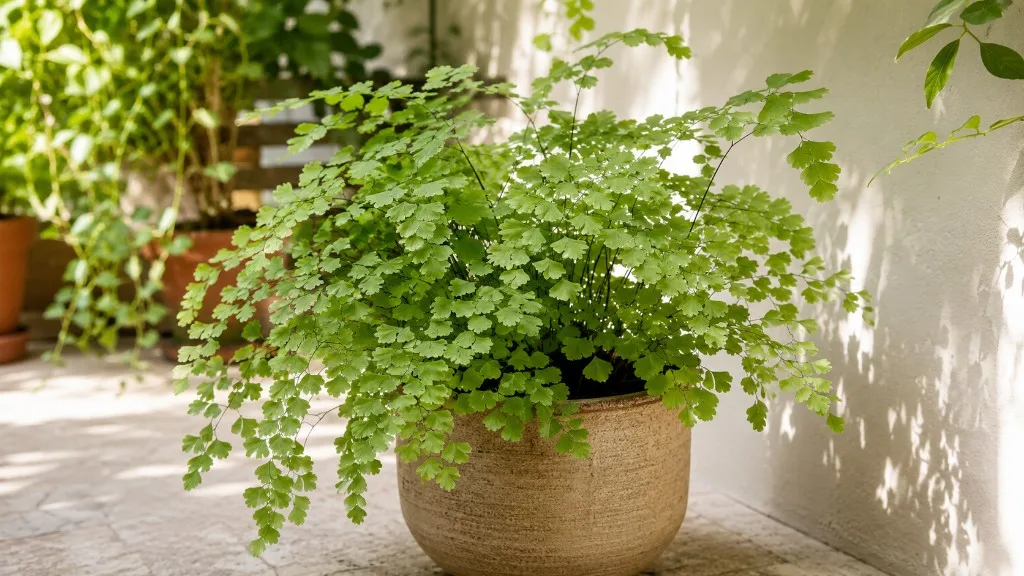
Maidenhair Fern
Likely causeJan 21, 2024 · In this guide, we'll take a closer look at some common diseases that can affect your maidenhair fern , how to identify them, and what you can do to nurse your plant back to health.
Quick fixConfirm diagnosis on your Maidenhair Fern, then address the most likely care or pest factor described in current extension guidance.
 Medium
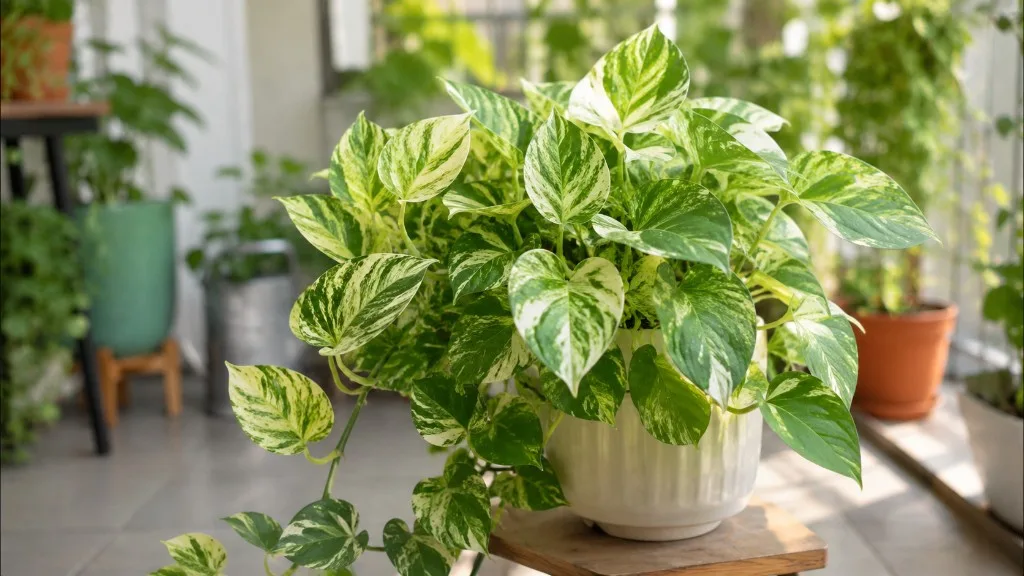
Manjula Pothos
Likely causeAug 29, 2024 · Recognizing and treating common diseases is key to keeping your Manjula Pothos thriving. In this article, we'll tackle some of the most common ailments that can affect your Manjula Pothos .
Quick fixConfirm diagnosis on your Manjula Pothos, then address the most likely care or pest factor described in current extension guidance.
 Medium
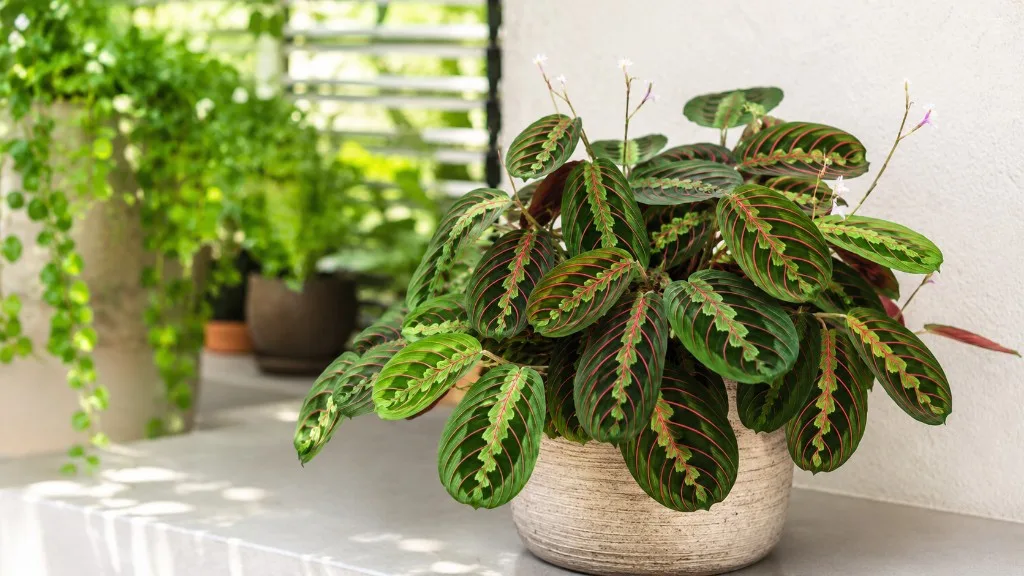
Maranta Leuconeura
Likely causeJul 1, 2023 · To combat leaf spot in your Maranta Prayer Plant, remove and destroy any infected leaves immediately. Avoid overhead watering, as wet foliage promotes disease development.
Quick fixConfirm diagnosis on your Maranta Leuconeura, then address the most likely care or pest factor described in current extension guidance.
 Medium
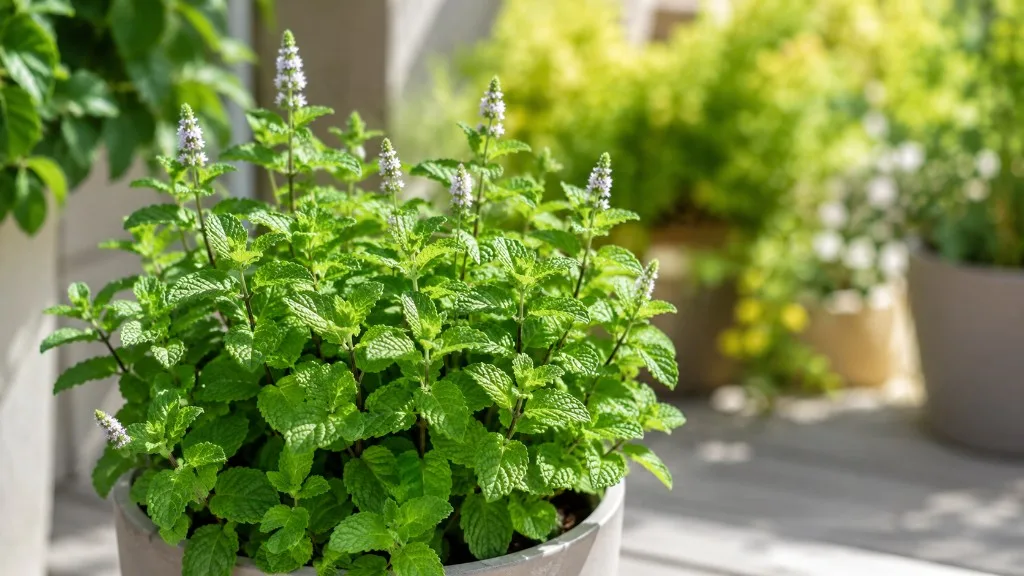
Mint
Likely causeAnthracnose and related fungi cause water-soaked yellow-brown spots on mint leaves spread by splashing water.
Quick fixRemove infected leaves; switch to base watering; rotate pots and improve spacing for airflow.
 Medium
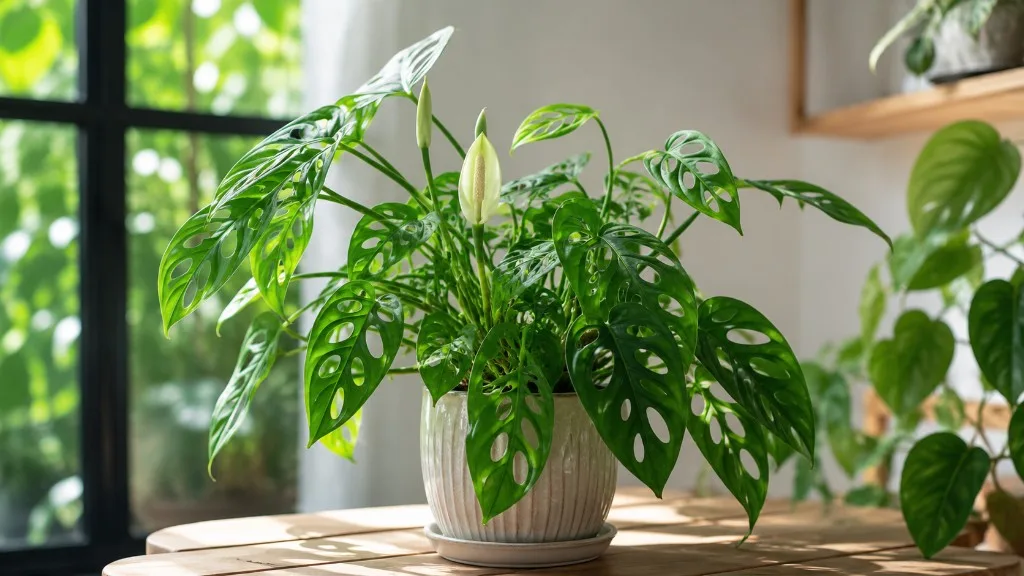
Monstera Adansonii
Likely causeFeb 9, 2026 · The split-leaf philodendron (Monstera deliciosa) is a stunning climbing evergreen for indoors and out. Here's a care guide for your full-grown monstera.
Quick fixFollow extension or botanical guidance for Monstera Adansonii leaf spot disease; adjust care before applying broad treatments.
 Medium
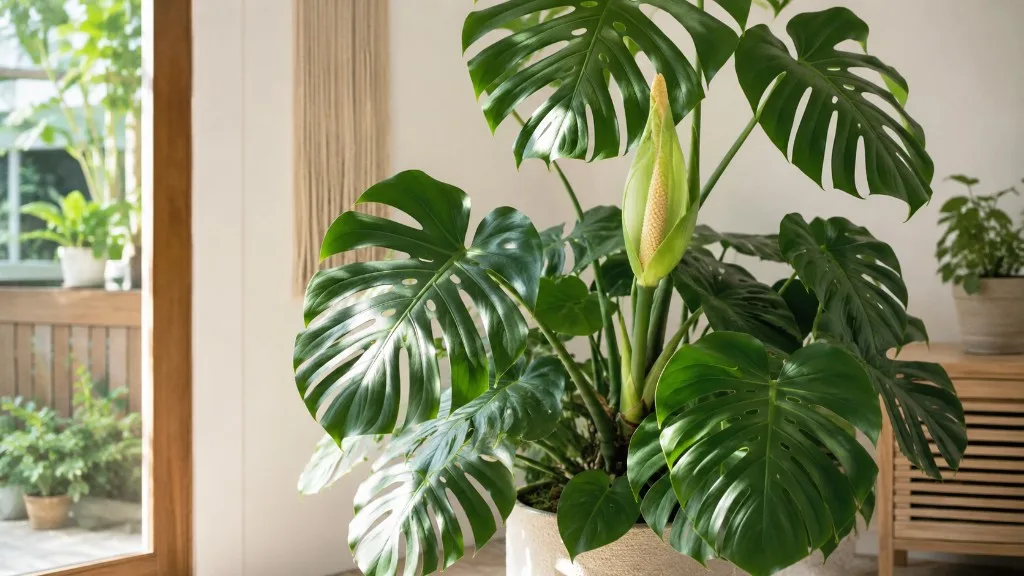
Monstera Deliciosa
Likely causeFeb 9, 2026 · The split-leaf philodendron (Monstera deliciosa) is a stunning climbing evergreen for indoors and out. Here's a care guide for your full-grown monstera.
Quick fixFollow extension or botanical guidance for Monstera Deliciosa leaf spot disease; adjust care before applying broad treatments.
 Medium
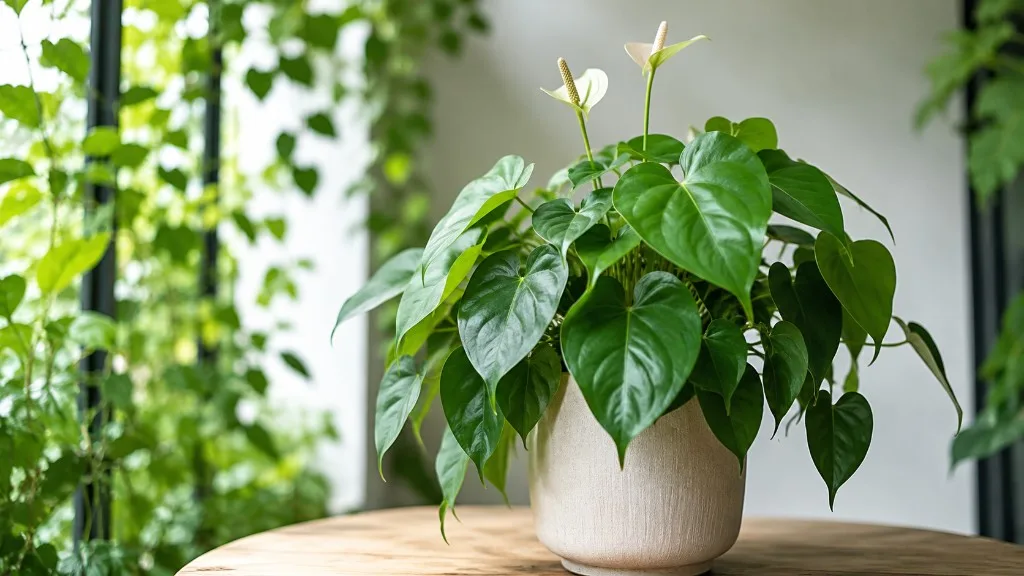
Heartleaf Philodendron
Likely causeFeb 21, 2024 · Philodendron Types with Pictures and Care Guide The green heartleaf Philodendron is a vining type of plant with dark-green leaves in a heart’s shape. This type of Philodendron can be …
Quick fixConfirm diagnosis on your Heartleaf Philodendron, then address the most likely care or pest factor described in current extension guidance.