How to Revive Limp Grocery Store Herbs
Learn how to revive limp grocery store herbs: diagnose dry versus soggy soil, decide whether to split crowded roots, then reset light and watering for regrowth.
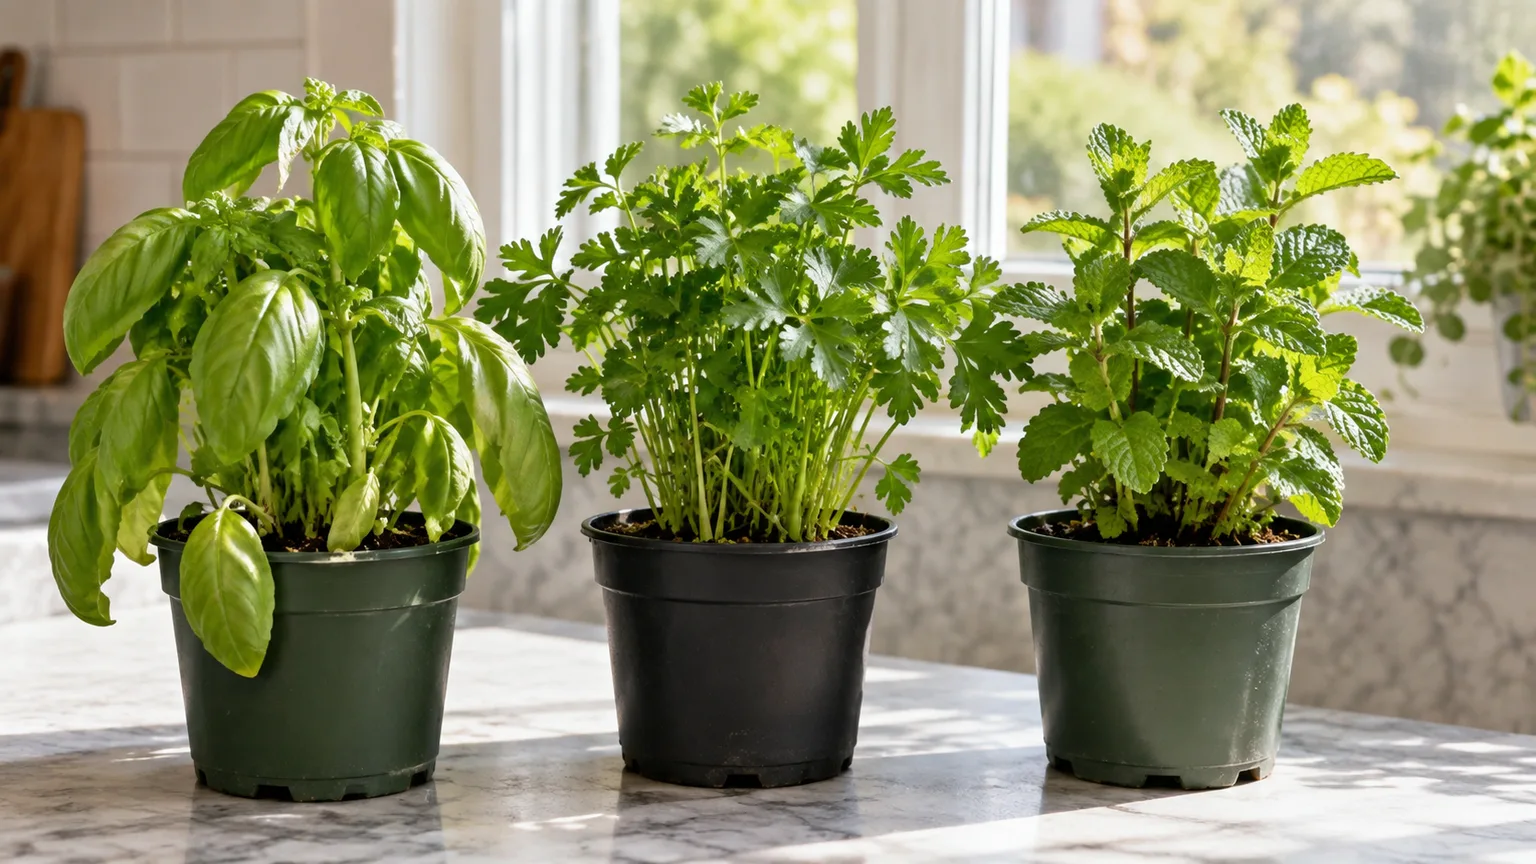
A limp herb is asking for a root-zone check, not an automatic drink. Dry soil can leave leaves short of water, but saturated soil can also make roots stop supplying leaves; adding more water to the second plant makes the problem worse. Check the mix and the pot first, then choose one corrective step.
Grocery-store herbs often arrive in small containers with dense growth, and some have been raised in protected conditions that differ from a sunny windowsill or balcony. A little droop after the move is not proof the plant is dying, nor does every pot need to be split on day one. The Royal Horticultural Society notes that supermarket-grown herbs can be lush and stressed when adapting to outdoor conditions, so treat the move as an acclimation period as well as a watering question (RHS container-herb guidance).
Start With a Two-Minute Moisture and Stem Check
Before you change the pot, fertilizer, light, or pruning, remove any decorative sleeve and make sure the nursery pot’s drainage holes are open. If the pot is sitting in a cachepot or saucer, lift it out and pour away standing water; a drained pot can still be sitting in a water-filled cover.
Check the growing mix below the surface, not just the top crust. The Royal Horticultural Society recommends feeling container compost about one-third of the way down before watering, because the surface can look dry while the root zone remains moist (RHS container-watering guide). Pick up the pot too: a very light pot supports the dry-soil diagnosis, while a heavy pot that stays wet points in the other direction.
| What you find | What it may mean | First move |
|---|---|---|
| Mix dry well below the surface; pot feels light | Underwatering or a rootball that no longer wets evenly | Water slowly and let all excess drain |
| Mix damp or wet; pot feels heavy | Recent watering, poor drainage, or roots under stress | Stop watering and clear the drainage path |
| Mix stays wet and smells sour; roots or stem bases are soft | Root or crown rot may be developing | Remove rotted material and repot into fresh mix |
| Mix dries very quickly; roots circle the pot or emerge below | Crowded roots may be limiting water uptake | Plan a careful pot-up once the plant is stable |
Dry Mix and Limp Leaves Need a Measured Drink
If the mix is dry at root depth and the pot is light, water the soil evenly rather than splashing the leaves. Pour slowly over the surface, pause so the mix can absorb it, then continue until moisture reaches the rootball and a little excess begins to leave the drainage holes. Empty the saucer afterward; leaving the base in runoff trades dehydration for waterlogging.
A compact, dried-out rootball may repel water, so a quick pour can run down the gap between the soil and pot without wetting the center. In that case, set the small nursery pot in a shallow basin of water and let the mix draw moisture upward; remove it once the rootball has begun to darken evenly, then allow it to drain fully. Do not leave it soaking for hours, and do not use this method when the mix is already damp.
Give the plant a few hours in a cool, bright place and look for improved leaf posture before repeating the treatment. If leaves perk up, the main issue was likely water supply; if they remain limp while the mix is wet, stop watering and inspect the roots or drainage instead. Severely damaged leaves may not recover even when the stem and roots are still alive, so judge the plant by new growth as well as old foliage.
Wet Mix Calls for Air, Not Another Watering
When the mix is already wet, remove any outer sleeve, unblock the holes, and let the pot drain. Keep it in bright, indirect light with gentle air movement while the mix begins to dry; do not place it in harsh midday sun to “dry it out,” because the leaves are already struggling to replace lost water.
One soggy watering does not automatically mean root rot. If stems are firm, there is no sour smell, and the pot drains, give the rootball time to use the water before watering again; repeated small drinks can keep the whole pot perpetually wet. If the pot has no drainage or the soil is compressed into a dense mass, correct that setup rather than relying on a calendar.
Soft dark roots, a mushy stem base, or a persistent swampy smell are stronger warnings. Slide the plant out only when those clues are present or the container cannot drain, and trim away roots that are clearly soft and rotted with clean snips. Firm roots that are white, cream, tan, or light brown can still be functional; color alone is not enough to diagnose rot, so feel and texture matter.
Decide Whether the Root Ball Needs Repotting
A new pot can help a crowded herb, but moving, dividing, pruning, and fertilizing a wilted plant all at once can stack stress. First correct an obvious dry or wet-soil problem; then inspect the rootball if the plant repeatedly wilts, dries too quickly, has roots growing through the holes, or cannot drain properly. Those signs are more useful than the fact that the plant came from a grocery store.
Divide Only When the Roots Separate Naturally
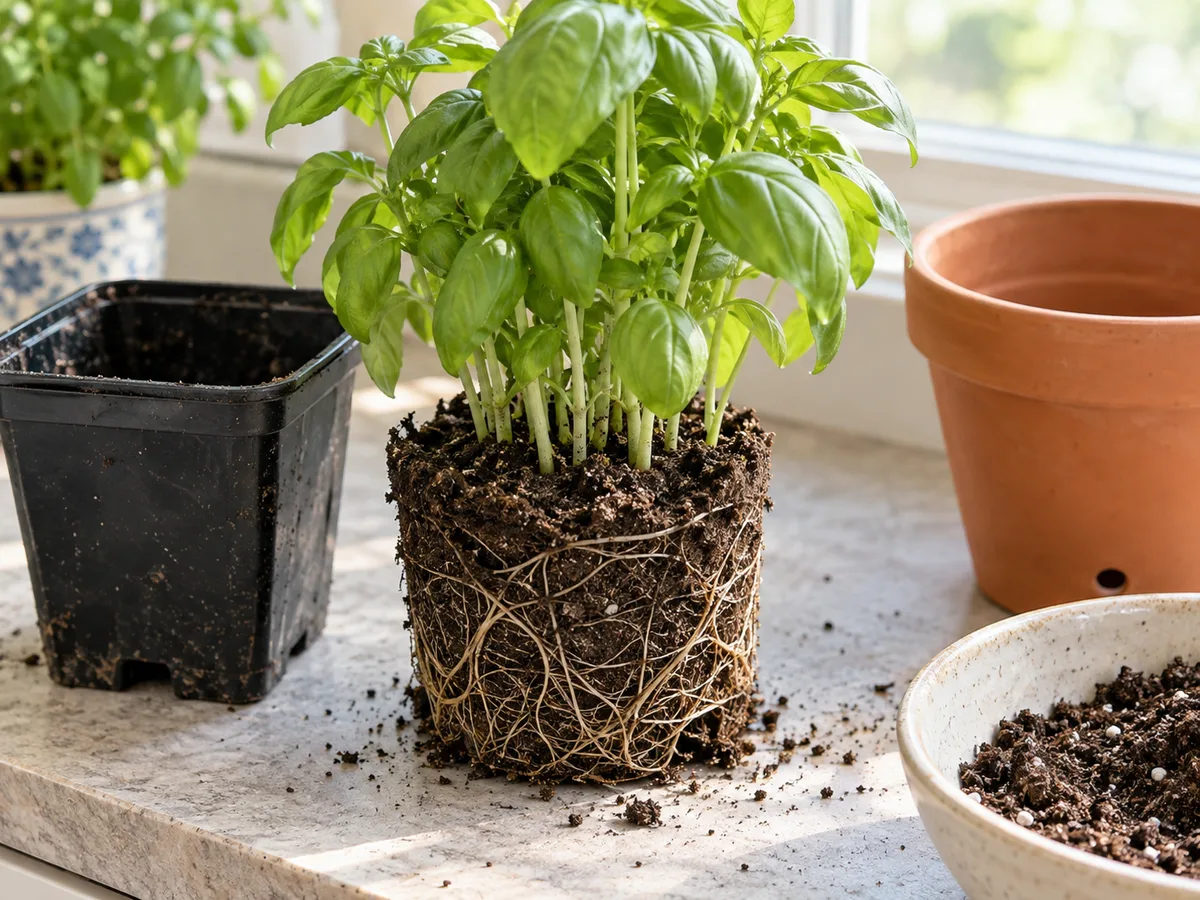
Some small herb pots hold several seedlings or rooted stems in one tight clump; others are a single plant with many shoots. Look at the base and rootball before deciding. If you can see distinct crowns and the roots loosen into small sections with a gentle pull, you can separate those sections; if the roots form one dense mat that resists, do not tear it into individual stems just to create more pots.
When dividing, keep each piece with healthy leaves, a growing point, and enough roots to support it. Separate along natural gaps, tease apart only the outer roots that release easily, and stop if you have to yank hard or break most of the fine roots. Small intact clusters usually have a better chance of settling in than bare stems with a few snapped roots.
This decision depends on the herb. Mint, oregano, thyme, and chives commonly grow as spreading or clumping perennials and can be divided when healthy; basil, cilantro, dill, and parsley are grown as leafy annual or biennial herbs and may be more easily stressed if pulled into tiny pieces. The RHS describes mint as a vigorous herb that benefits from regular division, while its guide to herb growing notes that coriander and dill can bolt quickly when crowded or dry (RHS herb-growing guide). For fragile or badly wilted plants, preserve the rootball and revisit division after new growth appears.
Leave a Sound Root Ball Intact While It Recovers
Do not unpot a plant simply because you want to “give it fresh soil.” If the rootball is moist but not soggy, the roots are firm, and the current pot drains, stabilize light and watering for several days before deciding whether there is a real space problem. A short pause lets you see whether the leaves respond to improved conditions without adding a transplant setback.
A plant is more likely to need a larger pot when roots densely circle the outside, emerge from the drainage holes, or the mix dries soon after a thorough watering. A plant that wilts repeatedly while its mix is wet may have damaged or congested roots, but it can also have poor drainage or a pot that is much too large and stays wet. Lift the rootball and inspect it rather than diagnosing by foliage alone; the practical signs used by Growing in the Garden’s container-herb guide include roots out of the holes, rapid drying, and recurring wilt after watering.
Repot Grocery Store Herbs Without Adding Stress
If the pot is genuinely crowded, the roots are unhealthy, or the nursery container has no usable drainage, repotting is reasonable. The goal is to restore air and room around the roots without burying the stems or surrounding a small rootball with a large volume of wet mix. For a stable plant in a draining pot, repot at a calm moment rather than combining the job with an abrupt move outdoors or a hard harvest.
Choose a Snug Pot and the Right Mix
Choose a clean container with drainage holes only modestly wider than the current rootball. A pot about 1–2 inches wider is a useful step up for a small herb; a much larger pot holds more wet mix than the roots can use and can stay damp long after the plant needs water. The RHS recommends a similar modest increase when potting on, and warns that oversized containers can create problems (RHS guide to repotting).
Use a fresh container potting mix rather than garden soil, which can compact in a small pot and drain unpredictably. The mix should hold enough moisture for fine roots but still let excess water move through; if water sits on top or the mix remains airless, add a small amount of perlite or horticultural grit. Do not put gravel in the bottom as a substitute for drainage—the holes and the texture of the mix are what let water leave the root zone.
Different herbs need different moisture behavior. Basil, parsley, cilantro, and mint generally do better when the mix does not swing from bone dry to saturated, while rosemary, sage, thyme, and oregano need a freer-draining setup and a longer dry-down between drinks. The RHS suggests gritty, well-drained compost for container herbs and distinguishes moisture-loving mint from herbs that prefer drier conditions (RHS container-herb guidance).
Keep the Crown at the Original Soil Line
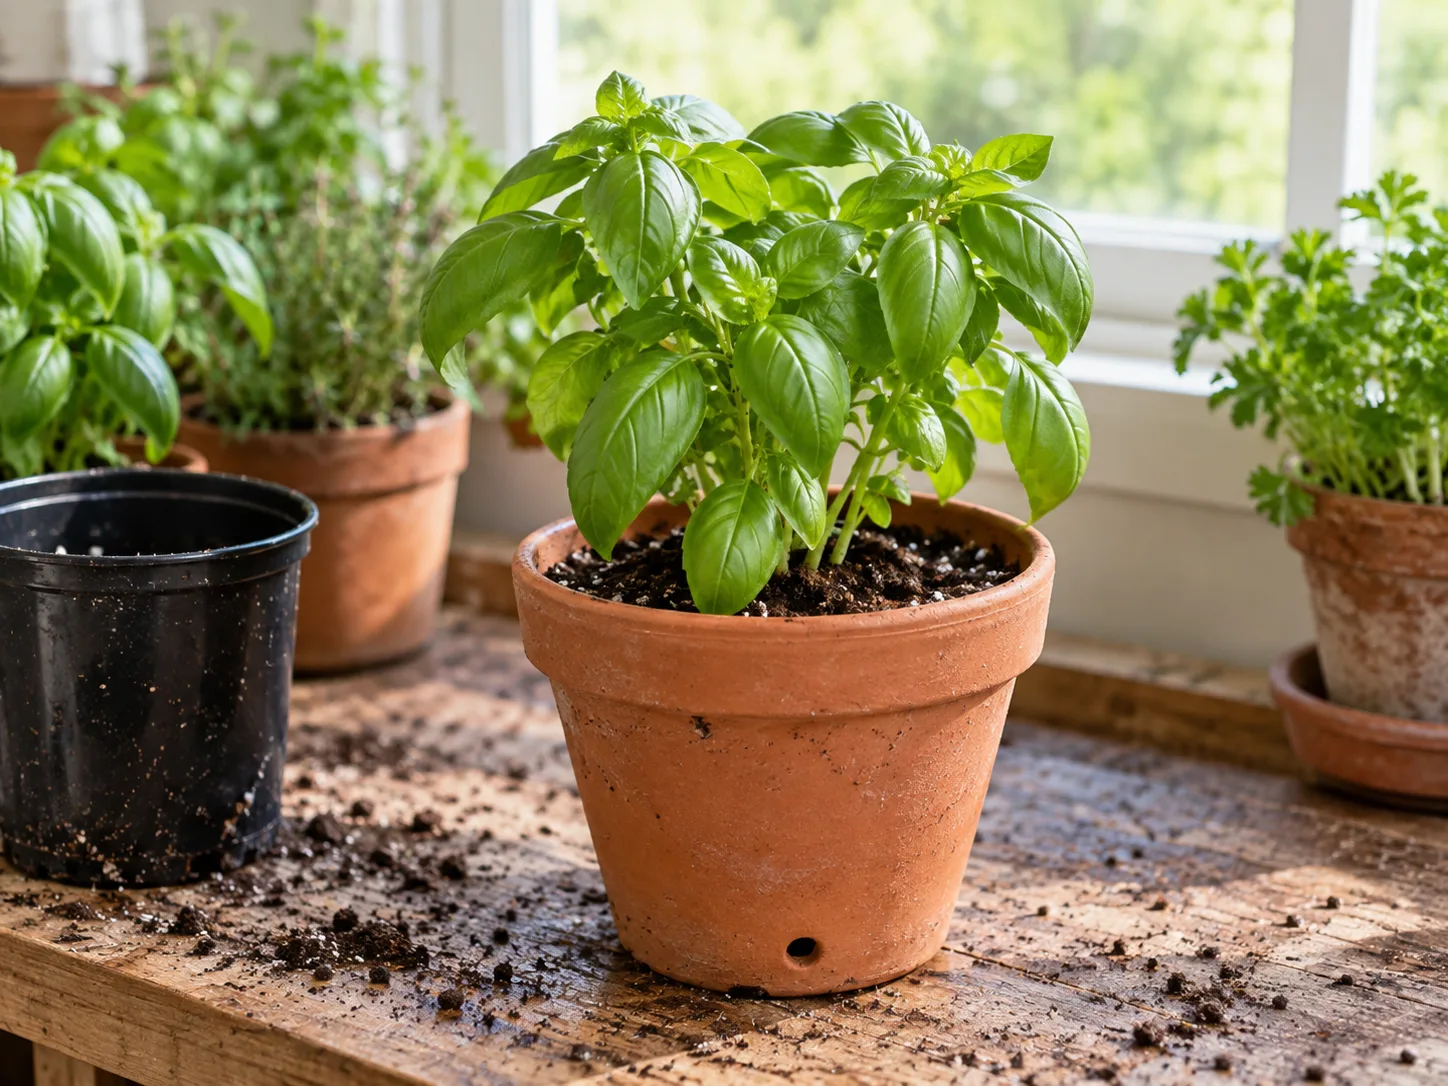
Pre-moisten very dry potting mix so it settles without repelling water. Add enough mix to the new pot to hold the rootball at its previous height, then place the plant in the center and fill around the sides; keep the base of the stems at the same soil line rather than burying it. Press gently to close large air gaps, but do not pack the mix hard.
If roots circle around the outside, loosen only the outer layer with your fingers. For a severely congested but otherwise healthy rootball, a light trim may be appropriate, but avoid cutting a large proportion of roots from a plant that is already limp; it has less spare capacity to replace them. The RHS repotting guide recommends assessing congestion first and removing only what is needed, rather than treating every rootball the same.
Water once to settle the mix and confirm that water exits the bottom, then empty the saucer. Keep the new pot in a sheltered, bright location while the roots re-establish. Do not add a layer of gravel, bury the stems deeper than before, or move a freshly divided plant directly into intense sun as part of the same session.
Follow a First-Week Recovery Routine
For the first day or two, place the herb where it gets strong light without scorching afternoon sun, cold drafts, or hot air from a radiator. A bright window is not the same as leaving a plant in a dark corner; the aim is to lower the stress of the transition while keeping enough light for growth. If you intend to move an indoor herb outside, increase its outdoor exposure gradually over several days rather than shifting it from a protected shelf into full sun at once.
Check moisture at root depth each day, but water only when that check says it is needed. Newly potted mix may feel moist even when the original rootball is dry, so check near the old soil as well as the new mix around it. Water slowly until the rootball is evenly moist and allow the pot to drain; avoid frequent sips that wet only the surface.
Hold fertilizer while the plant is settling. Fresh potting mix may already contain nutrients, and fertilizer cannot repair damaged roots or substitute for light; wait until the herb is growing again and follow the mix or product label. Growing in the Garden’s repotting advice suggests avoiding feeding for the first one to two weeks while roots settle.
Remove leaves that are black, mushy, or fully dead, but leave healthy green leaves in place because they supply energy. Avoid repeated unpotting, heavy pruning, misting, and moving the pot from room to room to chase small changes. One clear adjustment followed by a few days of observation gives you better evidence about what is helping.
Match Light and Water to the Herb You Bought
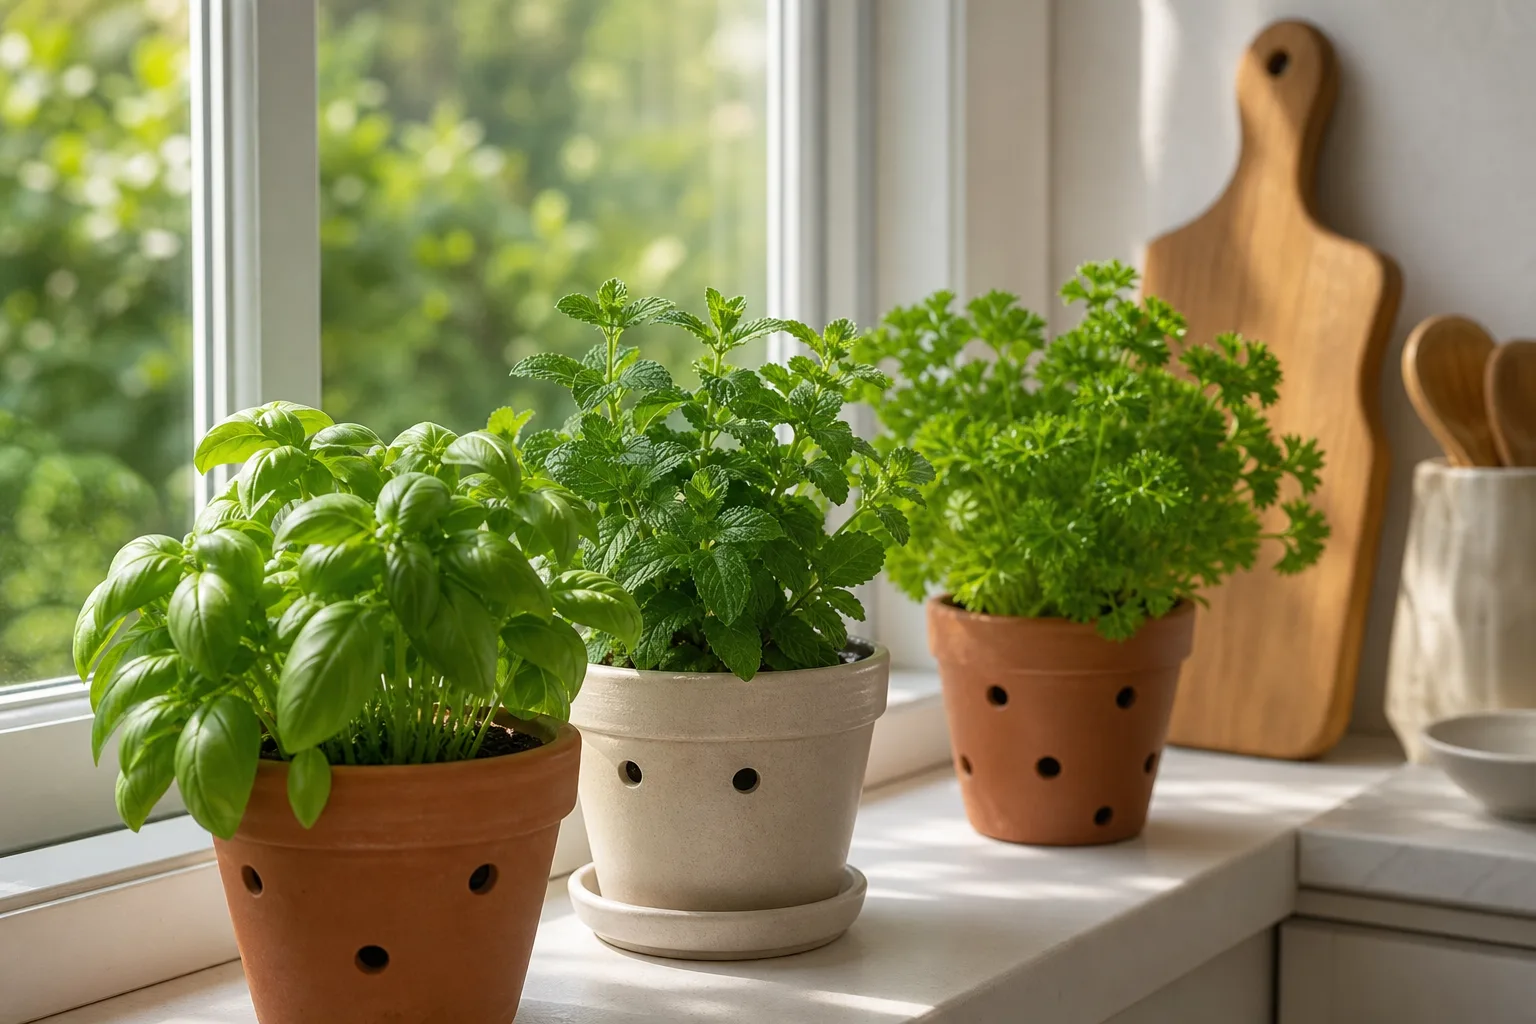
Once the immediate wilt is under control, match the care to the label rather than treating every culinary herb as one plant. Basil, mint, parsley, rosemary, thyme, and cilantro do not share identical water needs, and the same windowsill can be too dim for one pot yet hot and drying for another. A sunny, airy position and a pot that drains are common foundations, but the moisture rhythm changes by species.
Tender, Leafy Herbs Need More Even Moisture
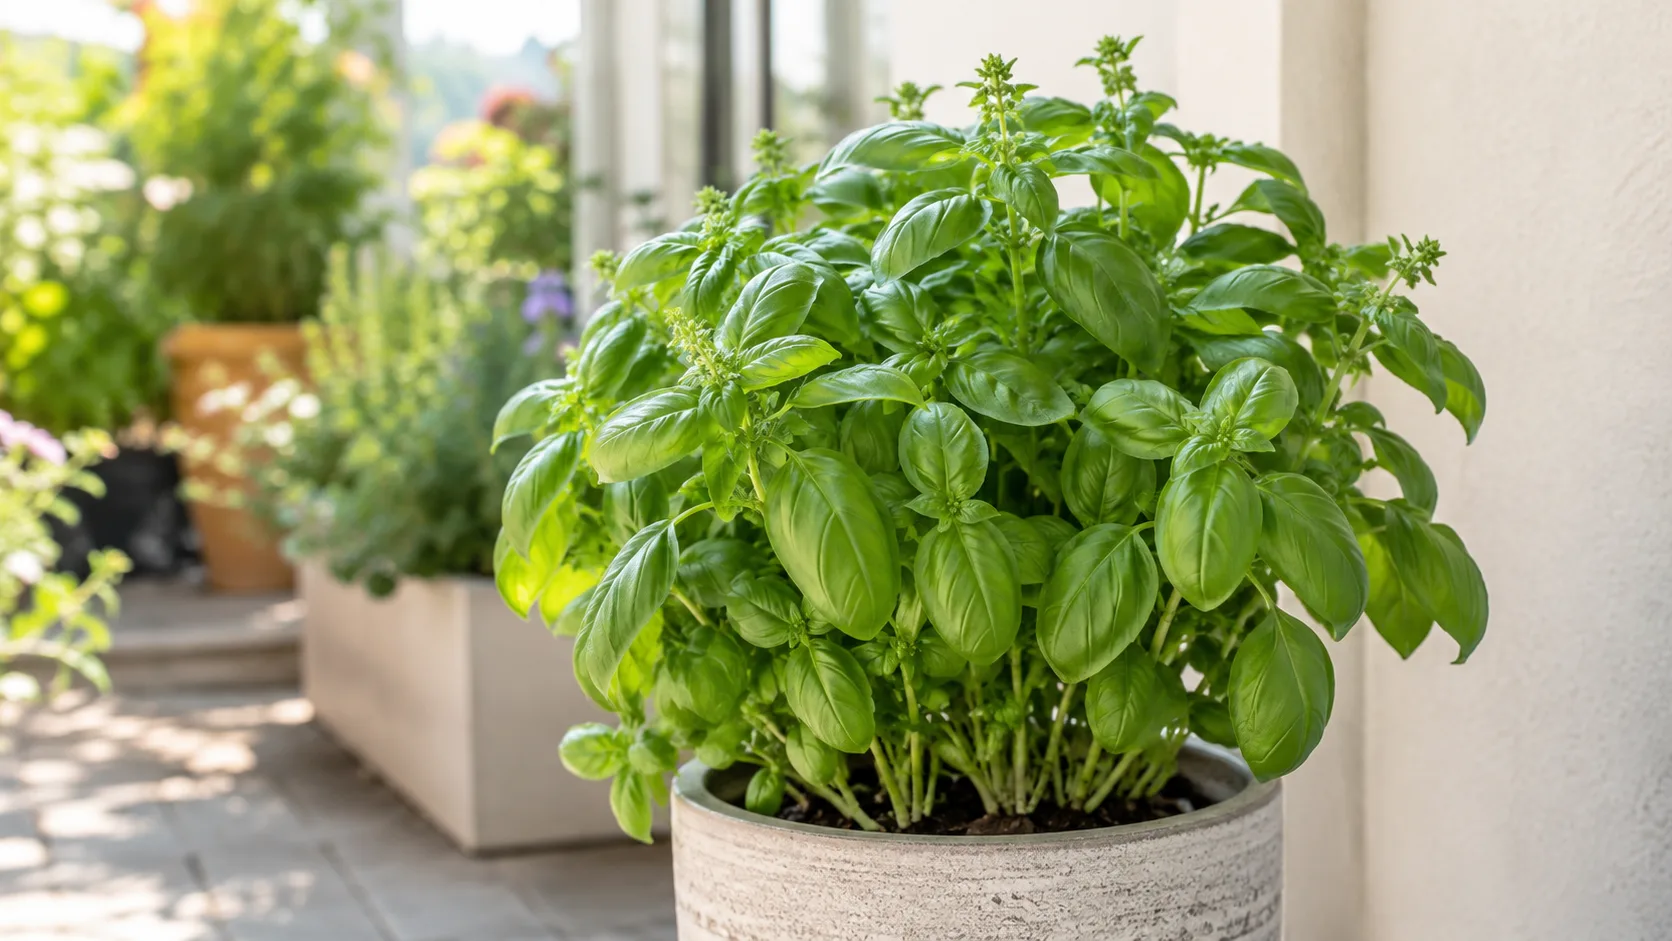
Basil grows best in warmth and sun, but a small crowded pot can dry out fast. Give it the brightest warm window available, keep the root zone evenly moist without leaving it soaked, and shield a newly transplanted plant from abrupt all-day exposure until it settles. When indoor light is weak, stems stretch and growth becomes thin; a suitable grow light can supplement a window that does not provide enough usable light.
Parsley tolerates some part shade and prefers fertile, well-drained soil. Cilantro and dill are quick to flower in heat and may bolt sooner when crowded or allowed to dry; that is a life-cycle response, not necessarily a sign that the rescue failed. If a cilantro plant has begun making a central flower stalk, harvesting leaves will not turn it back into a young leafy plant, so use what remains and start a fresh sowing when conditions are cooler.
Mint prefers more consistent moisture than rosemary or thyme and spreads vigorously. Keep it in its own container so it does not overtake neighboring herbs, check the mix more often in warm weather, and divide it when the rootball fills the pot. Savvy Gardening’s container-herb guidance also recommends keeping mint contained and harvesting without stripping the plant bare.
Woody Mediterranean Herbs Need Faster Drainage
Rosemary, sage, thyme, and oregano are adapted to brighter, drier conditions than mint. Give them plenty of light, use an airy mix, and let the upper portion of the potting mix dry before watering again; do not use a fixed schedule that keeps the roots continually damp. Rosemary in particular can decline in a cool, waterlogged pot even while its leaves look thirsty.
When you are unsure, judge the plant and the mix together. A dry, light pot with limp leaves needs water; a wet, heavy pot with drooping leaves needs drainage and time. A small saucer can catch runoff, but empty it after watering rather than leaving roots sitting in it.
For these woody herbs, a light trim after recovery can encourage compact growth, but avoid cutting deeply into old bare wood unless you know the plant will shoot from it. The RHS lists rosemary, sage, thyme, and oregano among herbs that prefer well-drained to dry soils, while mint is described as moisture-loving (RHS herb-growing guide). That is why “water all the herbs every other day” is a poor rule even when the pots sit together.
Prune and Harvest After New Growth Returns
A grocery herb may look crowded above the pot, but removing a large share of its leaves while roots are stressed reduces the plant’s working surface. First remove dead or diseased foliage; wait on routine harvesting until the plant holds its leaves upright and begins producing fresh tips. That pause is especially useful after division, because new roots need time to support the remaining stems.
When growth resumes, take small amounts from the tips or outer stems rather than stripping the center. For basil, cut just above a pair of leaves so side shoots can develop; for parsley, harvest outer stems; for mint, snip above a leafy node. Avoid removing more than about one-third of the healthy foliage at one time, and leave enough green growth for the plant to keep producing energy.
Harvesting can encourage fresh growth in established herbs, but it does not stop every herb from flowering or extend an annual’s life indefinitely. The RHS recommends regular picking of many herbs, and Sue Goetz, a certified professional horticulturist writing for Savvy Gardening, advises harvesting container herbs without defoliating them (Savvy Gardening’s container-herb article). If a plant is still recovering, flavor is not the priority; wait until the new growth is sturdy enough to replace what you cut.
Use a Recovery Timeline to Decide What Comes Next
A mildly wilted herb may look firmer within hours after its dry rootball is watered, but a plant that has lost roots will not rebuild them overnight. After a careful repot, temporary droop can last a few days; judge progress by firm stems, stable leaves, and new tips over the next one to three weeks. The exact pace depends on light, temperature, the herb’s age, and how much root tissue remains.
| Checkpoint | Signs to look for | What to do |
|---|---|---|
| First day | Leaves improve after watering, or the pot drains and begins drying normally | Keep conditions steady and avoid extra treatments |
| Days two to four | Stems remain firm; no spreading black or mushy tissue | Continue moisture checks and protect from abrupt sun or temperature shifts |
| One to three weeks | New leaves or side shoots appear | Resume light harvesting and feed only if the mix calls for it |
| Any time | Sour wet mix, spreading stem softness, or roots that are mostly mush | Recheck drainage and roots; take healthy cuttings if possible or replace the plant |
If a plant has no firm green stems, the crown is collapsing, or nearly all roots are soft and rotten, there may not be enough living tissue left to save. If a few healthy tips remain, you can take clean cuttings from suitable herbs such as basil or mint as a backup, but do not keep a diseased or collapsing pot beside healthy plants. Compost a plant that is beyond recovery and clean the container before reusing it.
A plant that recovers can still have a short useful life. Basil, cilantro, and dill are commonly grown as annual herbs, parsley is biennial, and many woody herbs and mint are perennials; heat, flowering, indoor light, and the plant’s age all affect how long it produces well. The goal is not to make every supermarket pot permanent, but to restore healthy growth when the plant has the roots and conditions to support it.
Conclusion
To revive limp grocery store herbs, check moisture at root depth and confirm that the pot drains before changing anything else. Give a dry plant a thorough drink, let a wet plant drain and breathe, and repot or divide only when the rootball shows a real problem or lack of space.
After that, use a snug draining pot, keep the stems at their original soil line, provide bright light with a gradual transition, and wait to fertilize or harvest until new growth resumes. Some herbs will reward that reset for months; others will finish their natural cycle, and knowing the difference is part of a successful rescue.