How to Trim Hedges in 8 Clear, Safe Steps
Trim a hedge neatly in eight steps. Set guide lines, shape the sides and top, work safely, and avoid cuts that leave shrubs bare or stop blooming.
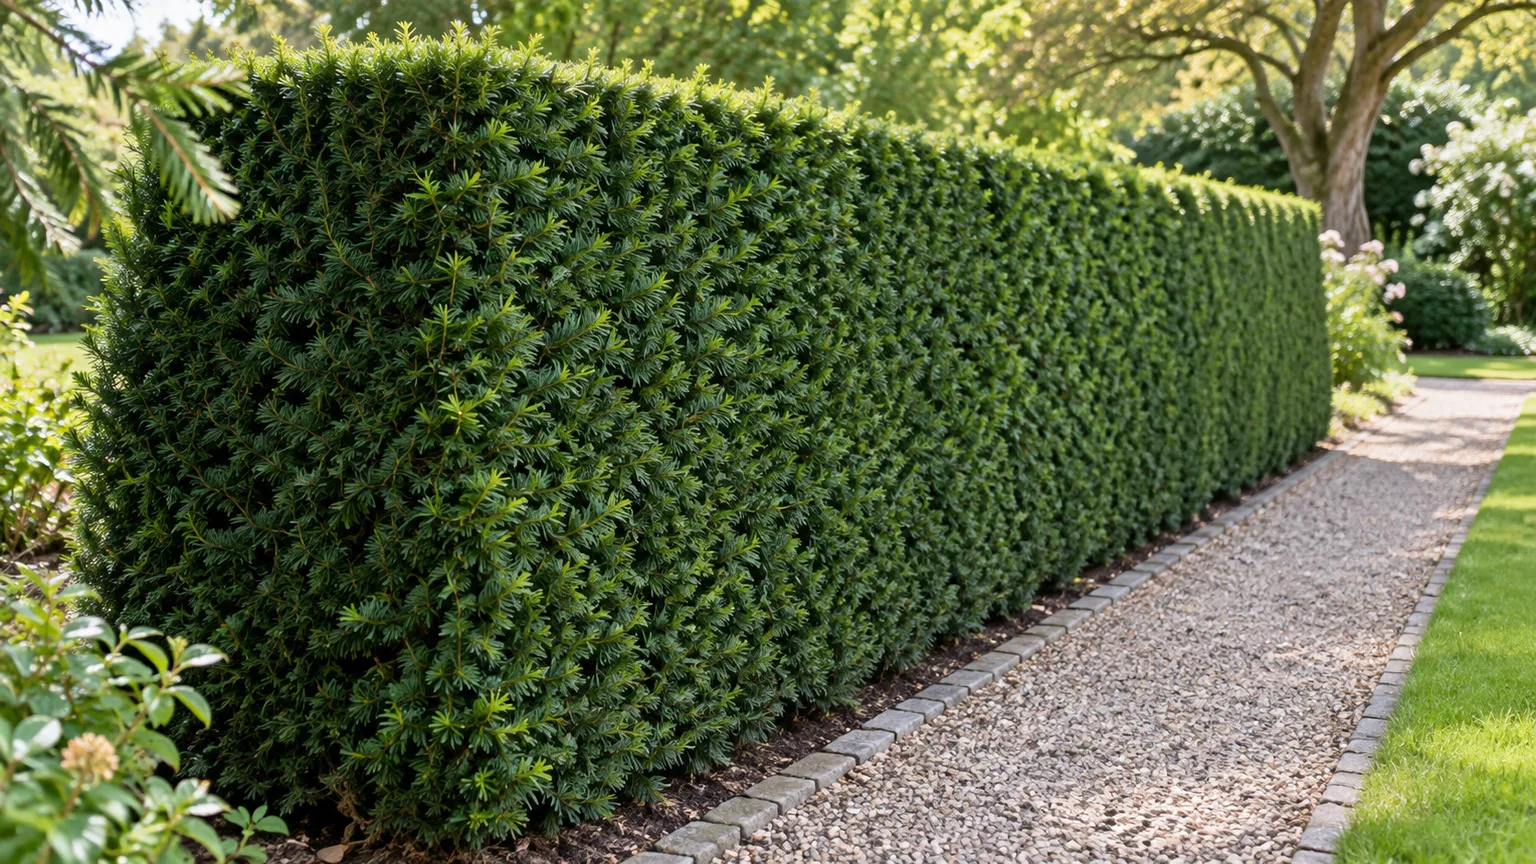
The cleanest hedge is not always the healthiest one. A perfectly squared-off wall can shade its own lower branches, and a fast trim at the wrong time can remove next season’s flowers or leave a conifer with brown, empty patches. Start by identifying what kind of hedge you have and what it can tolerate. Then use a light, measured pass to refine the shape.
For most established formal hedges, the basic method is straightforward: check the plant and the weather, set a guide for the shape, trim the sides before the top, and pause often to compare your work from a distance. The steps below work best for routine maintenance. If the hedge is flowering, badly overgrown, or already bare at the base, read the timing and recovery notes first. Those cases call for a different plan.
Choose the right trimming method and timing
Before you bring out the hedge trimmer, decide whether the plant is meant to be a crisp green surface or a row of shrubs that keeps its natural form. A tool can make a quick cut, but it cannot correct a mismatch between the pruning method and the plant’s growth habit.
Formal shearing versus selective pruning
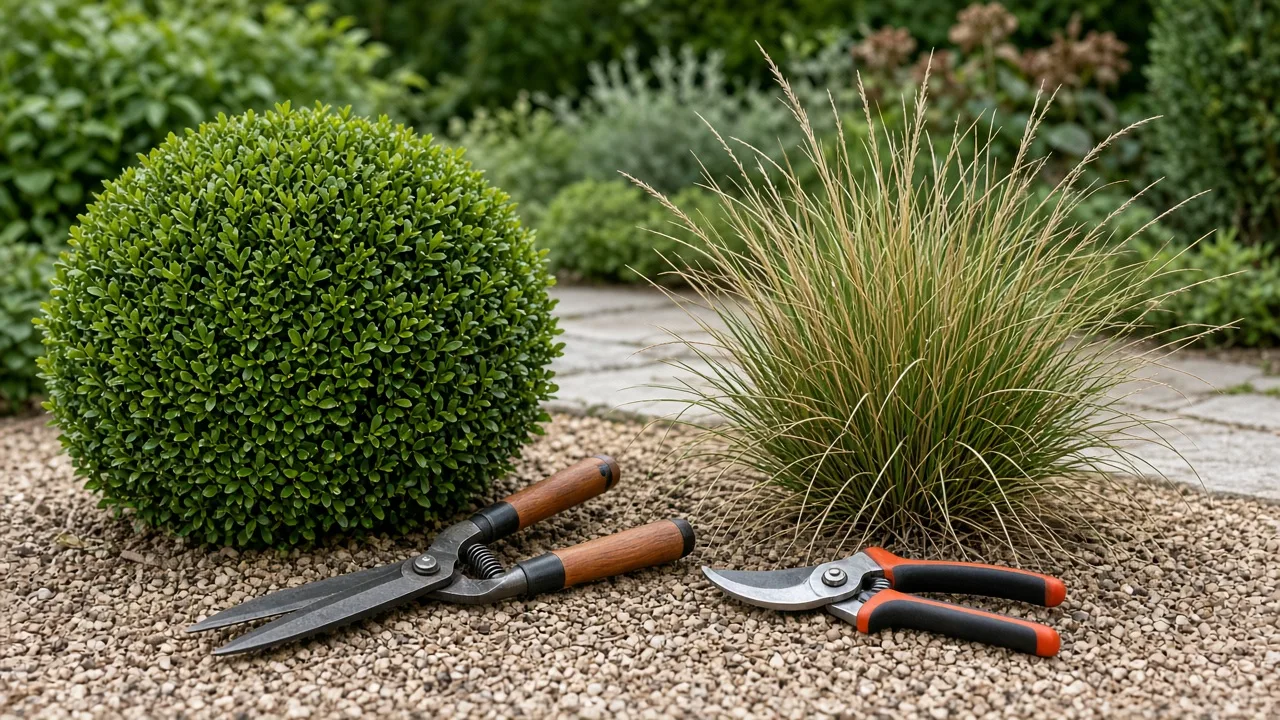
A formal hedge is maintained as a continuous outline, often with a flat or gently rounded top and regularly clipped sides. Boxwood, yew, hemlock, and arborvitae are common examples when they are grown as formal hedges. Light, repeated shearing can keep new growth dense, provided you cut only into foliage the plant can replace. University of Wisconsin Extension’s pruning guidance cautions that shearing is best reserved for formal hedges; on many shrubs, it removes the natural shape and can crowd the outer growth while shading the interior.
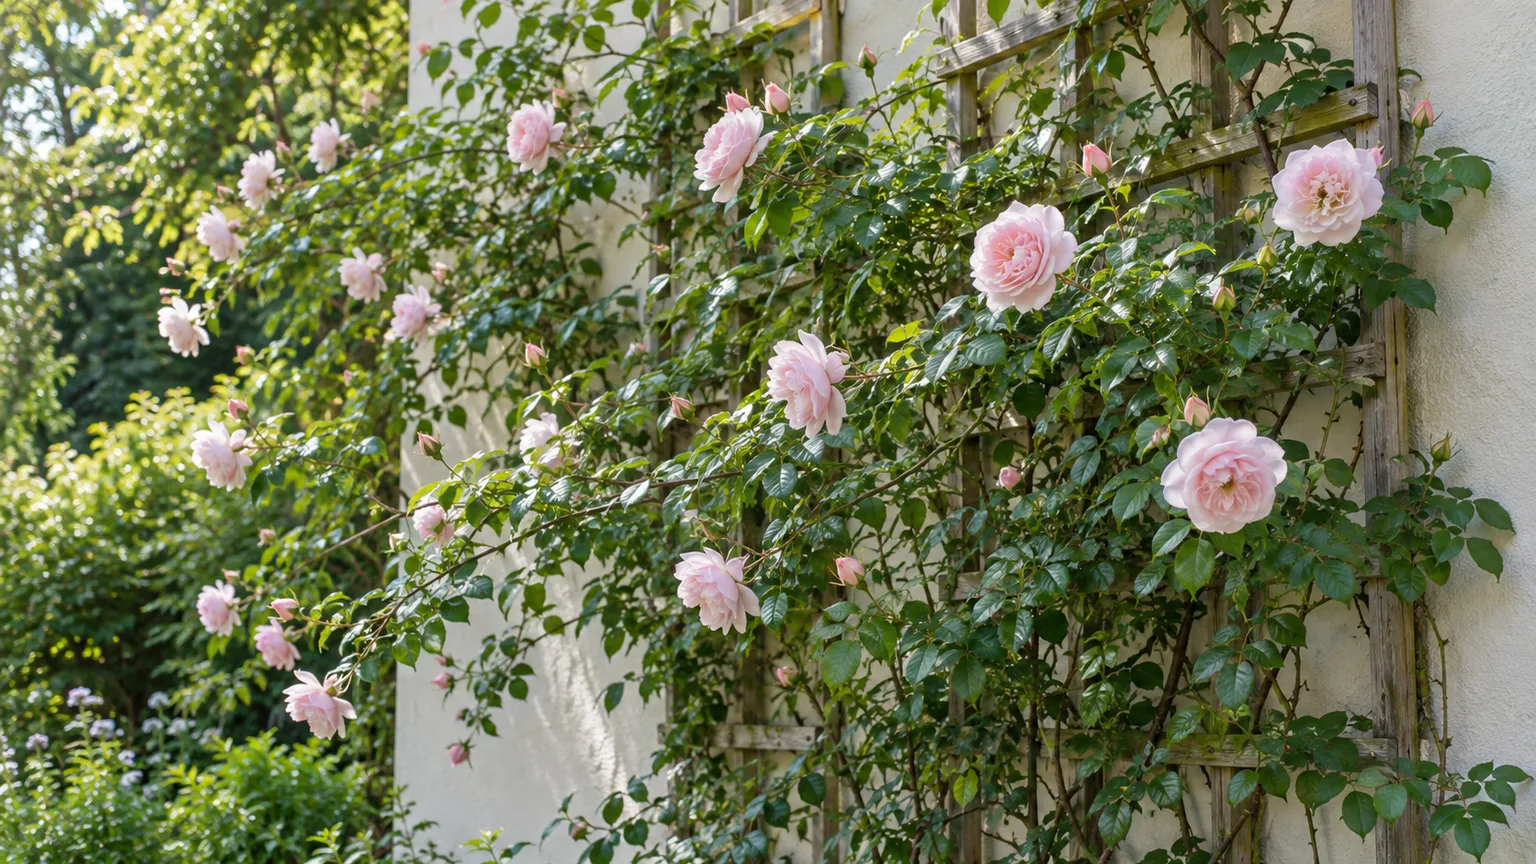
An informal hedge is a row of shrubs allowed to flower, fruit, or keep its natural outline. Use hand pruners or loppers to thin selected stems, remove dead wood, and shorten branches to a side shoot rather than clipping every surface into a box. This takes longer, but it preserves the plant’s character and often protects flowers and berries. UF/IFAS’s hedge-pruning guidance makes the same distinction: informal hedges need selective thinning and shaping, while formal hedges can be clipped to maintain their outline.
If you are not sure which kind you have, look at the hedge’s natural growth and past cuts. A wall of tight, uniform foliage is likely maintained formally. If you can see individual shrubs, blooms, berries, or arching branches, selective pruning is usually the better starting point. You can still keep the row within bounds; it simply will not look like a clipped green wall.
Time the cut for the plant, not the calendar
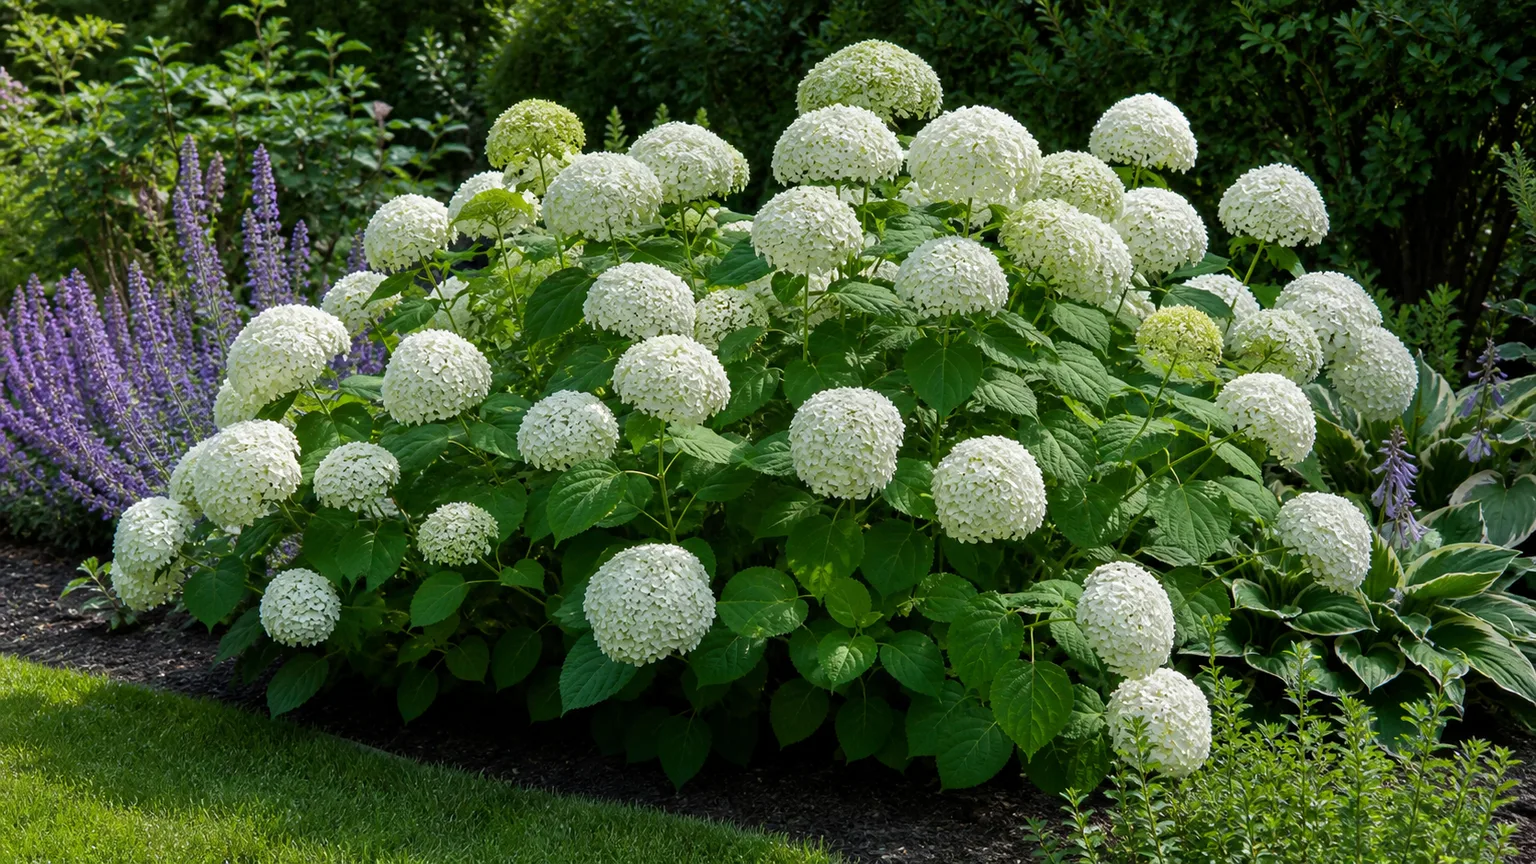
There is no single best month for every hedge. Spring-flowering shrubs such as lilac, forsythia, and some viburnums often set flower buds on wood formed the previous year. Cut them after their flowers fade, not just before spring because the branches look untidy. Summer-flowering shrubs commonly form flowers on current-season growth, so dormant-season or early-spring pruning is often more appropriate. Wisconsin Extension explains this difference, and Colorado State University Extension’s flowering-shrub guide also emphasizes timing cuts according to when a plant blooms and where it forms buds. The plant-by-plant examples in Horticulture’s pruning guide for deciduous hedges reinforce why a single date cannot fit privet, lilac, viburnum, and other hedge shrubs alike.
For formal evergreens, time light shearing around active growth and local weather. Avoid heavy late-season trimming in cold climates if the cut is likely to trigger soft new growth just before frost. For boxwood in particular, Savvy Gardening’s timing guide recommends avoiding heavy late-summer and fall cuts because fresh growth may not harden before cold weather. In very hot, dry weather, a deep trim can expose previously shaded foliage to sun and increase stress. Pick a mild, dry day when you can work comfortably and see the hedge clearly. If rain, heat, drought, or frost is stressing the plant, wait until conditions improve unless you are removing a hazardous broken branch.
Also check for flowers you want to keep, fruit that feeds wildlife, and active nests before cutting. Nesting seasons and legal protections differ by location. If you find an active nest, postpone work on that section when feasible and check local wildlife rules. The Royal Horticultural Society’s hedge-trimming guide advises checking a hedge thoroughly for nests and notes that mixed or informal hedges can provide food and habitat when they are trimmed less often.
Gather tools and set a safe working area
Match the tool to the job, not the other way around. Hand shears or hedge trimmers are efficient for soft growth on small-leaved formal hedges. Bypass pruners handle individual shoots and small woody branches. Loppers reach thicker stems; a pruning saw may be needed for branches beyond their capacity. On large-leaved evergreens, such as laurel, a powered trimmer can leave conspicuous sliced leaf edges, so selective cuts with pruners or loppers may look better. The RHS recommends sharper, well-maintained equipment and favors secateurs or loppers for large-leaved evergreen hedges when appearance matters.
For powered tools, read the manual, confirm the guard and controls work, keep both hands where the manufacturer specifies, and wear eye protection, sturdy shoes, and gloves. Keep bystanders and pets away from the cutting area. Do not cut above shoulder height, lean sideways with a running trimmer, or stand on an unstable object to reach the top. If a safe cut requires working from a ladder, use a stable ladder on firm, level ground and reposition it often; do not reach farther just to avoid moving it. The RHS’s safety and equipment notes similarly stress protective gear and stable access. For tall hedges beyond safe reach, hire a qualified professional.

Before cutting, walk the full length of the hedge. Remove toys, stones, hoses, and loose branches that could obstruct your footing or become projectiles. Identify wires, fences, windows, and neighboring plants behind the foliage. If you use a corded tool, keep its cable behind the blade and follow the tool maker’s outdoor-power instructions. Stop the motor or remove the battery before clearing a jam, adjusting the tool, or inspecting the blade. A sharp, clean blade is easier to control and leaves less ragged growth than a dull one.
How to trim a hedge in 8 steps
1. Inspect the hedge before you cut
Walk around the hedge, including the side you usually cannot see from the house. Look for dead or damaged branches, gaps, uneven growth, insect or disease symptoms, and places where the hedge is already thinner near the ground. Notice whether one end grows faster than the other and whether the ground slopes. These details determine how much to remove and where you will need a reference line.
Confirm the plant species if you can. This matters most when you plan to shorten the hedge significantly. Many conifers do not reliably regrow from old, bare wood, so cutting back to the brown interior can leave permanent holes. The RHS recommends a cautious first trim and lighter cuts for most conifer hedges for this reason. Broad-leaved evergreens also differ: some do not push new growth from leafless old stems. If a large cut would expose bare wood, pause and look up pruning guidance for that exact plant before proceeding.
Mark the longest shoots you want to bring into line, but do not assume every branch should be cut back by the same amount. If the hedge is young or newly planted, it may need formative pruning to branch from low on the plant, rather than a quick haircut across the top. If it is old, leggy, or bare at the bottom, routine shearing may make the upper outline tidy while leaving the underlying problem untouched.
2. Clear the work area and protect yourself
Lay a tarp or sheet along the base if you want to collect clippings quickly. Move furniture and containers out of the way, and make sure you have a clear path to step backward without tripping. If the hedge borders a path or driveway, keep people out of the area while the tool is running. For a long hedge, work in short, manageable sections so you can stop, check the line, and move the tarp without carrying a running tool.
Put on the safety gear before starting the machine: eye protection, gloves, sturdy closed-toe shoes, and hearing protection when required by the tool manual. Tie back long hair and remove dangling accessories. Inspect the blade for damage, check the power source and safety switch, and test the tool in a clear space. Hold it with the grip and hand positions specified by the manufacturer. If you cannot keep firm footing while holding the tool, change the setup or use hand tools instead.
Protect the hedge, too. If birds are nesting, if pollinators are actively using flowers, or if a shrub is setting berries you want to preserve, change the timing or trim only the areas that do not disturb them. Tidy boundaries can wait; an unnecessary cut is not worth damaging a nest or removing a valuable food source.
3. Set stakes and guide lines
For a long, straight hedge, use stakes at the ends and at intervals along the run. Place each stake just outside the foliage so it will not be caught by the trimmer. Drive stakes securely and pull a string between them at the intended top height. If the hedge is uneven, decide whether your goal is a level visual line or to follow the slope of the ground. A level top can be stepped down a hillside in sections; a top that follows the grade creates one continuous slope. Either can look intentional. What looks awkward is changing the plan midway through the hedge.
For the sides, run strings parallel to the hedge at the desired width, or use the straight edge of a path as your guide. A few extra stakes prevent the line from sagging over a long span. Step back and check whether the strings themselves are level or properly angled before you cut. If the hedge has a gentle curve, a taut straight line may be the wrong guide; mark the curve with short sections or follow the established outline instead.
Do not tie the line to a branch that bends under tension. That makes a false guide and can shift when you start working. Keep the string outside the foliage, where you can see it, and leave a small margin between the line and the final cut. A string should guide the plane, not become a target for the blade. You can always remove another thin layer after checking the result.
4. Remove dead or oversized branches selectively
Before shearing the surface, use hand pruners or loppers to remove dead, broken, crossing, or unusually thick branches. Cut a dead branch back to healthy wood or to its point of origin; do not leave a long stub that catches on the trimmer. For living branches, identify a side shoot or leaf-bearing section that will remain after the cut. This small amount of selective work keeps the hedge from turning into a dense shell with a neglected interior.
Avoid making a large reduction just because the outer layer looks shaggy. If a thick branch must be shortened, confirm that the species can sprout below the cut. The general one-third guideline for shrub renovation is not permission to remove a third of every hedge each time you trim it. It is a cautious approach for some deciduous shrubs when rejuvenating over several years. Extension advice warns that renovation cuts do not suit every shrub, especially some evergreens. When in doubt, make only routine growth cuts and consult a local extension office, certified arborist, or experienced nursery professional about major reductions.
If you suspect disease, do not drag infected clippings through the hedge or leave them on the ground. Clean off sap and debris from blades after the job, and disinfect tools between affected and healthy plants when disease transmission is a concern. Wisconsin Extension describes sanitation as part of pruning practice; follow its current guidance or local extension advice for the appropriate disinfectant and contact time rather than improvising a stronger mixture.
5. Trim the sides from the bottom upward
Begin low on one side and work upward in smooth, controlled passes. Keeping the blade parallel to the intended hedge plane helps avoid scallops and sudden dips. With a powered trimmer, move in short arcs rather than sweeping wildly across the surface. Let the blade do the cutting; forcing it into woody branches can snag the tool, tear stems, or remove more than you meant to.
Work a few feet at a time, then step back and sight along the face from one end. This angle makes high and low spots easier to see than standing directly in front. If a section bulges, shave it gradually. If a gap appears, do not keep cutting around it in the hope of making the whole hedge smaller; the plant needs time to put on growth, and a hole may take a season or longer to fill.
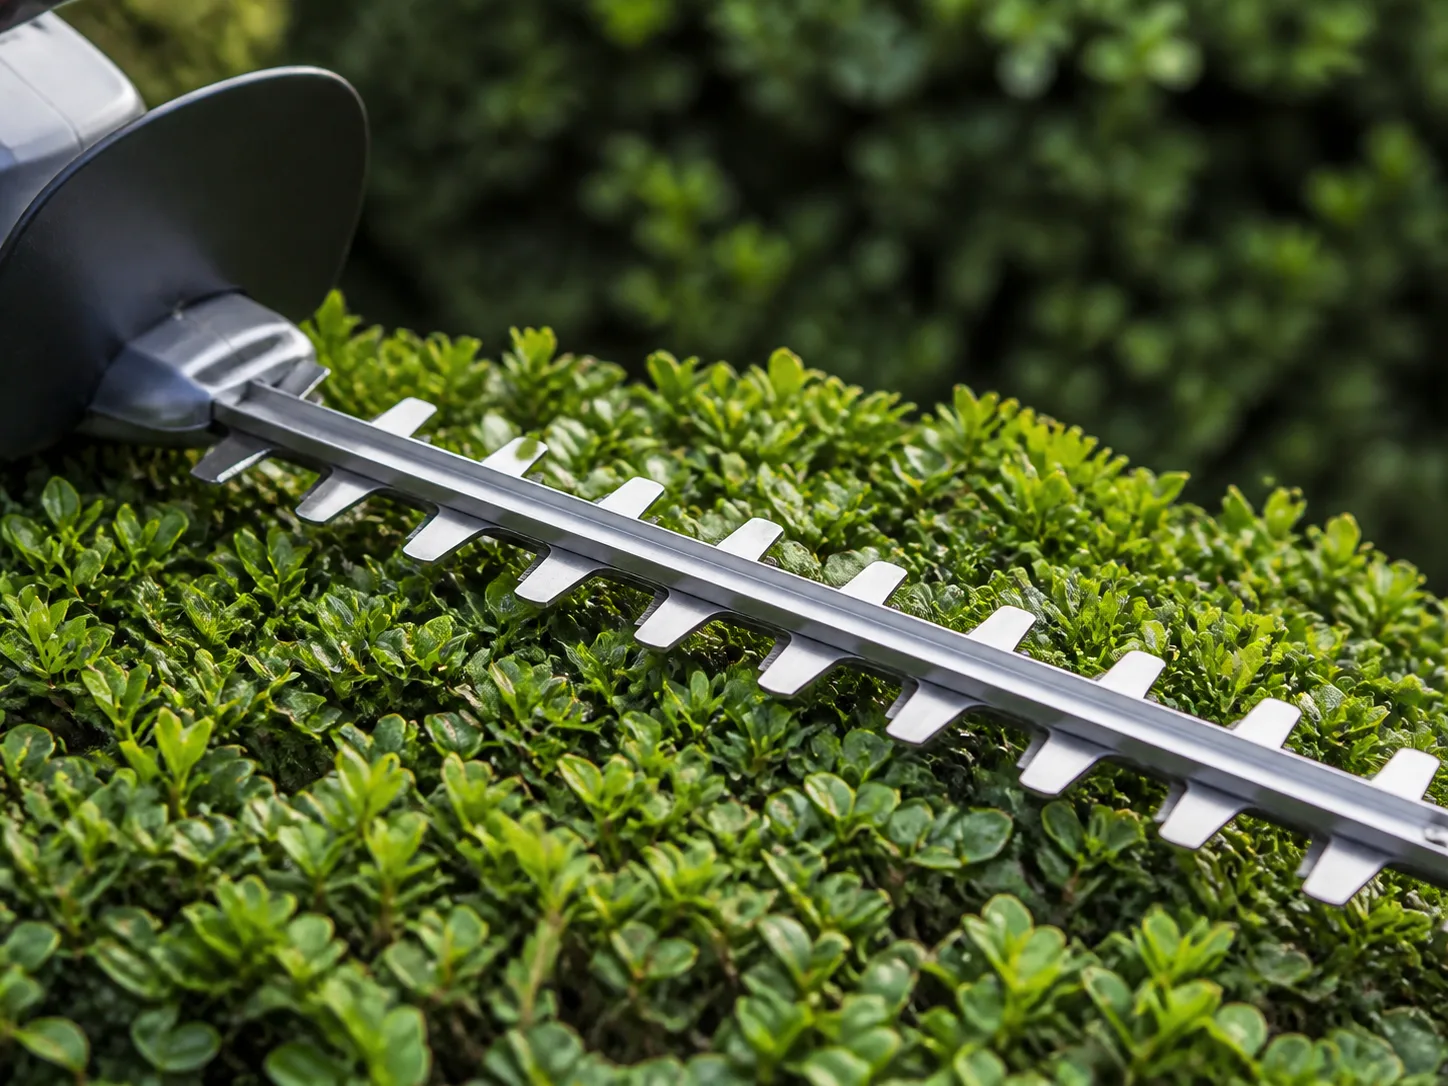
If you are using hand shears, use them for soft shoots within their capacity and switch to loppers for thicker stems. Repeatedly squeezing pruners through branches that are too large can damage the tool and leave ragged cuts. On large-leaved plants, make selective cuts where they disappear among other leaves rather than slicing through dozens of leaf blades. The goal is an even plane with clean cuts, not a perfectly smooth surface at the cost of plant health.
6. Keep the hedge wider at its base
Shape the side profile so the top is slightly narrower than the bottom. This gentle taper lets sunlight reach lower branches instead of allowing the upper growth to shade them out. UF/IFAS and the RHS both stress the wider-base form; UF/IFAS notes that a box-shaped hedge can lose lower growth when the upper foliage blocks light.
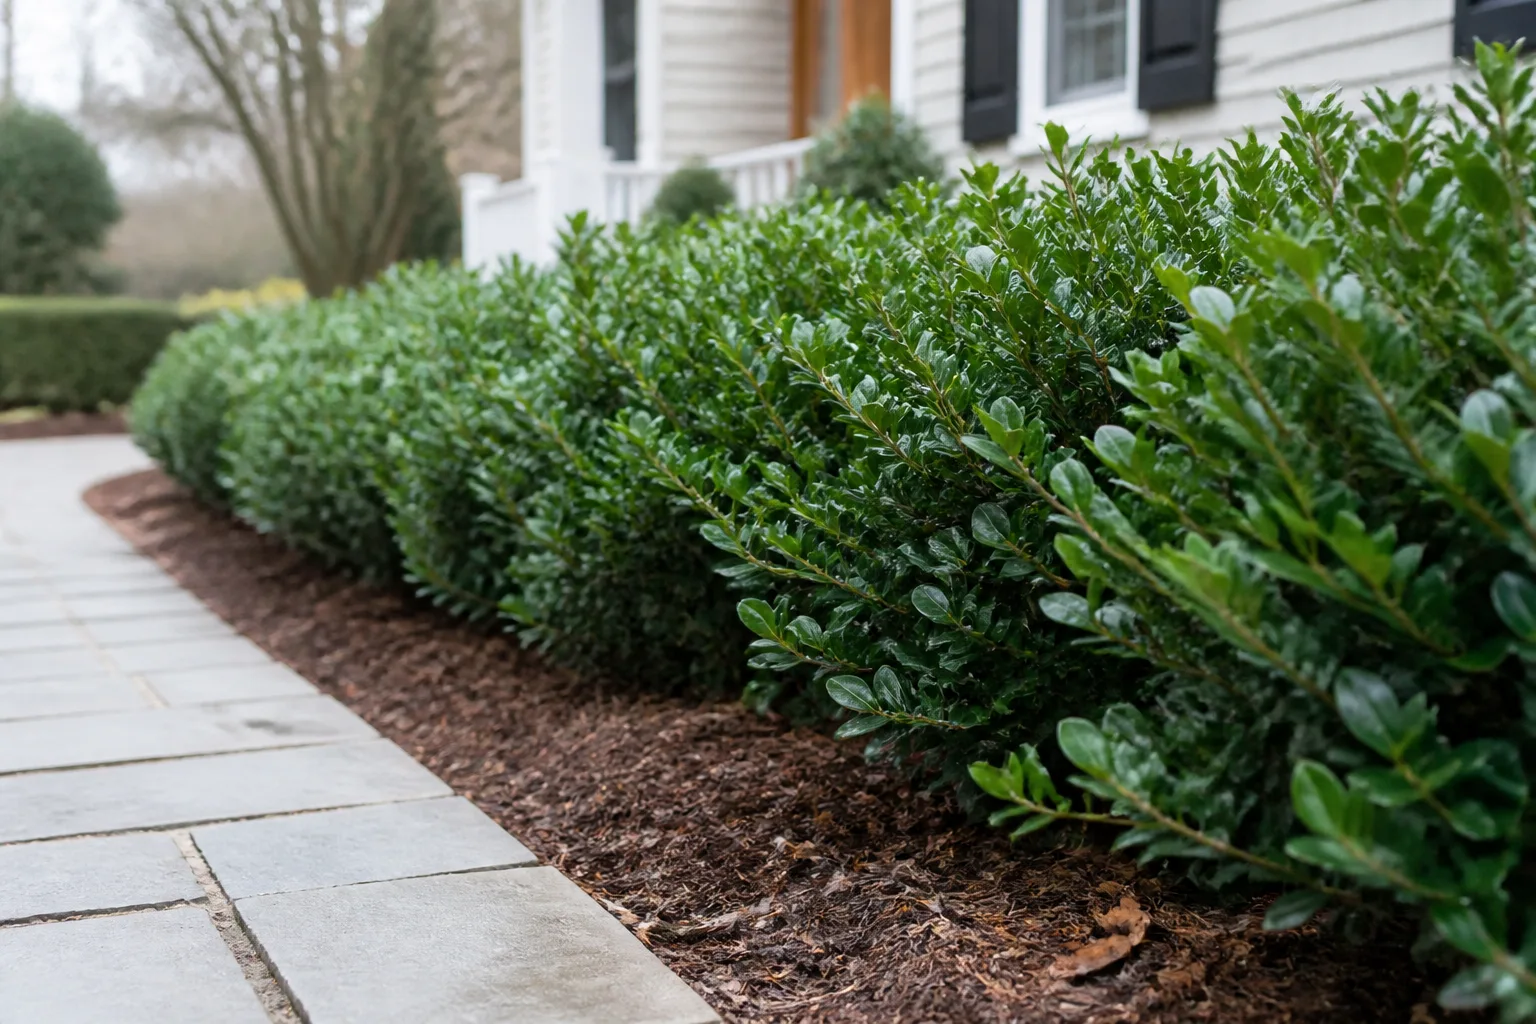
Do not exaggerate the angle. A modest inward slope is enough for many hedges, and the exact amount depends on the plant’s height and natural shape. Low hedges may have nearly vertical sides. On a taller hedge, a little taper becomes easier to see and helps the base stay leafy. If you use side strings, set the lower one a little farther from the center line than the upper one on both faces. Check that the taper remains consistent rather than narrowing sharply near the top.
This shape also helps a hedge shed snow more readily than a broad, flat top with heavy side growth, though it does not make branches immune to winter damage. More importantly for everyday growth, it reduces the common cycle of shading and thinning at the bottom. If the lower branches are already bare, tapering the top can help new growth receive light, but it will not make every species sprout from old bare stems. Correct the shape now and decide separately whether the plant can be rejuvenated.
7. Trim the top to a steady line
Once the sides are shaped, cut the top last. A straight top is easiest to judge from a distance, so stop often and look from both ends. If the hedge is level, use your string as a visual guide and make light passes just above it. On sloping ground, follow the plan you chose earlier: keep the top parallel to the grade, step it down in level sections, or retain a natural contour. Avoid trying to make a sloped hedge look level by cutting deeply into the tallest plants at one end.
Keep the blade level with the target plane and move across the top in small, steady sections. If the hedge is very wide, do not lean over it with an extended tool. Work from a safe position on each side or arrange professional help for the center and far edge. A pole attachment does not remove the need for stable footing or awareness of the blade’s path.
If you see brown interior growth appearing as you cut, stop and reassess. You may have gone beyond the green, leafy layer, or you may be working on a species that will not refill from old wood. A smaller, slightly irregular hedge usually recovers better than a sharply reduced one with exposed bare branches. Save the last few inches of correction until you have stepped back and checked the whole length.
8. Check the shape and clean up clippings
Turn off the tool and set it down before inspecting the work. Look from both ends, then from a few steps back. Check whether the top line is consistent, the sides taper evenly, and any curves or slope transitions appear deliberate. Small bumps are easy to remove with a hand tool. Do not chase a tiny imperfection by repeatedly shaving the whole hedge; that can turn a light trim into a hard cut.
Rake loose cuttings off the hedge as well as from the ground. Clippings left on top can shade the foliage beneath them, while wet or diseased material left inside the hedge can make cleanup and monitoring harder. Bundle or compost healthy trimmings where appropriate; dispose of diseased material according to local guidance. Sweep paths and patios before reopening the area to foot traffic.
After trimming, water only if the plant is dry or drought-stressed; a scheduled drench is not automatically necessary after every light haircut. Keep the root zone evenly moist during a dry spell, especially for newly planted hedges, without leaving soil waterlogged. A layer of organic mulch around the base can conserve moisture and protect soil, but keep it away from direct contact with stems. The RHS aftercare recommendations suggest late-winter or early-spring mulching and reserve fertilizer for light, sandy soil or signs of nutrient deficiency. Routine trimming alone is not a reason to feed every hedge.
What to do with a bare, uneven, or overgrown hedge
If the hedge has a few long shoots but a healthy green interior, a gradual correction may be enough. Shorten the longest growth in stages, restore the wider-at-the-base profile, and maintain the new outline with modest trims. If growth is uneven because of shade, check what blocks light before removing more foliage. A fence, building, or neighboring tree may limit what pruning alone can fix.
For gaps, first identify why they formed. A top-heavy shape, poor light, root competition, drought, winter injury, disease, or an unsuitable plant for the site can all contribute. Correct the cause where possible, then give the hedge a growing season to respond. Some plants fill gaps from adjacent growth; others remain open because the old stem cannot produce new buds. Planting a replacement shrub or choosing a more suitable species may be more reliable than cutting healthy sections down to match one bare patch.
When gradual renovation is safer than a hard cut
Renovation means reducing or renewing an overgrown shrub more deeply than a routine trim. It can work well for certain deciduous, vigorous, suckering shrubs, but it is not a universal fix for an evergreen hedge. UF/IFAS cautions that a severe cut will not suit every shrub, especially certain evergreens, and offers staged rejuvenation as an alternative for suitable plants. Wisconsin Extension likewise lists particular shrubs that tolerate rejuvenation. That is why species identification matters before you reach for a saw.
For a long, mature hedge, a safer homeowner plan is often gradual: thin selected older stems, reduce height or width over more than one season, and preserve enough leafy growth for the plant to keep functioning. Do not apply a calendar-based “cut it to the ground” rule to an unknown hedge. A hedge with tangled woody stems, a large height reduction, a tree-like conifer, or branches near utility lines may need an arborist or horticultural professional. Ask for a species-specific plan that states which stems to remove and over what period.
If replacement is the better option, consider the hedge’s mature size, light exposure, soil, drainage, and maintenance needs before replanting. A species that grows too vigorously for the space will keep demanding severe cuts. A slower-growing plant, a wider planting bed, or an informal screen may fit the site better and reduce repeated hard pruning.
Conclusion
To trim a hedge well, choose a method the plant can tolerate, time it around flowering and local growing conditions, and make the shape before you make the cut. Set clear guides, work the sides from the bottom up, keep the base wider than the top, and take small passes with frequent checks. Leave bare-wood cuts and major renovations for a species-specific plan. A careful trim may take longer than one fast sweep, but it leaves you with a cleaner line and a hedge that can keep growing into it.