How to Water a Christmas Tree So It Lasts All December
Learn how to water a Christmas tree, size the stand, make the right cut, spot early drying, and keep heat and lights from shortening its season.
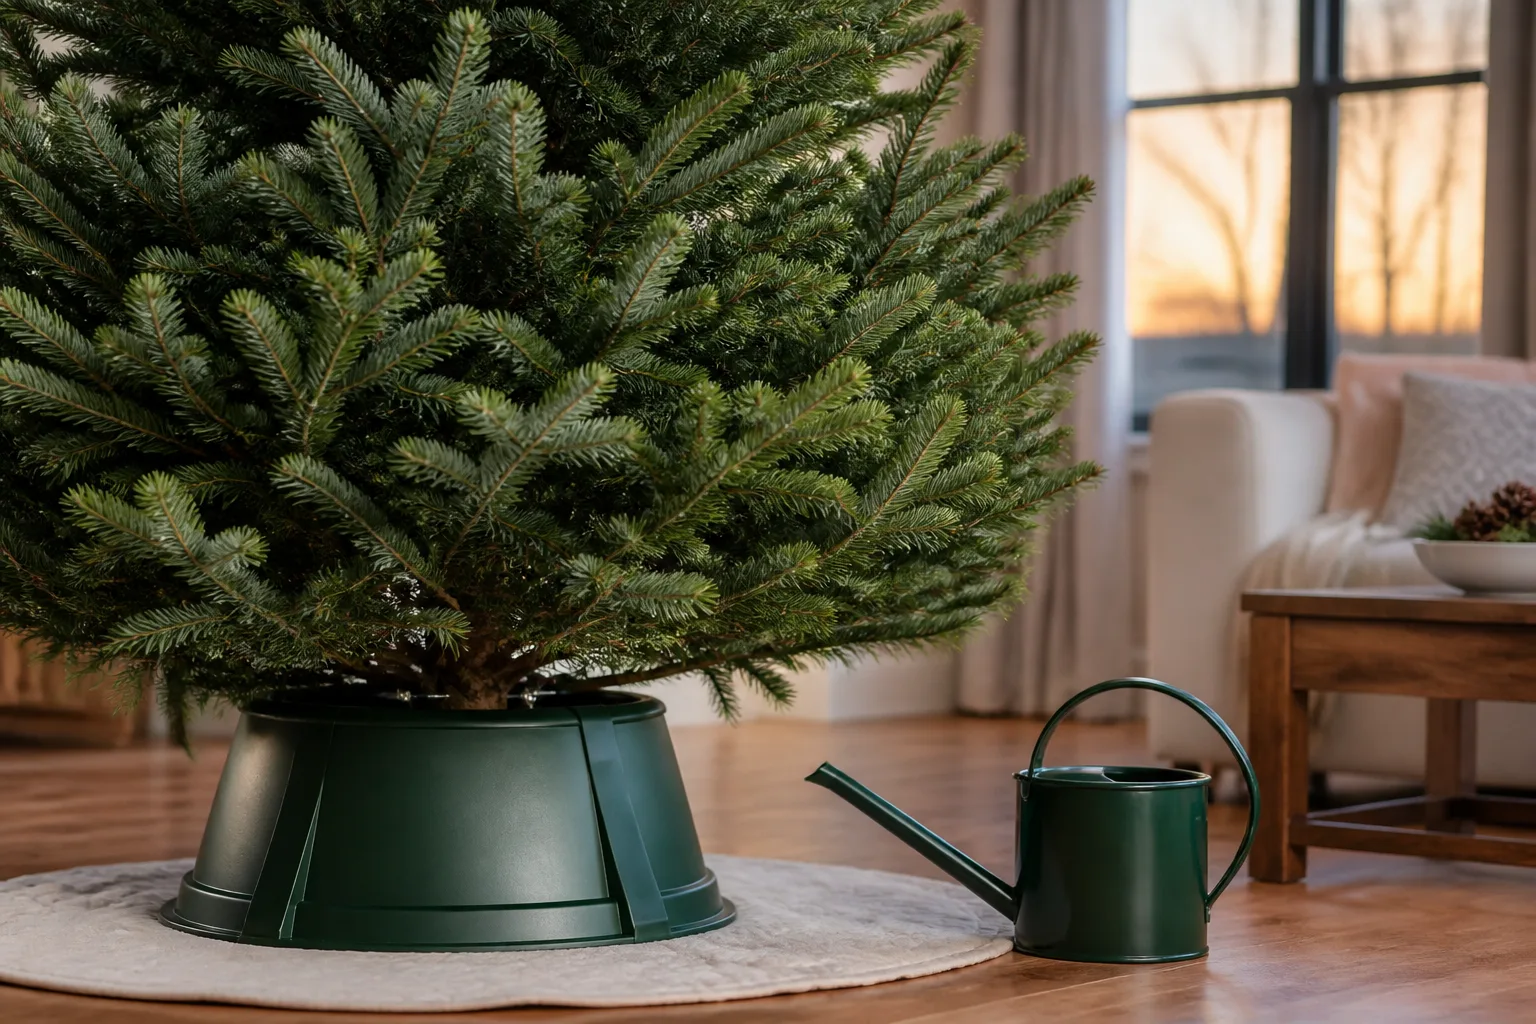
A real Christmas tree lasts through December when its cut trunk never loses access to water and the room does not force it to dry faster than it can drink. The routine is simple: start with a fresh tree, make a straight cut across the base, fill a suitable stand promptly, check the reservoir every day, and keep the tree away from concentrated heat.
The important detail is the water line at the trunk, not a target number of pitchers. A stand can still contain water while the cut end sits above it, so look into the reservoir far enough to confirm that the base remains submerged. The National Christmas Tree Association’s care guidance also recommends plain water, a perpendicular half-inch cut, and daily checks rather than additives or gimmicks.
The Short Answer: Keep the Cut End Submerged
Check the stand at least once a day, and check it twice a day during the first several days if the tree is large, the room is warm, or the reservoir is small. Add clean water before the level drops below the bottom of the trunk. That one threshold matters more than whether the water is warm or cold, whether you add sugar, or whether you follow a rigid calendar.
As a planning estimate, use roughly 1 quart of stand capacity per inch of trunk diameter. This is a sizing rule, not a promise that every tree will drink exactly that amount every day. A fresh, thirsty tree may use several quarts in a day, while a smaller or older tree may use less. The stand’s job is to keep enough water available between checks.
Pick a Fresh Tree and Plan Its First Cut
Watering cannot restore needles that have already dried. The best Christmas-tree routine begins before the tree enters the house, because freshness at purchase determines how much time the tree has in reserve.
Check freshness before you bring it home
Gently pull a handful of needles. They should stay attached rather than slide off in your fingers. Bend a few flexible needles; they should feel pliable rather than snap like dry grass. A healthy-looking green canopy is useful, but color alone can mislead you, especially if a tree has been stored outdoors or has been treated to enhance its appearance.
The Utah State University Extension guide to Christmas-tree selection recommends checking needle attachment, flexibility, fragrance, and the number of green needles that fall when the tree is gently bounced. Some brown needles deep inside the canopy are normal old material. A sudden shower of green needles is the warning sign.
Ask when a pre-cut tree arrived and how it has been stored. A local choose-and-cut tree is not automatically perfect, but a shorter path from harvest to water usually gives you a better starting point than a tree that has been dry for weeks. Firs and pines generally hold their needles better than spruces, but no species can compensate for a dry stand or a hot placement.
As a practical expectation, a specialist grower care guide puts a well-cared-for cut tree in the broad range of three to four weeks indoors, with species and conditions affecting the result. Think of that as a planning range, not a guarantee: a tree that arrives dry or sits beside a heater can deteriorate much sooner.
Store a tree that cannot go indoors yet
If you are waiting a day or two before decorating, keep a cut tree in a cool, shaded, sheltered place such as an unheated garage. Put the freshly cut trunk in a bucket of water and keep the cut end covered. Protect the tree from wind and direct sun, which can dry the foliage before the indoor routine even begins.
Do not treat a garage bucket as a substitute for a stable indoor stand. It is temporary storage, and the water level still needs checking. When the tree moves inside, plan to make a fresh cut if the base has been dry or if the storage interval has been long enough for the cut surface to reseal.
Size the Stand by Trunk Diameter
Measure the trunk across its widest point near the base, not the height of the tree. A six-inch trunk calls for a stand that can hold about six quarts, or 1.5 gallons, as a useful starting capacity. The reservoir also has to fit the trunk securely and keep the tree upright; a deep bucket that cannot grip the trunk is not a safe stand.
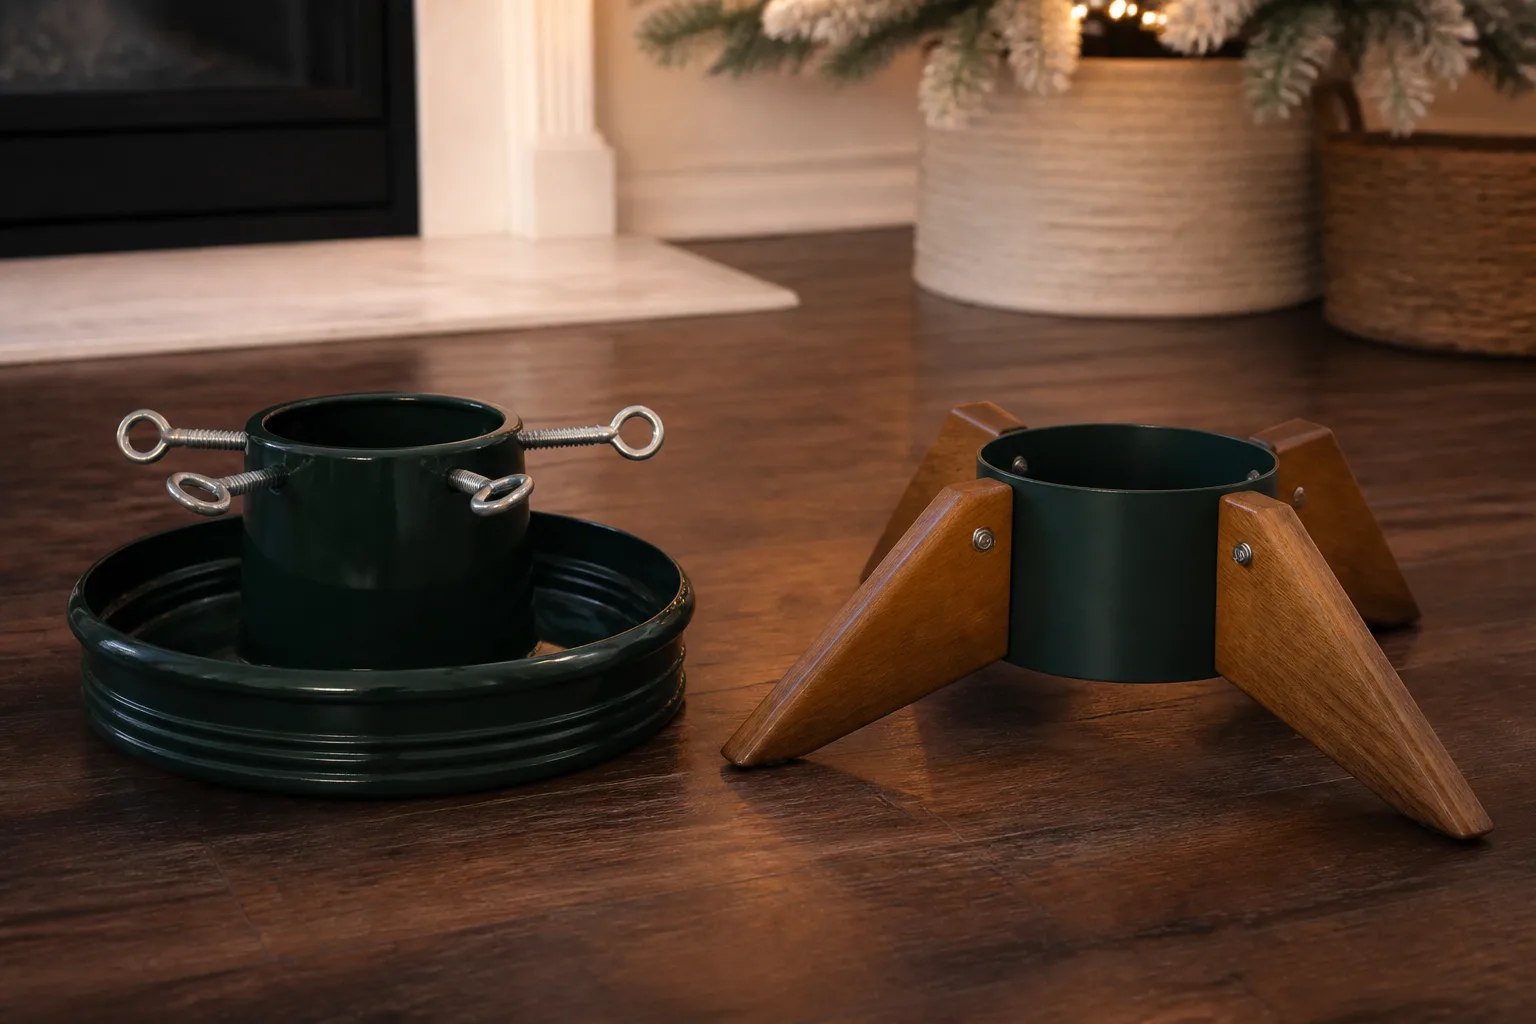
Choose capacity with the first week in mind, when water use is often highest. If your stand holds only a small amount, you may need to refill it more than once a day. That is not inherently wrong, but it creates more chances to forget. A larger reservoir gives you a buffer; it does not remove the need for a daily check.
Never shave the sides of a trunk to force it into a narrow stand. The outer wood is the most effective part of the trunk for water uptake, and removing it reduces the contact area that should be doing the work. Buy or borrow a stand that fits the untrimmed trunk instead. Do not drill a hole in the base or carve the trunk into a point; those shortcuts do not improve water uptake and can make the tree harder to stabilize.
Make a Straight Fresh Cut
Before the tree goes into its stand, saw a thin disk—about half an inch—from the bottom of the trunk. Make the cut straight across and perpendicular to the trunk. A flat base is easier to hold securely and leaves a broad, even surface in contact with water.
An angled cut or V-shaped notch sounds as if it would expose more surface area, but it can make the tree unstable and reduce the amount of the cut face that stays under water. Use a sharp hand saw, support the tree on a stable surface, and ask for help with a large tree rather than balancing it against your knee.
Make the cut as close to setup as practical. The National Christmas Tree Association notes that most species can still take up water after six to eight hours out of water, but that is a limit to manage around, not a goal. A clean cut that is immediately hydrated gives you the best chance of avoiding a sealed, dry base.
Get the Cut End Into Water Quickly
Once the tree is in the stand, fill the reservoir promptly with clean water. Check the level again after the branches settle and the trunk is fully secured. A tree can shift slightly while you tighten the stand, and a small leak or an uneven floor can leave the base exposed even when the reservoir looked full at first.
If you are setting up a tall tree alone, a long-necked watering can, funnel, or narrow hose can help you reach the reservoir without crawling under the lowest branches. Put a towel or waterproof mat under the stand while you test for leaks, then remove anything that could hide a falling water line.
Do not wait until the needles look dull to start watering. Drying is an internal process that becomes visible late. Once the tree is noticeably brittle, adding water may not reverse the loss of moisture or make it safe to keep beside lights.
Follow the Daily Watering Routine
Make watering a fixed part of your morning routine. Look into the reservoir, identify the lowest point of the trunk, and refill until the cut end is covered. Do not judge by sound, weight, or the apparent dampness of the skirt around the stand; only the actual water level tells you whether the trunk is drinking.
The first 7–10 days are the thirsty phase
The first week is when a freshly cut tree often uses the most water. Plan to check it every day, including the day after setup and on days when you are away from home for several hours. The Bob Vila practical watering guide also emphasizes daily refilling during the first seven to ten days and keeping the trunk submerged.
Use the stand’s capacity as your planning number, then let the water line tell you what the tree actually used. For example, if a stand sized for a four-inch trunk holds a gallon and is nearly empty the next morning, refill it fully and check for a leak. If the reservoir is sound, the tree may simply be taking up water quickly. If it is empty again by evening, add a second check rather than waiting for tomorrow.
Keep checking after water use slows
After the first week or two, a tree may drink less as the cut surface, foliage, and indoor conditions change. Do not switch to a weekly schedule just because the level has fallen slowly once. Continue daily checks until you have observed a stable pattern, then keep the check on your calendar for as long as the tree remains indoors.
The goal is not to keep the stand filled to an arbitrary line if the trunk is already submerged and the stand’s maximum level has been reached. The goal is to prevent the base from becoming exposed. Overfilling can spill onto flooring, electrical cords, or a tree skirt, so use the stand’s fill line when it has one.
Use Plain Water at Any Convenient Temperature
Use clean tap water unless your local water is unsuitable for household use. There is no horticultural advantage to turning tree care into a kitchen recipe. The NC State Extension Christmas-tree program points readers to its review of preservatives because plain water is the recommended default for a cut tree.
Cold, room-temperature, and warm tap water are all acceptable when the stand needs a refill. The National Christmas Tree Association explains that water temperature does not affect uptake. Choose the temperature that is comfortable and safe to carry, especially when reaching around branches.
Do not add sugar, aspirin, soda, bleach, vodka, floral preservative, or homemade mixtures. These additions are unnecessary, can make the reservoir dirty, and can create the impression that a weak additive can compensate for a dry trunk or poor placement. Clean water that is replaced before the level falls below the base is the dependable intervention.
Put the Tree in a Cooler, Safer Spot
Placement changes how quickly water leaves the foliage. Keep the tree away from fireplaces, wood stoves, radiators, space heaters, heat pumps, and warm HVAC registers. Direct sun through a window can also warm the branches and increase drying. If the only practical location is near a heat source, move the tree as far away as the room allows, lower the nearby heat if possible, and check the reservoir more often.

A cool room helps, but do not turn the tree into a draft experiment. Avoid strong airflow from a door or vent, secure the stand on a level surface, and leave enough space to reach the reservoir without knocking the tree. A humidifier may make a heated room more comfortable for people and houseplants, but it does not replace water at the trunk. Misting the branches is also not a substitute for a submerged base, and spraying near lights creates an avoidable electrical concern.
Lights, Heat, and Fire Safety
Fresh water helps preserve the tree; it does not make every lighting setup safe. Use lights in good condition, follow the manufacturer’s instructions, avoid overloaded circuits, and turn the lights off when you leave home or go to bed. Low-heat miniature or LED lights reduce heat around the foliage compared with older, hotter bulbs, but they still need inspection and sensible placement.
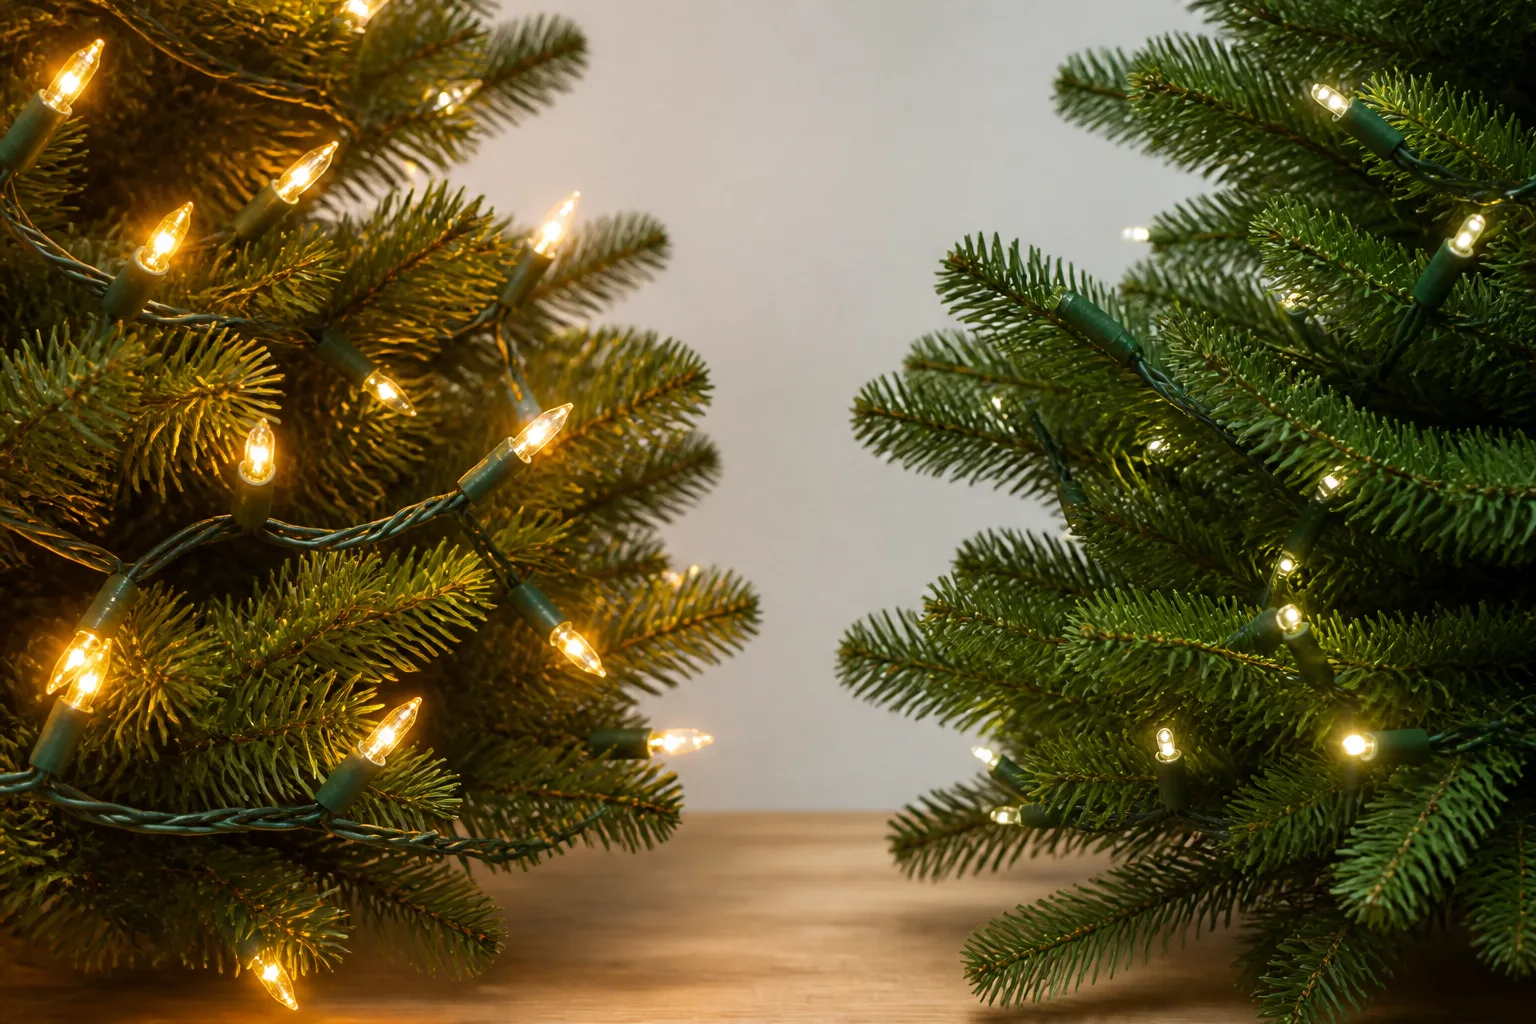
The National Christmas Tree Association’s safety guidance says to monitor freshness and remove a very dry tree from the house. That is the line to take seriously: if needles are brittle, branches feel dry, or the tree has stopped responding to water and is shedding heavily, do not try to rescue it by adding more decorations or misting it. Remove the tree from heat and electrical connections, and plan its disposal or recycling.
Troubleshoot Water Loss and Needle Drop
Look at the timing and the reservoir before blaming the species. A few loose interior needles are normal, but a sudden change in texture, color, or needle drop means the tree needs a closer inspection.
The water disappears too quickly
First check for a leak around the stand, a damp tree skirt, or water running onto the floor. If the stand is sound, the tree may be using water rapidly during the first week. Refill it and add a second check later that day. A warm room, direct sun, low reservoir capacity, and a large trunk can all make the interval between refills shorter.
Do not reduce watering because the stand seems to be “losing” water. Confirm that the cut base is actually submerged and that water is not simply evaporating from a shallow, exposed reservoir. If the floor is damp, unplug nearby lights before handling the stand and correct the leak before continuing.
The water level barely moves
Confirm that the base is in the water, not resting on a stand collar above it. If the tree has been in water from the start and the foliage remains flexible, low use may simply reflect a smaller tree, cooler conditions, or a species with lower demand. Keep the daily check rather than trying to force uptake with additives.
If the stand ran dry, the cut surface may have dried or resealed. Inspect the foliage and needles before doing anything risky. A tree that is already brittle cannot be made fresh again by recutting it. If the tree is still reasonably fresh and you choose to recut, take it down securely, saw a new straight slice from the base, and put it back into water immediately. Never attempt to saw a standing, decorated tree or balance a large tree while reaching underneath it.
Know the Difference Between Cut and Potted Trees
Most advice in this guide is for a cut tree with no roots. A potted or balled-and-burlapped tree is a different project: it has a root ball, needs its soil kept slightly damp rather than submerged in a reservoir, and should spend only a limited time in a warm home.
The Utah State University Extension guidance recommends keeping a root ball moist but not flooded and keeping a root-intact tree indoors for about a week. The NCTA likewise warns that living trees are heavy and need a cool, sheltered transition before and after their indoor display. If you bought a rooted tree for later planting, ask the grower for species-specific timing and outdoor transition instructions instead of drilling the cut-tree advice into the pot.
Take It Down Before It Becomes a Hazard
There is no prize for keeping a dry tree indoors after it has stopped looking fresh. Take it down when the needles become brittle, the branches feel dry, the water is no longer being used and the tree is shedding heavily, or the tree has been exposed to sustained heat. Calendar dates are useful for planning, but condition should make the final call.
After removal, follow local recycling or collection rules. Many programs chip trees into mulch, and a tree can sometimes serve as outdoor wildlife cover before disposal if local guidance allows it. Never burn a Christmas tree in a fireplace or wood stove; the NCTA specifically warns against doing so.
Conclusion
To keep a Christmas tree fresh through December, start with a tree that is still moist, make a straight half-inch cut, and get the base into a correctly sized stand quickly. Check the reservoir every day—more often during the first week—and refill before the water line drops below the trunk. Plain water is enough; sugar, hot water, and carved or drilled trunks are distractions from the details that matter.
Keep the tree cool and away from heat sources, use lights responsibly, and treat brittle needles or heavy shedding as a safety signal rather than a challenge to overcome. A consistent water check takes less than a minute, and it gives your tree the best chance of staying green, stable, and enjoyable for the whole season.



