Landscape Edging Materials for Patios, Paths, and Beds
Compare landscape edging materials for patios, paths, and beds. Learn what holds gravel, restrains pavers, follows curves, and stays manageable over time.
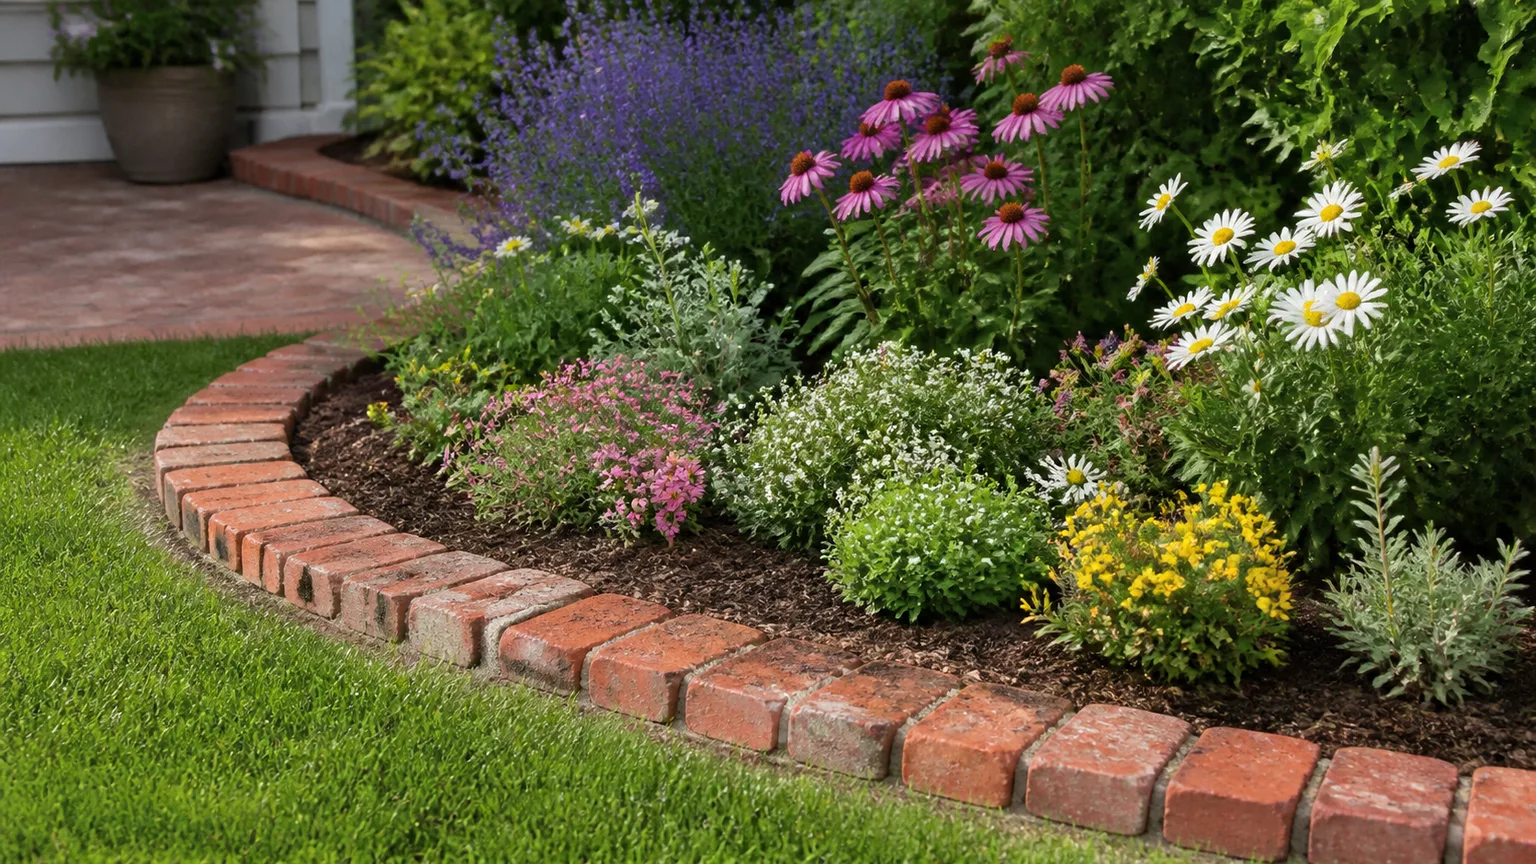
The best landscape edge depends on what it has to hold in place. A thin metal strip can keep gravel from spilling into a border, while a patio made of individual pavers needs a restraint designed to stop the whole field from spreading; those jobs may look similar from above, but they do not place the same demands on a material.
Start by tracing the edge and naming the surface on each side. Then choose for strength, curve, drainage, foot traffic, upkeep, and how the finished line should look. This order makes it easier to avoid buying an attractive border that fails as soon as the path gets used.
First decide what the edge must do
Landscape edging can mark a boundary, separate two materials, or physically restrain a surface. A garden-bed border often does the first two: it creates a mowing line and keeps mulch from drifting onto the lawn. A perimeter restraint on a paver patio has a structural job as well, holding the outer pavers against lateral movement under repeated foot traffic and seasonal changes.
That difference is the first useful filter. If you are edging a planting bed, a cut trench, brick, stone, or a low decorative strip may be enough. If you are containing a gravel path, look for an edge that will not bow or pull loose as people rake, shovel, or walk along it. If you are building a paver patio or walkway, use an edge restraint that is compatible with the paving system and installed as part of its compacted base.
The term landscape edging covers products with very different thicknesses, depths, stakes, connectors, and intended loads. A lightweight plastic coil may neatly separate mulch from grass but cannot automatically substitute for a manufacturer-specified paver restraint. Oregon State University Extension’s paver installation guide treats edge restraints as one of the construction steps in a unit-paver surface, alongside excavation, compacted base, bedding, and jointing.
Sometimes no manufactured edge is necessary. A freshly cut trench between lawn and a bed gives a clean shadow line and can be reshaped when it blurs; it is a sensible option when the goal is visual separation rather than holding loose stone or paving. It needs periodic recutting, though, and it will not keep gravel in place.
Match a material to the job
Material decisions should follow the line your yard can support. A broad, straight patio edge may accommodate heavier pavers, while a tight curve favors smaller units or a flexible edging profile. Fine Gardening’s comparison of edging options makes a similar practical point: edging succeeds when the material can stand up to weather and do the specific job, not simply because it matches a style.
Metal: precise lines and curves
Steel and aluminum edging are useful when you want a narrow, low-profile boundary around a lawn, gravel path, or planting bed. The slim strip can disappear visually while keeping two surfaces distinct, and flexible profiles can describe smooth curves without assembling many small pieces. Metal is especially effective where gravel meets mulch or turf because it creates a clear barrier without taking up much room.
Steel is typically stiffer and heavier than thin aluminum, which can make it better at holding a straight line or a loose aggregate edge when installed securely. Aluminum is lighter and naturally resistant to rust, but thin products can bend if they are bumped or inadequately staked. Weathering steel is chosen for its rust-colored patina; check the maker’s advice about staining on nearby pale paving and how the finish changes as it weathers. Gardenista’s guide to metal edging covers how metal can keep gravel and planting materials in defined areas.
Metal still needs the right profile and installation. Stake it according to the manufacturer’s spacing, lock adjoining lengths together, and bury enough of the strip to resist the pressure of the material it contains. In family yards, walkways, and mower routes, keep the top low enough that it does not become a sharp or unexpected trip edge; check that the product’s exposed rim is finished safely.
Plastic and composite: flexible separation at low cost
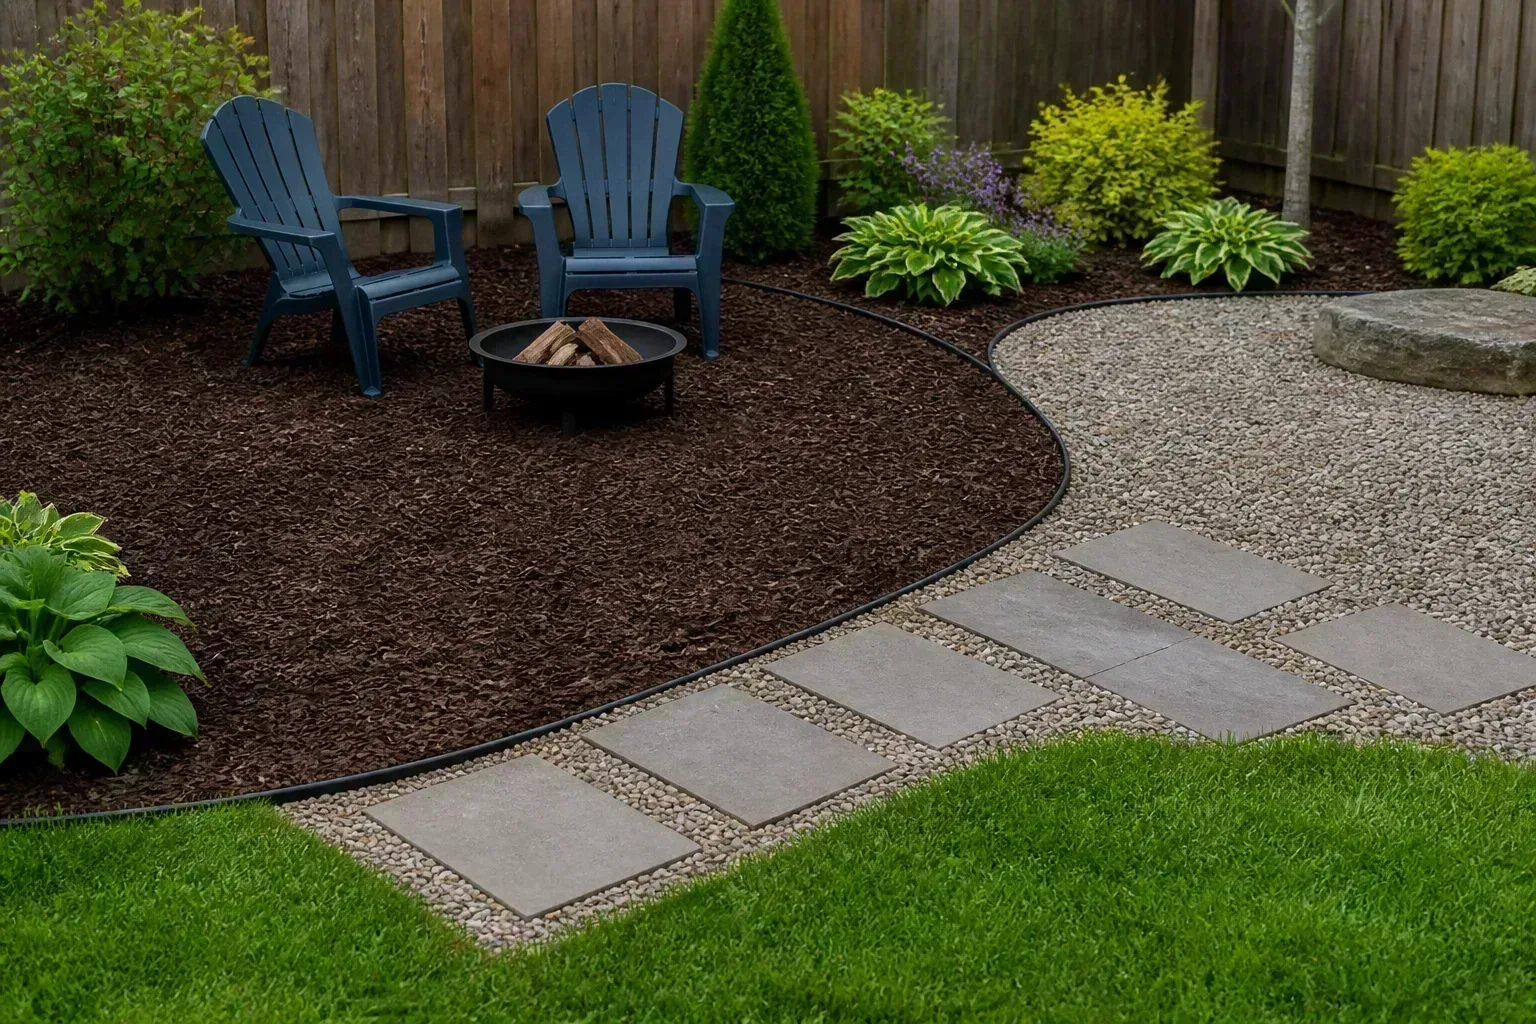
Plastic edging is easy to cut and form around curves, and it is usually an economical way to separate lawn, mulch, and light-duty gravel. Recycled-plastic and composite profiles can be more substantial than the thinnest plastic strips; some are made to look like boards or stone. Product quality varies widely, so compare wall thickness, stake design, joiners, and installation depth instead of choosing by color alone.
Plastic is most appropriate where a neat boundary matters more than a rigid retaining face. Low-cost strips can wave above the soil, lift after temperature swings, or creep if stakes are too sparse or the base is poorly prepared. If you are using it to hold gravel along an actively used path, choose a heavy-duty system with a secure anchoring method, and confirm that it is rated for the aggregate depth and use. For a paver patio, use a restraint system approved for that paving application rather than assuming ordinary bed edging will hold.
Composite boards offer a warmer, wider visual band than a narrow plastic strip, with less routine painting than many wood products. They are not all equally flexible: thicker profiles suit straight runs better than tight curves, and some need pre-bending or special connectors. Use the manufacturer’s span and anchoring instructions so that long runs do not bow between stakes.
Brick and concrete pavers: a border that belongs to the path
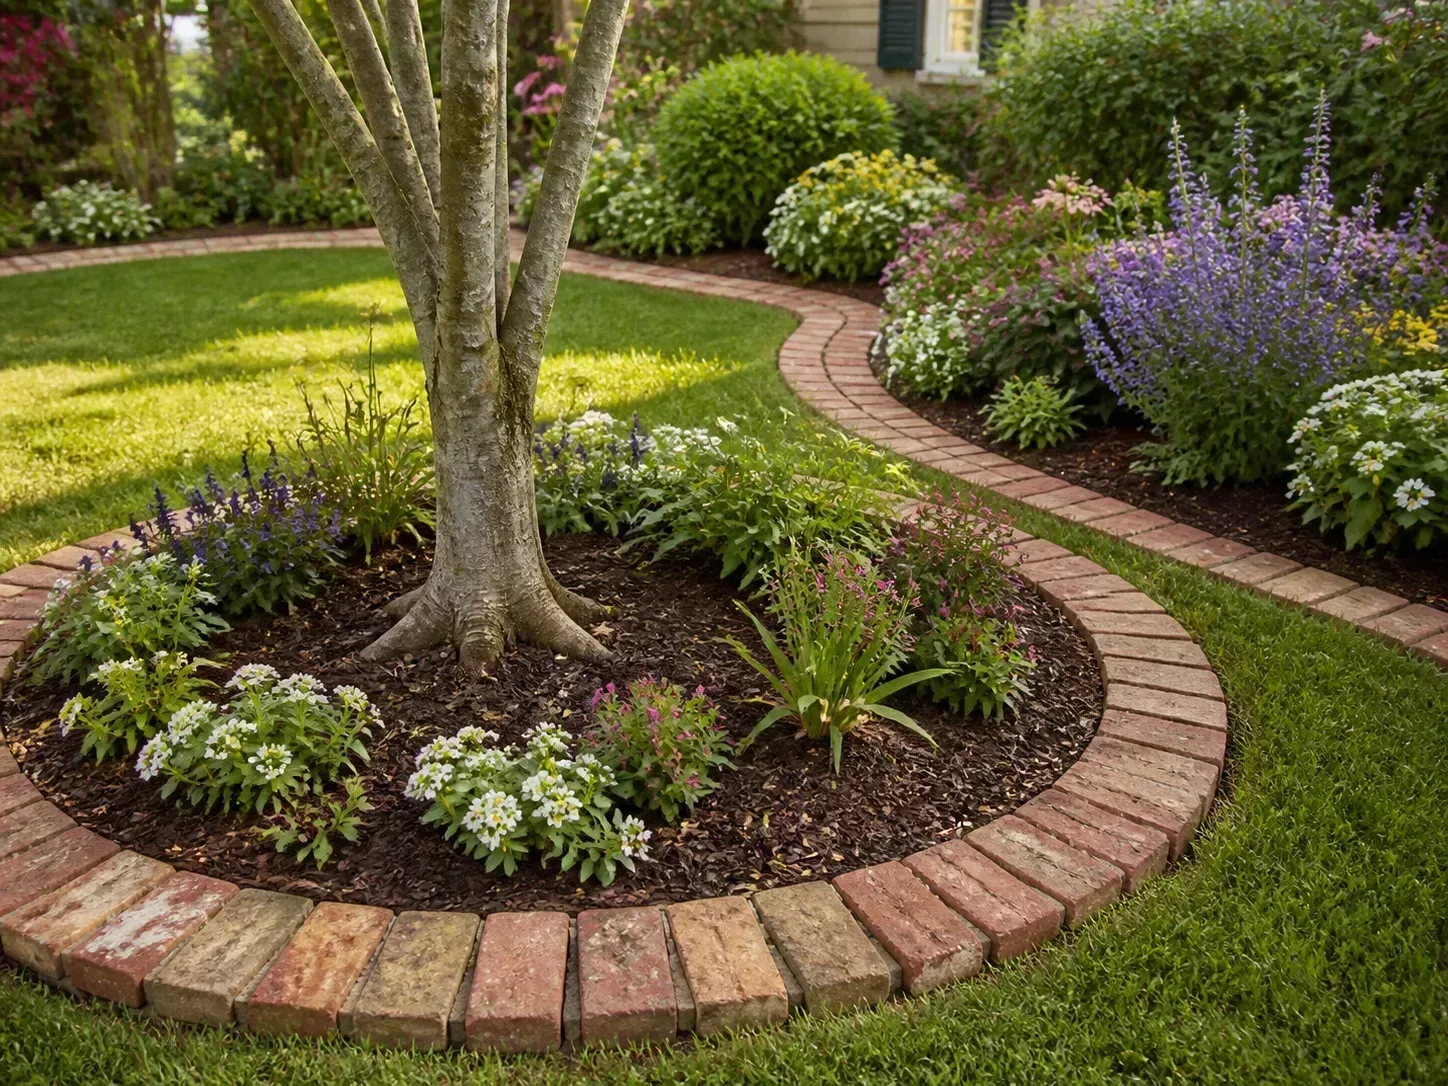
Brick or small concrete pavers make a durable, visible edge that can echo the surface of a patio or walk. Set on edge, laid flat as a mowing strip, or arranged in a contrasting soldier course, they can define a path while making the border part of its design. Small units also handle curves more gracefully than long rigid slabs because each piece can turn slightly.
For a border that must stay put, prepare a firm, even bed rather than setting the bricks loosely on top of turf. The exact base depends on soil, climate, and whether the edge supports foot traffic or holds paving; a stable, compacted foundation reduces settling and rocking. In freeze-thaw climates, use outdoor-rated paving units and a build-up suited to local conditions. A border that is only decorative may tolerate minor movement, but wobbly units along a walking line can catch a toe or mower.
Mortar can make a rigid, finished edge, but it is harder to adjust when the ground shifts or a utility repair requires access. A dry-laid border can be easier to reset, though it needs enough confinement at its sides and a base that will not wash out. Choose paving brick rather than an untested soft brick, and decide whether the top should sit flush with the turf as a mowable strip or rise as a visible boundary.
Natural stone: texture and weight
Stone edging suits gardens where a manufactured line would feel too formal, and it can tie a path, patio, and planting area together through repeated texture. Cut stone setts or uniform blocks create a tidy edge; irregular flagstone scraps, fieldstone, and boulders create a looser, more natural one. Larger stones have visual weight and can help mark a transition without introducing a tall fence-like border.
The trade-off is fit and stability. Irregular pieces take more sorting and placement to create a continuous line, and gaps may allow fine gravel or soil to escape. If a stone border sits beside a walking surface, set its top to a consistent, safe height and anchor pieces that could tilt. Use flatter, more uniform units for a path edge where wheels, canes, or bare feet may pass; rough stacked rocks are better as a garden boundary than as a clean walking margin.
Stone is durable, but placement can be labor-intensive, and larger pieces may require equipment or help. A loose pebble accent beside a path is not the same thing as a secure edge restraint: small stones can migrate onto the walking surface, into a drain, or into a lawn. Think through leaf cleanup, snow shoveling, and mower access before building a border that is difficult to reach.
Concrete: continuous, permanent restraint
Poured concrete edging creates a continuous line with few joints, which makes it useful as a mowing strip or a firm boundary for gravel and paving. It can be plain and narrow, broad enough to step on, or finished with color, exposed aggregate, or a textured top. A poured curb is a good fit when you want the edge itself to be crisp and long-lasting and are comfortable with a more permanent installation.
Concrete is less forgiving than modular brick or stone. Soil movement can crack or tilt it, and replacing a section may be conspicuous; formwork, grading, and reinforcement details affect the finished result. Keep water moving away from buildings and avoid forming an unintended dam across the low side of a patio. If the edging doubles as a substantial retaining wall, or must manage steep grade changes, its drainage and structural design deserve more than a standard garden-curb detail.
Distinguish a cast-in-place curb from concrete pavers. Pavers are individual units in a flexible system and generally need a compatible restraint at their outside edge. A concrete mowing strip may define the lawn beautifully but not be the right installation for a patio’s paver field unless it has been designed and built to perform that restraint role.
Wood and timber: warm, simple, and replaceable
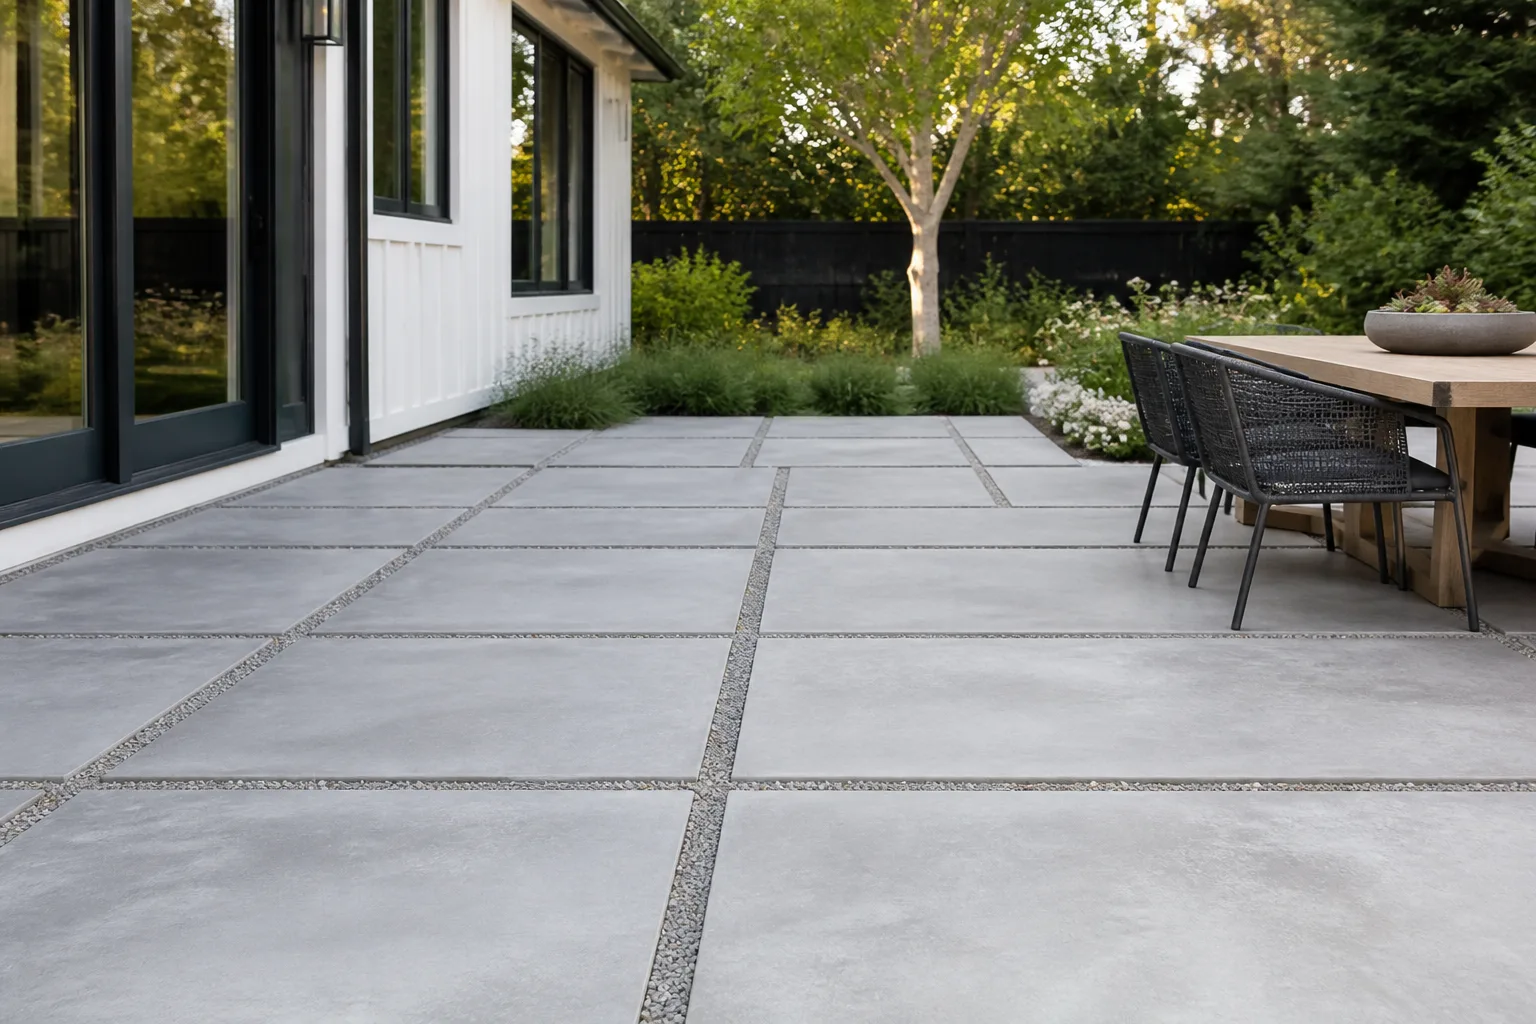
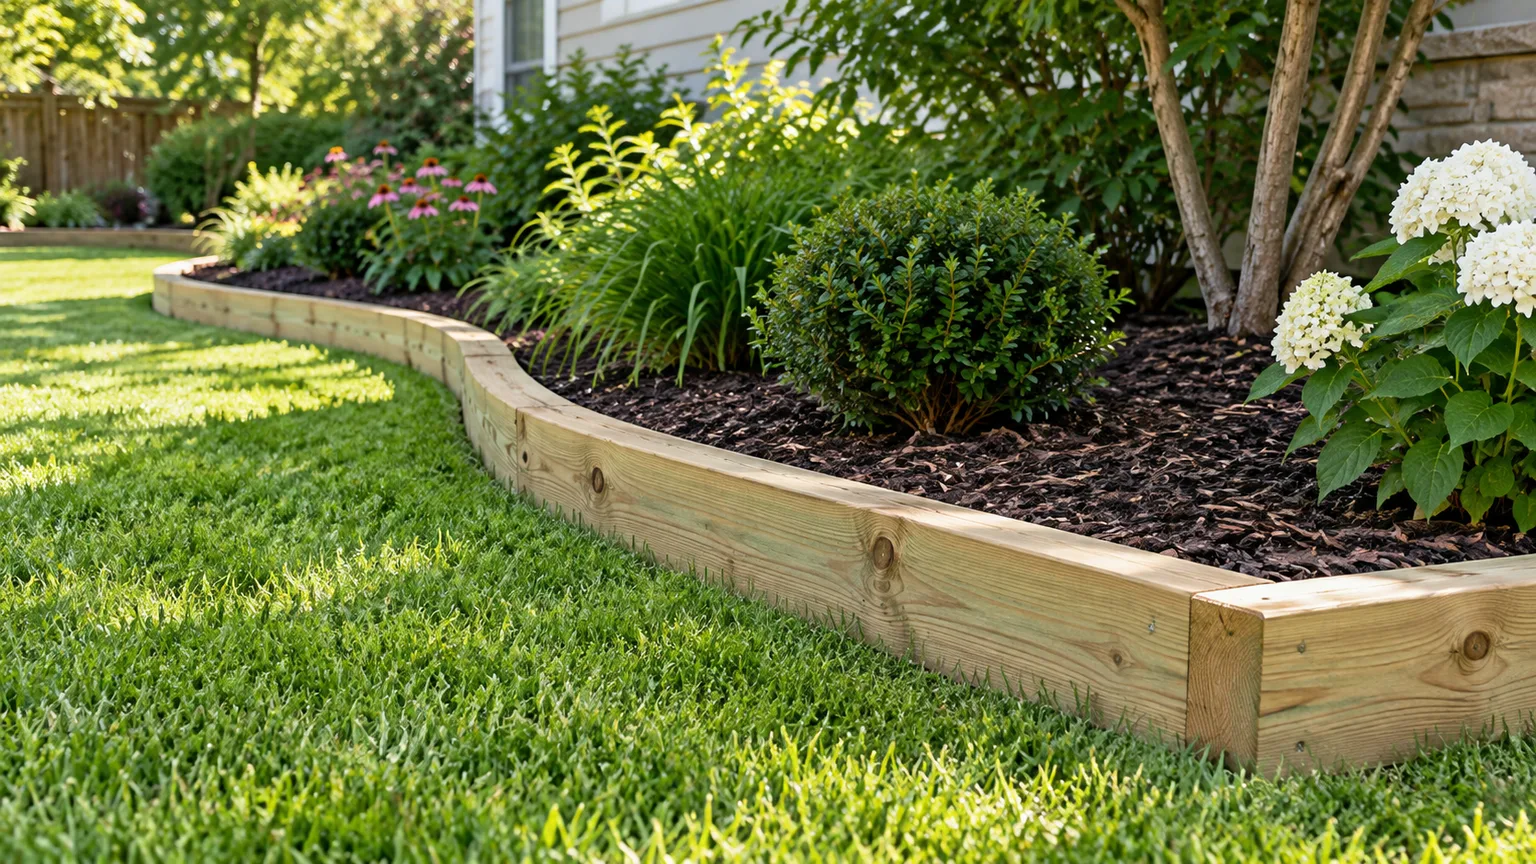
Wood has a softer look than metal or concrete and can blend a path into a woodland, cottage, or informal garden. Landscape timbers, boards, logs, and flexible bender board each create a different profile: a board makes a long, straight edge; small logs create a rustic border; thin bender board can follow broad curves. Timber edging can also create a low physical boundary beside a loose path.
The material’s service life depends on moisture exposure, wood species, treatment, soil contact, and the way the ends are protected. Use a product made for its intended ground-contact situation, keep water from ponding against it, and expect that wood may need replacement before stone, metal, or concrete. Where the edging contacts vegetable beds or children’s play areas, check the product labeling and local guidance rather than reusing unknown treated lumber, old railroad ties, or salvaged wood with an unclear history.
Wood is straightforward to cut and adjust, but long boards can bow on curves, and tight curves may need a flexible board or many short sections. Fasten corners and joints so that they do not open as the wood dries or the ground moves. A timber border can be a practical compromise when you want a visible, low edge that is easy to repair, not a permanent masonry feature.
Compare the materials before you buy
The same material can perform differently depending on its thickness and installation, so treat this table as a shortlist rather than a guarantee. For paver patios in particular, use a product built and installed for that system; an edging strip meant for garden beds is not automatically an equivalent restraint.
| Material | Strongest fit | Curves | Upkeep and trade-off |
|---|---|---|---|
| Steel or aluminum | Slim boundary for gravel, lawn, or planting | Good with flexible profiles | Low routine care; quality and staking determine whether it stays straight |
| Plastic or composite | Budget separation around beds and light paths | Good to moderate | Easy to cut; thin strips can lift, bow, or look wavy |
| Brick or concrete pavers | Visible border that coordinates with paving | Good with small units | Can settle or rock; individual units can be reset |
| Natural stone | Informal garden edge and textured transitions | Good with small pieces; less so with large blocks | Durable but slower to fit; irregular tops may complicate walking and mowing |
| Poured concrete | Continuous curb or mowing strip | Limited without curved forms | Few joints, but difficult to alter and may crack as soil moves |
| Wood or timber | Warm, low border that can be replaced | Moderate with bender board; poor with long rigid boards | Can decay in wet soil; inspect and replace as needed |
| Cut trench | Low-cost division between turf and bed | Excellent | Recut periodically; does not hold loose aggregate or paving |
When comparing prices, include more than the visible material. Stakes, connectors, base aggregate, compaction, cuts, delivery, and the time needed to shape curves can change the project total. A cheaper strip that moves every season may cost more in repairs than a sturdier profile installed once with the right base.
Pair edging with the surface it contains
An edge should respond to the material beside it. It needs enough height to hold the surface, enough strength to resist movement, and a top profile that does not interfere with feet, wheels, mowers, or drainage.
Gravel and decomposed-granite paths
Loose aggregate is easiest to maintain when its edge is continuous and stable. Metal edging, a robust plastic or composite product, timber, brick, or a row of set stone can work, but the right choice depends on aggregate depth and how much traffic the path receives. Keep the top edge near the finished walking surface if the path is meant to be crossed by a mower or cart; raise it only when a visible border is useful and does not create a trip hazard.
A path made from compactable fines behaves differently from rounded pea gravel. Fine, well-graded aggregate can knit together when compacted, whereas uniform round pebbles roll and scatter more easily. If a path needs to remain firm for a wheelchair, walker, stroller, or delivery cart, surface material and compaction matter as much as the edging. The U.S. Access Board’s surface guidance emphasizes firm, stable walking surfaces; its outdoor developed areas guide notes that crushed stone, fine crusher rejects, packed soil, and stabilizers can provide firm and stable surfaces in some less-developed settings. Loose gravel varies, so do not assume that every gravel path will roll well.
Containment is not drainage. If rain runs down a gravel path, direct it across or away from the path in a controlled way instead of letting the edging create a channel that washes aggregate downhill. Check the flow after a heavy rain and add a cross-slope, drain detail, or erosion protection when needed.
Paver patios and walks
Individual pavers need confinement around the perimeter because repeated use can push outside units outward and open joints. Choose a restraint made for the paver type, base, and load; install it against the compacted base at the depth and with the fasteners specified by its manufacturer. If the installation uses a concrete curb as restraint, it must be designed to do that job rather than simply placed nearby as decoration.
The base is part of the edge system. Oregon State University Extension’s 10-step paver guide includes grading, compacted base, edge restraint, bedding, and joints as connected steps. Its example calls for a slope away from a house; follow the paving manufacturer and local construction requirements for your own site so water moves away from the building without discharging onto a neighbor or eroding a slope.
Treat transition points carefully. At a path entrance, patio step, drain, or lawn border, the restraint should not stand above the walking surface where it can catch a toe or wheel. If the patio meets a building, retain the required clearance and direct surface water away from the foundation; a neat edge is not worth creating a wet wall or blocked drain.
Flagstone and stepping-stone paths
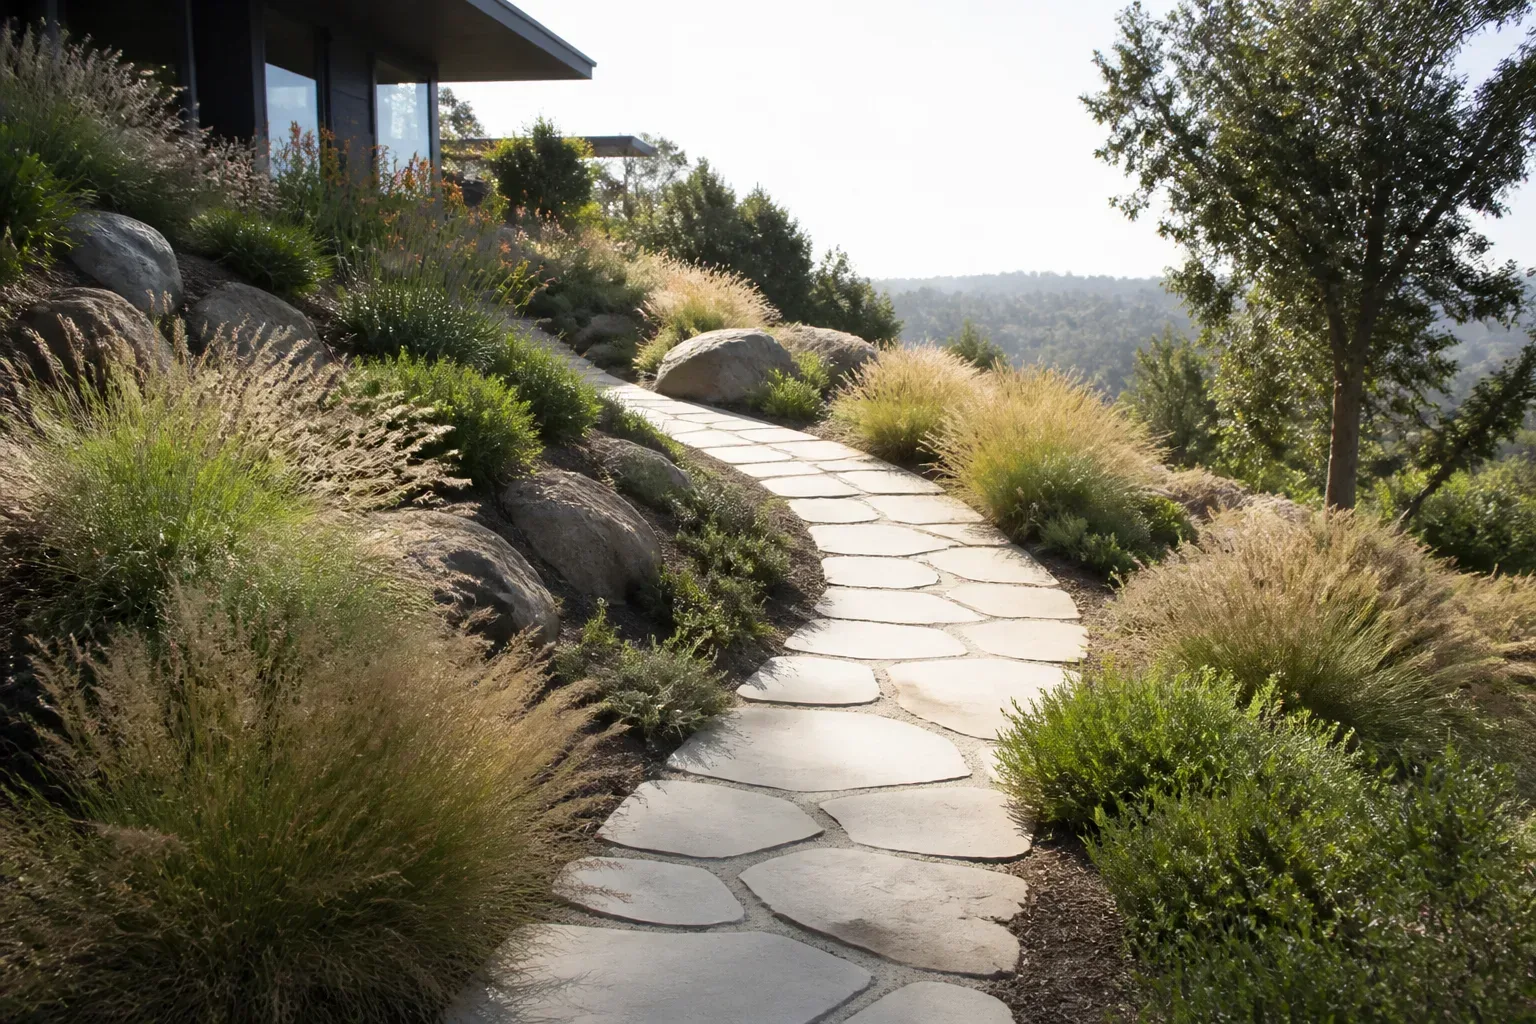
Large flagstones and stepping stones need stable support under the stones and thoughtful spacing between them. A perimeter edge can keep gravel, soil, or groundcover from drifting into the path, but it cannot prevent a poorly bedded stone from rocking. Level each walking stone for its intended use and avoid leaving one corner high where a foot or small wheel may catch.
Irregular flagstone creates charming gaps, but the path is harder to roll across than a smooth, closely fitted surface. If the route needs to be firm and predictable, use flatter pieces with a consistent tread and choose a compactable, maintained joint material. For an informal garden trail, softer edges such as low groundcover or a natural soil line may be preferable to a rigid curb.
Plan levels, water, roots, and seasonal movement
Before buying materials, mark the route with a hose or rope and walk it from both ends. Check where it curves, how it meets doorways and lawns, whether a mower can cross it, and where rainwater will travel. A path that looks clean on a plan can create an awkward pinch point in the yard or send runoff toward a basement window once the edge is installed.
Set the finished heights before digging. The top of an edge can sit below the surface for a seamless lawn transition, nearly flush for a mowable strip, or slightly above loose aggregate to contain it. Confirm that this height will not block water, bury nearby plant crowns, expose a sharp rim, or create an unexpected step at a doorway.
Soil and climate affect how rigid materials behave. Clay that swells when wet, sandy soil that does not hold stakes, freeze-thaw cycles, tree roots, and poor compaction can all move an edge or the surface beside it. On unstable or sloped ground, stabilize the base and plan the water route before installing a rigid border; the RHS guide to permeable paving is a useful reminder to consider runoff and infiltration as part of hardscape design, not as an afterthought.
An edge that retains a shallow layer of gravel or mulch is not necessarily a retaining wall. If it will hold back a meaningful height of soil, support a patio, carry vehicle loads, or change how water moves down a slope, evaluate it as a structural and drainage problem. Get local professional help when the grade, nearby structures, or consequences of failure exceed a small garden border.
Avoid the failures that make an edge look worse
The most common mismatch is using a decorative edging strip to restrain a working path or paver patio. A narrow border may look strong in the store, but its stakes and profile may not resist lateral pressure from deep aggregate, frequent use, or a shifting base. Verify the intended use and install it with the correct connectors and anchoring system.
Another mistake is treating the edging as the fix for poor grading. A barrier can trap runoff, direct it at a foundation, or send it racing down a slope. Shape the surface first, choose a safe route for excess water, and make sure permeable gaps are not being confused with a complete drainage plan; water still needs somewhere to go.
Avoid choosing a top height without considering maintenance. A tall stone or metal lip can interrupt mowing and become a toe-catcher, while a buried edge may fail to contain gravel. Test a short section before completing a long run: add the actual mulch or gravel, run a mower or cart alongside it if relevant, and check how the border meets the path at each end.
Finally, do not make the whole yard a catalog of unrelated borders. Repeating one or two materials often makes a landscape feel more coherent than switching from timber to brick to concrete at every bed. Gardenista’s path and paver design guide similarly frames paving as a choice that should work with the house, feel underfoot, and fit the surrounding garden. A consistent material palette can still include different edge heights and profiles where function demands them.
Conclusion
Choose landscape edging by the pressure and conditions it must handle: bed separation, gravel containment, paver restraint, or a permanent concrete curb. Then narrow the options by the curve, walking surface, soil, drainage, installation effort, and amount of future maintenance you can accept.
For a light garden boundary, a trench, plastic strip, brick, or wood may be enough. For a loose path, use a secure edge that matches the aggregate and traffic; for pavers, use compatible restraint as part of a properly graded and compacted build. If the edge must hold back substantial soil or redirect water, solve that structural and drainage problem before choosing the decorative finish.



