Budget Backyard Privacy Ideas That Actually Work
Create backyard privacy on a budget with screens, trellises, plants, lighting, and smart furniture placement—plus costs, caveats, and setup steps.
You do not need a six-foot fence around the entire yard to make an outdoor space feel private. In many backyards, the uncomfortable part is one specific view: a neighbor’s deck, a second-story window, a busy sidewalk, or the gap beside the patio where everyone can see straight in.
The most economical solution is to block that view at the point where it matters, then soften the edges with plants, furniture, and light. This guide walks through six flexible privacy ideas and the decisions that make them work. You will also see where a cheap fix stops being cheap—usually when a plant outgrows its container, a screen catches wind, or a fast-growing vine becomes a pruning job.
Start With the View You Need to Block
Privacy is a sightline problem before it is a shopping problem. Stand where you normally sit, eat, or play, and look toward the source of the unwanted view. Then walk three or four steps in each direction. If the view disappears when you move slightly, you need a targeted screen, not a full boundary.
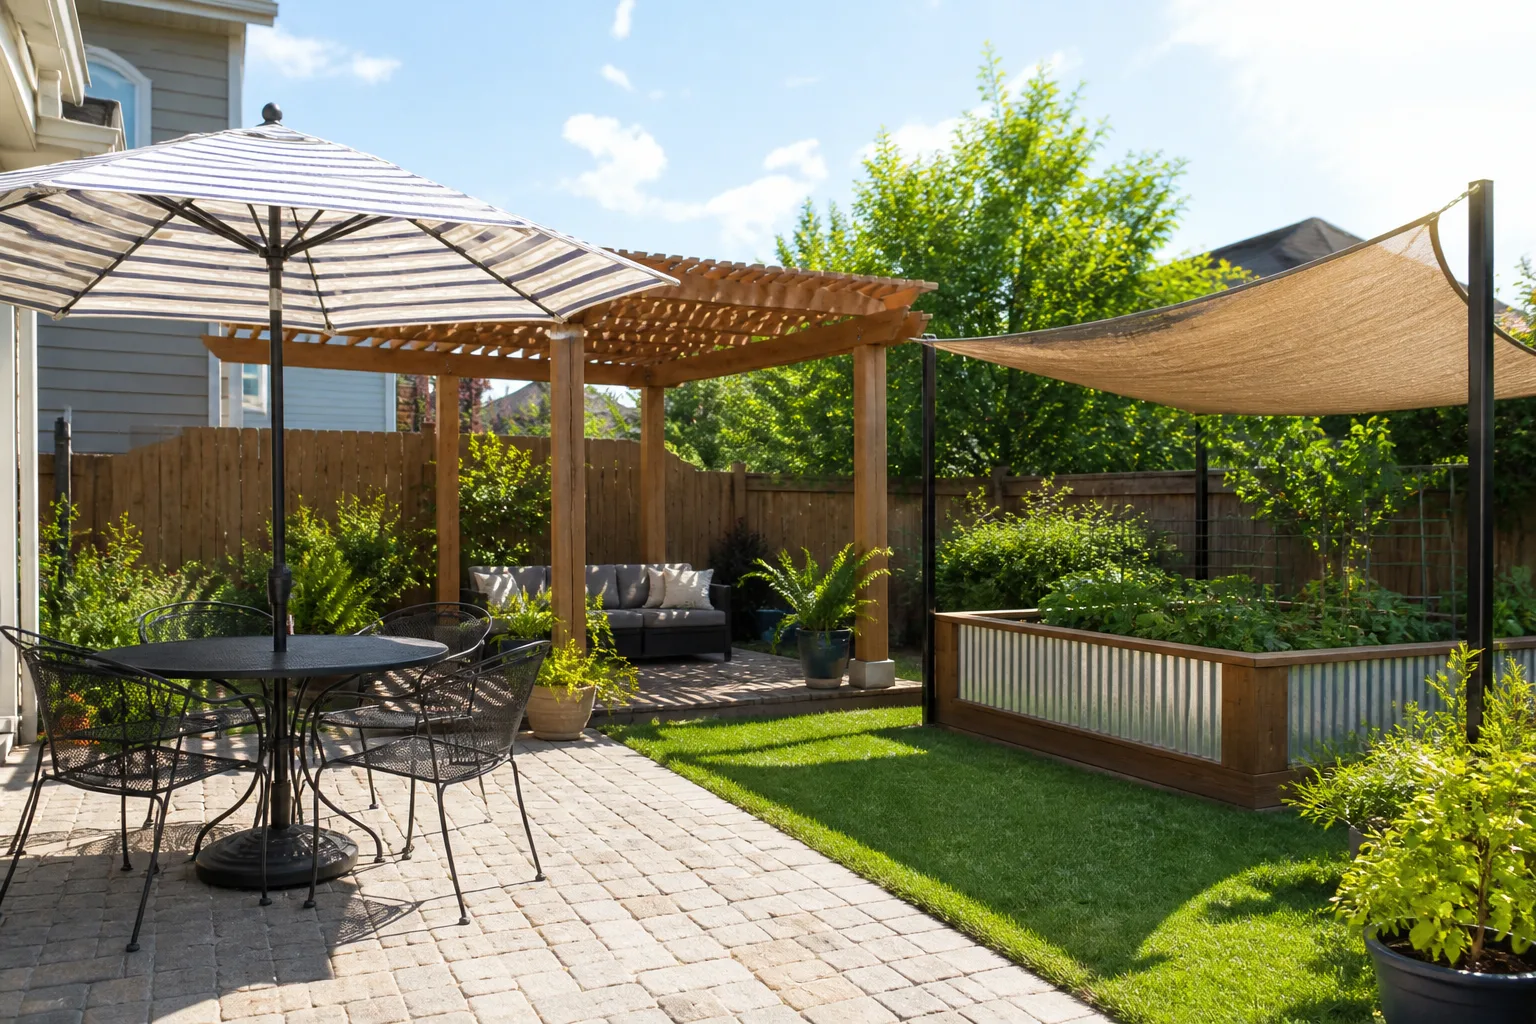
Use a three-point sightline test
Mark three positions: your seated eye level, your standing eye level, and the highest point that needs screening. A low planter may hide a seated person but do nothing for someone standing at a grill. A tall panel may solve the view but cast shade over a vegetable bed or violate a local height rule.
Take a quick photo from each position. A bamboo cane, broom handle, or temporary cardboard panel can act as a mock-up for a day. This small test prevents the most common budget mistake: buying a beautiful screen that is either too short, in the wrong place, or aimed at the wrong neighbor.
Choose the Right Privacy Fix for Your Budget
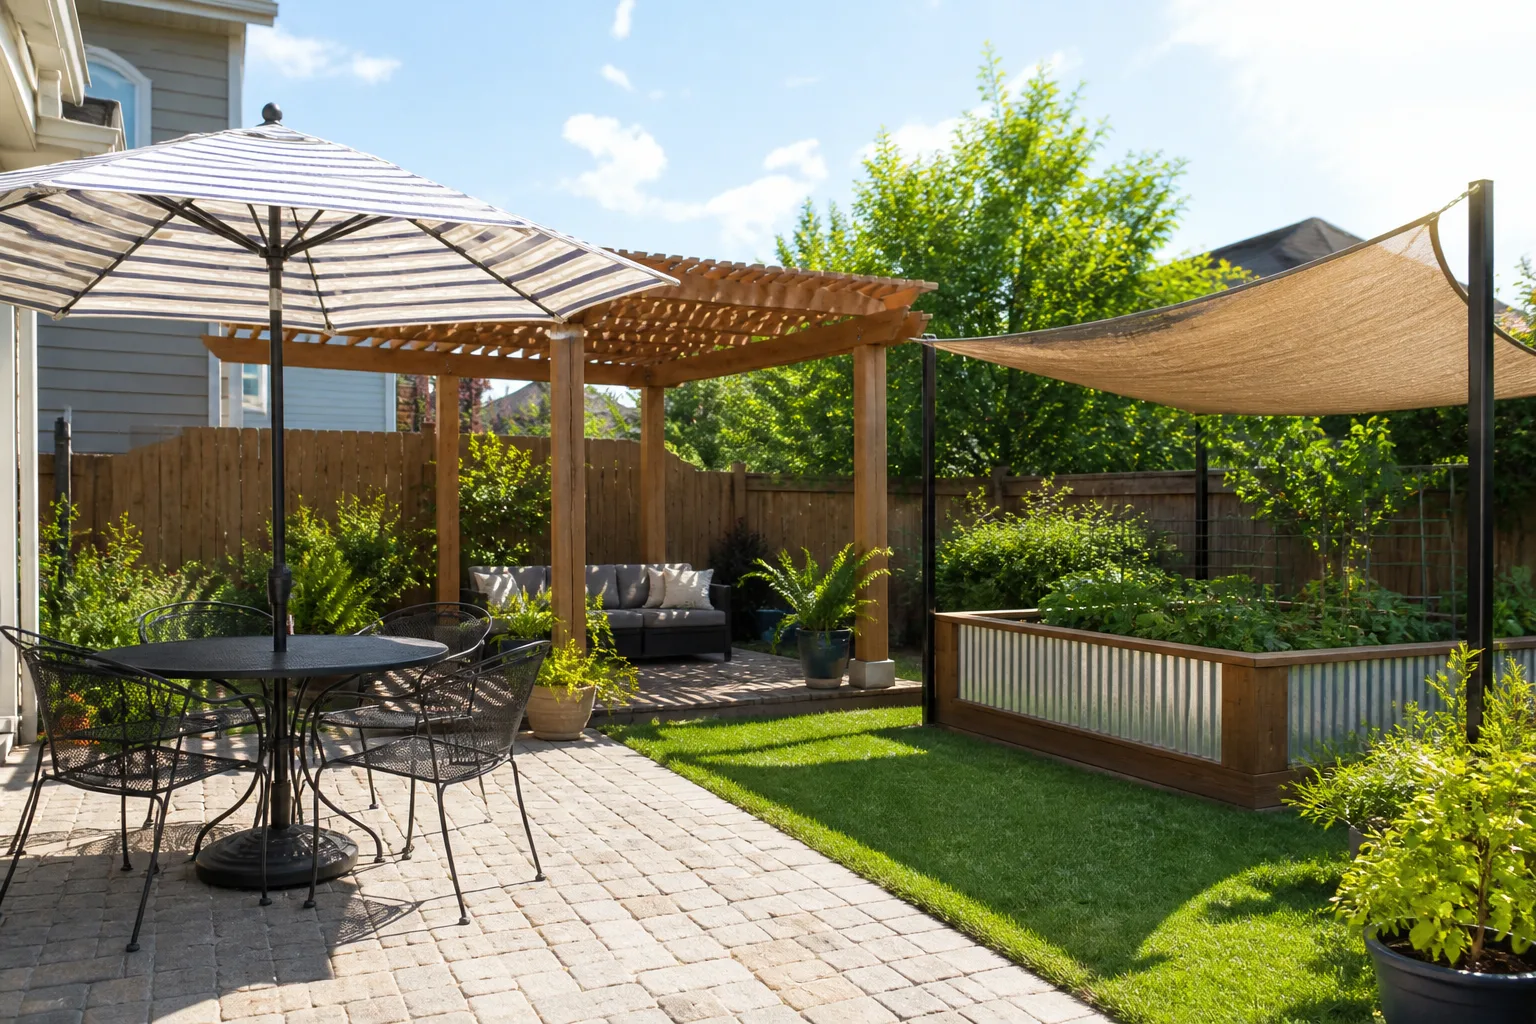
Think in three time horizons. If you need privacy this weekend, use a movable panel, outdoor curtain, umbrella, or furniture arrangement. If you can wait one growing season, use containers and a trellis with a suitable vine. If you want a durable green boundary, plant shrubs or a hedge and accept the watering and pruning that come with it.
| Fix | Privacy speed | Up-front effort | Ongoing work | Best use |
|---|---|---|---|---|
| Movable screen | Immediate | Low to medium | Low | One sightline or rental |
| Trellis and vine | Gradual | Medium | Medium | Vertical screening |
| Container plants | Immediate to seasonal | Medium | Medium to high | Patio or deck |
| Layered planting | Seasonal | Medium | Medium | Soft, natural boundary |
| Hedge | Slow | Medium to high | High | Long-term property edge |
| Lighting and seating | Immediate at night | Low | Low | Making a zone feel enclosed |
The least expensive plan often combines two modest fixes instead of one oversized one. For example, a narrow screen can block the neighbor’s window while a row of containers hides the panel’s base. You spend less than you would on a full wall and retain the option to move or change the arrangement.
Add a Movable Screen Where Privacy Is Immediate
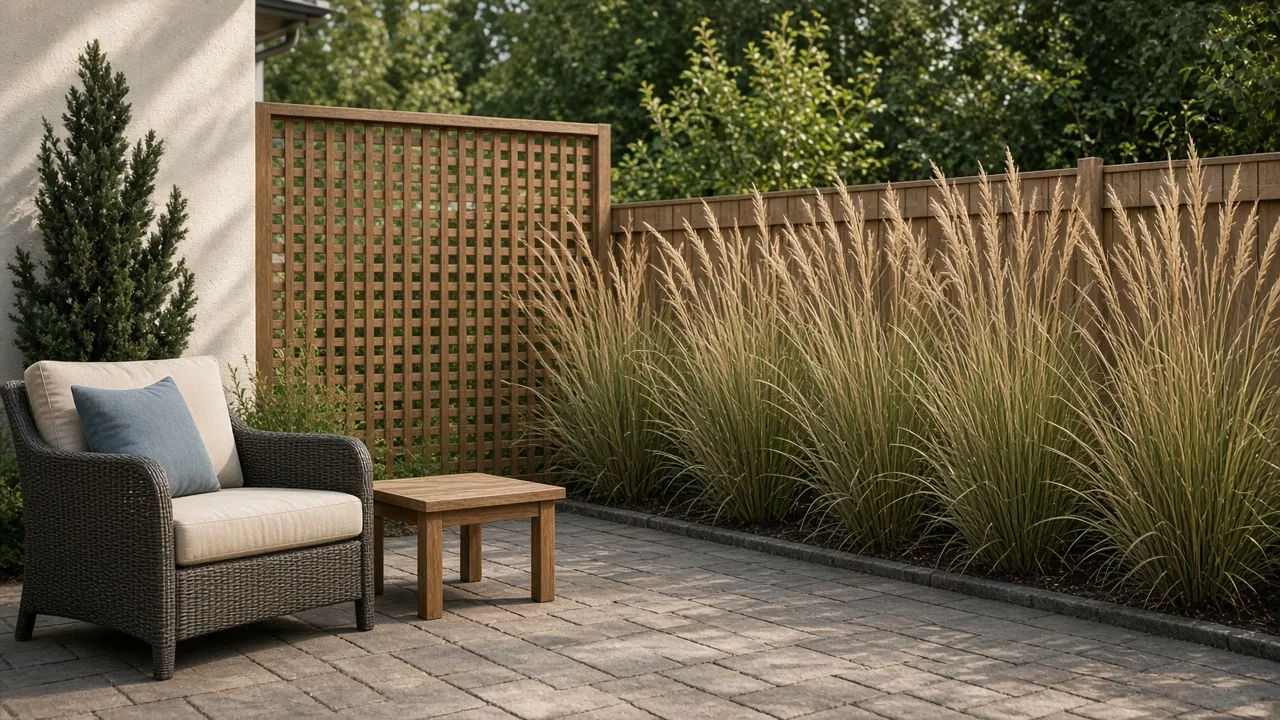
A folding screen, slatted panel, lattice panel, or outdoor curtain is the fastest way to create a private corner. Place it perpendicular to the view rather than parallel with the fence when possible. That orientation can shield the seating area with less material and create a defined “room” without making the yard feel boxed in.
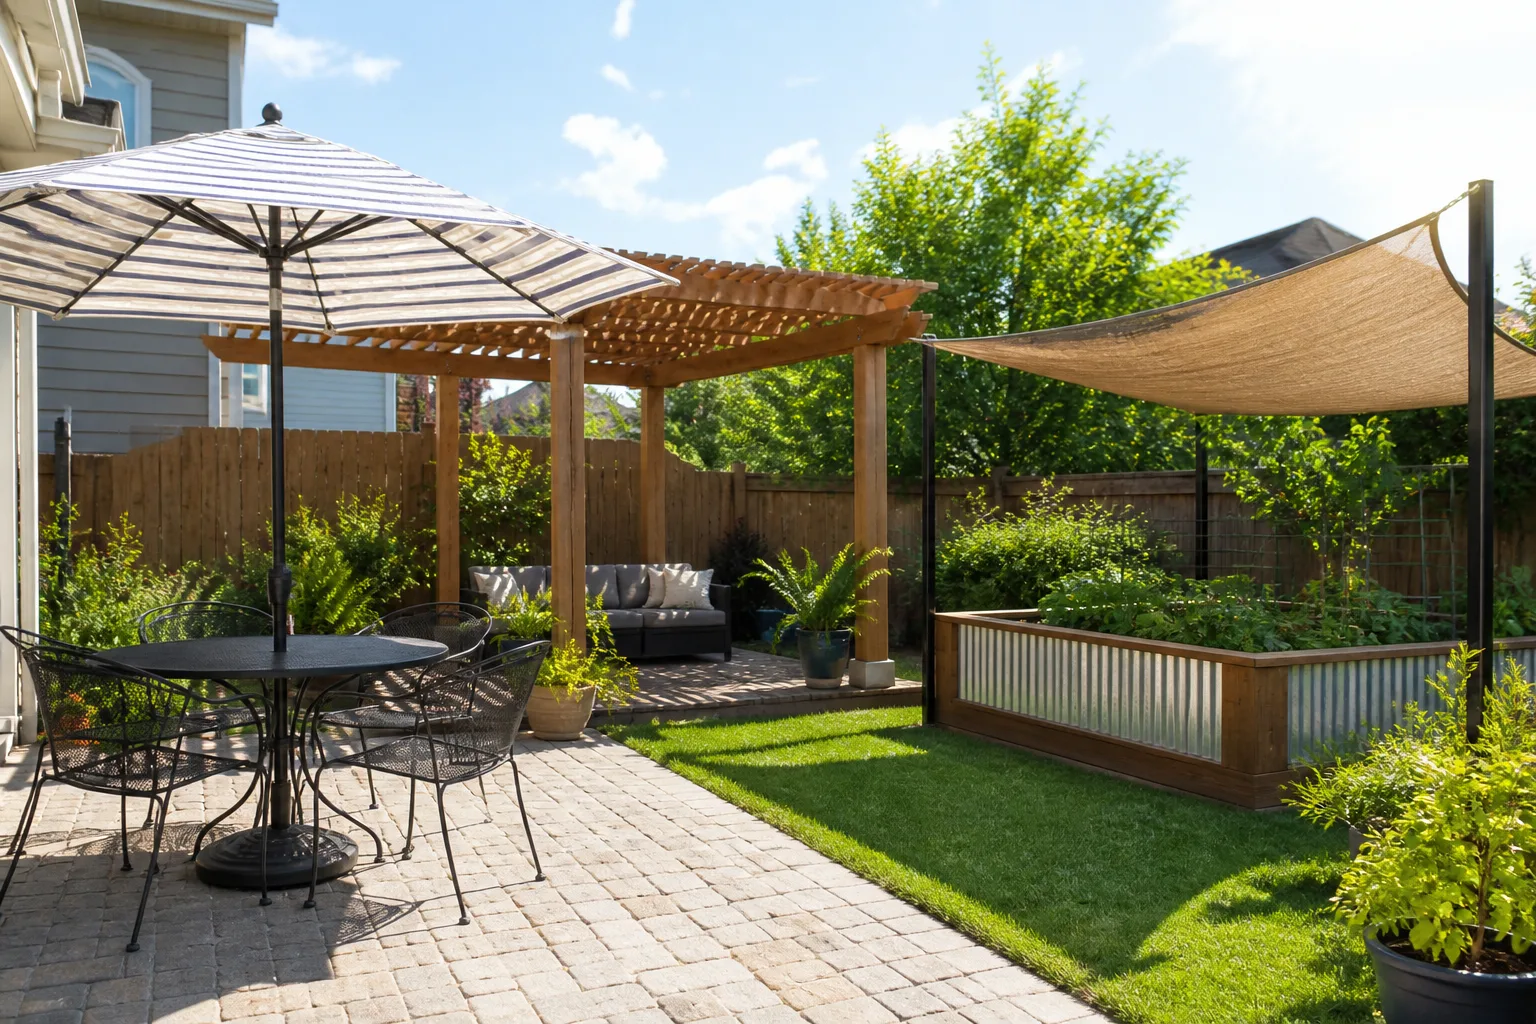
Choose a panel with enough visual openness to let wind pass through. A completely solid sheet behaves like a sail, especially on a deck or exposed patio. Anchor the panel to a heavy planter, a properly weighted base, or a post designed for outdoor use; do not rely on a light decorative pot filled with dry soil.
Before buying, check the panel’s actual height and width, the material’s weather resistance, and whether replacement hardware is available. A cheap panel that twists after one storm is not a bargain. Renters can use weighted planters and freestanding screens, while homeowners who want permanence can adapt the same visual idea into a post-and-lattice installation.
Turn a Trellis Into a Living Wall
A trellis gives a narrow space vertical structure without the footprint of a hedge. It can screen a balcony, hide a utility area, or interrupt a direct view toward a seating nook. The frame provides some privacy immediately, but the living layer is what makes it feel integrated over time.
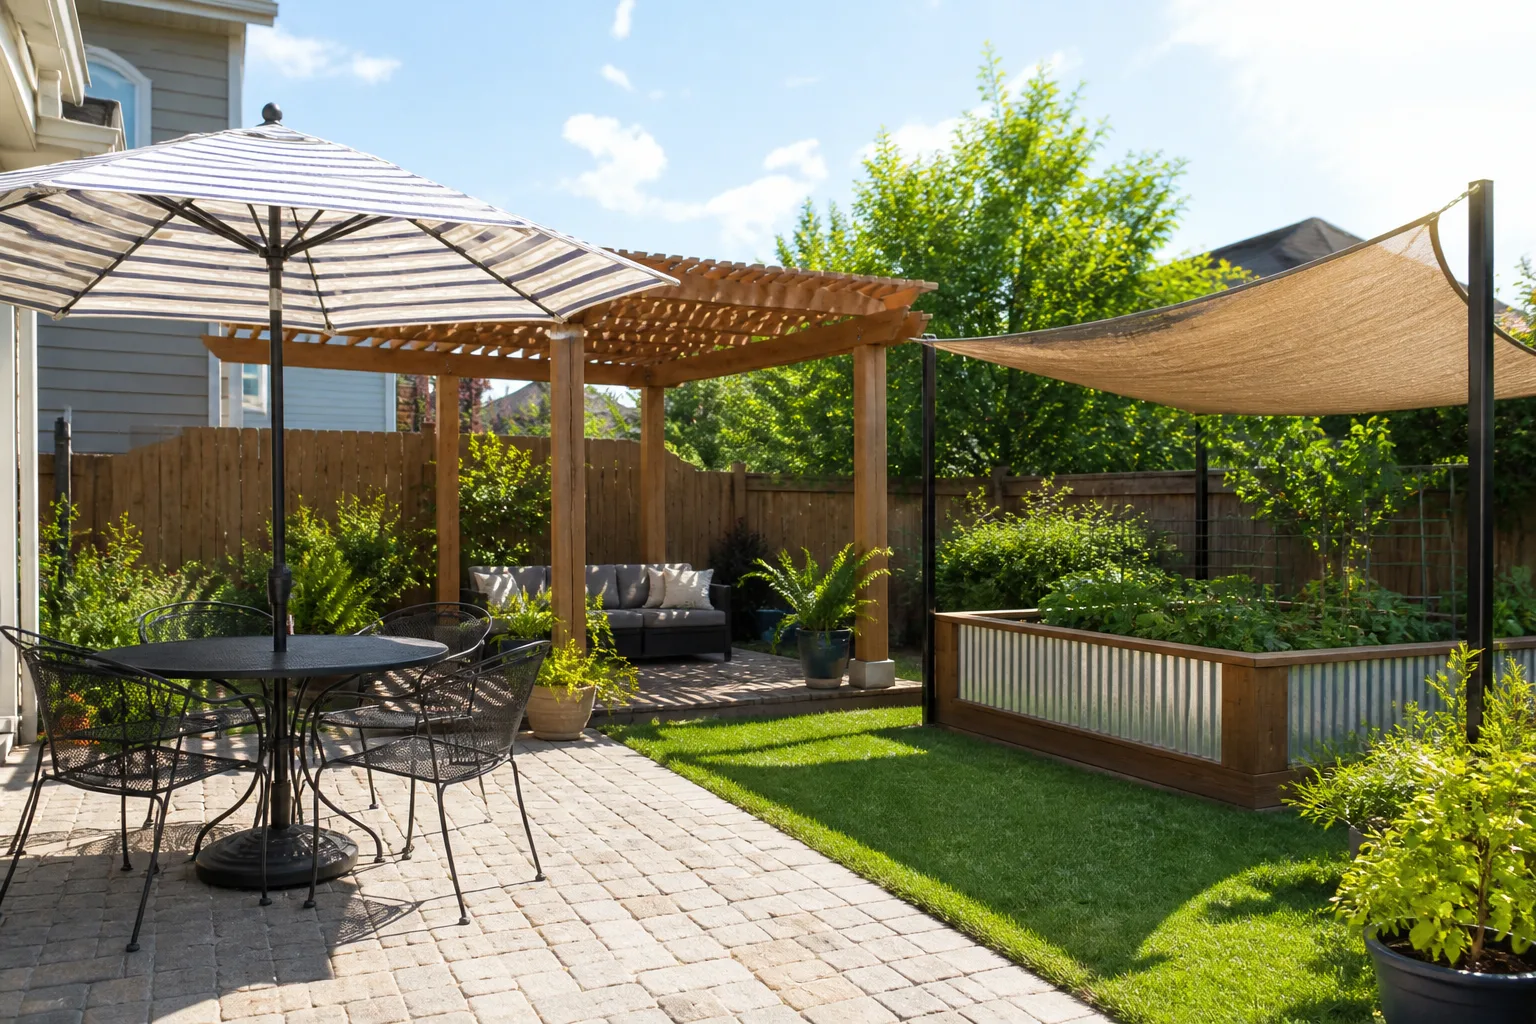
Pick vines for your climate and structure
Match the vine to the support, not the other way around. Lightweight annual vines can cover a seasonal trellis, while woody climbers may eventually require a stronger frame and more room at the roots. Clematis, jasmine, climbing roses, and other vines differ dramatically in climate tolerance, pruning, mature weight, and whether they need twining wires or ties.
Avoid planting an aggressive vine simply because it grows quickly. Fast coverage can mean heavy stems, constant trimming, or a plant that escapes into trees and neighboring property. Read the mature size and local invasive-plant guidance, and ask a local nursery or extension office for a species that is both vigorous and manageable in your area.
Leave a small air gap between a trellis and a wall or fence when the design allows it. Better airflow reduces trapped moisture, and a free-standing frame is easier to inspect and repaint. Keep the vine’s base watered during establishment, but do not turn a container into a swamp; drainage matters more than a deep saucer of standing water.
Use Containers to Put Greenery Exactly Where It Helps
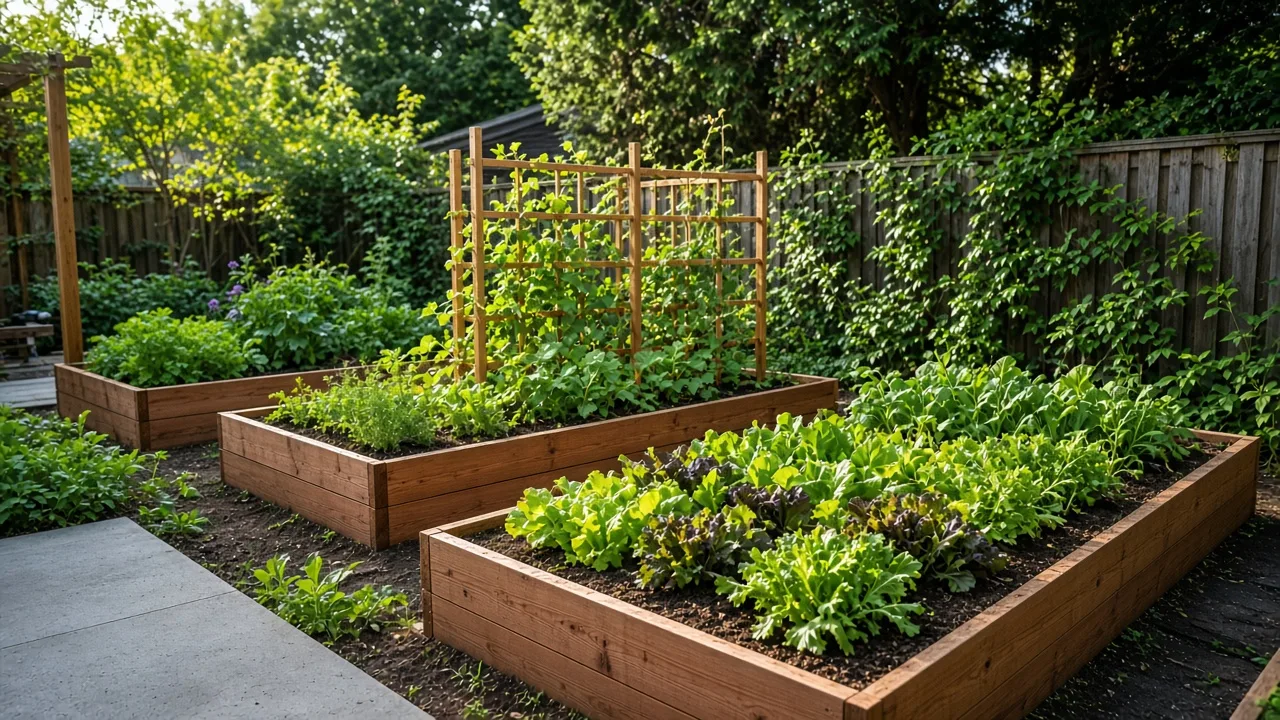
Large containers let you move privacy to the place where people actually sit. A tall planter with an upright shrub, ornamental grass, or trellised vine can screen a dining table without forcing you to redesign the whole yard. Containers are also useful when roots, paving, or rental rules make in-ground planting impractical.
The trade-off is maintenance. Containers dry faster than garden soil, heat up at the roots, and become top-heavy when a tall plant catches wind. Use a pot with a drainage hole, choose a width that can support the plant at maturity, and group two or three containers so each does not have to be unnaturally tall.
For a polished look, repeat one container color or material and vary the plant heights. A single oversized pot often looks more intentional than a row of tiny mismatched pots, but a group can be easier to stabilize and move. If you are screening a deck, check the combined weight of pots, wet soil, and plants before adding them near an edge.
Layer Plants Instead of Building a Solid Barrier
A layered planting looks private without behaving like a wall. Place the tallest plant or structure where it blocks the key sightline, use a middle layer to fill gaps, and add a low layer to make the boundary feel finished. The eye reads overlapping shapes as depth, so you can achieve a secluded feeling with fewer plants than a perfectly dense row.
Combine height, density, and seasonal coverage
Use evergreen structure where winter privacy matters, then add deciduous shrubs, grasses, or perennials for seasonal texture. In warm climates, some plants may remain leafy year-round; in colder climates, a summer screen can become transparent in winter. Decide whether you need privacy in January or mainly during outdoor dining season before paying a premium for evergreen coverage.
Spacing is not a race to fill every gap on planting day. Follow the plant’s mature width and the conditions at the site. Overcrowded shrubs compete for water and airflow, develop thin interiors, and require more pruning. A staggered arrangement can close a view more efficiently than a straight line, but leave enough access to water and maintain each plant.
Fine Gardening’s landscape guidance emphasizes treating privacy as part of the overall garden composition rather than an afterthought. That is a useful budget principle: select plants that also provide shade, habitat, fragrance, flowers, or screening from an unattractive feature, so one purchase solves more than one problem.
Create a Privacy Hedge Without Wasting Plants
A hedge is the most familiar living screen, but it is rarely the cheapest immediate solution. Young shrubs look sparse for several seasons, and buying too many to create instant density leads to crowding later. Measure the planting run, note the mature width, and calculate the number of plants from the recommended spacing rather than from the gap you see today.
Choose the hedge’s final height based on the view. If the neighbor’s eyes are above your fence, a low border will not help. If you only need to hide parked cars or a patio edge, a waist-high hedge may be enough and will be easier to prune. Research local restrictions around property lines, visibility at driveways, and protected trees before digging.
Plan irrigation before planting. A living screen that receives irregular water may grow unevenly, shed leaves early, or fail in the first hot season. Mulch the root zone without piling it against stems, and keep a narrow path for pruning. The Royal Horticultural Society’s hedge guidance is a good reminder that selection, spacing, and early establishment determine whether a hedge becomes a useful boundary or an expensive line of stressed plants.
Use Lighting to Redirect Attention After Dark
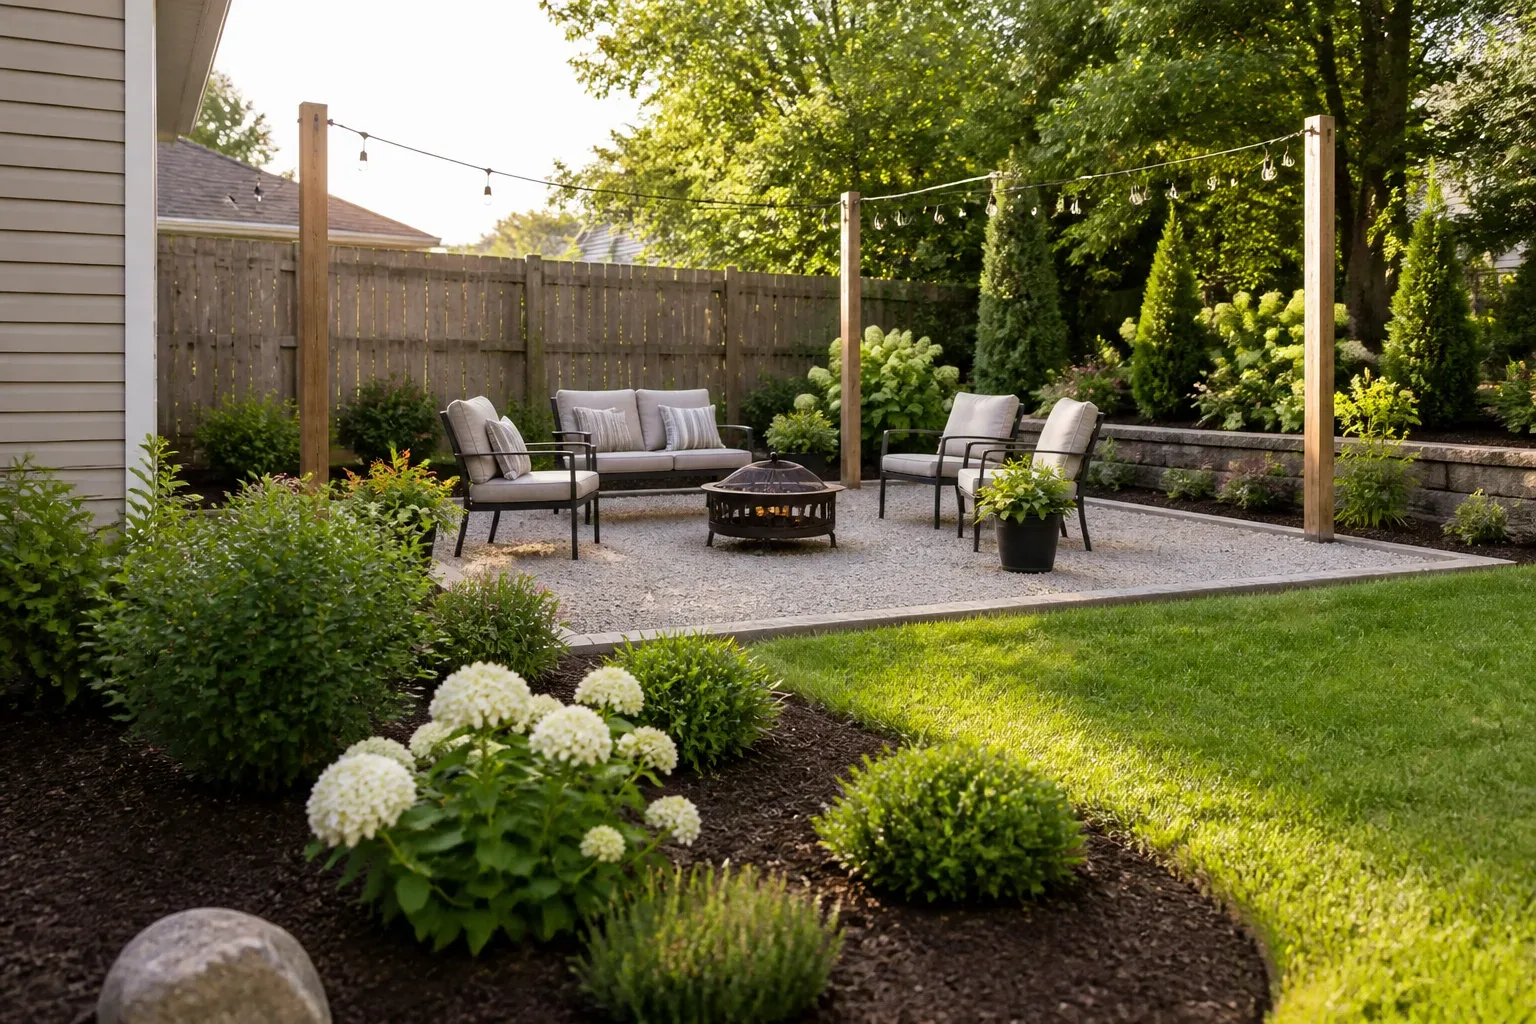
Lighting does not create physical privacy, but it changes where people look and how enclosed a space feels at night. A warm, low-glare light near the seating area, a few lanterns among plants, or restrained uplighting behind a screen can make the patio feel like a destination instead of an exposed stage.
Keep the light aimed downward or toward your own planting. Bright lights pointed across a property can create glare, annoy neighbors, and make the surrounding darkness feel even more prominent. Use outdoor-rated fixtures, protect connections from moisture, and follow the manufacturer’s instructions for extension cords or low-voltage systems.
Lighting works best after you have arranged the space. It should reinforce the private zone, not illuminate every boundary equally. If daytime privacy is the real problem, treat lighting as the finishing layer rather than a substitute for a screen or plant.
Arrange Furniture as a Privacy Tool
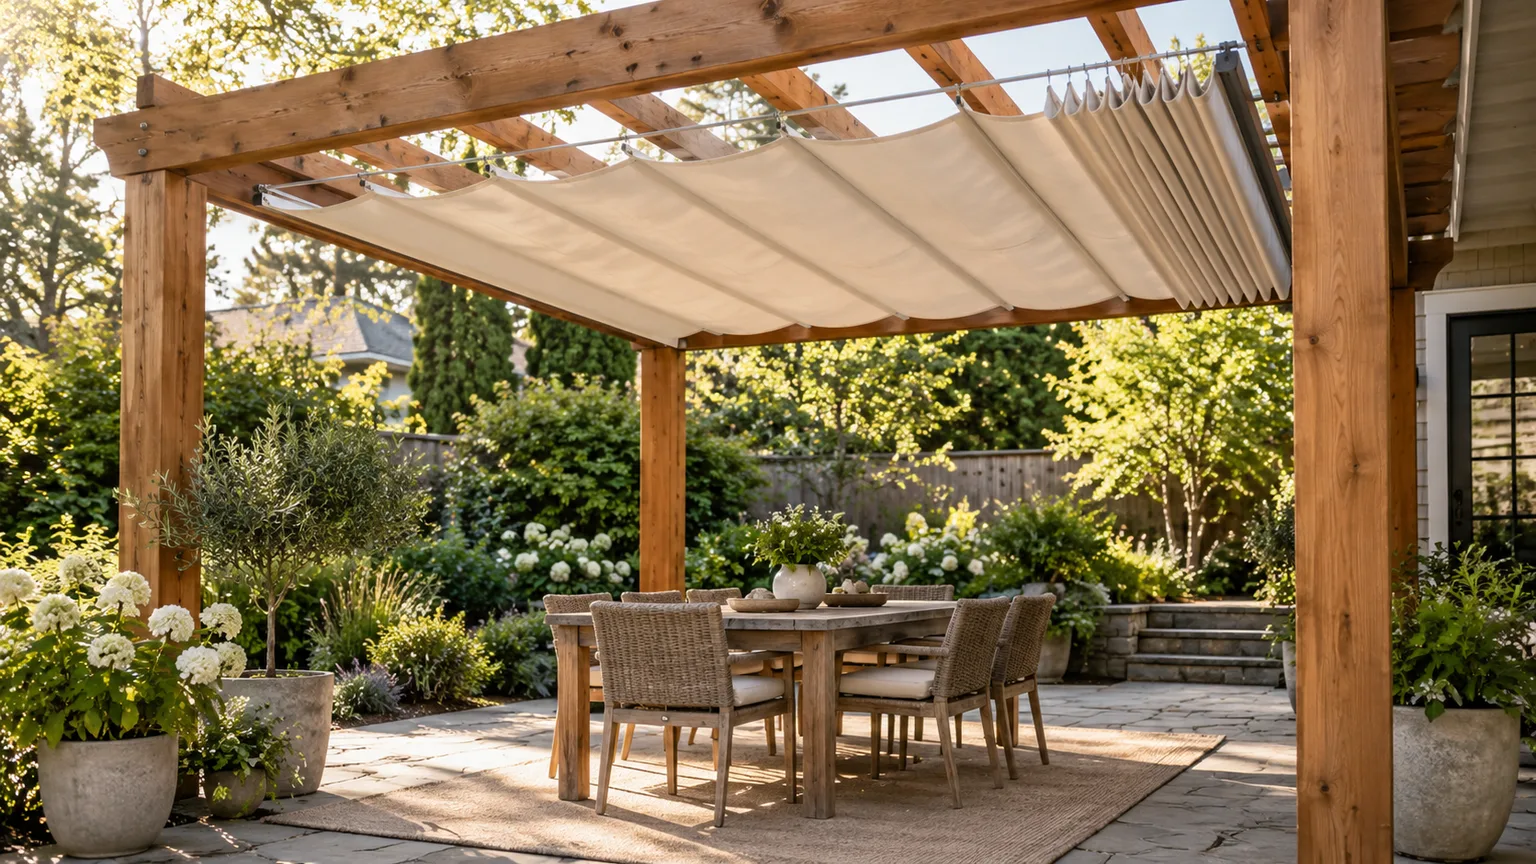
Furniture can block a low sightline while defining how the space is used. Put the back of a bench or sectional toward the unwanted view, angle chairs toward a garden focal point, and place a narrow console or planter behind the seating. An umbrella can shield a seated person from a second-story angle, although it will not withstand every wind or provide a permanent barrier.
The goal is not to turn furniture into a fence. Keep circulation clear, preserve access to doors and grills, and avoid creating a blind corner near steps. A small bistro set tucked into a corner framed by plants can feel more private than a large table placed in the center of the yard.
Make a Small Patio Feel More Secluded
Small spaces benefit from enclosure at eye level and from a clear edge. Start with one corner rather than trying to screen the entire perimeter. A trellis behind a chair, a tall container beside the table, and a light canopy overhead can create a layered nook without consuming the floor area needed to walk and sit.
Use repetition to make the arrangement feel deliberate: two matching planters, one screen material repeated in a side table, or the same warm finish on a trellis and lantern. Keep the palette restrained. Visual clutter makes a small space feel exposed even when the view is partially blocked.
What to Avoid When Saving Money
Do not buy a plant based only on a “fast-growing” label. Speed is useful when you need coverage, but it can bring weak wood, frequent pruning, invasive behavior, or a root system that overwhelms a small bed. Confirm mature dimensions and local suitability first.
Do not attach a heavy screen to a fence that was never designed for the load. Wind, wet vines, and saturated planters can pull on posts and panels. If the screen is near a property line, check local rules and discuss permanent changes before installation.
Do not crowd plants against siding, vents, air-conditioning equipment, or a neighbor’s fence. Leave room for airflow, inspection, and maintenance. Finally, do not solve a daytime privacy issue with bright nighttime lighting; that usually creates glare rather than seclusion.
A Four-Weekend Privacy Plan
On the first weekend, photograph the sightlines and make cardboard or sheet mock-ups at the heights you are considering. On the second, install the immediate layer: a movable screen, umbrella, or furniture arrangement. Live with it through different times of day before spending on plants.
On the third weekend, add the durable layer. Choose one trellis vine, a small group of containers, or a properly spaced shrub planting rather than buying every possible solution. On the fourth, add mulch, irrigation details, and low-glare lighting, then trim or reposition until the screen feels intentional from inside the house as well as from the yard.
How to Keep the Look Polished on a Budget
The designer effect usually comes from proportion and repetition, not expensive materials. Keep the tallest element near the sightline, hide the base of screens with coordinated containers or low plants, and use one or two textures consistently. A plain slatted panel can look better than an ornate one if its scale matches the patio.
Spend first on stability, drainage, and a plant that fits the site. Decorative upgrades come later. A privacy solution that survives wind, can be watered easily, and does not need weekly rescue will look better for longer than a photogenic setup that fails after one season.
Conclusion: Build Privacy in Layers
The cheapest backyard privacy idea is the one that solves the actual view with the least permanent material. Test the sightline, create immediate enclosure with a screen or furniture, then add plants and lighting for depth. If you choose vegetation by mature size, climate, and maintenance rather than by speed alone, the result will become more private instead of more work.
For most yards, the winning combination is modest: one stable vertical element, a few well-placed plants, and a seating layout that faces inward. That approach gives you privacy now, room to change your mind later, and a garden that still feels open and welcoming.
Sources: Royal Horticultural Society hedge guidance; Fine Gardening, How to Create Privacy in Your Yard; Utah State University Extension, hedges and screens.