10 Small-Space Raised Garden Bed Ideas That Work
Compare 10 raised garden bed ideas for small spaces, from trellises and tiers to grow bags and rail planters, with honest crop and care trade-offs.
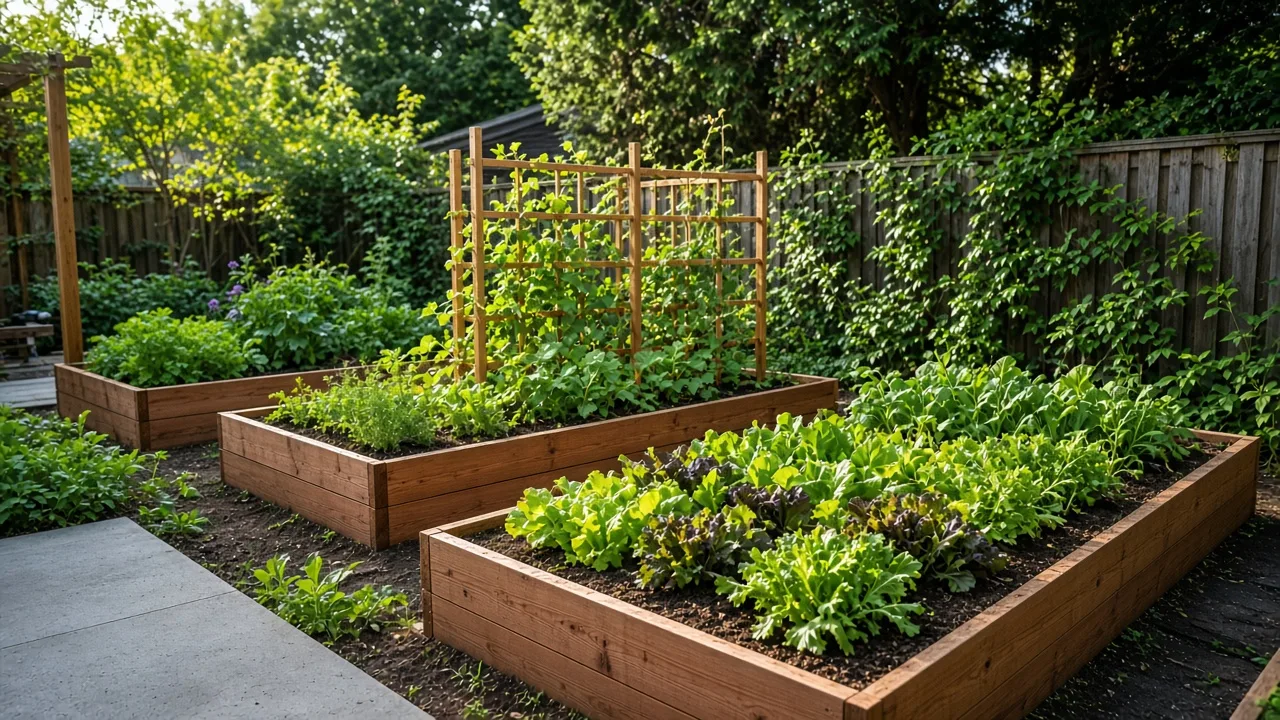
The best small-space raised garden bed is not the tallest, prettiest, or most expensive one. It is the bed that fits your reach, receives enough light, drains after rain, and gives the crops you actually want enough root room to finish well.
That is why a narrow side-yard box can outperform a large kit, a grow bag can beat a permanent frame for a renter, and a trellis can produce more food than adding another foot of bed width. Use the ten ideas below as design options, then use the sizing and planting rules to make one work in your exact space.
How to Choose a Small-Space Raised Bed That Fits
Start by deciding whether you need an open-bottom raised bed or a container with a sealed base. An open-bottom frame sits on prepared soil and lets roots move into the ground; it is usually the best choice for a small backyard or side yard. A closed-base planter, grow bag, window box, or rail planter is more appropriate for a patio, balcony, deck, or contaminated surface, but it depends entirely on drainage holes and a suitable growing mix.
Raised beds can improve drainage, concentrate good soil, warm earlier in spring, and make maintenance easier on difficult sites. The University of Delaware Cooperative Extension also points out that they can make productive growing possible over compacted, rocky, paved, or potentially unhealthy ground. Those benefits disappear if the bed is too wide to weed, too shallow for the crops, or too heavy for the surface beneath it.
Start With Reach and Access
For a bed you can reach from both sides, keep the width near 3 to 4 feet. University of Delaware Extension lists 4 feet as a convenient maximum because the center is reachable from either side; Utah State University Extension gives the same range for framed beds. If a bed touches a fence or wall, make it narrower—about 18 to 30 inches is easier to manage from one side.
Length is mostly a footprint and budget decision. A 2-by-6-foot bed is often more useful than a cramped 4-by-8-foot bed because you can walk around it, inspect every plant, and carry a watering can without stepping into the soil. Leave enough path to open a gate, pull a hose, or turn a cart; a beautiful bed that blocks the only route through a small yard will become a chore.
Height changes the experience, not just the appearance. A 6- to 12-inch frame is enough for many shallow-rooted crops when the bottom is open, while a taller bed reduces bending but uses more soil and generally dries faster. The Royal Horticultural Society warns that higher raised beds need more watering in hot weather, so choose height with your maintenance routine in mind.
Read the Site: Light, Wind, and Water
Fruit-producing vegetables need a sunny site. University of Delaware Extension recommends at least six hours of direct sun, and Utah State University Extension puts the productive range at roughly six to eight hours. Watch the proposed footprint through a full day rather than judging it from one bright morning: a fence, tree, balcony wall, or neighboring building can remove the afternoon light that tomatoes and peppers need.
Wind matters more in a small space because balconies, rooftops, and fence tops can be exposed on all sides. The RHS small-space planting guide notes that railing planters face stronger wind and weather extremes, so use tough, compact plants and secure the container rather than hanging a heavy box from a flimsy rail. After rain, check whether water pools where the bed will sit. Raising the soil does not correct a high water table or a sealed patio that has nowhere to drain.
Ten Raised Garden Bed Ideas That Earn Their Footprint
These ideas include classic framed beds and smaller containers because small-space gardening is really about usable growing volume, not whether a box technically has four sides. Pick one as your main structure, then borrow features from the others—such as a trellis, a narrow footprint, or a movable planting layer.
1. Narrow Side-Yard or Fence-Line Bed
A long, narrow bed turns an awkward strip beside a fence, driveway, or patio into a productive planting line. Build it 18 to 30 inches wide so you can reach the back without leaning over the frame, and use the length for herbs, salad greens, bush beans, or one carefully supported tomato rather than trying to make a miniature farm.
This layout works best when the bed runs along the edge that receives the least shade. Keep taller crops on the side that will not cast a shadow across shorter plants, and leave a clear path on the working side. If the fence is owned by someone else or shared with a neighbor, keep the structure freestanding; do not attach boxes, wires, or irrigation without permission.
2. Back-Edge Bed With a Trellis
Attach a flat trellis to the back or north side of a raised bed and let vining crops use the air above the soil. Pole beans, peas, cucumbers, and indeterminate tomatoes can occupy a narrow strip while lettuce, basil, radishes, or bush beans grow in front of them. The vertical layer is often the most productive space-saving upgrade you can make.
Savvy Gardening recommends matching the support to the crop: light wire or string can suit beans and peas, while heavy vines, melons, and fruiting squash need stronger framing and sometimes slings for the fruit. Put the trellis in place before planting so you do not drive stakes through established roots, and inspect the fasteners each season.
The back edge is not just a visual preference. A trellis on the sunny side can shade the crops behind it, while a tall, narrow structure can catch wind and pull on the bed wall. Epic Gardening shows several useful forms, including rectangular panels, A-frames, and arches; for a tiny bed, choose the smallest support that will safely carry the mature crop.
3. Archway Between Two Compact Beds
If you have room for two narrow beds with a walkway between them, span the gap with an arch trellis. A cattle panel or other rigid fencing can support cucumbers, pole beans, and small-fruited vines while the path below remains usable. You gain overhead growing area without turning either bed into a wide, hard-to-reach box.
Anchor both sides before the vines become heavy. The arch should not rely on loose soil alone, especially in a windy yard or where people walk beneath it. Harvest regularly as fruit ripens overhead; an overripe cucumber or squash can become a falling object as well as a missed harvest.
This idea is most successful when the path stays wide enough to carry a basket and when the two beds have similar watering needs. Avoid mixing a thirsty tomato bed with a dry herb bed if one irrigation line will serve both sides.
4. Tiered or Stair-Step Beds
Tiered beds turn a slope, corner, or narrow vertical section of yard into several shallow planting shelves. They are useful when a flat rectangle would require too much excavation, and each level can have its own crop group: herbs and greens near the path, deeper-rooted vegetables on the lower terrace, and flowers or pollinator plants on the upper level.
The retaining structure is the important part. A tier is not simply a stack of boxes placed on a slope; each wall must resist soil pressure and shed water without sending a muddy stream into the tier below. On a gentle slope, small dry-stacked blocks or stone may work for a low ornamental herb terrace. Steeper grades, saturated soil, or tall retaining walls call for local design advice.
5. L-Shaped Corner Bed
An L-shaped bed uses the inside of a patio corner or the meeting point of two fences without filling the entire space. Keep each arm narrow enough to reach from its open side; a deep inside corner becomes a dead zone where weeds hide and irrigation is easy to miss.
Use the short arm for perennial herbs or flowers and the long arm for seasonal vegetables. This arrangement also lets you create a small seating or potting area inside the L, which is often more useful than a continuous perimeter bed. If the corner is shaded by two walls, grow greens and herbs there rather than forcing sun-hungry fruiting crops.
6. Cinder-Block or Brick Perimeter Bed
Blocks and bricks create a modular raised edge with no sawing, and the openings in some blocks can hold small herbs or flowers. A single course makes a low open-bottom bed; higher stacks add depth and height but also add weight and require a stable, level base.
Use clean, intact materials and dry-fit the layout before bringing in soil. Blocks on a slope can shift, and a mortar-free wall should not be treated as a retaining wall for a large volume of wet soil. Bricks or blocks also heat in full sun, so keep the soil evenly watered and use the warmest edge for heat-tolerant herbs rather than tender seedlings.
7. Window Boxes and Fence Boxes
Window boxes and boxes mounted to a fence or balcony rail are raised planters in the most literal small-space sense. They are excellent for cut-and-come-again lettuce, parsley, chives, thyme, compact strawberries, and trailing flowers. Their shallow soil volume makes them less suitable for large tomatoes, carrots, or anything that needs a deep root run.
Make drainage the first design check. A box without holes becomes a rain-filled trough, while a box that drains onto a wall, window, or neighbor’s balcony creates a maintenance problem. The RHS small-space planting guide recommends thinking upward and using walls, railings, shelves, and containers in small spaces, but it also notes that exposed railing plants need protection from wind and weather.
Keep fast-drying boxes close enough to a water source to check them daily in hot weather. A reservoir-style planter can reduce missed watering, but it still needs an overflow route and a growing mix suited to containers.
8. Grow Bags and Mobile Planters
Grow bags turn a patio, rental yard, or sunny strip of concrete into a flexible garden. They are especially useful for potatoes, salad greens, herbs, peppers, strawberries, and one or two compact tomato plants. Move them while they are manageable—not after the soil is saturated and the plant is top-heavy.
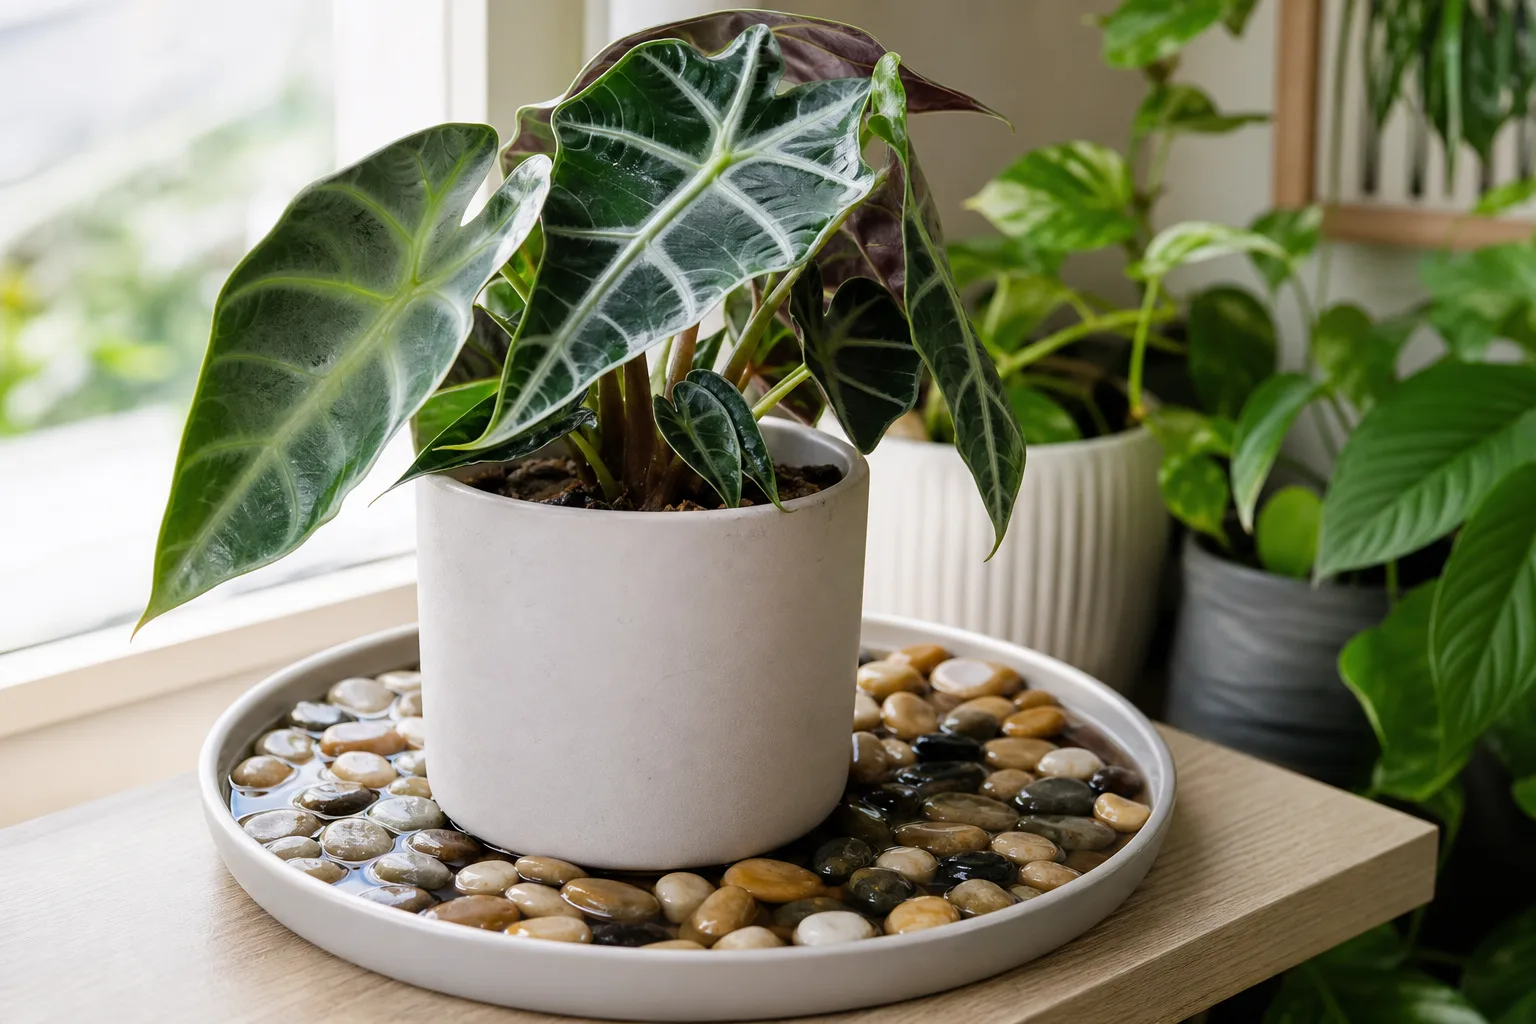
The advantage is reversibility: you can rearrange the layout, store the bags, or take them with you. The trade-off is faster drying, less insulation from hot pavement, and a shorter service life than a rigid bed. Place bags on a tray or protective surface where runoff matters, and use a mix that drains freely without turning hydrophobic when it dries.
9. Edimental Edible-and-Ornamental Bed
An edimental bed mixes food crops with plants chosen for flowers, color, texture, or fragrance. In a very small yard, that lets one raised bed serve as a kitchen garden and a visible landscape feature: basil beside marigolds, curly parsley beside calendula, purple-leaved greens beside compact peppers, or trailing thyme along the edge.
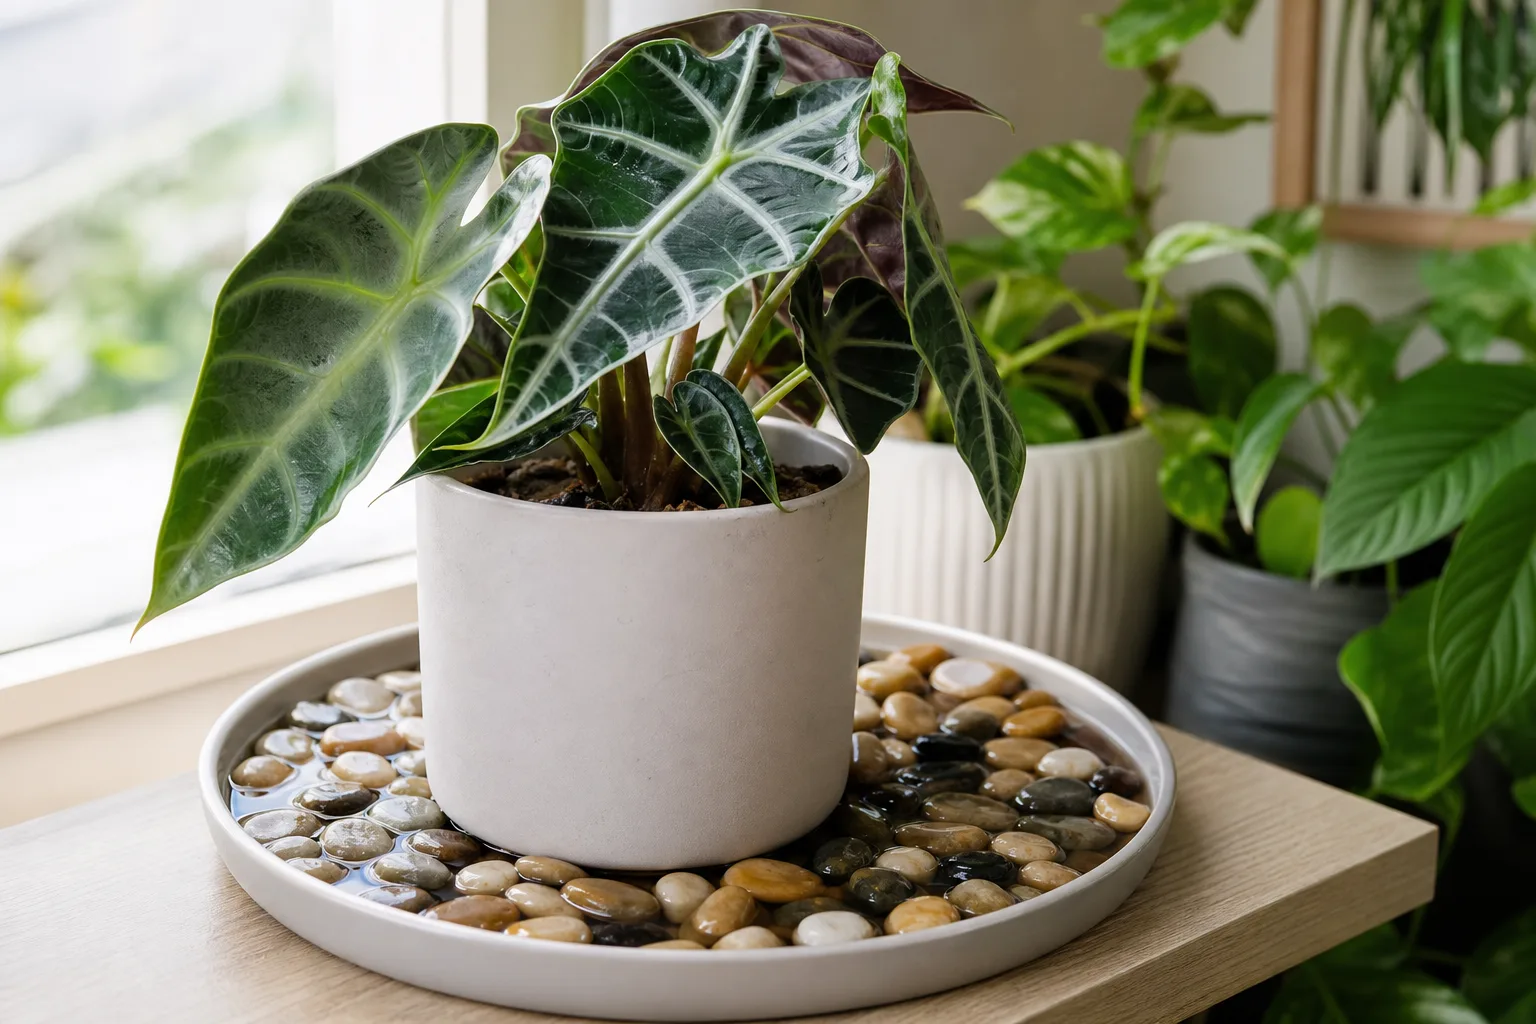
Plan by mature size and harvest frequency. Put regularly picked herbs and greens near the path, taller plants toward the back, and flowers where they will not shade the vegetables. Only eat flowers or leaves that are known to be edible and grown without ornamental pesticides; “edible-looking” is not the same as food-safe.
This approach is also a good answer when a front-yard vegetable box would violate a design rule or simply feel too utilitarian. Repeat one or two colors and keep the crop list short enough that every plant receives the light and water it needs.
10. Hanging Baskets and Rail Planters
Hanging baskets reclaim the space above a patio, porch, or balcony, while rail planters turn the edge into a growing line. Use them for strawberries, trailing herbs, compact tomatoes, salad greens, and flowers rather than deep-rooted crops that need a stable, heavy soil column.
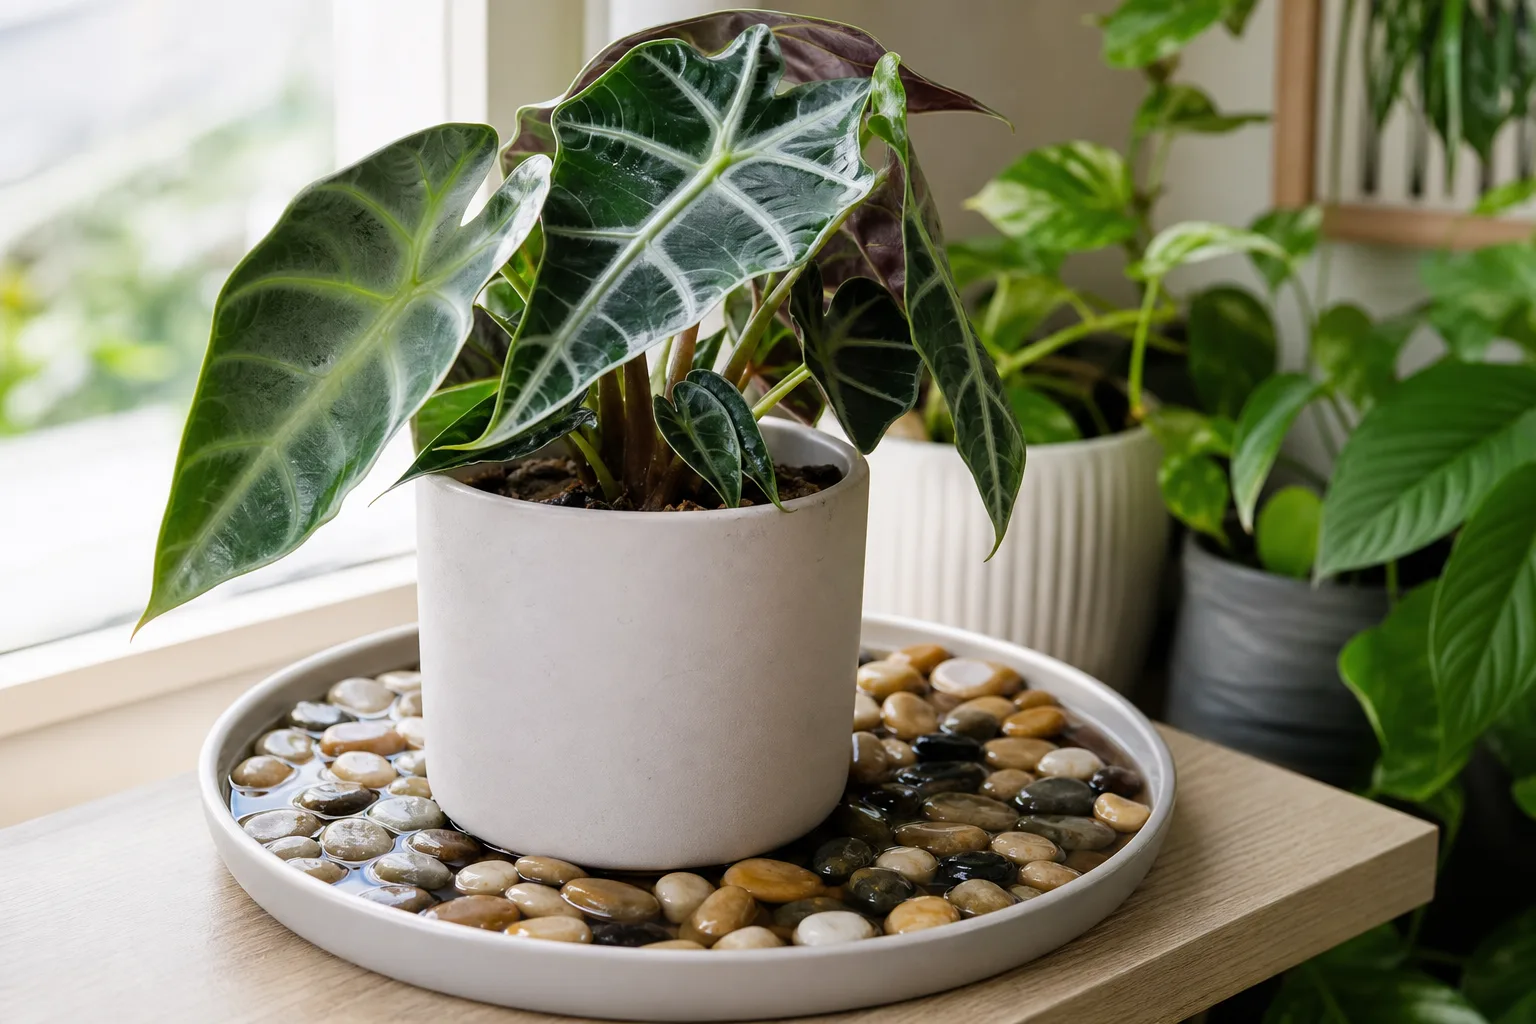
The RHS small-space planting guide describes hanging baskets as useful but maintenance-heavy because exposed containers dry quickly and eventually need feeding as nutrients are used. Choose the largest safe size, check the hook or rail hardware, and water until excess drains rather than wetting only the surface. Keep runoff away from walkways and lower balconies.
Match Bed Depth to the Crops You Actually Want
Bed height is not the same as usable root depth. A shallow open-bottom frame can work because roots can move into loosened ground, while a shallow planter sitting on concrete has to contain the entire root zone. Before buying a box, write down the crops you want and measure the soil column they require.
| Crop group | Practical soil depth to plan for |
|---|---|
| Lettuce, radishes, basil, chives, many shallow herbs | 6–8 inches |
| Bush beans, beets, peppers, compact tomatoes | 10–12 inches |
| Carrots, cucumbers, full-size tomatoes | 12–18 inches, depending on variety and support |
| Large vining crops or long-lived plants | 18 inches or more, plus a strong trellis or a better container |
These are planning ranges, not guarantees. Variety, climate, native soil, and watering change the result. Utah State University Extension notes that framed beds around 6 to 12 inches high suit many vegetables and that shallower beds should remain open to the soil below; University of Delaware Extension recommends at least a foot for a productive raised garden. If your only sunny spot is a balcony, choose crops that fit the container instead of building a shallow box and hoping roots will make up the difference.
Build the Soil and Drainage Around the Container
For an open-bottom bed, remove perennial weeds, loosen compacted soil, and fill with a quality topsoil-and-compost blend or a suitable raised-bed mix. Utah State University Extension explains that organic matter can improve aeration, drainage, nutrient holding, and water holding, but it also cautions that soilless mixes can be expensive and may become nutrient-deficient over time.
Do not add a thick gravel layer to the bottom of an open bed as a default “drainage fix.” If the site holds water, correct the site or move the bed. In a closed container, drainage holes are essential; raise the container slightly so holes are not sealed against the pavement, and make sure the water has somewhere safe to go.
Watering changes with the design. Raised soil warms and dries faster, and small boxes, hanging baskets, and grow bags have even less reserve. A soaker hose or drip line is efficient for a framed bed, but hand-check the soil before watering on a schedule; a shaded corner and a windy rooftop will not use water at the same rate.
Turn One Small Bed Into a Productive Planting Plan
Use the footprint in layers of time as well as layers of height. Start quick radishes or lettuce between slower peppers, then replace the harvested greens with basil or a fall crop. Let one cucumber or pole bean climb while low herbs occupy the edge, and reserve a small corner for flowers that attract pollinators without overwhelming the vegetables.
Plant from short to tall: edge crops first, medium crops next, and trellised crops where they will not shade the rest. Follow the spacing on the seed packet for the chosen variety, then thin seedlings rather than leaving every plant in place. Overcrowding is especially costly in a small bed because poor airflow slows drying and makes harvesting harder.
Group plants by water and feeding needs. A narrow herb bed can be relatively moderate once established, while cucumbers and tomatoes need a more consistent supply. If one planter has different needs from the rest, make it a separate grow bag rather than forcing the entire garden onto one watering routine.
Small-Space Mistakes That Cost the Most
- Building before observing the sun. A bed cannot create light; move the footprint before buying lumber.
- Making a wall-side bed too wide. If you cannot reach the back without stepping into the soil, weeds and unharvested produce will win.
- Using a light trellis for a heavy vine. Match wire, wood, and anchors to the mature crop, not the seedling.
- Ignoring surface weight. A balcony, roof, or deck needs a container plan that fits its rules and drainage capacity; a full raised bed is much heavier than it looks.
- Sealing an open bed. Plastic under a soil-sited frame can trap water instead of improving drainage.
- Filling a shallow bed with unstable fresh wood. Decomposing material settles and can compete for nitrogen; use stable planting mix when root depth is limited.
- Choosing mystery reclaimed materials. Avoid unknown lumber, railroad ties, and anything with a chemical history you cannot verify.
- Planting every square inch at once. Leave airflow, a place to water, and room to harvest.
- Treating hanging planters as low maintenance. They dry quickly, blow in wind, and may need feeding during a long season.
Conclusion
Small-space raised garden beds work when the design respects limits instead of disguising them. Start with the light and surface, keep the footprint reachable, match soil depth to the crop, and use vertical space only when the support is secure.
For a backyard, a narrow or L-shaped open-bottom bed may be the simplest win. For a patio or rental, grow bags and a movable planter keep the commitment low. For maximum productivity, combine a compact bed with a back-edge trellis, quick greens, herbs, and succession planting. The right idea is the one you can reach, drain, water, and harvest all season.



