6 Major Signs Your Plants Are Begging You to Test Their Soil, Gardeners Say
Yellow leaves, wilt, purple grass, poor flowering, stunted growth, or puddles? Use this soil-test guide to diagnose before adding fertilizer.
Plants rarely display a neat label that says “nitrogen deficiency” or “pH problem.” They yellow, droop, stop flowering, turn purple, or simply fail to grow—and several different problems can produce the same signal. That is why a soil test is most useful as a decision tool, not as a way to confirm the first diagnosis that comes to mind.
If a bed, lawn, or planting border has been managed for several seasons without testing, or if the same problem keeps returning after you adjust watering and light, these six signs are good reasons to check the root zone. A report can reveal pH and plant-available nutrients, but it will not replace a root inspection, drainage check, pest search, or a look at the plant’s growing conditions.
The Six Symptoms Are Clues, Not Diagnoses
Before adding fertilizer, compare the pattern with the site. Is the problem affecting one plant, a whole bed, or every plant in the yard? Does it appear first on older leaves or new growth? Did it begin after a flood, drought, cold snap, construction project, heavy feeding, or a change in light? Those details often tell you whether soil chemistry is plausible or whether the roots are unable to use an otherwise adequate supply.
The NC State Extension soil and plant nutrition guide makes the central point clearly: fertilizer decisions should consider plant performance, a reliable soil test, water, light, temperature, pests, disease, and drainage together. In other words, a symptom earns a test when it is persistent, repeated across similar plants, or paired with a site clue—not because every yellow leaf needs a bag of fertilizer.
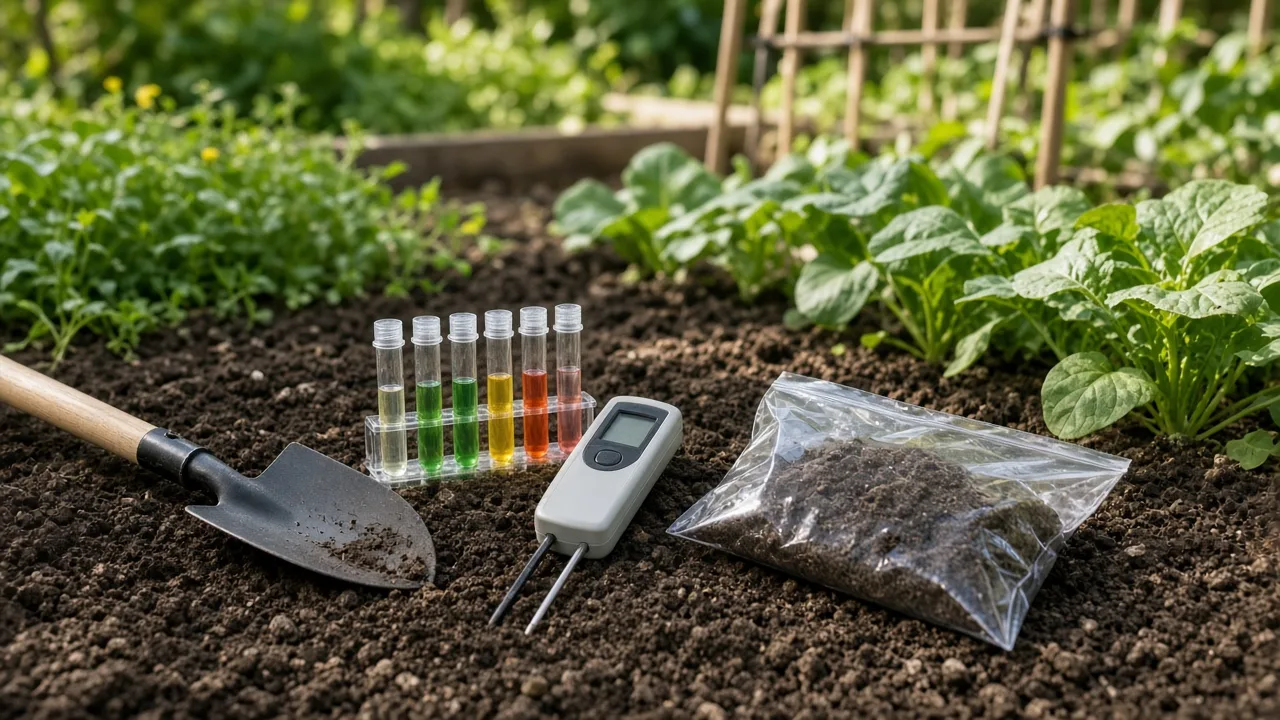
A soil test is most useful when it is connected to a real site question, such as uneven lawn growth or repeated nutrient-looking symptoms.
1. Older Leaves Turn Yellow Despite Reasonable Watering
Uniform yellowing that begins on the oldest leaves and moves upward can fit a shortage of a mobile nutrient, especially nitrogen. The plant can move mobile nutrients out of older tissue to support newer growth, so the lower leaves fade first. Magnesium deficiency can also affect older leaves, sometimes leaving greener veins against a yellow, bronze, or reddish background.
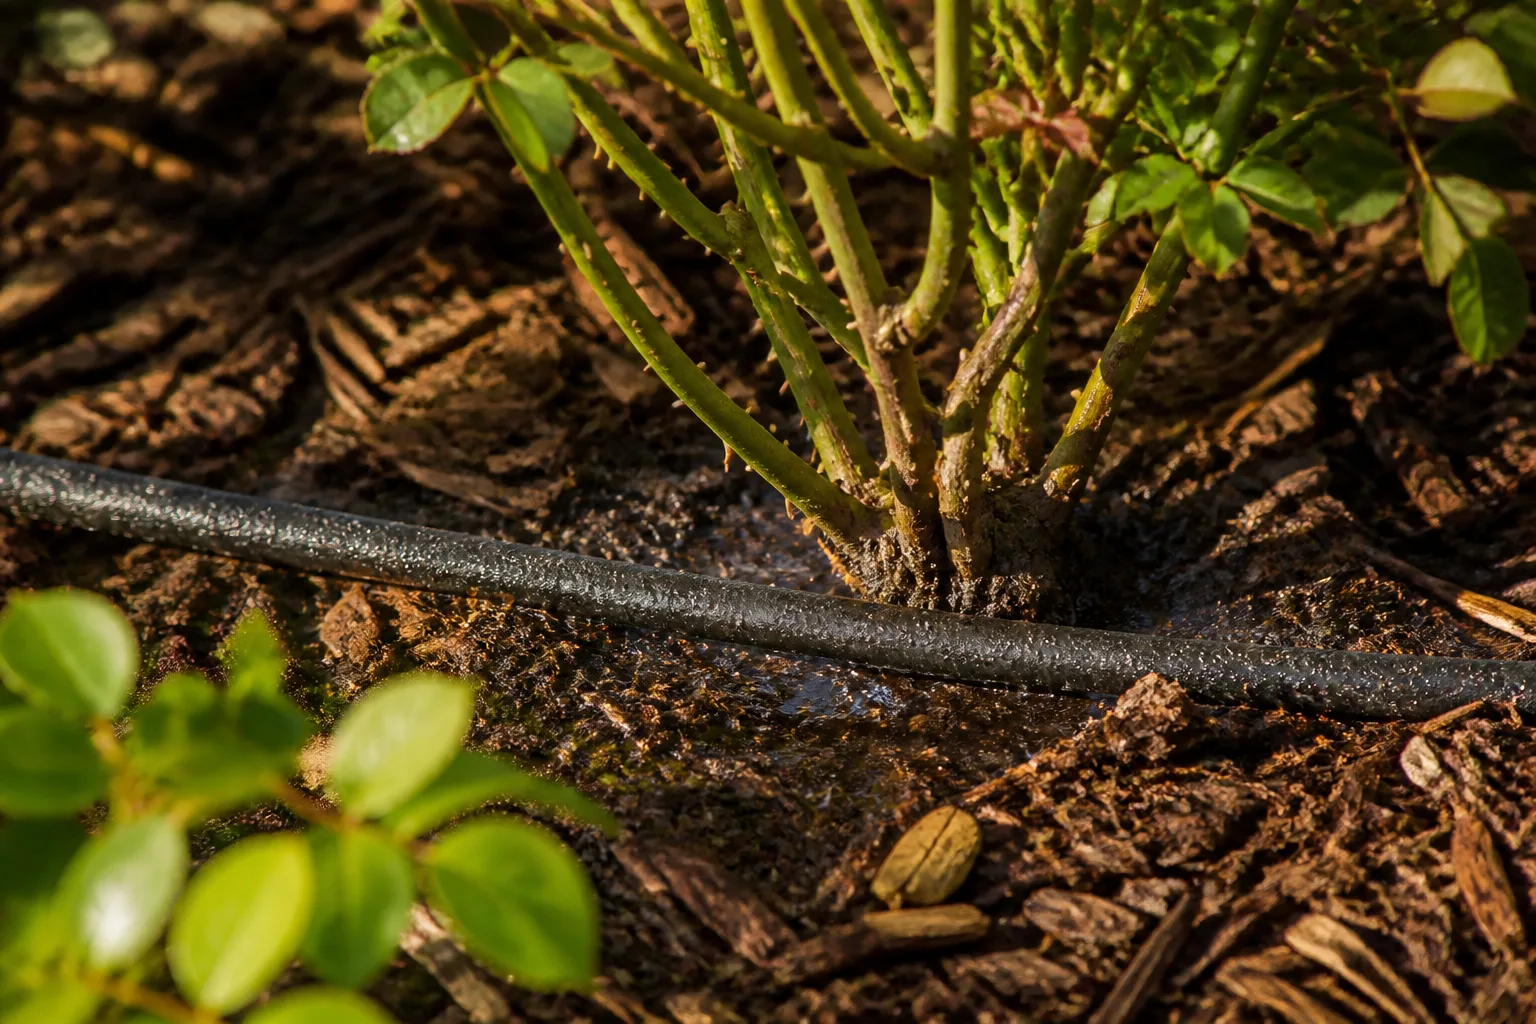
That pattern is a reason to test, not permission to apply nitrogen. Overwatering can starve roots of oxygen and create yellow leaves even when the soil contains enough nutrients. Natural aging, low light, cold roots, root damage, pests, and a soil pH that blocks uptake can look similar. If only the leaves closest to a shaded wall are yellow, solve the light or moisture pattern before assuming the entire bed is deficient.
Yellowing patterns can narrow the possibilities, but they do not identify the missing nutrient by themselves.
Before You Blame Nitrogen
Check three things before you collect the sample. First, feel the soil several inches down: saturated soil can make a well-fed plant look hungry because damaged roots cannot absorb normally. Second, inspect the newest leaves and stems; a plant with healthy new growth and a few aging lower leaves may be following a normal replacement cycle. Third, look for leaf stippling, sticky residue, webbing, or chewed tissue that points toward pests rather than soil.
If multiple plants of the same type show the same older-leaf yellowing in the same bed, a soil test can tell you whether nitrogen, magnesium, pH, organic matter, or another measured factor deserves attention. Remember that routine soil reports do not always provide a meaningful nitrogen number; the University of Minnesota Extension’s soil-versus-plant testing guidance explains why plant tissue testing can complement, rather than replace, soil testing when deficiency symptoms persist.
2. Plants Wilt Even When the Soil Is Moist
Wilting in damp soil is one of the strongest reasons to inspect the root zone before watering again. Roots need both water and air. Compaction, heavy clay, a blocked drainage path, a high water table, or a pot with too little drainage can leave roots sitting in low-oxygen conditions; root disease can then compound the problem. A plant may look thirsty because its roots are damaged, not because the soil is dry.
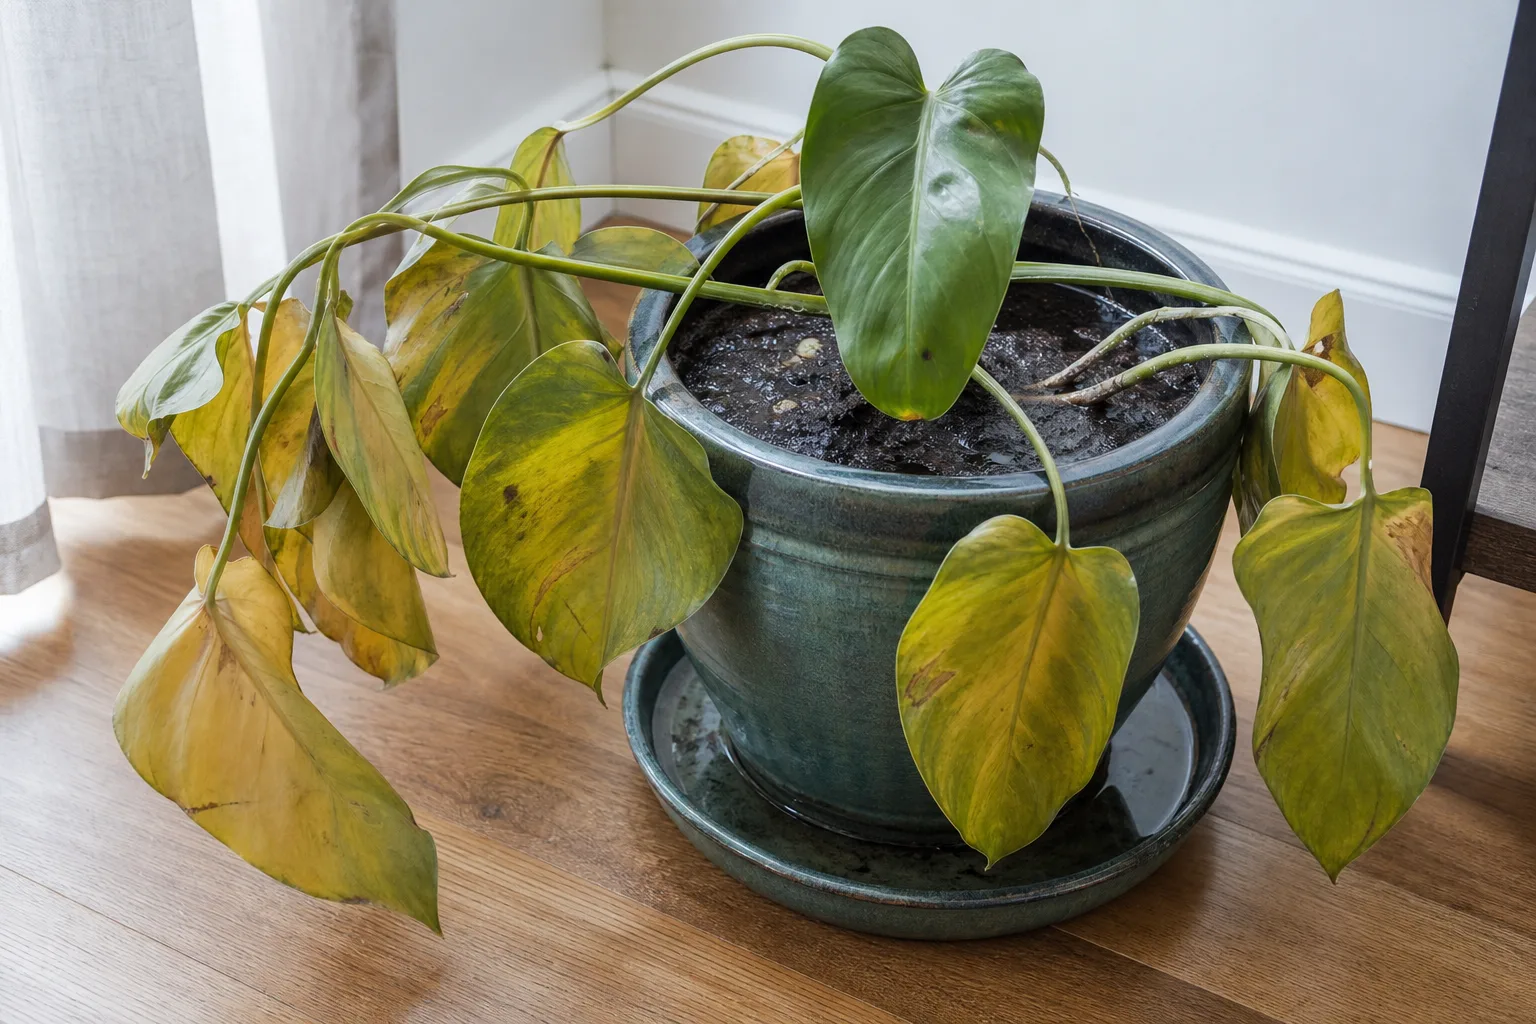
Soil chemistry can still be involved. An extreme pH, high soluble-salt level, or nutrient imbalance can interfere with root function and water uptake. But a soil test will not tell you that a root is rotting or that a vole has eaten it. Pull back mulch, check the soil at root depth, and inspect roots when practical: healthy roots are generally firm and pale to tan, while mushy, dark, foul-smelling tissue calls for a root and drainage response.
Separate Root-Zone Stress From a Nutrient Problem
Use a simple sequence. If the soil is wet, stop irrigating and find where the water is going. If it is compacted, test a few inches down with a trowel rather than judging the surface. If the soil drains freely but the same plants still wilt, submit a sample for pH, soluble salts, and plant-available nutrients and consider a plant-disease diagnosis if roots or stems look abnormal.
Do not try to “fix” wet soil by piling fertilizer on top. Salts in fertilizer can make it harder for roots to take up water, and excess nutrients can add runoff risk while the original drainage problem remains. Correct water movement first; use the soil report to refine chemistry after the site can support roots.
3. Grass or Leaves Develop a Purplish Cast
Purple or reddish color in older leaves can occur with phosphorus deficiency, and a soil test is the responsible way to check that possibility. The NC State nutrient table notes that phosphorus deficiency can reduce growth and produce purple or red coloration, especially in older foliage. It also notes that phosphorus availability is lowest in cold soil, so a spring flush of purple does not automatically mean the soil is empty of phosphorus.
Cold roots, drought, transplant shock, intense light, cultivar genetics, and other stresses can increase red or purple pigments without a phosphorus shortage. Look at distribution: a whole lawn with slow growth is a soil-and-site question; one newly transplanted plant with purple undersides may simply be stressed. If the lawn is purple in compacted traffic lanes but green elsewhere, aeration and root-zone oxygen may be more important than fertilizer.
Never apply a phosphorus product solely because leaves look purple. Phosphorus can accumulate, and runoff from overapplication can contribute to water-quality problems. Test first, follow the lab’s crop-specific recommendation, and avoid “starter” or bloom fertilizers when the report does not show a need.
Purple color is a useful observation to record alongside temperature, moisture, and growth stage before testing.
4. Foliage Looks Healthy but Flowering or Fruiting Falls Off
Green leaves can be misleading. A plant may produce a large canopy while setting few flowers or fruits because of excess nitrogen, insufficient light, drought at bud formation, heat, poor pollination, pruning at the wrong time, or a cultivar that is not suited to the site. Low phosphorus or potassium is possible, but it is only one part of the diagnosis.
This is an especially useful soil-testing sign because visual greenness can tempt gardeners to feed more. Excess nitrogen encourages leafy growth and can delay flowering and fruiting; it can also produce soft growth that is more vulnerable to pests and disease. A report can show whether the bed already has ample phosphorus and potassium, in which case adding a bloom fertilizer may make the imbalance worse.
Compare plants under the same light and irrigation. If only the shaded side fails to flower, move or prune for light before amending. If flowers form but fruit does not, investigate pollination, temperature, and bloom-time weather. If an entire bed of otherwise well-lit, consistently watered plants repeats the same failure, test the soil and include the crop you plan to grow on the lab form so the recommendation fits its needs.
5. Growth Stalls or New Leaves Stay Small
Stunted growth is a broad signal that can justify a soil test when the plant has adequate light and water but remains smaller than comparable plants. Low nitrogen can reduce growth and pale the foliage; low phosphorus can limit roots; low potassium can weaken stems and increase drought sensitivity. High or low pH can make several nutrients inaccessible even when a lab finds them in the soil.
Root restriction, cold soil, transplant shock, herbicide drift, nematodes, insects, disease, and competition from nearby plants can all cause the same result. Compare the root space and growing conditions, not just the leaf color. A plant in a shallow, compacted strip beside a driveway is not a fair comparison with one in deep, loose soil.
If new leaves are small but remain green, think beyond fertilizer. Check whether the root ball is circling, whether the plant is receiving enough light to manufacture energy, and whether the soil dries at a reasonable pace. When several plants across one zone are stunted, test that zone separately instead of blending it with a healthy bed and averaging away the problem.
6. Puddles Linger and Water Moves Slowly
Persistent puddles, muddy footprints, and water that runs off instead of soaking in are reasons to investigate soil structure and drainage. Clay-rich soil can hold a lot of water, while compaction squeezes out pore space and restricts the movement of air, water, and roots. A soil science overview from NC State Extension describes how compaction reduces infiltration and increases runoff and root-disease risk.
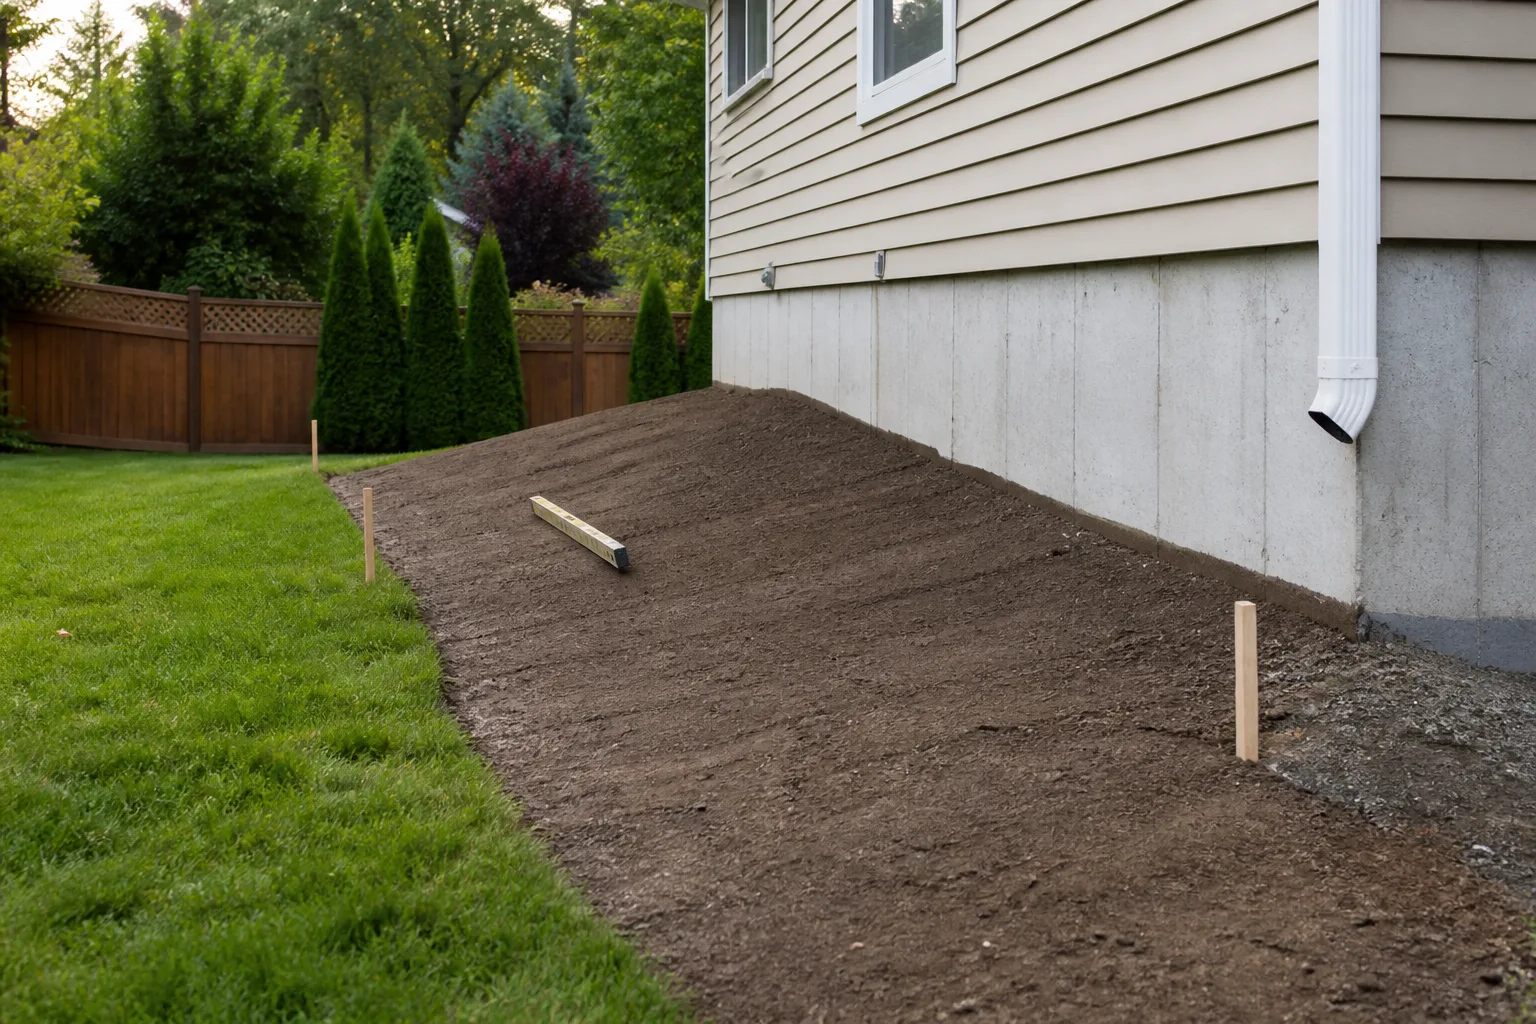
A routine fertility report may include texture, organic matter, or related measurements, but it does not turn a drainage problem into a simple “add fertilizer” answer. Observe where water pools, how quickly a hole fills and drains, whether a hard layer blocks the trowel, and whether downspouts or irrigation are concentrating water. A soil test helps with the chemistry; your eyes and a digging tool help with the physical diagnosis.
Compaction changes pore space and water movement, so a physical soil check belongs beside the lab report.
Texture and Compaction Are Different Problems
Texture is the underlying proportion of sand, silt, and clay. Compaction is a management condition created by pressure, traffic, wet cultivation, construction, mowing, or repeated footfall. You can have sandy soil that compacts at a shallow layer, or clay soil that remains productive when handled at the right moisture and protected from traffic.
Do not mix sand into heavy clay as a quick fix. The resulting blend can become dense rather than drain better. Instead, reduce traffic on wet beds, improve surface drainage, add suitable organic matter gradually, and choose plants that tolerate the site while the structure improves. Savvy Gardening’s soil-amendment guidance also starts with a soil test before selecting amendments and emphasizes that organic matter improves structure and water handling over time, not overnight.
How to Collect Soil Without Ruining the Test
Sampling quality can matter as much as laboratory quality. A tablespoon of fertilizer left in a bucket, a handful from a compost pile, or soil taken only from the sickest plant can produce a result that does not represent the area you intend to manage. The lab can measure the sample you send; it cannot correct a biased sample after the fact.
Keep Unlike Areas Separate
Make a simple map before digging. Keep the vegetable bed, lawn, flower border, shrub line, and orchard separate even if the soil looks similar. Also separate a wet depression, a recently amended patch, a place beneath a downspout, or a zone with visibly different soil from the rest of the bed. For a symptom investigation, submit a problem area separately from a healthy comparison area when the lab allows it.
Do not sample directly from a compost pile, animal urine spot, ash pile, fertilizer spill, burn site, or under an eave where runoff has changed the soil. Those spots may be real problems, but they are not representative of the area. Note the crop, recent amendments, irrigation pattern, and symptom location on the submission form.
Take a Composite Sample at Root Depth
Use a clean plastic bucket and a stainless-steel or chrome-plated trowel or probe. Remove mulch and surface debris, then take five to eight thin cores or slices from evenly distributed spots in the same management zone. Sample the depth relevant to the planting: cultivated beds to the tilled depth, established lawns around 2–4 inches, and trees or shrubs around 6 inches near the drip line.
Mix the cores thoroughly in the bucket, remove large roots and stones, and submit the amount requested by the lab—often about a pint. Label the sample so you can match the report to the bed later. The NC State Extension sampling instructions warn that clean tools, separate areas, a composite sample, and accurate site information all affect how useful the report will be.
Avoid sampling immediately after applying fertilizer or lime unless you are specifically testing the effect of that application. Do not heat wet soil to dry it. Follow the lab’s packaging directions; some labs prefer a paper bag or their own box rather than a sealed plastic bag.
What a Routine Soil Test Actually Measures
Most garden soil tests report pH and a selection of plant-available nutrients, commonly phosphorus and potassium plus calcium and magnesium. Many also report organic matter, soluble salts, cation exchange capacity, or texture. The exact extraction method and “low,” “medium,” or “high” categories vary by lab, so do not compare a number from one lab with a chart from another as if they use the same scale.
pH Is an Access Switch, Not a Plant Food
Soil pH measures acidity or alkalinity on a logarithmic scale. A pH of 7 is neutral; lower values are acidic and higher values are alkaline. The practical point is that pH changes how available nutrients are to roots. A plant can sit in soil that contains iron, phosphorus, or magnesium and still show deficiency-like symptoms if the chemistry keeps those nutrients from dissolving into soil water in a usable form.
Most garden plants perform well in a mildly acidic to near-neutral range, but the best target depends on the crop. Blueberries and azaleas prefer more acidic conditions than many vegetables, while a plant adapted to alkaline soil may struggle in a bed adjusted for an acid-loving species. Savvy Gardening’s soil pH guide is useful for the practical concept, but your soil report and the crop’s needs should determine the amendment rate.
Do not calculate lime or elemental sulfur from pH alone. Soil texture, organic matter, target crop, cation exchange capacity, and the strength of the soil’s acidity or alkalinity affect how much material is needed. Lime also moves slowly, so an extreme correction is not a same-week rescue.
N-P-K Is Useful, but It Is Not the Whole Story
Nitrogen supports leafy growth and green color; phosphorus supports roots and reproductive development; potassium helps with water relations, stem strength, and stress tolerance. These roles explain why a symptom can point toward a nutrient, but they do not make the symptom conclusive. Nutrients compete, roots fail, and weather changes uptake.
Routine soil testing may not give a useful nitrogen measurement because nitrogen changes form and moves through the soil. If a report looks adequate but the plant still shows a repeated deficiency pattern, a plant tissue or foliar test may help identify what the plant is actually absorbing. The University of Minnesota Extension describes soil and plant testing as complementary: soil reveals the supply and chemistry, while tissue analysis shows the nutrient status inside the plant at a particular growth stage.
How to Read the Report Before Buying Amendments
Start with the lab’s recommendation, not the product aisle. Check whether the report is for a lawn, vegetable crop, flower bed, shrub, or tree; recommendations can change with the intended plant. Then confirm which zone the sample represents, whether pH needs correction, which nutrients are low, and which are already sufficient or excessive.
Translate the rate to your actual area. If the report gives a recommendation per 1,000 square feet, measure the bed and scale the amount down rather than scattering the full lawn rate over a small border. If the report does not provide a recommendation for your crop, ask the lab or local extension service before improvising.
Treat “high” as information, not as a challenge to balance with another product. High phosphorus does not call for more phosphorus, and high soluble salts do not call for a stronger fertilizer. A good report can save money by telling you what to leave alone.
Fix the limiting condition in the order that roots experience it. Restore drainage and stop traffic on wet soil before chasing nutrients. Correct a clearly unsuitable pH according to the report. Then apply only the nutrient or organic matter amendment the report supports, at the stated rate, and give the soil time to respond before adding another variable.
Avoid blanket applications of lime, sulfur, phosphorus, Epsom salt, bone meal, high-nitrogen fertilizer, or fresh manure. “Organic” does not mean impossible to overapply. Partially decomposed material can temporarily tie up nitrogen, fresh manure can injure roots and introduce contaminants, and too much phosphorus can move with runoff even when plants do not need it.
For compacted or clay soil, build structure gradually with suitable organic matter and better traffic management. Do not till wet clay, bury a compacted layer under a thin cap of topsoil, or assume that one bag of compost will correct a deep drainage problem. The goal is a root zone with enough air, water, and nutrient-holding capacity—not a particular color or a shopping list of amendments.
When a Soil Test Is Not the Next Test
A soil test is less informative for a houseplant growing in a manufactured soilless mix, especially if the real issue is a clogged drainage hole, root rot, low light, or fertilizer-salt buildup. Start with the pot, roots, watering pattern, and light. A laboratory test designed for mineral garden soil may not interpret a container mix the way you expect.
Soil testing is also not the next step when a plant is rapidly collapsing, covered in pests, showing a localized stem lesion, or suffering after herbicide drift. Photograph the pattern, inspect the plant and roots, and contact a local extension diagnostic service when the stakes or uncertainty are high. If a reliable soil report comes back normal but the same deficiency pattern continues, consider tissue testing, a root evaluation, or a disease and pest diagnosis rather than repeating fertilizer.
Conclusion
Yellow older leaves, unexplained wilt, purple foliage, disappointing flowers or fruit, stalled growth, and persistent puddles can all justify a soil test—but none proves a nutrient deficiency on its own. The smartest response is to check water, roots, light, pests, temperature, and compaction, then send a representative composite sample from the problem zone.
Use the report to decide what not to add as much as what to add. When pH, plant-available nutrients, texture, and site conditions are read together, a soil test turns a vague plant complaint into a manageable sequence: identify the limiting condition, correct it carefully, and give the root zone time to recover.