Fall Soil Testing: When and How to Do It
Test garden soil in fall to guide spring lime and fertilizer decisions. Learn when to sample, what labs measure, and how to read results without guessing.
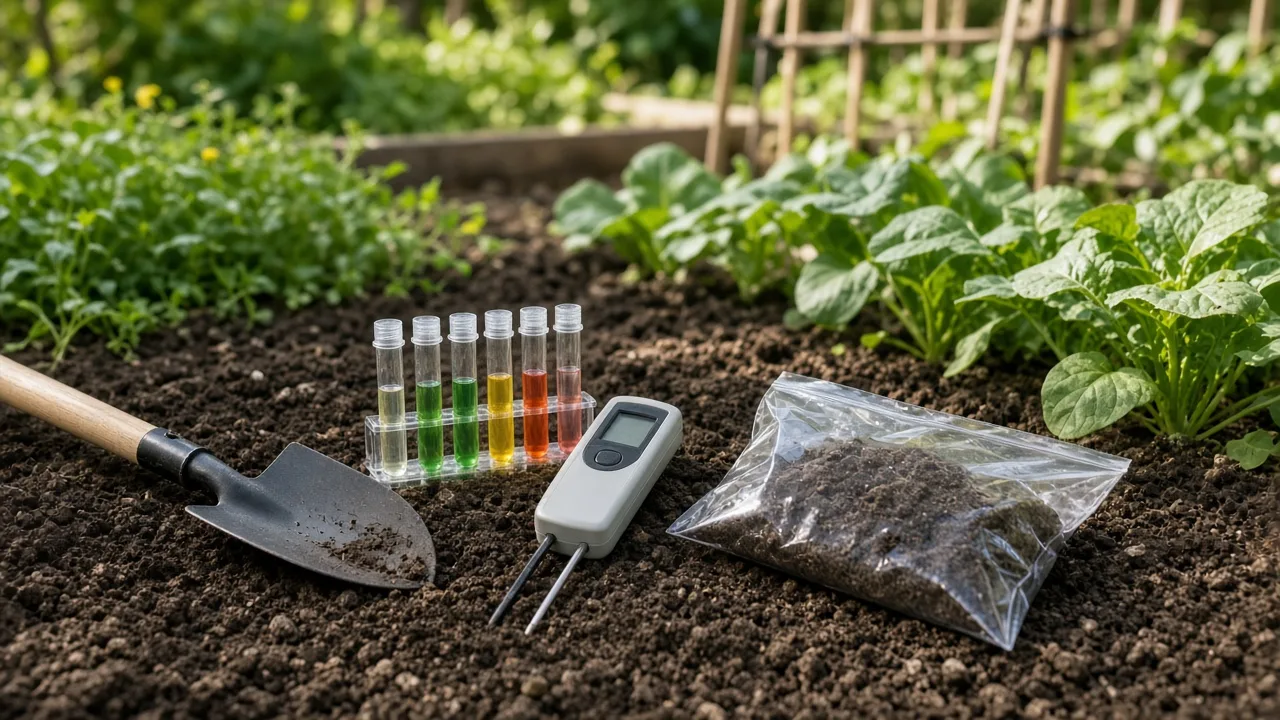
After a vegetable bed is harvested or a border is quieting down, fall can be a convenient time to find out what the soil may need before the next planting. A laboratory soil test can measure pH and selected plant-available nutrients, then offer recommendations for a use such as vegetables, lawn, flowers, or a particular crop. The value is the information it gives you before you buy lime or fertilizer—not a requirement to amend every bed in autumn.
There is no single fall testing date for every climate or laboratory. Soil can be tested in more than one season, but fall often gives gardeners room to plan before spring planting, especially when a pH adjustment is recommended and the ground is still workable. Start with your local lab’s instructions, collect a representative sample, and wait for the report before making chemistry changes (Penn State Extension; NDSU Extension).
Why fall can be a useful time to test soil
Fall often lines up with an easy point in the garden calendar: the harvest is ending, annual plants are coming out, and the structure of a bed is easier to see. You can send a sample while you are recording which crops grew there, then use the report to plan a spring purchase or application. A test is particularly useful before opening a new bed, changing crop use, or repeating fertilizer and compost applications year after year.
The timing advantage is practical, not magical. North Dakota State University Extension says soil can be tested at any time of year but recommends sampling before the ground freezes; a fall test lets gardeners plan fertilizer decisions before spring planting (NDSU Extension).
A North Carolina Extension example also describes fall as a useful sampling period, while its seasonal lab fees and deadlines are specific to that county and year (NC State Cooperative Extension). Check your own lab for its current hours, fee, accepted sample type, and processing time rather than assuming another state’s schedule applies.
Fall gives you planning time, not a deadline
A soil sample is most helpful when its report arrives early enough to guide a choice. If a lab recommends adjusting pH, doing the test in fall may leave more time before planting because amendments such as lime do not shift soil chemistry instantly. Fine Gardening’s soil-testing overview also notes the practical advantage of fall sampling for pH corrections and avoiding a spring rush, although the exact timing depends on the soil, material, local recommendations, and lab calendar (Fine Gardening).
That does not mean fall is the only responsible season. If the ground has frozen, the lab is not accepting samples, or you missed the autumn window, test later when the soil is workable and before adding products that could change the result.
A gardener in the Midwest, northern plains, or a high-elevation site may have a shorter prefreeze window than someone in a mild coastal or southern climate. Treat the weather and lab instructions as the schedule; the word “fall” by itself is not a soil-testing rule.
When to wait before you collect a sample
Wait if the soil is frozen, waterlogged, or too sticky to sample cleanly. A saturated bed can be difficult to work without compacting it, and a muddy sample may need special handling; ask the lab whether to let it air-dry and how to package it. Soil that is simply cool is not the same as soil that cannot be sampled, so use the laboratory’s guidance rather than waiting for a particular temperature.
If you recently spread fertilizer, lime, wood ash, manure, or a large amount of compost, sampling immediately may not represent the baseline you meant to measure. The interval to wait depends on the material and the lab’s protocol, so do not invent a universal waiting period. If an application has already happened, write down the product, amount, location, and date, and ask the testing service whether to sample now, sample later, or submit a separate question about that treated area.
Decide which part of the garden needs a test
Before digging, choose the decision the test should support. Are you preparing a vegetable bed, maintaining an established lawn, establishing blueberries, or trying to understand a part of the garden where plants repeatedly struggle? The lab form asks about intended use for a reason: a recommendation for turf or a vegetable crop may not fit a perennial border or acid-loving berry patch.
A test should represent one reasonably consistent management area. If you sample the whole yard in one bucket, a lawn that receives fertilizer, a raised bed enriched with compost, and a low spot that stays wet may average into a result that fits none of them. Penn State Extension recommends collecting separate samples from areas with different soil or use and notes different sampling depths for lawns and gardens (Penn State Extension).
Separate areas with different soil and management histories
Keep a lawn separate from a vegetable garden, and keep a new raised bed separate from old native soil. Sample a blueberry area separately from a vegetable bed if you plan to use different pH targets.
You may also want to separate a sunny, well-drained bed from a shaded corner where water collects, or a consistently poor-performing patch from nearby healthy soil. If you want to compare problem and healthy areas, submit them as distinct samples and label them clearly instead of blending them together.
Do not split a bed into tiny samples simply because plants look slightly different. First ask whether there is a real change in soil, water, amendment history, or intended crop.
The goal is a sample useful for one management choice, not a laboratory report for every square foot. Keep a simple map or phone photo of the areas so you can match each result to the right location next year.
Collect a sample that represents the bed
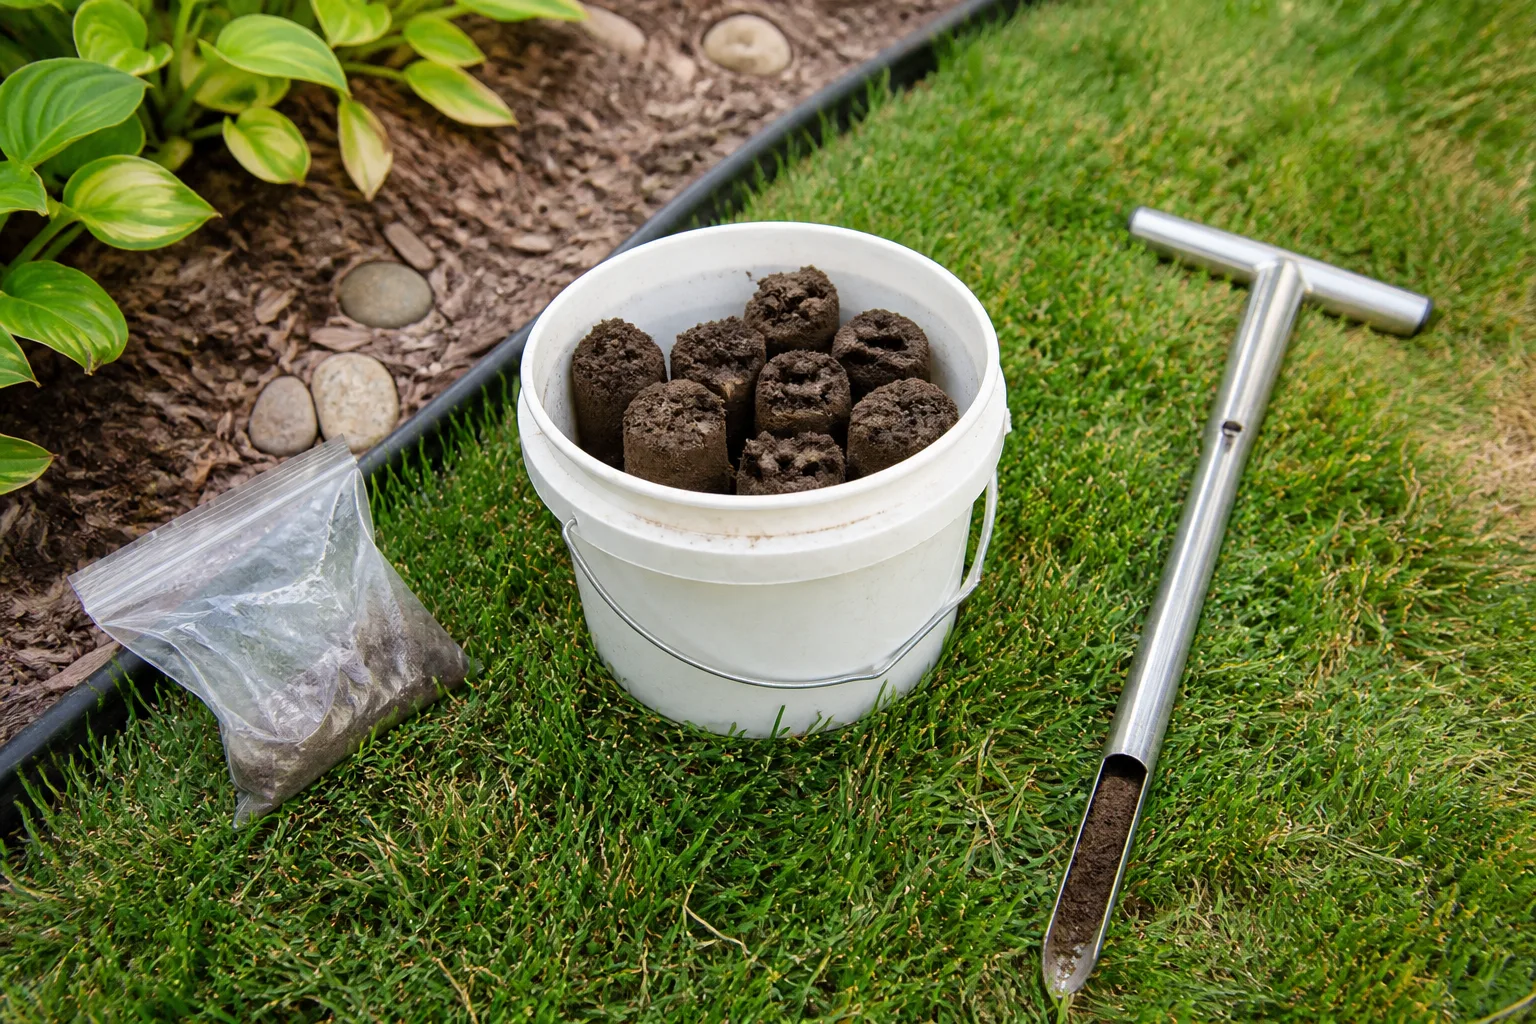
Use the laboratory’s collection directions before relying on a generic internet checklist. For a typical in-ground garden, Penn State Extension suggests taking cores or slices about 6 to 8 inches deep from 8 to 10 random places, then mixing them in a clean plastic bucket; established lawns are sampled more shallowly under its guidance (Penn State Extension). Depth, number of subsamples, packaging, and requested soil amount can differ by lab, so treat those numbers as an example and follow your own service’s instructions.
A straightforward sampling sequence is:
- Choose one growing area and label its intended use.
- Pull aside surface mulch, leaves, and plant debris without removing the soil you mean to test.
- Take several evenly distributed cores at the depth the lab specifies.
- Combine and mix the cores in a clean plastic bucket, then remove large roots and stones.
- Fill the lab’s bag or container, complete its form, and label the sample with the matching bed name.
Think of the mixed sample as a composite portrait, not a handful of dirt from the most convenient spot. If the garden is large, visibly different, or has a known problem area, submit separate samples. Put the sample in the amount and condition the lab requests; do not use a kitchen container with fertilizer residue, and do not heat soil in an oven to dry it.
Keep amendments and unusual spots out of the sample
Avoid taking cores beside a compost pile, fertilizer spill, fire pit, driveway, foundation, or downspout unless that is the specific area you want investigated. A single unusual spot can pull a composite result away from the rest of the bed. Remove surface mulch and fallen leaves first; test the mineral soil beneath them rather than mixing mulch into the sample.
Do not sample a bed right after you have applied the very amendment you are considering. If you are checking the effect of a previous treatment, tell the lab what you used and when. The North Dakota State Extension recommends providing the garden type with the sample because vegetable, flower, and lawn use can lead to different recommendations (NDSU Extension).
Write a short history too: previous crop, recent lime or fertilizer, compost additions, irrigation changes, and any unusual trouble with growth. That context helps make the report actionable instead of just a list of numbers.
Choose a laboratory test or a home kit
A home kit can be convenient for a quick indication of pH or a limited set of nutrients, but its scope and accuracy depend on the product and how carefully you use it. A basic pH strip does not tell you how much phosphorus or potassium is available, whether a nutrient level is excessive, or how much lime a particular soil needs. Fine Gardening describes home kits as one option while noting that lab tests can provide more detailed analyses and recommendations (Fine Gardening).
For a planting decision that may involve pH, nutrients, or repeated fertilizer use, a university or Cooperative Extension-recommended lab is usually the more useful starting point. The lab should explain which tests are included and which crop or landscape use to select.
Fees, available panels, sample packaging, and turnaround times vary. If you cannot find the form or instructions online, contact the county Extension office or laboratory before mailing soil; asking first can prevent a second sample or a mismatched test.
You do not need to test every bed every autumn by default. Testing intervals depend on the lab, soil texture, crop intensity, and whether the report calls for follow-up.
Penn State Extension gives different retest intervals for sandy and clay soils and recommends testing when problems occur during the growing season (Penn State Extension). A new bed, a major amendment, an unexplained recurring problem, or a report that calls for follow-up may justify testing sooner; a stable bed with a satisfactory result may not need an annual check.
Read the report for the plants you plan to grow
A report is not a generic grade for whether soil is “good.” It is a set of measurements made with a particular laboratory method, interpreted for the crop or landscape use you selected.
Start with the recommendations and explanations printed on that report. A number labeled “high” by one lab may not be directly comparable with a number from another lab, because labs can use different extraction methods, units, reference ranges, and local calibration.
Many garden reports include pH and some measure of plant-available phosphorus, potassium, calcium, or magnesium; organic matter or soluble salts may be included depending on the panel. Penn State’s current soil-testing description explains the elements measured through its own service and states that its report includes recommendations for the crop listed on the submission form (Penn State Extension). Other services offer different packages.
Do not assume every routine test includes nitrogen, micronutrients, contamination screening, or a physical drainage diagnosis. If you have a question beyond fertility, ask the lab which test is designed to answer it.
Use pH results to choose a measured adjustment
Soil pH describes how acidic or alkaline the soil is and affects how available some nutrients are to plant roots. It does not tell you to make every bed neutral.
The useful target depends on the plants: blueberries, for example, need a more acidic root zone than many common vegetables, so a result should be interpreted for the crop you intend to grow. Fine Gardening notes that the sample form’s intended crop matters and that soils and preferences vary by plant and region (Fine Gardening).
If a report recommends lime, use the lab’s rate for that soil and planting area. Lime is not a general-purpose “soil food”; applying too much can move pH farther than intended. If the report recommends sulfur or another pH adjustment, do not substitute a different product or amount based on a rough pH strip.
Soil texture and starting pH affect how much material is needed, and pH changes may take time. Fall can be a useful planning window for a recommended adjustment, but the report and local timing instructions decide whether to apply it now or later.
Sometimes the most practical result is that no pH correction is needed. If you want to grow a plant that prefers conditions very different from your existing soil, compare the cost and effort of adjusting a large bed with choosing a plant that suits the site or creating a smaller, properly managed planting area. A soil test helps you make that tradeoff before you buy a pallet of amendment.
Treat nutrient levels as a balance, not a shopping list
The report can point to a shortage, but it can also show that a nutrient is already abundant. North Dakota State University Extension cautions that excess nutrients and unnecessary additions can be a real issue; its fall soil-testing article gives phosphorus as an example of a nutrient that may be high enough to change what amendments a gardener should use (NDSU Extension). If a report says phosphorus or potassium is sufficient or high, a fertilizer blend containing that nutrient may not be the right choice even if the label is commonly used in gardens.
Nitrogen behaves differently from relatively stable soil pH or accumulated phosphorus. Some standard garden tests do not provide a dependable seasonal nitrogen recommendation, because soil nitrogen changes with weather, organic matter, and crop use (Fine Gardening).
Follow the crop-specific guidance from your testing service for nitrogen timing rather than interpreting a single number as a year-round prescription. A green lawn or leafy vegetable crop may need a different nutrient schedule from a perennial border.
A high organic-matter reading can also be useful: it may mean you can skip another heavy compost application. Compost improves soil structure in many situations, but it also contributes nutrients.
NDSU Extension describes soil testing as a baseline before adding fertilizer, manure, or other materials and notes that a good report may help gardeners avoid unnecessary applications (NDSU Extension). “Natural” is not the same as “needed,” so use the report and the material’s nutrient content to guide the amount.
Turn results into a fall and spring plan
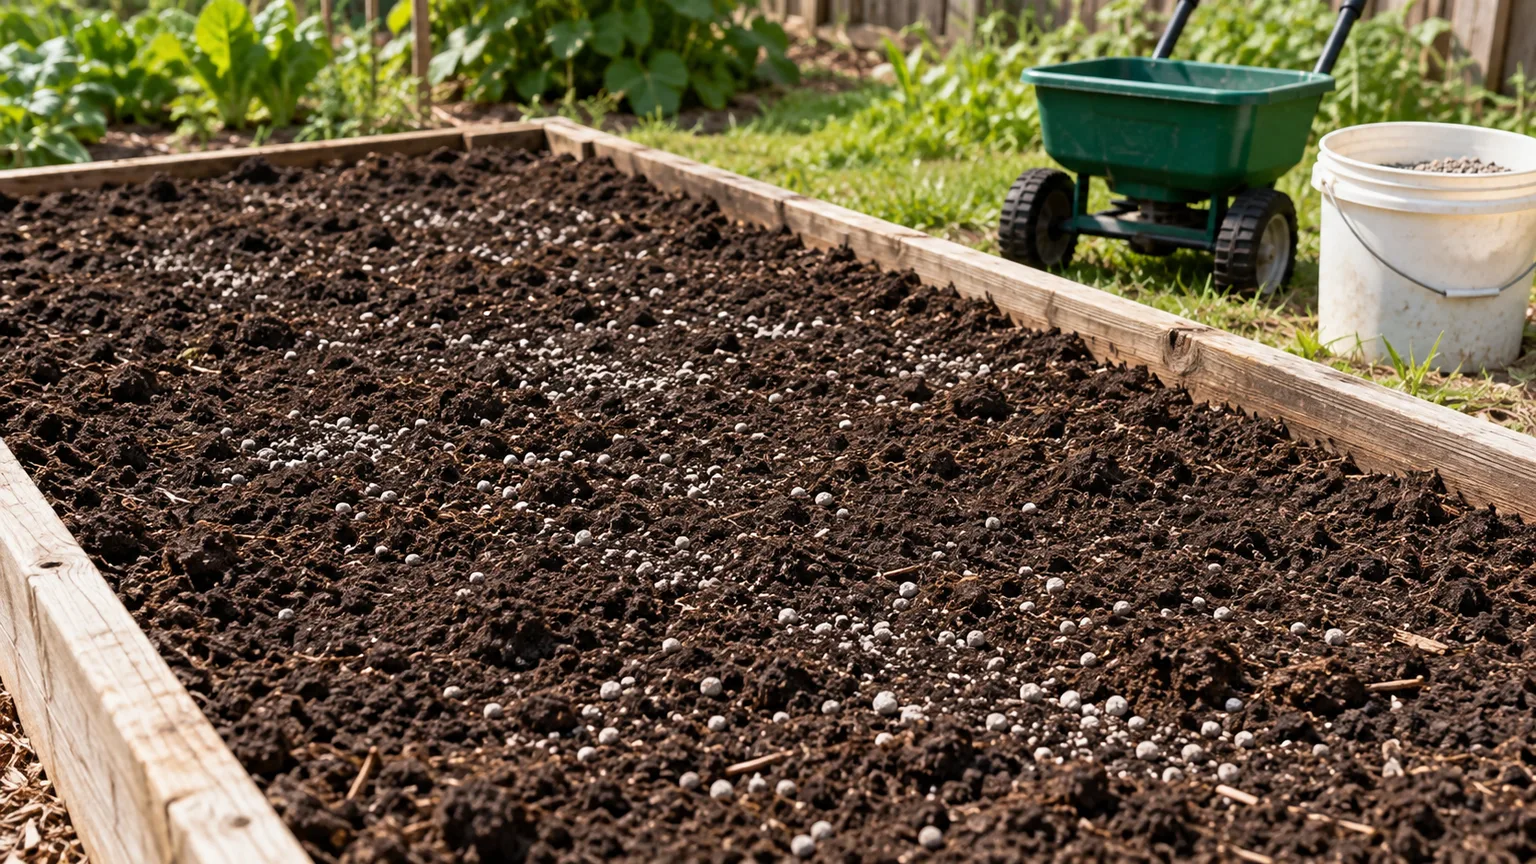
When the report arrives, mark each recommendation with one of three labels: act this fall, plan for spring, or ask before proceeding. The categories prevent you from treating every line as a task for the same day. A recommendation may be accurate but still depend on the crop, weather, product label, soil condition, or local application timing.
Then turn rates into a manageable amount. Measure the bed’s length and width, calculate the area, and check whether the report gives a rate per square foot, 100 square feet, or another unit.
Read the fertilizer or amendment label and do not exceed its directions. If the report gives a rate you cannot confidently convert, ask the lab or Extension office to check your calculation before applying anything.
What may be appropriate to do in fall
If a report recommends lime or another pH adjustment and your local instructions support fall application, the months before spring may be useful time for that change to begin. Soil professionals may recommend different timing or placement depending on whether the material is incorporated, surface-applied, or used around established plants.
Do not till it into a bed that is wet or sticky; working saturated soil can damage its structure. If the report calls for an application but the bed is frozen or too wet, ask whether it can wait for a workable period.
A fall test is also a good time to remove uncertainty from next season’s shopping list. It can tell you not to buy a nutrient you do not need, to choose a crop better matched to the site, or to plan a targeted correction for a new bed.
For a nutrient like phosphorus that can build up, avoiding excess is as important as correcting a deficiency. Record the recommendation and material amount rather than applying a vague “soil builder” by habit.
What can wait until planting time
Some fertilizer recommendations are tied to crop timing. If a lab report or local Extension guide says to apply a nutrient near planting or during active growth, do not automatically apply the entire amount in fall.
Nutrients can move, be taken up by a cover crop, or become less available, depending on the nutrient, soil, and weather. The exact schedule is not universal; use the crop-specific recommendation and the product label.
Compost can be valuable where organic matter is low, but its source and maturity matter. If you use compost or manure, consider the nutrients it adds and the local recommendations for when to apply it, especially in vegetable gardens.
Do not put fresh manure or a concentrated fertilizer into every bed as a placeholder while you wait for a report. When the report’s wording is unclear, set the product aside and ask a lab educator or local Extension office rather than guessing from a generic NPK chart.
Adjust the timing to your climate and local lab
In colder regions, the useful autumn window is generally before the soil freezes and before local laboratory services shift their seasonal operations. If the ground is already frozen, that does not erase the value of a test; collect it at the next workable opportunity and before you make a new application.
North Dakota State Extension’s “before the ground freezes” advice reflects a northern climate and the planning time its gardeners want before spring (NDSU Extension). It is not a national deadline for every garden.
In mild or warm-winter climates, fall may be a longer sampling period, but active beds can still make sample separation important. If a crop is growing or a bed has recently been fertilized, wait until the right point in its cycle or ask the lab how to collect a baseline sample.
In rainy regions, avoid walking and digging in saturated ground; in dry regions, ask whether the lab recommends sampling soil with a certain moisture condition. The local office can account for regional soil, weather, and testing procedures better than a month-by-month calendar written for another state.
If your lab is busy in spring, a fall sample may give you more time to receive results and plan. If your local lab processes samples quickly year-round, timing may matter less.
A gardener’s account in The Impatient Gardener describes testing a raised bed in late fall to be ready for the next planting season, a practical example rather than a universal promise about turnaround (The Impatient Gardener). Call or check the current lab notice before mailing the sample, particularly if your decision depends on getting a report by a specific planting date.
Keep a record for the next soil test
Save the report with a simple bed map, sample date, crop history, and list of anything you applied. A note such as “north vegetable bed; tomatoes and beans last year; compost added in May; sample before fall amendment” helps you interpret the next result. Without that context, two numbers from different beds or different seasons can look like a trend even when they do not describe the same soil.
Use one consistent lab when you can, and sample comparable areas at a similar time of year if you are tracking change. Record whether you followed the recommendation and what product you used; then note plant performance during the next growing season.
If the report did not improve the result you expected, share the history with the lab before adding more material. Soil chemistry moves gradually, and a test is most powerful when it supports a series of measured decisions rather than one dramatic makeover.
A routine fertility test also has limits. It does not automatically diagnose drainage, compaction, root disease, or every possible contaminant.
If you are testing because a plant has chronic symptoms, compare the report with watering, light, roots, and site conditions; our guide to signs that may justify a soil test covers those clues. For broader winter bed work and safe timing around wet or frozen soil, see how to prepare garden beds before winter.
Conclusion
Fall is a useful time to test garden soil when the bed is accessible, the ground is workable, and your local lab can process the sample. The main benefit is extra planning time: a reliable report can shape pH and nutrient decisions before spring, and it can also show when another bag of fertilizer or compost is unnecessary.
Choose one management area, collect a composite sample exactly as your lab directs, identify what you plan to grow, and keep a record of past amendments. Then use the report’s crop-specific recommendations to decide what belongs in fall, what should wait until planting, and what needs a question to the lab. If the autumn window has passed, test at the next practical time before making changes; a measured plan is more useful than a rushed guess.