How to Troubleshoot Your Lawn Irrigation System
Troubleshoot weak sprays, dead sprinkler zones, leaks, and bad valves with a safe, zone-by-zone process that tells you what to check next.
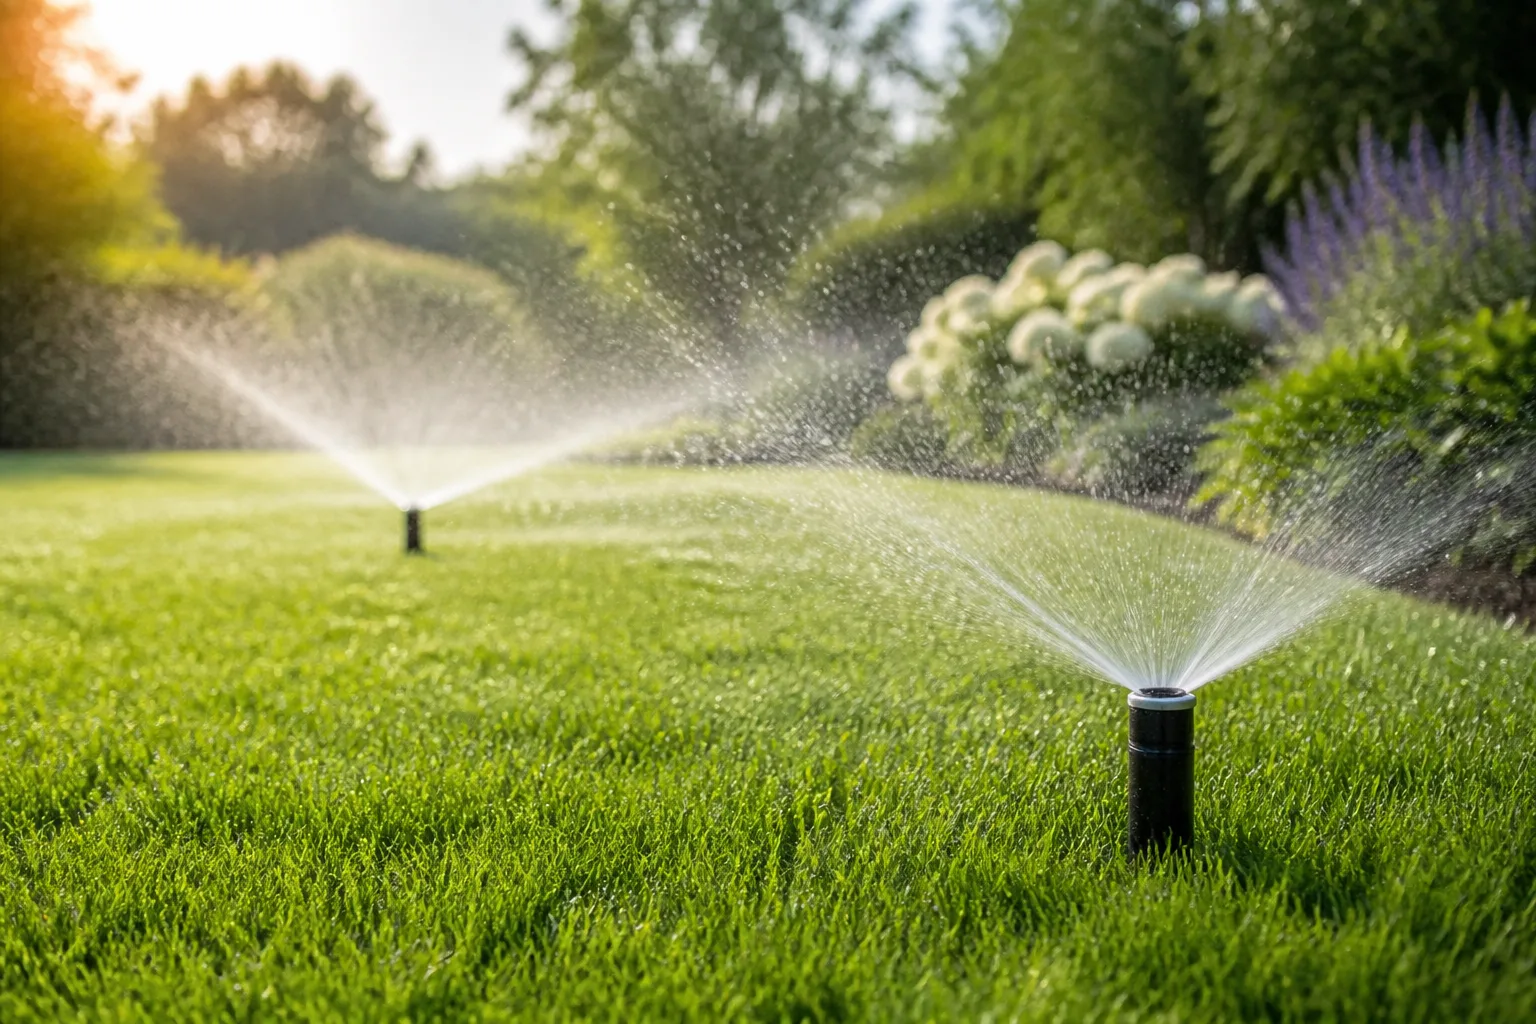
When a lawn irrigation system misbehaves, start by asking where the failure stops. A single dry sprinkler, one weak zone, several dead zones, and water bubbling out of the lawn point to different parts of the system; treating them all as a bad valve wastes time and can create a second leak.
The fastest reliable process is to run one zone manually, watch what happens, and record the pattern before opening anything. The checks below move from easy observations to electrical and underground diagnostics, so you can fix a clogged head or controller setting without digging up healthy pipe—and know when the work has crossed into professional territory.
Start With the Symptom, Not the Valve Box
Begin with the smallest affected area. If one head is dry while nearby heads work normally, the controller and zone valve are probably opening; look first at the nozzle, riser, head height, or a local blockage. If every head in one zone is weak, the problem is upstream of those heads: a partially open valve, a restriction, a leak, too many heads on the circuit, or inadequate supply to that zone.
If every zone is weak, think supply or control before individual heads. A shutoff that was never fully reopened, a backflow device that is not open, a clogged filter, a pressure change at the property, or a controller/transformer problem can affect the whole system. If the lawn is wet when no zone is running, turn the system off and investigate the supply and valves before running another cycle.
Use this quick triage while the system is off:
| What you see | Most useful first check |
|---|---|
| One head is dry or sprays sideways | Remove debris, inspect the nozzle and riser, then check for a broken head |
| One zone is weak | Look for a valve restriction, wet soil, crushed line, or too many heads on that zone |
| All zones are weak | Check the main shutoff, backflow device, filter, supply pressure, and peak-demand timing |
| One zone will not start | Check the program, manual-start response, station wire, solenoid, and valve |
| Several zones will not start | Check controller power, transformer output, and the common wire before individual valves |
| Water continues after shutoff | Inspect the head, low points, valve diaphragm, and valve flow direction |
This triage is a decision aid, not a diagnosis. A lawn can show more than one fault after a mower strike, freeze, construction work, or a season of clogged nozzles.
Understand the Water and Electrical Paths
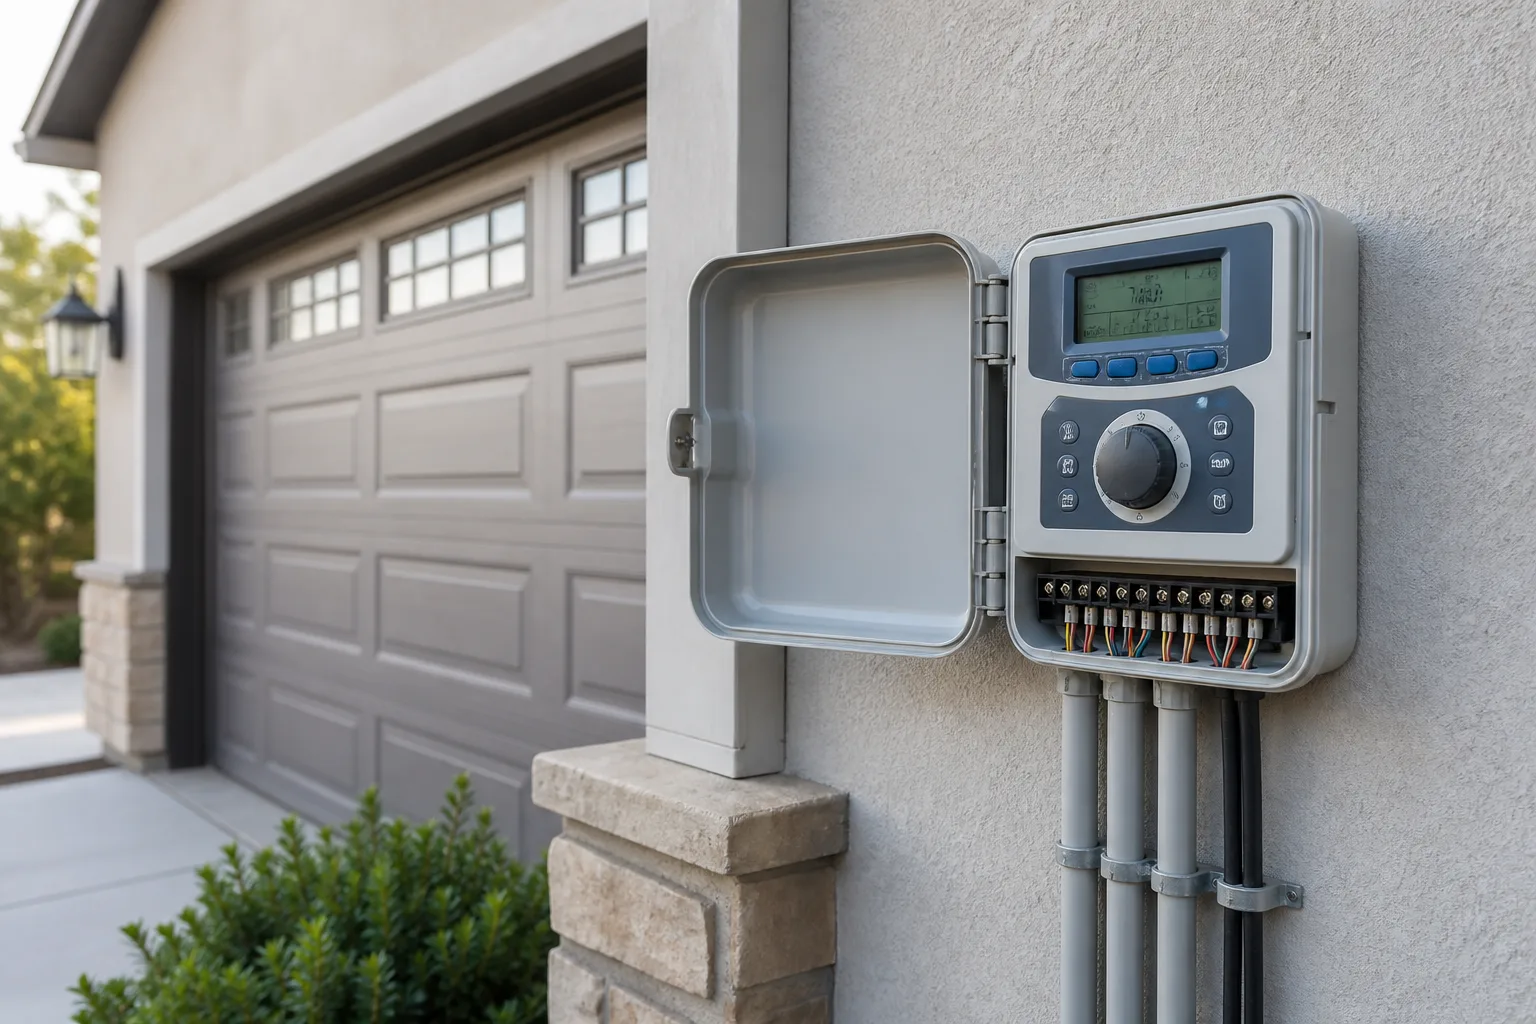
An automatic system has two linked but separate jobs. Water travels from the supply through a shutoff and backflow device, into a zone valve, along underground lateral pipe, through risers and nozzles, and finally onto the lawn. Electricity travels from the controller and transformer through a common wire and one station wire to a solenoid on the matching valve.
Follow the Path From Controller to Sprinkler Heads
The controller chooses when a station runs, but it does not push water through the lawn. A zone valve opens the water path; the solenoid is the electrically actuated part that tells the valve to open; the valve body and diaphragm regulate flow; and the heads distribute that flow. A controller can appear to work normally while a field wire, solenoid, valve diaphragm, or underground pipe has failed.
The reverse is also possible: a valve and heads can be mechanically sound while the controller is not sending a usable signal. Rain Bird’s repair hub separates timer, controller, and sprinkler-head support, which is a useful reminder to start with the component that matches the symptom rather than replacing the most visible part. Consult the manual for your exact controller and valve before applying a voltage or resistance number.
Use the Symptom to Narrow the Fault
Pressure and flow are not the same thing. Pressure is the force available in the pipe; flow is the volume moving through it. A clogged nozzle can make one head look weak without changing system pressure, while a leak or a valve that only opens partway can reduce flow to an entire zone.
The lawn itself supplies evidence. A green ring around a head with brown turf beyond it suggests the head is too low, tilted, or distributing poorly. A narrow strip of green beside a dry area can indicate a blocked pattern or a head that no longer rotates. A soft, unusually green patch between heads is more suspicious for a buried leak than for a bad nozzle.
Make the System Safe Before Testing
Keep the first test observational. Run a single zone only long enough to see the pattern, and stop if water is spraying from a broken fitting, pooling beside a foundation, or washing soil away. Do not open a pressurized valve, cut a wire while the controller is energizing a station, or use a metal tool around exposed electrical connections and standing water.
Before removing a head or opening a valve box, turn the controller off and close the irrigation supply shutoff if the repair requires disturbing pressurized plumbing. If you are unsure which shutoff controls irrigation, stop at identification rather than experimenting. Backflow preventers can be regulated safety devices; testing, rebuilding, or replacing one may require a qualified professional and local compliance.
Have a screwdriver, a phone for photos, a marker or labels for wires, and a multimeter only if you are comfortable using it. A shovel is useful for a confirmed leak, not as a first diagnostic tool. Photograph the wire positions and valve orientation before disconnecting anything.
Run a Zone-by-Zone Diagnostic
Start a Manual Run and Observe the Zone
Use the controller’s manual or test function to run one station. If the controller cannot start a manual cycle, first check whether it has power, whether the station is disabled, and whether the program is set for the correct day and time. A scheduled start is a poor diagnostic because another station, rain delay, seasonal adjustment, or program overlap can confuse the result.
Walk the zone from the valve box outward. Count heads, note which pop up, look for a head that is tilted or spraying a sidewalk, and mark dry or saturated areas. Listen for hissing, water moving when every zone is off, or a valve that chatters instead of opening cleanly. Take a short video of the spray pattern; a recording makes intermittent faults easier to compare after a repair.
If the controller starts the station and the whole zone operates, do not begin with the valve. Clean or realign the affected head and retest. If the zone stays completely dry, move upstream to the controller, wire, solenoid, and valve.
Measure Coverage With a Catch-Can Audit
A catch-can test tells you whether the system is delivering water evenly, not just whether water is visible. CSU Extension recommends placing five to ten identical level containers throughout one zone, including both healthy and brown areas, keeping them a few feet away from sprinkler heads, and running a normal cycle or a 15–20 minute test. Measure each container to the same precision and compare the results.
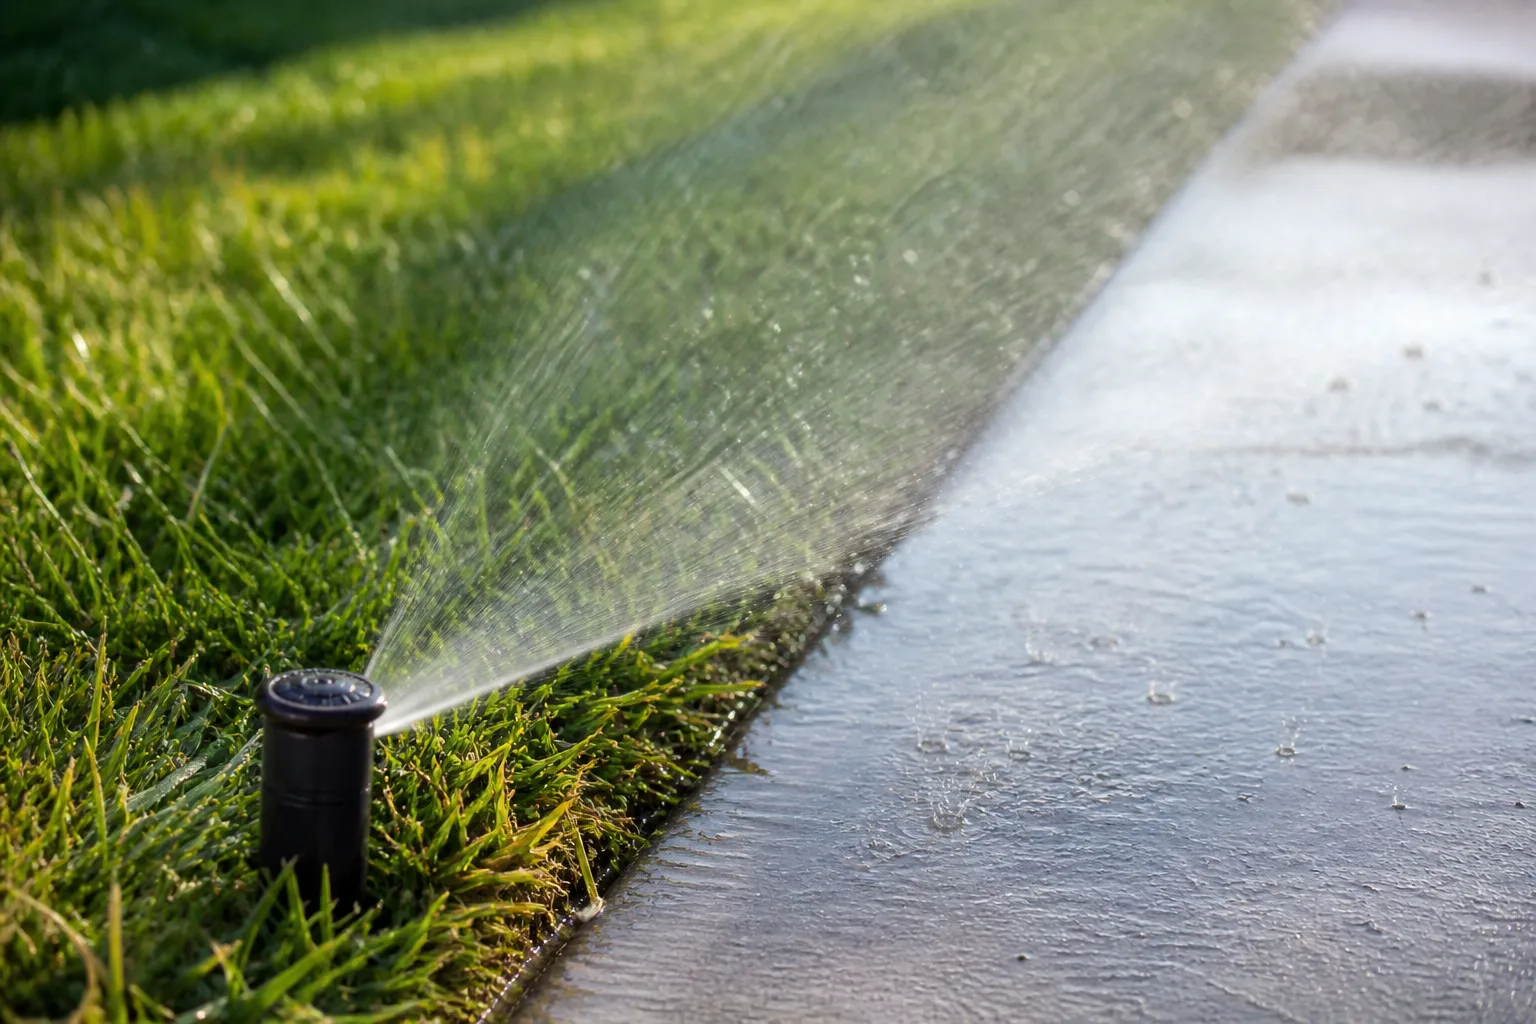
This simple audit can expose a problem that looks like “the lawn needs more water.” If the brown area collects half as much as the green area, increasing the run time may overwater the healthy turf while leaving the dry patch under-irrigated. CSU lists low or crooked heads, stuck rotors, blocked spray patterns, plugged or worn nozzles, roots pressing on pipe, valves that do not open fully, and poor head spacing among common causes of uneven coverage.
Penn State Extension likewise emphasizes that water should not be applied faster than the soil can absorb it and that distribution matters as much as total run time. If water is running off a slope or compacted strip, a longer cycle may make the lawn look wetter briefly while wasting water; shorter cycle-and-soak intervals may be more appropriate, depending on soil and local restrictions.
Fix Sprinkler Heads and Coverage Problems
Start at the head because it is the easiest fault to confirm and the most common part to damage. With the zone off, brush away grass and soil, unscrew a removable nozzle if the model allows it, and rinse debris from the opening and the small filter screen. Do not enlarge a nozzle hole with a drill or knife; the opening controls the designed flow and pattern.
Check that a pop-up rises vertically and sits close to grade without being buried in thatch or soil. A head that is too low can create a green doughnut immediately around itself and dry grass beyond its reach. A crooked riser can throw water onto a path, while a cracked body or broken stem can waste water before it reaches the nozzle.
Look for landscape changes as well. A shrub that grew into the spray, a new edging stone, mulch piled over a head, or a mower strike can block or redirect water. Repositioning a head or replacing a matching nozzle may restore coverage; adding a larger nozzle to force more water through a weak zone usually masks the real problem and can overload the circuit.
After cleaning or replacement, run the zone again. Confirm that the spray pattern matches the intended arc, that adjacent heads overlap the lawn rather than the pavement, and that the repaired head is not the only one receiving water. Use the catch-can audit if the lawn still has unexplained dry spots.
Diagnose Low Pressure Without Guessing
Weak spray can come from low pressure, restricted flow, or a damaged head. Watch whether the heads rise slowly, whether the spray turns into mist, whether the weakness starts immediately or develops as more heads operate, and whether the turf shows a wet area nearby. A pressure gauge on an appropriate test point can add useful data, but the most important comparison is whether the problem follows one zone or the whole property.
If Every Zone Is Weak
Check the irrigation main shutoff and the valves at the backflow device first. A handle that is parallel to the pipe is commonly open, but configurations vary; use the device markings and installation manual rather than assuming. Inspect for a clogged filter or regulator if the system has one, and ask whether household demand, municipal work, or a well-pump issue coincides with the change.
Run a zone when nearby household water use is low and compare it with a normal-demand period. If performance improves at a different time, the supply may be marginal rather than the valves suddenly failing. Do not compensate by extending run times until you know the system is applying water uniformly; Penn State notes that inefficient distribution and runoff can waste water even when the lawn appears to need more.
If the whole system remains weak, look for a continuously wet area or a meter that moves when all fixtures and irrigation zones are off. A leak on the main irrigation feed can reduce pressure everywhere. A qualified irrigation or plumbing professional can test static and flowing pressure, inspect the backflow assembly, and determine whether the issue is on the property or upstream.
If Only One Zone Is Weak
Walk the entire zone and compare its heads. A saturated patch, bubbling water, or unusually lush strip suggests a broken lateral line or fitting. A zone that has dry turf but no wet evidence may have a clogged filter, a valve that is not opening fully, a crushed line, too many heads for the available flow, or a design problem that has always been present.
Inspect the zone valve without opening it first. Is the manual bleed screw or lever in the normal position? Is the valve body cracked, buried, or surrounded by standing water? Does the solenoid make a click when the station starts? These observations narrow the next test, but a click alone does not prove that the diaphragm is opening or that the water path is clear.
If the weak zone began after a freeze, excavation, aeration, tree-root growth, or vehicle traffic, treat mechanical damage as more likely. Dig only where the evidence points, expose the pipe carefully, and shut off water before cutting or replacing any section.
Troubleshoot Zones That Will Not Turn On
If a Single Zone Is Dead
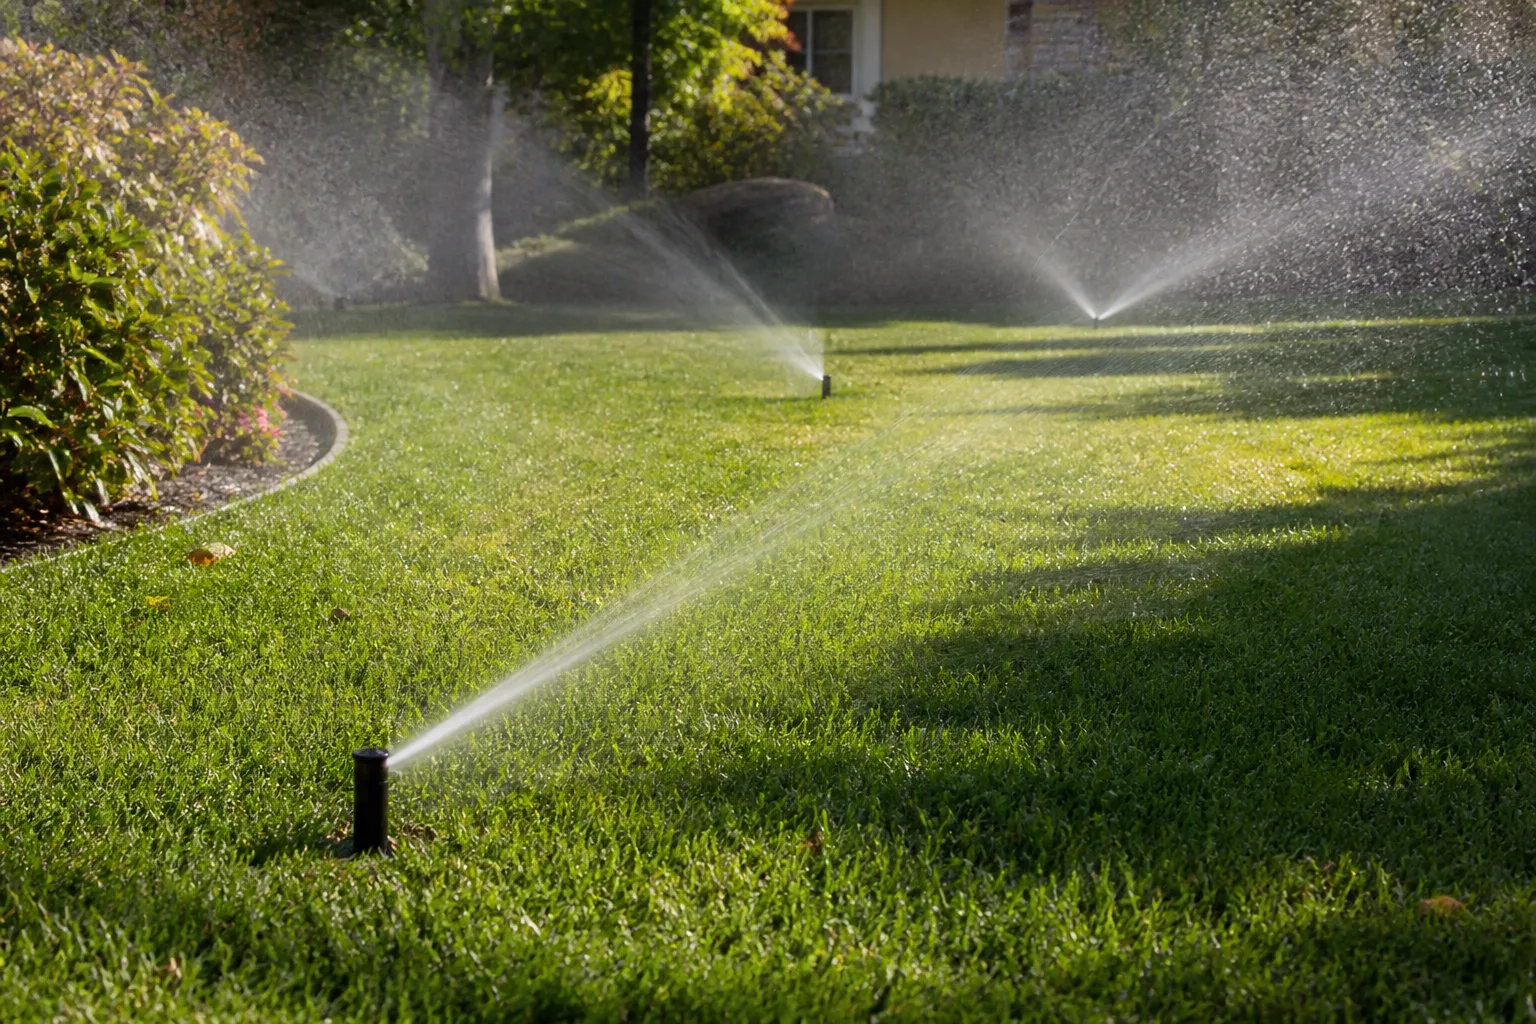
Start at the controller: select the station manually, confirm the station number, check that the run time is not zero, and verify that rain delay or a seasonal setting has not disabled watering. If other stations work, the controller has at least some power, but the individual station circuit can still be open.
With the controller off and the wires identified, inspect the station wire at the controller and at the valve. Look for loose screws, corrosion, rodent damage, a splice pulled apart by soil movement, or a wire cut during landscaping. Waterproof irrigation wire connectors matter in valve boxes; ordinary indoor wire nuts can corrode and create an intermittent connection.
A multimeter can help separate the controller, field wire, and solenoid, but use the controller and valve manufacturer’s instructions for the test mode and expected readings. Many residential systems use low-voltage alternating current, often around 24 volts, but the exact operating range and solenoid resistance vary by equipment. Do not decide that a controller is bad because one reading is slightly below a nominal number, and do not measure resistance on a live circuit.
If the controller sends the expected signal at its terminal but not at the valve, suspect the field wire or splice. If the signal reaches the solenoid but the valve does not open, the solenoid, diaphragm, valve debris, or a manually restricted valve becomes more likely. Replace only the failed component when the model is confirmed; a look-alike solenoid may fit the threads but not match the electrical requirements.
If Several Zones Are Dead
Several dead stations point away from individual nozzles and toward a shared part: controller power, transformer, the common wire, a shared splice, or an upstream supply problem. Check the controller display, fuse if the model has one, transformer connection, and common-terminal wire. If the controller is blank or resets, stop before opening the cabinet further and have the electrical supply checked.
If the controller appears normal but multiple stations fail, test one known-good station against one failed station using the manufacturer’s procedure. A shared common-wire break can make several valves appear bad at once. A professional can trace the buried wire, test the transformer under load, and avoid damaging the controller by probing the wrong terminals.
Find Leaks and Decide Whether the Valve Is Failing
A leak is a location problem before it is a parts problem. When the system is off, inspect the valve box, exposed backflow assembly, heads, and the lawn for soft soil, persistent green strips, sinkholes, or water returning after the surface dries. Compare the water meter with every fixture and irrigation zone off; movement suggests a leak somewhere, although a meter may not detect a very small intermittent seep.
Water bubbling from the valve box while a zone runs can come from a loose connection, cracked valve body, damaged cap, failed fitting, or a diaphragm that is not seating correctly. Close the irrigation shutoff before opening the box. If the box fills while the zone is off, the valve may be passing water when it should be closed, but confirm that the water is not entering from a nearby broken supply line or drainage path.
A sprinkler head that drips after shutoff deserves a short observation period. Water at a low point can drain from the lateral line after the valve closes, and a dirty or damaged head can leak locally. If the flow continues or multiple heads in the same zone seep, suspect a valve that is not closing fully, debris under the diaphragm, an aging diaphragm, incorrect flow direction, or a valve installed without the right orientation.
Do not tighten a valve cover blindly. Some valve designs use specific screw patterns and torque, while anti-siphon components may have separate safety functions. Follow the model’s service instructions; if the body is cracked, the shutoff is inaccessible, or the repair requires replacing pressurized pipe or a backflow component, call an irrigation professional.
Know When a Repair Is DIY or Professional Work
Reasonable homeowner repairs include cleaning a nozzle, replacing a matching sprinkler head, clearing grass from a pop-up, correcting a controller schedule, labeling wires, and performing a catch-can audit. A careful homeowner may also replace an accessible solenoid or valve diaphragm when the supply is isolated, the model is identified, the wiring is documented, and the manufacturer’s instructions are available.
Stop and get help for a cracked main or backflow device, a leak near the foundation or utility lines, repeated electrical trips, an unknown shutoff, a buried wire fault that requires extensive digging, a valve box full of water and damaged connections, or any repair that leaves you unsure whether water or electricity is isolated. Local plumbing, backflow, irrigation, and electrical rules may apply even when the part looks small.
The cost of a service call is usually easier to justify than replacing several valves on a guess. Give the professional your zone map, photos, test results, timing of the failure, and notes about recent freezes, construction, lawn aeration, or changes in household water pressure.
Prevent Repeat Irrigation Failures
Test the system at the start of the watering season before you rely on the automatic schedule. Open the supply slowly, inspect the backflow device and valve boxes, run each station briefly, and look for broken heads, leaks, clogged nozzles, and heads buried below grade. After a freeze-prone winter, check exposed components for cracks before a full-pressure cycle.
During the season, run a visual walk-through at least monthly and after mowing, aeration, grading, storms, or landscaping. Keep a simple map of valve boxes, station numbers, head types, shutoff locations, and repair dates. A labeled system turns the next failure from a scavenger hunt into a controlled test.
Audit coverage when the lawn pattern changes rather than automatically increasing run time. CSU Extension’s catch-can method can show whether a dry spot is a distribution problem, while Penn State’s guidance on infiltration and watering frequency helps prevent the common response of watering shallowly every day. Gardening Know How also notes that automatic systems need seasonal maintenance, and its overview of smart sprinkler systems explains how controllers can adjust schedules; a smarter controller still cannot repair a clogged head, broken pipe, or failing valve.
Before winter in a freezing climate, follow the system designer’s winterization method; this may involve draining or professionally blowing out the lines. Do not improvise with excessive compressor pressure or assume that turning off the controller protects buried components. In spring, bring the system back online gradually and test zones before returning to a full schedule.
Conclusion
To troubleshoot a lawn irrigation system, run one zone manually and classify the failure before touching a valve. One bad head is a head problem; one weak zone calls for a valve, leak, restriction, or design check; every weak zone points to supply, backflow, filtration, or demand; and several dead zones suggest shared power or wiring.
Use a catch-can audit to prove whether coverage is uneven, use a multimeter only with model-specific instructions and a de-energized circuit, and treat wet ground as evidence of a leak rather than a reason to water longer. Clean and replace the simple parts first, document what you find, and hand off backflow, pressurized plumbing, utility-adjacent digging, and uncertain electrical work to a qualified professional.



