Huernia Zebrina Care: Light, Water, and Bloom Guide
Learn lifesaver plant care: choose a draining pot, water by dry-down, protect it from frost, and troubleshoot red stems, rot, pests, and missing flowers.
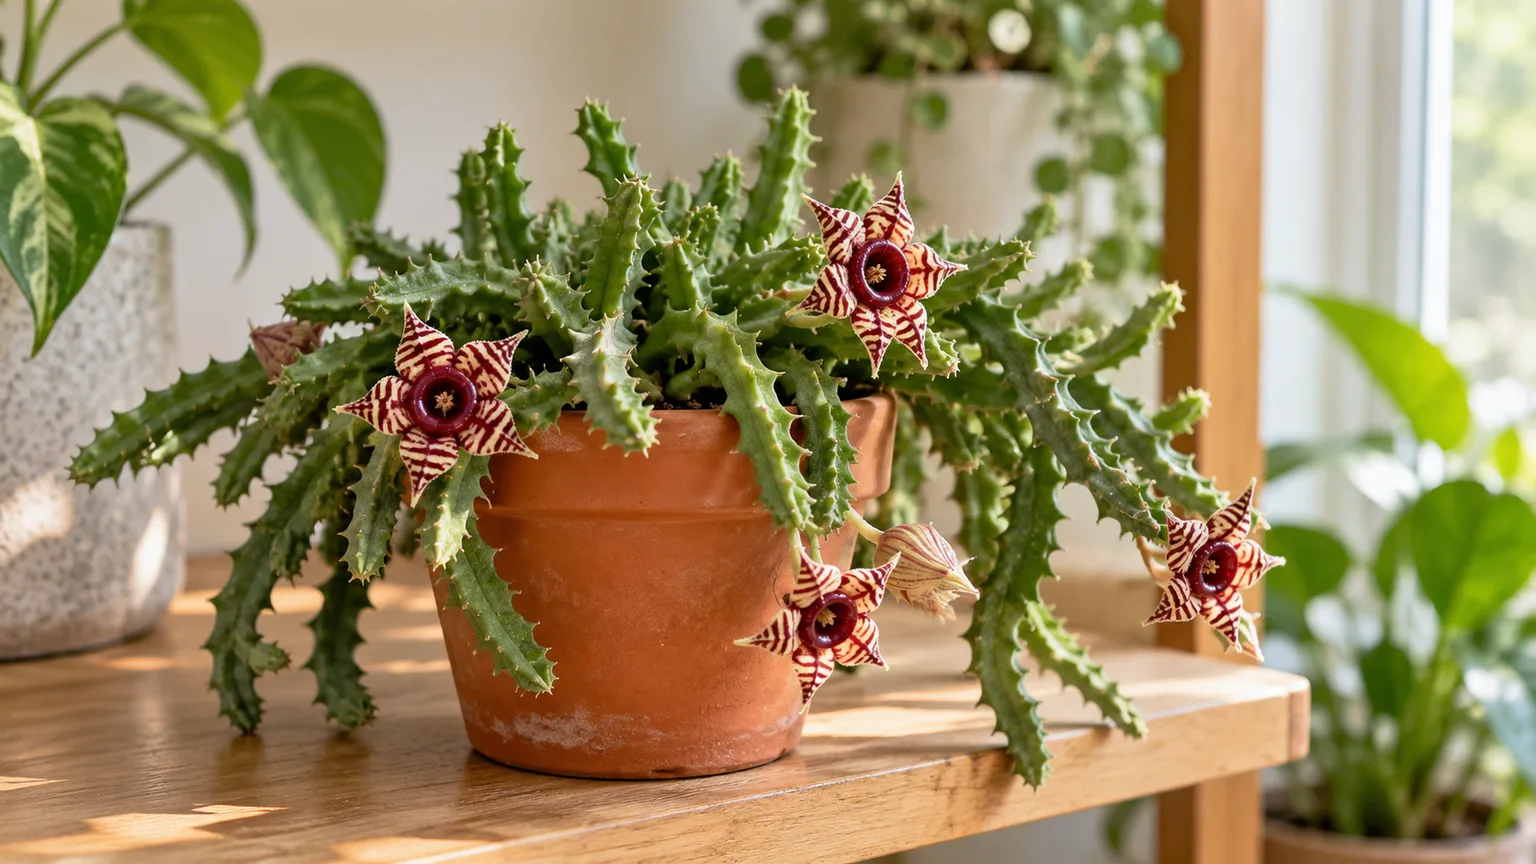
Huernia zebrina earns its lifesaver name from a glossy burgundy ring in the middle of its striped, star-shaped flowers. The plant itself is a compact, creeping succulent with angular, leafless stems, so it fits a bright windowsill or small collection better than a large floor pot. It is often sold as a lifesaver cactus, but it is not a true cactus; the practical care priorities are a bright but not punishing location, a pot that drains, and a thorough watering followed by a real dry-down.
The quickest way to lose one is to combine a heavy mix, a pot without a drain hole, and small frequent drinks. Instead, match watering to the plant’s growth and the time its mix takes to dry. That approach works across climates and homes far better than watering every Sunday.
Lifesaver Plant Care at a Glance
| Need | Practical starting point |
|---|---|
| Light | Bright light; offer gentle morning or late-day sun and shield it from harsh midday heat |
| Water | Soak the mix, drain the pot, and wait until it is dry or nearly dry before watering again |
| Soil | Gritty succulent mix that does not stay wet; pot must have a drainage hole |
| Temperature | Warm conditions; protect from frost and bring a patio plant inside before nights approach 50°F |
| Growth | Creeping clump of fleshy, four-angled stems; compact but spreads sideways |
| Flowers | Cream to yellow flowers with burgundy stripes and a glossy central ring, usually during active growth |
| Propagation | Root healthy stem cuttings after the cut surface calluses |
Those are starting points, not a schedule. A plant in a small unglazed pot near a warm bright window can dry much faster than one in a large glazed container in a cool, dim room. Check the actual mix before deciding whether it needs water.
Identify the Lifesaver Plant
The accepted name is Huernia zebrina. Kew’s Plants of the World Online places the species in Apocynaceae and gives its native range as southern Zimbabwe to southern Africa; its taxonomic record describes it as a succulent subshrub. The regional origin helps explain why the plant tolerates dry intervals but still benefits from shelter from prolonged cold and wet. (See Kew Plants of the World Online.)
Its common names include lifesaver plant, lifebuoy huernia, owl eyes, and zebra-striped huernia. The stems are fleshy and ridged, with small soft teeth along their edges. They trail or creep and form a low clump; flowers tend to appear low on the stems, not on a tall stalk. The thick, shiny annulus at each flower’s center is the feature people most often notice.
Calling it a cactus is convenient shorthand in stores, but botanically misleading. It belongs to a succulent group within the dogbane family, not the cactus family. Use cactus and succulent supplies if useful, but don’t assume the plant wants the same intense, all-day sun or dry winter regimen as a desert cactus.
Choose a Place It Can Grow Without Scorching
A good location balances light and temperature. Lifesaver plant needs enough bright light to keep compact growth and support flowering, yet hot direct sun through glass or a scorching outdoor exposure can mark the stems. Start with a bright east or west window, then adjust based on how the plant responds.
Light: Bright, With Protection From Hot Midday Sun
Give the plant bright light for much of the day and, if possible, gentle morning or late-afternoon sun. A very dim interior spot encourages sparse, stretched stems and makes flowers less likely. A south-facing window can work where the sun is tempered by distance, a sheer curtain, or seasonal changes, but monitor the stems rather than assuming the same window is safe in every home.
If a plant arrives from a greenhouse or a shaded shop, increase its light gradually over a week or two. Begin a few feet back from the brightest window or under light shade, then move it closer in stages. This gives the stems time to adjust and makes it easier to catch early signs of excess light: bleached patches, dry tan marks on the side facing the window, or scorched areas that do not disappear when the plant is moved.
Outdoor summer air can be useful in a frost-free season, but set the pot under bright shade or where it receives early or late sun and protection from the hottest part of the day. Do not move it directly from a shelf into full afternoon sun. West Virginia University Extension gives broad succulent guidance that calls for strong light and gradual outdoor acclimation; Huernia’s own growing references likewise recommend avoiding the hottest sun. The species-specific advice from GardenersPath is to provide direct sun in morning or evening and filtered light through midday heat.
Temperature: Warm Growth and a Dry, Frost-Free Winter
Treat Huernia zebrina as frost-sensitive. If you keep it on a patio, bring it indoors before cold nights settle in; GardenersPath uses 50°F as a conservative move-inside threshold and warns that cool, wet soil increases rot risk. A brief dip in temperature may not cause immediate damage, but there is little benefit in testing the plant’s limit when a container can be moved.
Published hardiness-zone estimates differ, so use them as rough context rather than a promise of outdoor survival. In places with occasional frost or cold rain, grow it in a portable pot. Indoors, ordinary household temperatures are generally workable; avoid a cold windowpane, a drafty door, and a heater that dries one side of the plant while overheating the root ball.
Humidity does not need to be boosted with misting. The plant stores water in its stems, and constantly wet surfaces or a humid, stagnant corner do not solve the more important problem of overwatered roots. Normal room air with some circulation is a better target than a humidity tray or daily spray.
Build a Shallow, Fast-Draining Root Zone
Choose a pot that is wider than it is deep, with at least one unobstructed drainage hole. Huernia’s spreading stems need lateral room, while a deep pot holds unused wet mix beneath the shallow root zone. A small plant does not need a large container: extra soil volume can stay damp long after the roots have used what they need.
A breathable clay pot can help a slow-drying mix lose moisture, though a plastic or glazed pot can work if the mix and watering are adjusted. Do not fill the bottom with gravel as a substitute for a drain hole. The pot needs an open path for excess water to leave, and the roots need air throughout the mix rather than a wet pocket above a layer of stones.
Use a commercial cactus or succulent mix as a starting point. If it feels dense or remains moist for too long, blend in pumice or coarse perlite until the finished mix is loose and granular. A roughly equal blend of succulent mix and mineral grit is a practical starting point in humid homes; in hot, very dry conditions, keep enough finer organic material to prevent the small root ball from drying out instantly. The aim is a mix that wets through when watered but does not stay saturated. Virginia Cooperative Extension explains that finer, peat-rich media retain more water and less air, while coarse ingredients such as perlite increase drainage and air space. Virginia Cooperative Extension is useful for choosing the texture, but a Huernia mix should be drier and grittier than a general foliage-plant blend.
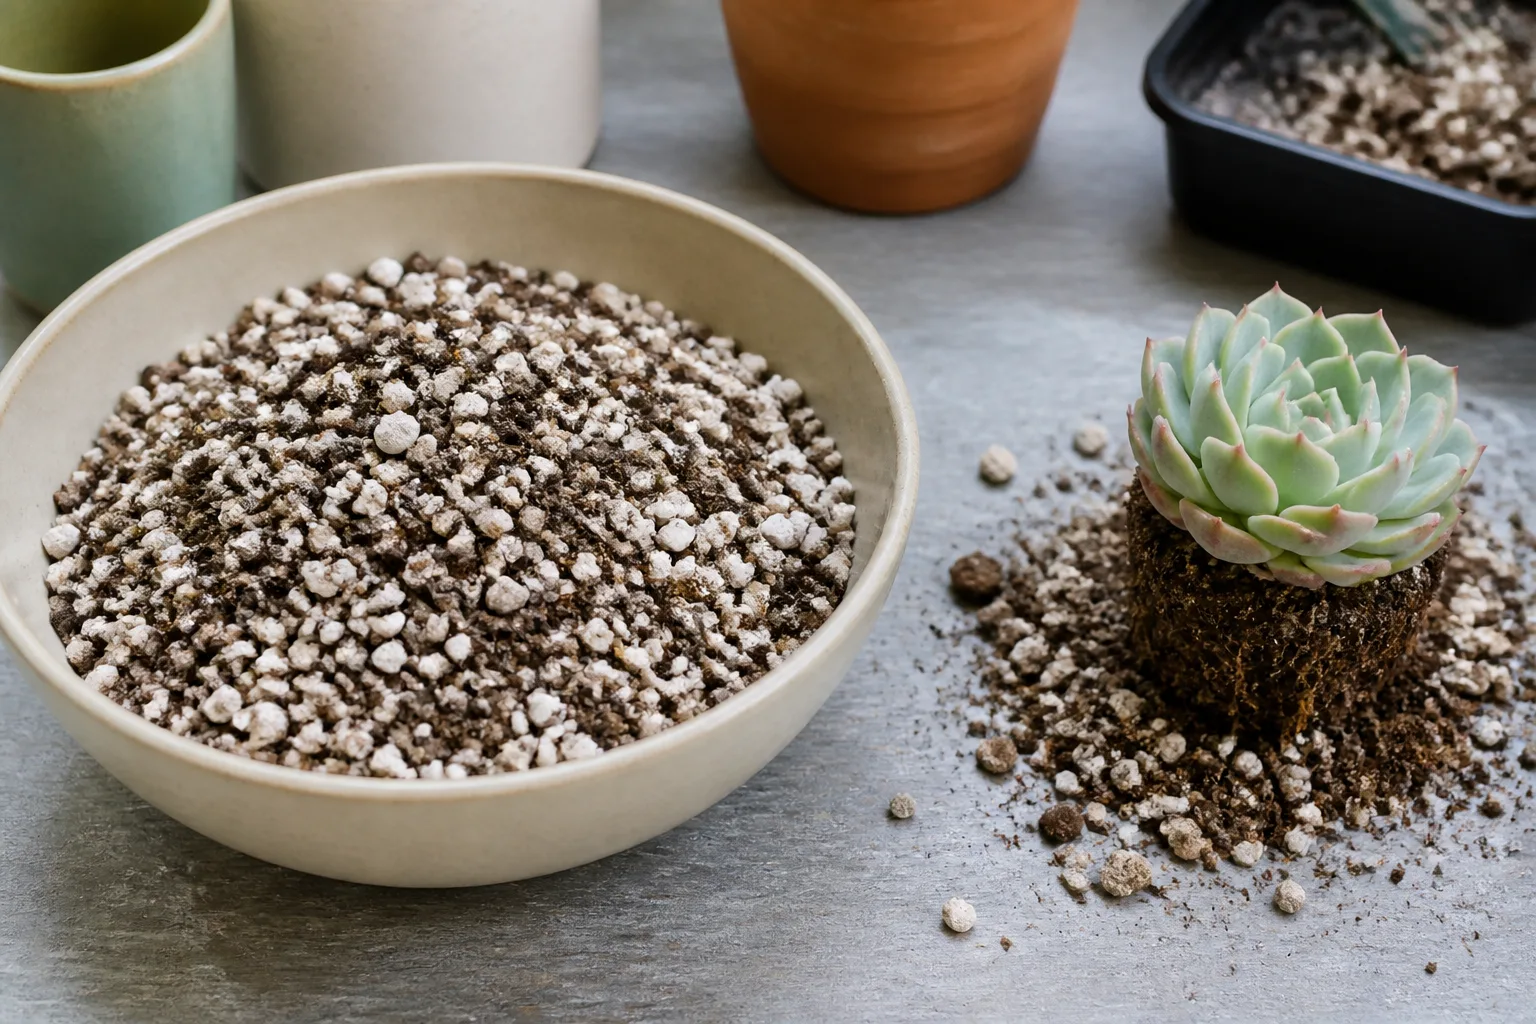
The image above shows a general succulent mix, not Huernia. When you water your plant, check that water can pass through the root ball and out the drainage hole. If it runs straight down the pot wall while the center stays dry, the mix may have shrunk or become difficult to rewet; apply water slowly in two or three passes rather than concluding that the pot drained perfectly.
Water by Dry-Down, Not by the Calendar
During active growth in spring and summer, water thoroughly when the mix has dried through or is nearly dry. Pour slowly over the entire surface until water exits the drainage hole, let the pot drain, and empty the saucer. Avoid repeated sips that wet only the top layer: they can leave part of the root ball dry while keeping the surface damp enough to invite pests and algae.
Check more than the top inch. Push a dry wooden skewer into the mix near the pot wall, feel below the surface, or lift the pot to learn its dry weight. Small containers, warm rooms, porous clay, strong light, airflow, and a gritty mix all shorten the interval. Cool weather, weak light, humid air, a larger pot, or dense mix extend it. Virginia Cooperative Extension makes the same central distinction for containers: overwatering is driven by watering too often, not by applying a thorough watering once the root zone is ready.
In winter, reduce watering because growth and evaporation usually slow. Do not set an automatic monthly schedule. If the plant is cool and barely growing, the mix can remain dry for a long stretch; water only when it has dried and the stems begin to lose a little firmness. If your home stays warm and the plant continues pushing new growth under strong light, it may need water sooner. West Virginia University Extension’s succulent guidance recommends watering thoroughly and waiting until the soil is completely dry; for this shallow-rooted species, that full-dry rule is a safe default in winter, with “nearly dry” more practical during active growth.
When a very dry mix repels water, don’t compensate with frequent shallow splashes. Apply a small amount, pause, and apply again so the medium has time to absorb moisture; then confirm the pot has drained. If the plant stays soft while the mix is wet, stop watering and inspect the roots and lower stems instead of adding more water.
Feed Lightly While New Growth Is Active
Huernia zebrina is not a heavy feeder. If the plant is growing steadily in fresh succulent mix, fertilizer is optional for a while. When growth resumes in spring, a balanced or succulent-formulated liquid feed at half label strength once a month is a conservative approach; apply it to already damp soil rather than a bone-dry root ball. Gardening Know How describes monthly half-strength feeding through the warm growing season and stopping as dormancy approaches.
Do not fertilize in winter, on a recently repotted plant, or when roots are damaged. Extra fertilizer cannot correct dim light, cold wet soil, or rotting stems. Avoid frequent high-nitrogen feeding, which can push softer growth without improving the conditions the plant needs to flower.
What to Expect From Lifesaver Flowers
The flowers are star-shaped, usually cream or yellow with reddish stripes, and have a dark, glossy raised ring called the annulus. They appear close to the stems, sometimes in pairs or small clusters. That ring inspired the plant’s lifesaver and lifebuoy names. Strong light, warm-season growth, and healthy roots improve the chance of flowering, but a young cutting may need time to mature; lack of flowers is not by itself proof that the plant is sick.
The nickname “carrion flower” can suggest a reliably unpleasant scent, but descriptions differ. GardenersPath reports that Huernia zebrina’s flowers do not have the strong smell of some related stapeliads, while gardeners may still notice an odor in a small indoor space. If fragrance matters to you, treat scent as variable and move a blooming plant to a ventilated spot rather than relying on a label to predict your specimen.
If flowers fade, snip them off with clean scissors once they are spent. Do not cut healthy stem tips simply to force another flush. The more useful bloom check is to review the plant’s light and recent growth: if it is stretching or stalled, address that first, then give it a full growing season to respond.
Propagate Huernia Zebrina From Stem Cuttings
Spring and summer are the easiest times to root a cutting because the plant can resume growth in warm, bright conditions. Choose a firm, healthy stem segment from the edge of the clump. Use a clean sharp blade, and note which end was closest to the parent so you can plant the base downward.
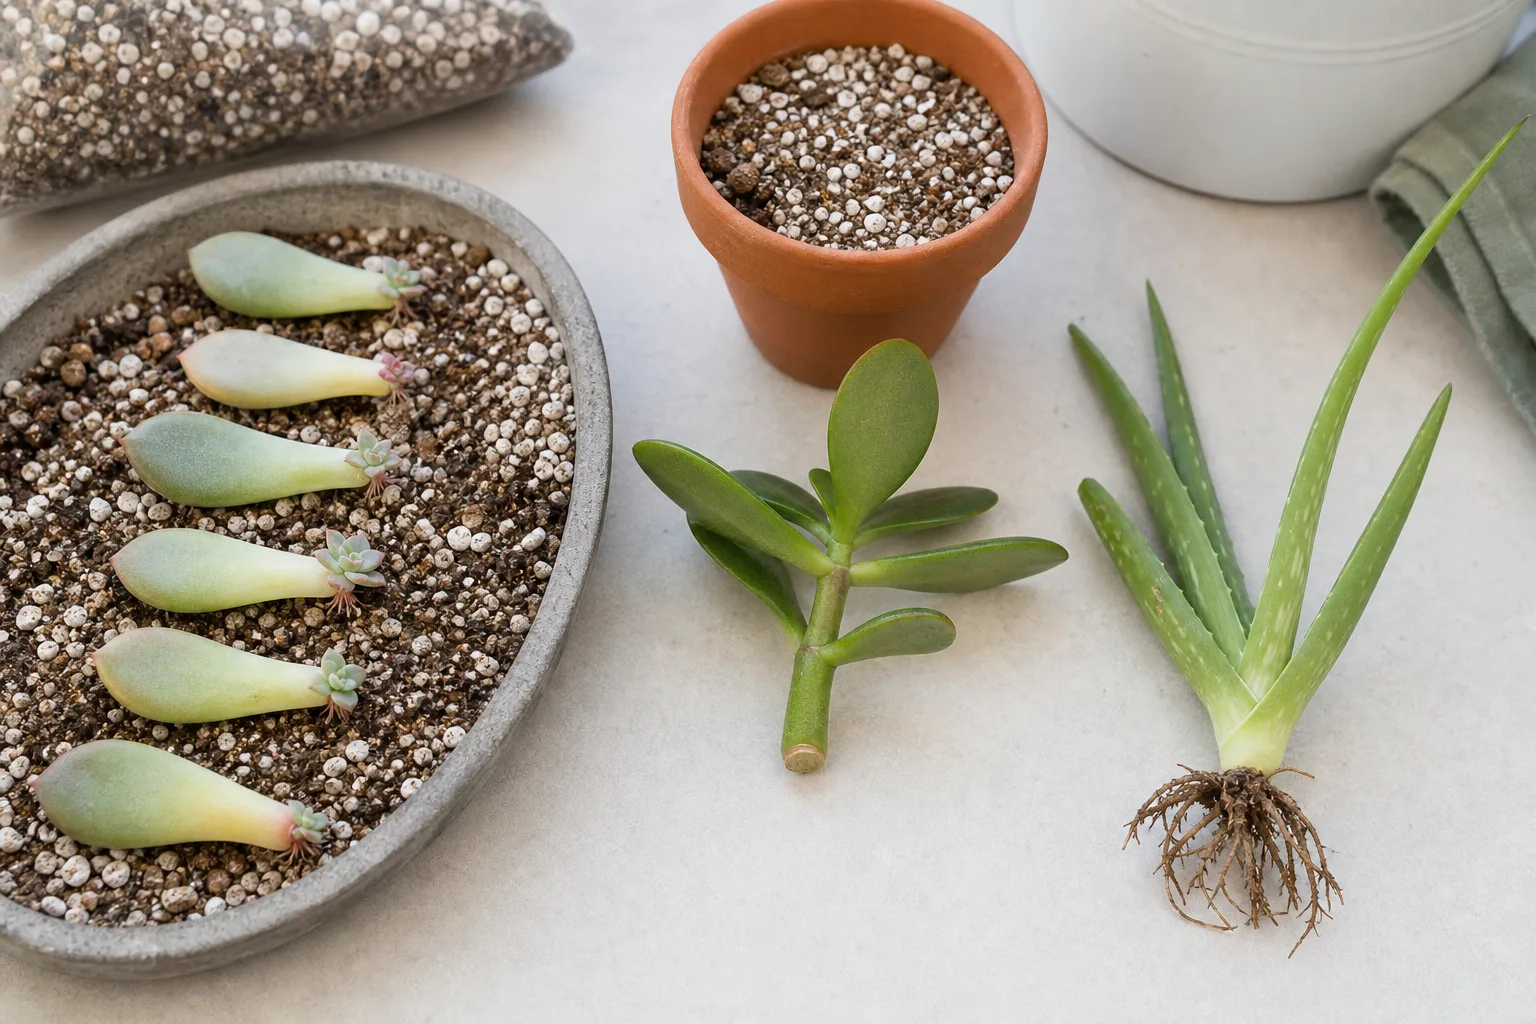
Let the cut surface dry in a bright, shaded, airy place until it forms a dry callus. For a sturdy Huernia segment this may take several days to about a week, depending on warmth and humidity. Do not wrap it in damp paper or place it in direct sun while the wound is open. GardenersPath’s species-specific propagation notes recommend callusing the cutting before it goes into the pot.
Use a small pot of dry, gritty mix so the cutting is supported without being buried deeply. Insert the callused base far enough to stand upright, then place the pot in bright indirect light and warmth. A newly planted cutting has no functioning roots, so do not keep the medium wet to “encourage” rooting. Wait for signs of new growth before beginning light watering; if the piece already has aerial roots, a modest watering after planting is reasonable. Once it has rooted and starts growing, gradually give it the brighter light and normal dry-down routine used for the parent.
Stem cuttings produce a clone of the parent and are more dependable than trying to grow a single specimen from seed. A cutting that softens or darkens before rooting is usually too wet, too cold, or not fully callused. Remove failed material, let the remaining healthy stems dry, and start again with a smaller pot and less water rather than saving a rotting cutting in a larger, wetter container.
Repot Only When the Mix or Roots Call for It
A crowded clump is usually fine; Huernia does not need a bigger pot each year. Repot when the mix has broken down and stays wet, drainage is blocked, roots fill the container, or the plant no longer sits securely. If the plant is healthy and merely fills the top of its pot, refresh the mix while keeping the same container.
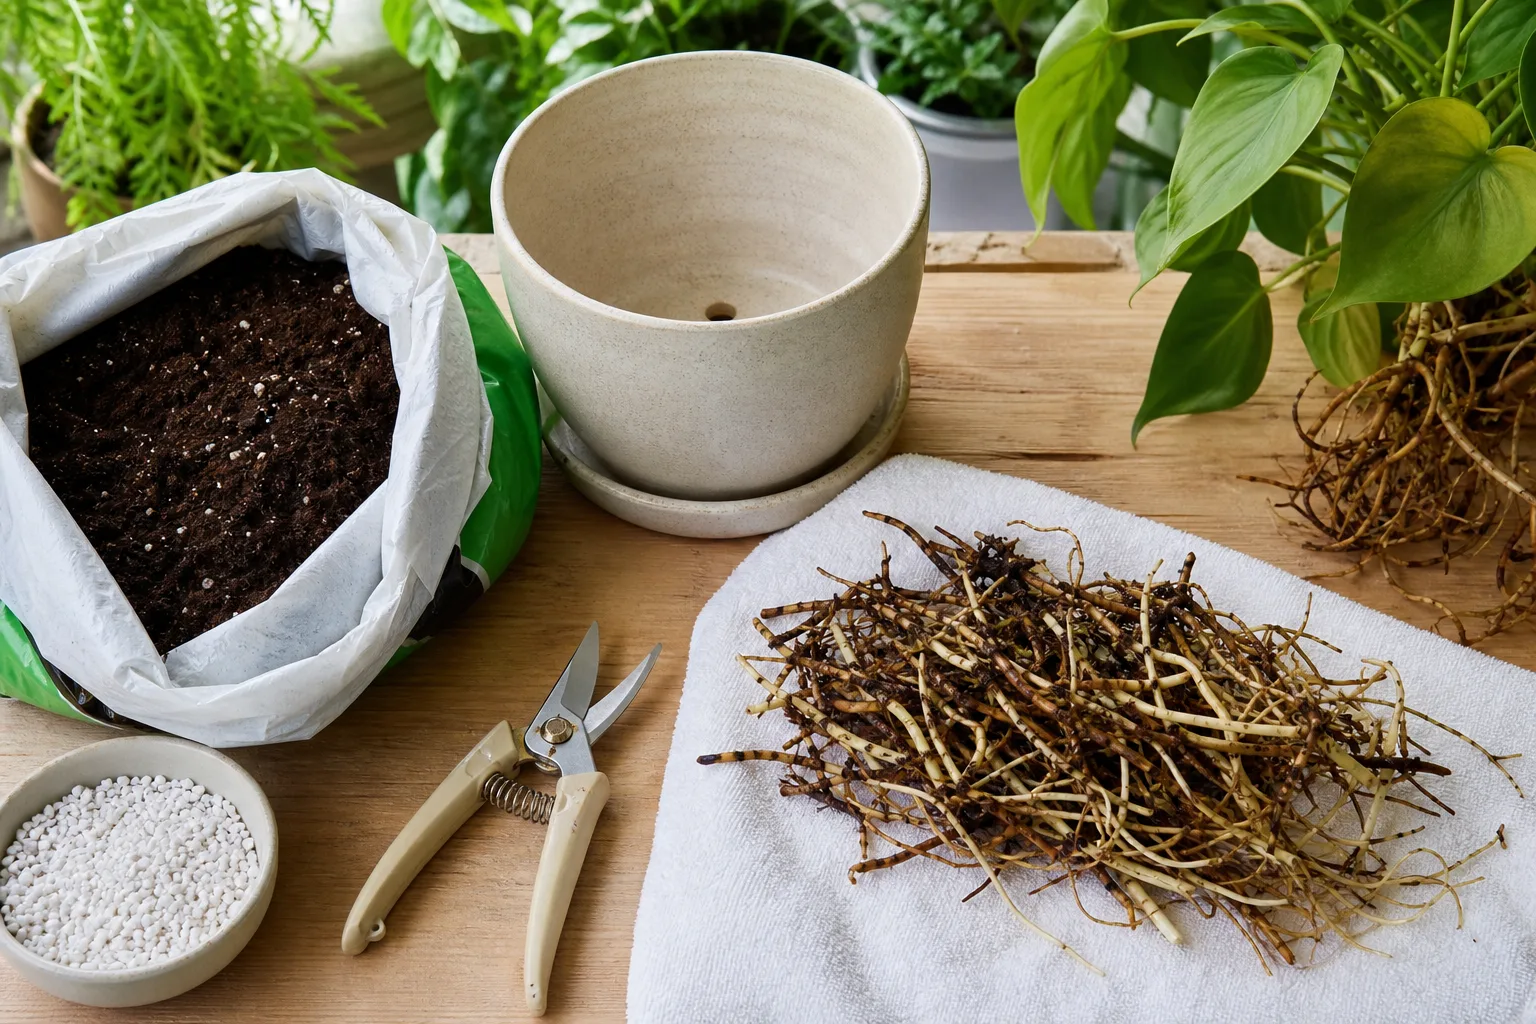
Work in spring or early summer if possible. Ease the plant out, brush away loose old mix, and inspect the roots and stem bases for soft, dark tissue or cottony root mealybugs. Cut away dead roots with a clean tool, then let any disturbed or cut areas dry before planting into fresh, dry medium. Set the stems at their former depth and leave room around the edge for the clump to spread.
Wait several days after repotting before watering, especially if roots were trimmed. A new container only slightly wider than the root mass dries more predictably than an oversized pot. If the old mix was the problem, changing the material matters more than switching to an expensive container.
Diagnose Common Lifesaver Plant Problems
A single red stem or a temporary pause in winter is not enough to diagnose a failing plant. Look for a pattern across stem firmness, color, soil moisture, recent light changes, and temperature. The simplest useful question is whether the mix and roots are wet or dry; several opposite problems can make the stems look wrinkled.
Soft or Dark Stems: Check for Rot First
Soft, translucent, black, or brown stem sections point toward rot, especially when the mix has remained wet or the pot has no drainage. Remove the plant from the wet mix and inspect both the roots and the base of the stems. Healthy tissue should feel firm. If rot is limited, use a clean blade to cut back to firm, unmarked tissue, cleaning the blade between cuts; discard damaged material rather than composting it beside healthy cuttings.
Let healthy cut surfaces callus in dry air before setting them into fresh, dry succulent mix. Keep the pot warm and bright but out of harsh direct sun, then wait before watering. If nearly every stem base is soft or roots have collapsed, recovery is uncertain. Save only firm pieces that can be cut above the damaged section and rooted separately. Virginia Cooperative Extension notes that prolonged saturation deprives roots of oxygen and can kill them; its practical advice is to correct drainage, let the medium dry, and remove dead roots rather than watering a wilted plant by reflex. See Virginia Cooperative Extension’s watering and stress guide.
Red, Wrinkled, or Stretched Stems: Read the Pattern
A gradual reddish or purplish tint can appear after stronger light or cooler temperatures; that color alone is not rot. If the plant developed the color after a move into direct sun and the surface has bleached or scarred, ease it back into bright shade and acclimate more slowly. Do not move a plant from a dim shelf straight into the midday sun.
Wrinkling is more ambiguous. If the mix is dry and stems are slightly thinner but remain firm, give one thorough watering and watch whether they regain firmness over the next several days. If the soil is wet, smells sour, or stems are soft, withhold water and inspect roots; adding water to a rotting plant makes the original problem worse. Long, weak growth usually points to insufficient light. Increase brightness gradually and rotate the pot occasionally for even exposure instead of immediately increasing fertilizer.
White Cottony Patches: Find Mealybugs Early
Inspect stem joints, the undersides of trailing branches, and the root ball if the plant declines despite reasonable light and watering. Above-ground mealybugs leave white waxy clusters; root mealybugs can hide around the outside of the root mass. Isolate an infested plant from nearby succulents and remove visible insects with a cotton swab or a soft tool.
If using rubbing alcohol or a labeled treatment, test a small area first and follow the product directions; succulent tissues can mark if treated in hot sun. Recheck the plant after treatment because one wipe may miss insects tucked into a crease. Avoid spraying a stressed plant with an untested homemade mixture, and address ant trails or nearby infested pots that can reintroduce pests.
Adjust Care Through the Seasons
In spring, look for new stem tips before increasing water or fertilizer. As growth picks up, water more often only if the pot actually dries faster; a change in season is a reason to check, not an automatic watering cue. This is also the best time to propagate or repot a plant that needs either job.
In summer, protect the pot from intense midday heat, especially behind glass, and inspect more frequently if it sits outside where wind and sun speed drying. Rain can be a larger problem than drought: a patio pot left in repeated storms may stay wet even when the surrounding air feels hot. Move it under cover if the forecast brings several days of rain.
In fall, bring outdoor plants inside before cold nights and check for pests before placing them near other houseplants. In winter, keep it in the brightest practical spot, reduce water to match slower growth, and skip fertilizer. A cool room is manageable only if the mix is dry and the plant stays above freezing; warm, dim, constantly moist conditions are a poor combination.
Conclusion
Huernia zebrina is easiest to keep when its small root zone can drain freely and the plant receives bright light without sudden exposure to scorching sun. Water the whole root ball when it is dry or nearly dry, let the pot drain, and adjust the interval to the season, container, and room—not to a fixed calendar.
Choose a shallow pot with a drainage hole, use a gritty mix, and bring outdoor plants inside before cold nights. If the stems soften, check the wet root zone before adding water; if they stretch, improve light; if pests appear, isolate the plant and inspect the roots as well as the stems. With those decisions in place, this unusual succulent can grow into a tidy clump, produce its curious ring-centered flowers, and supply cuttings for new pots.