Why Light Bulbs Burn Out Early: 9 Causes
Find out why light bulbs burn out early, from heat and vibration to dimmers, voltage, and loose sockets, plus safe checks and when to call an electrician.

A light bulb that fails once is ordinary. A bulb that dies every few weeks, always in the same fixture, is information: the heat, vibration, control, socket, or electrical supply may be asking more of the bulb than it was designed to handle.
The safest way to solve the problem is to diagnose the pattern before buying another replacement. Start with what you can see from outside the fixture, confirm the bulb and fixture ratings, and stop when the symptoms point to wiring or the electrical service. A lamp or ceiling light can be simple to replace, but a hot socket, burning smell, spark, or tripping breaker is not a bulb-shopping problem.
Start With the Failure Pattern, Not Another Bulb
The location and timing of failure narrow the possibilities faster than the brand name on the package. Note which fixture is involved, how long the bulb lasted, whether it flickered or buzzed first, whether the fixture is enclosed, and whether a dimmer, timer, motion sensor, or fan control is involved.
The U.S. Department of Energy explains that LED lighting uses a different technology from incandescent lighting and is valued for efficiency and long service life, but a rated lifespan is not a promise that every installation will deliver it. The operating conditions still matter, especially temperature, controls, and the quality of the electrical connection. (Department of Energy: LED Lighting Facts)
One Fixture Versus Many Fixtures
If only one lamp or ceiling fixture keeps failing, begin locally. Excess heat, a loose socket contact, vibration, an incorrect bulb, or a control mismatch can all affect one location while the rest of the house behaves normally.
If bulbs fail across several rooms, burn noticeably bright before dying, or fail alongside flickering lights, the concern shifts toward voltage, a loose neutral, a circuit connection, or another supply problem. Do not try to confirm that by opening the panel or repeatedly resetting a breaker. Record the pattern and have a licensed electrician evaluate it; a whole-home pattern can also damage electronics.
What “Burned Out” Actually Means
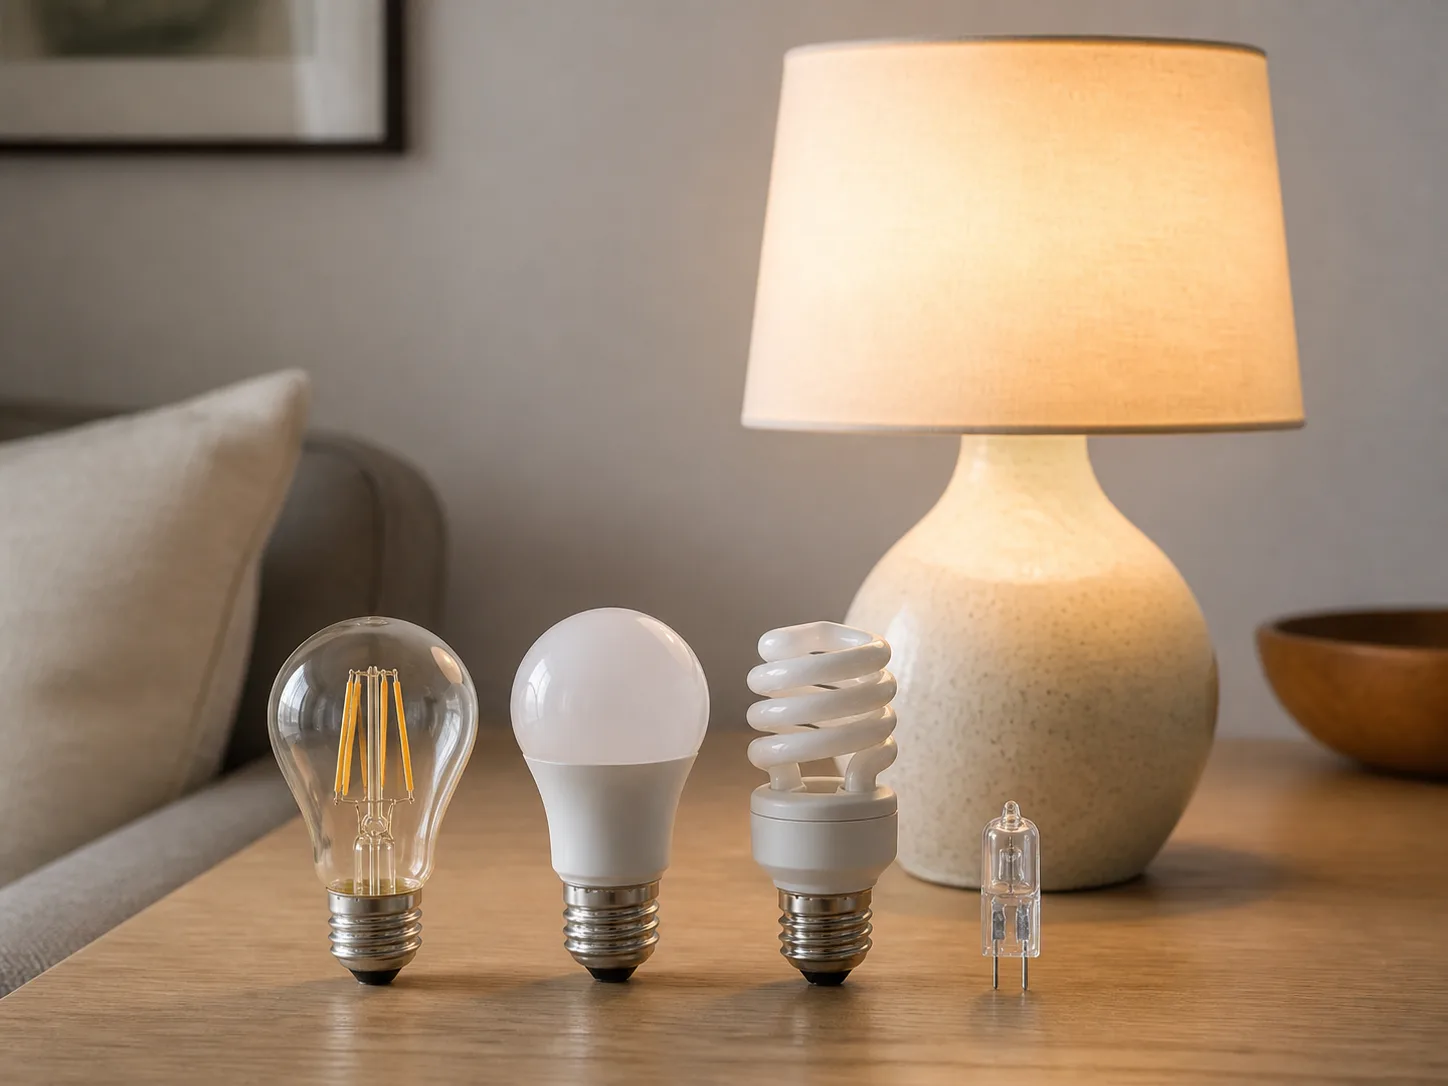
An incandescent bulb usually ends with a broken filament, sometimes with a visible dark mark inside the glass. An LED does not have a filament to burn; its light may dim, flicker, change color, or stop when the internal driver or another component fails. A CFL may take longer to start, flicker, or fail after repeated switching rather than showing a dramatic flash.
That distinction matters because a fixture that is intermittently losing contact can make a working bulb look dead. Before discarding a recently installed LED, switch the power off, let the bulb cool, and only if the fixture is dry, stable, and visibly undamaged, test the bulb in a known-good compatible fixture. If the second fixture also behaves abnormally, stop testing and keep the bulb for warranty or professional diagnosis.
1. The Fixture Is Running Too Hot
Heat is one of the most common reasons a bulb fails early. Incandescent and halogen bulbs turn much of their electrical input into heat, while LED bulbs depend on electronic drivers and heat sinks that also need a reasonable way to shed heat. A globe, flush mount, recessed can, or outdoor cover can trap warmth around the bulb.
Look for a bulb that is too hot to approach after normal use, a yellowed or cracked plastic base, a discolored socket, or repeated failure only when the shade or globe is installed. Those observations do not prove one exact cause, but they are enough to stop treating the fixture as a neutral container.
Enclosed Fixtures and Recessed Cans
An LED’s low wattage does not automatically make it safe for every enclosed fixture. Check the package for an enclosed-fixture rating, and match the bulb to the housing, shape, base, voltage, and location. If an LED repeatedly fails inside a sealed globe but lasts in an open lamp, heat is a stronger suspect than bad luck.
Recessed lights deserve extra caution because the housing may be surrounded by attic insulation or installed in a way that limits heat movement. Do not push insulation aside, build a clearance box, or replace a recessed housing based on a guess. The fixture’s rating and installation instructions control, and a qualified electrician can determine whether the housing is suitable for its surroundings.
2. The Bulb Exceeds the Fixture’s Rating
Find the fixture’s maximum wattage before choosing a replacement. A fixture marked 60 watts maximum should not receive a 75-watt incandescent bulb simply because the base fits. Excess heat can damage the socket, insulation, wiring, and surrounding materials as well as shortening the bulb’s life.
Keep actual watts separate from equivalent watts. A 60-watt-equivalent LED may use only 8 or 9 actual watts while producing roughly the brightness shoppers associate with an older 60-watt incandescent bulb. The actual wattage is what matters for the fixture’s maximum load; the equivalent number is a brightness comparison. The Department of Energy’s lighting guidance encourages comparing light output and energy use directly rather than treating the old watt number as a universal brightness measure. (Department of Energy: LED Lighting)
Also check whether a multi-bulb fixture’s label means the limit per socket or for the whole fixture. Three bulbs at 60 actual watts each are a different load from three LEDs that use 9 actual watts each, even if all three LED packages say “60W equivalent.” When the label is missing, damaged, or unclear, do not assume the higher rating; use the manufacturer’s instructions or ask an electrician.
3. The Dimmer or Control Is Incompatible
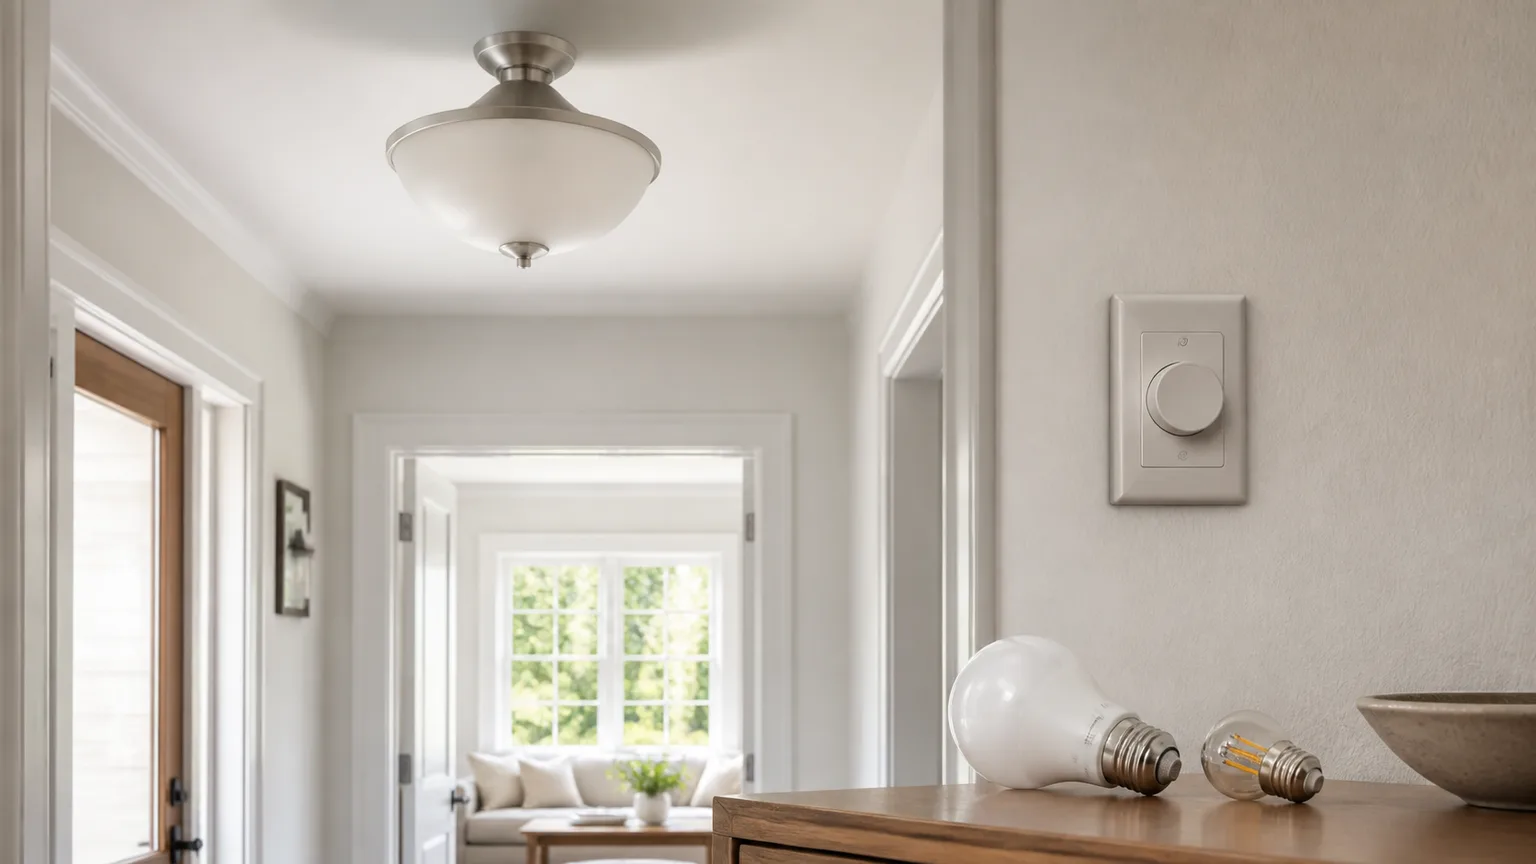
An LED bulb can be the correct shape and wattage yet still be wrong for an older dimmer. Many earlier dimmers were designed around the electrical behavior of incandescent loads. LEDs draw much less power and may require both a bulb labeled dimmable and a control designed for LED loads.
Watch for a failure pattern that appears only when a dimmer, smart switch, timer, motion sensor, fan-light control, or illuminated switch is in the circuit. Flickering, buzzing, a narrow usable dimming range, a faint glow when switched off, or repeated failure after moving from incandescent to LED all make compatibility worth investigating.
The safe first step is to read the bulb and control labels and compare them with the manufacturer’s compatibility information. Do not replace a dimmer or open a switch box as a trial-and-error project if you are not trained; the wiring and control type may be more complicated than the symptom suggests. If the bulb is not rated for dimming, use it only in a standard on-off fixture or choose an appropriate replacement after the control is identified.
4. Household Voltage Is High or Unstable
Bulbs in a home are designed for the voltage stated on their packaging and fixture. Sustained overvoltage makes a filament run hotter and can stress the electronics in an LED or CFL. Sudden fluctuations can also damage a bulb without leaving an obvious mark on the fixture.
This is more likely when many unrelated fixtures are affected, bulbs look unusually bright before failing, or lights change brightness when large appliances start. It is not something to diagnose from one casual meter reading at one outlet. Instruments, loads, service conditions, and the location of the measurement all affect what the number means.
Do not open the panel or test exposed conductors to investigate. If the pattern is widespread, ask a licensed electrician to check the service and circuit conditions, and contact the utility provider if the professional identifies an incoming-supply concern. Professional electrical guidance likewise treats recurring failures across a home, especially with flicker or heat, as a reason to inspect the system rather than keep replacing bulbs. (Mountain Home Services: What Causes Light Bulbs to Burn Out Too Fast?)
5. The Socket or Wire Connection Is Loose
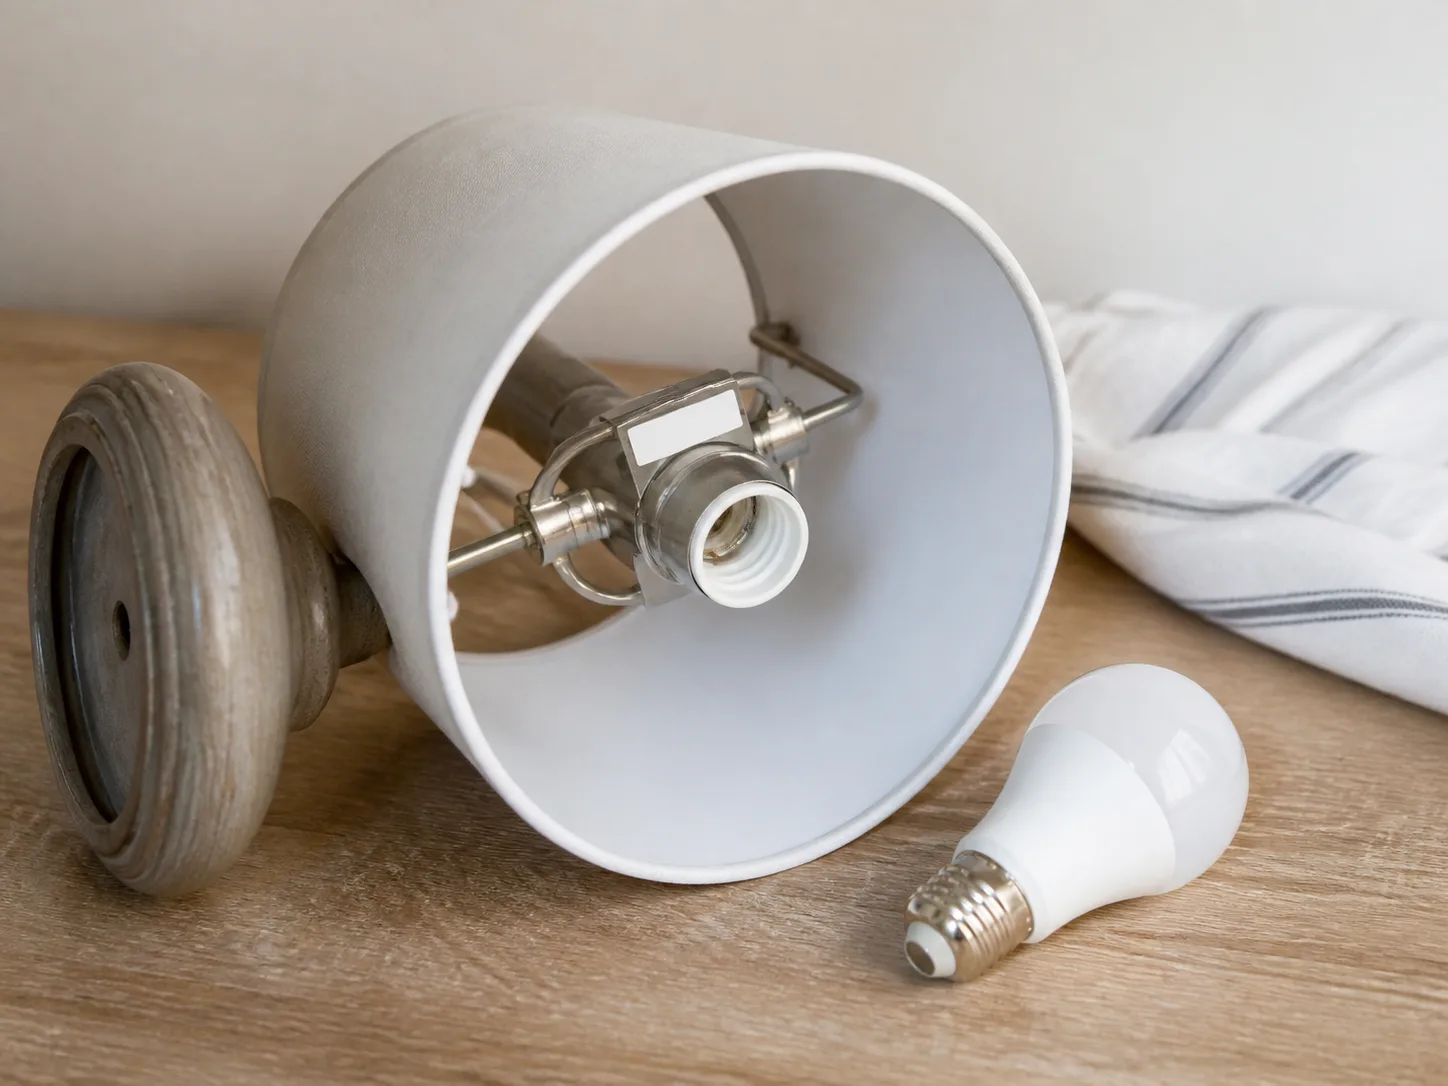
A bulb needs a stable electrical connection. A loose bulb, worn contact, corrosion, or loose wiring can create intermittent contact and localized heat. The resulting flicker may be subtle, but the repeated heating and cooling can shorten the life of the bulb and damage the socket.
With the power off and the bulb cool, a homeowner can make a safe external check: look for a loose shade or fixture, confirm that the bulb is seated snugly without forcing it, and inspect only visible surfaces for discoloration, melting, rust, or cracking. Never keep twisting a bulb tighter to make a flicker disappear; overtightening can damage the base or socket.
Depressed Contact Tab Versus Damaged Socket
The small contact at the bottom of a screw socket can lose spring tension or sit too low to meet the bulb. That can explain a bulb that works when moved or pressed, but it is not a reason to reach into a live socket with a tool. Turn the circuit off at the breaker when the fixture is hardwired, verify that the bulb and socket are cool, and do not touch the contact if the socket is brittle, scorched, cracked, or part of a fixture you do not know how to isolate.
A blackened socket, melted plastic, crackling sound, or visible arc mark means the socket may already be damaged. Electrical repair guidance identifies loose contacts, worn sockets, and arcing as causes of repeated failure, but the repair itself belongs to a qualified electrician when it involves wiring or fixture disassembly. (Engineer Fix: Why Did My Light Bulb Burn Out So Quickly?)
6. Vibration Is Shortening the Bulb’s Life
Incandescent and halogen bulbs contain fragile filaments that do not appreciate constant movement. A wobbling ceiling fan, garage door opener, washing machine, workshop tool, slamming door, or fixture mounted below a busy floor can introduce enough vibration to make the same bulb fail repeatedly.
If the bulb lasts normally in a quiet lamp but not in a fan light, start with the fixture movement rather than the bulb brand. Balance or repair the fan or opener through the correct service route, tighten only accessible exterior hardware that is clearly intended for the homeowner, and choose a bulb labeled for vibration or fan use when the manufacturer offers that rating. LEDs have no filament, so they often make sense in vibrating locations, but their driver and solder joints still need a suitable fixture and temperature.
Do not use a bulb that is physically too large, too heavy, or not approved for the fan’s enclosed globe just because it is marketed as long life. Fit, temperature, and control compatibility still control the result.
7. The Bulb Type Is Wrong for the Location
“Light bulb” is not one universal specification. Check the base, shape, voltage, actual wattage, dimming label, enclosed-fixture rating, damp or wet location rating, and any fan or outdoor-use instruction. A bulb that works in an open table lamp may not be appropriate in a sealed bathroom globe, a recessed can, a porch fixture exposed to moisture, or a ceiling fan.
Quality also matters, particularly for LEDs because the driver, heat management, and internal components determine how well the bulb handles its environment. The Department of Energy describes LED lighting as an efficient choice, while UL Solutions explains that lighting safety testing and certification address product safety characteristics that are not visible from the bulb’s appearance alone. (UL Solutions: Lighting Safety Testing and Certification) Choose a reputable product with clear specifications and a usable warranty rather than selecting only by the lowest price.
8. Frequent Switching Is Hard on CFLs and Older Lamps
Frequent on-off cycles can be harder on some CFLs than on LEDs designed for that use. A bathroom, closet, pantry, garage, or motion-controlled light may be switched many times a day, so a lamp with a long headline lifespan can still disappoint if its operating pattern does not match the rating conditions.
Incandescent filaments are also stressed when energized, especially when the bulb is cold, but that does not mean you should leave a light on to protect it. Leaving a light running wastes energy and can add heat; the better response is to choose a bulb type and control that suit the location. For frequent switching, an appropriate LED is often the practical choice, provided it is compatible with the fixture and control.
9. The Bulb or Fixture Is Defective
Sometimes the bulb really is defective. A single premature failure can result from manufacturing variation, shipping damage, a poor connection inside the bulb, or a driver component that fails early. If several bulbs from the same package fail in different compatible fixtures, preserve the package, lot information, and receipt and contact the manufacturer.
The fixture can also be at the end of its useful life. Loose mounting, a cracked socket, degraded insulation, moisture intrusion, a failing control, or an old recessed housing can create a repeating pattern that a new bulb will never fix. Professional electrical services commonly recommend comparing the same bulb in a known-good fixture, but the comparison should end when the test setup shows heat, odor, sparks, flicker, or other warning signs. (InstaElectricians: Light Bulbs Burning Out Fast? Causes & Fixes)
Use a Safe Troubleshooting Order
Work from low-risk, visible checks toward professional diagnosis. This order helps you avoid turning a bulb replacement into an unsafe wiring experiment.
Checks You Can Make Without Opening Wiring
- Record the pattern. Write down the fixture, bulb type, actual wattage, lifespan, control type, and anything unusual before replacing it.
- Turn the fixture off and let it cool. If a bulb is broken, hot, wet, or difficult to reach, stop and get help rather than improvising.
- Read the fixture and bulb labels. Confirm maximum actual wattage, base, voltage, shape, dimmability, enclosed-fixture approval, and damp or wet rating.
- Look for environmental stress. Note trapped heat, wobbling, moisture, a loose shade, a fan, an opener, or a control that was recently changed.
- Try one known-good compatible bulb only when the fixture is safe. If the new bulb fails immediately, stop cycling replacements and arrange an inspection.
- Keep evidence. Save failed bulbs, packaging, receipts, photos of visible discoloration, and a short timeline. That information is more useful to an electrician than a guess about the cause.
When to Stop and Call an Electrician
Leave the fixture off and arrange professional help if you notice a burning smell, smoke, sparks, popping, crackling, abnormal heat, a blackened or melted socket, water near the fixture, repeated flickering, or a breaker that trips when the light operates. Also call when the same fixture destroys correct bulbs, when multiple fixtures fail, or when the problem continues after the visible bulb and rating checks are correct.
Do not open a hardwired fixture, remove a switch cover, bend a socket contact with a tool, change a dimmer, open the electrical panel, increase a breaker size, or test live wiring unless you are trained and equipped to do that work safely. A wall switch being off is not the same as every conductor being de-energized, and older homes can contain wiring conditions that are not obvious from the room.
When you make the call, describe the pattern precisely: “This ceiling-fan light has failed three LEDs in two months, the globe is enclosed, and the bulb flickers at low dimming levels,” is far more useful than “the bulbs are bad.”
How to Prevent Repeated Burnouts
Prevention is mostly matching the bulb to the fixture and watching for a pattern early. Choose brightness by lumens and safety by actual watts, then confirm the bulb’s base, voltage, control, enclosure, and location rating. A package’s equivalent-watt number can help you shop for brightness, but it does not override the fixture’s maximum or the bulb’s use restrictions.
Keep bulbs and fixtures clean enough to shed heat, but do not remove covers or insulation casually. Correct a wobbling fan or vibrating fixture, avoid forcing bulbs into sockets, and replace a visibly damaged fixture rather than hiding the damage with a new lamp. If you are converting to LEDs, change the dimmer or control only with the correct product and wiring knowledge.
The U.S. Department of Energy’s lighting resources are useful for separating light output, power use, and efficiency when you compare replacement bulbs. That distinction helps you get more light from fewer actual watts, but it is only one part of a safe installation. (Department of Energy: LED Lighting Facts)
Conclusion: Treat Repeated Burnout as a Clue
Light bulbs burn out early for understandable reasons: excess heat, an overloaded fixture, an incompatible dimmer, unstable voltage, a poor connection, vibration, the wrong bulb type, frequent switching, or a defective bulb or fixture. The key is not memorizing nine causes; it is noticing whether the failure is local or widespread and whether the bulb shows warning signs before it dies.
Start with the visible, low-risk checks and stop before you open wiring. A correct bulb can solve a rating or compatibility mistake, but repeated failures, flicker, buzzing, heat, odor, discoloration, sparks, moisture, or tripped breakers deserve a qualified electrical inspection.