How to Make and Use Leaf Mold in Your Garden
Learn how to make leaf mold in a bag or wire bin, keep the pile at the right moisture, recognize when it is ready, and use it as mulch or a soil conditioner.
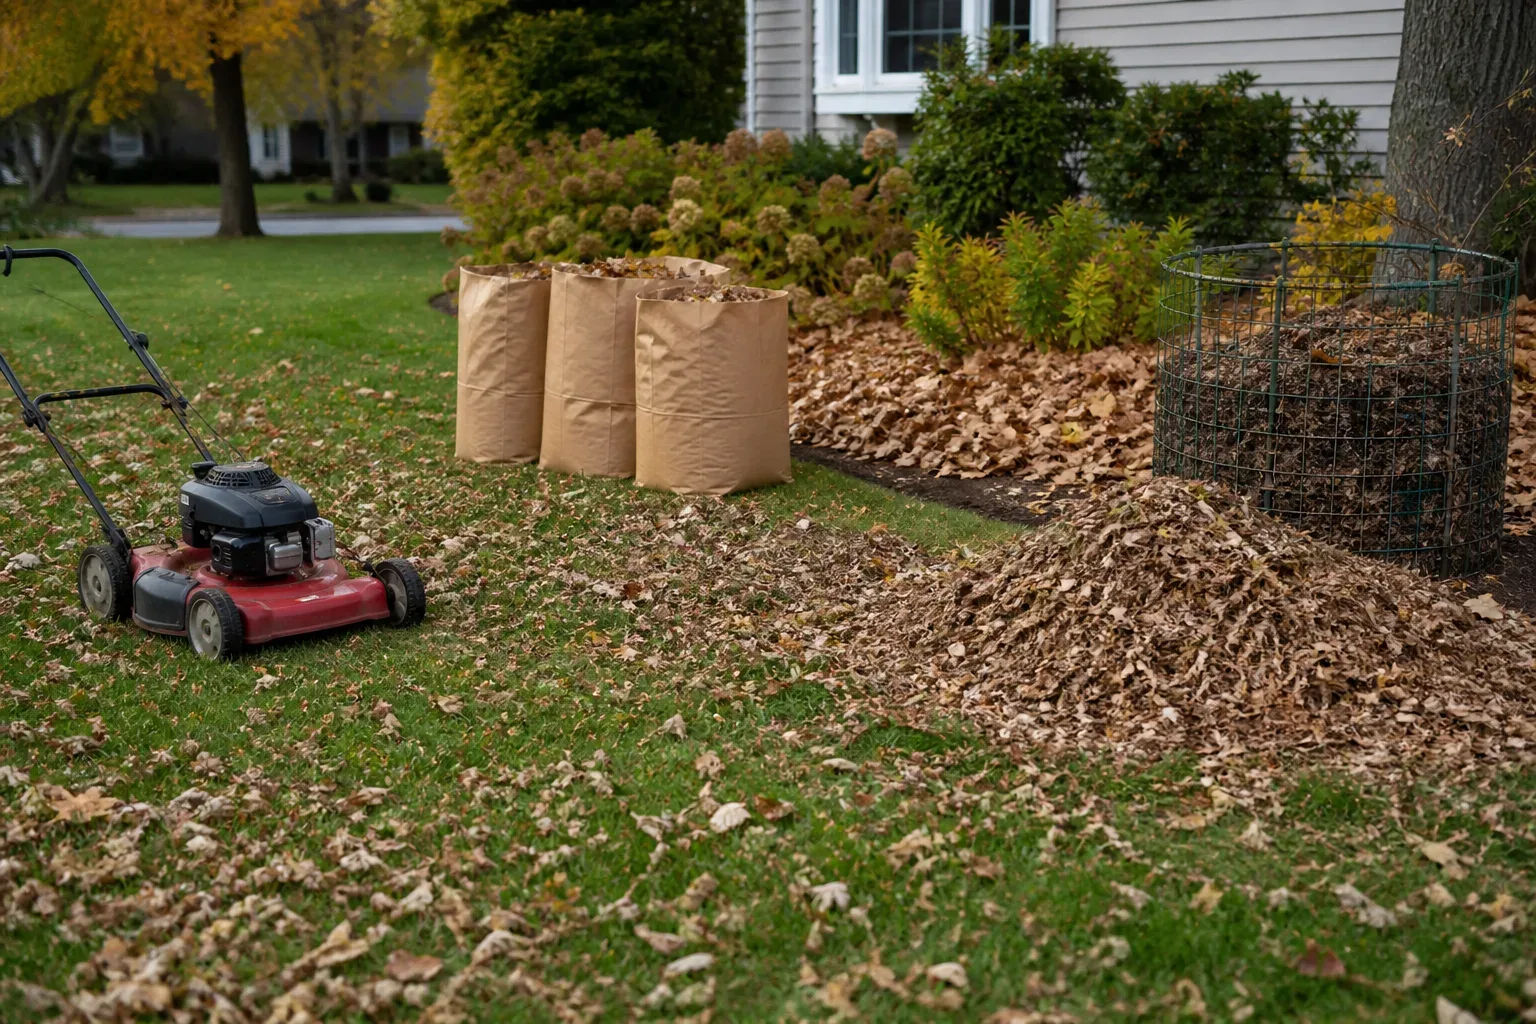
Leaf mold is the dark, crumbly material made when fallen leaves decompose slowly, chiefly through fungal activity. It is useful because it adds organic matter and helps soil hold moisture, but it is a soil conditioner rather than a dependable, complete fertilizer. That distinction changes how you should make it and where it works best.
The process needs little equipment: collect leaves, keep them moist in a pile, wire corral, or perforated bag, and give them time. The part that takes judgment is deciding which leaves to use, when to intervene, and whether the finished material belongs on the soil surface, mixed into a bed, or blended into a container mix.
What leaf mold does—and what it does not do
Leaf mold is not simply a pile of leaves that has been left outside for a few weeks. It is the softened, decomposed end product of leaf litter, with a fine or fibrous texture and an earthy smell. Fungi help break down the tough carbon-rich tissues in leaves, so the process is usually slower and cooler than a hot compost pile built from a balanced mix of greens and browns. The Royal Horticultural Society (RHS) describes it as a free soil conditioner made from decaying leaves, while University of Georgia Cooperative Extension explains that this slower fungal process returns organic matter to garden soil.
Its main value is physical: organic matter can improve how soil aggregates, admits air, and holds water. That is especially useful in sandy beds that dry quickly and in some compacted soils that need a gradual improvement in structure. The size of the benefit depends on the soil, the amount used, and the quality of the material; a small scoop will not transform a large bed overnight.
Leaf mold does contain minerals that were present in the original leaves, but do not use it as a substitute for a fertilizer plan when plants need nutrients. Leaves are generally carbon-heavy and low in nitrogen compared with many green compost ingredients. University of Georgia Cooperative Extension cautions that working fresh leaves directly into soil can cause microbes to use available nitrogen as they break the leaves down. Compost Magazine also distinguishes leaf mold’s slower fungal process from faster, nitrogen-balanced composting. If a bed needs fertility, use a soil test and an appropriate finished compost or fertilizer alongside leaf mold.
Choose leaves that suit the job
Most healthy deciduous tree leaves can become leaf mold, but leaf size, thickness, and toughness affect how quickly they soften. Thin birch or maple leaves generally collapse faster than thick, leathery leaves. Oak, beech, and hornbeam are well-regarded sources of leaf mold; the RHS notes that thick sycamore, walnut, horse chestnut, and sweet chestnut leaves benefit from shredding before they go into a pile. Mixing leaf types is practical if you want one general-purpose batch, but separate a slow, thick-leaf batch if you want to track its progress more easily.
Shredding is optional, not a requirement. A mower with a collection bag or a leaf shredder reduces volume and breaks leaves into smaller pieces, increasing the surface available to decomposers and making it less likely that intact leaves will form a dense mat. If you do not have a shredder, use whole leaves and expect the pile to take longer; you can also crumble dry leaves by hand as you fill the container.
Evergreen leaves and conifer needles can break down, but they may take longer than ordinary deciduous leaves. The RHS notes that pine needles can take two to three years and that separate pine-needle mold can be more acidic. That can suit acid-loving plants such as blueberries or rhododendrons, but it is not a reason to assume every garden bed needs an acidic amendment. Keep pine-needle material separate if you want to use it selectively, and avoid making pH claims from the leaves alone without testing the soil.
Collect from a clean, known source
Leaves from your yard or a trusted, untreated property are the easiest choice because you know their growing conditions. Avoid leaves that may carry persistent herbicide residues, have been swept from roadsides, or are mixed with litter, pet waste, or large amounts of grass. The RHS specifically recommends sorting street-collected leaves and notes that roadside leaves may be exposed to pollution. If you do not know whether a pile was sprayed, do not use it around food crops or sensitive ornamentals.
Leave out foliage from plants with a serious disease problem rather than assuming a slow, cool leaf-mold pile will sanitize it. The same applies to weed seed heads and invasive plant material: leaf mold is not a controlled hot-compost process, so it may not kill seeds or pathogens. If you are unsure about a batch, keep it out of seed trays and vegetable beds until you can identify the source or choose a managed municipal composting option.
Walnut and pecan leaves deserve a cautious, source-aware approach. University of Georgia Cooperative Extension advises against using them because of growth-inhibiting compounds, while the RHS lists walnut leaves among thick leaves that can be shredded and decomposed. If you have many walnut or pecan leaves, keep them separate, allow complete breakdown, and avoid applying fresh or partly decomposed material around sensitive plants; for a low-risk, general-purpose batch, choose other leaves.
Choose a pile, wire corral, or bag
The best system is one you can reach to check moisture and that holds leaves in place through wind and rain. A loose pile on bare soil costs nothing and makes a large volume easy to handle, but it can blow away, dry at the edges, or become hard to inspect. A wire corral is a good middle ground: air can move through the sides, the leaves stay contained, and you can add material throughout autumn. Set it on soil rather than paving so excess water can drain and soil organisms can reach the base.
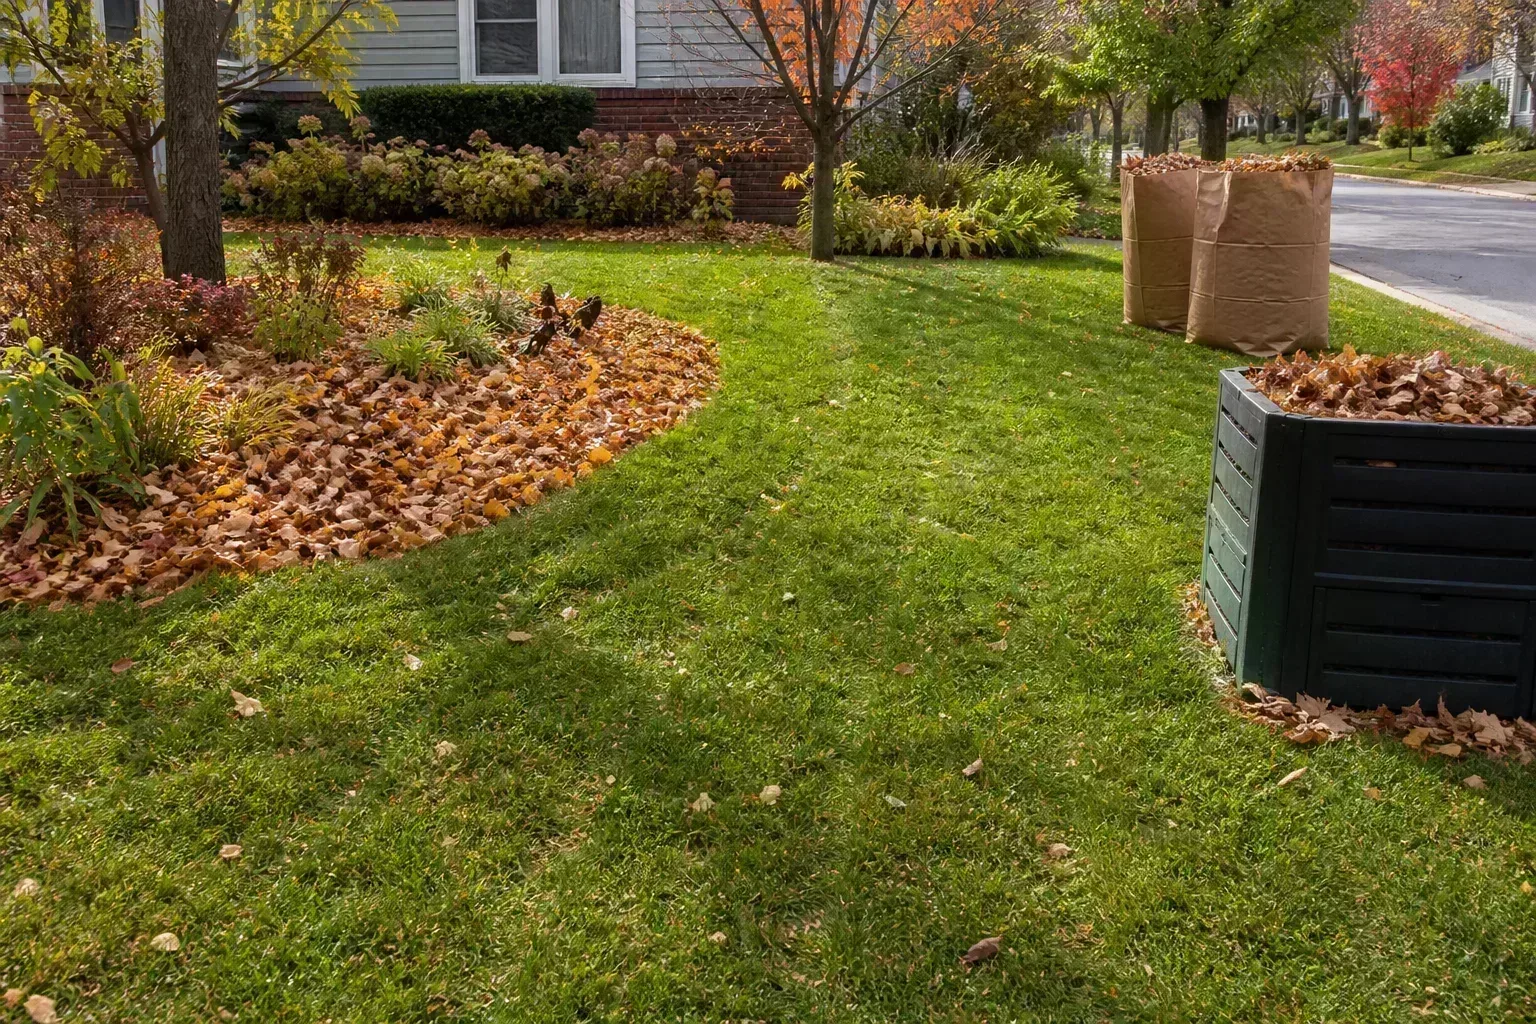
An open wire bin or a loose bag can hold leaves without sealing them off from airflow.
A bag works when your leaf supply is small or you have no room for a corral. It is easy to tuck beside a shed, but a sealed, waterlogged bag can turn anaerobic and smell unpleasant. Choose a sturdy yard-waste bag, fill it loosely enough to move, add water only if the leaves are dry, then make several holes through the sides and bottom for drainage and gas exchange. Keep the top loosely closed or folded under rather than tying it airtight.
Use a perforated bag for a small batch
Use a bag when you want a neat, low-cost batch that needs little turning. Shredded leaves pack efficiently, but do not tamp them down: a little space between pieces lets air move. Mark the bag with the month and year you started it, then place it in a shaded, out-of-the-way spot where you can still inspect it.
A clear plastic bag can warm in direct sun, but warmth alone does not make a faster or better batch if the contents dry out. Shade is usually easier to manage, especially in hot or dry climates. Check the bag every few weeks during the first month, then monthly or after a long dry spell; add water only when the leaves feel dry rather than on a fixed schedule.
Use an open bin when you have a large fall cleanup
For a larger volume, form a circle or square with wire fencing and stakes, or use a simple slatted bin. A bin around 3 feet wide and tall is a practical target if you have enough leaves, because a substantial pile is easier to keep evenly moist than a thin scattering. It does not need to be a sealed compost tumbler; leaf mold is a slow process, and constant turning is unnecessary.
Place the bin in a shaded or partly shaded spot with reasonable drainage. A breathable cover or tarp over the top can slow drying in a hot, windy yard, but leave the sides open and avoid trapping rainwater in a way that keeps the bottom saturated. If leaves regularly blow out, add a second layer of wire or a simple lid rather than compressing the pile.
Build a leaf-mold pile that is easy to maintain
A reliable start is more valuable than a complicated recipe. The following sequence works for a bag, a wire corral, or an open pile; adjust the amount of water and the checking schedule to your weather and leaf type.
- Sort the leaves. Remove rubbish, branches, plastic, diseased foliage, and any material from a source you do not trust. Separate unusually thick or questionable leaves if you want to manage them on their own.
- Shred if convenient. Run dry leaves through a mower or shredder, or break up a portion by hand. Smaller pieces reduce bulk and tend to decompose sooner, but whole leaves still work.
- Choose the container. Use a bare-ground pile, wire enclosure, or perforated bag that can drain and that you can reach without dismantling it.
- Fill in loose layers. Add leaves without packing them tightly. If you have a dry batch, water as you fill so moisture reaches the middle instead of wetting only the surface.
- Check moisture. A handful should feel like a wrung-out sponge: cool and damp, but not dripping. If water streams out when squeezed, stop watering and open the pile or add dry leaves.
- Label and wait. Record the starting date and check periodically. There is no need to add kitchen scraps or grass clippings to a leaf-only batch; those greens change the process toward ordinary compost.
The RHS recommends bagging leaves after moistening them and piercing the bag for airflow, or using a supported wire frame that holds a large heap. Epic Gardening likewise emphasizes that leaves should be damp rather than waterlogged. You do not need a starter, accelerator, or special inoculant; the pile can be colonized naturally, and the biggest controllable factors are leaf size, moisture, oxygen, and patience.
Keep the pile damp and airy
Moisture should be steady, not saturated. In a rainy climate, an uncovered pile may need no water for long stretches; in a hot, dry climate, the outside can become crisp while the center stays damp. Check a handful from the middle rather than judging only by the surface. If the leaves feel dry and brittle, water slowly in a few passes so it soaks through; if they feel slick, clump into wet mats, or release water when squeezed, let them drain and mix in dry leaves.
Air matters because leaves packed into a dense, wet slab decompose unevenly and may smell sour. Shredding reduces matting, while a loose fill and open sides maintain airflow. You can turn or fork a large pile once in a while if the center is compacted, but turning every few weeks is optional; leaf mold is not a hot pile that needs frequent mixing to maintain high temperatures.
Protect the pile from being scattered, baked dry, or flooded. A wire cage in a breezy yard may need a windbreak, while a shaded corner under trees might need a breathable top cover during prolonged dry weather. In winter, decomposition slows in cold regions; that does not mean the pile has failed. Resume moisture checks as temperatures rise, and avoid adding water to a frozen pile that cannot drain.
Know when the leaf mold is ready
Expect a range rather than a calendar promise. Shredded, thin leaves kept evenly moist in a warm climate may soften enough for some garden uses in six to twelve months. Whole leaves, thick species, cold winters, a small bag that dries out, or a large pile with a dry center can take one to two years or more. The RHS estimates that most leaves take about two years, while University of Georgia Cooperative Extension describes a one-to-two-year process; those estimates reflect different leaves and conditions, not a single deadline.
Judge the material by its intended use. Partly broken-down leaves that are still recognizable can work as a protective surface layer around established garden plants, where they can continue decomposing. For mixing into a bed, handling in pots, or using in a fine seed-starting blend, wait until the material is dark, soft, crumbly, and mostly unrecognizable, with a pleasant earthy smell rather than a sour or rotten odor.
Do not confuse a layer of damp, intact leaves with finished leaf mold. If there are still whole leaves in the middle, return them to the pile or screen the batch and reserve the finished fraction for finer uses. Some gardeners sift the material through a coarse screen for a uniform texture; the larger pieces can go back into the pile and continue breaking down.
Fix slow, dry, sour, or matted piles
If the pile looks unchanged after a season, first check the center for moisture and leaf size. Dry leaves can sit for months without much breakdown, while whole thick leaves naturally take longer than shredded birch or maple. Re-wet the batch gradually, shred the largest pieces when practical, and make sure the pile is large enough to hold moisture or contained well enough not to blow away.
A sour or rotten smell usually points to too much water and too little air. Open a sealed bag, add dry leaves, and make more drainage holes; for a bin, loosen the compacted center and keep the top protected from additional rain until it drains. Do not add fertilizer or extra greens as a quick fix if your goal is leaf mold. Greens can speed a different composting process, but they do not solve waterlogging.
A dry outside with a damp middle is normal in some weather. Water the outer layers lightly and cover the top during a dry spell, then recheck rather than soaking the entire pile. If leaves are stuck in a solid mat, break the mat apart and add shredded leaves or small twigs loosely; large woody branches are not useful in a fine leaf-mold batch because they break down much more slowly.
If weeds appear in or around the pile, remove them before they set seed and avoid spreading immature material into areas where weeds are difficult to manage. The RHS notes that leaf-mold heaps can be colonized by weeds and their seeds. Keep the ground under the bin accessible enough to pull seedlings, and inspect street-collected material for litter before it enters the pile.
Use finished leaf mold as a surface mulch
A surface layer is the simplest use because it asks little of the soil and lets rain, worms, and other soil organisms gradually incorporate the material. Spread a thin, even layer over bare soil in perennial beds, around shrubs, or between rows where moisture conservation and weed suppression matter. A layer around 1 to 2 inches is a useful starting point; use less around small crowns and young stems, and keep the material from touching trunks or plant bases.
Leaf mold is light and moisture-retentive, so it can help reduce rapid drying and soften the impact of rain on bare soil. It will not prevent every weed, and it may not be tidy enough for a highly formal bed. If appearance matters, cover it with a thin layer of a more decorative mulch, or use it where the soil benefit is more important than a uniform surface.
Partly finished leaves can stay as a surface layer if they are not diseased and are not likely to smother low plants. The RHS allows younger or lower-quality leaf mold to be used as mulch while reserving well-rotted material for finer uses. If a thick layer mats, lift or loosen it so water can reach the soil and air can move through it.
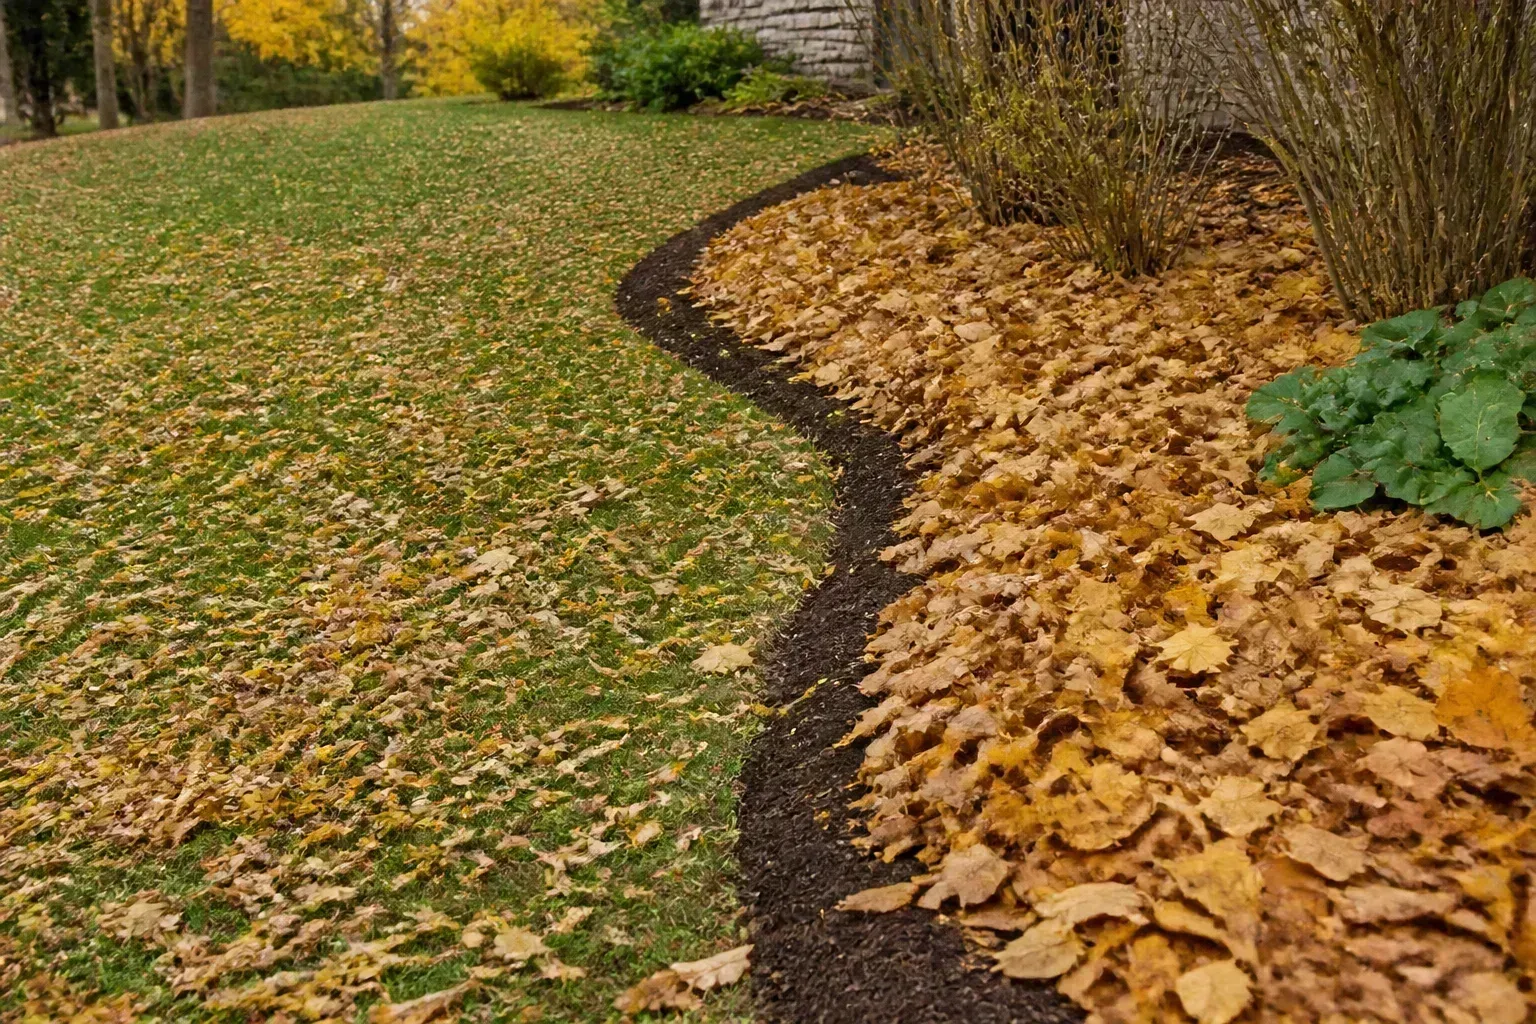
Whole leaves can protect bare soil while they break down; finished leaf mold is finer and more crumbly.
Mix it into soil with minimal disturbance
To improve a bed’s organic matter, spread finished leaf mold across the surface and let it work downward over time, or mix a modest amount into the upper few inches when you are preparing a new bed. Avoid repeatedly digging a mature bed just to bury every amendment; unnecessary disturbance can damage soil structure and the organisms living there. If you are planting immediately, keep the amendment away from roots in a concentrated pocket and blend it evenly with existing soil.
Fresh whole leaves are a different case. Do not bury a thick layer of intact, high-carbon leaves directly around active roots and expect instant soil improvement. As microbes break them down, they can temporarily compete for available nitrogen; let the leaves decompose first or use them on top as mulch. For a vegetable bed with an upcoming planting date, use mature leaf mold or finished compost rather than a fresh, compacted leaf layer.
Use leaf mold in containers and seed-starting blends
Leaf mold can be a useful ingredient in potting mixes because it holds moisture and adds organic matter, but it should not be the entire growing medium. A potting mix also needs stable structure, drainage, and aeration; fine leaf mold alone may settle, stay wet, or vary from batch to batch. Blend a modest portion into a tested or familiar potting mix and observe how quickly the container dries before changing the recipe for all your plants.
For seedlings, use only very well-rotted, screened material and combine it with other clean ingredients rather than sowing into an unknown pile. The RHS describes older, well-rotted leaf mold as suitable for seed-sowing compost when mixed with sharp sand, garden compost, or good soil. Young seedlings need a consistent, fine-textured medium, so unfinished chunks and fresh leaves do not belong in a seed tray.
Keep outdoor leaf mold outside until it is fully decomposed and free of unwanted insects, weed seedlings, and debris. Before using a home batch indoors, inspect it and let it dry slightly if it is saturated; do not bring a damp, half-decomposed bag into a warm room. If the mix becomes waterlogged or seedlings struggle, reduce the leaf-mold fraction and restore drainage rather than assuming the plants need more fertilizer.
Leaf mold, compost, and leaf mulch are different tools
| Material | What it is | Best use | Main limitation |
|---|---|---|---|
| Leaf mold | Leaves broken down slowly, mainly by fungi | Soil conditioning, moisture retention, and gentle surface mulch | Usually not a complete source of plant nutrients; takes time |
| Hot compost | A managed mix of carbon-rich browns and nitrogen-rich greens that heats during active decomposition | A broader soil amendment that can contribute nutrients when fully finished | Needs a balanced mix and more active management; a home pile may not sanitize every material |
| Leaf mulch | Whole or shredded leaves laid on the soil surface, often before they are fully decomposed | Winter cover and gradual surface protection | Can mat or blow away if used in thick, intact layers |
If you want a fast nutrient-rich amendment, make or buy finished compost rather than trying to force leaves to behave like a hot pile. If your goal is an easy way to improve soil texture and conserve moisture over time, leaf mold is a better fit. If the leaves are fresh and it is autumn, use them as a thin surface mulch or store them for later; the material does not need to be “finished” before it can have a useful role.
Conclusion
To make leaf mold, collect clean leaves, shred them if convenient, and store them loosely in a shaded pile, wire corral, or perforated bag. Keep the leaves damp but not soggy, check the center during dry weather, and wait until the material matches the job you have in mind. A coarse, partly decomposed batch can serve as a surface cover; a dark, crumbly batch is the better choice for soil mixing, containers, and seed-starting blends.
Use leaf mold for what it does well: adding organic matter and helping soil hold water. It is not a complete fertilizer, a sterile potting mix, or a shortcut to instant soil repair. Once you set aside one manageable batch each fall, the yearly routine is simple: add leaves, correct moisture when needed, label the date, and use the finished material where your soil would benefit from a softer, more moisture-retentive surface.



