Modern Garden Edging Ideas for Cleaner, Smarter Beds
Explore 24 modern garden edging ideas, then choose the right material for curves, slopes, mulch, mowing, drainage, budget, and long-term upkeep.
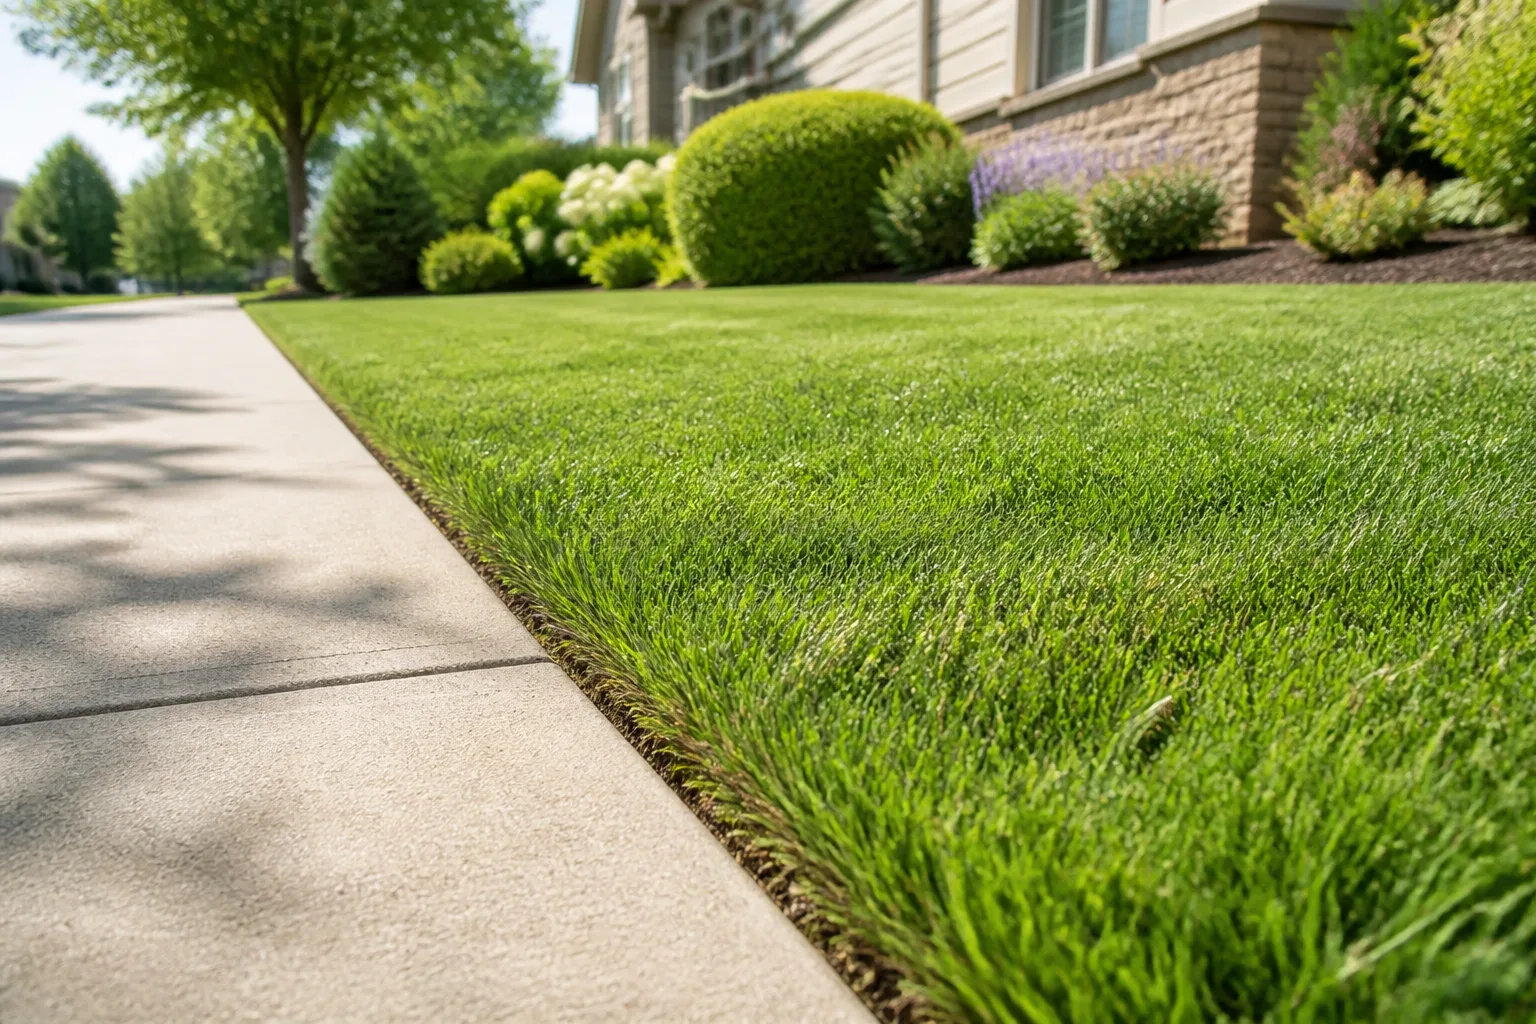
Modern garden edging is less about buying the trendiest border and more about making the transition between two surfaces look deliberate. A narrow steel line can sharpen a contemporary bed, while a soft mulch margin or a row of grasses can make a naturalistic garden feel finished without looking fenced in.
The right edge also earns its keep. It can keep gravel from migrating, give a mower a clean route, slow a small amount of mulch from spilling, or visually separate a path from planting. It cannot, by itself, repair a badly compacted lawn, drain a waterlogged bed, or replace a retaining wall. Start with the job, then choose the look.
Garden edging has three jobs before it looks good
Separate spaces and simplify maintenance
At the simplest level, edging creates a readable line between lawn and bed, gravel and planting, or a path and soil. That line helps you mow, trim, sweep, and weed without constantly damaging plants or pulling loose material back into place. A clean edge also makes a modest planting bed look more intentional because the eye can read its shape immediately.
Garden edging can be visible, nearly invisible, or alive. A flush strip of metal disappears into the landscape; a brick or stone course becomes part of the architecture; a low hedge or flowering margin makes the boundary feel planted rather than constructed. Homes & Gardens notes that edging is useful for separating weeds and mulch from lawn and for creating a cleaner mowing line, but the practical result depends on the material and how it is installed. Its garden-edging overview is a useful cross-check on those material and maintenance trade-offs.
Know when edging is not enough
If soil is washing downhill, water is pooling after every storm, or one side of the border is much higher than the other, treat the problem as grading or drainage first. A short border can hold a small amount of mulch or soil, but a wall that resists a meaningful grade change needs a stable base, a way to relieve water pressure, and sometimes engineering or a permit depending on local rules.
Official soil-conservation guidance makes the same distinction: vegetation, mulch, and gravel can protect lightly eroding areas, while concentrated flow may call for terraces, check dams, swales, or another runoff-control strategy. The USDA also emphasizes maintaining vegetation and slowing water rather than simply placing a hard object across its path. Read the USDA Climate Hubs erosion guidance and Fairfax County’s drainage and erosion recommendations before using edging to disguise an active water problem.
Choose the right material for your site
Use a quick filter for budget, shape, and upkeep
Before buying anything, walk the proposed edge after mowing and after rain. Mark the line with a hose, rope, or flour, then look at it from the house, the sidewalk, and the place where you usually sit. A curve that looks elegant from one angle can create an awkward mowing pocket from another.
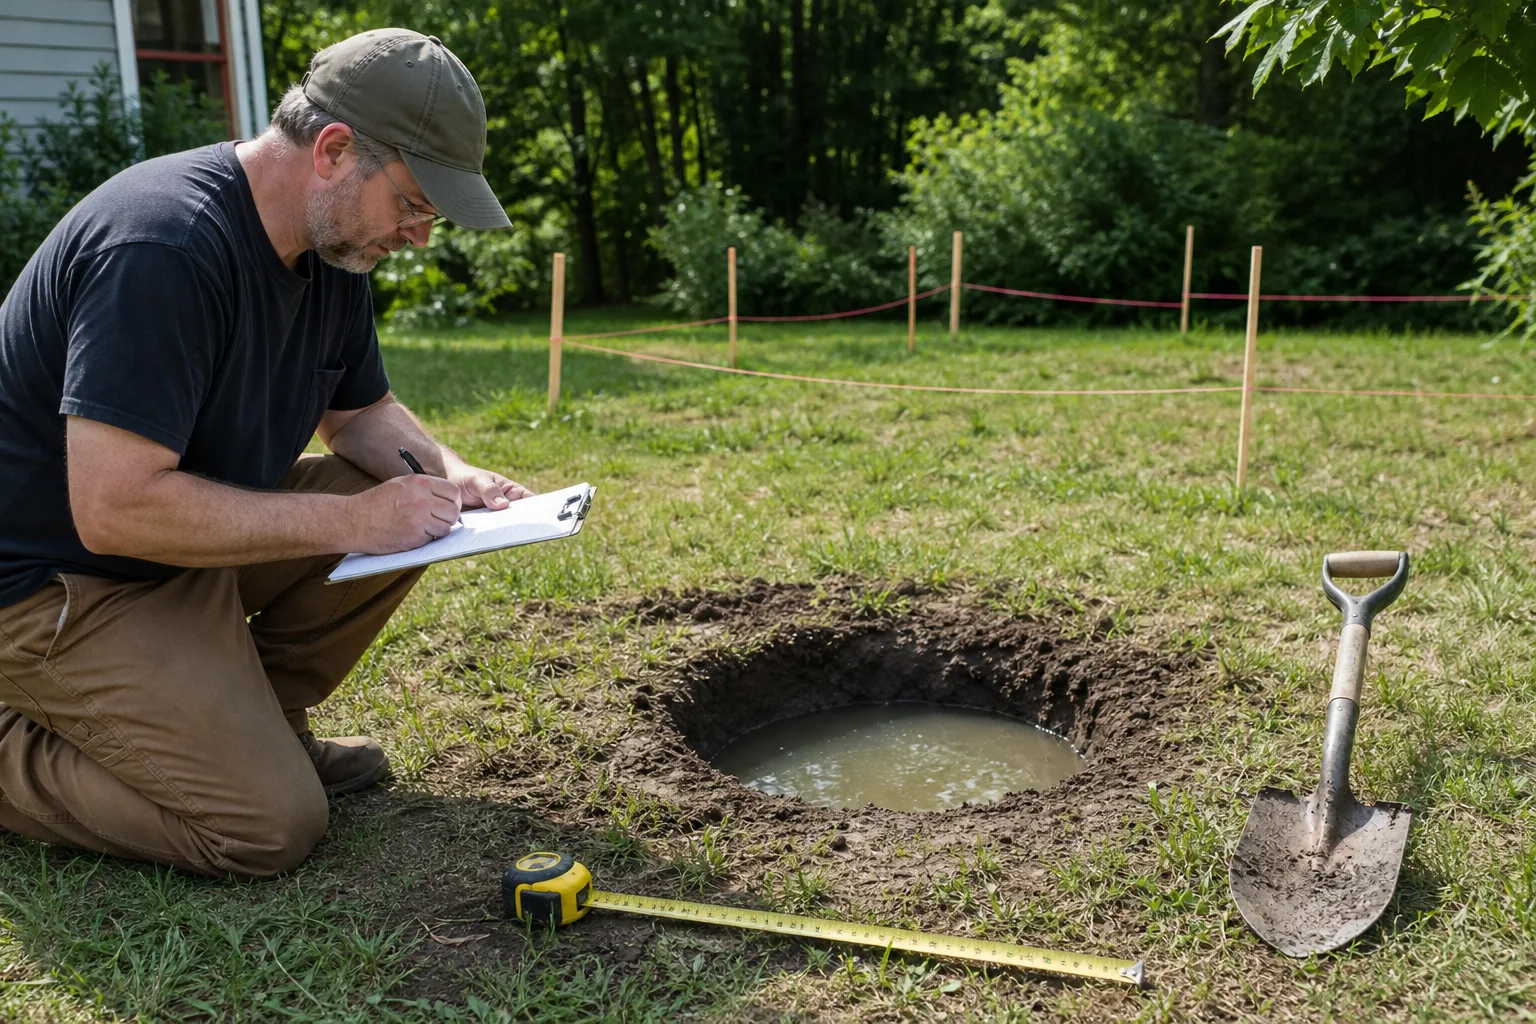
Ask five questions:
- Is the edge flat or holding a grade? Flat borders can use almost any material. Slopes need overlap, staking, terracing, or a true retaining design.
- Can mower wheels travel beside it? A flush, firm edge is easier to maintain than loose rock or a raised lip directly beside turf.
- Is the line straight, curved, or both? Steel, flexible restraint, soil, and planted edges follow curves more easily than rigid slabs or long timber boards.
- What will weather do here? Frost heave, intense sun, wet clay, salty coastal air, irrigation spray, and falling leaves all change the maintenance burden.
- What will you tolerate in five years? “Low maintenance” still means resetting a stone, topping up gravel, recutting soil, trimming plants, or touching up a finish.
The RHS recommends planning a border around soil, light, exposure, climate, scale, and the plants’ eventual spread. That is just as important for the edge: a border that expands into a narrow mowing strip will make even excellent materials look poorly designed. Use the RHS guide to planning a garden border to check the planting conditions before you lock in the line.
| If your priority is… | Start with… | Main compromise |
|---|---|---|
| The sharpest contemporary line | Flush metal, concrete, or precise pavers | More careful base preparation and visible movement if poorly installed |
| A low-cost weekend refresh | Cut soil, mulch, gravel, reclaimed brick, or logs | More seasonal tidying or uneven aging |
| Curves and organic shapes | Flexible restraint, soil, stone, or living plants | Harder to mow perfectly and easier for loose materials to migrate |
| A small change in grade | Stone, concrete, timber, or a raised bed | Requires a stable base and attention to drainage |
| A wildlife-friendly transition | Grasses, low plants, mulch, or a mixed soft edge | It will not create a hard barrier against spreading turf |
24 modern garden edging ideas
The ideas below are grouped by how they work, not just by what they look like. Pick one primary edge for a zone, repeat it where the same job occurs, and use a second material only when it marks a real change in function. That restraint usually looks more modern than putting a different border around every bed.
Clean, low-profile lines
1. Bury a metal edge restraint. A narrow galvanized or powder-coated steel restraint creates a crisp line around angular beds and gentle curves while keeping mulch or gravel from spreading into turf. Set the top flush with the lawn wherever a mower needs to pass; if the metal stands proud, plan to trim around it rather than run a wheel over it.
2. Let raw Corten steel become the accent. Weathering steel brings a warm rust color that works with ornamental grasses, dark mulch, pale stone, and modern concrete. It is a strong visual choice for a straight run or a broad curve, but check runoff and finished-surface staining before placing it beside light paving, and make sure the strip is properly anchored.
3. Pour a slim concrete curb. A narrow concrete edge can echo the geometry of a patio, wall, or foundation and can be shaped to create a shallow mowing strip. It is durable when the base, joints, and drainage are handled correctly, but it is not a casual patch: cracking, settlement, and an unwanted grade change are difficult to hide once the concrete is in.
4. Use an edge restraint under the mulch line. A hidden restraint is useful when you want the planting to appear to meet the lawn without a visible fence. Keep the top low enough for maintenance and leave room for mulch to settle; a restraint that is buried too shallowly will heave or expose itself as the bed changes height.
5. Cut a soil shadow line. A crisp, narrow trench is the most understated option and can look remarkably architectural against a dark bed. Homes & Gardens describes a roughly three-inch soil trench as a way to sever many grass roots and create a shadow line, but treat that measurement as a practical starting point, not a universal depth for every grass, soil, or climate. The four-step edging method covers marking, cutting, shaping, and seasonal refreshing.
Stone, brick, and paver borders
6. Set a single course of local natural stone. Flat fieldstone, bluestone, limestone, or another locally available material can make a border feel anchored to its setting. Choose pieces with reasonably consistent thickness where you want a modern line; irregular stones create a softer, more naturalistic edge but need more careful fitting and occasional resetting.
7. Use chopped stone for a strong horizontal band. Rough-cut stone has enough texture to keep a minimal bed from feeling sterile, especially when the planting is simple. It works best when the pieces are seated on a compacted base rather than placed directly on loose soil, and multiple courses should be treated as a small wall with drainage needs, not as decorative edging.
8. Stand tall stones as a vertical rhythm. Narrow slabs or durable stones set upright can frame a slope, divide a terrace, or create a low visual screen between a path and planting. Varying the height slightly looks more natural, while matching heights suit a formal design. Check stability carefully; a stone that can wobble into a walkway is a hazard, not an accent.
9. Lay bricks in a soldier course. Bricks set upright or end-to-end give a bed a strong architectural border that works with both traditional houses and contemporary planting. Use a consistent line and a firm, level base, and keep the top flush where mowing access matters. Replacing one brick is usually easier than repairing a long poured edge, which is part of its appeal.
10. Reclaim brick or slate from another project. Reused material makes the edge feel connected to the house and keeps a renovation material in service. Sort pieces by thickness before installation, remove sharp fragments, and avoid mixing too many colors unless the rest of the garden already has a deliberately eclectic palette.
11. Cut pavers into a shaped border. Large-format pavers can be cut into arcs, angled corners, or repeated geometric modules that mirror a patio or walkway. The modern effect comes from repetition and alignment, not from making every piece a different shape. Leave joints that can be swept and repaired, and avoid a layout that traps water against the bed.
12. Extend the patio or deck as the edge. Instead of adding a separate border, let a patio, deck, or broad stepping surface define the lawn and bed. This is especially effective beside outdoor dining because the hardscape becomes both a usable surface and a visual frame. Keep timber away from persistently wet soil, and make sure the surface remains stable and slip-resistant.
Wood, gravel, and reclaimed materials
13. Use cedar timber for straight runs. Cedar boards or timbers bring warmth to a modern vegetable bed, path, or rectangular planting zone without competing with the plants. Anchor the boards so they cannot bow outward, keep the top level, and use only products appropriate for garden contact. Wood eventually weathers and needs replacement; design the edge so that repair is simple.
14. Arrange reclaimed logs or wattle for a softer boundary. Short logs, branches, or woven wattle can make a woodland, cottage, or wildlife garden feel intentional without adding a manufactured line. They are best beside a path or lawn where a little irregularity is welcome, not where a mower must roll tightly against the edge. Expect decomposition and plan to replace sections rather than preserve the material forever.
15. Create a gravel ribbon between lawn and bed. A narrow strip of compactable gravel or small cobbles gives the lawn a visual pause and catches a little clippings and mulch before they reach the planting. It looks cleanest when the width is consistent and the gravel has a firm base. Use a stable, contained surface near doors or paths; loose stone in a turning route becomes a trip and maintenance problem.
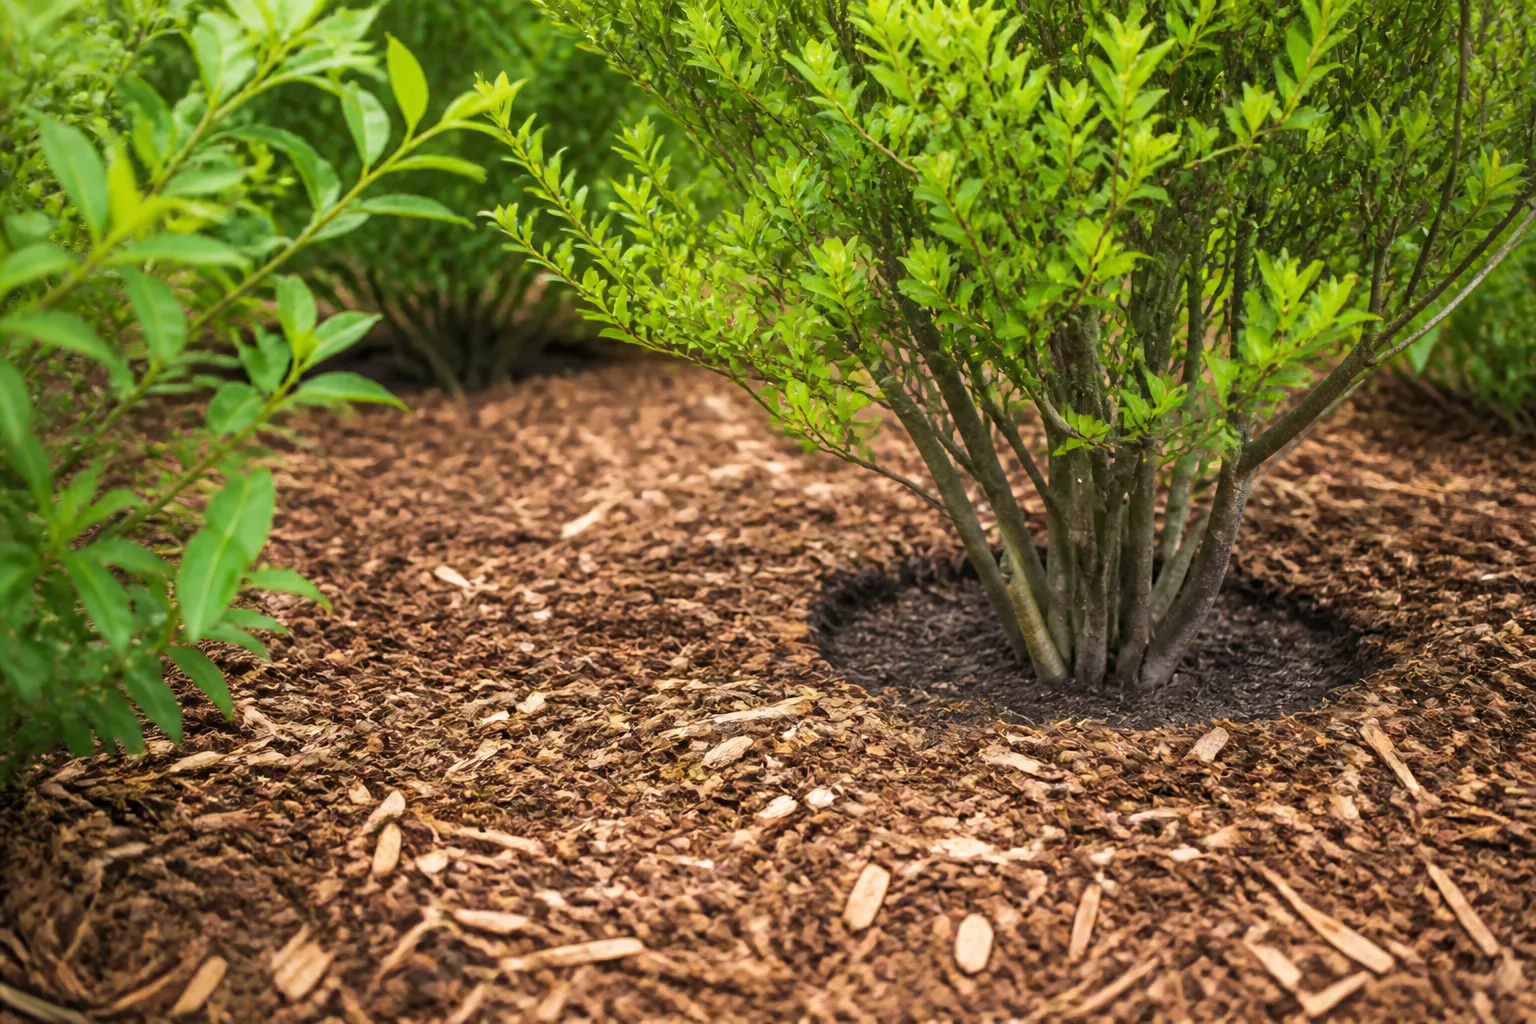
16. Make mulch the deliberate soft edge. A broad mulch margin can be the cheapest and most forgiving way to define a tree bed or informal border. It improves the visual transition and protects exposed soil, but it is not a root-proof barrier: grass can run through it, mulch can wash or blow away, and piled mulch against trunks or stems creates a separate plant-health problem. Keep the margin even and refresh it lightly rather than building a tall mound.
17. Repeat a local material already in the yard. If the house has a stone foundation, brick steps, timber fence, or concrete path, echoing that material at the bed edge makes the whole yard feel designed. The material does not need to match perfectly; a shared color, texture, or joint pattern is usually enough. This is often more convincing than importing a fashionable material that appears nowhere else.
Living and blended edges
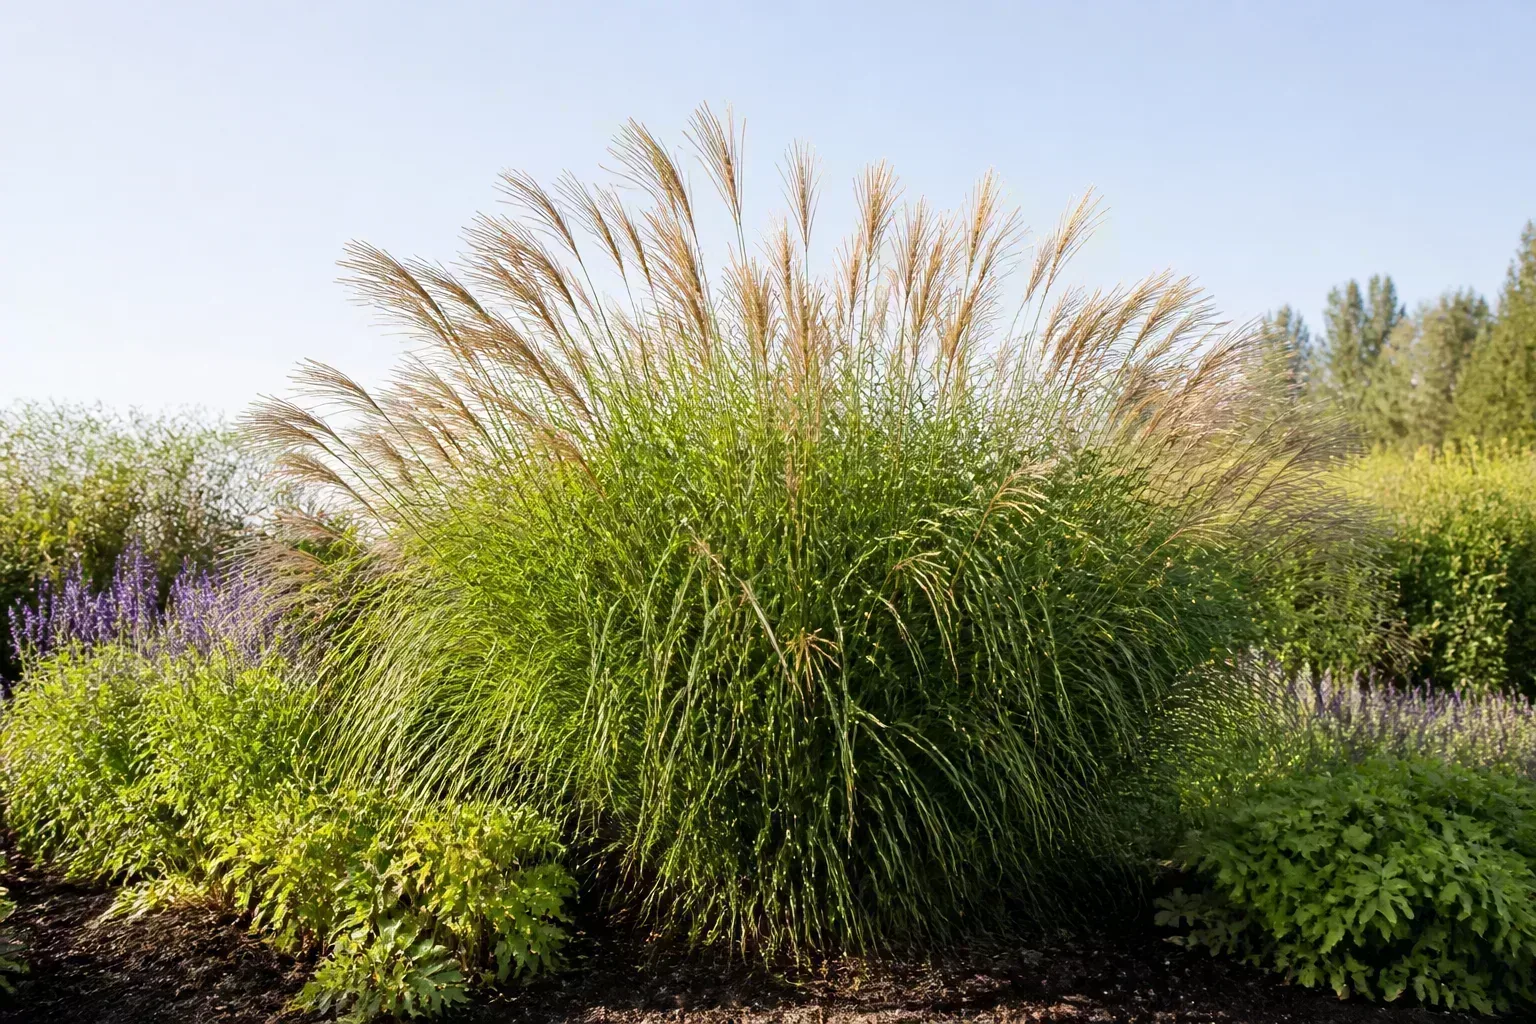
18. Frame the bed with ornamental grasses. A low or medium-height grass can soften a hard path, discourage casual foot traffic, and give the edge movement through the seasons. Choose a clumping type suited to the site rather than a spreading grass that will invade the bed or lawn. Leave enough access to divide or cut back the plants without stepping on the paving.
19. Plant a low evergreen hedge. A clipped hedge creates a formal boundary without the hard visual weight of stone or concrete. It can be excellent beside a path, but it is only low maintenance if the species, mature width, and trimming tolerance fit the space. A hedge that needs repeated shearing to stay narrow is a living wall with a high labor bill.
20. Use low edging plants as a living line. Compact herbs, groundcovers, or sturdy flowering perennials can outline a bed and make the transition feel generous rather than boxed in. Match the plant to sun, moisture, soil, and winter conditions, then allow for its mature spread. The RHS’s right-plant-right-place approach is especially useful here because a plant that fails at the edge leaves bare soil exactly where erosion and weed pressure are most visible.
21. Scatter a wildflower or pollinator margin. A low-mown or lightly managed strip of flowers can define the edge of a naturalistic yard without a hard material. It works best when you establish a clear mowing boundary and choose plants that will not become a nuisance in neighboring beds. Mow or cut the outside edge on a schedule so the wild portion reads as intentional rather than abandoned.
22. Blend two materials at a real transition. Pair steel with gravel, brick with lawn, stone with a planted strip, or timber with a path when the yard changes function. The transition should explain itself: one material might handle mower traffic while the other frames a seating area. Keep the palette tight and repeat the pairing elsewhere so it feels like a design system rather than leftover materials.
Raised, stepped, and functional edges
23. Build raised timber beds. Raised beds create an edge and a growing volume at the same time, making them useful for vegetables, cut flowers, or poor native soil. They also make the height difference obvious, so use sound lumber, stable corners, and a layout that leaves room to reach the plants. A raised bed should drain freely; lining it to hold water defeats the purpose and can damage roots.
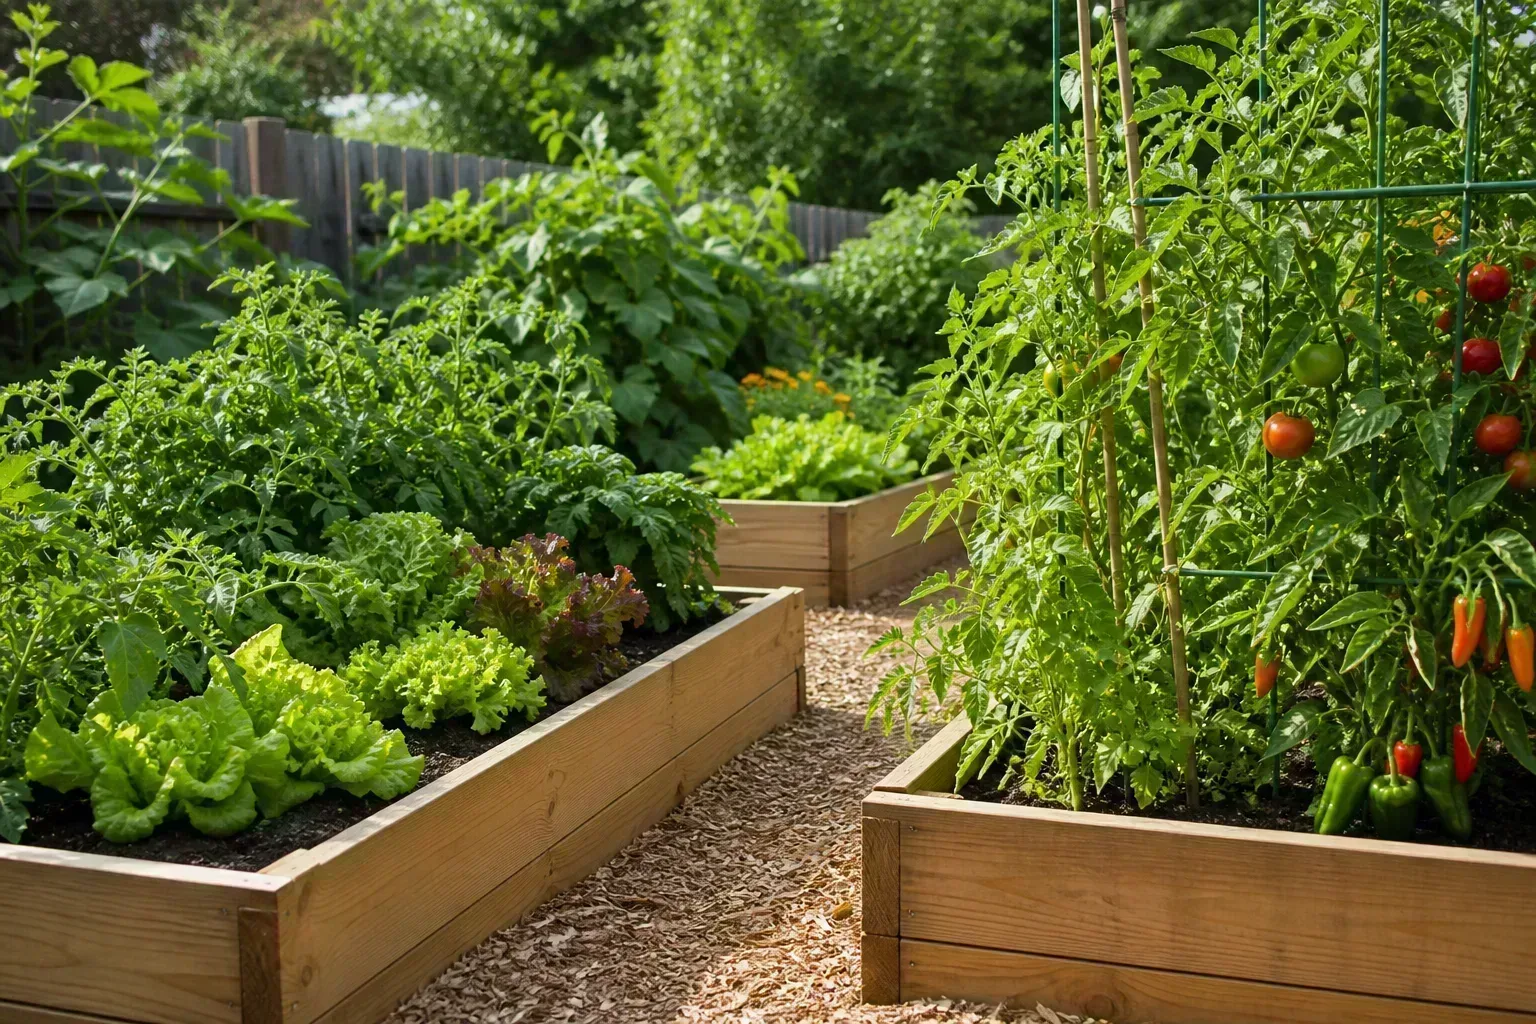
24. Step stone, gabion, water, fire, or light into the hardscape. On a slope, broad stone steps or low terraces can turn a difficult edge into a series of usable levels; gabion baskets filled with local rock can provide a strong textured boundary where their engineered base and drainage are appropriate. In a flat entertaining zone, a shallow water feature, fire feature, or recessed low-voltage light can sit within a wide paved edge to create a focal point. These are hardscape projects, not last-minute decorations: keep water away from foundations, follow fire clearances and local rules, and use a qualified installer when the feature changes drainage, grade, or electrical safety.
Install and maintain a clean edge
Build for drainage, not just appearance
Mark the line first and live with it for a day. Then call local utility-locating services before digging, remove turf and roots from the installation zone, and check the proposed finished height against sidewalks, steps, doors, tree trunks, and downspouts. A level helps with a straight border, while a hose or rope is better for testing curves.
Prepare the base according to the material. A soil trench needs a clean face and a clear gap; brick, paver, and stone need a firm, well-drained base; timber needs stakes and protected ends; metal needs anchors at the intervals recommended for that product and soil. Do not bury a hard edge in a way that creates a dam across natural water flow. Low points may need a planned outlet or a break so water can leave instead of ponding behind the border.
The Iowa Stormwater Education Partnership explains that compacted soil absorbs less water and produces more runoff, which is why a new border can fail even when the material itself is sound. Loosen compacted soil where plants will grow, add organic matter when appropriate, and correct the source of runoff rather than expecting a decorative edge to absorb it. Its soil-quality restoration guidance gives the useful underlying principle: healthy soil changes how water moves through the yard.
Keep mowing and weeding manageable
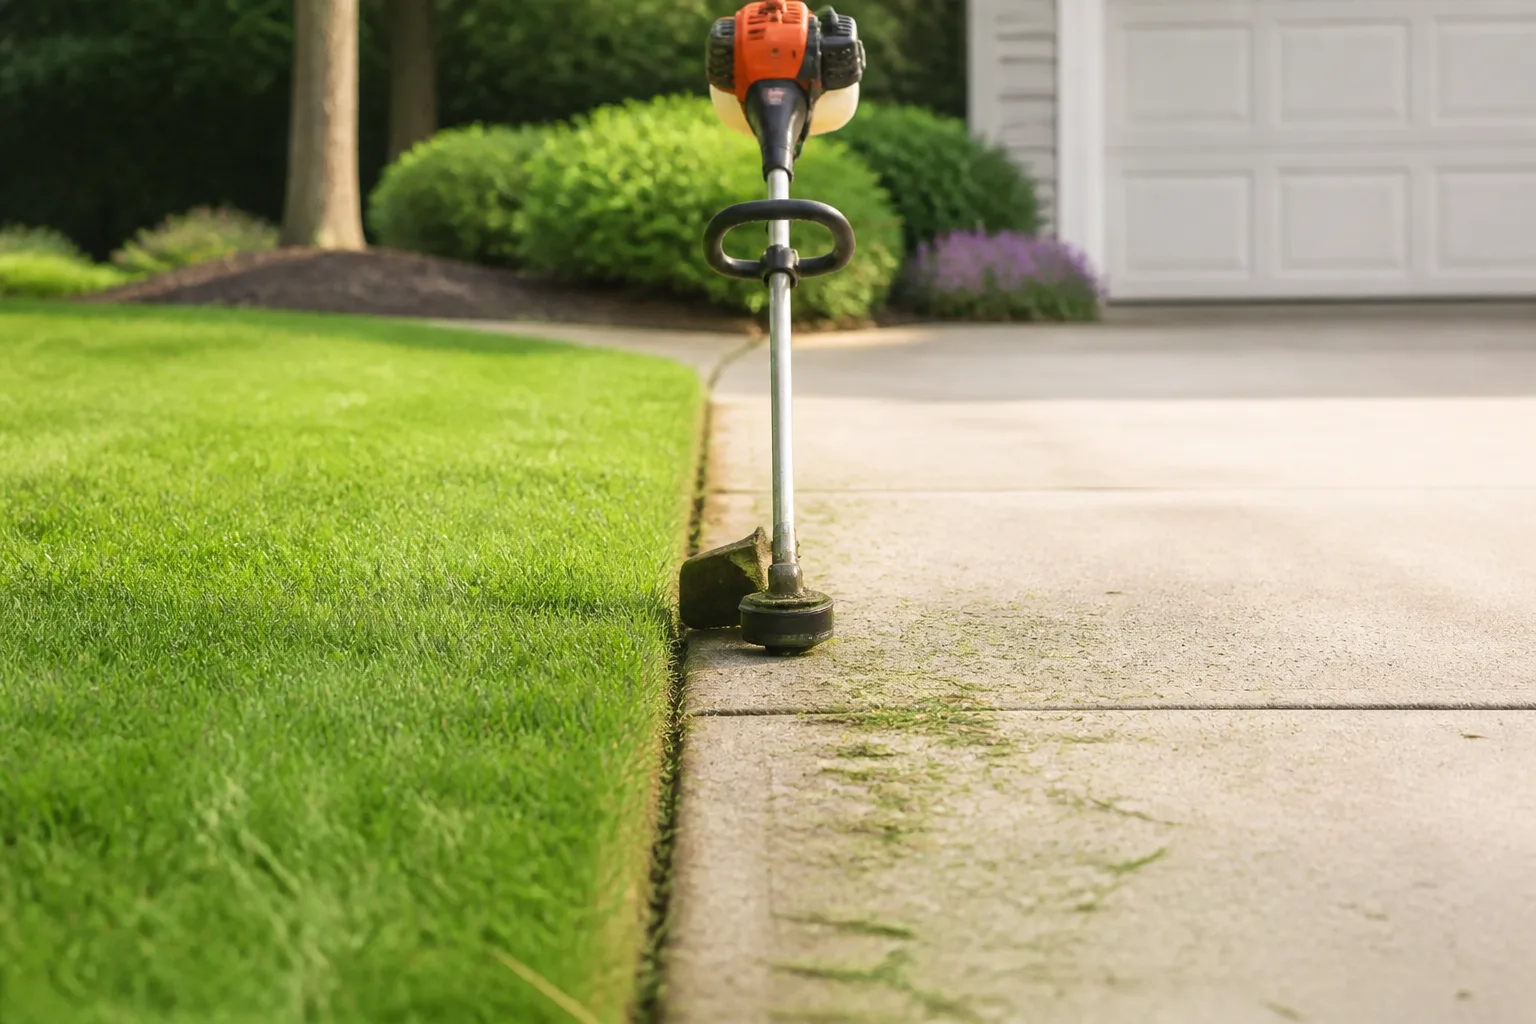
The best edge is the one you can maintain without balancing on it. Keep loose gravel and sharp stone out of mower paths, make flush edges truly flush, and leave a small service gap where a vertical wall prevents a wheel from reaching the turf. If plants overhang the line, plan for hand shears or a string trimmer rather than pretending the mower will solve it.
Refresh soil edges in the growing season when the line softens, pull weeds before their crowns become established in gravel or mulch, and brush loose soil away from a trench after heavy rain. Cut back living edges before they hide the border, and reset a stone as soon as it rocks; one small repair is easier than rebuilding a whole run after water and foot traffic have moved it.
If you use mulch, keep it below the top of the edge and away from trunks and crowns. Fairfax County’s erosion guidance recommends vegetation, mulch, or gravel for some lightly eroding and high-traffic areas, while its advice for steep slopes points toward terraces and drainage behind retaining structures. That distinction is the maintenance plan: cover bare soil and slow small losses, but redesign the water path when the flow is strong.
Mistakes that make modern edging fail
Choosing by photograph alone. A perfect straight line in a wide landscape may be the wrong answer for a small yard with a mower, hose, stroller, or wheelbarrow. Test the route at full scale before you buy material.
Putting a raised lip beside turf. It may look crisp on installation day, but it catches mower wheels and leaves a strip of grass that still needs hand trimming. Use a flush edge or add a firm mowing strip when access matters.
Using loose rock without a base or containment. Gravel migrates into lawns, paths, and drains when it sits on compacted soil with no clear boundary. Stabilize it where appropriate, choose a manageable stone size, and do not place it on a route where it becomes a slip hazard.
Treating edging as a retaining wall. A row of decorative blocks does not automatically resist wet soil, frost movement, or downhill pressure. If the border is holding significant height or water, stop and get local landscape or structural advice.
Ignoring mature plant size. Grasses, shrubs, and groundcovers will eventually cover the edge you installed for visibility. Measure the mature spread and leave access for trimming, division, and repairs.
Mixing too many materials. Modern design usually benefits from repetition. Choose one dominant edge, one secondary accent, and a limited color range; use a new material only where the job changes from lawn control to path, seating, slope, or planting.
Forgetting the repair plan. Every material moves, weathers, cracks, rots, or grows over eventually. Keep spare bricks, note the stone source, leave access to buried restraints, and design timber or plant edges in sections so a repair does not become a full-yard project.
Conclusion
The most effective modern garden edging ideas do two things at once: they make the yard easier to read and make the next maintenance job easier to do. Start with the boundary’s real job, test the line before digging, and choose a material that fits the curve, grade, water movement, mowing route, and planting style.
For a quick refresh, a cut-soil shadow line, mulch margin, gravel ribbon, reclaimed brick, or repeated local stone can make a visible difference without rebuilding the landscape. For a lasting structural change, prepare the base, plan drainage, and treat raised or sloped edges as construction rather than decoration. A polished yard is not defined by the most expensive material; it is defined by a boundary that still works after the first season of rain, mowing, roots, and growth.



