How to Identify and Treat Mold in Your Basement Safely
Learn how to spot basement mold, trace the moisture source, clean a small hard-surface patch safely, and recognize when hidden growth needs a professional.
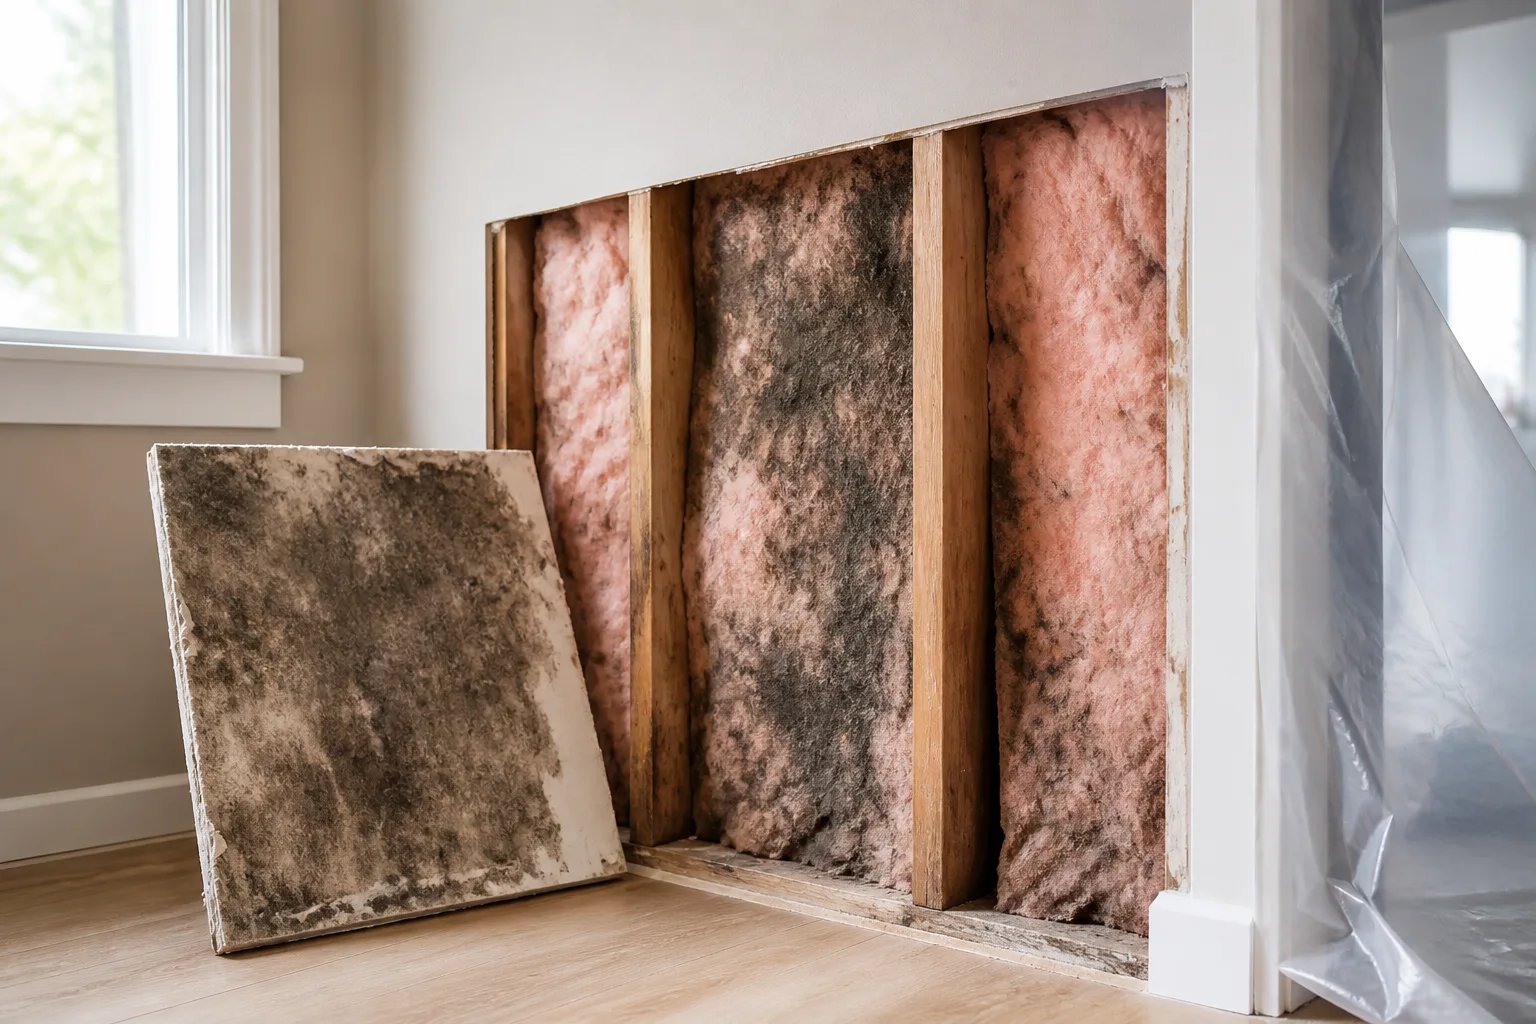
Basement mold is a sign that moisture has stayed on a surface long enough for growth. The useful first question is not whether a patch is black, green, or “toxic”; it is where the water is coming from, what material is affected, and whether the job is small and accessible enough to clean safely.
A musty smell, visible spotting, damp cardboard, peeling paint, or a recurring stain deserves attention. For a small patch on a hard surface, a careful cleanup may be reasonable after the moisture source is fixed. Wet drywall, hidden growth, sewage-contaminated water, or a large area changes the job: keep people away and get qualified help.
Quick answer: start with the moisture source
If you find suspected mold, keep children, pets, and people with asthma, chronic lung disease, mold allergy, or a weakened immune system away from the area. Do not disturb a large patch or enter standing water. Stop an active leak only if you can do so safely; water near electrical equipment, a recent flood, or a sewage backup calls for professional assistance.
Next, photograph the area and look for how far it extends. A small spot on sealed concrete or tile is a different job from moldy drywall, insulation, carpeting, or a wall cavity. Fix the leak or humidity problem before cleaning, then choose a method suited to the material. If the source is unclear, the patch returns, or you suspect hidden growth, arrange an inspection instead of spraying the visible surface and hoping it is solved.
What basement mold looks and smells like
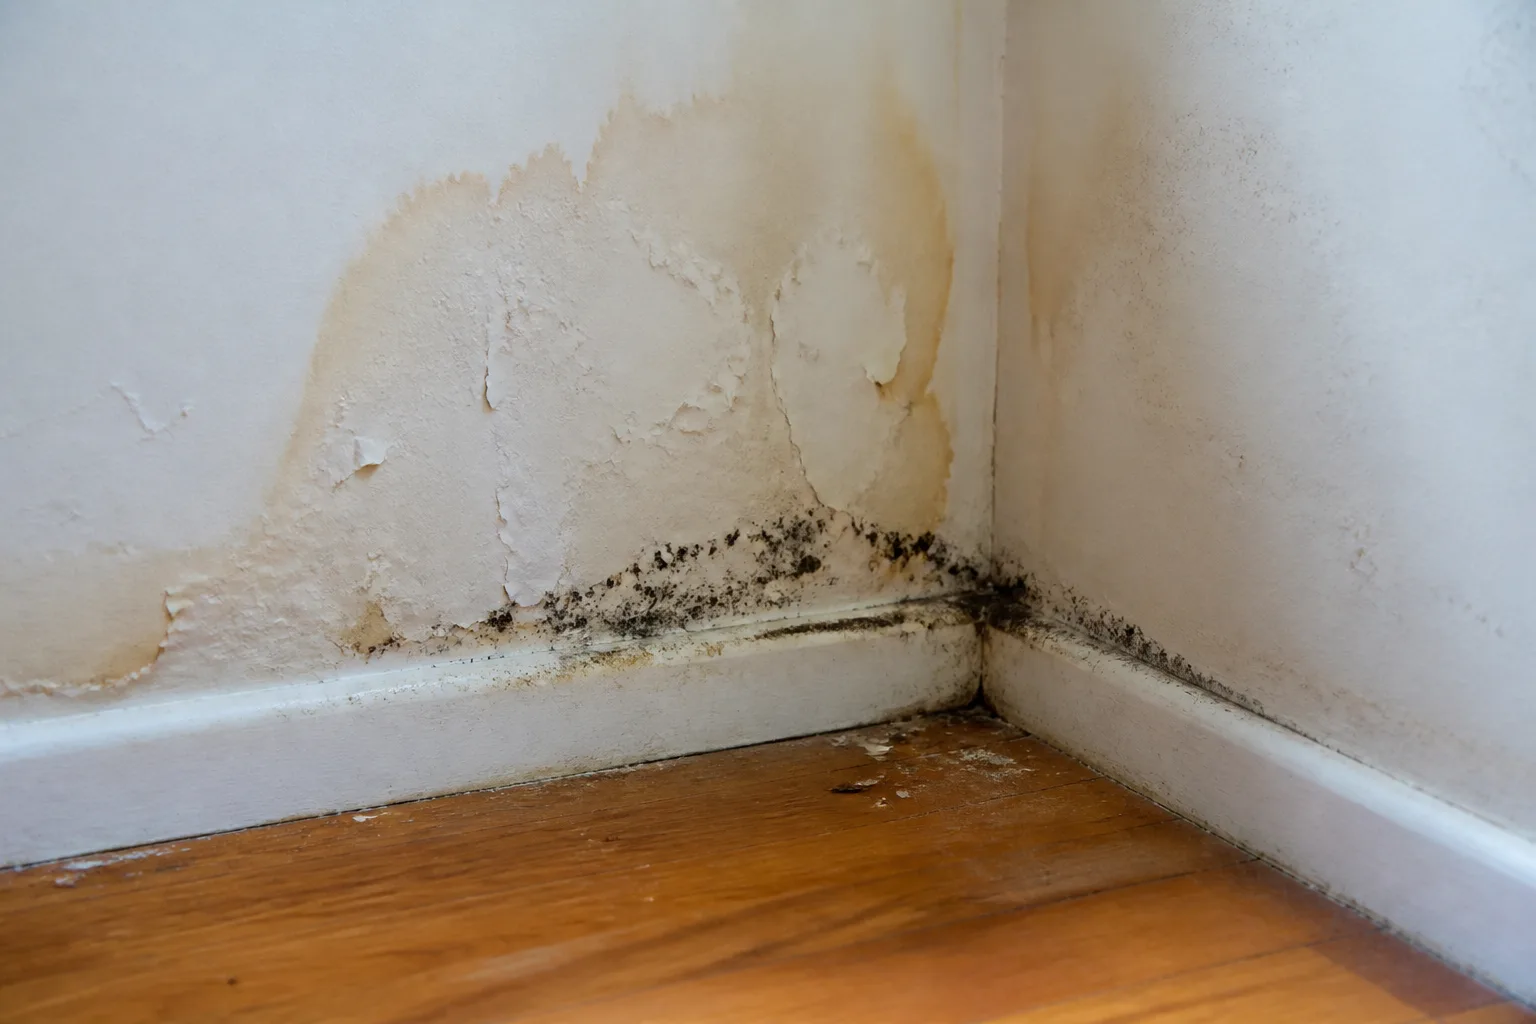
Mold can appear as scattered dots, fuzzy or velvety patches, a powdery film, or irregular dark, gray, green, brown, or white growth. It may sit on cardboard, wood, drywall paper, carpet, stored fabric, or the dusty surface of masonry. A damp basement can also have discoloration, peeling paint, or warped trim without visible mold, so treat those as clues to investigate moisture rather than proof of a particular mold species.
Color is not a reliable safety test. A black patch is not automatically a more dangerous species than a green or pale patch, and you cannot identify mold type by sight. Health Canada recommends correcting dampness and removing visible mold regardless of the type present; the practical decision depends more on extent, location, material, and who would be exposed.
A musty odor is a clue, not a species diagnosis
A persistent earthy, damp-cardboard, or wet-clothing smell can point to mold even when the growth is behind stored items or inside a wall. Family Handyman describes mustiness as a useful early clue, while also noting that growth can hide behind finishes or under flooring. A smell alone cannot confirm mold or tell you how much is present.
Look for a pattern. Does the odor get stronger after rain, near a particular wall, around a sump pit, or when the heating or cooling system starts? This Old House notes that a dry floor drain or sink trap can also cause a basement odor, so check for other moisture evidence before assuming every smell is mold. If the odor persists and you cannot find a simple cause, have the area assessed rather than covering the smell with fragrance or an odor absorber.
Where to inspect for visible or hidden growth
Start with the places where water enters, condenses, or collects. Use a bright flashlight and inspect wall-floor joints, basement corners, the back of stored boxes, the underside of shelving, window wells and frames, pipes, water heaters, laundry connections, floor drains, sump pumps, and the area around a dehumidifier. Move belongings gently; do not brush or scrape a large suspected patch just to see what is underneath.
Also check the exterior after rain. Look for clogged gutters, missing or short downspouts, soil that slopes toward the foundation, puddling beside the house, window-well drainage problems, and cracks or staining where water may enter. This Old House’s basement moisture guide also prioritizes grading, gutters, and downspouts as prevention measures. The outside-first inspection recommended by This Old House helps distinguish a water-intrusion problem from a room that simply needs humidity control.
Check likely water paths and cold surfaces
A leak tends to leave a localized trail: a pipe joint, ceiling below a bathroom, or stain that grows after plumbing use. Condensation often appears on cold pipes, metal ducts, windows, or the coolest foundation corner, especially during humid weather. Water entering through the foundation may leave a damp band along the wall or a recurring puddle after storms; document when and where it happens.
In a finished basement, musty odor plus bubbling paint, soft baseboards, swollen trim, or a stain that returns after wiping can indicate growth behind the finish. Do not open a wall at random. Hidden cavities may contain wet insulation and mold, and demolition can spread dust; use a qualified building or remediation professional to investigate persistent odor or water damage behind walls or ceilings.
Tell mold from efflorescence and other stains
White, chalky deposits on concrete or masonry may be efflorescence: mineral salts left behind as water moves through the material and evaporates. Health Canada lists white powdery salt crystals on masonry as one sign of excess moisture. It is often crystalline or powdery and tends to form on masonry; mold is more likely to look irregular, fuzzy, or spot-like and may appear on nearby cardboard, wood, or painted surfaces. Neither appearance tells you whether the wall is dry now, so check for dampness and the source of water.
A cautious check on a tiny area can help separate loose surface dirt from a stain: use a damp cloth with a little unscented detergent and see whether the mark wipes away. Do not use the bleach-swab color change sometimes suggested online as a mold test. It cannot identify species, reliably distinguish growth from every stain, or reveal what may be behind a finish. If the surface is soft, growth returns, or the smell persists, treat the moisture problem as unresolved.
Find the moisture source before cleanup
Mold returns when the conditions that supported it remain. Common basement sources include a plumbing or appliance leak; rainwater routed toward the foundation; a failed sump pump; seepage through a crack or window well; a leaking roof or downspout; and condensation on cold pipes or walls. Poorly vented laundry equipment can add moisture too, so confirm the dryer exhausts outdoors rather than into the basement.
Use a simple moisture log for a few days if the source is not obvious. Note rain, temperature, where a surface feels damp, whether a dehumidifier is running, and what the hygrometer reads. A moisture meter can compare one area with a dry reference surface, but it does not diagnose mold or find every concealed leak. A plumber can trace plumbing leaks; a drainage or foundation contractor can assess repeated seepage; and a qualified remediation professional can investigate suspected hidden growth.
Do not start by painting the wall with waterproof coating, running a heater, or placing a dehumidifier beside active water. Those steps may hide a symptom or lower room humidity without stopping water from entering. Repair the source first: redirect roof runoff, correct grading or drainage, repair plumbing, improve a failed sump system, or address condensation. If the cause requires excavation, electrical work, or structural repair, leave it to the appropriate trade.
Do you need a mold test?
Usually, no home test is needed to decide what to do with visible mold. If there is growth, remove it safely and fix the dampness; knowing the species rarely changes that basic plan. Health Canada does not recommend routine air testing because a sample does not predict health effects and often does little to identify the cause of damage. A petri-dish kit also cannot show whether mold is inside a wall or whether the moisture source has been repaired.
Testing can have a limited role when a qualified professional has a specific question—for example, investigating a suspected hidden cavity after a thorough inspection or documenting a defined remediation project. Ask what the sample can and cannot answer before paying for it. If testing is proposed, get a written explanation of the question, sampling method, interpretation, and next step; a result without a repair plan is not remediation.
When DIY is reasonable—and when to hire a professional
DIY is best reserved for a small, accessible patch on a hard, washable surface when the water source is known and repaired, there is no sewage or flood contamination, and the person cleaning can use appropriate protection. Examples might include a limited spot on sealed concrete or a hard plastic storage bin. If the affected material is porous, the patch is widespread, the smell is strong but growth is hidden, or mold comes back after cleaning, stop and seek an assessment.
Other reasons to hire help include mold near HVAC equipment or ductwork; damage inside walls, ceilings, carpet padding, or insulation; damaged structural wood; multiple rooms affected; a large or fast-growing patch; or a cleanup after sewage, contaminated floodwater, or a significant leak. Local rules, insurance requirements, rental responsibilities, and home-sale agreements may also affect the next step. A household member who is medically vulnerable should not clean mold and should stay away from the work area.
Use area as a screening rule, not a safety guarantee
EPA’s homeowner mold cleanup guide uses about 10 square feet as a point for considering professional help; Health Canada’s public guidance uses different size bands, recommending professional assessment for a large patch and emphasizing other factors such as hidden growth, sewage, and recurrence. These are screening guides, not a line below which every cleanup is safe. A small patch in a wall cavity, beside a vulnerable person’s bedroom, or after contaminated flooding can still require professional work.
For a contractor, ask for a site visit, an explanation of how they will find and correct the moisture source, a written scope and cost estimate, and details about containment, removal, drying, and follow-up. Health Canada’s professional hiring guidance also recommends discussing scope, cost, and documentation before work begins. Ask whether they have relevant training and liability coverage for mold work. Be cautious of anyone who promises to identify a dangerous species from color alone, proposes testing without a clear question, or sells a sealant as a substitute for removing damaged materials.
Protect people before entering a moldy work area
The CDC mold cleanup guidance says people with allergies, immune suppression, asthma, COPD, or other chronic lung disease should not take part in mold cleanup; Health Canada also advises keeping infants, children, seniors, pregnant people, and pets away from the cleanup area. Anyone with breathing difficulty or another concerning reaction should leave the space and talk with a health professional. This is especially important after a flood, when dampness and other contaminants can coexist.
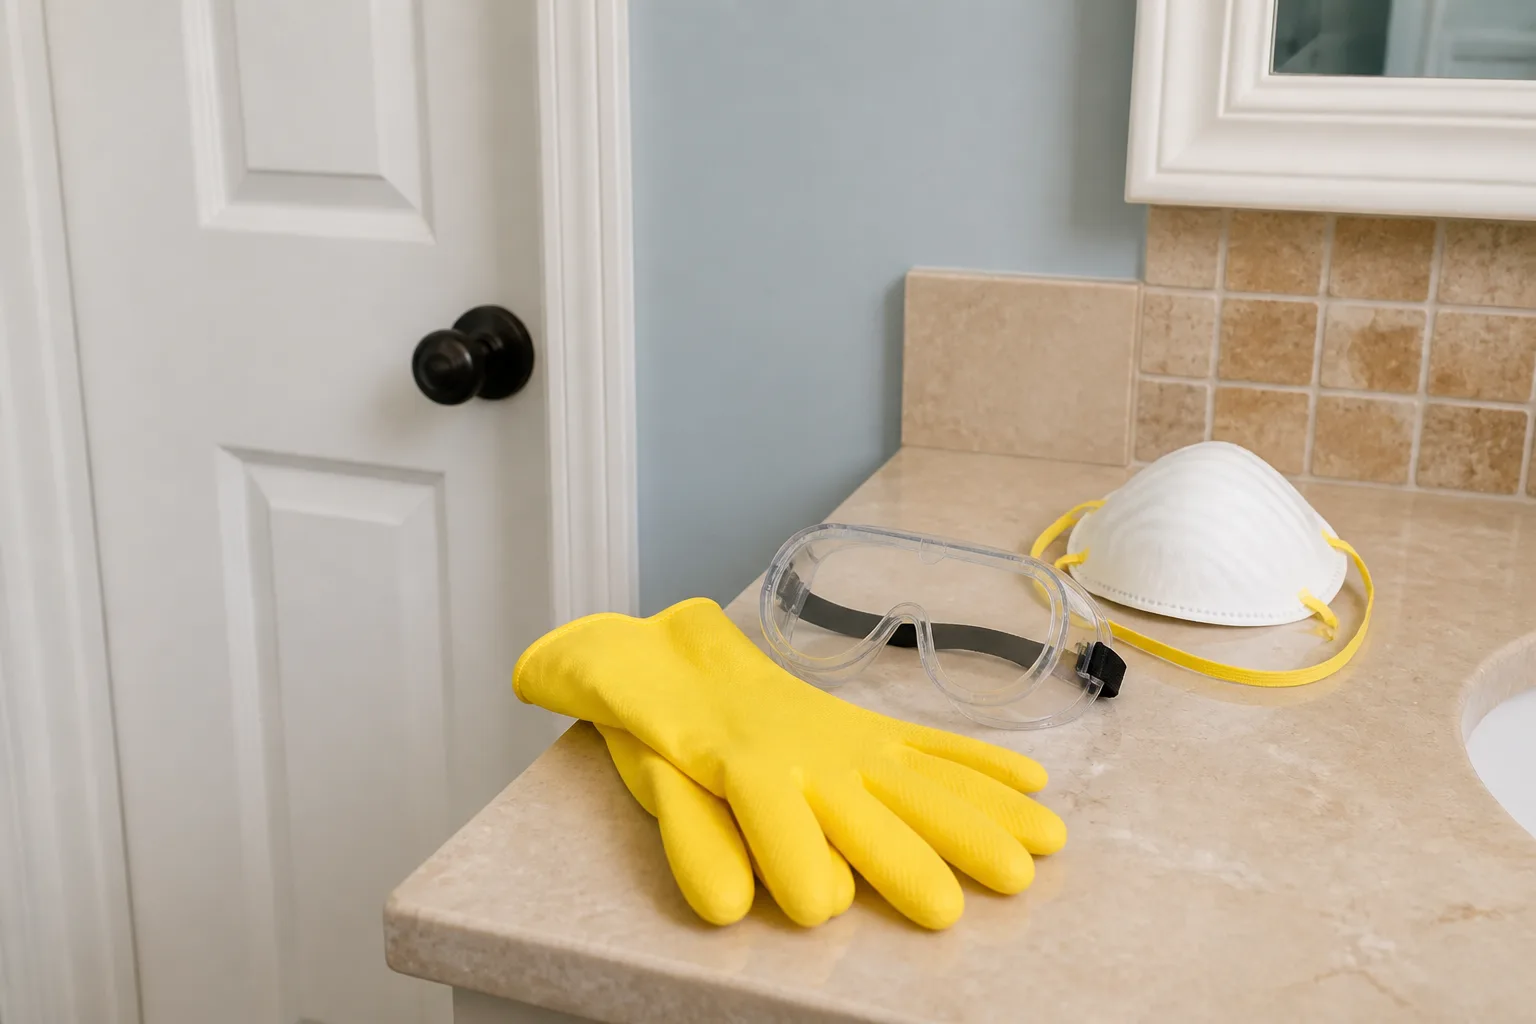
For an appropriate small cleanup, the CDC recommends at least a NIOSH-approved N95 respirator, gloves, and goggles that seal against dust. Health Canada similarly recommends a well-fitting N95 and eye and skin protection. A mask that is not rated or does not fit properly is not equivalent. If the job involves prolonged removal of drywall or insulation, extensive debris, or an area that needs engineered containment, that is a sign to use trained professionals rather than relying on upgraded DIY gear.
Do not enter standing water if power may still be connected. Do not run the home’s HVAC system through an area that may contaminate it, and do not aim an ordinary fan at visible growth or demolition debris. Keep the work area isolated from household traffic; after removing the source material, controlled airflow and dehumidification can help dry the space without blowing particles into clean rooms. Follow product labels and open doors or windows for fresh air when using cleaners, if outdoor humidity and conditions make that useful.
Clean mold from hard, nonporous surfaces
For a small patch on tile, glass, metal, plastic, or sound sealed concrete, remove nearby belongings and clean the surface with a damp cloth or brush and a small amount of unscented detergent in water. Work gently enough to avoid splashing or scattering dust, then wipe away residue with a clean damp cloth. Dry the surface completely and promptly; leaving it wet after cleaning recreates the condition that allowed growth in the first place.
Do not soak drywall, unsealed wood, or other porous materials while cleaning. If a patch sits on painted masonry, the paint is intact, and the growth is truly superficial, clean only the surface and watch it closely. If the paint is lifting, the wall remains damp, or the patch returns, stop repeating the wipe-down and investigate behind the surface.
Remove moldy porous materials; do not coat them
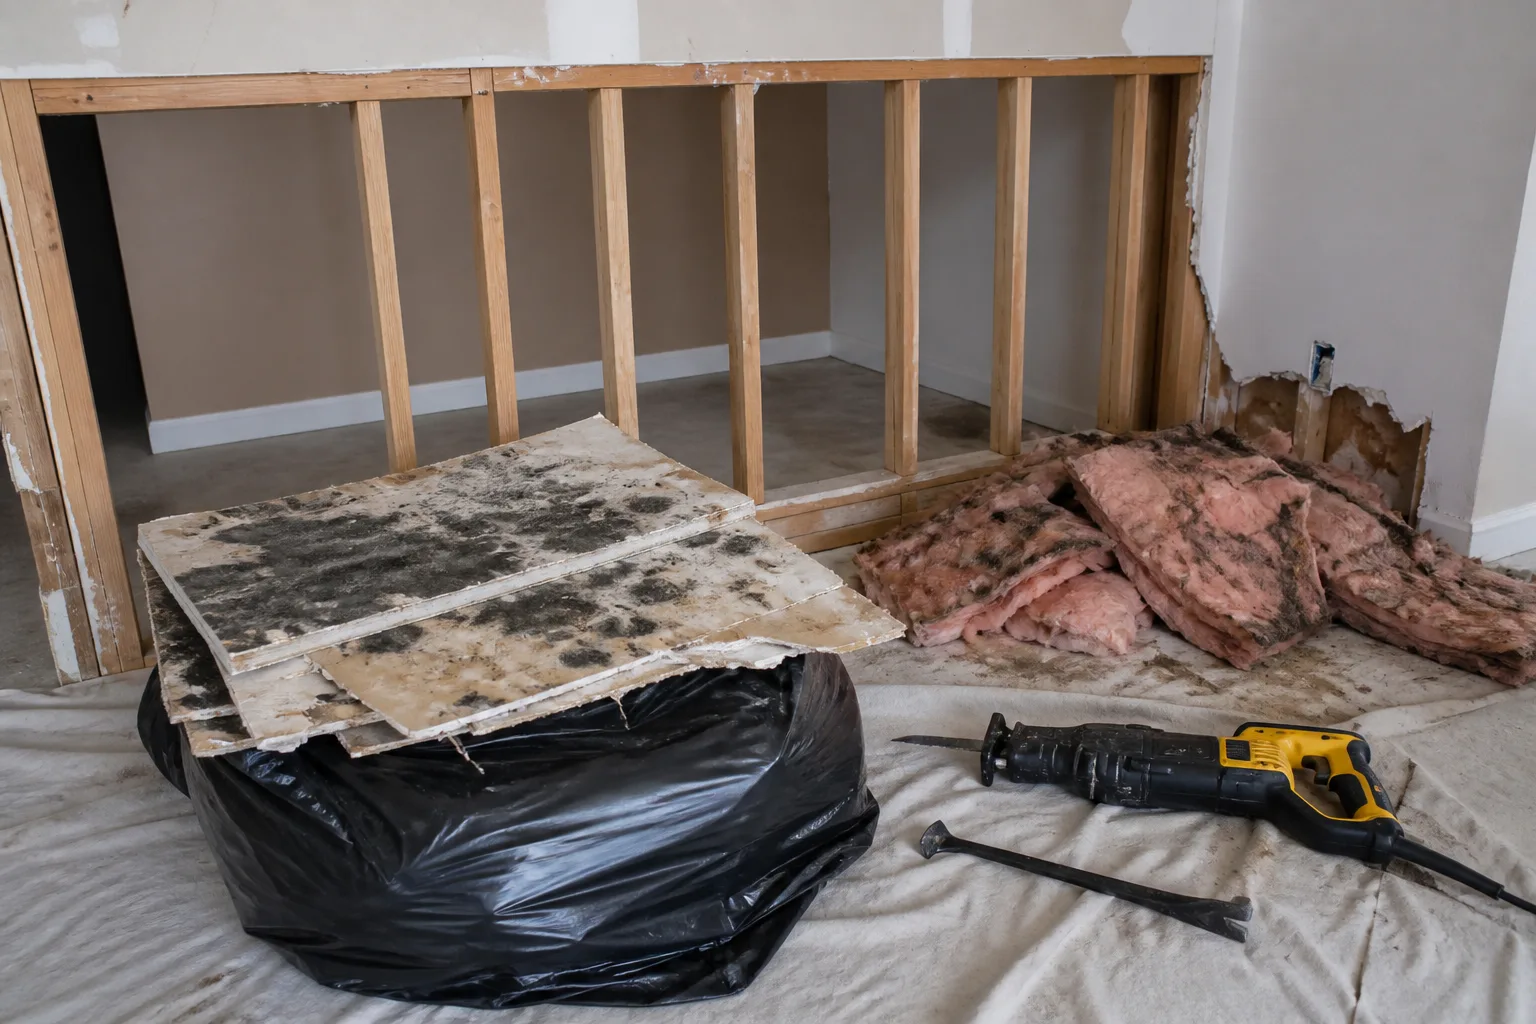
Drywall paper, ceiling tiles, insulation, carpet backing and padding, damp cardboard, and upholstered items can hold moisture and growth below the visible surface. If they are moldy or stayed wet, surface spraying and scrubbing may not clean them fully. Remove and discard affected porous items when appropriate, bagging material that cannot be cleaned so it does not shed dust through the house. Dry, unaffected belongings separately and inspect them before returning them to the basement.
Do not cut open walls or pull out large areas of insulation as a casual weekend project. Before disturbing a wall, consider concealed wiring, plumbing, lead paint, asbestos-containing materials in older construction, and the chance that the visible patch understates the damage. A professional can contain the work, remove damaged material, dry the framing, and document that the moisture source is corrected. For wall-cavity decisions and repair limits, see the related guide on removing mold from inside walls.
Choose cleaners carefully: bleach, vinegar, and sealers
Mold removal is a physical cleaning and material-removal job, not a contest to find the strongest chemical. The CDC says bleach or dish detergent can be used in some home cleanups and warns never to mix bleach with ammonia or any other cleanser. Health Canada takes a more conservative position and advises against using bleach for mold cleanup, recommending unscented soap for washable surfaces. For a small routine patch, detergent and water are the sensible first choice; follow any product label exactly if a specific cleaner is needed.
Vinegar, peroxide, fragranced sprays, and “mold-killing” products do not fix leaks or make moldy drywall salvageable. Never combine products, and do not apply a cleaner to a surface unless its label says it is suitable for that material. In particular, spraying more liquid onto absorbent wallboard can add moisture and spread a stain without reaching the back of the material.
Paint, caulk, or an encapsulating coating does not remove active growth or dry a wet wall. Health Canada warns that painting over a moldy surface only hides it temporarily; the growth can return beneath the coating. Refinish only after contaminated material has been dealt with, the substrate is sound and dry, and the moisture source has been repaired.
Dry the basement and verify the repair
Remove standing water only when the area is electrically safe and the water is not sewage-contaminated. Dry wet materials promptly; Health Canada notes that mold can begin growing in an excessively moist area within 48 hours. Move wet contents away from walls, discard items that cannot be cleaned, and use a dehumidifier with a safe drain or a regularly emptied tank. A fan can speed drying after contaminated material is removed, provided it does not push dust or spores toward clean rooms.
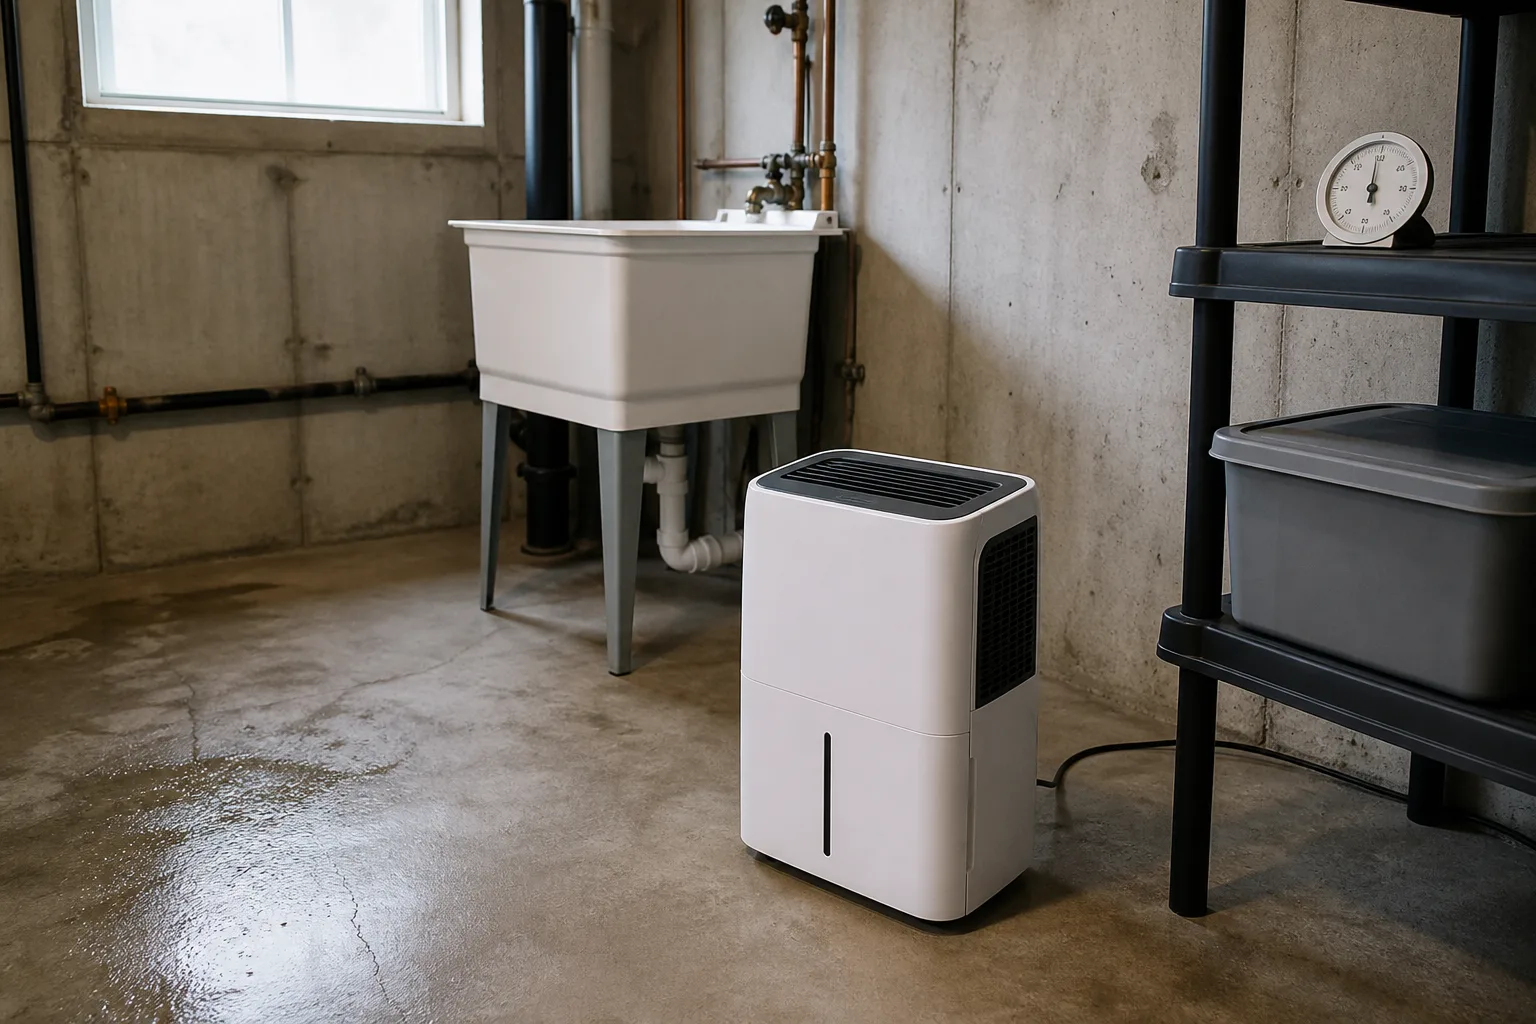
Use a hygrometer rather than guessing. Health Canada recommends maintaining indoor relative humidity between 30% and 50% and using a dehumidifier in damp areas such as basements when humidity is above 50% or condensation appears. A reading below 60% may be a useful upper guardrail in some guidance, but a cooler basement surface can still collect condensation even when the room average looks acceptable. Keep the dehumidifier’s filter and drain clear and check that it continues to collect water as expected.
The repair is not verified just because the stain is lighter or a cleaner has dried. The area should remain dry, sound, and free of new growth; the original leak should be repaired; and the musty odor should not return. Recheck the location after the next heavy rain and during the next humid spell. If staining, odor, or dampness returns, reassess the source rather than repainting.
Prevent basement mold from returning
Start outdoors because a basement’s moisture often begins at the foundation. Keep gutters clear and downspouts discharging away from the house, maintain soil that slopes away from the foundation, and keep window wells and drains clear. Have persistent seepage, wall cracks, or repeated puddling assessed; an interior coating cannot compensate for water that keeps pushing through a wall or slab.
Inside, repair plumbing leaks quickly, insulate cold-water pipes that sweat, and confirm the dryer vents outdoors. Keep stored belongings off the floor and a little away from exterior walls so you can spot dampness and air can move around them. Replace wet cardboard boxes with washable plastic bins, but do not use sealed bins to hide an active leak or musty odor.
Track basement humidity with a small hygrometer and run a correctly sized dehumidifier when readings stay above the target range or condensation forms. Empty the reservoir or use a properly routed drain, and check the unit during humid weather rather than assuming it is working. Ventilate only when outside air will help; on a hot, humid day, opening basement windows may bring in more moisture instead of drying the room.
A short monthly check is more useful than waiting for a smell. Look under stored items, check the sump pump and dehumidifier drain, scan pipe joints and window wells, and take another look after major rain or a plumbing leak. Fixing the first damp spot and confirming it stays dry is the real prevention plan.
Conclusion
Identify basement mold by combining visible growth, musty odor, and moisture clues—not by a patch’s color or a bleach swab. Find and repair the water source before cleanup, and match the response to the material: a small patch on a hard surface may be manageable, while wet porous materials, hidden cavities, contaminated water, recurring growth, or larger areas call for qualified help.
Keep people at higher risk away from cleanup, use appropriate protection for any small job, and dry the basement until it stays dry. If the smell or dampness returns, the moisture problem is still active; investigate that cause before cleaning or painting again.