How to Remove Mold From Inside Walls
Learn how to remove mold from inside walls: spot hidden growth, decide DIY vs pro, contain the work area, strip drywall safely, treat framing, and stop moisture.
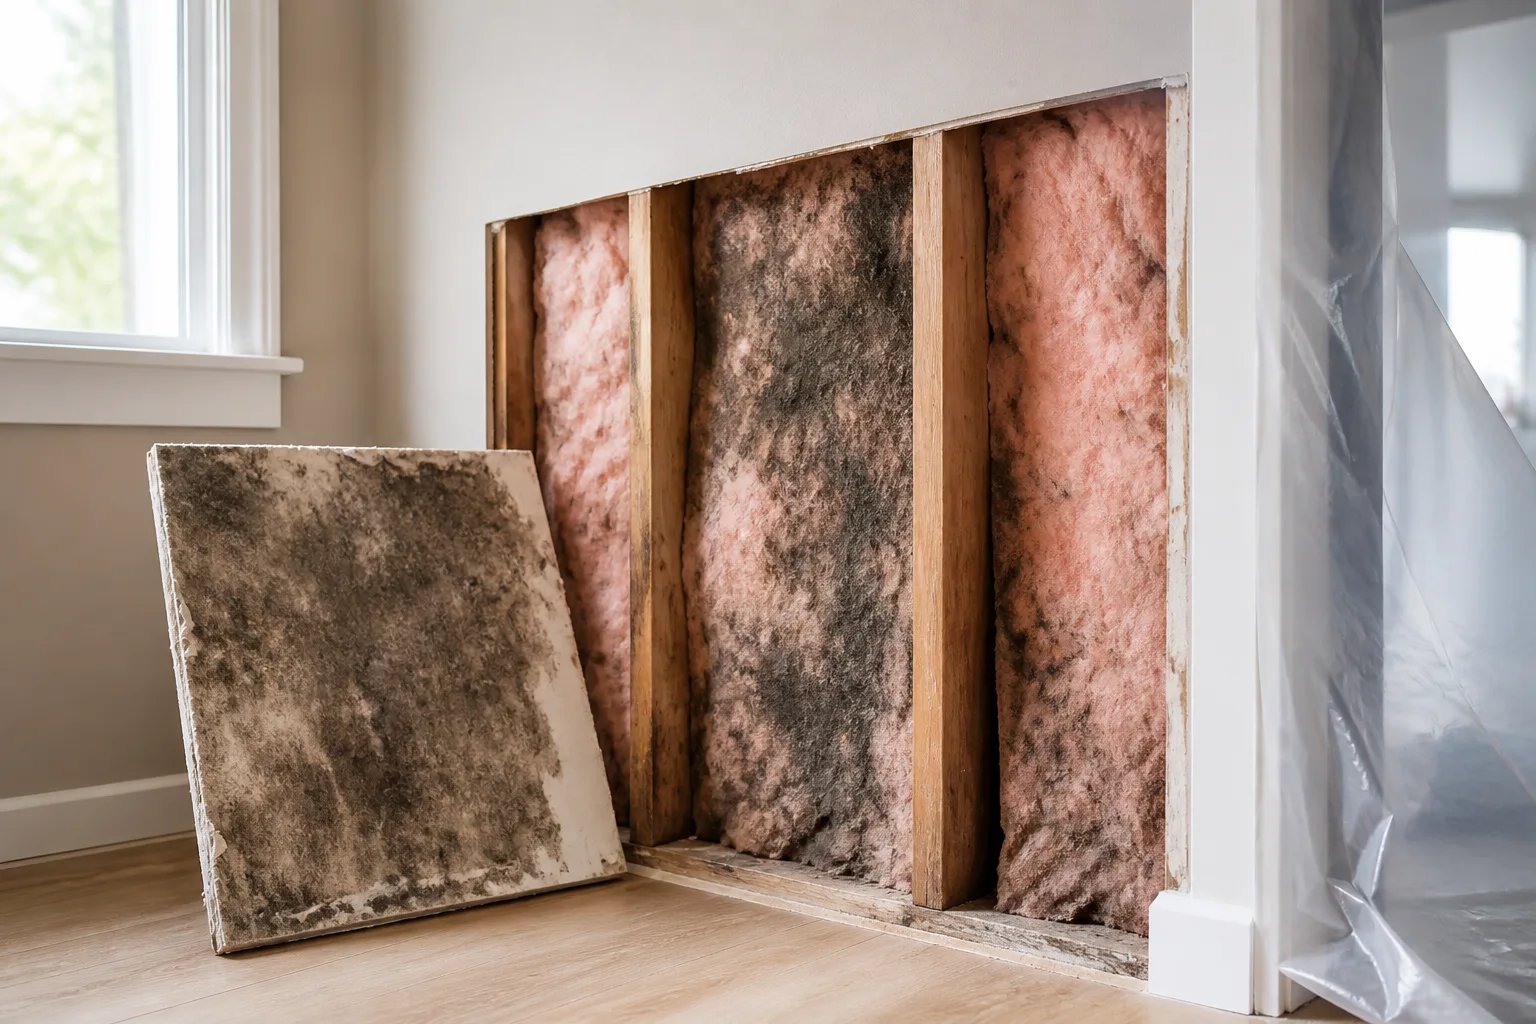
Mold inside a wall cavity is a moisture problem first and a cleaning problem second. You cannot scrub your way out of wet paper-faced drywall, moldy fiberglass batts, or framing that has been damp for weeks. The useful job is to confirm the growth is inside the wall, decide whether the scale is DIY-appropriate, contain the work, remove unsalvageable materials, dry and treat exposed structure, fix the water source, and rebuild with dry components.
That sequence sounds dramatic because it is. Opening a wall creates dust, spores, and days of exposed framing. Done carefully, though, it is the standard path for localized mold after a resolved leak. Done carelessly—by painting over spots, blowing fans at open cavities, or encapsulating wet studs—you can spread contamination and guarantee recurrence.
Quick Answer: Can You DIY Mold Inside Walls?
You can often handle small, accessible wall-cavity mold yourself when all of the following are true: the affected area is roughly 10 square feet or less of visible mold once the wall is opened; the water source is identified and repaired; no sewage or contaminated floodwater was involved; you can work with proper containment and PPE; and no one doing the work has asthma, immune suppression, or chronic lung disease that makes mold exposure high-risk.
If the patch is larger, the leak is still a mystery, HVAC ducts are involved, the wall sits in a home-sale inspection dispute, or occupants are medically vulnerable, stop and hire a licensed remediation contractor. The EPA’s mold cleanup guidance recommends professional help for mold areas larger than about 10 square feet. The CDC is clear on the core rule regardless of who does the work: remove the mold and fix the moisture problem. Species testing does not change that plan.
Warning Signs Mold Is Growing Inside Your Walls
Most wall-cavity mold stays hidden until odor, texture, or finish failure gives it away. Surface cleaning will not help if the colony lives on the back of drywall paper, inside insulation, or on studs.
Musty Odor, Soft Drywall, and Water Stains
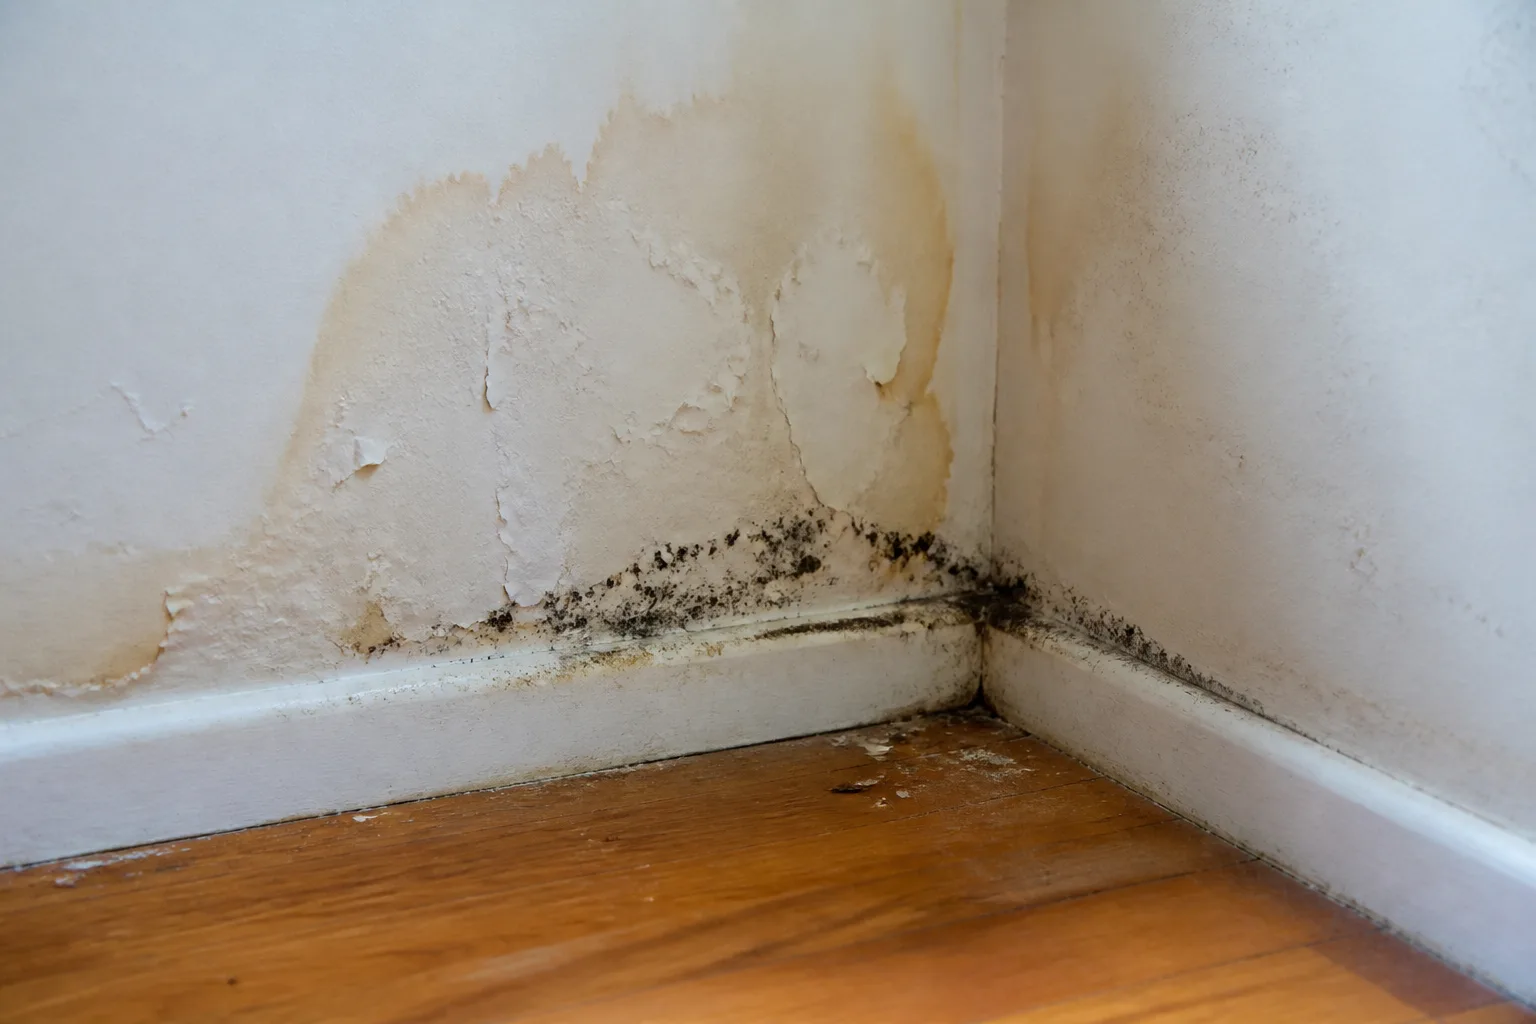
A persistent musty smell near a wall—often compared to wet cardboard or a damp basement—without an obvious spill in the room is a major clue. Dark or yellow-brown water stains, bubbling paint, peeling wallpaper, or drywall that feels soft, crumbly, or indented under light pressure usually means the cavity behind it has been wet. The CDC notes that mold grows on paper, wood, drywall, insulation, and dust when moisture is present; materials that stay damp can support growth within 24 to 48 hours.
Surface Spots That Keep Coming Back
Patchy black, green, gray, or white spots on baseboards, corners, or wall faces can be the tip of a deeper problem. If you wipe the surface and the spot returns within days, or if multiple rooms along an exterior wall smell musty, assume cavity mold until an inspection proves otherwise. For help telling surface habit from penetration, see our guide on identifying mold vs. mildew.
Why Mold Inside Walls Is Different From Bathroom Mildew
Mildew on shower grout is usually a surface film on a hard, cleanable material. Mold inside walls colonizes porous layers: paper-faced gypsum, fiberglass or cellulose insulation, dust on framing, and sometimes the back of siding. Hyphae penetrate those materials, so wiping the room-side face leaves the colony intact.
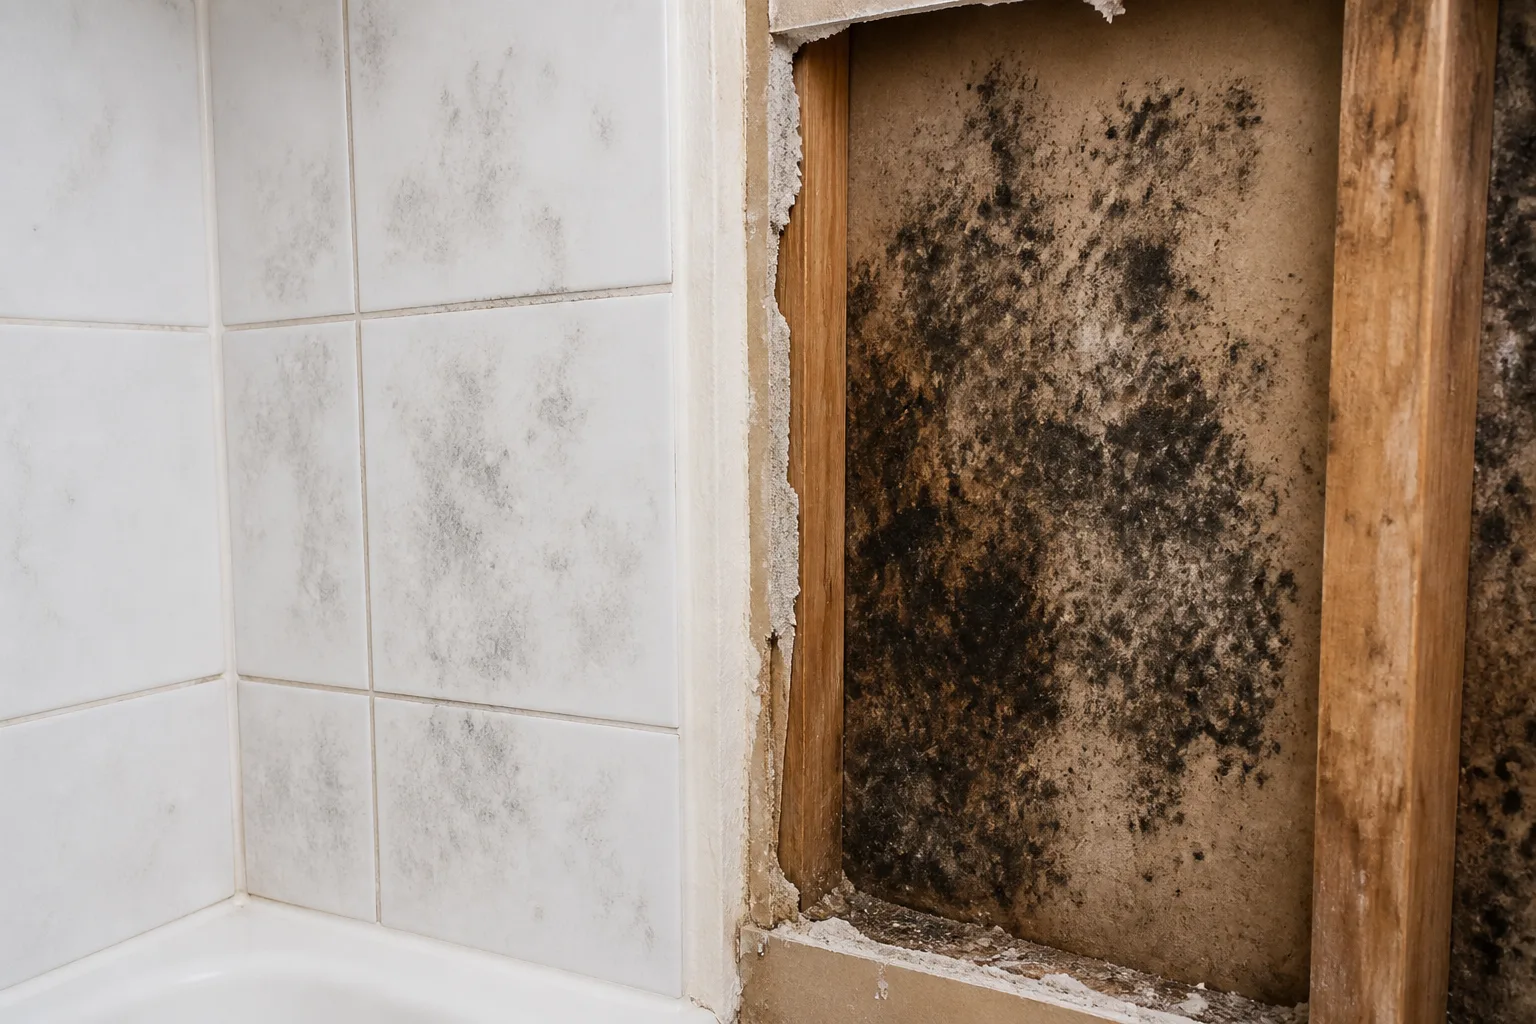
Health risk varies by person, not by color. The CDC lists common indoor molds such as Cladosporium, Penicillium, and Aspergillus, and states you do not need to identify the species before cleanup. People with asthma, mold allergy, or immune compromise may react strongly; others may notice little. Either way, hidden growth can keep releasing spores while the wall looks merely stained.
Small-surface bathroom mold is a different job—often manageable with ventilation and a targeted cleaner as described in our DIY mold remover guide. Wall-cavity mold requires demolition, disposal, drying, and rebuild.
Before You Cut: Decide DIY vs Professional Help
Opening drywall is a point of no return. Make the hire-or-DIY call before you cut a large area.
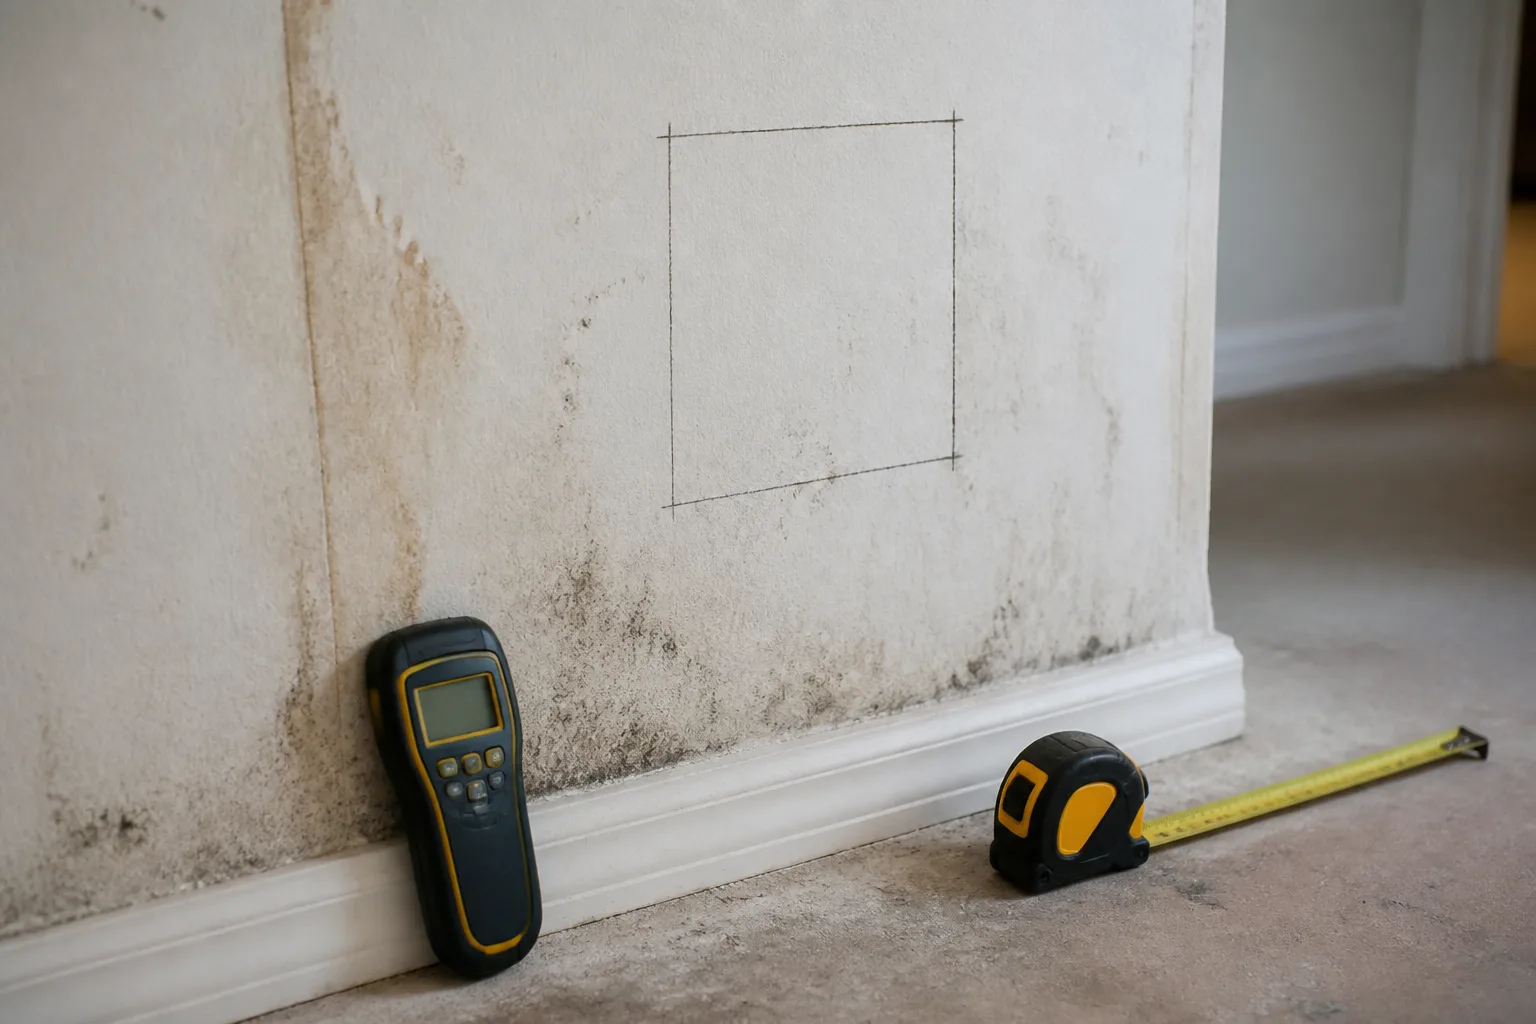
The 10-Square-Foot Rule and Hidden Spread
The widely cited ~10 square feet threshold comes from EPA cleanup guidance for homeowners: patches larger than that are usually better handled by professionals with containment, negative air, and experience estimating hidden spread. Remember that square footage is judged after you open the wall, not by the size of a surface spot. A six-inch ceiling stain can expand into several feet of moldy drywall and wet insulation once you investigate.
Also count adjacent cavities. Mold travels along bottom plates, through shared studs, and into ceiling bays fed by the same leak. If you find mold on one side of a plumbing chase, inspect the other side before you close anything up.
Renters, Home Sales, and Unknown Leaks
Renters should document stains and odor, notify the landlord in writing, and avoid large destructive repairs without permission. Opening walls without approval can create liability even when mold is present.
Home sellers should know that buyers and inspectors often want professional remediation with documentation. DIY work without an invoice can stall a sale if a follow-up inspection finds remaining moisture or growth.
If you cannot find the moisture source, hire a plumber, roofer, or building inspector before demolition. Removing mold without stopping water is expensive theater.
How to Confirm Mold Inside a Wall Cavity
You need evidence, not guesswork. Start non-destructive, then use a small inspection opening if signs persist.
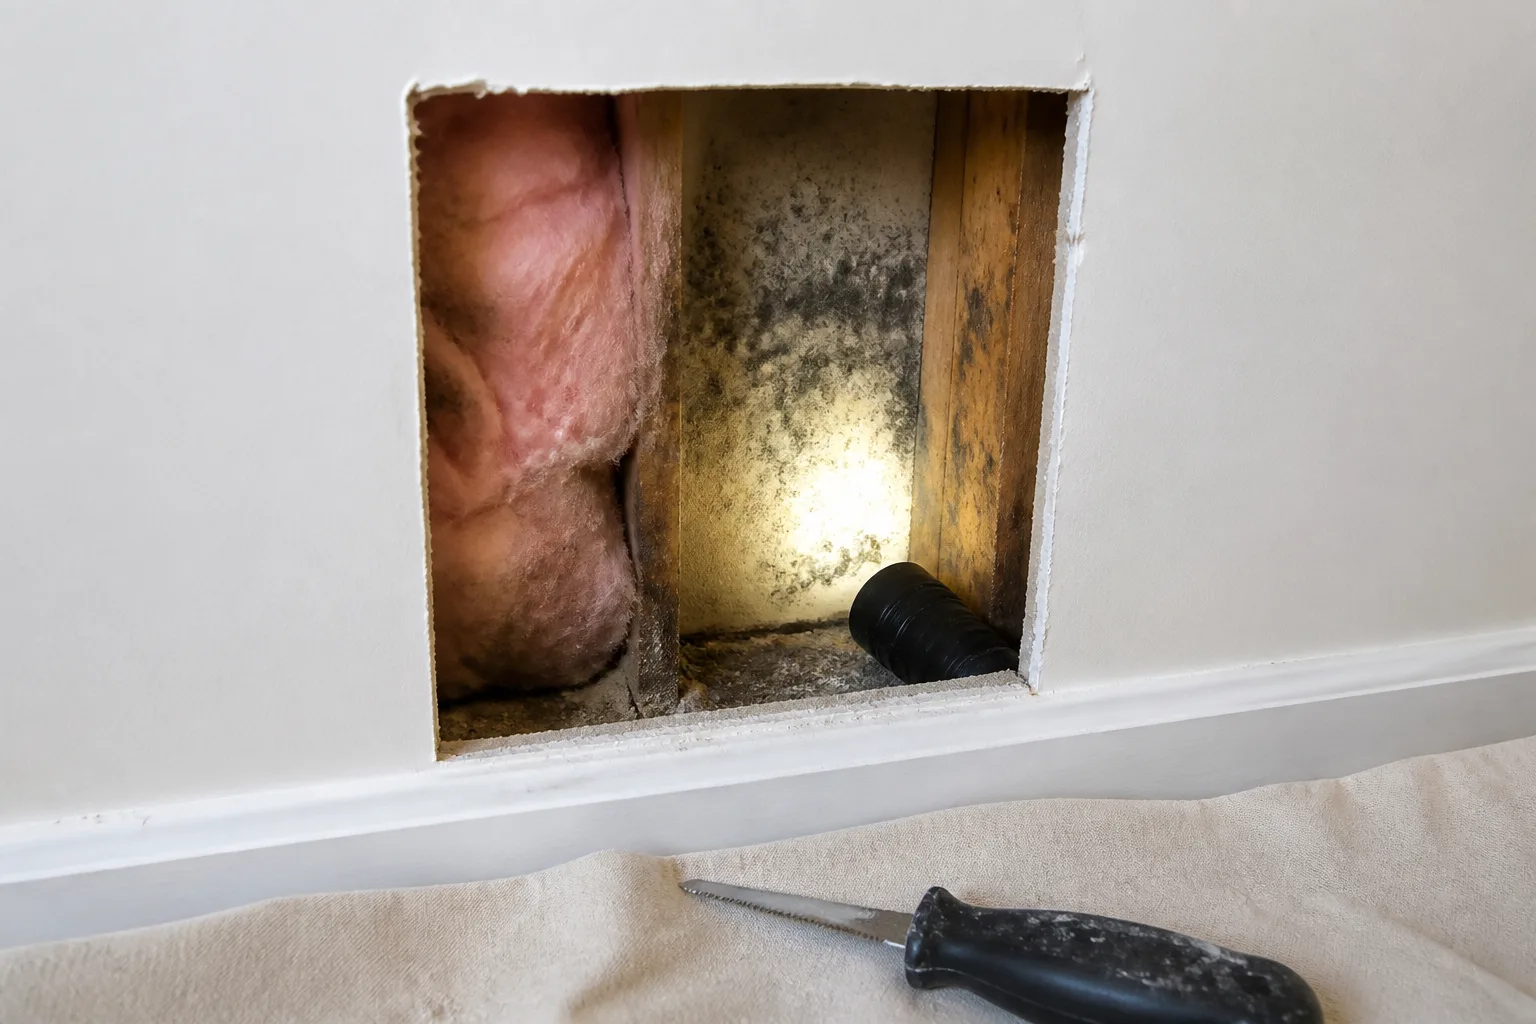
Non-Destructive Checks First
Walk the room with a moisture meter on drywall surfaces, focusing on stains, corners, and walls below windows or bathrooms. Elevated readings compared to a dry reference wall suggest active or recent wetting. Check baseboards and outlet covers for swelling. Sniff along seams—odor often concentrates low on the wall where cool air meets damp framing.
The CDC does not recommend routine mold testing for homeowners: sampling is expensive, standards vary, and results rarely change the action plan. A home mold test kit cannot tell you how deep a wall cavity is affected. Use testing for disputes or medical investigations, not to decide whether a musty, soft wall deserves repair.
The Inspection Cutout Method
When signs point to a specific bay but you need confirmation:
- Shut off power to circuits that may run through that wall at the service panel.
- Mark a 6-inch by 6-inch square centered on the worst stain or odor zone.
- Cut along the outline with a drywall jab saw, staying shallow until you know what is behind the board.
- Remove the plug and inspect the back of the drywall, stud face, and insulation.
- If no insulation is present, use a mirror and flashlight to view the cavity depth.
If the back of the paper is fuzzy, insulation is discolored, or studs show spotty growth, plan a controlled removal back to clean, dry materials—not a patch over the hole.
Safety Gear, Containment, and Debris Handling
Wall opening releases spores. Treat the room as a dusty work site, not a quick wipe-down.
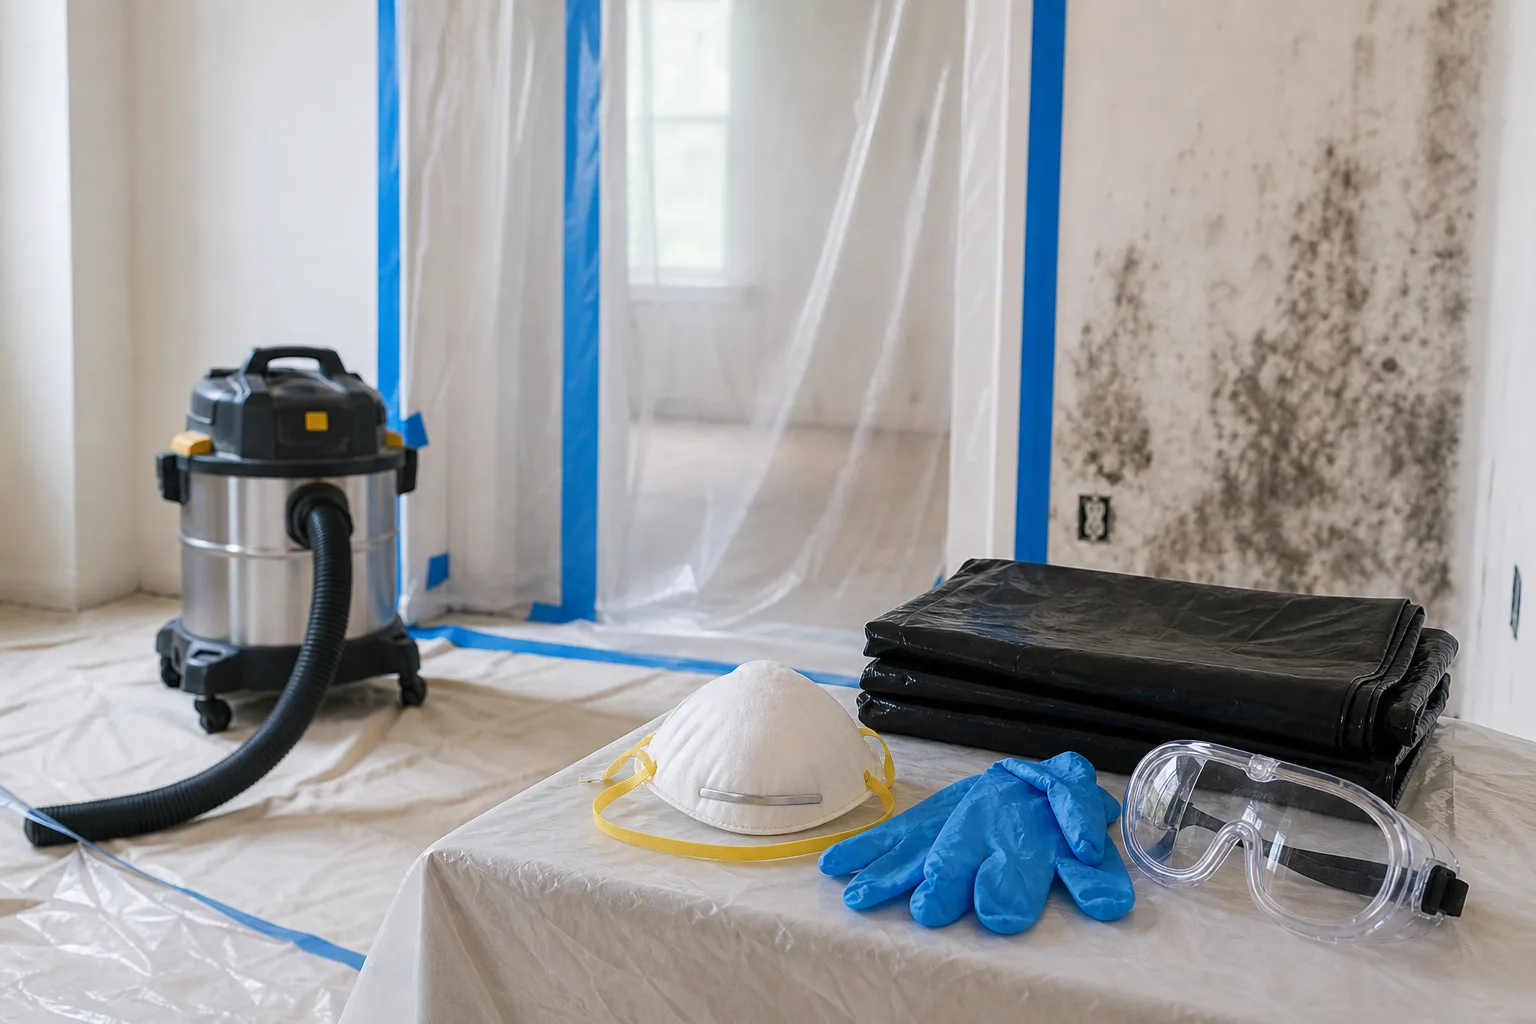
The CDC mold cleanup page recommends:
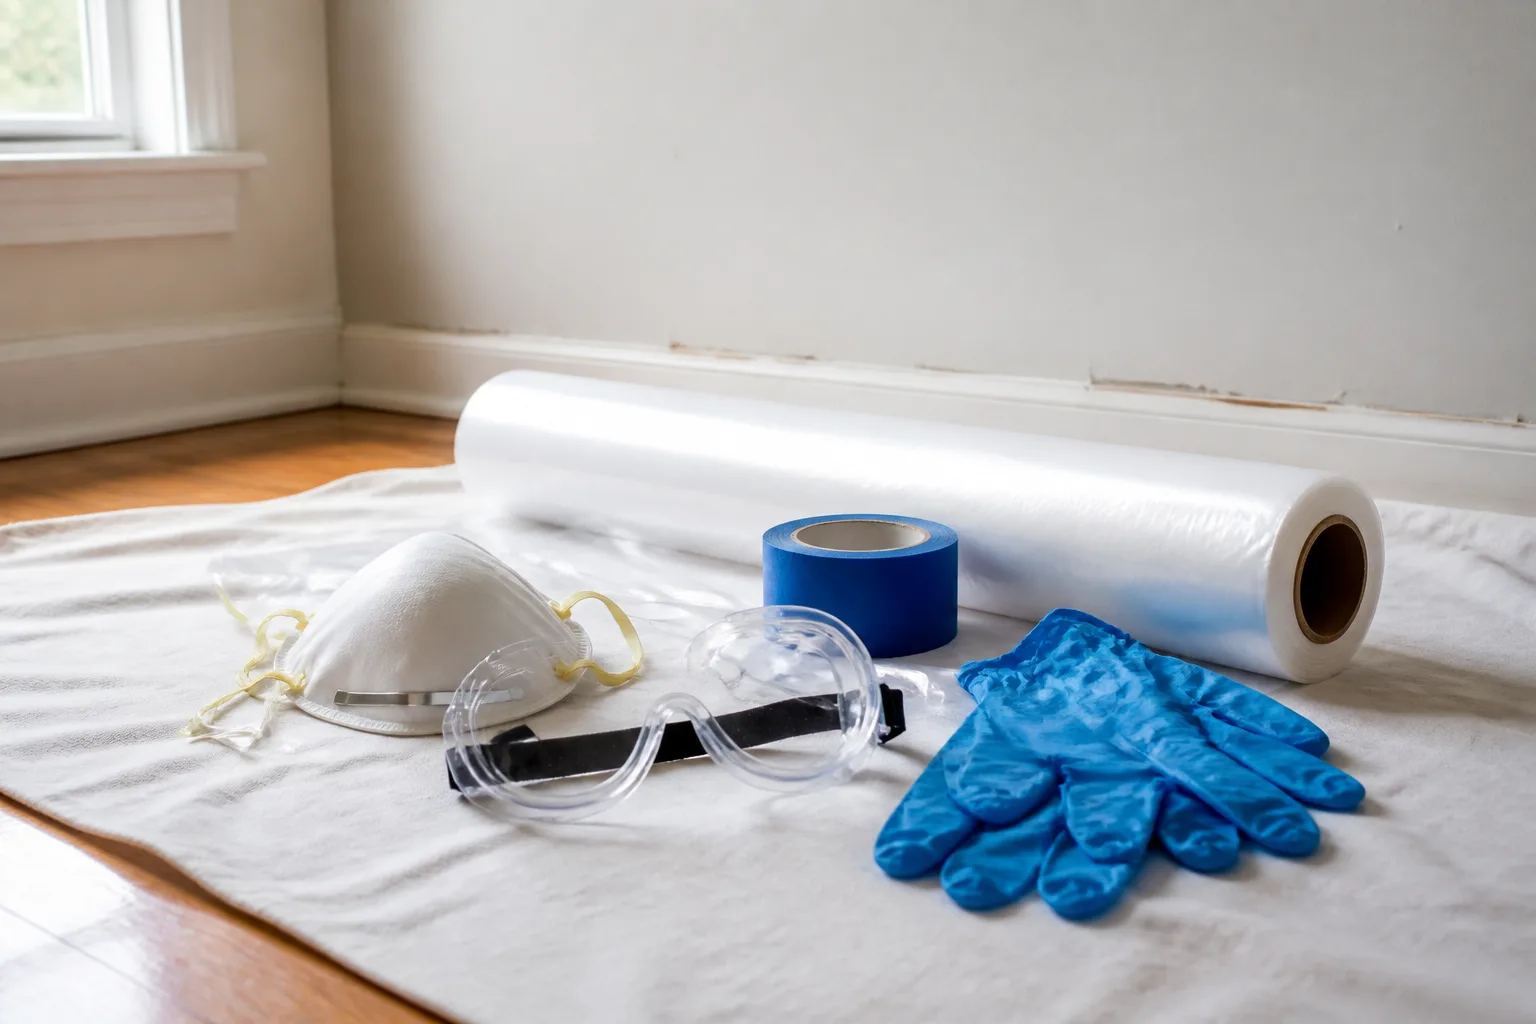
- Respiratory protection: at least a NIOSH-approved N95; use a half- or full-face respirator if you will spend extended time removing drywall or insulation.
- Skin protection: non-latex gloves (nitrile, vinyl, or rubber).
- Eye protection: goggles that seal against dust—not vented safety glasses.
Wear disposable coveralls or old clothing you wash separately. Seal the doorway with plastic sheeting and tape. Cover the floor in front of the wall. Do not run a household fan across open moldy cavities; it can spread particles to clean rooms. A HEPA-filtered shop vacuum helps on exposed framing after bulk removal, not as a substitute for bagging wet drywall.
Double-bag moldy drywall and insulation in contractor cleanup bags. Carry bags directly outdoors when possible instead of dragging them through living areas. Check local rules for moldy construction debris; some municipalities require transfer-station drop-off rather than curbside trash.
People with allergies, asthma, COPD, or immune suppression should not participate in cleanup, per CDC guidance. If they live in the home, consider temporary relocation while walls are open and wet.
Step 1: Shut Off Power and Stop Active Water
Before expanding the opening:
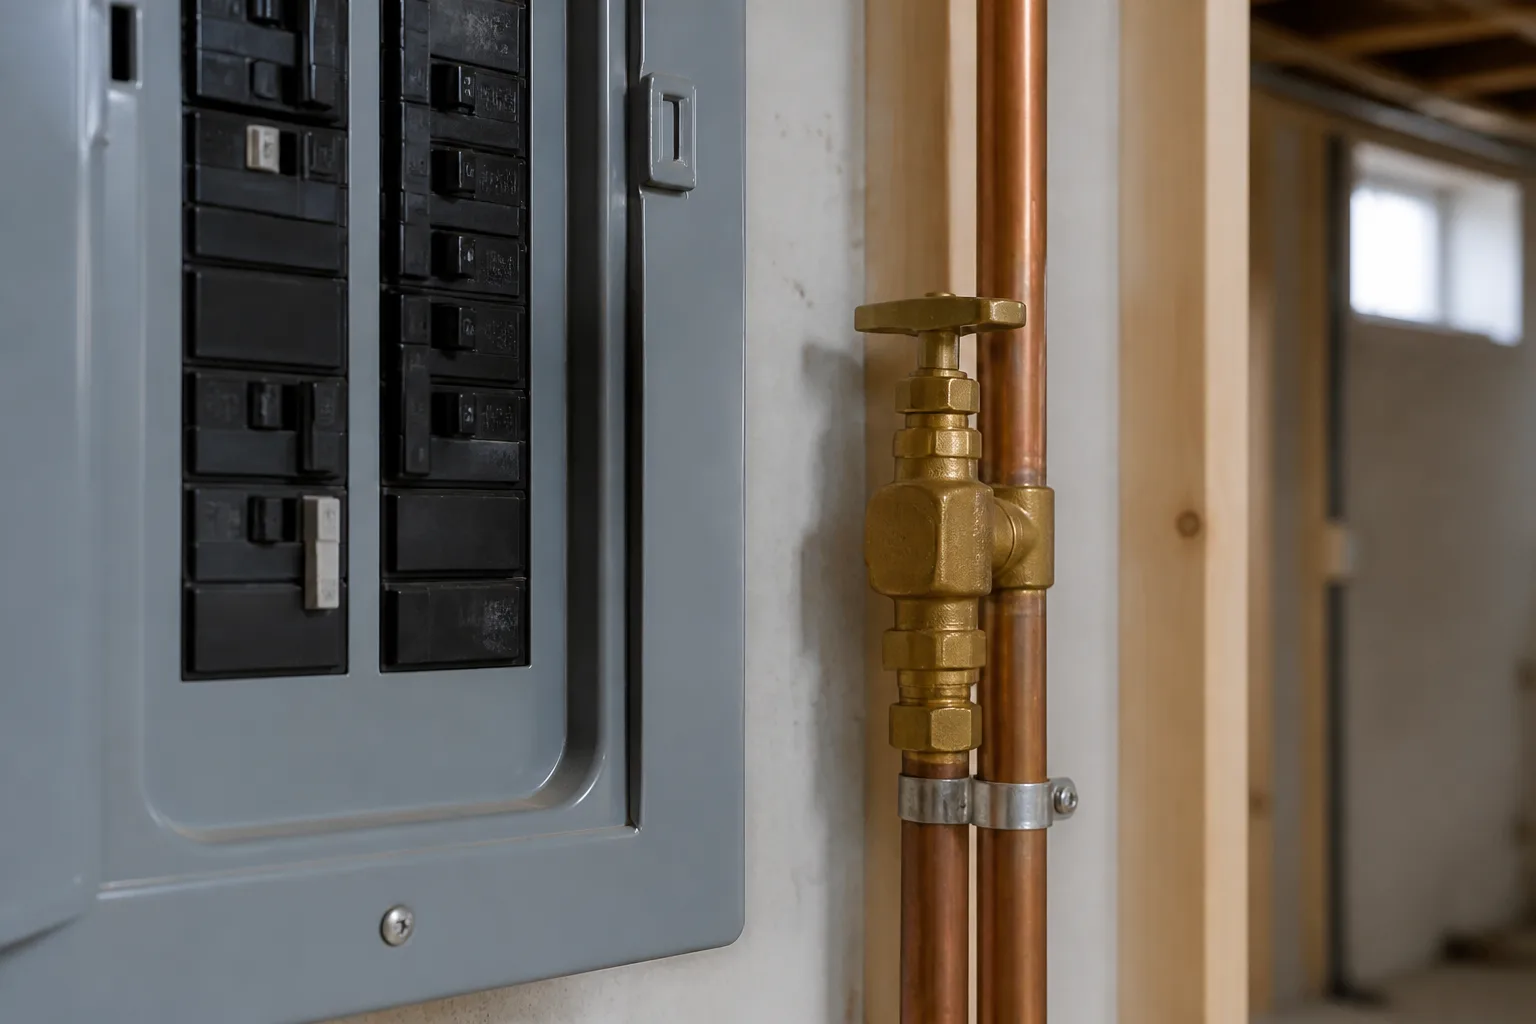
- De-energize circuits in the work zone. Assume wires run through studs even when you cannot see them.
- Shut off water if plumbing lines pass through the wall.
- Repair active leaks or schedule that repair before rebuild. A new drywall skin over an old drip is a timer, not a fix.
Photograph damage for insurance if a covered event caused the leak. Note dates, visible extent, and contractor invoices.
Step 2: Remove Moldy Drywall and Insulation
Work stud bay to stud bay:
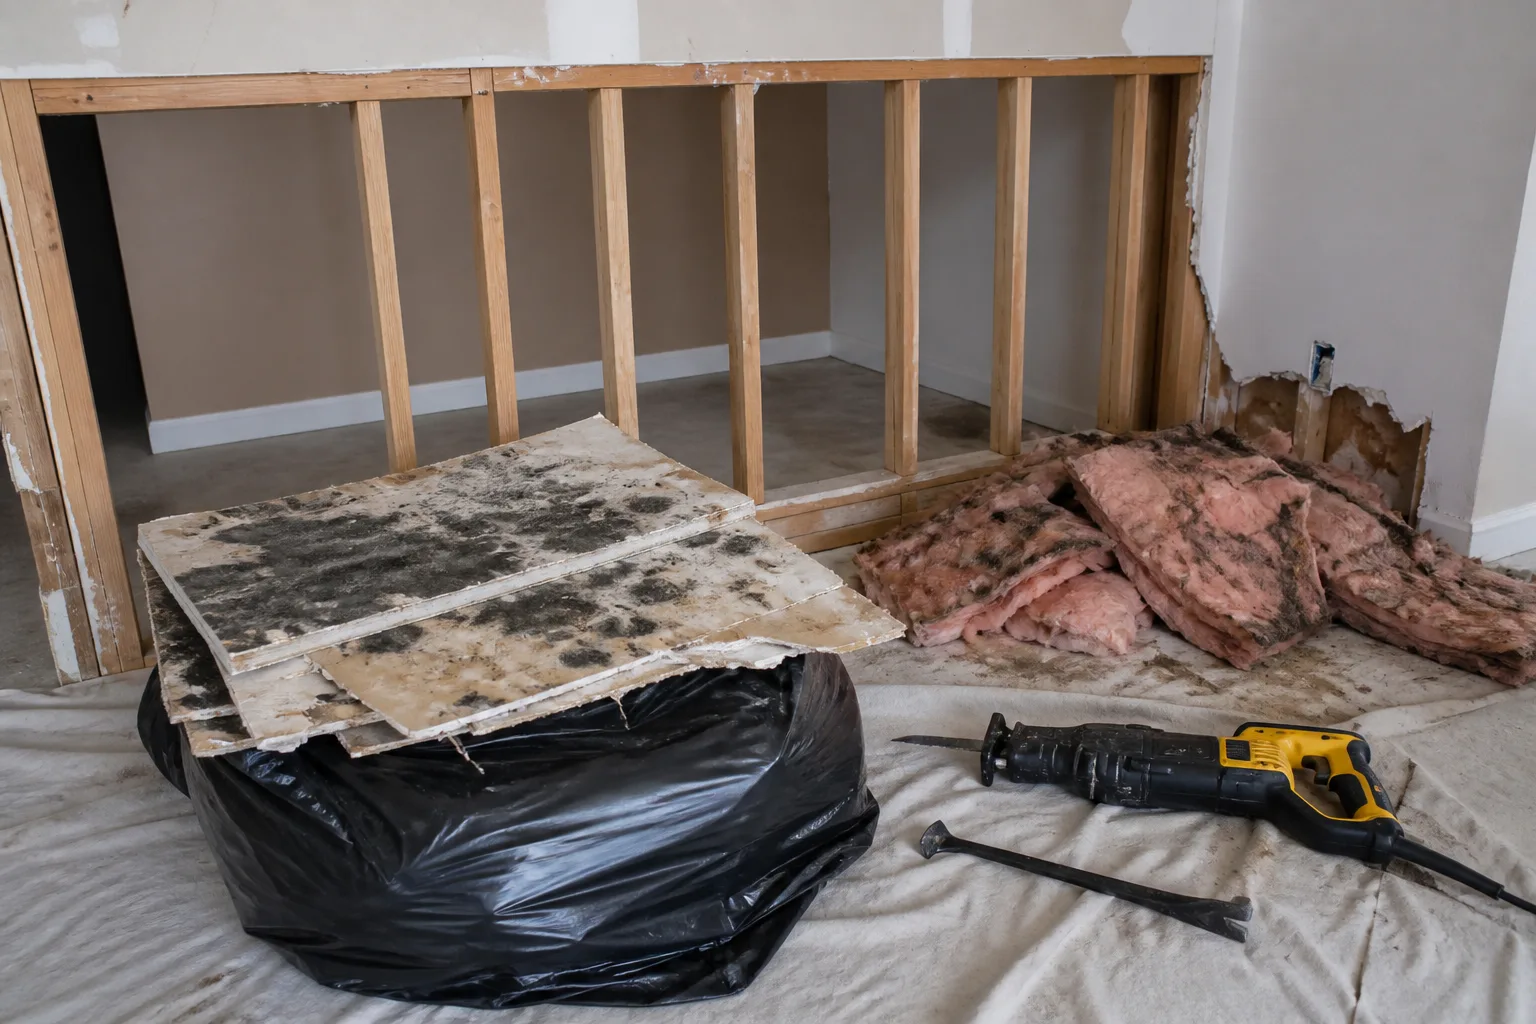
- Mark stud locations with a stud finder and extend removal at least 12 to 24 inches past visible mold into dry, firm drywall. Feathering too close to colonies leaves hyphae behind.
- Pry or cut soft, discolored board in manageable pieces. Bag each piece immediately.
- Pull fiberglass or cellulose insulation that shows spotting, matting, or odor. Mold on insulation almost always means affected drywall and studs nearby.
- Inspect plates, headers, and sheathing with a bright work light.
Do not salvage moldy drywall or insulation for reuse. Porous materials that have been colonized belong in the bag, not in a garage stack.
Leave the cavity open until wood moisture readings stabilize and surfaces are visibly dry—often several days with gentle airflow and dehumidification, longer after major soaking.
Step 3: Dry, HEPA-Vacuum, and Treat Exposed Framing
Once bulk debris is out:
- Dry studs, plates, and sheathing until moisture meters read near normal for your climate. Target indoor relative humidity below 50% during drying, as the CDC recommends for prevention.
- HEPA-vacuum exposed framing, sill plates, and cavity floors to pick up dust, loose spores, and debris. Avoid aggressive sanding that aerosolizes growth.
- Clean sound wood with detergent and water on a disposable cloth, or follow label directions on a product registered for the surface. Fully dry again before coating.
Biocide, Detergent, or Dry-Out-Only Methods
Bleach is widely misunderstood for wall cavities. The CDC allows no more than 1 cup of household laundry bleach in 1 gallon of water on some hard, non-porous surfaces—but bleach does not reliably penetrate wood or drywall paper, and it is not a substitute for removing wet porous materials. Never mix bleach with ammonia or other cleaners.
The EPA notes that biocides are permitted but not always recommended; drying and removing moldy materials are the core strategies. Some contractors use fungicidal encapsulants on sound framing after cleaning. Encapsulants seal remaining staining; they do not replace drying or remove heavily damaged lumber. Do not encapsulate wet wood or rely on paint labeled only as interior latex.
If you prefer minimal chemicals, extended drying, HEPA vacuuming, and removal of unsound wood can suffice on framing that is structurally sound and fully dry—just allow enough open time for moisture to leave the cavity.
Step 4: Encapsulate Framing and Rebuild the Wall
After framing is clean and dry:
- Apply a fungicidal encapsulant per manufacturer directions if you are using one—typically two coats on bare wood. Ordinary house paint is not a mold treatment.
- Install new insulation appropriate to the wall type. Avoid standard fiberglass batts on below-grade exterior walls prone to condensation; closed-cell foam or rigid foam strategies may fit better in damp basements.
- Hang new drywall, tape, mud, sand, prime, and paint. Consider mold-resistant drywall in bathrooms, basements, and other high-humidity zones.
- Reinstall trim and seal penetrations.
Run exhaust fans to the exterior in bathrooms and kitchens. Confirm clothes dryers vent outside. These details matter as much as the biocide brand.
Find and Fix the Moisture Source
Removal without source control guarantees repeat growth. Work through the common causes:
| Symptom pattern | Likely moisture source | First fix to try |
|---|---|---|
| Stain below a window | Failed flashing, caulking, or sill pan | Exterior seal and drainage check |
| Patch near tub or shower | Grout, valve, or drain leak | Plumbing repair and surround waterproofing |
| Horizontal line on lower wall | Groundwater, siding, or foundation seepage | Grade, gutters, downspout extensions |
| Ceiling stain | Roof leak, ice dam, or upstairs plumbing | Roof or pipe repair above |
| Whole-room mustiness | Humidity above ~50%, poor ventilation | Dehumidifier, bath fan use, HVAC service |
Fix the leak, dry the structure, then rebuild. If odor persists with no visible leak, consider infrared moisture mapping or a professional inspection before closing the wall.
What Not to Do When Mold Is Inside Walls
- Do not paint or caulk over moldy drywall hoping to seal it in. Coating fails as paper and paint lift.
- Do not leave wet insulation in place because it “looks fine from the front.”
- Do not use a regular vacuum without HEPA filtration on moldy debris.
- Do not blow central HVAC through an open mold cavity; isolate registers if ducts are nearby.
- Do not assume black color means toxic species requiring special rituals. Treat all wall-cavity mold as a moisture and removal problem.
- Do not skip PPE because the patch “looks small.”
When to Hire a Mold Remediation Professional
Call a pro when:
- Visible mold exceeds ~10 square feet once walls are opened, or you suspect hidden multi-room spread.
- Water came from sewage, flooding, or long-term saturation of carpet, pad, or multiple wall layers.
- HVAC systems may be contaminated.
- You smell mold but cannot locate the source.
- Medical vulnerability makes any exposure unacceptable.
- A real estate transaction requires documented remediation.
- You need the job finished in days, not weeks, during cold weather when open walls stress heating systems.
Professionals bring contained demolition, commercial drying, and paperwork insurers and buyers recognize. That costs more than DIY—but less than a failed sale or second demolition.
Preventing Mold From Returning Inside Walls
After rebuild:
- Keep indoor humidity at or below 50% with ventilation, exhaust fans, and dehumidifiers where needed.
- Dry wet materials within 24–48 hours after any future leak.
- Inspect roof penetrations, window seals, and plumbing fixtures seasonally.
- Use mold inhibitors in paint in humid rooms if compatible with your finish schedule.
- Avoid storing damp items against exterior walls.
If mold appears on fabrics after a leak, follow separate laundry and upholstery steps in our guide on removing mold from clothes and upholstery. Wall work does not automatically clean soft goods in the same room.
Conclusion
Removing mold from inside walls means opening the cavity, throwing away porous moldy materials, drying and cleaning sound framing, fixing the leak, and rebuilding dry. Small, dry, post-leak colonies within roughly 10 square feet are often DIY-able with N95 protection, plastic containment, and disciplined debris handling. Larger areas, mystery moisture, medically sensitive occupants, or home-sale scrutiny call for professional remediation.
The lasting win is not which bottle you sprayed—it is whether the wall stays dry. Get moisture under control, rebuild with dry components, and treat any return of musty odor as a new leak to solve, not a surface to bleach.



