How to Get Mildew Out of Clothes and Upholstery
Learn how to get mildew out of clothes and upholstery safely, with fabric-specific wash steps, stain and odor fixes, upholstery limits, and prevention tips.

Mildew on fabric is not just an ordinary stain. The first job is to contain the item and keep loose growth from spreading through the room; the second is to decide whether the material can tolerate cleaning; only then should you choose a laundry product or upholstery method.
For a small patch on sound, washable fabric, the reliable sequence is to move the item outdoors, brush away loose residue, pretreat with detergent, wash at the warmest care-label-approved setting, use one compatible treatment, inspect before heat, and dry completely. Upholstery needs more restraint because liquid can carry growth into backing and cushion foam, where a surface spray cannot solve the problem.
Quick Answer: What Can You Save?
You can often save clothing when mildew is limited, the fabric is still strong, the item is washable, and it has not been soaked with sewage or heavily contaminated floodwater. Washing can remove growth, spores, and odor-causing residue, but it may not erase a dark stain or reverse fiber damage. A clean-looking garment that remains weak or strongly musty is not a successful restoration.
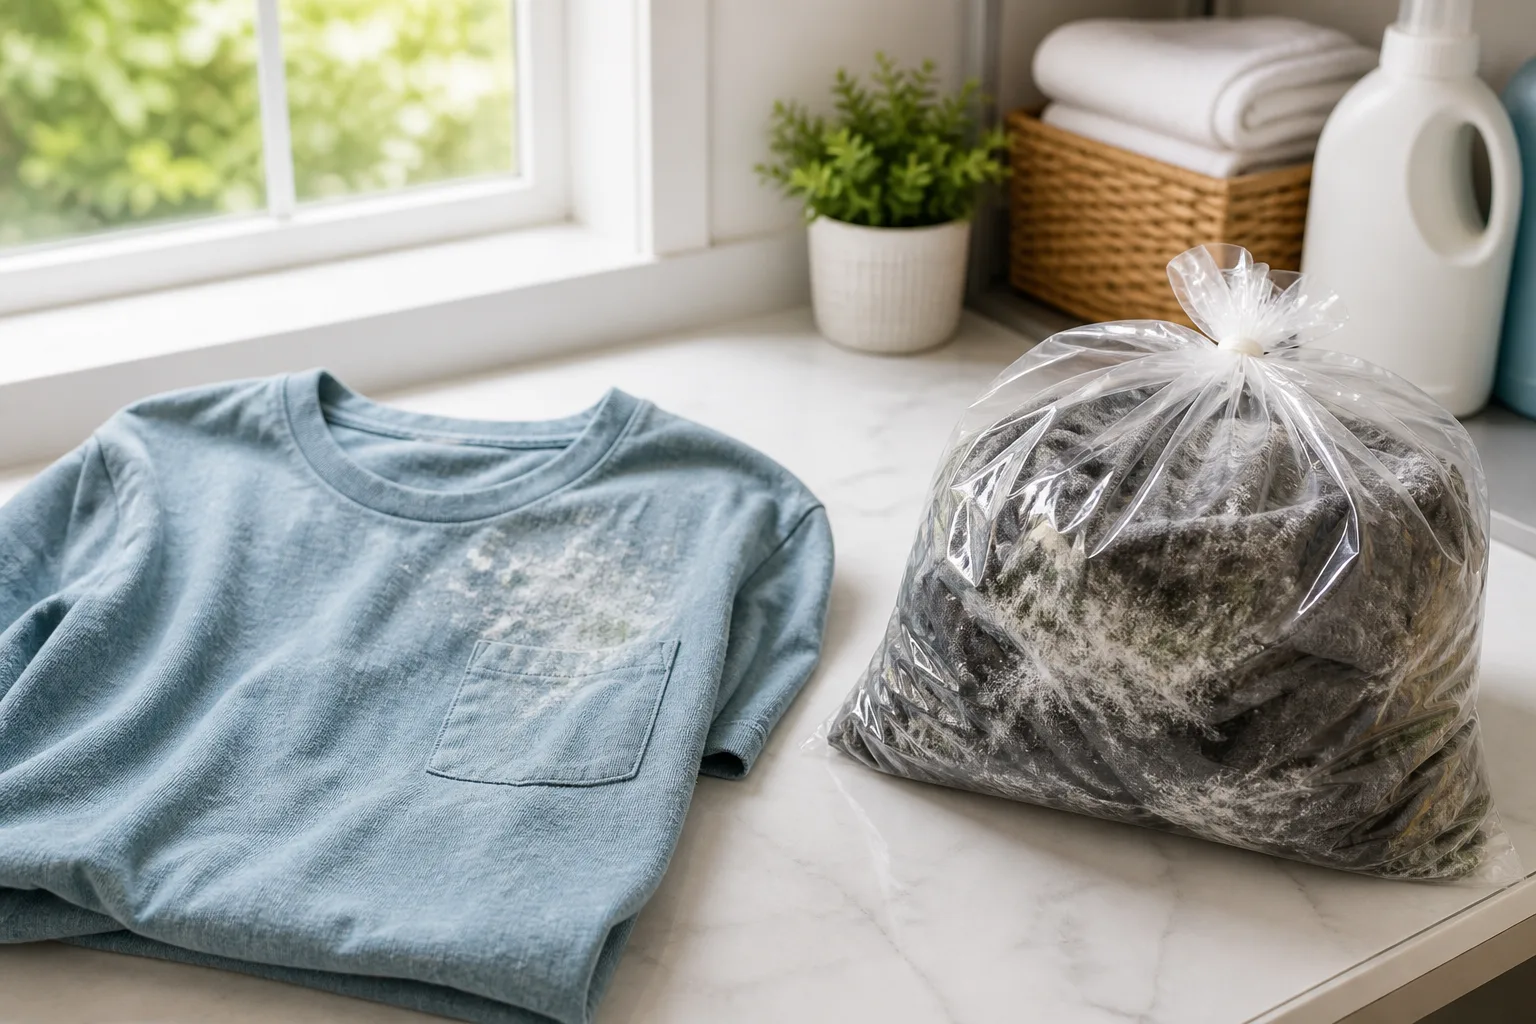
Small, superficial mildew on a removable upholstery cover may also be treatable if the manufacturer permits water-based cleaning and the cushion or padding is dry and sound. A stain that reaches the underside, seams, batting, or foam is a different problem. Do not saturate a sofa or chair to chase a spot you cannot see into.
It helps to separate three goals: cleaning removes residue and loose growth, stain treatment lightens discoloration that may remain after cleaning, and odor control addresses smell. One product may help with one goal without solving the other two. That is why repeating a stronger-smelling chemical is not a plan.
Check the Material, Condition, and Moisture Source
Read the care label, sewn-in upholstery tag, or manufacturer’s cleaning instructions before getting anything wet. For clothing, note the fiber, wash temperature, drying method, and bleach symbol. An empty bleach triangle is different from a triangle with two diagonal lines, and both are different from a crossed-out triangle. When the label is missing, assume the item is color-sensitive or delicate until a professional advises otherwise.
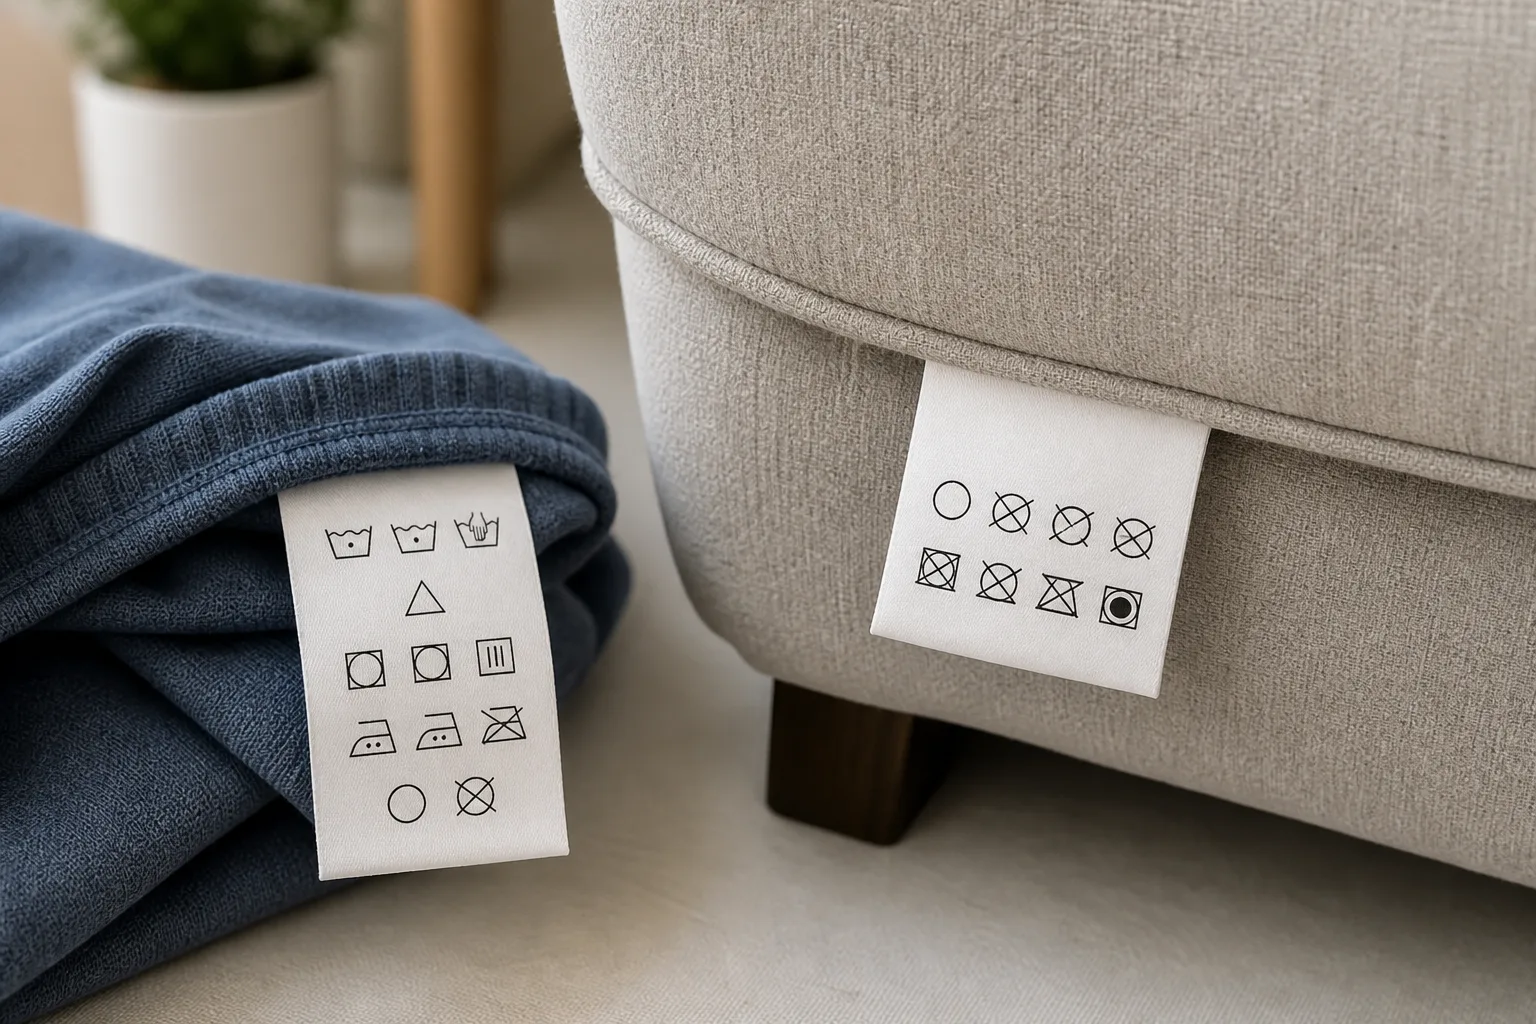
For furniture, look for the cleaning code and the care instructions under a cushion or on the frame. A code that permits only vacuuming or solvent cleaning is not permission to use a water-based spray. Even when water is allowed, test an inconspicuous area first and wait for it to dry before judging color change or a water ring.
Then inspect the problem itself. Is the growth a dusty surface patch on one side, or is it in seams, under the cushion, behind a skirt, or across the backing? Is the item merely damp from a humid closet, or did it sit in a leak? The answer determines whether a home treatment is sensible.
When to Discard an Item or Call a Professional
Discard or get professional advice when the fabric tears easily, sheds fibers, has widespread visible growth, or remains strongly musty after two complete clean-and-dry cycles. Also stop home treatment after sewage exposure, dirty floodwater, or a long period of saturation. Those conditions can introduce contamination that a normal laundry cycle or upholstery spot clean is not designed to handle.
Use a professional textile or upholstery cleaner for wool, silk, leather, structured tailoring, vintage pieces, heirlooms, wedding clothing, valuable rugs, and furniture with unknown finishes. Keep the item contained during transport and describe the moisture history honestly. A professional may be able to save a valuable textile, but no cleaning process can promise to restore a weakened fiber or deeply affected foam.
People with asthma, serious mold allergies, or weakened immune systems should not be the person disturbing visible growth. The CDC’s mold guidance and EPA’s mold-health information explain that mold exposure can trigger reactions in sensitive people. If cleanup reliably causes breathing or allergy symptoms, ask someone else to handle the item or hire help.
Set Up a Safe Work Area
Separate affected fabric from clean laundry, hampers, and furniture. Do not shake a moldy shirt over the floor or carry a dusty cushion through the house. Place clothing in a washable bin or a loosely closed bag until you can move it safely; do not leave damp fabric sealed for hours if it can be set in a protected, ventilated place instead.
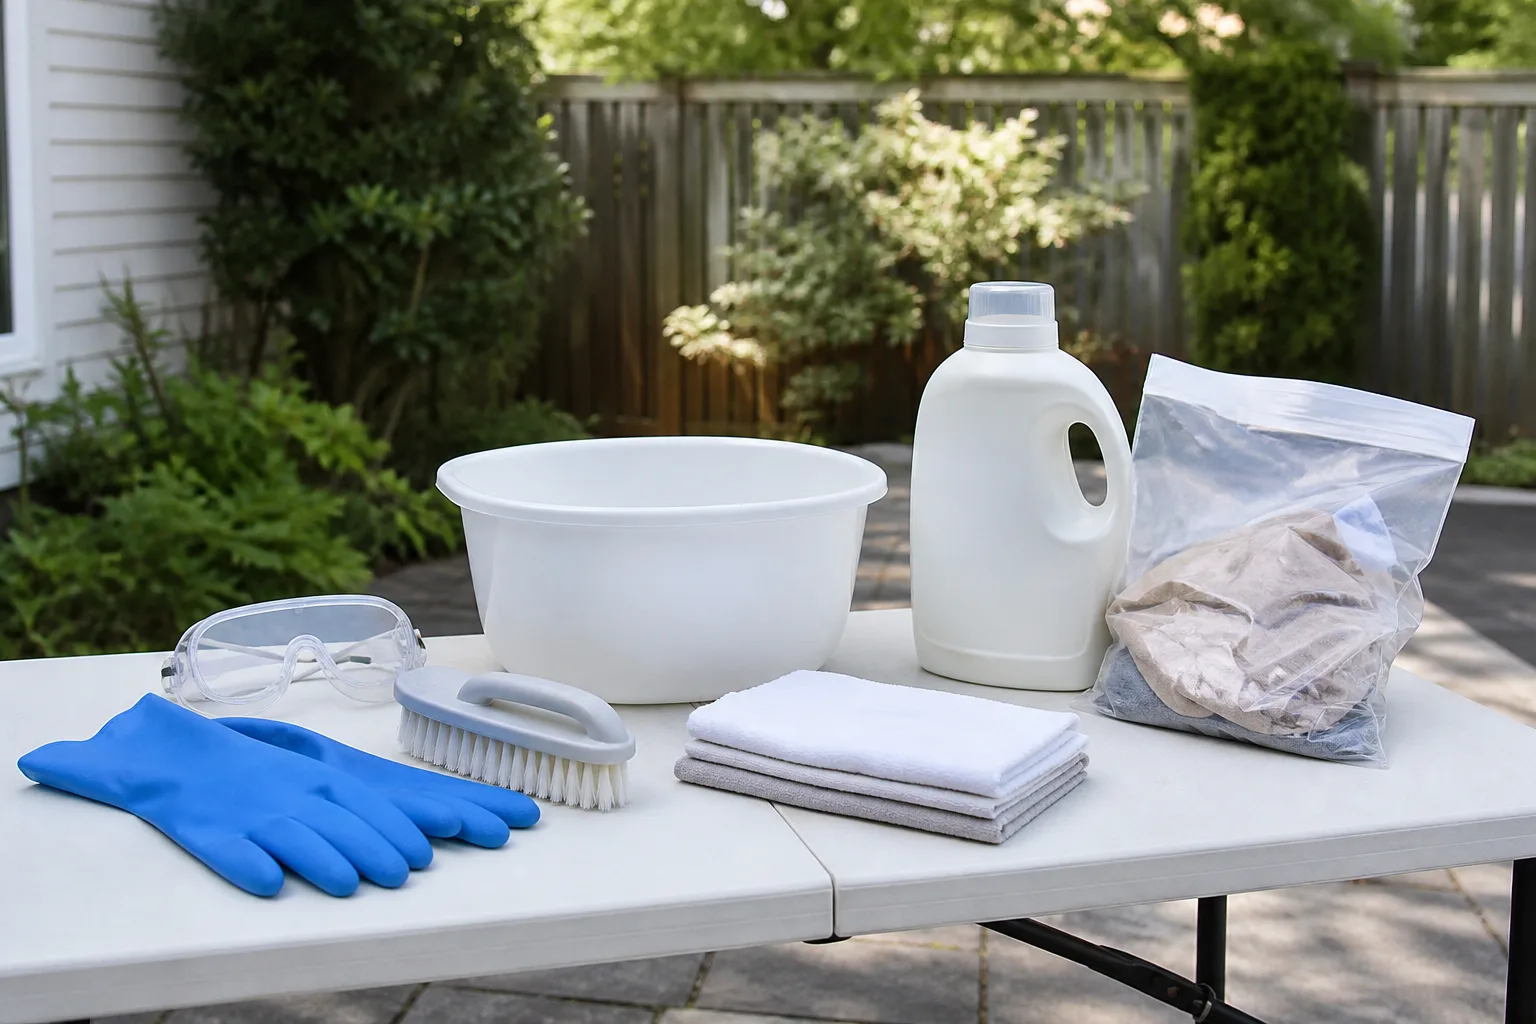
Work outdoors when practical, keeping children and pets away. Wear gloves and eye protection, and use a well-fitting N95 respirator if you are disturbing visible growth or are sensitive to airborne particles. Ventilate indoor work areas, but do not point a fan directly at a dry, moldy surface if it will blow residue toward people or clean rooms.
Gather only what the chosen method needs: a soft brush, detergent, a clean basin or bucket, absorbent white cloths, and the label-approved treatment. Never combine bleach with vinegar, ammonia, acids, oxygen bleach, hydrogen peroxide, or another cleaner. Use one product at a time, follow its label, and rinse before changing methods.
Washable Clothes: The Complete Sequence
Sort the garment by care label and condition rather than throwing every damp item into the same load. A sturdy cotton towel, a dark stretch top, and a wool sweater do not share the same safe temperature or chemistry. Wash affected pieces separately when possible, or only with items that can safely receive the same cycle and treatment.
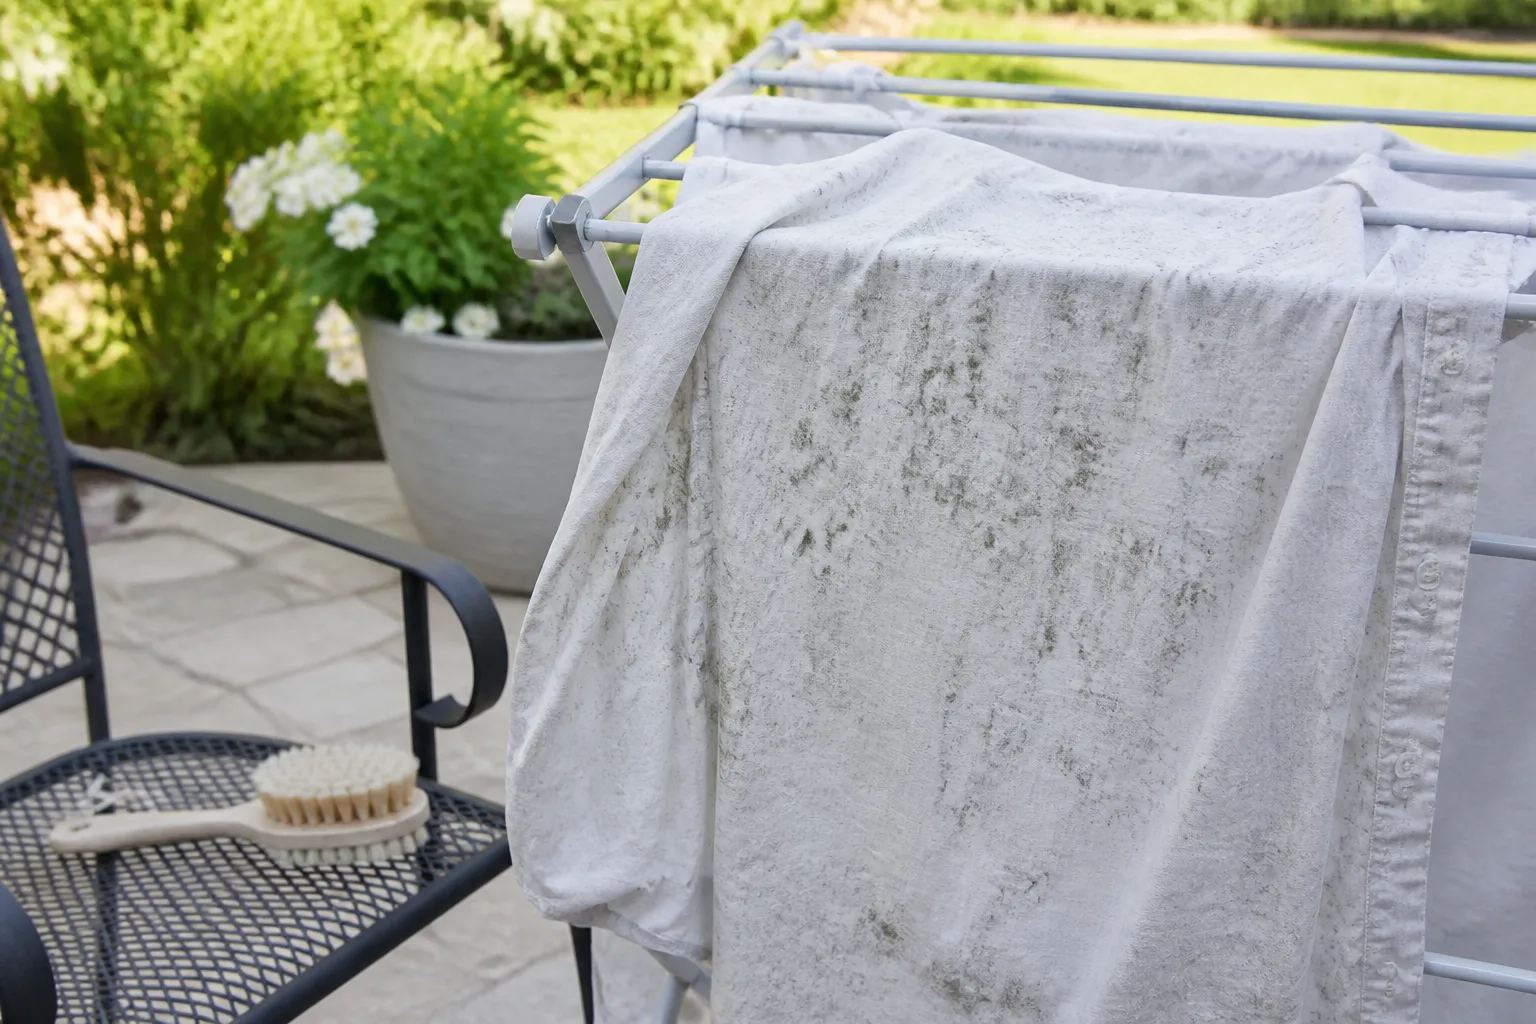
- Contain and move the garment. Carry it by a clean area, away from your face and clean textiles. If it is wet, let it drain or air in a protected location rather than storing it damp in a closed bag.
- Brush away loose growth outdoors. Use a soft brush and gentle strokes, working from the clean edge toward the spot. The aim is to lift loose residue, not grind it into the weave. Clean the brush afterward or use one that can be discarded.
- Pretreat with detergent. Apply a small amount of heavy-duty liquid laundry detergent to the visible area, following the detergent label. Allow the labeled dwell time—about 15 minutes is common—then work it in gently. Test first on an inside seam, especially on dark or brightly dyed fabric.
- Wash at the warmest safe setting. Use the hottest water allowed by the care label, the correct detergent dose, and a full cycle. Hotter is not automatically better: excess heat can shrink fibers, damage elastic, fade dyes, or set a stain before you have inspected it.
- Choose one compatible treatment. The next section explains the trade-offs. Do not pour several additives into one load because each one sounds useful.
- Inspect before drying. Check the garment in bright light for remaining spots, fuzzy growth, weak fabric, and odor. Air-dry or lay it flat as the label allows if another treatment may be needed.
Sun and moving air may help the garment dry, but they are not substitutes for laundering and do not guarantee that mildew has been removed. Keep the garment away from the area where you fold clean laundry until it has been washed and dried.
Choose One Treatment That Fits the Fabric
Use the care label and the product label together. The treatment that is safe for a white cotton sheet can ruin a colored blouse, a wool layer, or a garment containing elastane.
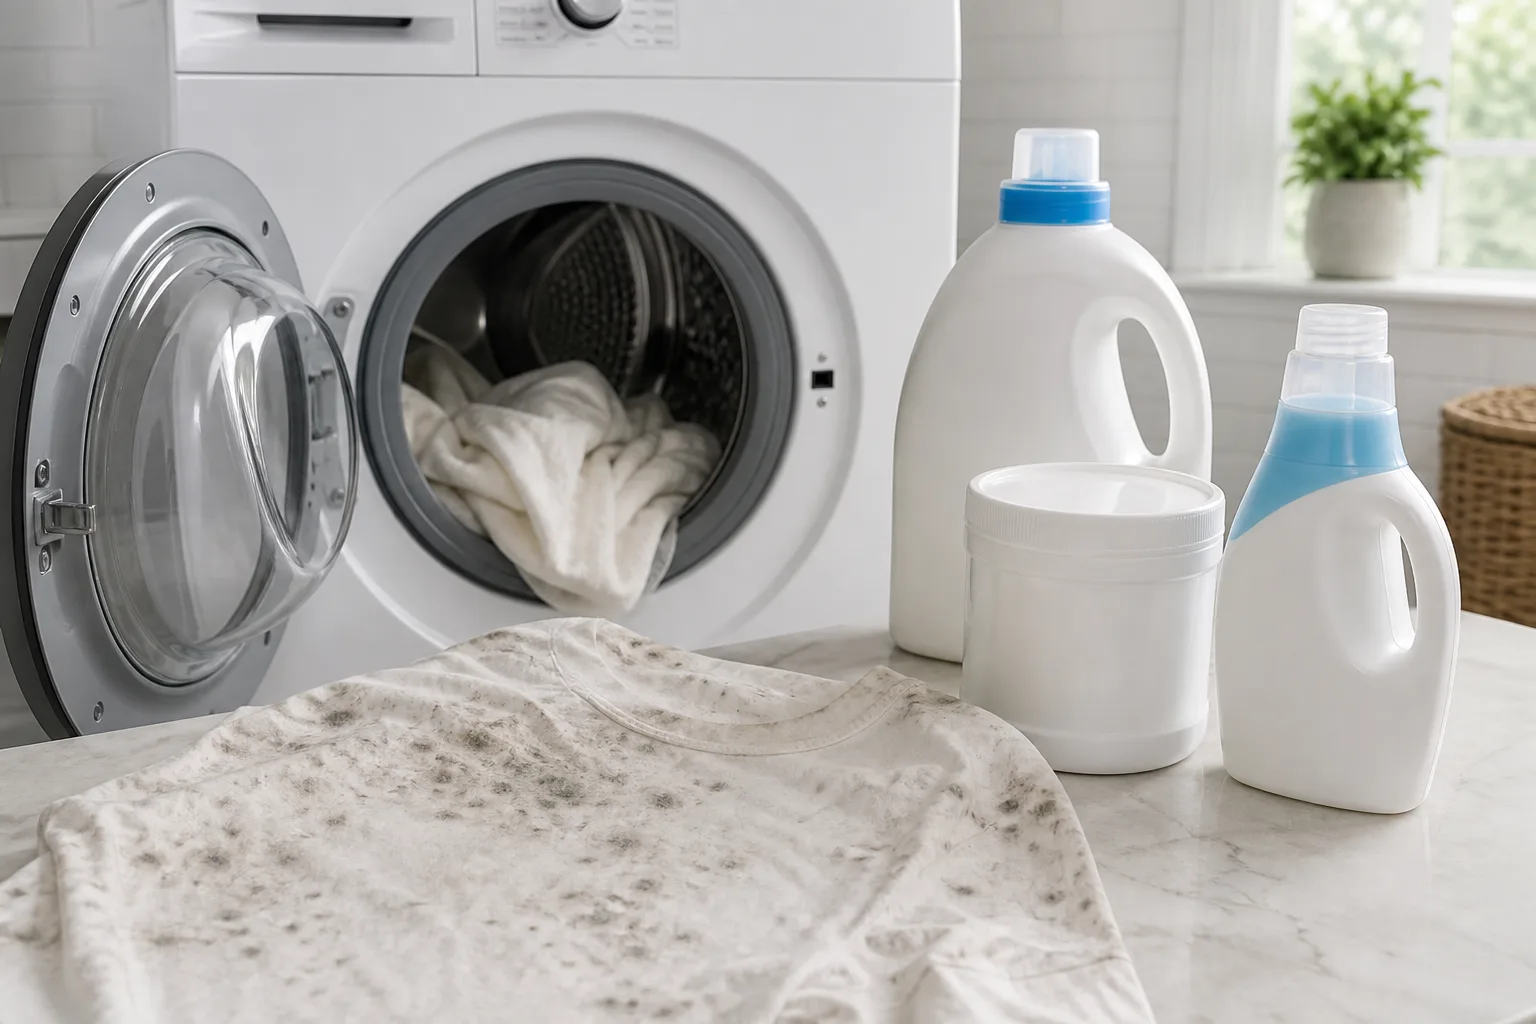
| Garment situation | First treatment to consider | Limit to respect |
|---|---|---|
| White, bleach-safe cotton or linen | Detergent plus chlorine bleach used exactly as labeled | Never use it on a crossed-out bleach symbol; measure it and keep it off skin and other surfaces |
| Colored or bleach-prohibited washable fabric | Detergent, followed by oxygen bleach if the product and label allow it | Pretest colorfastness; oxygen bleach is mainly a stain treatment, not a universal disinfection promise |
| Washable synthetics with persistent odor | Detergent plus a laundry sanitizer specifically labeled for the fabric and washer | Follow the dose, contact time, and rinse directions; do not improvise a concentration |
| Wool, silk, leather, vintage, or dry-clean-only fabric | Contain and brush only, then contact a professional | Water, heat, bleach, vinegar, and long soaks can damage fibers or finishes |
Oxygen bleach is a useful next step for many washable colors and whites when the label permits it. Dissolve it according to the package directions in a clean basin, fully submerge the garment, and follow the stated soak time. Many products call for several hours, but the package instructions control. Make a fresh solution if you repeat the soak, rinse thoroughly, and wash again with detergent.
Chlorine bleach belongs only on items whose label permits it, usually white or bleach-safe cotton and linen. Use the dispenser or dilution directions on the product label; never pour concentrated bleach directly onto a garment. Stop if the fabric yellows, develops holes, or feels weaker. A whitening result is not worth losing the fabric.
Distilled white vinegar can help reduce some musty odors, but it should not be treated as a guaranteed mildew killer or as a replacement for detergent. If your clothing-care and washer instructions allow it, use it only in the designated part of the cycle and keep it completely separate from bleach. Do not mix vinegar with baking soda and mistake the fizz for stronger cleaning.
Inspect Before Drying and Treat Remaining Stains
After washing, inspect the item before using a dryer. A dryer can finish a clean garment, but high heat may set a remaining stain and make later removal harder. Look at both sides, cuffs, collars, pockets, seams, and waistbands—thick areas can retain dampness after the flat fabric feels dry.
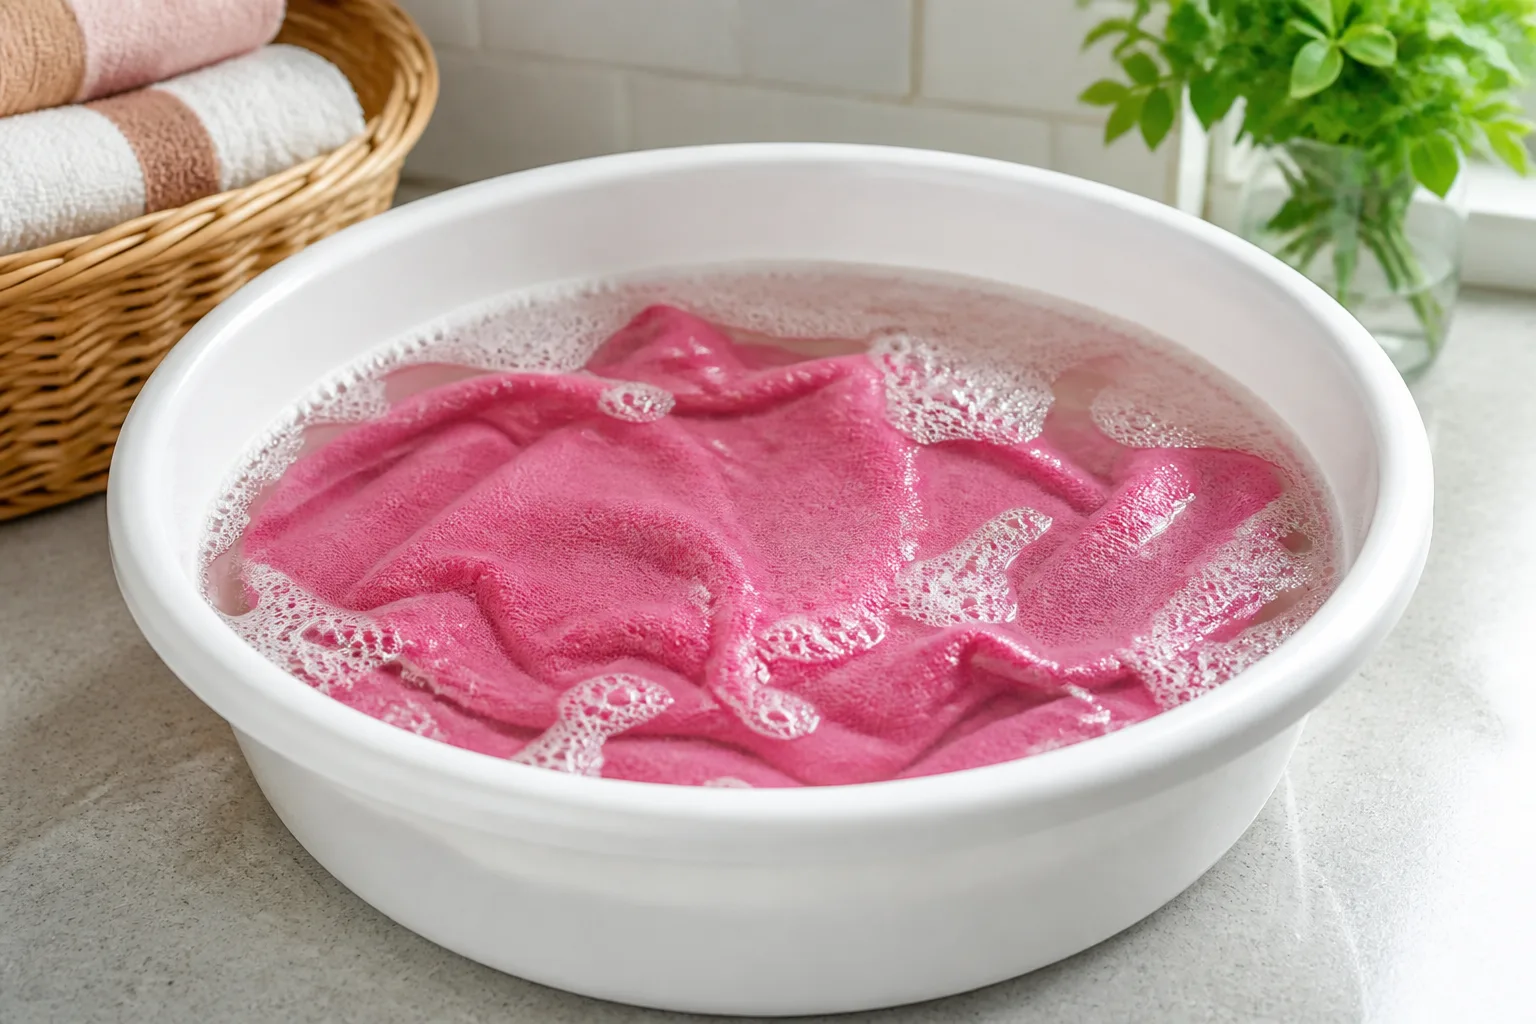
If the growth is gone but a shadow remains, treat that as a stain problem. Use an oxygen-bleach soak if the product and care label allow it, then rinse and wash again. If chlorine bleach is label-safe, use the product’s directions for a second treatment rather than increasing the concentration. Some discoloration is permanent because the dye or fiber was altered; repeated chemistry cannot reverse that damage.
When the garment is clean enough to keep, dry it completely by the safest method on its label. A drying rack, clothesline, or dryer can work. The important checkpoints are the thick seams, folded hems, pockets, and elastic areas. Do not fold or store the item while those areas still feel cool, clammy, or heavy.
Get Musty Odor Out Without Masking It
A mildew smell without visible spots can come from a damp hamper, a closed gym bag, a humid closet, or residue in the washer. Rewash the item with heavy-duty detergent at the warmest safe setting, then dry it completely before deciding the treatment failed. Fragrance or fabric softener may cover the smell temporarily without removing the damp source.
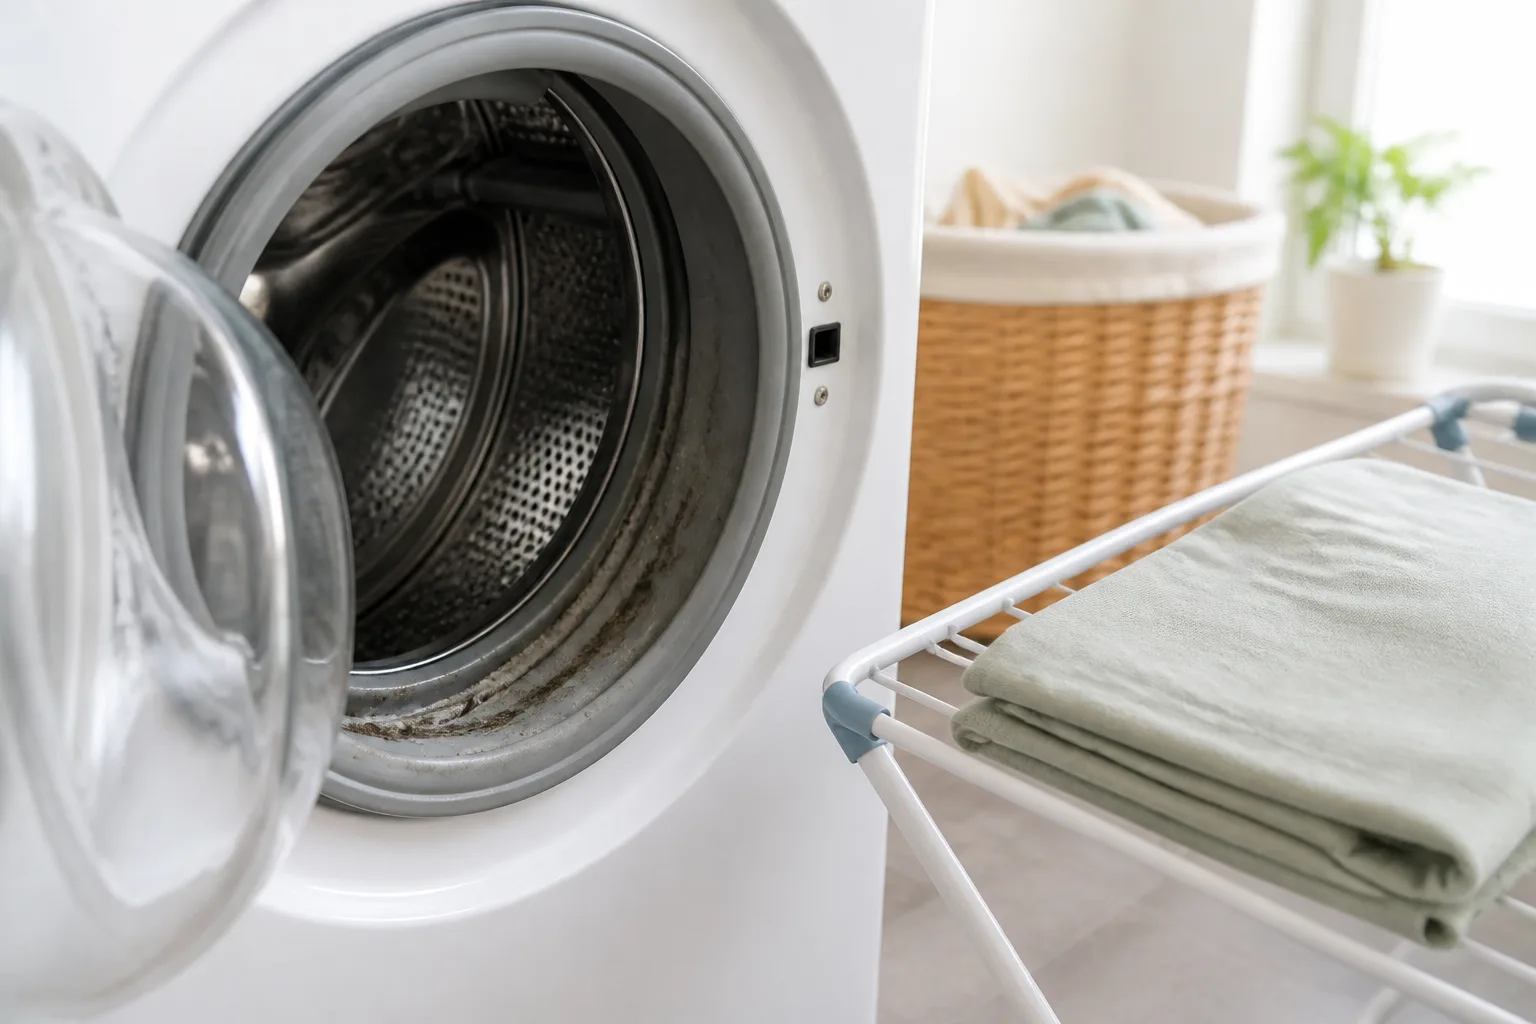
If the odor returns after washing, inspect the machine rather than escalating immediately to stronger garment treatments. Check the door seal, detergent drawer, drum, drain area, and the floor around the washer for standing water or residue. A clean garment can pick up odor from a washer that stays wet between loads.
Two complete wash-and-dry cycles are a reasonable stopping point for an ordinary washable garment. If it still smells strongly musty, feels weak, or develops odor again in a dry room, the fibers may be affected or the storage area may still be damp. Do not store the item with clean clothing until you have solved that question.
Upholstery: Decide Whether the Spot Is Cleanable
Upholstery is harder than clothing because the visible fabric is only the outer layer. Behind it may be batting, foam, webbing, wood, or a dust cover that cannot be washed in a household machine. A product that makes the surface look brighter can still leave moisture and growth inside the cushion.
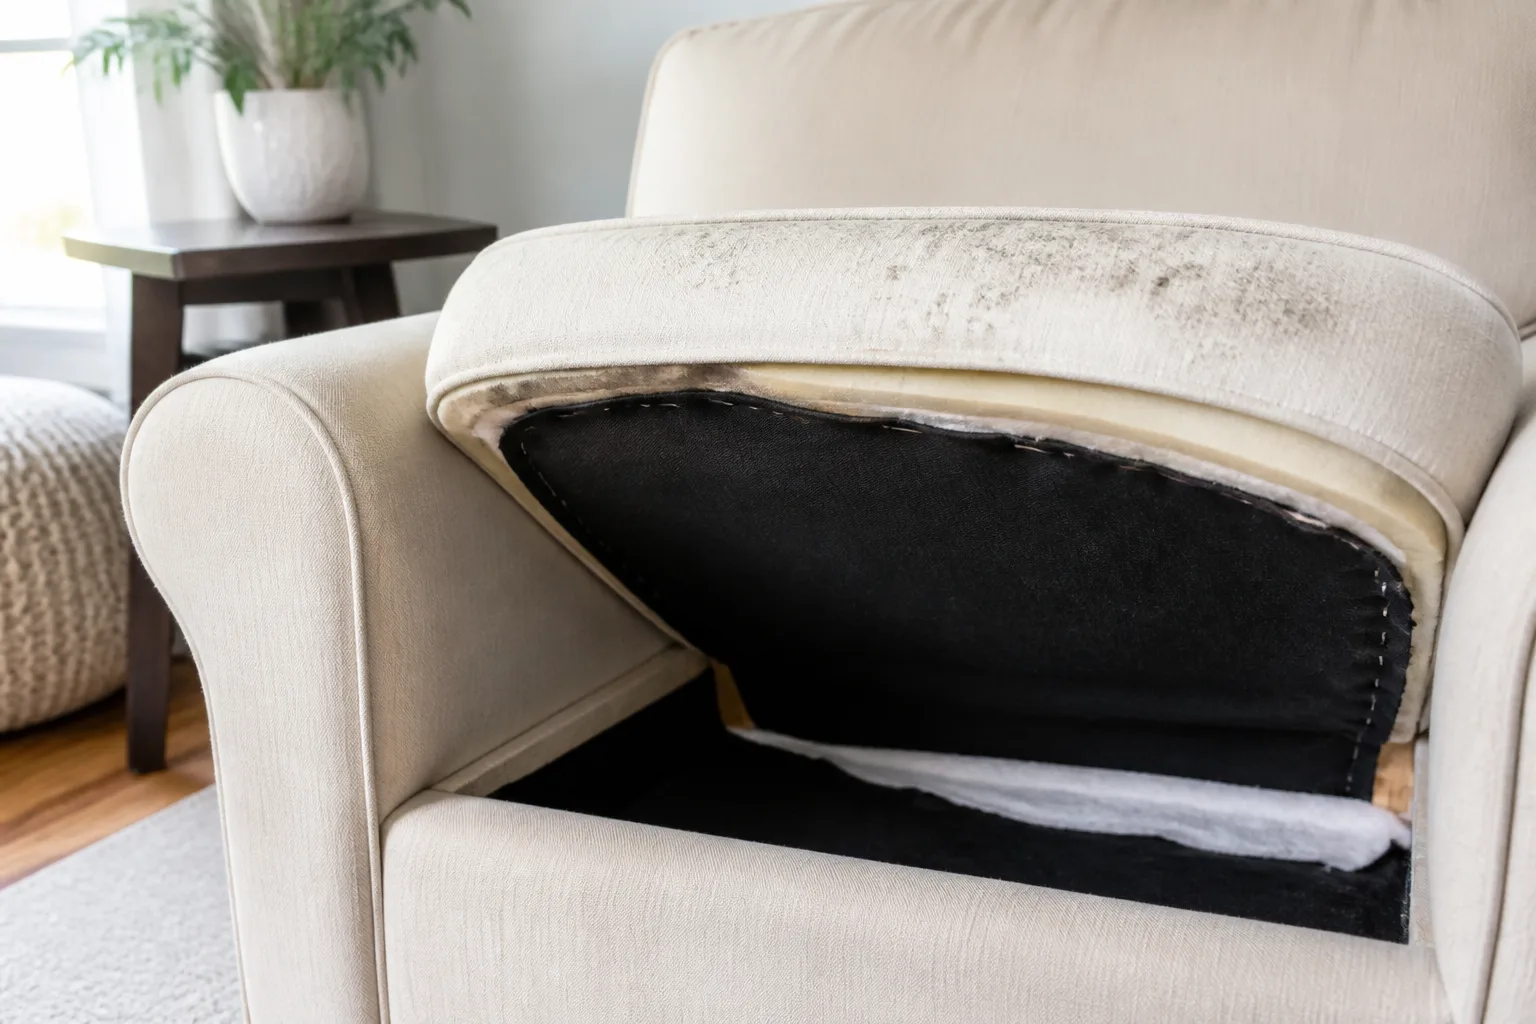
Treat a small, dry, surface-only patch as a possible spot-cleaning job when the upholstery instructions allow water-based cleaning. Stop and call a professional when growth is widespread, returns after cleaning, reaches the cushion interior or underside, follows a leak or flood, or leaves a strong odor after the fabric is fully dry. If removable covers can be washed, follow their label separately; do not assume the foam insert can receive the same treatment.
Do not dry-brush a moldy sofa inside the living room. If the furniture cannot go outdoors, avoid actions that send dust into the air and use a professional cleaner for anything more than a tiny, accessible surface mark. The health and moisture risks are more important than making one patch look clean.
Clean a Small Washable Upholstery Spot
For a limited patch on upholstery labeled for water-based cleaning, use the least wet method that can do the job:
- Clear and ventilate the area. Move pets and children away, open windows when practical, and protect nearby wood or flooring from drips.
- Test first. Apply a small amount of the intended upholstery cleaner or mild detergent solution to a hidden seam. Let it dry completely and check for dye transfer, a ring, texture change, or shrinkage.
- Remove loose residue carefully. If the item can be moved outdoors, do so before gentle brushing. Otherwise, do not agitate a dusty patch indoors; ask a professional whether a sealed, HEPA-filtered vacuum is appropriate for the fabric.
- Blot, do not saturate. Put the approved cleaner on a white cloth rather than flooding the cushion. Work from the outer edge toward the center, changing to a clean section as residue lifts.
- Follow the product’s rinse direction. If the label calls for rinsing, blot with a separate cloth lightly dampened with clean water. Do not leave detergent trapped in the weave.
- Dry from all sides. Stand cushions on edge if safe, increase gentle room airflow, and keep the furniture out of use until the fabric and interior feel fully dry.
Never use chlorine bleach or a laundry oxygen-bleach soak on upholstery unless the manufacturer specifically approves that product and method. Upholstery dyes, backings, and foam do not behave like a cotton shirt. Vinegar may reduce odor on some fabrics, but spraying it generously into a cushion can replace one moisture problem with another.
Dry Upholstery Completely and Reassess
Drying is part of the treatment, not a cosmetic final step. Check seams, piping, zipper edges, the underside of cushions, and the space between the cushion and frame. A surface can feel dry while the foam beneath remains cool and damp.
When the piece is fully dry, reassess in good light and smell it from a short distance rather than pressing your face to the fabric. A remaining stain may be permanent, but a returning fuzzy patch or persistent musty odor points to moisture below the surface or in the room. Do not keep adding spray to chase that evidence.
If you cleaned one cushion, inspect matching cushions, the underside of the furniture, nearby walls, and the floor. Mildew often reflects a damp basement, condensation, a leak, or furniture pushed tightly against a cold wall. Cleaning the visible spot without correcting that condition invites a repeat.
Dry-Clean-Only, Delicate, and Vintage Textiles
Do not put a dry-clean-only garment in the washer because it has mildew. Wool, silk, rayon, leather, structured clothing, and older textiles can shrink, bleed, distort, or lose their finish when exposed to water, heat, agitation, bleach, vinegar, or an extended soak.
Contain the item, remove loose residue outdoors only if you can do so without spreading it, and take it to a cleaner who accepts mold- or mildew-affected textiles. Point out the growth and explain whether the item was damp, stored in a basement, or exposed to a leak. Ask whether the fabric is a good candidate before authorizing a full service.
For a valuable piece, take photographs before cleaning so you can document the original condition. A cleaner may recommend treatment, restoration, or disposal depending on fiber strength and how far the growth has traveled. That decision is better than a home experiment that permanently sets a stain or ruins the finish.
Prevent Mildew From Returning
Mildew needs moisture and time. Dry sweaty clothes, towels, swimsuits, and washcloths promptly instead of compressing them in a hamper, washer, gym bag, or dark closet. Leave air space between stored garments, and do not return a cleaned item to the same damp container that caused the problem.
Use a drying rack with room between layers, not a dense pile on a chair. In a humid laundry room, use ventilation or a dehumidifier and address leaks around the washer, dryer, window, roof, or plumbing. For furniture, leave a small air gap between the piece and a cold exterior wall when the room tends to condense.
The EPA’s mold guidance emphasizes moisture control because removing a visible patch without fixing dampness does not address the cause. A humidity gauge can help you notice a persistently damp room, but it cannot replace repairing a leak or improving ventilation.
Reset the Washer and Laundry Area
Move finished laundry to the dryer or drying rack promptly. Follow the washer manufacturer’s instructions to clean the door seal, detergent drawer, drum, and drain area, and leave the door or lid open between loads when that is safe for your household and machine. Wipe standing water from seals instead of letting it sit.
Check the dryer’s airflow if clothes remain damp after a normal cycle. A blocked or poorly vented dryer may lengthen drying time and add humidity to the laundry room. Drying clothes faster helps, but it cannot compensate for a hidden plumbing leak, a wet wall, or a washer that repeatedly leaves residue on fabric.
If multiple clean loads develop the same odor, wash one test item after the machine reset and dry it completely. If the smell returns only in one closet, bag, or piece of furniture, investigate that location. Changing one variable at a time makes it easier to identify the moisture source.
Common Mistakes That Make Mildew Worse
- Shaking fabric indoors: It spreads loose residue to the hamper, floor, and clean laundry. Move the item outdoors before brushing it.
- Using bleach on every fabric: Chlorine bleach can fade color and damage fibers. Read the bleach symbol and follow the product label.
- Mixing cleaners: Never combine bleach with vinegar, ammonia, acids, oxygen bleach, or another additive. Use one treatment at a time.
- Drying before inspecting: Heat may set a remaining stain. Check both sides and the thick areas before using a dryer.
- Soaking upholstery: More liquid does not mean deeper cleaning. It can push moisture into cushion foam and backing.
- Treating odor as proof of active growth: A musty smell can come from a washer or storage space. Diagnose the surroundings before adding stronger chemicals.
- Ignoring fabric damage: A garment that tears, sheds, or stays strongly musty may not be safe or sensible to keep treating.
- Returning items to damp storage: Even successful cleaning will not last if the hamper, closet, cushion, wall, or laundry room remains wet.
Conclusion
To get mildew out of clothes and upholstery, start with the material and its condition—not the strongest cleaner in the cabinet. Contain the item, protect yourself, move loose growth outdoors when possible, follow the care label, and use the least aggressive method that fits the fabric.
Washable clothing can often be rescued with detergent, a label-approved wash, one compatible treatment, a pre-dry inspection, and complete drying. Upholstery needs a smaller amount of moisture, careful testing, blotting, and a firm stopping point when growth reaches padding, backing, or a hidden leak. If the item is weakened, widely affected, contaminated by sewage or floodwater, or still strongly musty after complete cleaning, professional advice or disposal is the safer answer. Fixing the damp source is what keeps the mildew from coming back.



