Rhododendron in Pots vs. Ground: Which Is Better?
Rhododendron in pots vs. ground: learn which option fits your soil, cultivar, climate, and space, with planting, watering, pH, and winter-care rules.
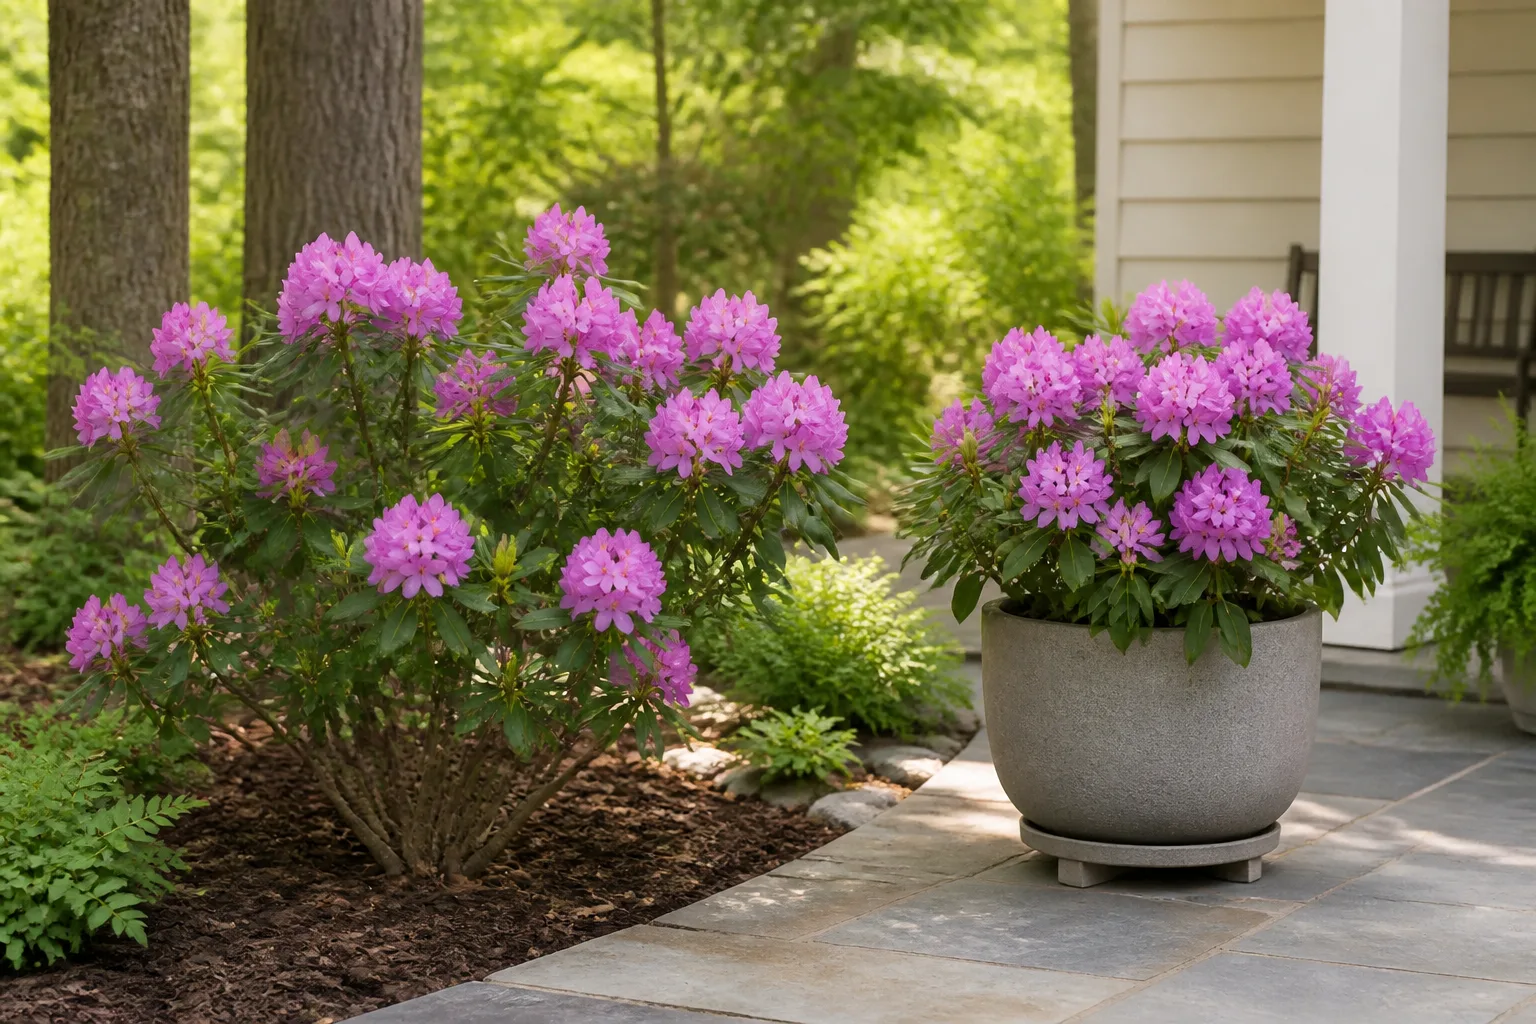
For most rhododendrons, the ground is the better long-term home—but only if the soil drains well, stays acidic, and gives the mature plant enough room. A pot is the smarter choice when your garden is alkaline, compacted, badly drained, too small, or simply the wrong place for the cultivar you bought.
That makes this less a contest between containers and garden beds than a site-matching decision. A large, vigorous rhododendron in a small pot will eventually become a cycle of drying out, root restriction, and winter protection. A compact cultivar in a carefully chosen container can be healthier than a plant forced into heavy clay or a sunny strip beside concrete.
The best sequence is: identify the cultivar and mature size, test the proposed site for pH and drainage, choose the option that solves the actual constraint, and then plant shallow roots so they have both moisture and oxygen. The details below turn that sequence into a practical plan.
The short answer: ground wins only when the site is right
Choose in-ground planting when the rhododendron is large or vigorous, your soil is naturally acidic or can be corrected across a broad bed, drainage is good, and you can provide dappled light with shelter from drying wind. Open soil gives the roots more room, buffers moisture and temperature better, and reduces the frequency of watering once the shrub is established.
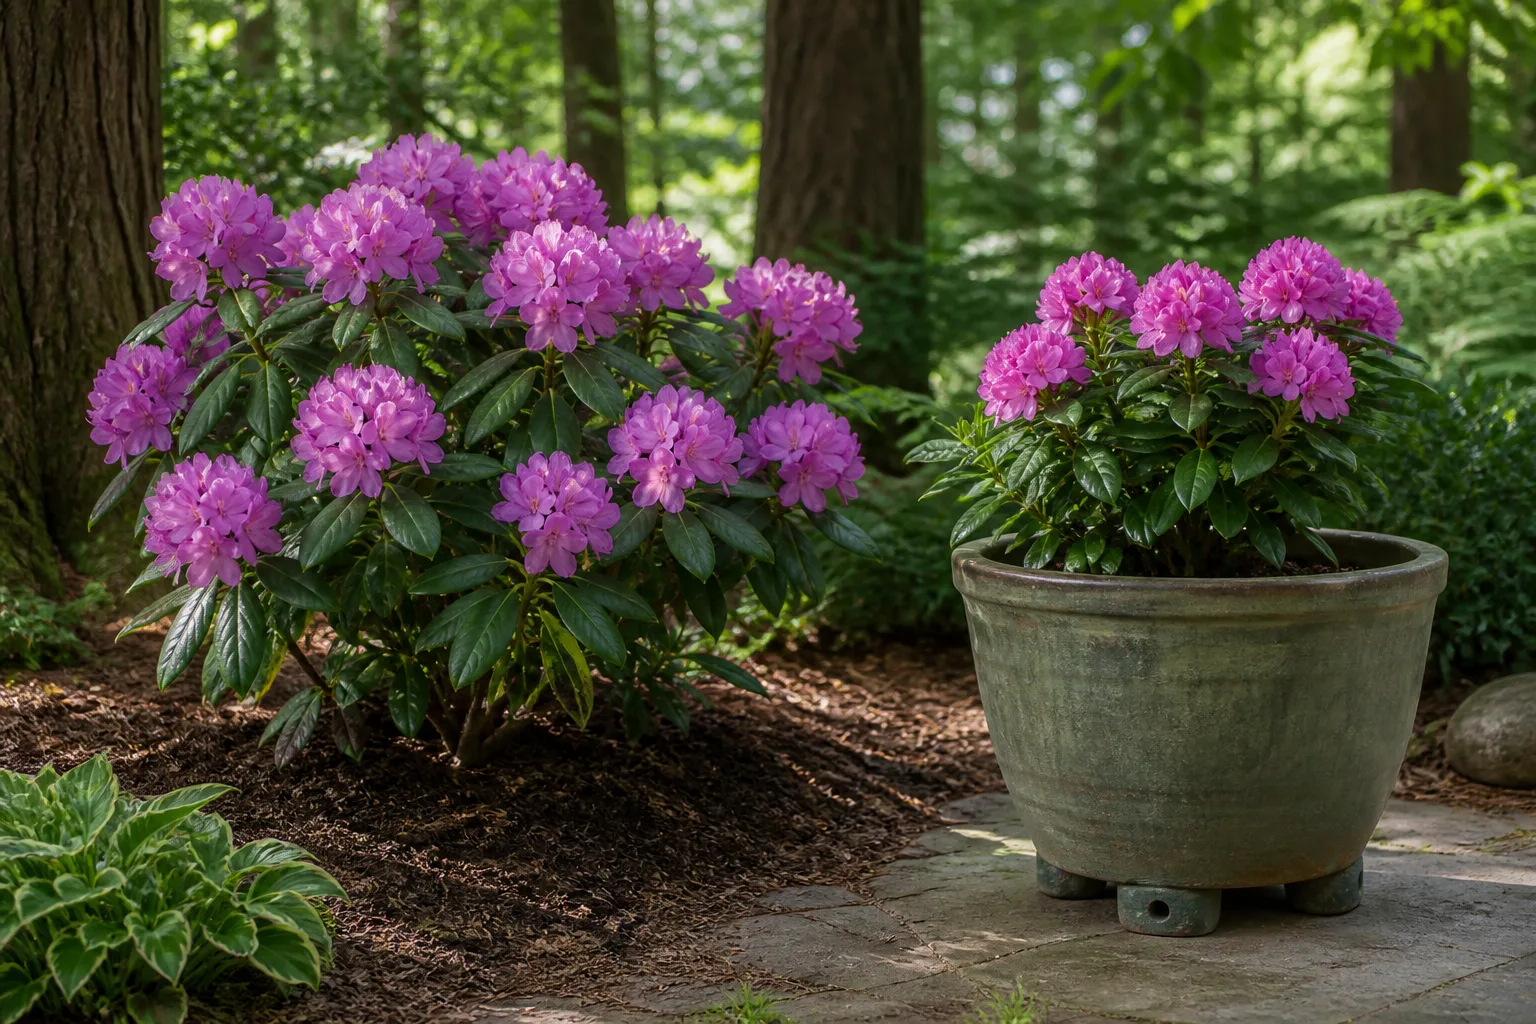
Choose a container when the plant is compact, the soil is alkaline or compacted, the garden is too small, or you need to move the shrub away from harsh afternoon sun and winter wind. The container lets you control the growing medium, but it does not make the plant low-maintenance: the smaller root zone dries and chills faster than soil in the ground.
The American Rhododendron Society treats soil type, drainage, minimum and maximum temperatures, sun, shade, and wind as selection criteria—not details to fix after buying. That is the right frame for this decision. (American Rhododendron Society: Rhododendron and Azalea Selection)
If your only reason for choosing a pot is “I can add the right soil,” pause there. A pot solves soil chemistry and mobility, but it creates new jobs: checking moisture more often, choosing a stable frost-safe container, refreshing the mix, and protecting roots when temperatures drop.
Start with the rhododendron you actually bought
Rhododendron is a large genus, not one uniform shrub. The plants sold under that name range from low, compact forms to shrubs that eventually need several feet of width and height. The label’s bloom color is useful, but the mature size, hardiness, evergreen or deciduous habit, and exposure preference matter more when you are deciding between a pot and the ground.
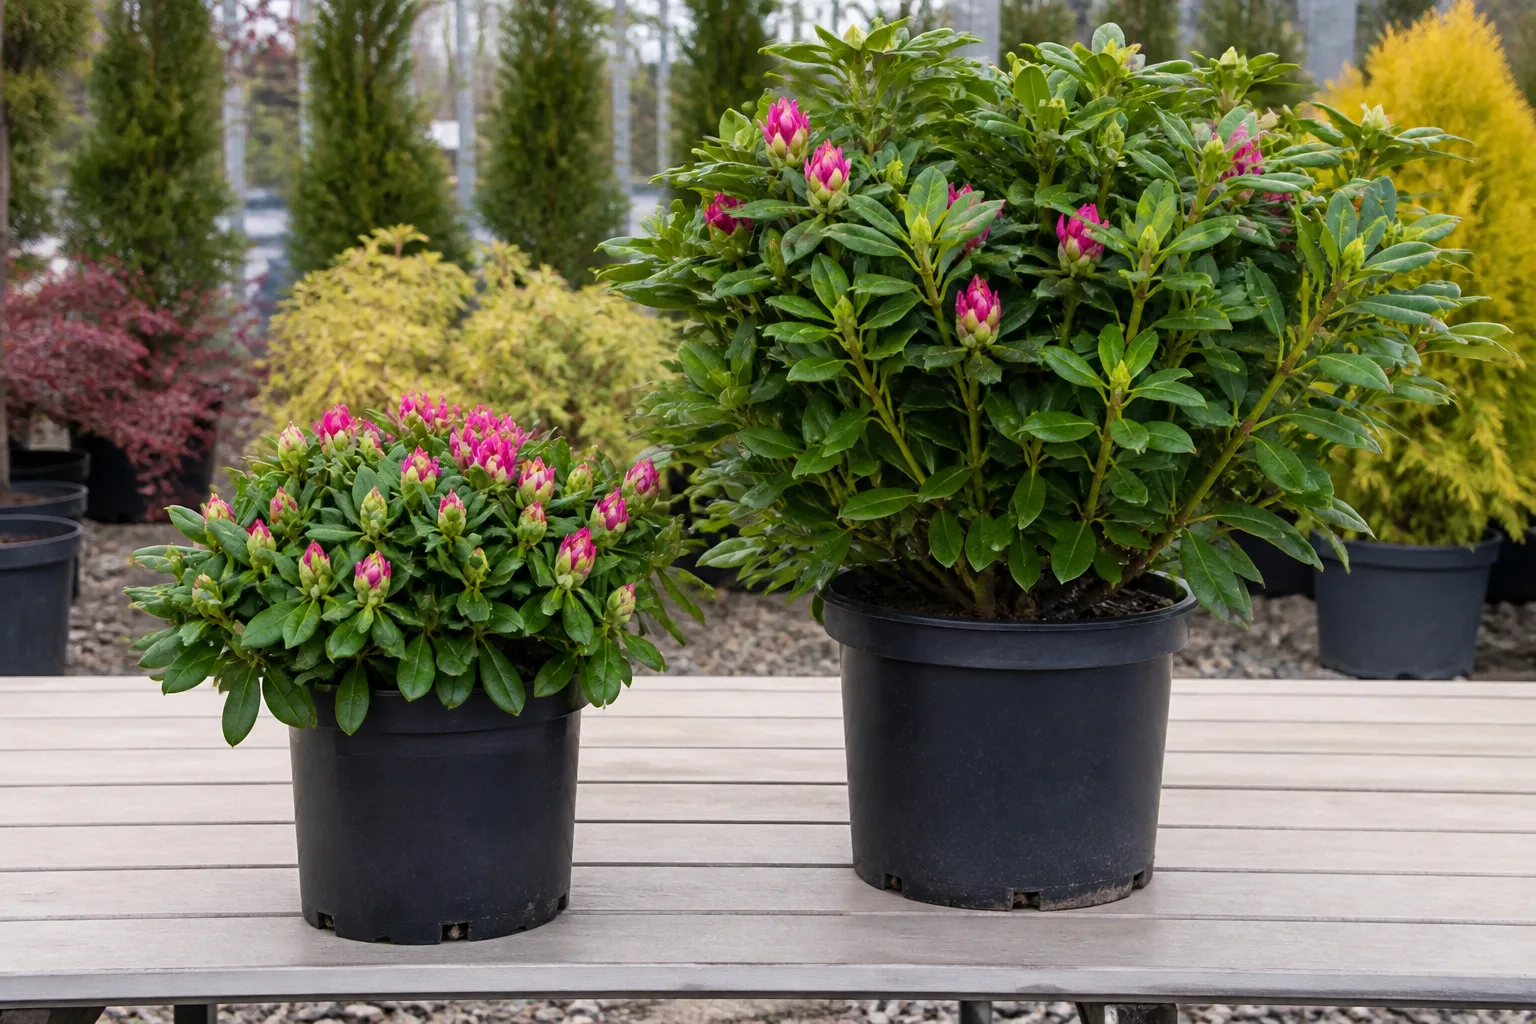
Look for the cultivar name and its expected size at maturity. If the tag gives a ten-year size, use that rather than judging by the nursery container. The specialist society’s selection guidance specifically emphasizes height at ten years, bloom time, hardiness, leaf habit, and site conditions, which is a better shopping checklist than “will it fit today?”
Size and habit decide whether a pot is realistic
A dwarf or compact rhododendron can be a good container subject if its mature dimensions fit the pot, patio, and winter plan. A plant sold as a landscape shrub may survive in a container for a while but still be a poor permanent choice if its mature root system and canopy will outgrow the available volume.
Use this rule: if the plant’s mature width will make the container unstable, difficult to move, or too small to hold enough root-zone moisture, plant it in the ground or choose a smaller cultivar. Do not keep a large shrub artificially small by repeatedly cutting its roots or starving it; that trades size for stress.
Containers are also a poor answer for a site that is too hot. A pot on paving can heat from the sides, and its exposed roots experience more temperature change than roots buried in a bed. If the patio is the only available location, select a compact cultivar and provide afternoon shade, a light-colored or insulated container, and reliable moisture monitoring.
Evergreen and deciduous types respond differently
Evergreen rhododendrons hold foliage through winter, so wind and winter sun can pull water from leaves while the roots are cold or partly frozen. A sheltered position matters in the ground and matters even more in a pot. Deciduous types drop their leaves and some tolerate more sun, but the cultivar’s own tag and local guidance still decide the safe exposure.
Do not assume that a plant’s hardiness rating makes container growing equally safe. A root system above ground is less insulated than one surrounded by garden soil. A shrub that handles your winter in a bed may need a protected wall, windbreak, or unheated sheltered space in a pot.
Use this site test before choosing a home
Test the site before you dig a hole or buy a bag of amendment. Rhododendrons prefer acidic, moist, well-drained soil, generally around pH 4.5 to 6.0, but the pH number cannot compensate for a root zone that stays saturated. Their fine, shallow roots need water and air at the same time.
Check soil reaction and structure together
Send a representative soil sample to a local extension soil-testing service or use a reliable soil test for a first reading. Sample the bed where the roots will grow rather than scraping a little soil from the surface beside a sidewalk. Test again after making a major correction; pH changes depend on the soil’s texture and buffering capacity, so an internet recipe cannot safely supply a universal amendment rate.
Inspect the soil in your hand. If it forms a hard, sticky mass when wet, or if a spade meets a dense layer that resists penetration, the problem is structure as much as chemistry. A small hole filled with airy mix inside heavy clay can act like a bowl: water enters the amended pocket and drains slowly into the surrounding soil.
The American Rhododendron Society recommends correcting heavy soil with a raised bed rather than relying on organic matter that will eventually decompose and leave the original clay behind. It also warns that rhododendrons cannot tolerate water-saturated soil. (American Rhododendron Society: Soil Conditions)
Test drainage in the proposed bed by digging a hole about 10 to 12 inches deep, filling it with water, allowing it to drain, and filling it again. If the second fill remains for roughly an hour or longer, treat the site as poorly drained and correct the bed before planting. A raised bed built above the native soil is often a more dependable fix than digging deeper.
If the bed is near a concrete foundation, driveway, or sidewalk, include that in your decision. Lime leaching from concrete can raise the local pH and create a persistently alkaline strip. A container or a separate raised bed may be easier than trying to keep a narrow soil pocket acidic.
When growing in the ground is the better choice
The ground is the clear choice for a rhododendron that will become a substantial shrub, provided the site passes the drainage and light tests. Soil surrounding the roots buffers daily heat and cold, stores more moisture than a pot, and lets a healthy root system spread outward instead of circling inside a wall.
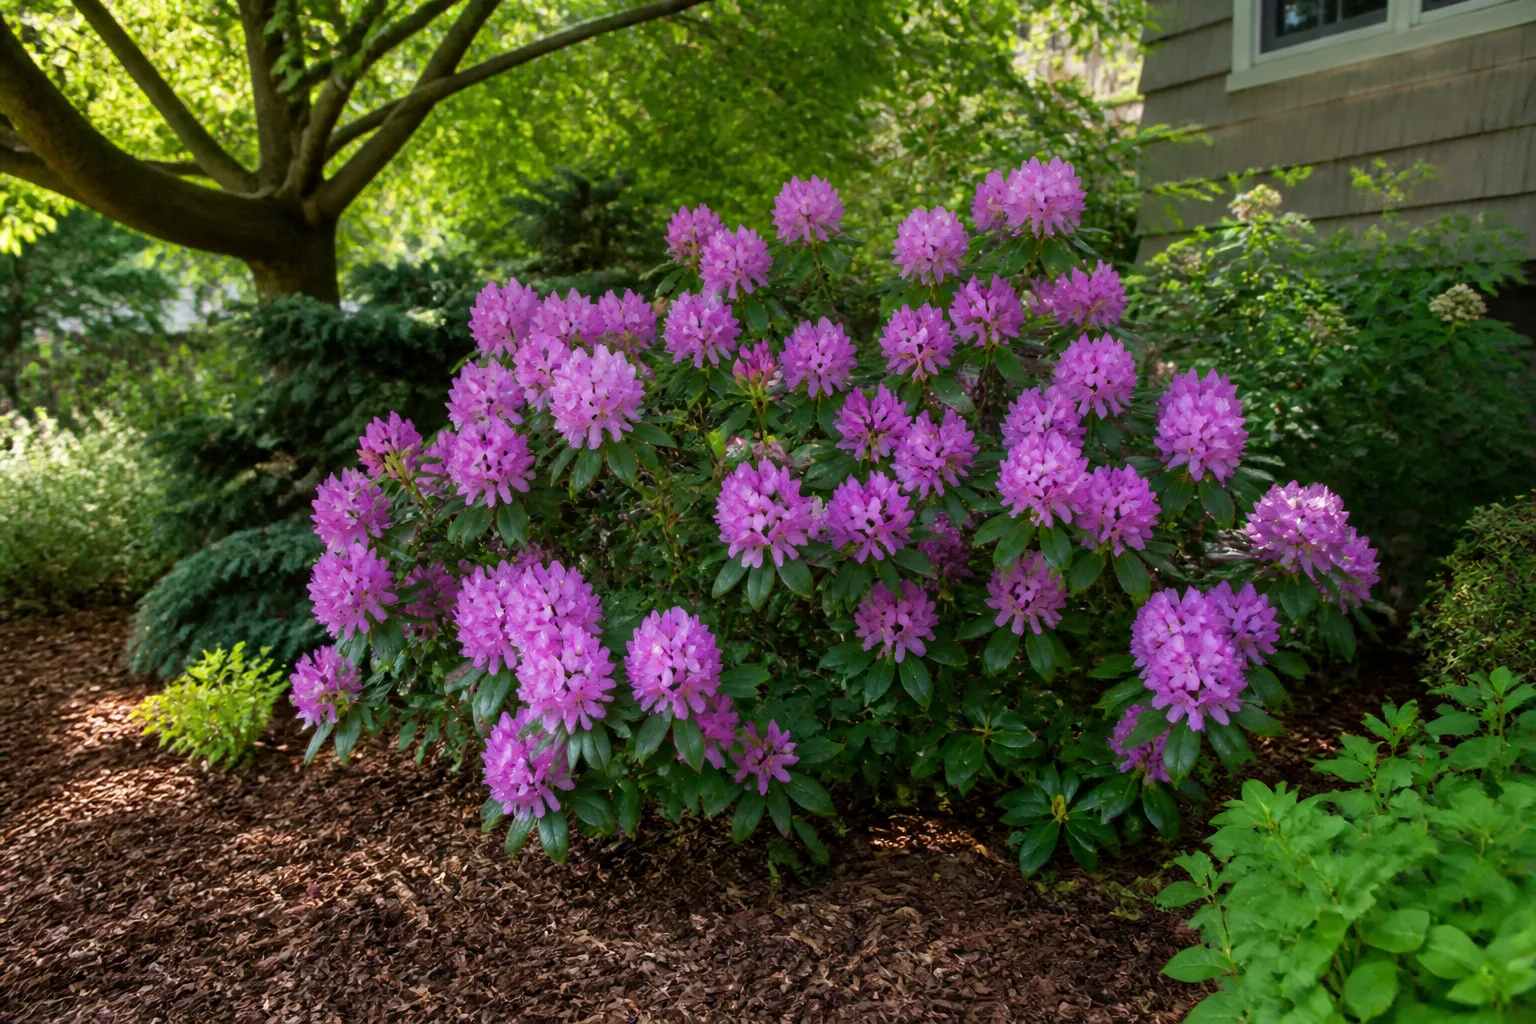
In-ground planting also makes long-term watering more forgiving. You still need to water a new transplant, but once the roots establish, a deep bed with mulch does not swing from wet to dry as quickly as a small container. That is especially valuable during hot, windy weather and during the part of summer when many rhododendrons are forming next year’s flower buds.
Ground planting is not automatically low-maintenance. You may need to build a raised bed, improve a broad area, protect the shrub from wind, or choose a different cultivar. If the site only works after constant pH correction and drainage rescue, a container is not a defeat; it may be the more honest match.
When a container is the smarter choice
Use a container as a controlled root zone, not as a miniature version of a garden bed. It is especially useful for a compact cultivar when your native soil is chalky, alkaline, compacted, or contaminated by construction rubble. It can also let you move the plant into afternoon shade, shelter it from strong wind, or bring it into a protected position for severe winter weather.
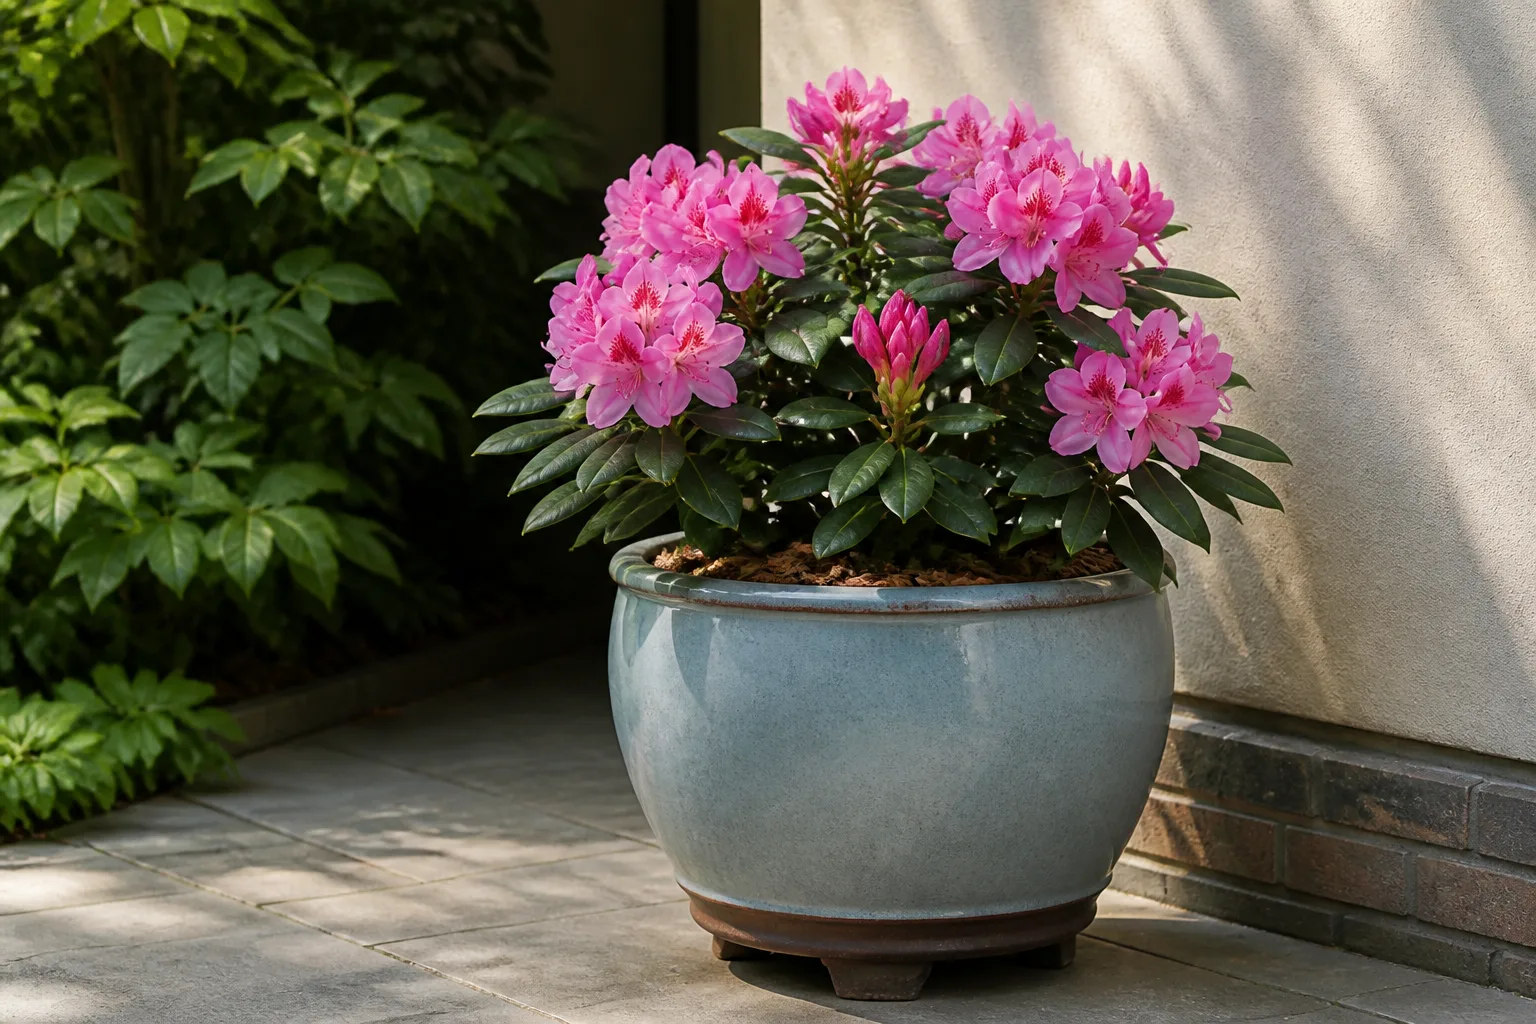
The trade-off is increased observation. The pot has less water reserve, less insulation, and less nutrient-holding capacity. A plant that looks fine in spring can wilt quickly when a patio heats up, and the same pot can stay too wet in a cold, rainy winter if its drainage holes are blocked or it sits in a saucer.
Choose a container wide and heavy enough to support the mature canopy, with generous drainage holes and a shape that will not trap the root ball at repotting time. Avoid a tall, narrow pot for a top-heavy shrub. The RHS notes that large containers dry more slowly, but also warns that overlarge pots hold excess damp compost around roots. (RHS: Growing Plants in Containers)
How to plant a rhododendron in the ground
Prepare the bed first, then plant. Do not buy a rhododendron and bury it in an untested hole while hoping the roots will adapt. If the soil is heavy, use a raised bed or plant high in a broad mound of suitable soil; do not create a narrow pocket of rich mix surrounded by slow-draining clay.
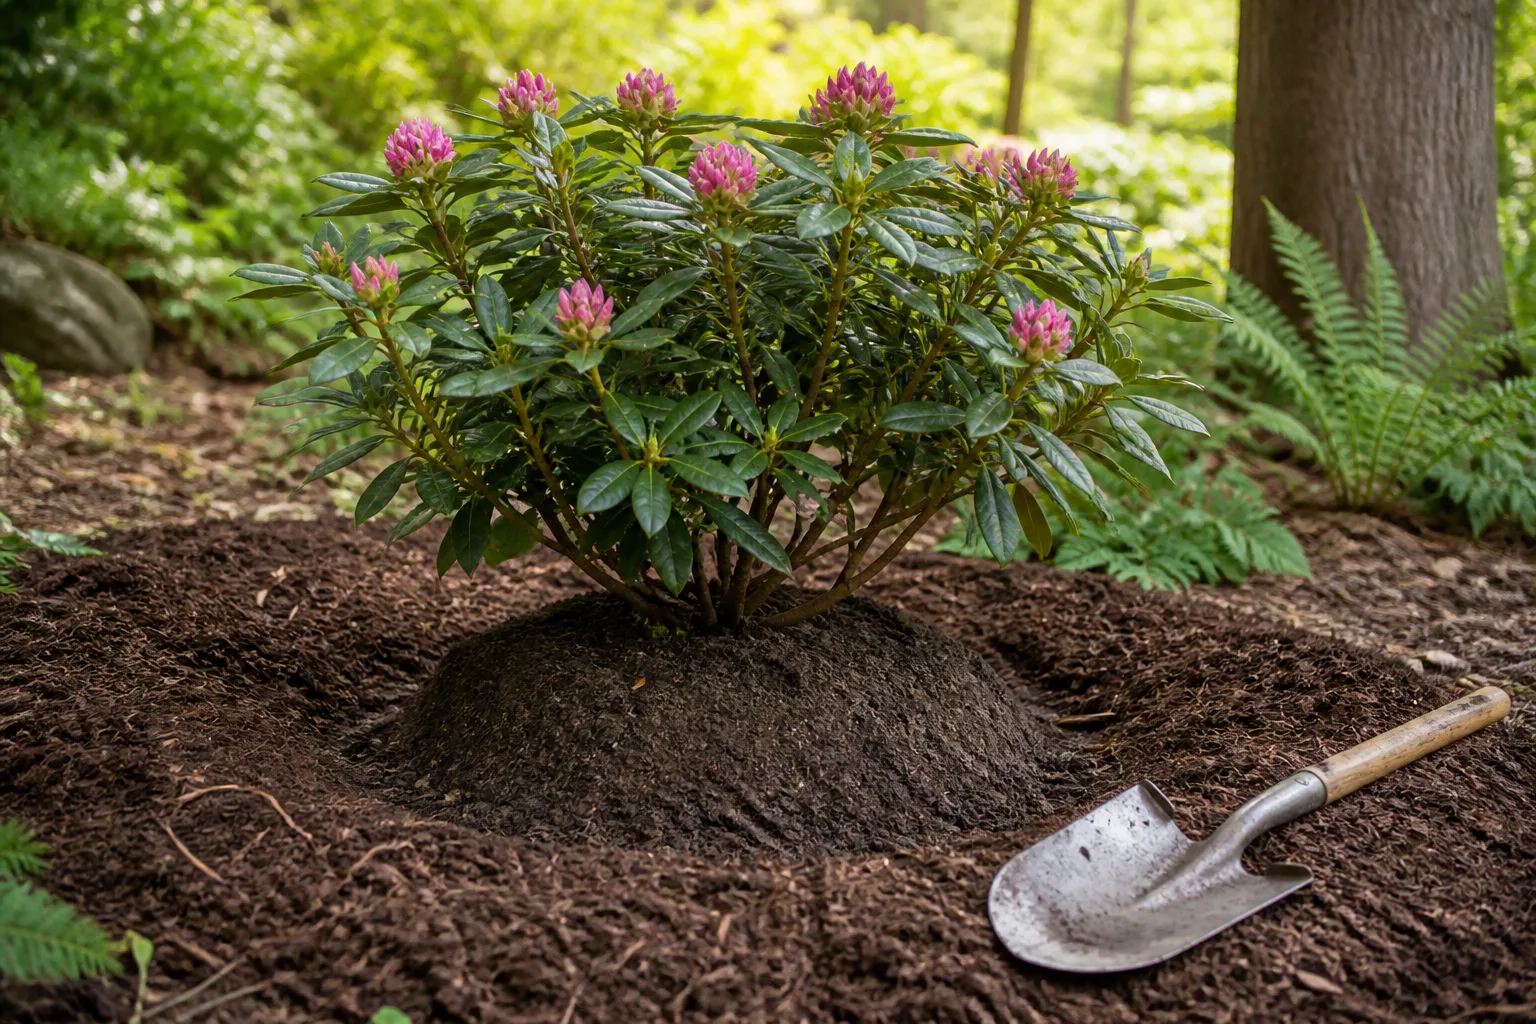
Dig a hole at least a few inches wider than the root ball and no deeper than its height. In good soil, the top of the root ball should finish level with the surrounding soil. In heavy or borderline-drained soil, set the root ball slightly high and mound the prepared soil around it so settling will not bury the crown.
Remove the nursery container without pulling on the stems. If the outside roots are circling tightly, loosen them or make shallow vertical cuts around the root ball so they can move into the surrounding soil. The Azalea Society of America’s planting guidance recommends cutting circling roots, keeping the final planting depth shallow, and watering again the day after planting. (Azalea Society of America: Planting Azaleas)
Backfill around the root ball without packing the soil into a hard layer. Water slowly and thoroughly so the soil settles around the roots, then check that the plant has not sunk. Apply about 2 to 3 inches of organic mulch across the root zone, keeping it an inch or two away from stems. Mulch should reduce evaporation and temperature swings, not form a wet collar against the shrub.
Water on the root zone rather than relying on a brief spray over the leaves. A soaker hose or slow trickle arranged from near the plant toward the drip line wets more of the shallow root mat. Check the soil before watering again: moist is good, but a shiny, saturated surface or persistent puddle is a reason to stop and solve drainage.
How to grow a rhododendron in a container
Start with a compact cultivar and a container only slightly larger than the current root ball. A plant that has a little room to extend roots needs less correction than one packed into its nursery pot, but a pot several sizes too large can stay wet for too long. A drainage hole is essential; a decorative cachepot without an opening is not a growing container unless the plant is kept in a removable, draining inner pot and never left in collected water.
Choose the pot and acid-loving mix
Use a commercial acid-loving or ericaceous container mix made for long-term container plants. Do not fill the pot with garden soil: it compacts in a container, displaces air, and can create the same water-holding problem as heavy garden clay. A peat-free mix may be appropriate if it is clearly formulated for acid-loving plants; read the product label rather than assuming every general-purpose mix has the right pH.
Set the plant at the same depth it was growing in the nursery pot. Do not bury the stem to make a shallow root ball look more secure. Firm the mix gently around the roots, water until it drains freely from the bottom, and empty the saucer after the pot has finished draining.
Place the container where it receives bright filtered light or gentle morning sun and afternoon protection. Keep it off hot paving if possible, and raise it on pot feet so the drainage holes cannot seal against a flat surface. The pot should be stable enough that wind cannot rock the root ball and break new feeder roots.
Build a watering and winter plan
Container watering is a check, not a calendar. Feel the mix several inches down and lift the pot when you can; when the top layer has begun to dry but the root ball is not bone dry, water slowly until excess exits the drainage holes. In hot, windy weather, a small container may need checking daily. In cool, cloudy weather, it may need much less.
A rhododendron can wilt from thirst or from damaged roots in wet mix. If water runs straight down the sides, the root ball may have pulled away from the pot or become difficult to re-wet. Apply water in two or three slow passes, allowing each pass to soak in, rather than flooding the container all at once.
Late summer deserves special attention in climates where flower buds form in midsummer. Gardening Know How recommends a thorough weekly soak, adjusted for rainfall, during the late-summer window when next season’s buds are developing, and emphasizes wetting the root zone deeply rather than sprinkling only the mulch. (Gardening Know How: Watering Rhododendrons and Azaleas in Late Summer)
Before winter, move a potted rhododendron to a sheltered position out of drying wind and harsh afternoon sun while keeping its drainage open. Do not bring a hardy shrub into a heated room as a default; warm indoor air can interrupt dormancy and dries foliage. The aim is a protected, cool root zone appropriate for the cultivar, not a sudden houseplant conversion.
Pot versus ground: the practical trade-offs
| Consideration | In the ground | In a container |
|---|---|---|
| Root room | Best for medium and large cultivars; roots can spread | Works best for dwarf and compact cultivars; root space is limited |
| Soil control | Depends on the native bed; may require a raised bed or broad correction | Mix pH and structure are easier to control from the start |
| Water | More moisture reserve after establishment | Dries faster and needs more frequent checking |
| Drainage | Excellent if the bed passes a test; poor clay needs correction | Good only when holes stay clear and the pot never stands in water |
| Temperature | Soil buffers root temperatures better | Roots are more exposed to heat, cold, and wind |
| Mobility | Fixed once planted | Can be moved, but mature pots become heavy and disruptive to roots |
| Long-term work | Usually less watering once established | More watering, occasional repotting or mix refresh, and winter planning |
If your priority is a large specimen that can settle into a woodland-style bed, choose the ground after fixing the site. If your priority is controlling an unsuitable soil or growing a compact plant beside a patio, choose a container and accept the maintenance that comes with control.
Feed and prune without forcing problems
Do not fertilize simply because the shrub looks slow during its first season. A new transplant may be spending energy on roots, and excess fertilizer can damage those roots or push soft growth at the wrong time. In a rich, well-mulched bed, an established rhododendron may need little or no supplemental fertilizer.
If growth is weak or leaves are pale, test the soil and inspect moisture and drainage before feeding. Use a fertilizer labeled for acid-loving plants only when the test or a clear diagnosis supports it, and follow that product’s rate. Avoid late-season nitrogen that encourages tender growth before cold weather.
Routine shaping is safest soon after flowering, before the shrub has committed too far into next year’s flower-bud season. Remove dead, broken, or diseased wood when you notice it, cutting back to healthy tissue. For an overgrown rhododendron, reduce height in stages rather than removing the entire canopy at once; a drastic cut can expose shaded roots and leave the plant with too little foliage to recover well.
Deadheading is optional for plant health, but removing spent trusses can tidy the shrub and direct attention back to new growth. Work carefully around the next season’s buds, which can sit close to the old flower clusters. If you are not sure whether a bud is a flower bud or a leaf bud, postpone major pruning until the post-bloom window and remove only clearly dead wood.
Diagnose the failure before changing the location
The most common mistake in a rhododendron problem is treating every droop or yellow leaf as thirst. Check the root-zone moisture, the drainage path, the pH, the recent weather, and the plant’s exposure before changing fertilizer or moving a shrub.
Yellow leaves with green veins
Yellow tissue between green veins often points to iron chlorosis, but the underlying cause may be high pH, compacted soil, excess water, damaged roots, or too much fertilizer. Test pH and drainage first. A foliar iron product may temporarily improve the newest leaves, but it does not repair a root zone that is too alkaline or airless.
Do not use aluminum sulfate as a quick acidifier for rhododendrons. The American Rhododendron Society identifies wettable sulfur or ferrous sulfate as materials commonly used to lower pH and specifically warns against aluminum sulfate because it can damage rhododendron and azalea roots. Use any amendment only according to a soil test and product directions.
If the soil is persistently wet, fixing the bed or moving the plant to a raised, freely draining position matters more than chasing the leaf color. A plant with badly damaged roots may not recover immediately after correction; give it stable conditions and time to replace feeder roots.
Wilt in wet soil, dry soil, or winter wind
Wilt in genuinely dry soil calls for a slow, deep soak and a review of mulch, wind, and container size. Wilt in wet soil is different: stop adding water, check whether the hole or pot drains, and look for declining roots or dieback. Waterlogged roots cannot take up water normally, so the plant can look thirsty while more irrigation makes the damage worse.
Winter browning or leaf scorch may be exposure rather than a soil problem, especially on an evergreen plant facing cold wind or strong winter sun. Shield the plant from wind, keep the root zone evenly moist before the ground freezes where practical, and avoid stimulating new growth late in the season. A potted plant may need a more protected winter location even when the same cultivar survives outdoors in a bed.
If the site repeatedly fails the drainage test, the best recovery may be to rebuild the bed, transplant a small shrub during a suitable cool season, or replace the plant with a better-matched species. Moving a large established rhododendron is disruptive; do not keep repeating the same watering-and-fertilizer experiment while its roots remain in a bad site.
Keep pets and livestock away from rhododendron
Rhododendrons, including azaleas, contain grayanotoxins and are toxic to dogs, cats, and horses. The ASPCA lists signs such as vomiting, diarrhea, excessive salivation, weakness, and more serious nervous-system or cardiovascular effects; it also warns that ingesting only a few leaves can cause serious problems. (ASPCA: Rhododendron)
Keep fallen leaves, prunings, and clipped flower trusses away from animals as well as the living shrub. If a pet or livestock animal may have eaten any part of the plant, contact a veterinarian or an animal poison-control service promptly rather than waiting for symptoms. Choose a physically inaccessible location or a different plant when animals routinely browse the garden.
Conclusion
The ground is the better home for a rhododendron when the cultivar has room to mature and the bed provides acidic, well-drained soil, filtered light, and shelter. It supports a larger root system and steadier moisture with less long-term intervention.
A container is the better answer when the plant is compact and the garden soil is the constraint. Use an acid-loving mix, a stable pot with real drainage, afternoon protection, and a plan for summer watering and winter exposure. In either setting, the decisive step is the same: test the site before planting, keep the shallow roots moist but oxygenated, and treat the soil or exposure problem instead of trying to out-fertilize it.



