How to Decorate a Christmas Tree in a Corner
Learn how to decorate only the visible half of a Christmas tree in a corner—save ornaments, keep the tree stable, and make the shortcut look intentional.

A Christmas tree does not have to be decorated for a jury sitting behind it. If the tree lives in a true corner, with two planes hidden by walls and a clear view from the room, you can decorate the visible face and the two front edges while leaving the back mostly bare. Done thoughtfully, it reads as intentional styling rather than an unfinished job.
That distinction matters when the tree is oversized for the room. A large tree can demand a surprising number of ornaments, extra ribbon, more time on a ladder, and more breakable pieces within reach of curious pets. The corner-tree shortcut reduces the surface you have to fill, but it only works when you plan the sightline, keep the tree stable, and finish the base well.
The method below is for artificial and cut trees, including flocked trees. It does not tell you to ignore the back of a tree that people can walk around, and it does not turn a real tree into a low-maintenance decoration. It is a way to spend your decorating budget where people actually look.
What the front-half Christmas tree trick actually means
Think of the arrangement as a three-sided display: a broad front panel plus a narrow strip on each side. The back two quarters face the walls, so they support the silhouette but do not need the same density of ornaments. You are not slicing a tree in half; you are choosing which surfaces carry the visual story.
The best placement is a corner that hides the trunk’s rear axis and most of the deep branch tips from normal standing height. A tree pushed into the corner of a living room, beside a bookcase, or next to a window return can work. A tree in the center of a dining room cannot, even if one photograph makes the trick look convincing.
The savings are not always exactly 50 percent. Tree branches overlap, lights may already be installed around the entire frame, and the outer edge still needs enough decoration to make the front look dimensional. A better expectation is that you buy fewer filler ornaments and reserve your best pieces for the visible zone.
Is this shortcut right for your tree and room?
Use the shortcut when the tree has a fixed home and most people view it from one main approach. It is especially useful in a small apartment, a narrow living room, a room with a fireplace-and-window corner, or any home where the tree would otherwise steal a walkway. An artificial tree is the easiest candidate because you can leave its hidden side sparse year after year.
A real tree can also work in a corner, but the decision should begin with access to the stand, not ornament count. You must still be able to check the reservoir, catch spills, inspect the trunk, and remove the tree without scraping branches along a wall. If the only possible position leaves the stand wedged behind furniture, choose a smaller tree or a different location.
Skip the half-tree plan when the back faces a staircase, a doorway, a kitchen work zone, or seating where people regularly move behind it. Also skip it if you host gatherings in which guests will circulate around the trunk. In those rooms, a lightly decorated back is not a money-saving shortcut; it is a visible unfinished surface.
Measure the tree, corner, and viewing angles first
Measure the tree’s height including the stand and topper, then measure its widest branch span after the branches are fully fluffed. Leave enough overhead space for the tip to sit below the ceiling and enough floor space for the stand to sit level without touching baseboards. Flocked branches can look narrower in the box than they do after the coating and tips are spread.
Before decorating, put the tree in the proposed corner and stand at the room’s main entry point. Then check it from the sofa, the dining table, and any place where guests usually gather. Walk the room once and mark the farthest angle from which the rear branches become visible. That angle defines your “side strips”; do not hang ornaments only in a mathematically straight front semicircle if the room exposes one flank.
Use painter’s tape on the floor to mark the stand footprint and the branch tips. This small test reveals whether the tree blocks a walkway, covers an outlet, or makes the room feel pinched before you spend an hour fluffing it. It also gives you a repeatable footprint for next year.
Set the tree in the corner for a convincing “full” view
Start with the tree a few inches away from each wall rather than pressing branches hard against the paint. The gap lets you rotate the tree, keep the needles from being crushed, reach the stand, and route a cord without pinching it between a branch and the wall. For an artificial tree, turn the fullest, most symmetrical face toward the room; the factory seam or emptier back can face the corner.
For a real cut tree, orient the trunk and strongest lower branches so the tree’s natural weight leans into the room only slightly, not toward a wall. Never use the corner as the thing that holds a leaning tree upright. The stand should carry the load, and a tall or top-heavy tree may need a discreet tether to a wall stud or another secure point.
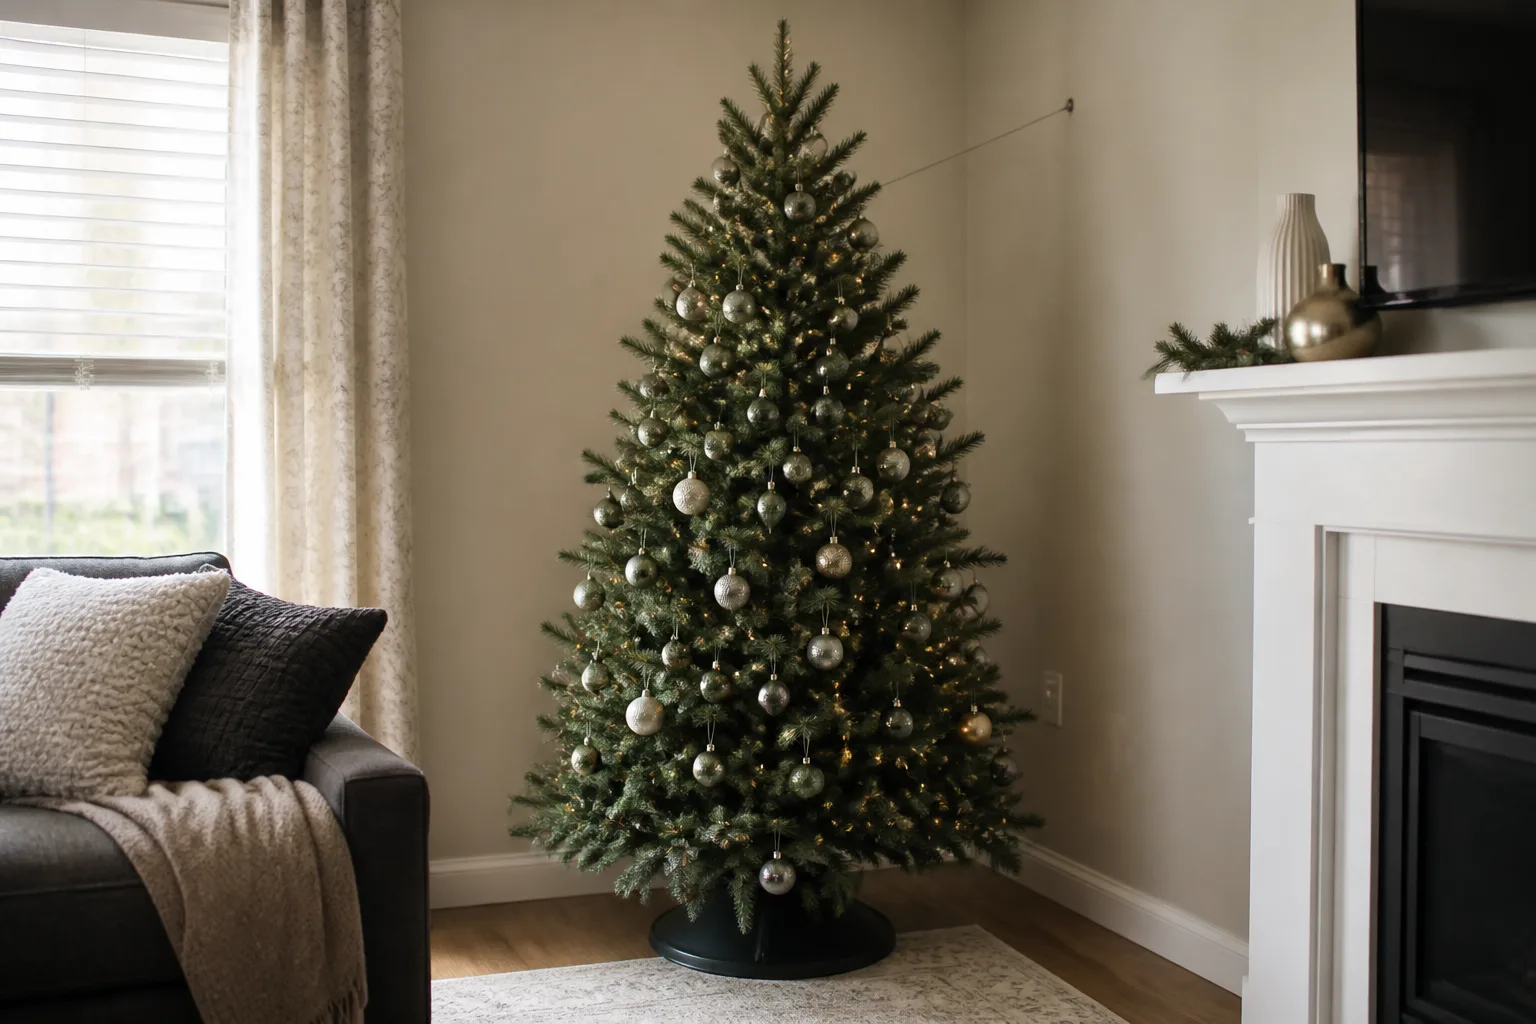
Stabilize the trunk before you hang a single ornament
Check the stand on the bare floor first. Its feet should sit flat, the trunk should be centered, and the fasteners should contact the trunk firmly without splitting it or crushing the bark. Do not compensate for a crooked cut by stuffing paper, cardboard, or loose objects beneath one stand leg; level the stand on a sound surface instead.
Tall trees deserve a second layer of protection because ornaments and pets add movement after setup. A clear cord or purpose-made wall tether attached high enough to resist a sway can be nearly invisible from the room. Fasten it to a structural point that can handle the load, keep it away from hot bulbs, and treat it as a backup rather than permission to use an undersized stand.
Do the wobble test before adding lights: hold the trunk near shoulder height and apply a gentle push from the front, then from each side. The tree should settle without the base walking or the trunk sliding in the stand. If it moves now, it will move more once the branches carry decorations.
Build the illusion with lights before ornaments
Lights are what make a sparse hidden side disappear. They create depth behind ornaments, outline the outer silhouette, and keep a dark patch near the corner from announcing that the tree is only decorated for the room. They also need to be installed before ornaments so you are not repeatedly bumping fragile pieces while reaching through branches.
On a pre-lit artificial tree, use the built-in lighting as designed and resist the urge to add several extra strings just to compensate for empty branches. On an unlit tree, concentrate the brightest, most visible runs on the front and side edges, but leave enough light near the trunk to avoid a flat wall of sparkle. The goal is a gentle gradient: darker in the hidden corner, brighter toward the face.
Use LED strings when they are compatible with the tree and your existing setup; follow the manufacturer’s instructions for connection limits and indoor or outdoor ratings. Inspect every cord for fraying, pinching, exposed wire, loose sockets, or heat damage. Secure runs so they rest on branches rather than hanging in a tight, hot knot at the trunk.
Treat the visible face as a shallow stage
Imagine the decorated half as a shallow stage set. The edge branches are your side curtains, the center is the focal wall, and the empty depth behind it is scenery. Place a few lights and larger shapes close to the trunk so the display does not look like a flat sticker pasted onto the outer tips.
Stand back with the room lights on and then with them dimmed. If one side goes dark, add light along that side’s outer branch line before adding more ornaments. This is one reason the shortcut can save time: you correct the two or three sightlines that matter instead of crawling around the entire tree.
Use a front-half ornament map that looks balanced
Decorate in layers, from the pieces that establish structure to the small pieces that fill gaps. Begin with the topper and any ribbon or garland, then place a small number of large ornaments at the lower, middle, and upper thirds. Follow with medium pieces, then small ornaments only where the light reveals a hole.
For a large tree, use a simple three-zone map. The center front carries your strongest color or collection; the left and right edges carry repeated shapes that make the tree feel finished from an angle; the lower third carries heavier pieces only on sturdy horizontal branches. Keep the visual weight near the trunk instead of hanging everything on the last few inches of the tips.
Vary the height and depth of each color rather than making a red stripe on the left and a gold stripe on the right. A good check is to photograph the tree from the doorway and turn the image upside down. The upside-down view makes lopsided clusters easier to spot because you stop reading individual ornaments as sentimental objects.

Which ornaments belong on the hidden side?
Put anything that needs a full 360-degree view, a stable horizontal branch, or easy access on the visible face. That includes heirlooms, handmade ornaments, reflective baubles, shaped ornaments, and pieces that help guests understand the theme. Hang them where the light catches them and where you can retrieve them without reaching behind the tree.
The hidden side is a good home for duplicate filler balls, lightweight unbreakable ornaments, simple wooden shapes, or nothing at all. If a rear branch peeks out from a doorway, place one or two repeat-color pieces there rather than trying to create a second composition. A matching pair at the edge is more effective than a random handful scattered where no one can see them.
Do not load the front half with every heavy ornament you own. A corner tree can still become front-heavy, especially when its back branches are bare and the most substantial pieces are hung on the room-facing tips. Use the branch’s natural strength as a guide, and move a heavy piece inward or downward if the tip bends.
Make the base and corner feel finished
The lower edge tells people whether the tree is intentional. A tree skirt, collar, or simple woven mat hides the stand, conceals a few empty lower branches, and gives the eye a finished boundary. Choose a base piece wide enough to cover the stand and any visible cord without bunching against the wall.
Keep the cover removable if the tree is real. You need to inspect and refill the stand without soaking fabric, and you need to see whether water has spilled onto a wood floor or rug. For an artificial tree, keep the cord path accessible and avoid piling paper, fabric, or gifts directly over the plug and power strip.
The corner itself can carry some of the decoration. A small basket of wrapped gifts, a wall wreath, or a single side table can bridge the tree to the room, but do not build a cluttered barricade around the base. Leave a clear route for watering, cleaning, and taking the tree out.
Real tree care still matters behind the curtain
A corner placement does not change the biology of a cut tree. Once indoors, a real tree still loses moisture through its needles, and a dry stand can accelerate needle drop and create a serious fire risk. The hidden side may need fewer ornaments, but it does not get a pass on water, temperature, or access.
The National Fire Protection Association estimated an average of 160 home structure fires per year that began with the ignition of Christmas trees during 2016–2020, with two civilian deaths, 11 injuries, and $12 million in direct property damage annually. NFPA also reports that electrical distribution or lighting equipment was involved in 44 percent of these fires, while heat sources placed too close to the tree contributed to 20 percent. Those figures are a reason to make the practical parts of this hack boring and consistent.
The Fine Gardening account of a 13-foot Fraser fir shows the everyday problem with large trees: even a substantial stand can empty quickly, and reaching the reservoir can knock ornaments loose. The article describes an external basin-and-hose setup as a personal workaround, but any watering system around a living room must be leak-proof, stable, and easy to monitor; a plain accessible stand is usually the safer choice for a typical home.
Fresh cut, water, and heat control
If the tree has been out of water since harvest or purchase, ask for a fresh, straight cut across the base before placing it in the stand. Gardening Know How explains that a cut trunk can seal with sap and that trimming the base helps reopen the water-conducting tissue. Set the trunk into water promptly after the cut rather than leaving it exposed while you finish the decorating setup.
Check the reservoir at least daily, and more often during the first few days indoors or during a warm, dry spell. Keep the cut end submerged; if the water drops below it, the trunk can seal again and reduce uptake. Do not hide the stand behind gifts or a heavy skirt until you know you can refill it without moving the tree.
Use plain water unless a local extension recommendation for your specific tree says otherwise. Sugar, soda, bleach, alcohol, and kitchen recipes add mess or uncertainty without replacing the two things that matter most: a fresh cut and an uninterrupted water supply. If the needles are brittle, the tree sheds heavily when touched, or the branches feel dry, stop treating it as a decorating project and remove it promptly.
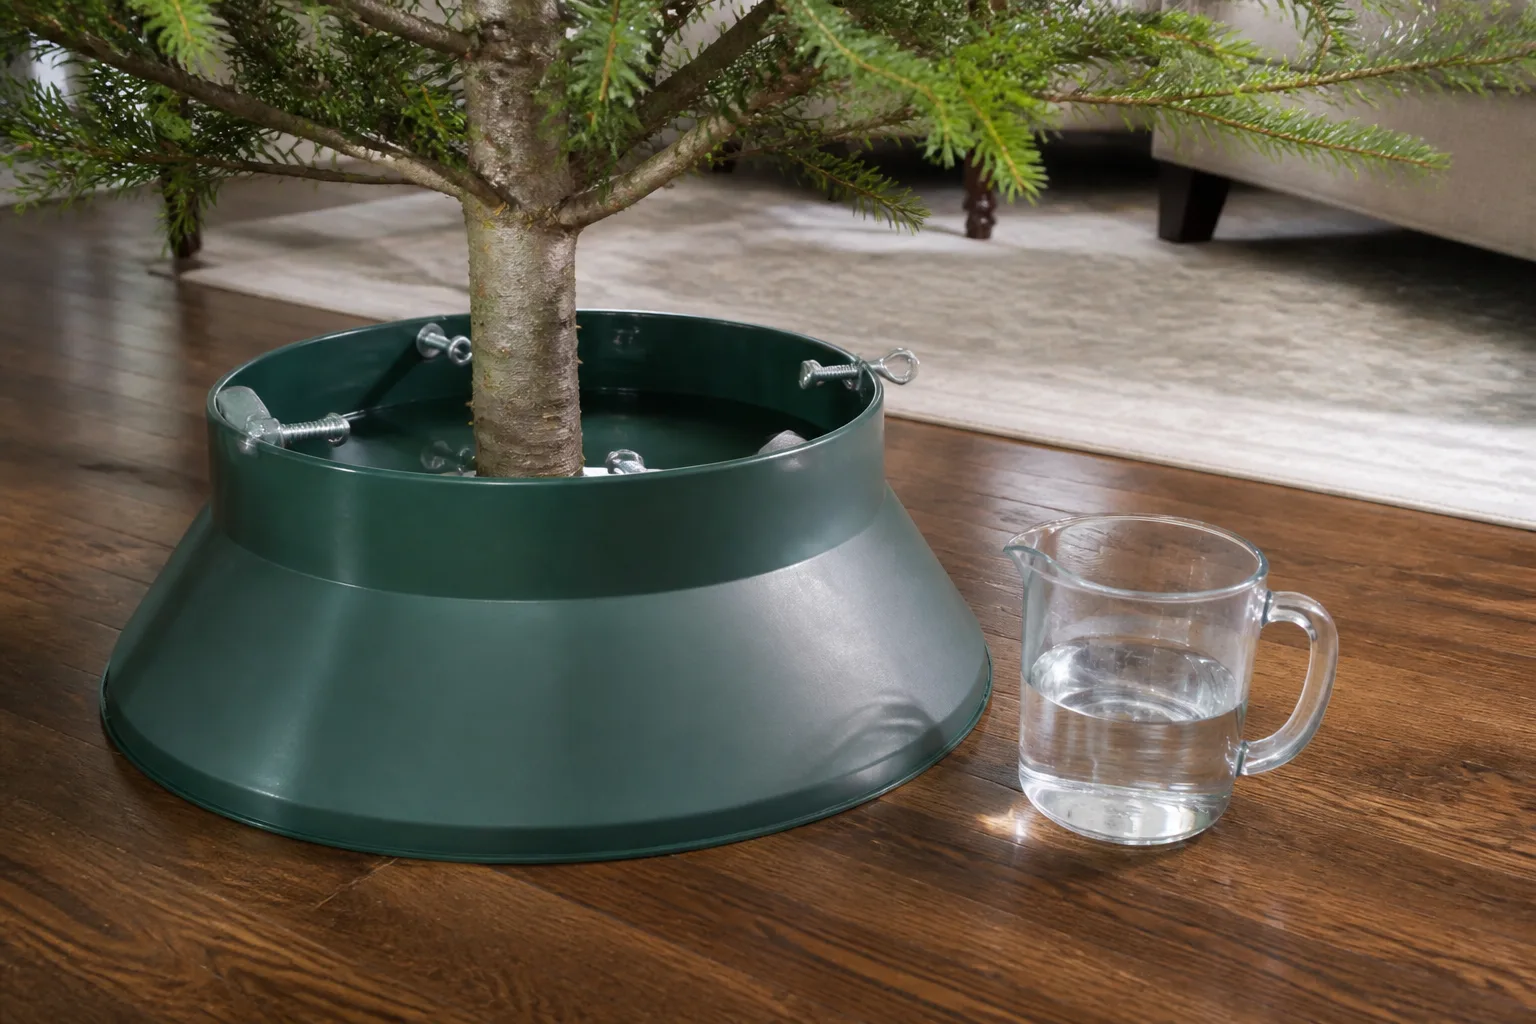
Keep cords, heat, and exits safe
The U.S. Fire Administration advises inspecting holiday lights, following the manufacturer’s connection instructions, watering a real tree every day, and keeping the tree at least three feet from fireplaces, radiators, space heaters, candles, and heat vents. It also says the tree should not block exits and should come down after the holiday or when it is dry. A corner is useful only if it still leaves these clearances and an unobstructed path out of the room.
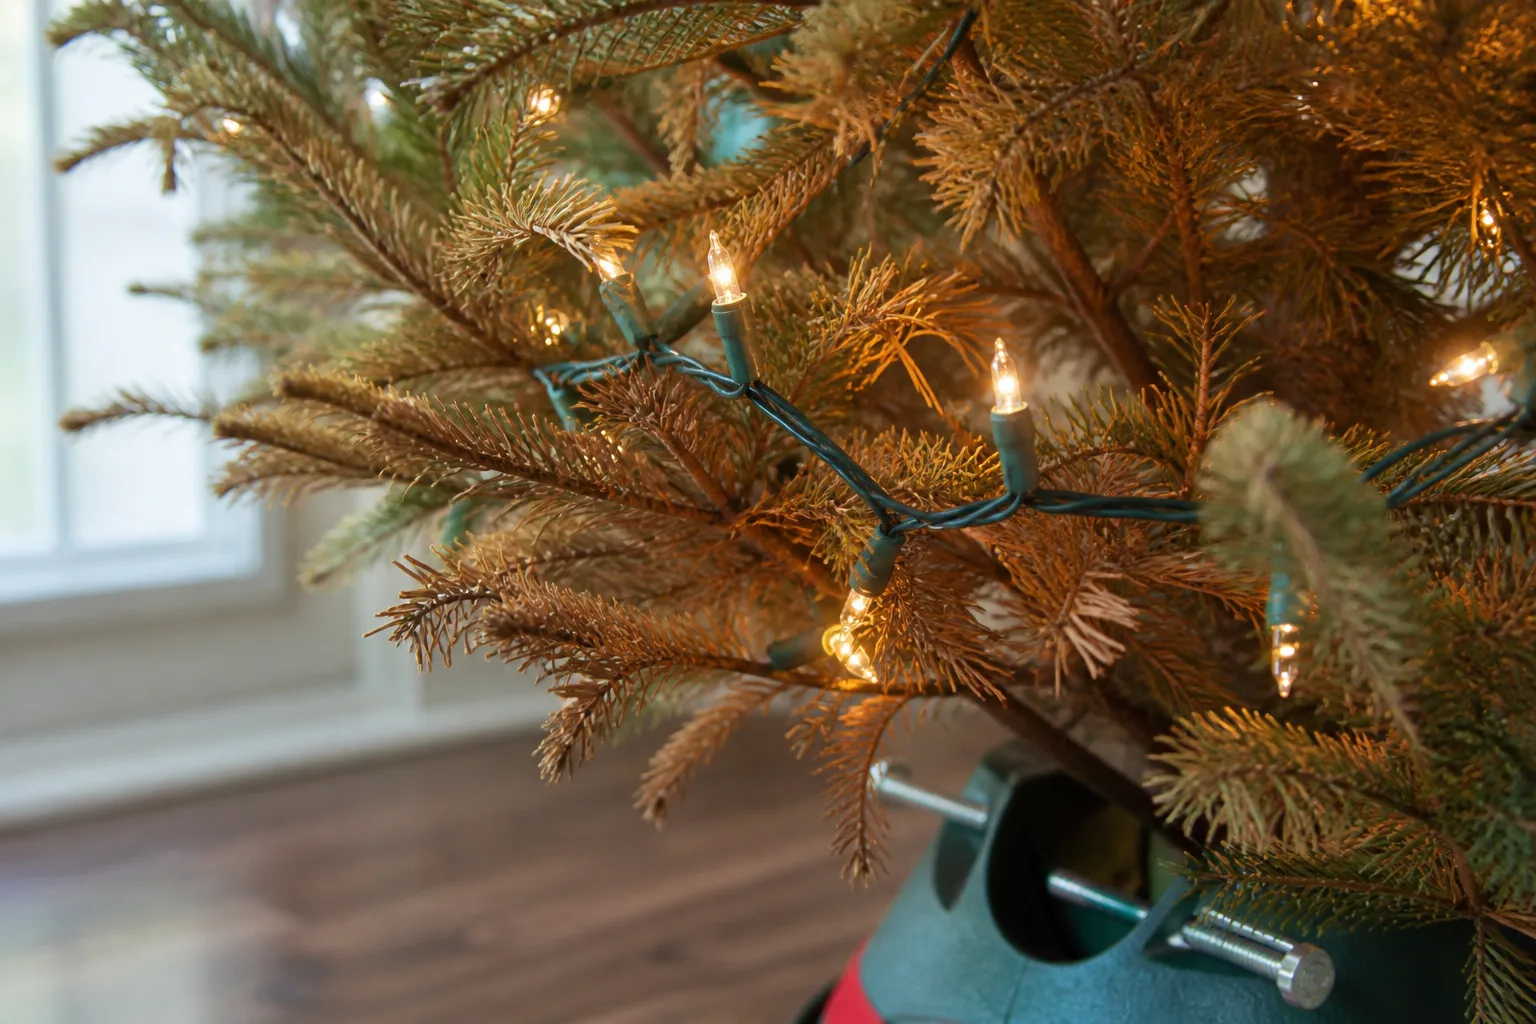
Route the light cord along the wall edge without putting it under a rug where it can be crushed or forgotten. Do not daisy-chain power strips to gain reach, do not run a cord through a damp stand area, and do not use a damaged string because “only the front is lit.” Turn lights off when you leave or go to sleep unless a properly rated, tested timer is being used according to its instructions.
Keep candles, fireplaces, and portable heaters out of the tree’s clearance zone, including the side that disappears into the corner. If a vent blows directly into the branches, move the tree or redirect the airflow rather than trying to compensate with extra water. Heat can dry a real tree and can also warp or discolor artificial materials.
Make the shortcut safer for cats, dogs, and children
The hidden side can reduce access, but it is not a barrier. A cat can climb from furniture, a dog can reach low branches from the front, and a child can pull a bright ornament from the edge. Use the corner to remove one approach route while still planning the accessible face as a high-traffic zone.
Put glass, sharp hooks, thin wire, and sentimental pieces above the reach of children and away from the lowest pet-accessible branches. Use shatter-resistant ornaments or soft decorations low down, shorten or secure loose ribbons, and keep tinsel, string, and small detachable parts out of reach. Never leave a dangling light cord where it can invite chewing or tugging.
The stand water is another reason to keep the base controlled. Do not add sugar, bleach, alcohol, or other homemade mixtures to a reservoir that a pet might drink from, and keep the water physically inaccessible when possible. A stable wall tether, a furniture gap that does not create a climbing launch point, and a daily check of the lowest branches work together better than one “pet-proof” product claim.

When a half-decorated tree will not work
The shortcut fails when the room exposes more of the tree than you planned. A mirror can reflect the bare back, an open-plan floor plan can create a second viewing angle, and a glass door can reveal the corner from outside. Check reflections and adjacent rooms before declaring the hidden side invisible.
It also fails when the tree’s silhouette depends on ornaments to disguise large gaps. Some sparse-branch trees, very narrow pencil trees, and heavily flocked trees show their branch structure clearly from every angle. In that case, reduce the tree’s size, add one repeated strand of garland at the visible edges, or decorate the whole silhouette lightly instead of forcing a half-tree composition.
Finally, do not use the shortcut to justify a dangerous location. If the corner is beside a heater, blocks a fire escape, prevents access to a real-tree stand, or makes the tree impossible to anchor, the correct money-saving move is a smaller tree. Buying fewer ornaments is not a win if the placement creates a fall, burn, or electrical hazard.
Pack and label your decorations for next year
The shortcut saves the most money when it becomes a repeatable system. Before taking the tree down, photograph the front view from the doorway and label the storage boxes by zone: “front focal,” “left edge,” “right edge,” “base,” and “hidden filler.” This prevents you from rebuying ornaments because you cannot remember what filled the visible spaces.
Keep hooks, spare bulbs, light instructions, the wall-tether hardware, and the floor-footprint measurements in one small labeled pouch. Note the tree’s height, width, stand model, and the wall or outlet it used. If you change rooms next year, the notes will tell you whether the same half-decorated plan still makes sense.
For an artificial tree, remove ornaments before compressing branches and let any flocking or dust settle before sealing the storage bag. Store fragile focal ornaments in a rigid container, not loose in the branches bag. For a real tree, remove lights and decorations before taking it outside, and follow your community’s collection or recycling instructions rather than leaving it where it can dry indoors.
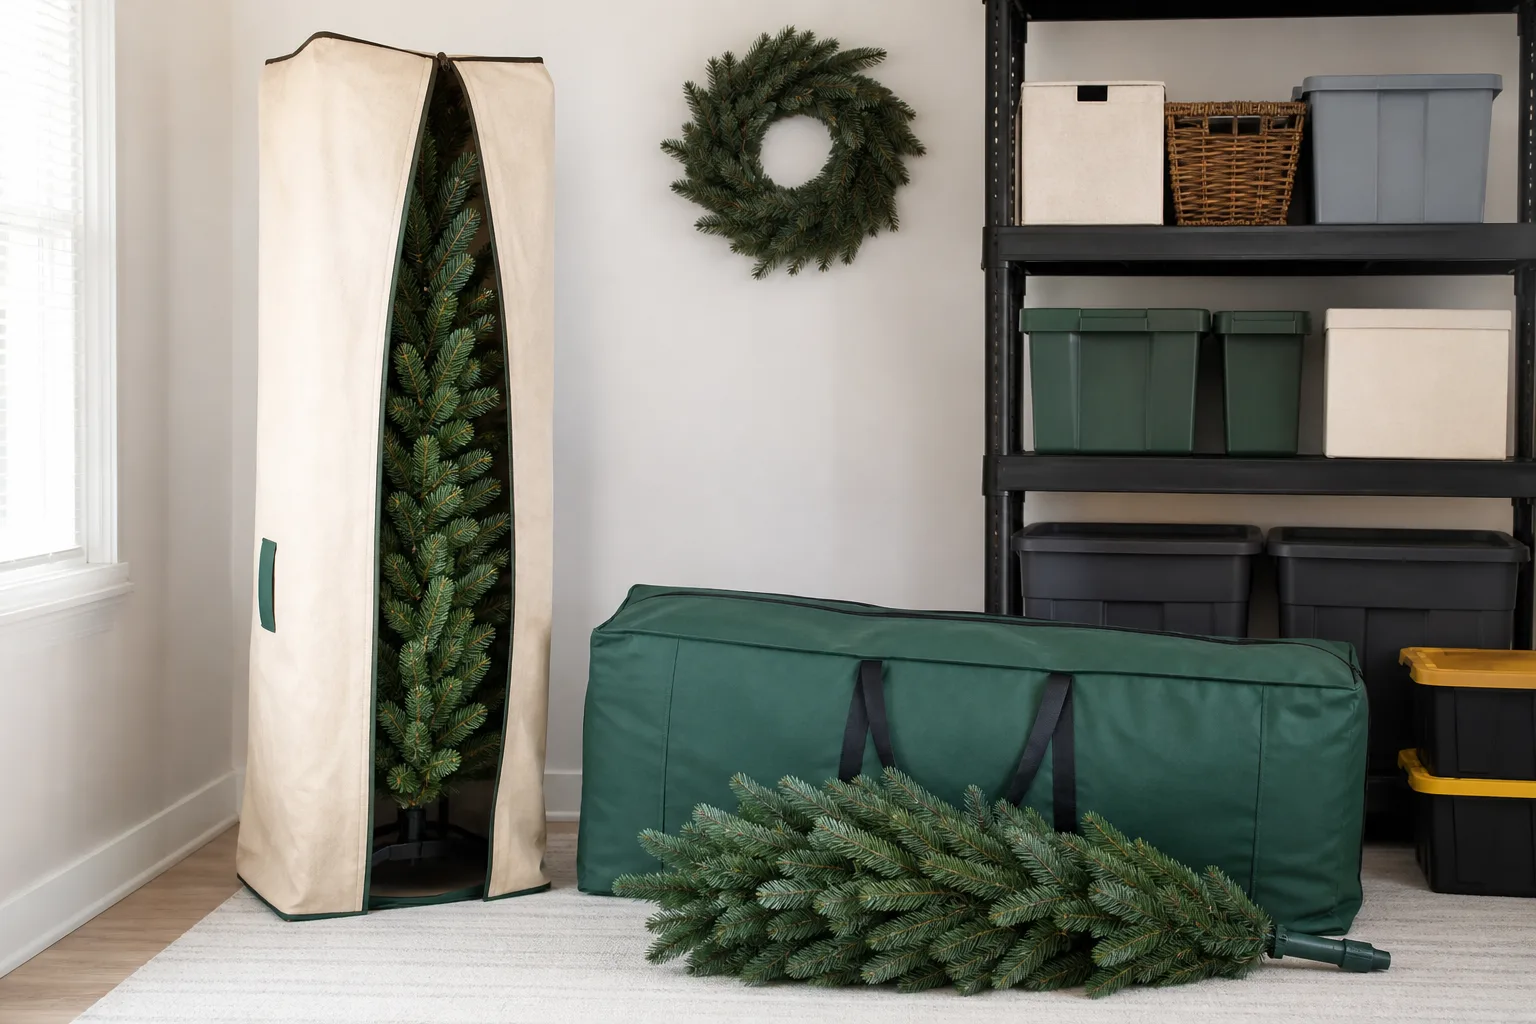
Conclusion: decorate the view, not the parts nobody sees
The useful idea is not “decorate half a tree and hope no one notices.” It is to choose a fixed viewing zone, place the tree so the walls do the hiding, stabilize it first, use light to build depth, and spend your best ornaments on the surfaces that carry the room’s view. The back can be sparse because the composition is deliberate, not because the work ran out.
Measure before you buy, keep the stand and cords accessible, respect heat clearances, and treat a real tree’s water routine as non-negotiable. When the room truly supports the layout, a giant corner tree can look generous and finished while using fewer ornaments, creating fewer breakable targets, and making next year’s decorating faster too.



