How to Grow and Care for Nasturtium
Learn how to grow and care for nasturtium with clear guidance on timing, seed sowing, light, soil, watering, containers, pests, and edible harvests.
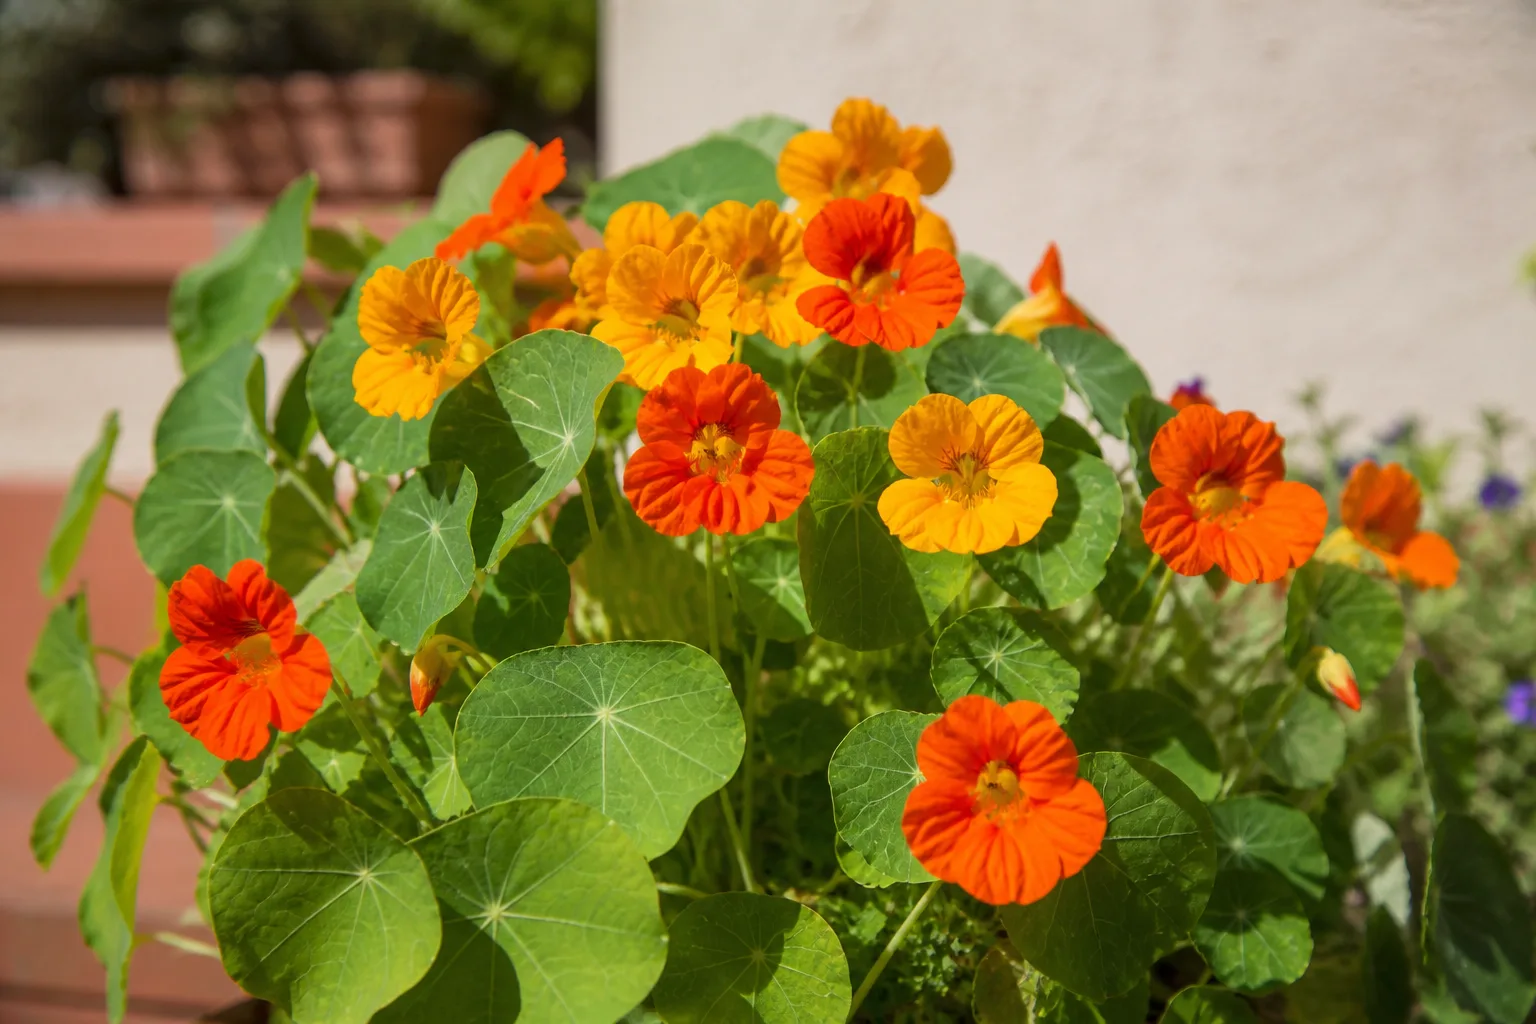
Nasturtium (Tropaeolum spp.) earns its place in a garden by doing several jobs at once: it fills a sunny gap with saturated flowers, spills over a container, gives pollinators something to visit, and adds a peppery edible garnish to the kitchen. It is also forgiving when the soil is merely average, which makes it a useful first flower to grow from seed.
The main way to fail is to treat every nasturtium the same. A compact bush type can stay in a patio pot, while a trailing type can cover a path or climb a support. A seedling planted too early may be lost to frost, and a plant pushed with rich compost may make a jungle of leaves instead of the flowers you wanted. The routine below is built around those decisions.
Know which nasturtium you are growing
Nasturtium is a common name for plants in the genus Tropaeolum. The familiar garden nasturtium, Tropaeolum majus, is usually grown as a warm-season annual, although some Tropaeolum species are perennial in mild climates. The Royal Horticultural Society describes the group as including bushy, trailing, and climbing plants with rounded leaves and trumpet-shaped flowers, so the seed packet’s growth habit matters as much as its flower color. The RHS genus guide is a useful reference when a label uses “nasturtium” without much detail.
Match bushy, trailing, and climbing types to the space
Choose a bushy or dwarf variety for a border edge, window box, or container where you want a mound that stays roughly contained. These types are often the least demanding choice for a small garden because they do not need a trellis and are easier to keep away from walkways.
Choose a trailing or climbing variety when the plant has somewhere to go. Let it cascade over the edge of a raised bed, spill from a hanging basket, wander as ground cover, or grow up a narrow support. Long stems can become surprisingly vigorous, so plant them at the back or edge of a bed rather than in the middle of a path you still need to use.
The variety also affects what you see. Some cultivars hold flowers above the leaves, while others hide their blooms inside a broad canopy. If flowers are the priority, choose a variety described as free-flowering and give it enough light; if edible leaves or ground cover matter more, a leafy trailing type can still be worthwhile even when bloom slows in heat.
Plant nasturtiums at the right time
Plant outdoors after the danger of frost has passed and the soil is beginning to warm. Nasturtiums are tender plants; a late freeze can kill young plants even if the daytime forecast looks pleasant. The RHS recommends sowing annual nasturtiums indoors in spring for planting out after the last frost, while also noting that direct outdoor sowing in late spring or early summer works well because the plants flower quickly. Read the RHS annual nasturtium growing guide.
Use your local last-frost date as a planning marker, not a promise. In a cool climate, direct sowing a week or two after the average last frost may give better results than trying to gain a few days with fragile transplants. In a mild, frost-free climate, nasturtiums can behave as longer-lived plants or reseed freely, but heat can shorten the flowering window just as surely as cold does.
In hot-summer regions, aim to grow them during the cooler part of the year. A spot with bright morning sun and afternoon protection can extend the season, while a full-sun location may be ideal in a cool climate but exhausting in a hot one. If you are growing for flowers, do not wait until the hottest part of summer to sow and expect the same performance as a spring crop.
Grow nasturtium from seed with minimal transplant shock
Direct sowing is usually the simplest method. Make a hole about 1/2 inch deep, place one large seed in it, cover lightly, and keep the surface evenly moist until seedlings appear. A practical spacing range is 10 to 12 inches for ordinary garden plants; thin crowded seedlings rather than leaving every seedling to compete for light and air. Growing in the Garden gives a similar depth and spacing range and notes that nasturtiums are easy to sow directly in the garden. Its seed-starting guide also explains why direct sowing is often preferable.
Nasturtium seeds have a hard coat. You can plant them as they are, or gently rub one small spot with sandpaper and soak the seeds in lukewarm water for several hours before sowing. Scarification and soaking can speed water entry, but they are optional rather than a test you must pass. If you use the method, handle the seed gently and sow it immediately; do not leave swollen seed sitting in water for days.
If you must start indoors, sow four to six weeks before the last frost in a biodegradable pot or a container that allows the root ball to slide out with minimal disturbance. Nasturtiums dislike rough transplanting. Harden the seedlings off over about a week by gradually increasing their exposure to outdoor light and wind, then plant them at the same depth they grew indoors. A root-bound, stretched seedling is not automatically a better head start than a fresh seed sown in place.
Keep newly sown soil moist but not muddy. Once the seedlings emerge, move from frequent light watering to deeper watering as needed so the roots explore downward. If the bed crusts over after heavy rain, gently loosen only the surface around the seedlings; do not bury the stems or disturb the root zone with repeated digging.
Choose light, soil, and spacing for flowers
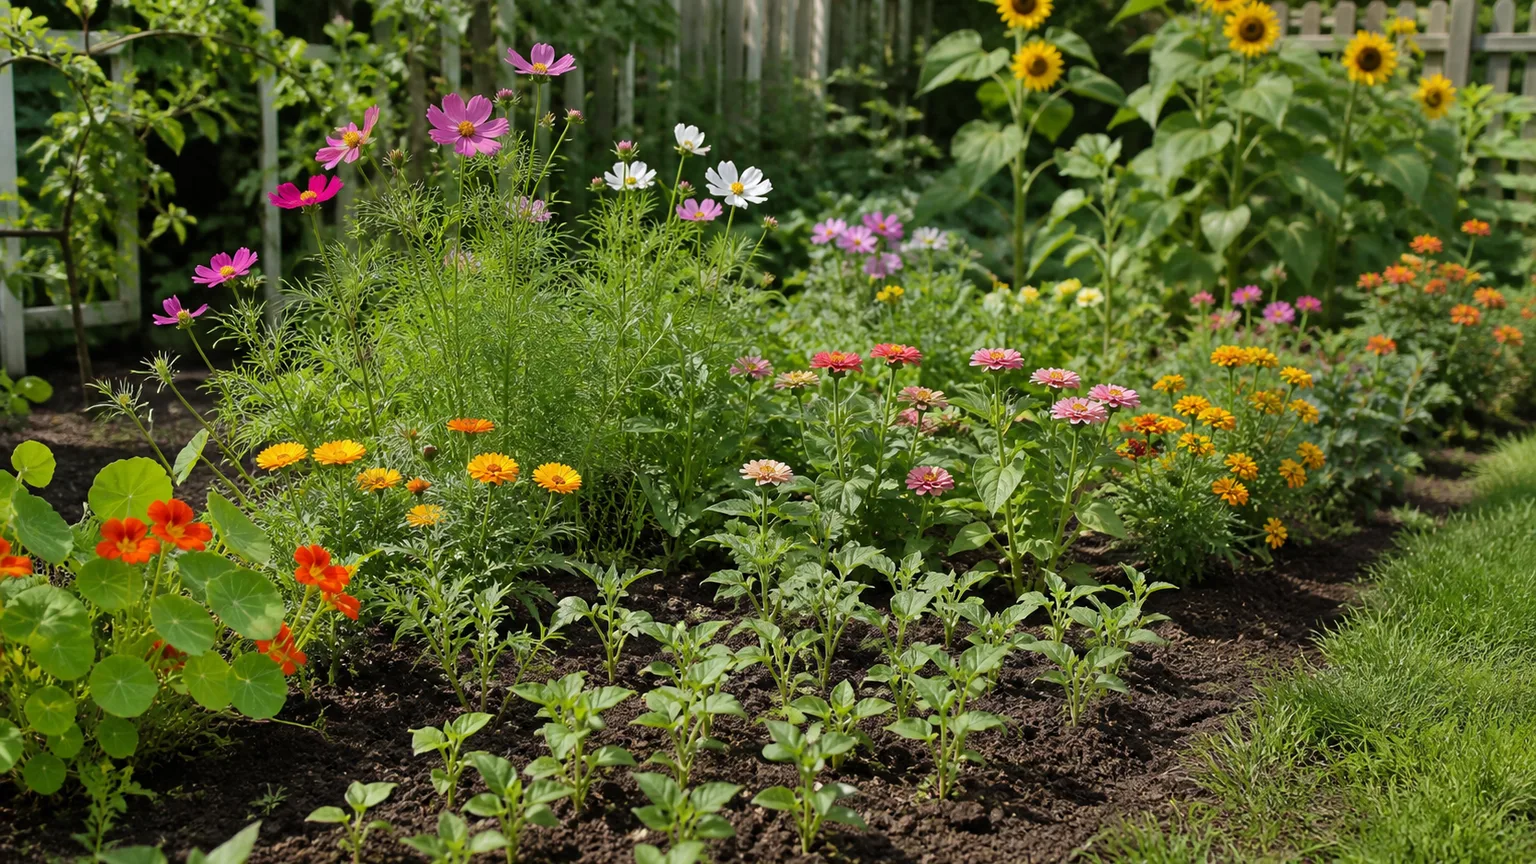
Give nasturtiums at least six hours of direct light when abundant flowers are the goal. They can grow in partial shade, especially in a hot climate or when you mainly want edible leaves, but shade usually produces fewer flowers and longer, softer stems. Morning sun with afternoon shade is a useful compromise where summer heat is intense.
Use soil that drains freely and does not stay saturated after rain. Nasturtiums tolerate ordinary or poor soil, but they do not enjoy a compacted bed that holds water around the roots. In a container, use a quality potting mix rather than garden soil, and make sure the pot has an open drainage hole.
Space plants for their mature habit, not just the size of the seedling. Air should be able to move through the foliage, and a trailing plant needs room to spill without being constantly stepped on. Good spacing also makes it easier to inspect leaf undersides for aphids or caterpillar eggs.
Why poor soil can produce better blooms
High-nitrogen soil can create impressive foliage and disappointing flowers. If your nasturtium is green, vigorous, and nearly bloomless, first check light and soil fertility before reaching for a bloom booster. The RHS specifically warns that very fertile conditions can make annual nasturtiums too leafy, and practical growers report the same trade-off in beds amended heavily with compost.
This does not mean you should plant in sterile dust. A reasonable, well-drained garden bed is enough. Improve structure when the soil is compacted or drains badly, but do not automatically add a thick layer of manure or high-nitrogen fertilizer directly around the nasturtium. If nearby vegetables need feeding, apply nutrition according to those crops’ needs and keep in mind that the nasturtium may respond with leaves rather than flowers.
Water deeply, then let the root zone breathe
Water new seedlings and transplants regularly while they establish. After that, water when the soil is dry a couple of inches down or when the plant shows early heat stress, then soak the root zone thoroughly. There is no useful universal schedule because a nasturtium in a shallow pot, a raised bed, and heavy clay will dry at very different speeds.
In the ground, established nasturtiums can tolerate short dry periods, but drought often reduces flowering and makes the plant look thin. Containers and hanging baskets dry faster and may need checking every day in hot, windy weather. Test the mix with a finger rather than watering because the calendar says it is “watering day.”
Water at the soil line when possible, especially if the weather is cool, cloudy, or humid. The round leaves shed water, but splashing can still move bacteria and soil onto foliage. The Connecticut Agricultural Experiment Station recommends avoiding overhead irrigation and improving air circulation to reduce bacterial leaf spot on nasturtiums. See its nasturtium plant-health guidance.
If rain has left the bed saturated, do not compensate by adding fertilizer or digging around the roots. Let the soil drain, remove badly damaged leaves, and improve the bed’s structure before the next planting. Water stress and root stress can look similar from a distance; always feel the soil first.
Grow nasturtiums in containers and hanging baskets
Containers are especially useful for bush varieties, trailing types, and gardeners who want to control self-sowing. Pick a pot with drainage holes and enough width for the chosen habit. A compact variety can share a broad window box with other flowers, while a trailing type needs room for vines to spill without smothering every neighboring plant.
Use an ordinary, well-drained potting mix and avoid filling the pot with rich compost. The container will dry more quickly than a bed, so check the mix often during flowering. When you water, wet the entire root ball until excess drains from the bottom, then empty a saucer or cover pot. Repeated shallow sips encourage a dry surface and a wet lower pocket rather than a balanced root zone.
For a hanging basket, place the plant where you can still reach the top of the pot. A basket that looks beautiful from below can become hard to water, inspect, or harvest. If you choose a climbing type for a container, give it a small trellis or position the pot beside a fence; if you want a cascade, skip the support and let the stems fall freely.
Train, pinch, deadhead, and prune without overworking the plant
Nasturtiums do not need formal pruning. Pinch the growing tip of a young plant if you want more side branches and a bushier shape. For a trailing plant, shorten a stem that has crossed a path or buried a neighboring crop by cutting just above a leaf joint with clean snips.
Young climbing stems are easier to guide than mature ones. Use a narrow mesh, string, or obelisk and weave the stems loosely through the support. Broad trellises can work, but they may require occasional tying because nasturtiums twine with their leaf stalks rather than gripping every surface. Savvy Gardening’s climbing nasturtium guide shows how the same plant can be allowed to ramble, cascade, or grow vertically.
Deadheading is optional. Remove faded flowers if you want to keep the plant focused on new blooms, especially in a container where you can reach every stem. Leave some flowers to form seed if you want self-sown plants or seed to collect. Do not cut back a heat-stressed plant simply because it looks untidy; provide appropriate moisture and shade first, then prune once it begins to recover.
Use nasturtium as an edible companion plant
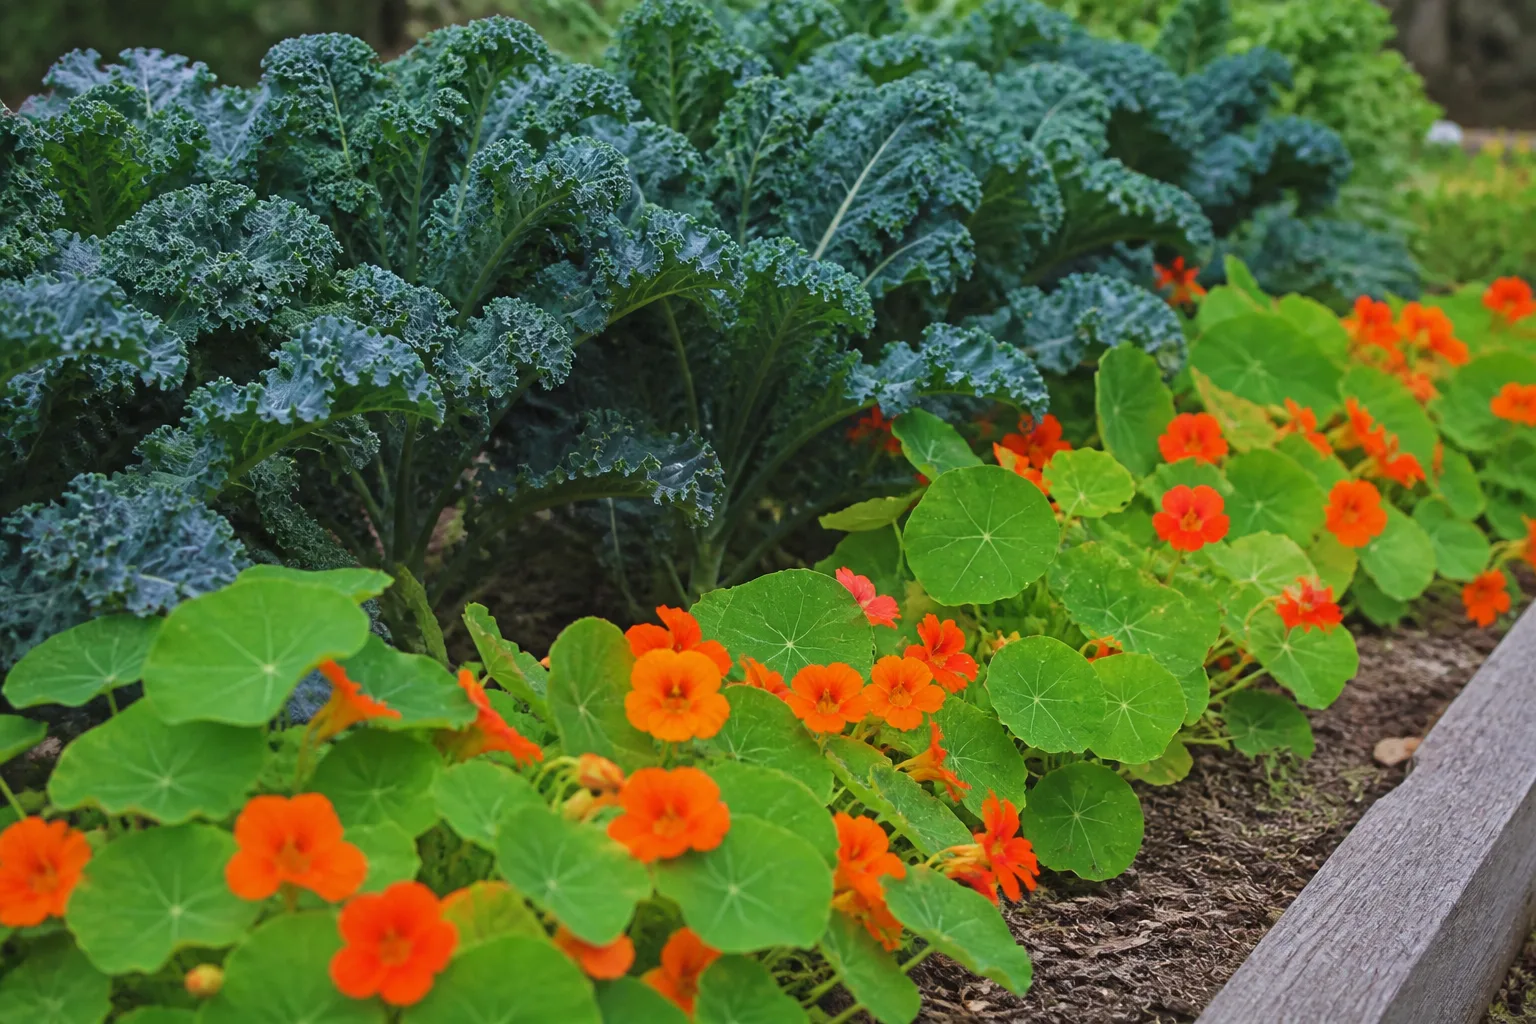
Nasturtiums fit naturally around the edge of a vegetable bed because they are ornamental and edible. Their flowers bring color and their blooms can attract pollinators, while aphids and some chewing pests may also gather on the nasturtium instead of immediately colonizing a nearby crop. Plant them beside, not through, a crop that needs constant access and airflow.
Good placements include the outside edge of a bed of lettuce or brassicas, the end of a raised bed, or the base of a support where a trailing plant can spill. Keep an eye on the vines: a companion plant that shades the vegetable crop, blocks harvest paths, or traps moisture against leaves has become competition.
What a trap crop can and cannot do
Treat the “trap crop” idea as a monitoring and management tool, not a guarantee that pests will avoid every vegetable. The RHS notes that the belief that nasturtiums draw caterpillars and blackfly away from other crops is supported mainly by gardener experience and that scientific evidence is limited. Gardenary describes the practical upside: nasturtiums can concentrate some pests where you can see them and can provide flowers for beneficial insects. Read Gardenary’s growing and harvesting guide.
The decision rule is simple: if pests appear on the nasturtium but the plant remains vigorous, inspect your vegetables and decide whether the damage is acceptable. If the nasturtium is covered in aphids or caterpillars and pests are spreading, remove the most-infested tips, knock aphids off with a firm spray of water, and hand-pick larger caterpillars or their eggs. A sacrificial plant still needs boundaries.
Harvest flowers, leaves, and seedpods responsibly
Many annual nasturtiums, including Tropaeolum majus, have edible leaves, flowers, and young seedpods. The flavor is peppery, similar to watercress or mustard, and the strength varies with the age of the leaf and the growing conditions. The RHS confirms the edible status of leaves, seeds, and young flower buds for many annual forms, while also recommending that gardeners identify what they are growing rather than assuming every plant sold under a common name is identical.
Harvest flowers soon after they open, ideally once morning dew has dried. Snip the flower with a clean pair of scissors, inspect it for insects, and rinse gently before using it. Pick young leaves individually so the plant keeps enough foliage to grow, and avoid stripping more than about one-third of the leaves at a time.
The green, immature seedpods can be pickled as a caper-like ingredient, but use a tested food-preservation method rather than improvising a shelf-stable recipe. If you are saving seed instead, leave pods on the plant until they become tan and firm. Do not eat flowers or leaves from plants treated with an ornamental pesticide unless the product label specifically permits edible use and gives a harvest interval. For a kitchen garden, the safest default is to grow the plant without unapproved sprays.
Troubleshoot pests, diseases, and weak flowering
Begin with the pattern, not the pest name. Ask whether the damage is on new growth or old leaves, whether the soil is dry or saturated, whether the plant is in a heat wave, and whether neighboring plants show the same problem. That quick inspection prevents a common mistake: treating every hole, wilted leaf, or yellow patch with fertilizer or pesticide.
Aphids and chewing caterpillars
Aphids cluster on tender shoot tips, flower stems, and leaf undersides. A small population can feed predators such as lady beetles, lacewings, hoverflies, and parasitoid wasps, so do not spray automatically. If growth is distorted or the population is increasing, prune the worst tips, rinse the insects off with a strong but plant-safe stream of water, and repeat the inspection every few days.
Caterpillars and cabbage white butterfly larvae chew irregular holes. Look under leaves for eggs or small larvae and remove them by hand when practical. The RHS recommends regular inspection and moving young caterpillars to plants you are willing to share. If you choose a treatment, read the label carefully, check that it is registered for the crop and pest in your location, and remember that edible flowers make residue and harvest timing especially important.
Leafminers may create winding trails inside a leaf. The Connecticut Agricultural Experiment Station notes that control is often unnecessary for this pest on nasturtiums; remove badly affected leaves and monitor new growth instead of escalating immediately.
Leaf spots, wilt, and root-zone warning signs
Small brown or black spots, especially when water-soaked margins or widespread spotting appear, can fit bacterial leaf spot. Thin crowded plants, remove infected leaves, clean up fallen debris, and water the soil rather than splashing the foliage. Avoid saving seed from a severely diseased plant, and disinfect tools after cutting it.
Sudden yellowing and wilting, blackened stems or roots, and a plant that collapses before flowering are more serious warning signs. The Connecticut Agricultural Experiment Station describes bacterial wilt on nasturtium as a disease that can persist in debris and enter through roots. Remove a plant with strong wilt symptoms rather than composting it, and avoid replanting a susceptible crop in the same contaminated spot until you have addressed sanitation and rotation.
If the entire plant is simply limp on a hot afternoon, check soil moisture before diagnosing disease. Dry soil calls for a thorough drink and temporary relief from harsh afternoon sun. Wet soil calls for drainage and patience, not more water. When the mix stays saturated, lift the plant gently to inspect the roots and improve the bed or container before replanting.
Lots of leaves with few flowers usually points to one of four causes: too little direct light, too much nitrogen, extreme heat, or a plant that is still immature. Correct one likely cause at a time. More fertilizer is rarely the answer when the foliage is already lush.
Save seeds and manage self-sowing
Nasturtiums often make their own next crop. Let a few flowers fade and the large, ridged seedpods mature on the plant. Collect pods when they are dry, tan, and firm, then spread them in a dry, shaded place for several days before storing them in a labeled paper envelope.
Self-sown plants may appear the following year, but they are not guaranteed to match the parent cultivar, especially when different varieties grow nearby. A named hybrid may produce seedlings with different colors or habits. If you need a predictable flower color or a compact shape, buy fresh seed of the named variety; if you enjoy surprises, let a few seeds fall and thin the seedlings later.
In climates with regular frost, treat nasturtium as an annual and plan to replant. In frost-free areas, some Tropaeolum species may persist, but “comes back” can mean either a true perennial plant or a new seedling. Check the species and your winter conditions before assuming a living root system survived.
Conclusion
The best nasturtium routine is deliberately simple: plant after frost, choose a variety that fits the space, give it bright light and well-drained soil, water when the root zone begins to dry, and avoid feeding for foliage’s sake. Let bush types mound, give trailing types room to spill, and guide climbing stems while they are young.
Keep the edible harvest clean, observe pests before treating them, and remember that a few aphids or a short heat pause do not automatically mean the plant has failed. Once you match the plant’s habit to the site, nasturtium becomes a low-input flower that can brighten the garden, support a more diverse planting, and keep your salad bowl supplied for much of the season.



