How to Plant Poppy Seeds for Spring Blooms
Plant poppy seeds for spring blooms with a climate-based timing guide, shallow sowing steps, seedling care, troubleshooting, and self-seeding control.
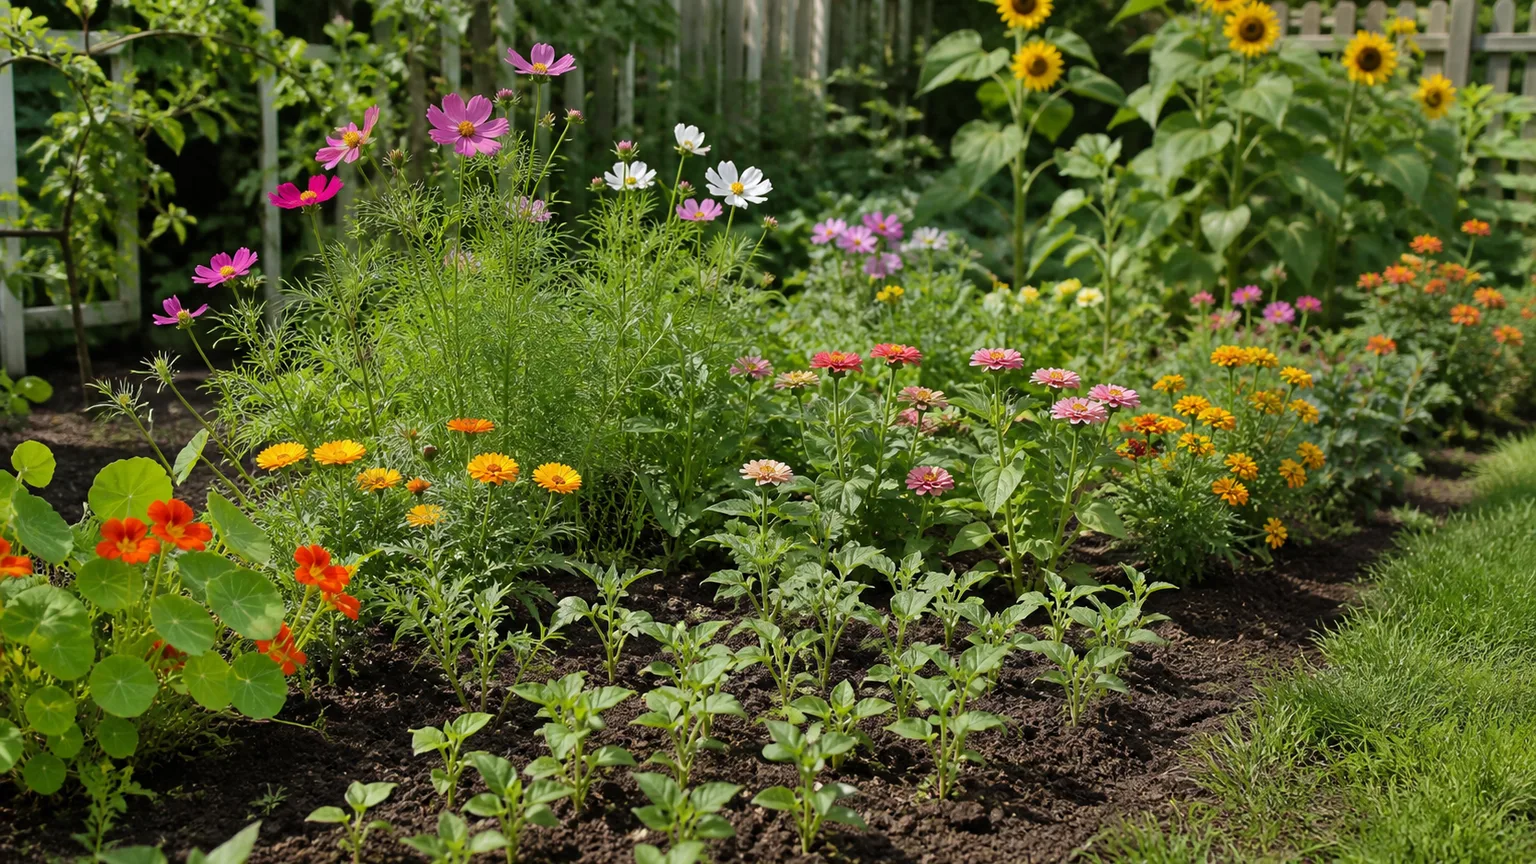
Poppy seeds are tiny, but the planting decision that matters most is not complicated: sow them where you want them to flower, in cool weather, and keep the soil surface gently moist until they establish. The part that makes poppies seem unpredictable is that “poppy” can mean a quick annual corn poppy, a cool-season Iceland poppy, a drought-adapted California poppy, or a slow perennial Oriental poppy. They do not all follow the same calendar.
If your goal is a spring display, start by reading the seed packet and identifying the species or cultivar. Then use the method below to match the seed to your winter, soil, and willingness to let plants reseed. The best poppy bed is usually prepared once, sown thinly, and disturbed as little as possible afterward.
The quick answer: direct-sow poppy seeds in cool weather
For most annual garden poppies, the reliable method is to prepare a sunny, well-drained patch, scatter the seed thinly on the surface, press it into firm contact with the soil, and cover it only as much as the packet recommends. Water with a fine spray so the seeds stay in place. Keep the surface lightly moist through germination, then thin the seedlings rather than trying to move them.
Late fall works well in many cold-winter climates because the seeds sit through a natural period of cold and moisture before spring growth. Early spring is the safer choice where winter is extremely wet, the bed erodes, or birds and runoff are likely to remove the seed. Avoid waiting for hot weather: many poppies establish best while temperatures are still mild.
Choose the poppy type before you choose the calendar
The common name hides meaningful differences in lifespan, heat tolerance, root habit, and bloom timing. A packet labeled Papaver rhoeas generally points to corn, field, Flanders, or Shirley poppies: cool-season annuals that are well suited to direct sowing and informal drifts. Papaver nudicaule, the Iceland poppy, also prefers cool conditions but usually appreciates more even moisture and may be handled differently by growers who want a transplantable plug.
Oriental poppies (Papaver orientale) are long-lived perennials with a slower, more patient path from seed to flower. They can be started from seed, but do not expect the same quick spring display as an annual corn poppy. California poppy (Eschscholzia californica) is a different genus altogether and is better suited to sunny, lean, sharply drained conditions than to a rich, constantly damp bed.
Annual poppies for quick, self-sowing color
Corn and Shirley poppies are the easiest place to start if you want a spring or early-summer sweep of color. They often flower in the same general season as the plants that emerge from the sowing, although the exact timing depends on when the seeds germinate and how quickly spring warms. They are annuals, so the original plant does not live for years; the patch returns because new plants arise from seed.
That distinction changes how you care for them. If you want a tidy bed or want to prevent seedlings in a path, remove spent flowers before pods mature. If you want the drifting, cottage-garden effect, leave a portion of the pods in place and thin unwanted seedlings in the following season. Self-sowing is generous, not perfectly organized.
California and Iceland poppies are different cases
California poppies usually reward a gardener who gives them sun, drainage, and a light touch with fertilizer. The University of California, Irvine’s natural-history record describes them as annual fire-followers of dry slopes and notes that some native populations have seed dormancy tied to winter, spring, or other environmental cues. That is one reason a California poppy packet may perform differently in a coastal, dry-winter garden than in a cold, wet garden.
Iceland poppies are cool-season flowers that dislike a long spell of hot, humid weather. They can be grown from seed, but the packet’s instructions deserve extra attention because timing and transplanting practices vary among strains. Do not treat their moisture needs or bloom window as proof that every poppy prefers rich, wet soil.
Pick a site that supports germination and flowering
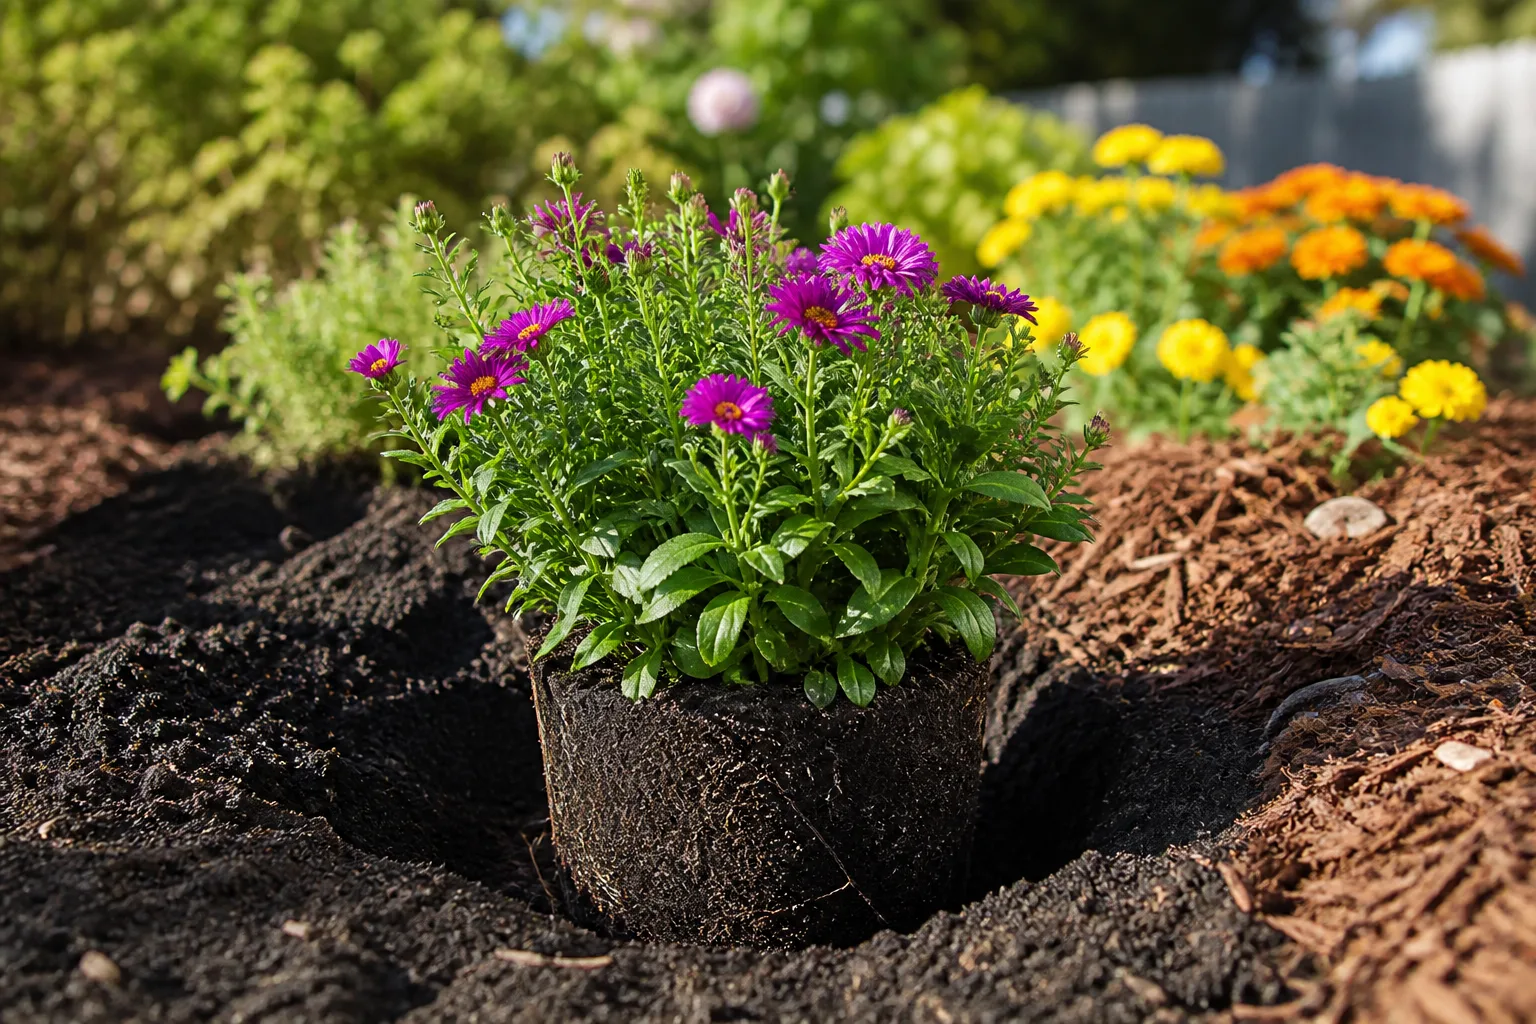
Choose the brightest open area you have, aiming for at least six hours of direct sun on most days. Sun keeps seedlings compact and helps mature plants produce more flowers; shade can leave them thin and floppy, especially when crowded. A site with morning sun and good air movement is useful in humid climates because wet foliage and still air favor fungal problems.
Drainage matters more than luxury fertility. Poppies can grow in average soil, and many annual types perform well in lean or coarse ground. The non-negotiable problem is standing water around newly germinated roots. If rain regularly puddles in the proposed bed, use a raised strip, a sloped area, or a container with drainage rather than trying to solve a wet site with extra seed.
Think about the mature display before sowing. Poppies look most natural in a loose drift, at the edge of a sunny border, or among plants that will fill the space after the poppy foliage fades. Place them where a few self-sown seedlings would be welcome—or where you can remove them easily—because seed pods can spread beyond the line you first imagined.
Prepare a clean, shallow seedbed
Small seedlings lose their race with weeds before you notice them. Start by clearing perennial weeds and old mulch from the planting area. The RSPB’s poppy sowing guide recommends removing weeds, lightly working the surface, and raking it to a fine texture before scattering seed. You do not need a deep trench; you need a clean, level surface in which a tiny root can make contact.
Loosen only the top inch or two, then break up large clods and rake away stones that would leave air gaps under the seed. Avoid burying the bed under a thick layer of compost after sowing. If the soil is poor, blend a modest amount of mature compost into the upper layer before you seed. If the soil is heavy clay, improve the structure before planting or move the poppies to a better-drained area; simply feeding clay more heavily will not fix slow drainage.
Improve drainage without making rich soil
The goal is an open seedbed that holds enough moisture for germination but does not stay saturated. Gardenia’s practical poppy guide describes loose, well-drained, average to moderately fertile soil as a useful baseline, while Epic Gardening notes that poppies often prefer coarse or sandy soil and can struggle in waterlogged ground. Those recommendations point to the same decision: preserve air space around the roots.
Do not add a thick, nitrogen-rich layer because you are hoping for bigger flowers. Excess fertility can create lush foliage and weak stems without solving poor light or overcrowding. If you are unsure, grow one small test patch before amending an entire bed.
Mix tiny seeds with sand for even coverage
Poppy seed is easy to oversow. Mix a small amount with several times its volume of dry, clean sand, then scatter the blend over the prepared area. The sand makes the dark seeds easier to see and reduces the chance of creating a dense clump that will later require ruthless thinning.
Do not use damp sand or a heavy handful of seed. Moisture can make the mixture clump, while an oversized dose of seed simply moves the thinning problem a few weeks into the future. Aim for a light, even dusting, especially along the edge of a path or in a small container.
Sow poppy seeds step by step
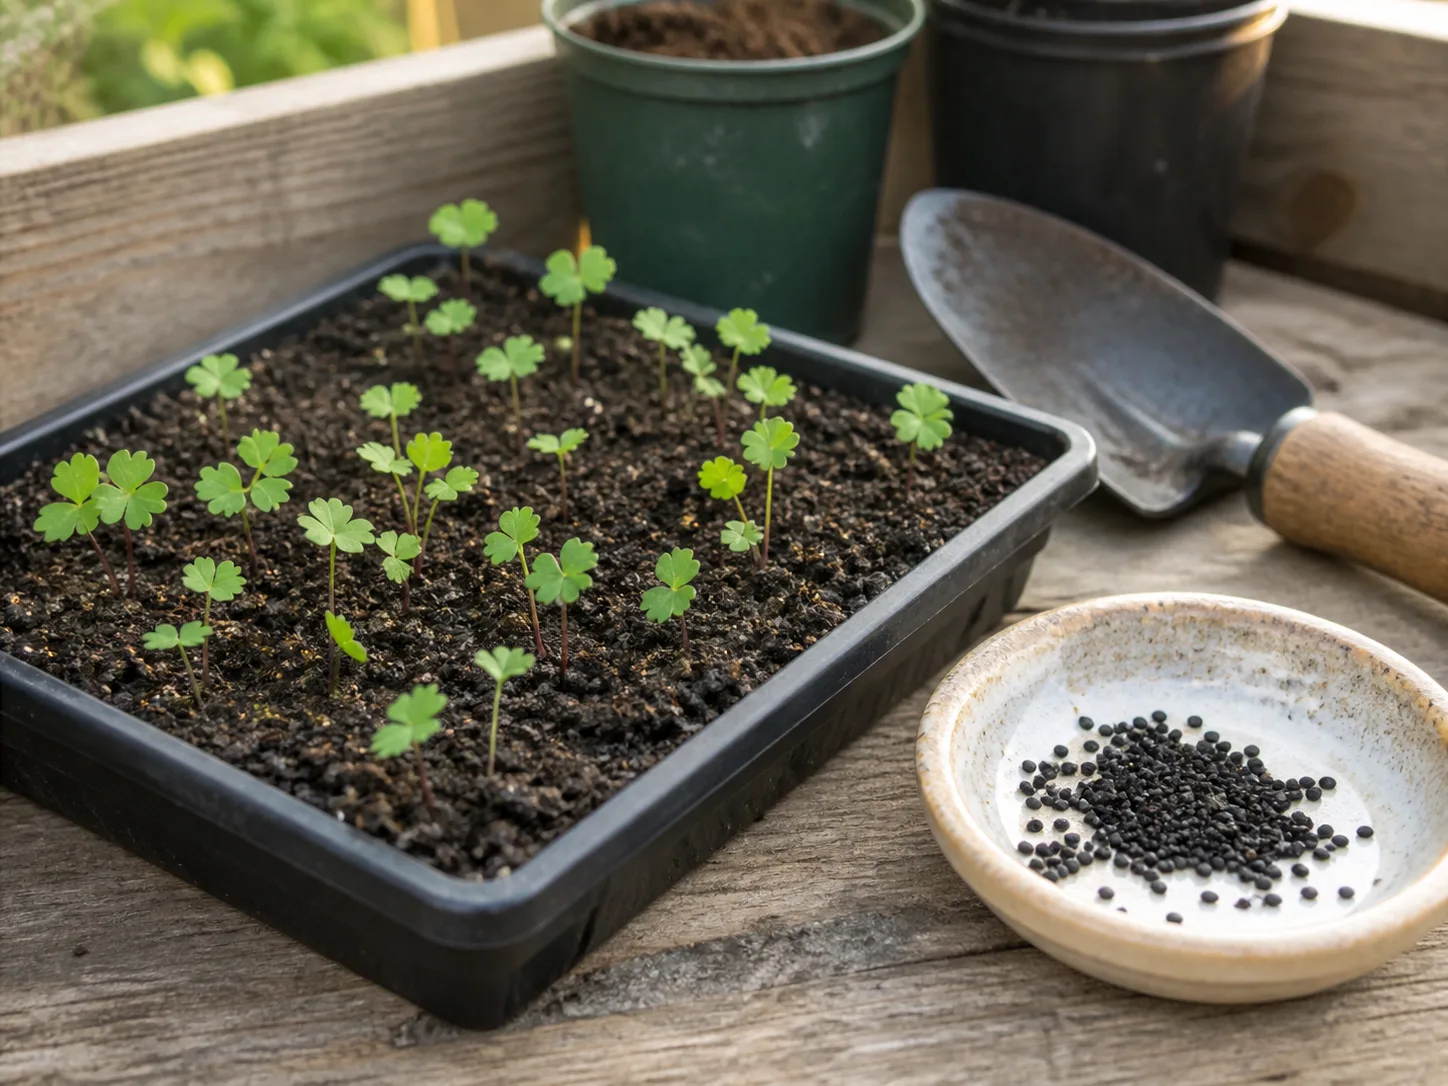
Use this sequence for a typical outdoor annual poppy packet, adjusting the depth and timing if the label gives more specific directions:
- Water the prepared bed once before sowing if the soil is dry. Let excess water drain so you are not trying to scatter seed onto mud.
- Scatter the seed-and-sand mixture thinly over the surface. Keep rows or drifts loose enough that individual seedlings will have room after thinning.
- Press the seed into the soil. A flat board, the back of a rake, or gentle contact from your palm can help. The aim is seed-to-soil contact, not compression into a hard crust.
- Cover only barely, if at all. Many poppy seeds are surface-sown or lightly covered because a thick layer makes emergence harder. Follow the packet for the exact species; never assume that a generic depth rule beats the label.
- Water with a fine rose or gentle mist. A strong jet can wash seeds into low spots, expose them, or bury them under a crust of soil.
- Mark the area and keep it visible. A small label and a simple boundary stop you from weeding away the first poppy leaves or walking across the bed while you wait.
Direct sowing is usually easier than raising annual poppies in a tray. Epic Gardening’s poppy guide notes that soaking is unnecessary and that direct sowing suits the tiny seeds. It also avoids the root disturbance that can set back seedlings when they are moved too late.
Use fall or early spring based on your climate
Fall and early spring are not interchangeable dates on a calendar; they are two ways of giving the seed a cool start. The best choice depends on winter moisture, when the ground can be worked, and the type of poppy you bought.
| Your situation | Better first choice | Why |
|---|---|---|
| Cold winter, well-drained bed, annual corn or Shirley poppy | Late fall or very early spring | Seeds can experience cool moisture and begin as temperatures rise. |
| Very wet winter or an exposed bed that erodes | Early spring | You can sow after the worst runoff and protect the surface more easily. |
| Mild winter and a dry, sunny garden | Fall | Seed can establish during cool weather and flower early when spring arrives. |
| Hot summer arrives quickly | Fall or the earliest workable spring window | Seedlings get more cool growing time before heat slows them. |
| California poppy in a dry-summer climate | Follow the regional packet guidance, often fall to early spring | The species and local seed source can respond differently to winter moisture and dormancy. |
| Oriental poppy | Fall or spring, with patience | It is a slower perennial, not a guaranteed first-season flower. |
Penn State Extension’s winter-sowing guidance explains that some hardy annuals, perennials, and wildflowers need a period of cold, moist conditions before spring germination. That principle supports outdoor fall sowing for suitable poppies, but it does not mean every seed packet needs refrigerator treatment. Read the package before cold-stratifying seed indoors, and never put seed through a chilling routine just because another poppy species benefited from it.
Protect the seedbed until germination
The surface should stay lightly moist, not shiny with standing water. Check it with a finger when the weather is dry or windy and use a gentle spray when the top layer begins to lose moisture. Your goal is to keep the tiny seed from drying out before the root emerges, not to irrigate the whole bed deeply every day.
Heavy rain creates a different risk. RSPB’s instructions emphasize watering with a fine rose and repeating during dry spells; the same gentle approach helps prevent seed movement. In a container, make sure drainage holes are open and the pot is not sitting in a saucer of water.
Germination may be uneven. Epic Gardening gives roughly two to three weeks after the ground thaws as a common window, but weather, species, seed age, and sowing depth can shift it. Do not dig through the bed after one week to search for seeds. Mark the sowing date, keep weeds small, and reassess only after the packet’s expected germination range has passed.
Thin seedlings before crowding weakens them
Thinning is the step that turns a green carpet into flowering plants. When seedlings have a few true leaves, remove the weakest extras and leave enough room for the mature plant to develop air circulation and a stable root system. Snip unwanted seedlings at soil level rather than pulling hard and disturbing the neighbors.
Spacing depends on the species and the look you want. Many annual poppies can be thinned to roughly 6 to 12 inches apart, while larger perennial types need more room. Epic Gardening gives a wider 12- to 24-inch range for some poppies, which is a useful reminder that the packet and the mature plant’s size should win over a one-size-fits-all number.
Thin in stages if the first emergence is thick. Remove the obvious clumps first, wait for the remaining plants to show their shape, then make a final pass. The plants you pull may look healthy, but established poppies often resent root disturbance; thinning in place is safer than trying to transplant every spare seedling.
Water and feed young poppies lightly
Keep young plants watered during the transition from seedling to rooted plant. Once growth is established, let the surface dry modestly between thorough waterings rather than keeping the bed constantly wet. The right interval changes with soil, wind, rain, and climate, so inspect the root zone instead of following a fixed daily schedule.
Water at soil level in the morning when possible. Wet leaves that remain damp overnight, dense seedlings, and poor airflow make disease more likely. If the plants wilt in heat, first check whether the soil is dry; if the soil is wet and the stems are yellowing or collapsing, adding more water can make the problem worse.
Fertilizer is usually secondary to timing, light, drainage, and thinning. In average soil, skip routine feeding until the plants show a real need. If growth is pale and weak after the roots are established, use a mild, balanced fertilizer according to its label rather than a heavy nitrogen dose. California poppies in particular often look better in lean soil than in a heavily amended bed.
If you want to start poppies indoors, choose the right exception
Starting indoors can seem like a way to control moisture and gain an early start, but it is not automatically the better method. Annual poppies often form a taproot or a delicate root system that dislikes being disturbed. A seedling that grows well in a cell can stall when its roots are teased apart or held too long before planting.
Direct sow corn, Shirley, and many meadow-style poppies unless your packet specifically recommends indoor sowing. If you must start them under cover, use a deep cell or biodegradable pot, sow sparingly, give the seedlings very bright light, and transplant while they are still young. Set the entire root ball into the prepared site without shaking soil from the roots, then water it in gently.
Iceland poppies are a common exception in cut-flower production, where growers may raise them in trays to control timing. Even there, cool conditions and careful handling matter. For a home gardener, the convenience of a tray does not outweigh the simplicity of sowing a species in the bed where it will flower.
Fix common reasons poppy seeds fail
When a patch disappoints, troubleshoot in this order rather than adding more seed immediately:
- The seeds never appeared: They may have washed into a low spot, been eaten, been covered by mulch, or been buried by a strong watering stream. Gently inspect the surface at one edge, then resow a small area with a fine spray.
- Nothing germinated after the expected window: Check whether the seed was too old, sown in hot weather, buried too deeply, or kept either bone-dry or waterlogged. Compare the packet’s temperature and sowing directions with the conditions the bed actually experienced.
- Seedlings emerged in a crust: A drying soil surface can form a hard layer that blocks tiny shoots. Improve the seedbed texture before the next sowing and use gentler, more frequent moisture while the seed is waking.
- Seedlings are tall and floppy: Suspect insufficient light or overcrowding first. Thin them and improve sun exposure; do not respond with extra fertilizer.
- Plants are yellow, weak, or collapsing: Check for saturated soil, blocked drainage, and crowded foliage. Let the bed drain and water less often once the plants are established.
- The patch is full of weeds: The bed was not clean enough before sowing, or weeds were allowed to outgrow the poppy seedlings. Remove weeds while they are small and use a marker so you can tell the seedlings from volunteer plants.
If the second sowing fails in the same spot, change the conditions rather than repeating the same action. A raised strip, a cleaner seedbed, a different season, or fresh seed is more useful than scattering a thicker layer over compacted soil.
Get more flowers while managing self-sowing
More flowers usually come from a sequence of small decisions, not from a bloom-boosting product. Sow early enough for cool establishment, give the plants direct sun, thin them, and keep moisture steady while roots are young. After that, the correct choice depends on whether you want flowers now, seed for next year, or a tidy border.
Deadhead annual poppies when you want to redirect the bed toward a neater appearance or reduce the number of seedlings. Leaving every flower to form a pod can shorten the show on some types because the plant has shifted energy into seed production. On the other hand, removing every spent flower eliminates the reseeding habit that makes annual poppies useful in a meadow-style patch.
For a longer display, let some plants set seed and deadhead others. This creates a practical compromise: flowers remain visible on the plants you are tending, while a selected group supplies seed for the next cycle. The balance is easier to maintain when the poppies grow in a defined patch instead of scattered through a lawn or a narrow walkway.
Save seed or let it drop
To let poppies self-sow, leave a few pods on the plant until they dry. Mature pods often become dry and papery, and the seeds are ready when the pod has lost its green softness. Shake a dry head over the same bed if you want local reseeding, or cut the heads into a paper bag if you want to move the seed elsewhere.
Store collected seed in a clearly labeled, dry envelope in a cool, dark place. Keep the packet’s species and year with it. Seed from a named hybrid or selected cultivar may not produce seedlings identical to the parent; flower color, height, petal form, and vigor can vary. That variation is welcome in an informal drift, but buy fresh, correctly labeled seed when you need a repeatable display.
Do not bury saved seed deeply when you sow it later. Recreate the same surface contact and cool-season timing that helped the original plants emerge. If the bed is covered in mulch, rake a small patch clear before scattering rather than expecting tiny seeds to push through a thick layer.
Know the safety and legal caveats
“Poppy” is a broad common name, and species differ in toxicity, appearance, and legal treatment. Some ornamental seed packets may include Papaver somniferum, often called breadseed or opium poppy. Rules about growing particular varieties can vary by country, state, or local jurisdiction, so check current local guidance before planting a packet that names that species. This article is gardening guidance, not legal advice.
Keep seeds, seedlings, pods, and plant trimmings away from children and pets that chew plants. The Pet Poison Helpline’s poppy guidance says alkaloids differ among species and that eating plant material can cause gastrointestinal and nervous-system effects in pets. If a dog or cat eats part of a poppy, do not wait for symptoms or guess the species; contact a veterinarian or an animal poison-control service and provide the packet or a photograph of the plant.
Conclusion: sow thinly, keep it cool, and let roots settle
To plant poppy seeds successfully, choose the species first, then sow directly into a sunny, well-drained, weed-free bed during fall or the earliest suitable spring weather. Press the seed into contact with the surface, cover it only as directed, water gently, and protect the bed from drying or washing out. Once seedlings appear, thin them instead of moving them.
The simplest plan is also the most adaptable: let annual corn and Shirley poppies reseed if you want a drifting display, manage pods if you want boundaries, and give California, Iceland, Oriental, and breadseed poppies the conditions their own seed packets describe. Cool timing and patient observation will do more for spring blooms than extra fertilizer or a deeper planting hole.



