45 No-Carve Pumpkin Ideas That Are Super Simple
Make 45 no-carve pumpkin designs with paint, paper, ribbon, and dried flowers. Learn which ideas suit kids, real pumpkins, faux pumpkins, porches, and parties.
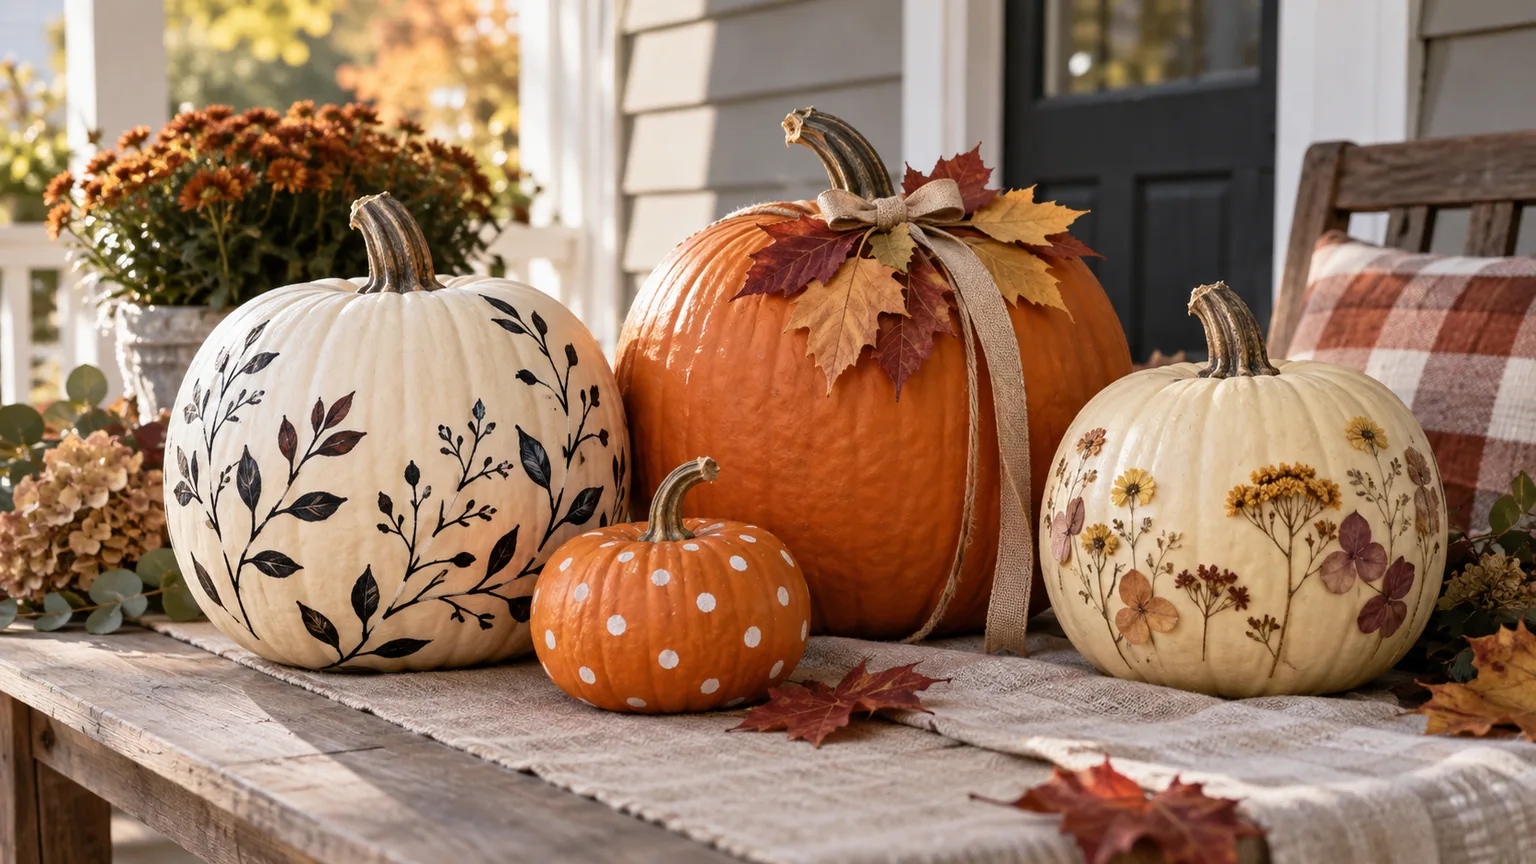
A decorated pumpkin does not need a carved face to feel like fall. Paint, paper, ribbon, dried leaves, and a little planning can turn an intact pumpkin into a porch accent, table centerpiece, or kid-made character without scooping out seeds or handling a carving knife.
For this guide, no-carve means the pumpkin’s rind stays uncut and unpunctured. Skip holes, nails, tacks, drills, and sharp tools that pierce the surface. The designs below use paint, stickers, wraps, or surface attachments instead. Choose a real pumpkin for a short-lived seasonal display or a faux one for heavier materials and repeat use, then pick an idea that fits the time and cleanup you have.
Choose an intact pumpkin and the right finish
Start with a pumpkin that sits steadily and has a firm, unbroken rind. Look over the bottom and the stem area before you buy it; a soft spot or split can shorten the display even if the front looks perfect. A wide, squat pumpkin gives you more room for a face or pattern, while a small round one works well for a single motif, place setting, or group of minis.
Think about finish before design. A glossy orange pumpkin already has a strong color and texture, so a few marks or a narrow ribbon may be enough. A pale pumpkin makes dark line art and pressed leaves easy to see. A faux pumpkin is useful when you want to prime or paint the whole shell, use a stronger adhesive, or store the design for next year.
Real or faux: decide by display length, location, and cleanup
| Choose | Best for | Trade-off |
|---|---|---|
| Real pumpkin | A natural look, a weekend craft, simple paint or a light paper accent | It is perishable, and weather, age, and damage affect how long it stays firm. |
| Faux pumpkin | A project with a full base coat, permanent embellishments, or repeat use | It costs more up front and needs storage; many craft pumpkins are foam or plastic, so they are not compostable. |
A real pumpkin is still a living fruit with a rind that slows moisture loss; keeping it whole preserves that barrier. Extension guidance for storage pumpkins emphasizes sound fruit, careful handling, and cool, dry conditions, but a decorated porch pumpkin is not in controlled storage. Shade it from hot sun, keep it out of standing water, and expect a shorter display life if the weather stays warm or wet. See University of Minnesota Extension’s pumpkin and winter squash guidance and Oregon State University Extension’s storage recommendations for the difference between display and long-term storage.
Use a faux pumpkin when a design calls for several coats, heavy decoupage, hot glue, or pieces that you want to keep attached for years. With a fresh pumpkin, glue and paint turn the shell into a craft surface rather than food. Do not plan to cook a pumpkin after decorating it, even if the materials seem dry or the design only covers one side. For outdoor displays where squirrels, birds, or other animals can reach the fruit, the U.S. Fish & Wildlife Service cautions that paint on pumpkins can be harmful to wildlife if eaten; keep painted fruit out of their reach or choose a faux one.
Set up a no-carve session with less mess
Choose the design before opening paint. A limited palette—one base color, one accent, and one dark outline—usually looks more deliberate than using every color on the table. Set out only the supplies the idea needs, cover the work surface, and put the pumpkin on a plate, shallow box, or scrap cardboard so you can rotate it without touching wet paint.
For a real pumpkin, brush away loose dirt and let the rind dry. Test paint or marker on the underside first because waxy skins and ridges can make colors behave differently than they do on paper. If you are using a faux pumpkin, check whether the surface is slick; a small test patch tells you whether the chosen paint sticks before you cover the entire shell. Let each coat dry as the product label directs before adding tape, paper, or a second color.
A reliable order is clean and dry, test, paint the base, let it dry, add the pattern, then attach lightweight details. For decoupage, work in small sections so paper can follow the grooves without bunching. For tape patterns, press only enough to hold the edge; pulling strongly on a delicate real pumpkin can scuff the rind or lift a fresh paint layer. Good Housekeeping’s no-carve craft gallery and tutorials from A Beautiful Mess and Hello Wonderful show how basic paint and surface techniques can produce very different finishes.
Gather a short list of materials and work in the right order
Most simple designs need only a pumpkin, a washable table covering, a few brushes, a water-based craft paint or paint marker, and paper towel for small mistakes. Add painter’s tape for crisp lines, paper or fabric for collage, and a small amount of adhesive only when a design actually needs it. Reuse clean supplies rather than buying a separate kit for each idea.
For fresh pumpkins, favor light, removable surface designs and keep glue away from anything you intend to eat. Keep the stem visible if you like its shape; painting it a contrasting color can finish the design without covering the whole pumpkin. For faux pumpkins, you can be more ambitious, but check the craft product and pumpkin materials for compatibility before painting or sealing.
Paint-and-marker pumpkins: ideas 1–10
Paint gives the most control with the fewest extra parts. Brush-on color, a paint pen, or a small stencil can be adapted to a child’s skill level, and most of these designs work on real or faux pumpkins as long as you test the finish first.
-
One-color matte pumpkin. Cover a faux pumpkin in one muted shade—cream, deep green, or charcoal—for a fast modern look. On a real pumpkin, paint just one rib or one small panel so you keep some natural color visible.
-
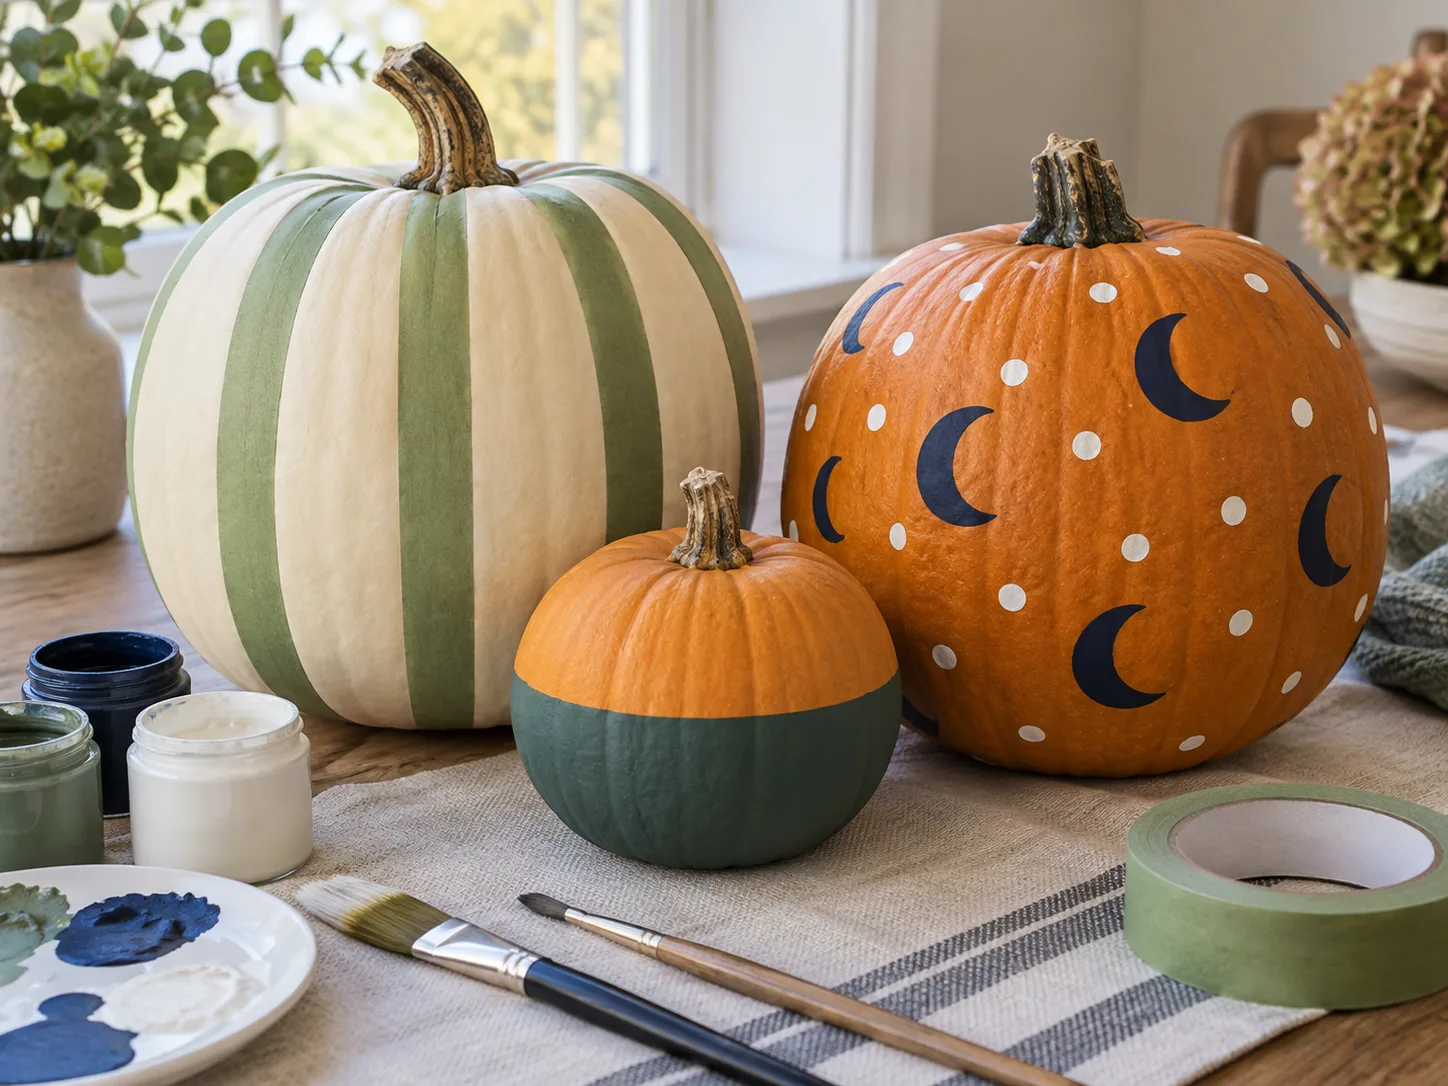
Half-painted pumpkin. Mask the upper half or lower half with painter’s tape and paint the other section a contrasting color. Remove the tape slowly after the paint is dry enough to hold its edge, then leave the natural rind as the second “color.”
-
Vertical stripe pumpkin. Follow the pumpkin’s ribs with thin brush strokes, alternating two colors or pairing painted stripes with bare rind. The grooves guide your brush and make a slightly imperfect hand-painted line look intentional.
-
Plaid pumpkin. Paint a few wide vertical bands, let them dry, then cross them with horizontal bands in a second shade. Keep the palette to two or three colors so the intersecting lines read as plaid rather than a busy grid.
-
Ombre pumpkin. Choose three related shades and paint them in bands from light at the stem to dark near the base, blending the edges while they are still damp. If blending feels fiddly, use the natural ribs to separate the tones cleanly.
-
Polka-dot pumpkin. Dip the end of a pencil eraser or a round sponge into paint and repeat dots across the ribs. Vary their spacing, not their size, for an even pattern that takes only a few minutes.
-
Stencil-and-dab pumpkin. Hold a paper stencil flat against a broad section and dab paint with a nearly dry sponge. Lift the stencil straight away so the edge does not smear; stars, leaves, and simple moons work better than tiny detailed shapes.
-
Botanical line art. Use a fine paint marker to draw a sprig, fern, or curling vine on a pale pumpkin. Start with a few large leaves rather than a dense illustration; the pumpkin’s natural ribs already add texture.
-
Painted constellation. Add small stars and dots in a loose arc, then connect only a few with thin lines. A dark navy or white pattern can read clearly on orange, while gold or charcoal stands out on cream.
-
Metallic stem accent. Brush a small amount of gold or copper paint over the outside of the stem and stop at its base. This detail suits a group of pumpkins because it adds a repeatable accent without making every surface compete.
Paper, fabric, and sticker pumpkins: ideas 11–18
Paper and fabric are useful when you want detail without fine painting. Curved pumpkin ribs can wrinkle flat material, so choose small motifs or narrow strips instead of trying to wrap one large sheet tightly around the entire fruit.
-
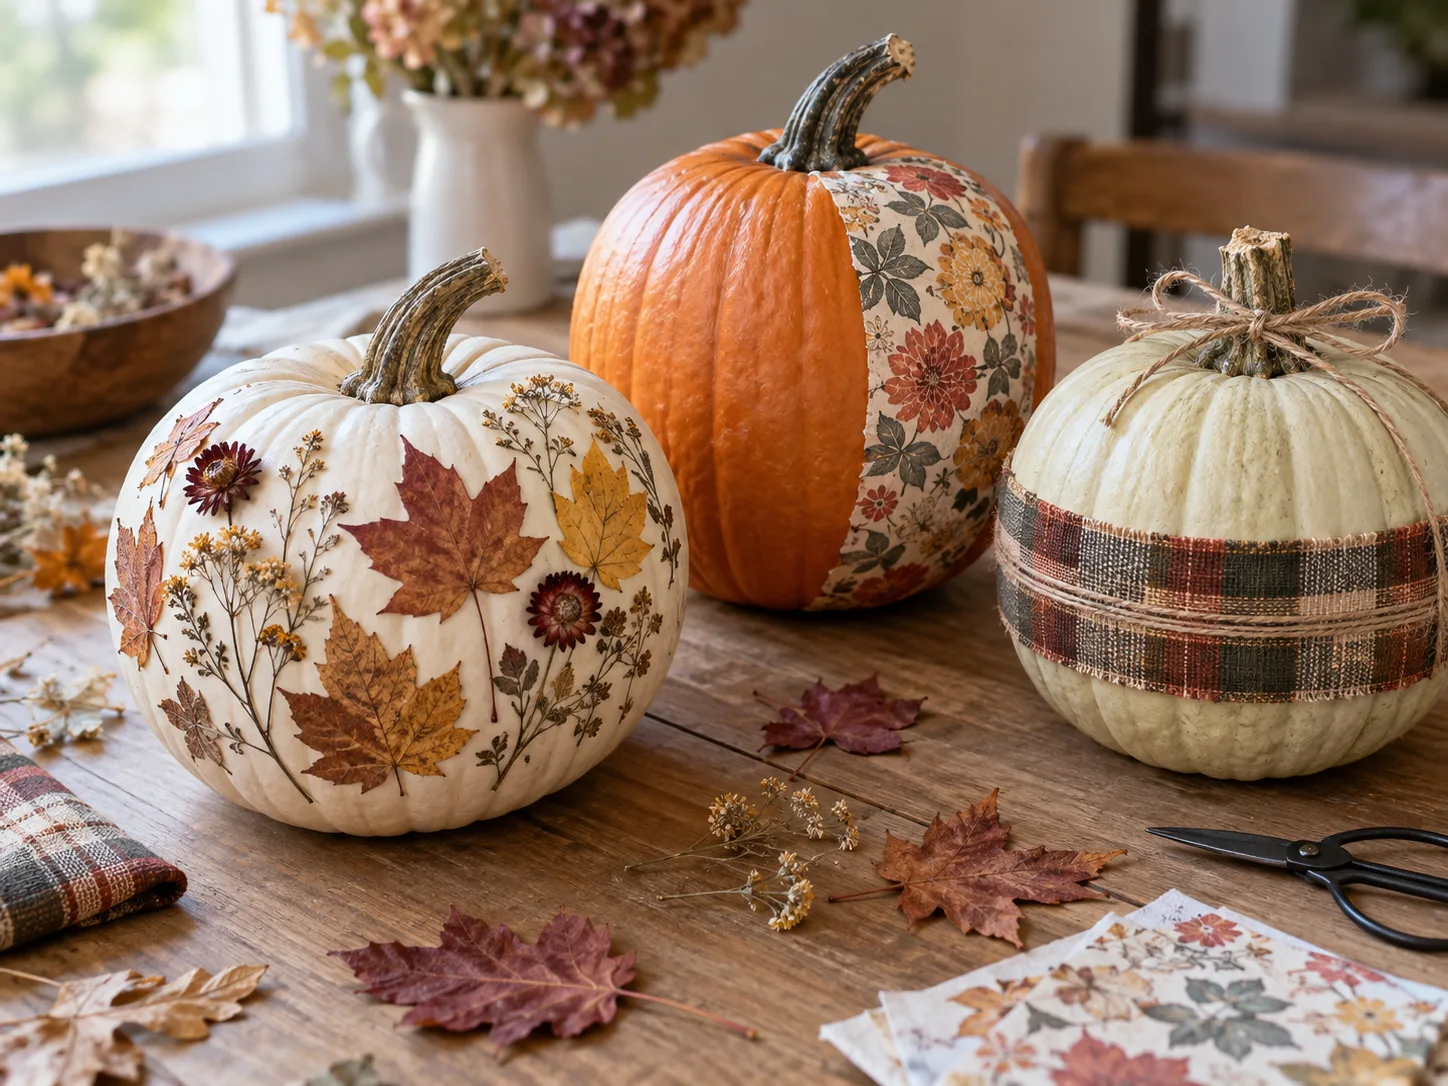
Napkin-decoupage panel. Separate the printed ply of a paper napkin if it has multiple layers, then attach one small motif with decoupage medium. Smooth from the middle outward with a soft brush so the paper follows the curve without tearing.
-
Scrapbook-paper patches. Cut paper into small leaves, diamonds, or rectangles and arrange them as a patchwork band. Leave a narrow gap between pieces; the uncovered rind gives the pattern breathing room and makes the edges easier to place.
-
Paper-bat flight. Fold a few small paper bats down the center and attach them in a rising curve across one side. The fold gives each bat a little dimension without needing wire, nails, or cutouts in the pumpkin.
-
Washi-tape geometry. Lay narrow tape in triangles, chevrons, or a loose grid. On a real pumpkin, use removable tape and lift it soon after decorating; on faux pumpkins, you can leave it in place as a longer-lasting finish.
-
Felt-shape collage. Make a simple face, leaf, or block pattern from broad felt pieces and attach them to a faux pumpkin. Felt is forgiving because it can hide uneven edges, but keep any small loose shapes away from young children and pets.
-
Temporary-transfer motif. Apply a large temporary tattoo or transfer to a smooth pumpkin section for a quick detailed design. Follow the transfer’s instructions, test a small spot first, and use a faux pumpkin if you want to keep the image through repeated seasons.
-
Ribbon stem wrap. Tie a single ribbon or narrow strip of fabric around the stem, then finish it with a small bow. Keep the knot loose enough not to pull on the stem; a broken stem can make a real pumpkin deteriorate sooner.
-
Monogram decal. Place one large letter decal on the front of each pumpkin in a row, using the same color on every fruit. This works for a porch grouping, a family name display, or a dinner table where each person has a different initial.
Botanical and nature-inspired pumpkins: ideas 19–25
Garden materials make a pumpkin feel seasonal without needing a complicated design. Use dry plant material and keep fresh leaves, stems, or floral foam from sitting damp against a real rind; trapped moisture can encourage soft spots.
-
Pressed-flower medallion. Arrange a few small dried blooms into a circle on a pale pumpkin and attach them with a thin layer of craft medium. Lay out the composition first so you know where each flower belongs before adhesive touches the rind.
-
Pressed-leaf trail. Place three or five pressed leaves in a curve that follows one rib, keeping their stems pointed in the same direction. A repeated shape looks more polished than scattering leaves randomly over the entire pumpkin.
-
Dried-flower crown. Cluster a small bunch of dried flowers around the stem, then tie the stems together with twine or ribbon. Keep the bunch light so it does not tip the pumpkin or pull the stem loose.
-
Wheat-and-twine band. Tie a short bundle of dried wheat or ornamental grass around the lower third of a faux pumpkin with twine. On a real pumpkin, make the band easy to remove and leave a little space for air to reach the rind.
-
Leaf silhouette painting. Hold a dry leaf against the pumpkin and trace its outline with a paint pen, then add a few simple veins. A single crisp leaf can look more refined than a full all-over pattern, especially on a blue-gray or white pumpkin.
-
Garden harvest pairing. Arrange a decorated pumpkin with a few clean, dry seed heads or dried stems on a tray, rather than gluing those materials to the rind. The display can be rearranged after the pumpkin is gone, and the stems are easier to compost or reuse separately.
-
Pressed-flower color block. Paint one small panel in a soft contrasting color and place two or three dried flowers within it. This gives delicate petals a clean background while keeping most of the pumpkin natural.
Spooky and character pumpkins: ideas 26–34
A face or character can be simple enough for a quick craft and still look finished. Paint the main shapes large, use the pumpkin’s ribs to suggest cheeks or feathers, and avoid attaching tiny pieces that can fall off.
-
Painted jack-o’-lantern face. Paint triangle eyes and a broad smile instead of cutting them out. Add a narrow cream highlight or a colored cheek to make the face look friendly; the intact rind keeps the design flat and easy to display.
-
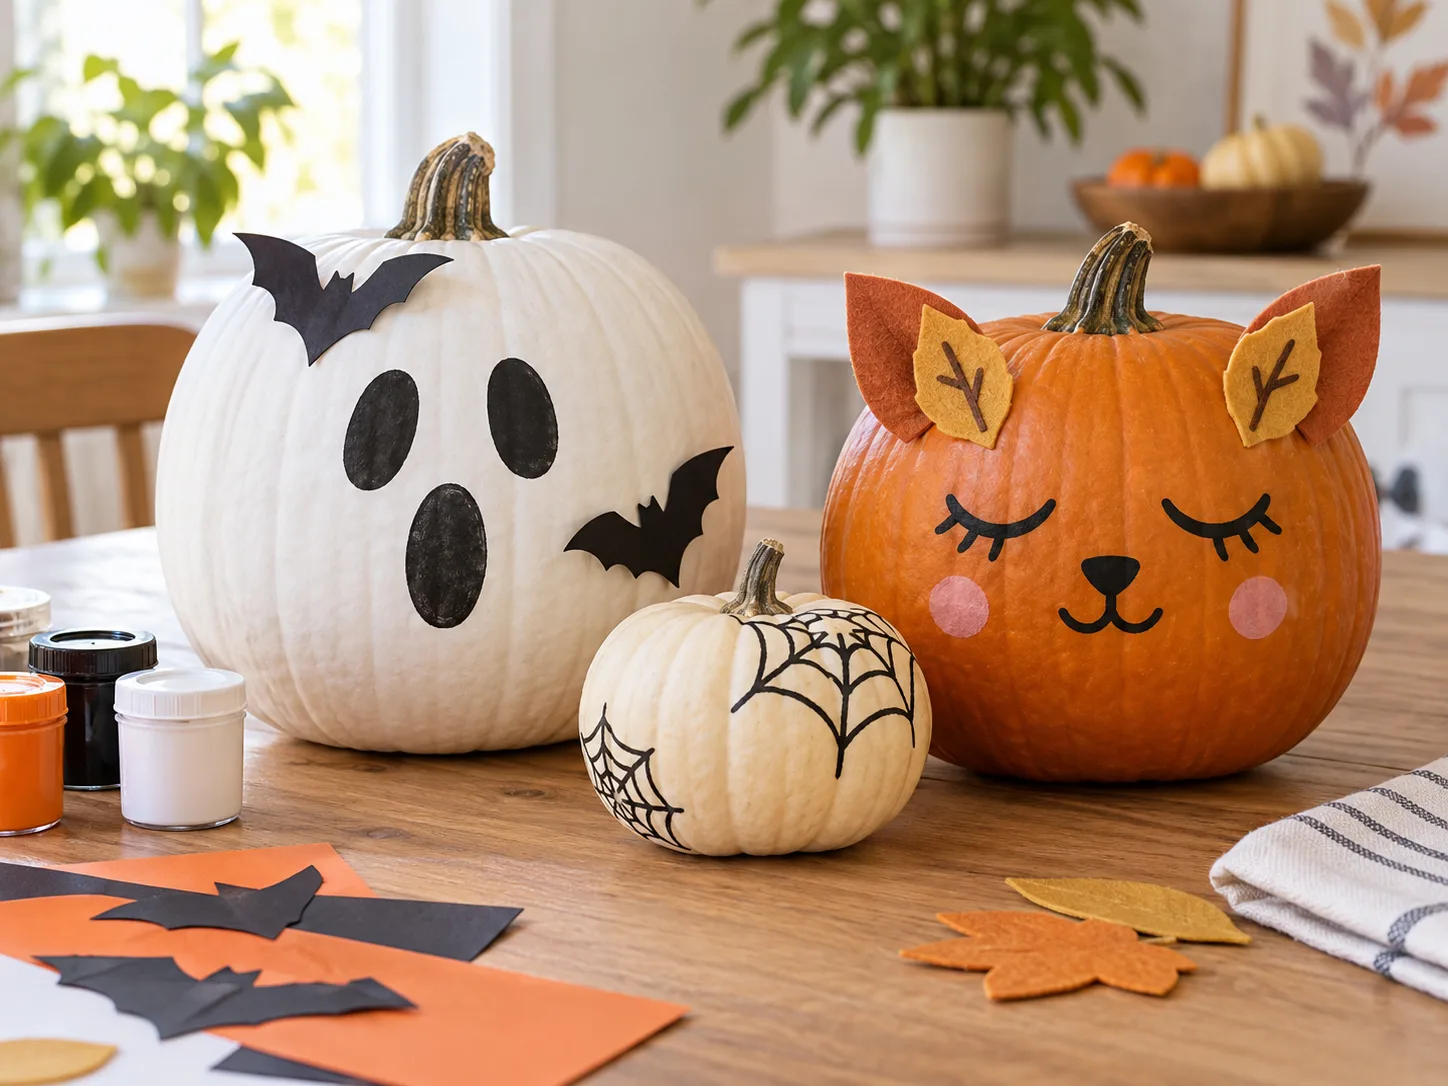
One-stroke ghost. Paint a white ghost shape that curves around one side, then add two dark eyes after the body dries. Leave a small orange border around it so the figure stands out without covering the whole pumpkin.
-
Painted spiderweb. Draw a few radiating lines from a small point near the stem and join them with curved cross-lines. A single black spider painted beside the web gives the design a focal point without pins or plastic pieces.
-
Sleepy cat. Draw closed eyes, a small nose, whiskers, and a curved mouth in black marker, then add blush-colored circles for cheeks. If you want ears, paint triangles above the eyes rather than attaching stiff parts that may snag or fall off.
-
Owl eyes and feathers. Paint two large circles near the top and add a small beak below them. Use short strokes to suggest feathers along the lower ribs; the pumpkin’s grooves supply the texture, so you do not need glued-on seeds.
-
Fox or woodland face. Paint a white muzzle shape and two dark eyes on an orange pumpkin, then add small pointed ears in paint. For a deer, use simple brown eye patches and painted antlers rather than sticks that could break or poke someone.
-
Paper-bat silhouette. Cut several larger bats from paper and arrange them in a loose spiral, using low-tack tape or an appropriate surface adhesive. Keep the bats flat and secure; a few broad silhouettes are easier to make and remove than a cloud of tiny cutouts.
-
Witch’s cauldron. Paint the lower half black or deep purple, add a band at the rim, then paint large teal or green bubbles climbing toward the stem. The cauldron effect comes from color and placement, so there is no need to remove the stem or open the pumpkin.
-
Fairy-tale carriage. Paint a curved door, windows, and two simple wheels on the sides, then add small leaf or flower motifs around the stem. Keep the wheels painted rather than attaching skewers or other pieces that puncture the rind.
Small, sculptural, and party-ready pumpkins: ideas 35–41
Three-dimensional accents add texture, but they also change how a pumpkin can be stored or displayed. Use a faux pumpkin for permanent glue-heavy designs, and choose larger, well-secured pieces when children are involved rather than scattering beads or miniature ornaments around a table.
-
Oversized googly-eye face. Add two large self-adhesive eyes to a faux pumpkin and draw a surprised mouth underneath. A pair of big eyes is more legible than dozens of tiny ones and makes an easy, low-mess character.
-
Flat “jewel” dots. Paint round metallic dots in a loose pattern to get a bejeweled look without plastic gems. If you do add craft gems, reserve them for a supervised faux-pumpkin project, secure them well, and do not use the fruit for food.
-
Disco-grid pumpkin. Paint a silver base on a faux pumpkin and add a loose black grid with a paint pen or narrow tape. The repeated squares suggest a mirrored ball without needing actual glass or fragile mirror pieces.
-
Steady pumpkin stack. Set two or three whole pumpkins on a broad, level planter or crate, largest at the bottom. Do not balance them on a narrow rail or block a walkway; for a high porch display, secure the base instead of gluing heavy fruit together.
-
Mini-pumpkin place card. Tie a paper name tag to the stem of a small pumpkin and set it at each place. Write on the tag rather than the fruit, so guests can take the decoration home or you can reuse the pumpkins afterward.
-
Party-favor pair. Place one mini pumpkin with a folded card or paper treat bag at each setting, using a coordinated ribbon color to tie the group together. Keep food in a separate bag or dish rather than placing it against a decorated rind.
-
Painted animal trio. Make a fox, owl, and cat from three small pumpkins using the same two-color palette. Repeating the palette makes different faces feel like a set even when the shapes and sizes do not match.
Personal and last-minute pumpkin ideas: ideas 42–45
When you are short on time, let one repeatable detail do the work. A consistent color, label, or placement can make a collection of ordinary pumpkins look planned without requiring every fruit to have a separate elaborate design.
-
Chalkboard-message faux pumpkin. Paint one face of a faux pumpkin with chalkboard paint and let it cure as the label directs. Use chalk for a changing greeting, menu, or place setting; if the message smudges, wipe it and start again.
-
Paint-marker confetti. Fill a section with short dashes, tiny stars, or dots in two colors. This is easier to control than splatter paint and lets a child add detail without making a mess across the room.
-
Seasonal fabric sleeve. Wrap a dry bandana or wide fabric strip around a faux pumpkin and tuck the ends under the base. It is a fast way to change colors for a party, and the fabric can be removed and stored with the rest of the decorations.
-
Three-pumpkin color family. Choose one neutral, one orange, and one accent shade, then repeat just one painted detail—dots, stripes, or a metallic stem—across the group. The shared accent brings together mismatched shapes without requiring a matching set.
Make any design look intentional with a simple plan
Before you start, decide where the pumpkin will sit and how close people will view it. A front-step pumpkin needs a simple silhouette and a finish that can tolerate handling; a tabletop pumpkin can use finer paint details because guests will see it at arm’s length. If the pumpkin will be outdoors, keep the design light and easy to move inside before heavy rain or a freeze.
A useful beginner formula is one base, one motif, and one finish. For example, use a white base, one large leaf motif, and a narrow twine tie; or keep the orange rind bare, paint a black face, and add one ribbon. If the design looks crowded while it is still on paper, it will look more crowded once repeated across curved ribs.
Use odd-numbered clusters or clear size differences when displaying several pumpkins. A tall pumpkin can anchor a group of minis, while two small pumpkins can balance a wide one. Leave enough space to lift each real pumpkin without grabbing the stem. That makes it easier to inspect the rind, move the display, and remove one pumpkin when it begins to soften.
Match effort to the deadline. A full base coat plus layers needs dry time, while a marker face, ribbon, or paper tag can be ready in minutes. If you are decorating with a group, set out one station per material—paint, paper, and ribbons—rather than opening every supply at once. This keeps the table calmer and makes cleanup faster.
Decorate without avoidable hazards
A no-carve project removes cutting from the activity, but it does not make every craft material or attachment suitable for every age. Choose supplies labeled for their intended use, read drying and ventilation directions, and keep paint, adhesives, scissors, and small embellishments away from eyes and mouths. An adult should handle hot glue, aerosol products, or any tool that could burn, cut, or puncture skin.
Skip nails, thumbtacks, pins, skewers, and drills if the goal is to avoid sharp tools and keep the rind intact. Do not put small beads, loose gems, or tiny plastic decorations within reach of toddlers or pets; they can detach and become a choking hazard. For a children’s project, paint and large paper shapes are easier to supervise than hot glue and miniature add-ons.
A decorated real pumpkin is not a food pumpkin. Paint, markers, glue, sealers, and unknown craft products can contaminate the surface, so do not cut it open and cook it later. The U.S. Fish & Wildlife Service also warns that paint can be harmful to animals that eat painted pumpkins. Keep painted fruit in a location wildlife cannot access, choose faux pumpkins for outdoor decorating, or use only removable decorations and take them indoors after the event.
Adjust the project for young children
For preschoolers, offer a large brush, washable paint intended for children, oversized stickers, or wide paper shapes that an adult can attach after the child chooses their placement. Keep the activity short and put the pumpkin on a tray that can be moved to dry. Avoid handing small beads, glitter, pins, craft knives, or hot glue to a young child, even if an adult is nearby.
Older children can plan a pattern, use painter’s tape, or draw with markers once an adult has checked the material label and workspace. Let the pumpkin dry completely before moving it to a shared table or porch. A “helping” task can be choosing the palette, sorting large paper shapes, or tying a ribbon; children do not need to handle every tool to take part.
Display and care: keep the rind intact and the porch safe
A whole pumpkin usually holds up longer than a carved one because its skin remains intact, but decoration cannot stop natural aging. Place a real pumpkin on a dry tray or board, out of puddles and hot afternoon sun. Check the underside every few days, especially after rain; if the fruit softens, leaks, or smells sour, remove it instead of trying to save the finish.
Painted faux pumpkins are the better choice for a long porch display or a design with glued-on parts. Bring real pumpkins inside during prolonged rain or freezing weather, and do not let a painted fruit sit where wildlife can nibble it. When the season ends, remove ribbons, tape, tags, and other non-compostable pieces. Follow local compost or yard-waste rules for the bare fruit rather than placing a coated pumpkin outdoors as animal food.
If you want the display to glow, use a battery-operated LED light beside the pumpkin or in an appropriate holder. Do not put a lit candle next to paper, fabric, dried flowers, or other flammable decorations. The U.S. Fire Administration recommends battery-operated flameless candles as a safer option; an intact no-carve pumpkin does not need an open flame to look warm at night.
Fix common decorating problems
Paint beads or slides off. The rind may be waxy or damp. Wipe the pumpkin with a dry cloth, let it air-dry, and test a small patch before adding another coat. If paint will not adhere, switch to a marker or use a faux pumpkin with a surface made for craft paint.
Tape pulls up the base coat. The paint may not have dried long enough, or the tape may be too aggressive. Let the base cure longer, press tape lightly, or use a low-tack product on the underside first. If the edge lifts, turn it into a deliberate bare-rind stripe instead of layering on more wet paint.
Paper wrinkles across the ribs. The paper piece is too large or the curve is too tight. Cut smaller motifs, attach one at a time, and smooth gently from the center out. If it still puckers, use the wrinkles as a collage texture or switch to flat paint.
The finished pumpkin rocks. A curved or uneven base may need a stable tray. Place a thin nonslip pad under the pumpkin or set it in a shallow bowl; do not shave or cut the base if the project is meant to stay no-carve.
The design feels busy. Remove one element before adding a new one. Keep the strongest shape, repeat one accent color, and let the pumpkin’s natural grooves show through. A clear focal point is more effective than covering every inch.
Conclusion
The easiest no-carve pumpkin ideas start with a whole, steady fruit and a design scaled to the material and deadline. Paint and markers are quick, paper and dried botanicals add texture, and faux pumpkins support heavier or reusable decorations. Keep the rind intact, let each layer dry, choose attachments with age and location in mind, and use a battery-operated light if you want an evening glow.
A simple palette and one clear motif are enough to make a pumpkin feel finished. Pick one of the 45 ideas, prepare only the supplies it needs, and plan where the pumpkin will live after the paint dries.



