Winter Houseplant Care for a 30-Plant Collection
Build a winter houseplant care system for 30 plants: group by light and moisture, water by soil cues, and catch drafts, pests, and slow growth early.
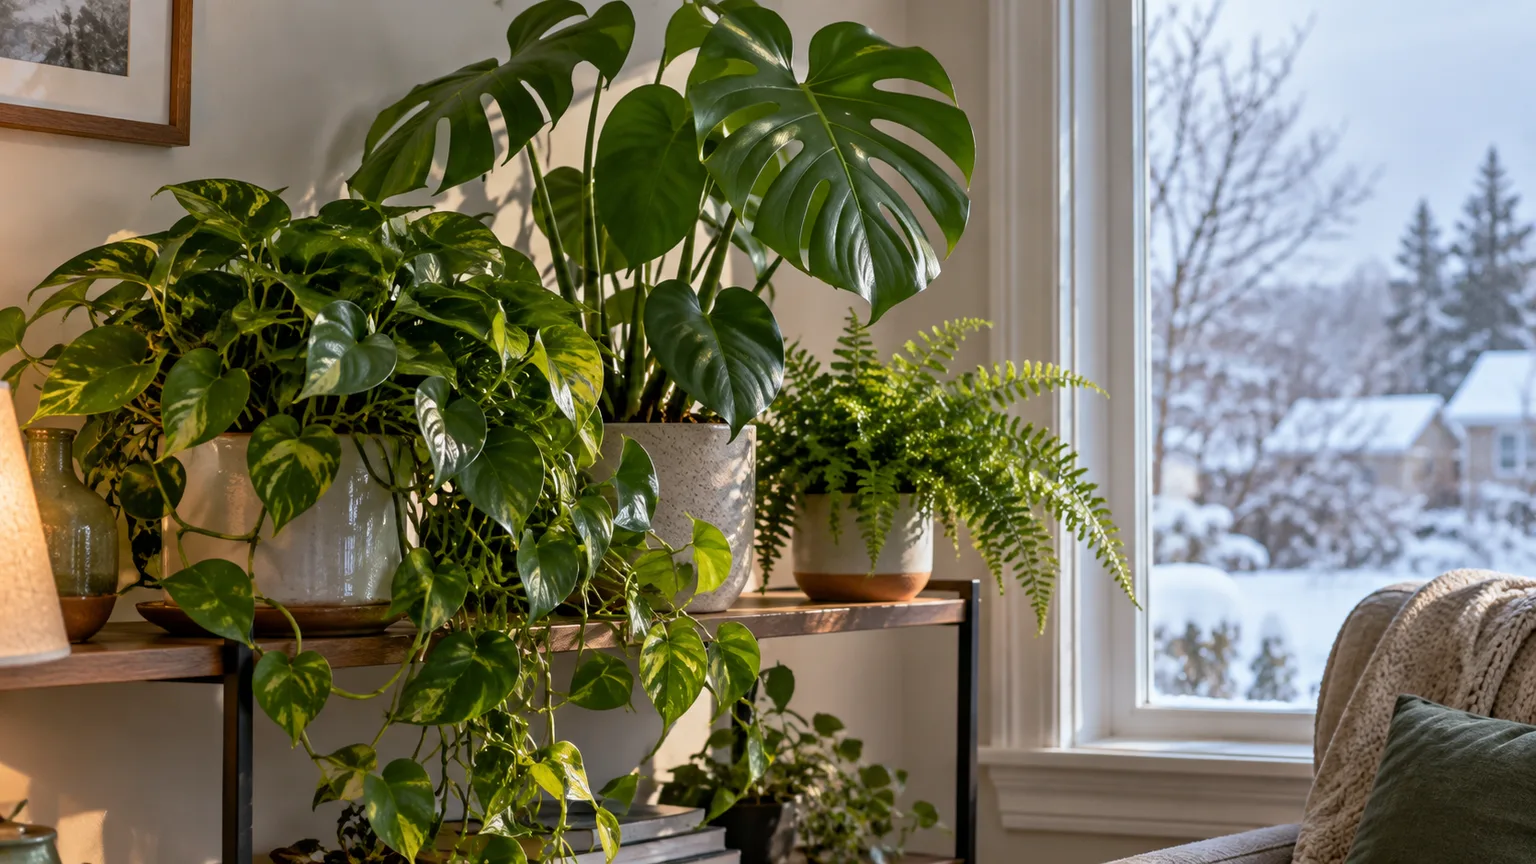
A large houseplant collection becomes difficult in winter when every pot is treated as if it has the same needs. Shorter days slow many plants down, cold windows create chilly pockets, heating dries the air, and soil may stay wet longer—yet a succulent under a grow light can still be actively growing while a fern across the room barely uses water. The workable answer is not a single winter watering schedule; it is a small system that groups similar plants while preserving the exceptions.
For a collection of 30, think in terms of zones, cues, and exceptions. Place plants where their light and temperature needs fit, check pots in manageable batches, and record only the details that change a decision. You do not need to measure every leaf or buy a room full of equipment; you do need to stop relying on memory and calendar habits when winter conditions shift.
Start with what changes when winter arrives
Winter is a change in the room as much as a change in the calendar. In many homes, daylight hours shorten and the sun travels at a lower angle; glass, trees, buildings, and curtains further alter how much usable light reaches a particular shelf. At the same time, cold outdoor air and home heating can create dry air, chilly panes, hot vents, and sharp differences between the windowsill and the center of the room.
Many houseplants respond by slowing growth and using water more slowly. That does not mean every houseplant becomes dormant or should be left dry. The RHS winter guidance and N.C. Cooperative Extension both emphasize adjusting care to lower light and growth, while experienced growers point out that warm homes, bright windows, terracotta pots, and grow lights can keep particular plants active.
The practical goal is stable, appropriate care—not forcing every plant to put out new leaves in January. A healthy winter plant may simply hold its leaves and wait. Judge success by firm stems, roots that are not sitting in soggy mix, no spreading pest signs, and new growth when the plant has enough light and warmth to produce it.
Divide 30 pots into care zones before making a schedule
Start with a quick inventory rather than rearranging the whole room. List each plant’s name or best-known label, current location, usual light preference, how dry its mix should become before watering, and any known exception such as a cool-resting succulent, a blooming orchid, or a humidity-sensitive fern. If the exact species is uncertain, record what you have observed and avoid imposing a precise species rule until you can identify it.
Then group plants by the conditions they can share. Most collections need only a few practical zones: brightest window or grow-light shelf; bright-indirect area; moderate-light area; and a separate spot for plants that prefer a drier root zone or cooler rest. These are working categories, not botanical laws. A “bright-indirect” plant can still suffer if it sits behind three larger pots, and two plants on one shelf may dry at very different rates because one has a small nursery pot and the other a wide ceramic cachepot.
Map light, moisture, and temperature together
Light and watering cannot be planned independently. A pot that receives fewer hours of light and sits in a cool corner is likely to dry more slowly than the same species beside a sunny, warm window. Keep plants with broadly similar light needs together, but use separate watering cues within that group; never assume that shelf position means every container is ready for water on the same day.
Leave enough space to reach the soil and inspect leaf undersides. Dense, beautiful groupings can make pest checks difficult and reduce airflow around foliage. A useful arrangement puts plants with similar needs near one another without letting leaves overlap so tightly that you cannot see stems, joints, or the surface of the mix.
Keep the exceptions visible
The biggest time-saver is a short exception list, not a detailed diary. Mark plants that need the mix to dry more deeply, those that cannot tolerate cold glass, recently repotted plants, flowering or actively growing plants, and any pot under treatment or quarantine. A bright tag, colored clip, or a note on the shelf can prevent a “water everything” pass from undoing careful plant-specific care.
For a lightweight tracker, use five fields: plant, zone, last watered, readiness cue, and exception or pest status. Update the date only when you water; during a weekly scan, mark “check” rather than recording a false watering date. The log is there to remind you what to inspect—not to tell you that a plant must be watered because seven days have passed.
Map winter light before moving plants
Do not move all 30 pots closer to the glass at once. First look at where direct sun falls during the shorter winter day, which plants are shaded by taller foliage, and how far each shelf is from the window. A spot that felt bright in summer can become dim when the sun angle changes, while a previously shaded window may become intensely sunny after an outdoor tree loses its leaves.
The RHS recommends moving houseplants out of dark corners during low-light months, and N.C. Cooperative Extension notes that even a good window can become a limiting factor as days shorten. Clean glass and dust broad leaves before buying equipment; those simple steps do not replace adequate light, but they remove avoidable barriers. In the Northern Hemisphere, south-facing windows are often the brightest in winter, but latitude, nearby buildings, glazing, and the plant’s own tolerance matter more than the compass label. In the Southern Hemisphere, seasonal window exposure reverses.
Use windows as zones, not labels
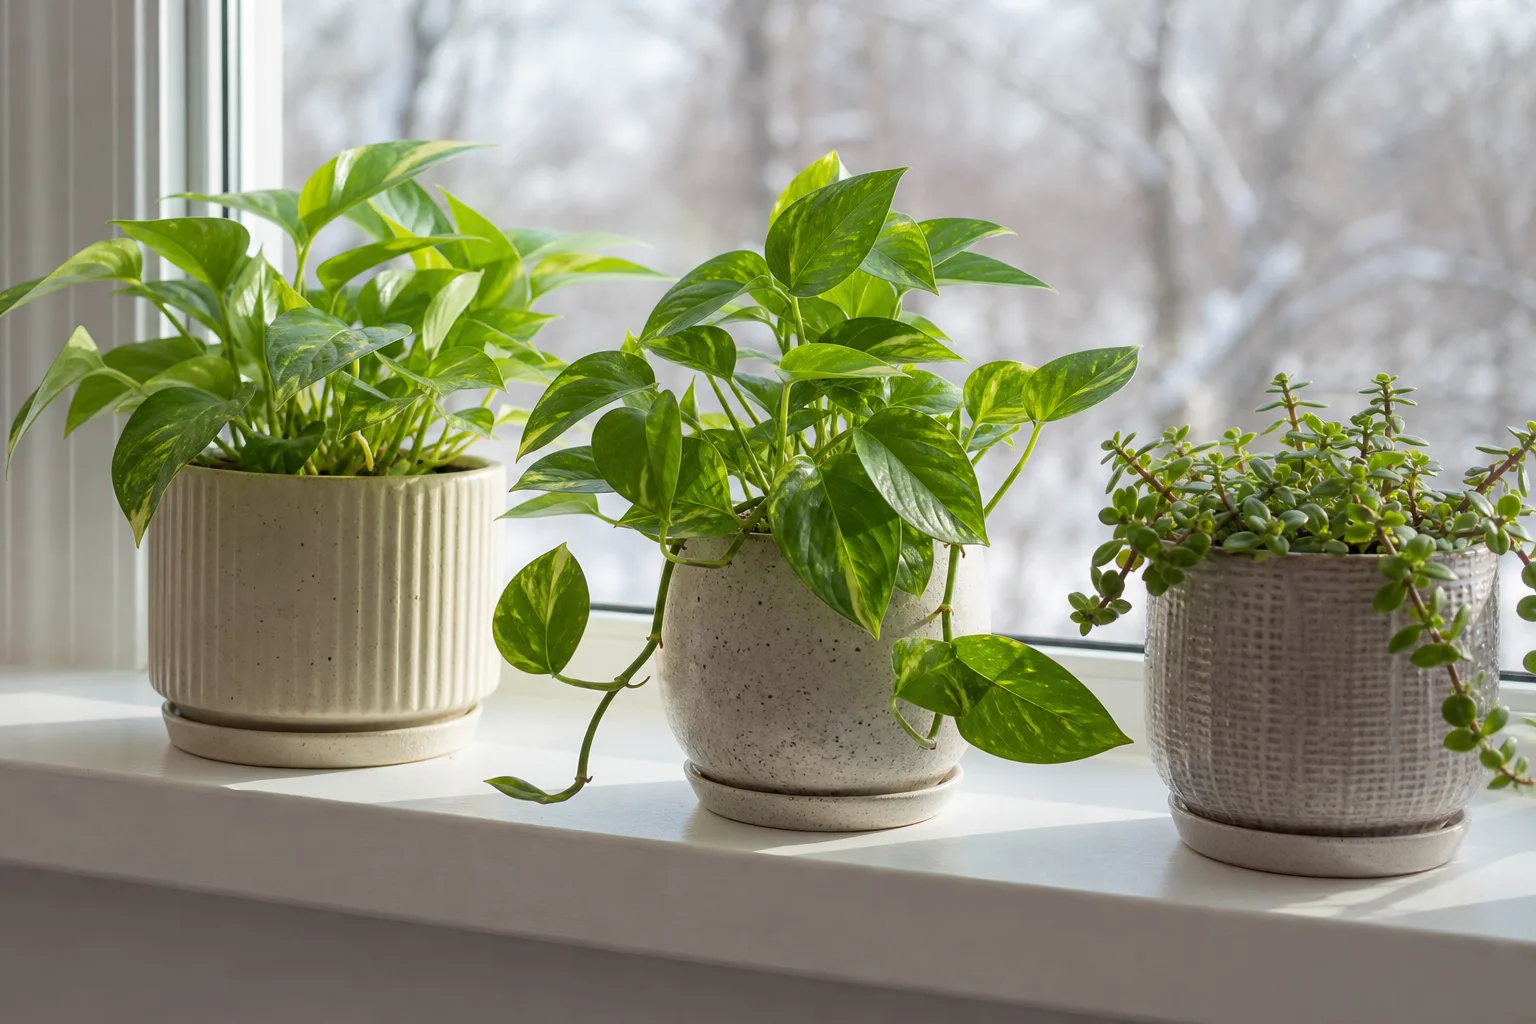
Treat each window as a range of positions rather than a single condition. The sill may be brighter but colder; a stand a few feet back may be warmer but receive less light; a high shelf may get more direct rays but heat up faster. Check the actual plant area at different times of day, and notice whether curtains, blinds, or neighboring buildings block the light.
Move plants gradually when the change is substantial, particularly shade-acclimated foliage that may scorch after a sudden jump into direct sun. Keep leaves from touching cold panes, and do not solve a draft by pushing the plant into a dark corner. If the only bright position is too cold at night, a nearby table with a grow light may be a better compromise than the sill itself.
Add grow lights for the plants that need them
Supplemental light is most useful for plants that are stretching, leaning, losing compact growth, or expected to keep growing through winter. A grow-light bulb in a nearby lamp can work for a small group if its beam reaches the foliage; a ceiling light several feet away may brighten the room without delivering much useful light to the leaves. Choose a fixture based on its coverage and instructions, then position it so the whole canopy receives reasonably even light.
Use a timer to make the day consistent and give plants a dark period; do not leave grow lights on around the clock. There is no one distance or daily duration that suits every lamp and plant, so follow the manufacturer’s guidance and watch the response. Pale, scorched, or unusually warm leaves can indicate excessive intensity or heat, while long weak growth suggests the source may be too far away or too dim. N.C. Cooperative Extension notes that supplementing with grow lights can help when natural winter light is insufficient, and Joe Gardener’s conversation with Maria Failla offers practical examples of using grow lights and timers at home. For fixture placement and light terminology, see our indoor grow-light guide.
Protect plants from cold glass, drafts, and heater vents
A thermostat describes the room generally; it does not describe the temperature at a leaf pressed against glass or a pot sitting over a heating vent. At night, a windowpane can become much colder than the room, while forced-air heat or a radiator can create a hot, dry stream on one side of a plant. These local conditions matter more than chasing one exact room temperature for every species.
On a cold evening, check the sill, the wall beside it, the floor near an exterior door, and the area around heaters. A simple minimum-maximum thermometer can show whether one zone has a large overnight drop; move the instrument to plant height for a night or two rather than trusting a reading across the room. Shift sensitive foliage away from a draft or hot airflow, but keep it in the best available light. The RHS and N.C. Cooperative Extension both advise avoiding temperature extremes and drafts.
Do not let curtains trap a plant between fabric and cold glass overnight. Leave foliage clear of the pane, and use a stable stand if the sill itself is very cold. If a plant is accidentally chilled, move it to steady conditions and wait before pruning; cold injury can take time to show, and damaged tissue will not recover simply because the plant is watered or fertilized more heavily.
Water by each pot’s dry-down, not by weekday
Winter watering is where a large collection can quietly get into trouble. A familiar weekly routine may have worked in summer, but lower light and cooler soil can slow water use; meanwhile, a warm home, small pot, terracotta, active growth, or nearby grow light can keep another plant drying quickly. The useful question is not “Is it watering day?” but “Has this plant reached its own watering threshold?”
Check the mix at the depth that matters for that plant. For many foliage plants, feel the upper portion of the mix and compare the pot’s weight with how it feels just after watering; for a deeper container, a clean wooden skewer can reveal whether the lower mix is still damp. A dry-looking surface alone can mislead when the root zone below remains wet. N.C. Cooperative Extension describes finger, pot-weight, and skewer checks as practical ways to decide when to water, while the RHS cautions against plants sitting in excess water during winter.
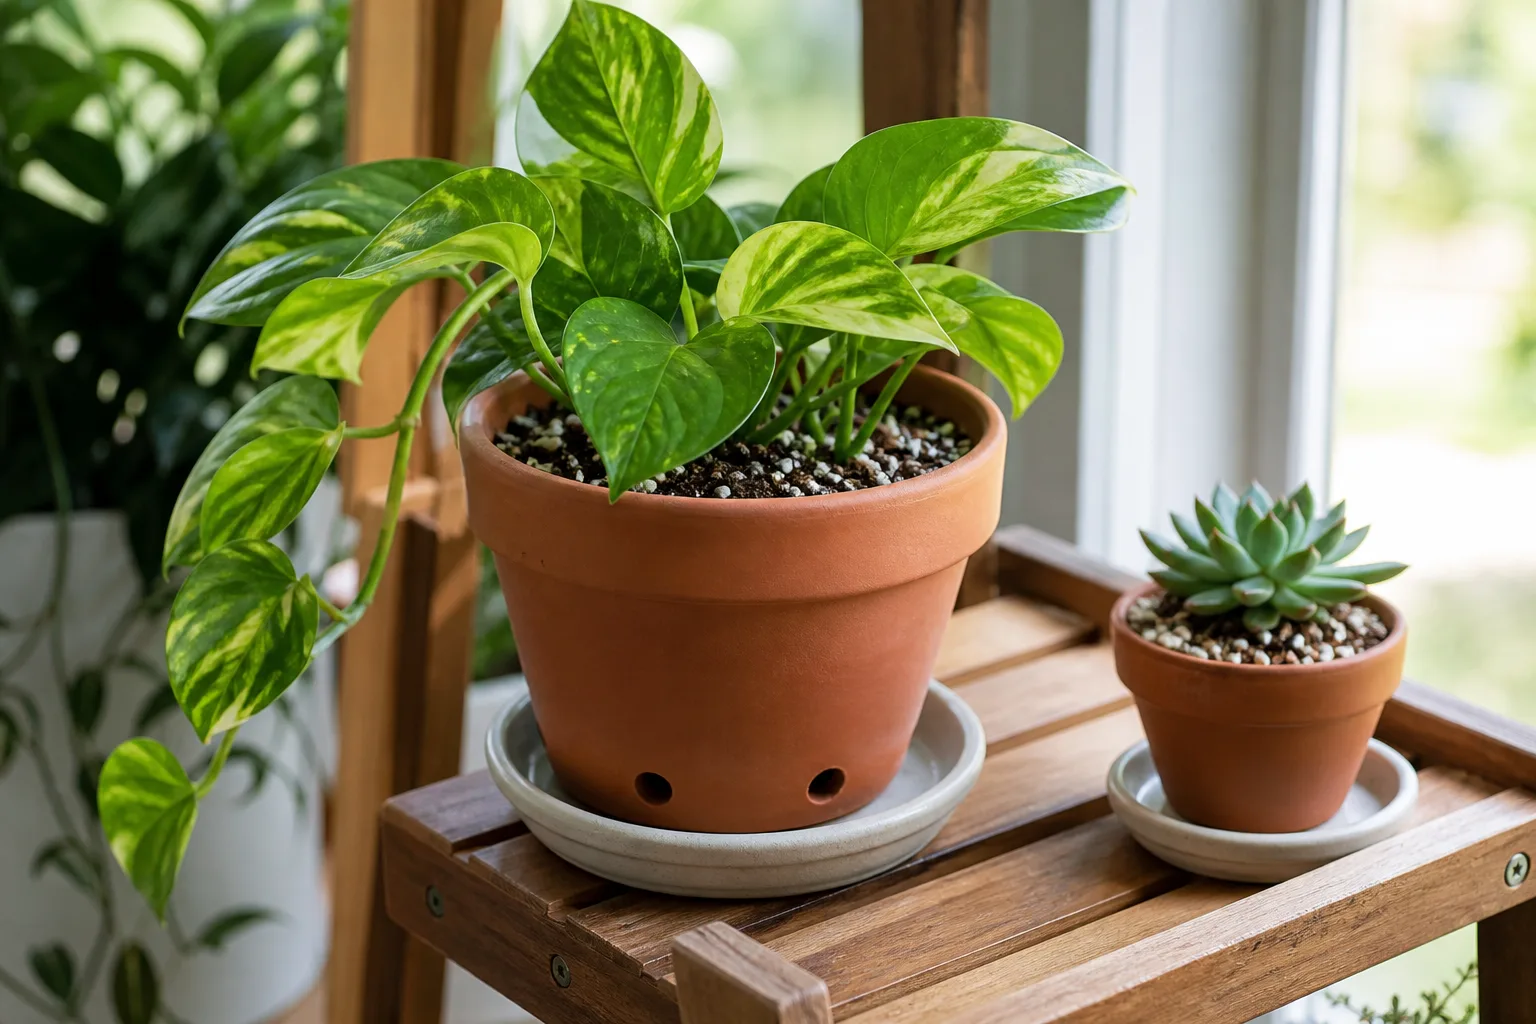
When a plant is ready, water the root ball evenly until excess drains from the pot, then empty the saucer or cachepot. Avoid repeated small splashes that wet only one patch of mix. Do not apply the same dry-down rule to every plant: a desert cactus, a forest cactus, an orchid in bark, and a moisture-loving fern have different roots and growing media. If you are unsure, compare the pot’s drying pattern over several cycles and consult guidance for that plant rather than copying a generic two-week interval.
Make batch watering faster without sharing problems
Batching can save time, but batch the inspection and transport—not the decision to water. Carry the pots that are ready to a protected station, water them individually, and let each drain before returning it to its cachepot. Use a tray or washable mat to protect floors, keep a towel nearby, and work from the clean collection toward any isolated or suspect plants.
Bottom watering can help re-wet a very dry root ball or avoid wetting delicate foliage, but it is not automatically better than watering from the top. Use clean water and a clean basin, give each pot time to absorb what it needs, then remove it and let it drain. Do not leave plants standing in water, and do not use one communal tub for quarantined or visibly unhealthy pots; separate handling makes it easier to contain a pest issue and notice which plant actually needs attention.
After a batch, note which plants were watered and which were deliberately skipped because their mix was still damp. That record prevents the common mistake of rewatering a slow-drying pot just because it was carried to the station with its neighbors. If a pot stays wet much longer than its group, check drainage holes, mix condition, pot size, and temperature before cutting back water for the entire collection.
Adjust fertilizer and repotting to actual growth
Do not fertilize a plant just because the rest of the collection is being fed. If a plant is not producing sustained new growth and receives weak winter light, feeding is unlikely to make it grow faster; unused nutrients can accumulate in the mix. The RHS advises little or no feeding for many houseplants through winter, while practitioners such as Maria Failla emphasize that a plant still actively growing under strong light may have different needs.
Use visible, sustained growth as a reason to check the plant’s normal feeding guidance—not as permission to increase the dose. Follow the fertilizer label and the plant’s care requirements; do not compensate for dim light, damaged roots, or cold soil with extra nutrients. A winter-flowering plant or one growing under a suitable light may continue its usual routine, but a collection-wide feeding day is a poor substitute for checking the plants. A Homes & Gardens interview with houseplant experts makes the same useful distinction: active growth can be an exception to a blanket winter pause.
The same principle applies to repotting. Put routine pot upgrades, major pruning, and propagation on hold if the plant is stable and growing slowly; recovery is often easier when light and growth improve. Repot sooner only for a real need, such as failed drainage, a broken container, severe root damage, or a root problem that cannot wait. Moving a small plant into a much larger pot can leave excess mix wet for longer, so choose a container only modestly larger than the root system and keep the drainage path clear.
Improve humidity only when the plant and room call for it
Heating-season air can be dry, but no single humidity target fits every houseplant. Measure near the leaves with a small hygrometer if you see recurring crispy margins or grow humidity-sensitive ferns, calatheas, or orchids; then compare that reading with the plant’s needs. Brown tips alone do not prove low humidity—they can also follow uneven watering, root stress, salts, cold injury, or hot air from a vent.
Grouping plants can make a small local microclimate, but it is not a substitute for airflow or pest inspection. Guidance on pebble trays varies: the RHS includes them among possible aids for humidity-sensitive plants, while Penn State Extension explains that the moisture disperses through the room and may have little effect on overall relative humidity. If you use a tray, keep the pot base above the waterline and regard it as a modest local measure, not a room humidifier.
If measurement and plant response point to dry air, a clean room humidifier near the group is more controllable than repeatedly misting leaves. Follow the appliance’s cleaning instructions, avoid directing a plume at foliage, and watch for condensation on windows or damp walls. Misting raises humidity only briefly as droplets evaporate, so do not build a daily spraying chore into a 30-plant routine unless a particular plant has a specific reason for it.
Stop one pest from becoming a 30-plant problem
More plants in one room mean more leaves to inspect and more opportunities for a hitchhiker to spread. Do a deliberate weekly scan rather than waiting for obvious damage: look under leaves, along veins and petioles, where stems meet, and around the soil surface. A phone flashlight or hand lens can help reveal fine webbing, tiny moving specks, cottony clusters, scale-like bumps, sticky residue, or distorted new growth.
Keep a newly purchased plant, gift plant, or plant returning from a balcony or patio apart from the main collection while you inspect it. Colorado State University Extension recommends a separate quarantine area for at least three weeks and a careful inspection at the end. A separate room is ideal; if that is impossible, use the greatest practical distance, do not let foliage touch, and avoid sharing watering tools until you are confident the plant is clean.
If you find a suspicious sign, isolate the pot first and inspect its nearest neighbors. Identify the pest before choosing a response; leaf stippling, yellowing, and sticky patches are clues, not diagnoses by themselves. For any pesticide or horticultural product, use only a product labeled for the specific plant and pest, and follow its instructions exactly. A treatment that works on one species can injure another, and spraying all 30 plants without evidence adds risk without solving the source.
Inspect and quarantine new or returning plants
Before a plant joins the room, check both sides of the foliage, stems, leaf joints, pot rim, and the surface of the growing medium. Remove dead leaves and debris, and note any webbing, eggs, crawling insects, sticky residue, or unexplained damage. Repeat the inspection during quarantine rather than assuming one clean look rules out hidden eggs or immature stages.
When bringing outdoor plants inside in fall, inspect them before they sit beside the established collection. Rinse foliage if the species tolerates it, clean the pot exterior, and keep the plant in a bright, separate location with appropriate temperature. Do not bring outdoor soil, standing water, or debris into a shared watering station. If signs appear, extend isolation and get a reliable identification before deciding the plant is ready to rejoin the group.
Treat fungus gnats as a moisture clue
Fungus gnats are especially frustrating in a room with many pots, but adult flies are often a sign to inspect the growing medium rather than a reason to water less blindly. Colorado State University Extension explains that moist mix supports their development and that slower winter plant growth can leave soil wetter if summer watering habits continue. Let the surface dry as appropriate for that plant, remove decaying leaves from the mix, and check whether an aging medium or blocked drainage is keeping the pot damp.
Yellow sticky cards can help show whether flying adults are present and whether numbers are changing, but they do not remove larvae from the soil. Keep monitoring after changing moisture conditions; the life cycle can take several weeks, so a few captured adults do not prove the issue is over. If the problem persists, use a treatment only after identifying the pest and checking that the product is suitable for the plant and indoor setting. Colorado State Extension’s fungus-gnat guide explains the distinction between adult traps and measures aimed at the growing medium.
Use a short weekly route and a simple plant log
A 30-plant routine should be short enough to repeat. Once a week, walk the room in the same direction and inspect one shelf or zone at a time. Scan for pests and damaged foliage first, check the pots that may be ready for water second, then empty any standing water and note plants that have changed position or begun new growth.
Do not try to water every pot during that route. If the surface is dry but the pot still feels heavy or a skewer comes out damp, mark it for a later recheck. If a pot has reached its species-appropriate cue, water it thoroughly and record the date. The N.C. Cooperative Extension’s suggested finger, weight, and skewer checks can be adapted to make this pass quick without a moisture meter.
Once a month, reassess the room itself: clean window glass, wipe dust from broad leaves, check the minimum temperature at the coldest zone, and compare humidity if a specific plant is struggling. Rotate a pot only if it is leaning or receiving uneven light; constant rearranging can create new temperature and light shocks. The plant log should capture changes that matter, such as “moved 18 inches from glass” or “isolated for scale,” not every routine glance.
Troubleshoot winter symptoms one change at a time
Winter symptoms overlap, so do not diagnose from one yellow leaf. First check the root-zone moisture and drainage, then the plant’s recent light and temperature, then visible pest signs. Make one major change at a time unless there is an urgent hazard such as freezing exposure or a pot sitting in water; otherwise you will not know which adjustment helped.
| What you notice | Check first | Sensible first move |
|---|---|---|
| Yellowing lower leaf, slow growth | Is it one old leaf or a pattern? Is the mix staying wet? | Remove only fully dead foliage; correct persistently wet soil before watering again. |
| Drooping with a heavy pot | Root-zone wetness, drainage, and cold exposure | Do not add water automatically; move away from cold glass and let the mix reach its normal threshold. |
| Drooping with a very light pot | Whether the root ball is dry at the plant’s usual depth | Water evenly, let excess drain, and check again rather than giving repeated splashes. |
| Brown or crispy edges | Heater airflow, humidity reading, salts, and uneven watering | Move out of direct hot air and change humidity only when the measurement and species support it. |
| Long, weak stems leaning one way | Light duration, distance, and nearby shade | Improve usable light gradually or use a properly positioned grow light. |
| Fine speckling, webbing, sticky residue, or cottony spots | Leaf undersides, joints, stems, and neighboring pots | Isolate the plant and identify the pest before treatment. |
| Small flies hovering over pots | Mix moisture, decaying debris, and drainage | Let the surface dry as the plant allows, remove debris, and monitor adults with sticky cards. |
These are starting points, not one-symptom diagnoses. For example, a wilted plant with wet soil may have roots unable to function; watering it again can make the underlying problem worse. A stressed plant may also shed an older leaf while adjusting to lower light, so watch whether the pattern spreads and whether new growth looks healthy.
After a change, give the plant time and judge fresh growth rather than expecting old damage to disappear. Record what changed and when. If decline continues, roots smell sour or feel mushy, a pest is spreading despite isolation, or you cannot identify the cause, ask a local extension service or qualified plant clinic before layering on fertilizer, repotting, and multiple treatments at once.
Conclusion: steady observation beats winter overcare
Keeping 30 houseplants in good shape through winter is not about giving all of them more attention. It is about making their differences visible: place them by usable light and temperature, water each pot when its own mix reaches the right cue, feed plants that are genuinely growing, and isolate problems before they reach the collection.
Use a short weekly route, a simple exception list, and a few measured checks at the coldest or driest spots in the room. When a plant looks different, inspect first and change one thing at a time. A consistent system will not make winter identical for every species, but it will make care easier to manage—and make the next right action much clearer.



