Plants and Flowers: Choosing, Growing, and Caring for Them
Find plants and flowers that suit your light, soil, climate, space, and schedule, then follow practical steps for planting, watering, and ongoing care.
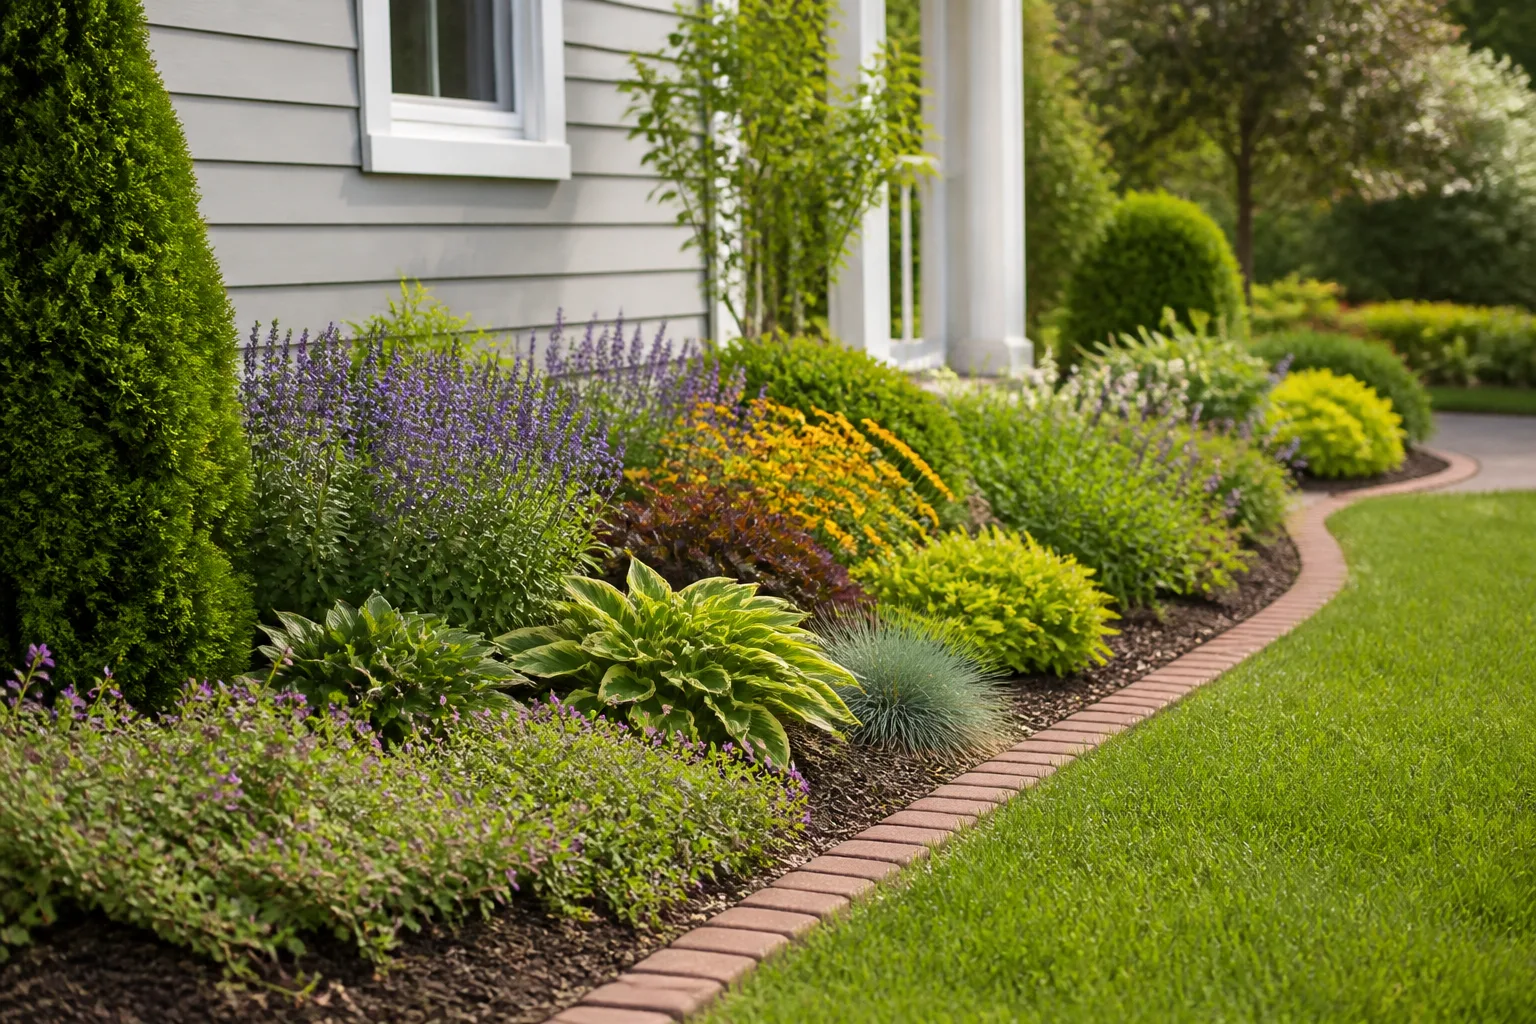
A garden becomes easier to care for when you choose plants for the conditions you have, not the conditions shown on a nursery tag’s best-case photo. Start with what the planting needs to accomplish, then match that purpose to the site and the amount of time you can give it. UF/IFAS Extension frames plant selection as a fit between function, appearance, and environmental requirements; that simple test works for a flower border, a shade bed, a patio pot, or a row of shrubs.
The result is not a single list of “best” plants. It is a way to build a shortlist that can actually thrive where you put it, with a realistic plan for establishment and seasonal care.
Start With the Job the Plant Needs to Do
Write down the job before writing down plant names. A planting might soften a foundation, screen a neighbor, stabilize a slope, fill a dry strip beside pavement, provide cut flowers, or support pollinators. One plant can meet more than one goal, but the primary job helps you decide which traits matter most: height, width, flowering season, evergreen foliage, fragrance, root behavior, or tolerance for foot traffic.
Then rank your preferences. If a narrow side yard needs year-round screening, a tall, dense evergreen may matter more than long bloom. If a small front bed needs color near the walk, compact perennials and annuals may be more useful than a large shrub. If the main goal is less weekly work, avoid plants that need repeated deadheading, staking, clipping, or frequent replacement, even if their flowers are attractive.
This is where a garden plan should allow compromise. A plant that perfectly matches your favorite color but fails the site test is usually the wrong purchase. A plant that meets the practical need and is attractive for most of the year will often feel more successful than a short-lived showpiece that needs constant correction.
Map the Site Before You Shop
Spend a few days observing the exact bed or container location. Record when direct sun reaches it and when it leaves; “bright” is not a useful measurement if a wall shades the area after breakfast. Check the spot in more than one season if possible, because deciduous trees cast less shade before leaf-out and a low winter sun can reach places that are shaded in summer.
Notice what happens after rain. Is water standing in a low area the next day, or does a slope shed it quickly? Does a roof overhang keep the soil dry? Does a downspout concentrate runoff? A fence, wall, driveway, or building can create hot reflected light, a rain shadow, a wind tunnel, or a warmer pocket. The Royal Horticultural Society recommends assessing shade, soil, and microclimates before choosing plants for dry conditions; the same observations improve choices in ordinary garden beds.
Measure the usable width and height, note nearby paths and windows, and identify underground utilities before digging. A quick sketch can mark sunny and shady zones, wet and dry patches, utility lines, and the mature canopy of existing trees.
Read Sunlight, Soil, and Water Together
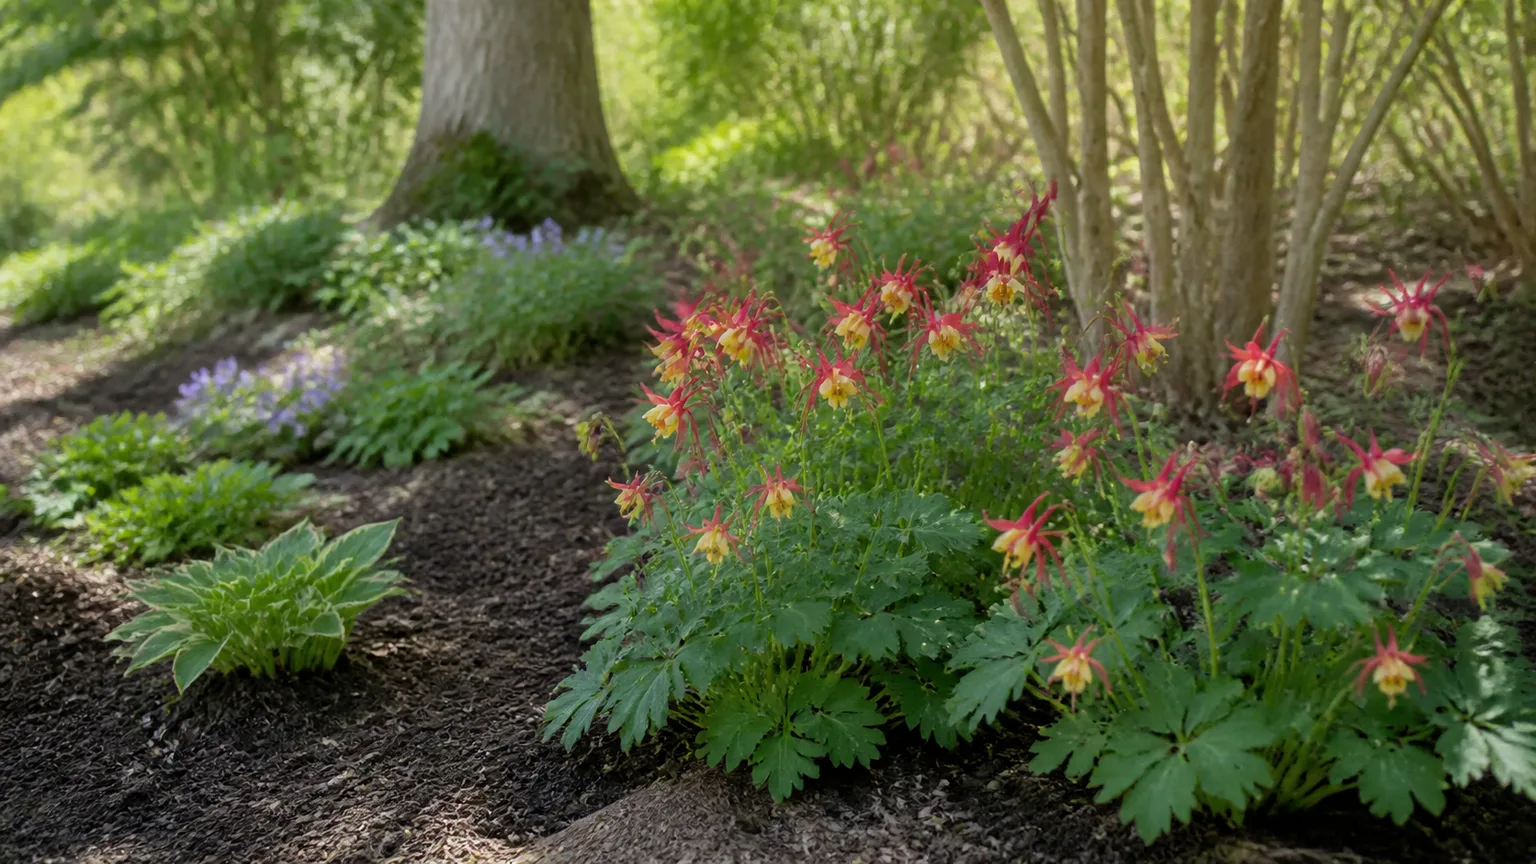
Use the plant label’s light terms as a starting point, not a promise. “Full sun” often means roughly six or more hours of direct light, while partial shade commonly describes a few hours of sun or filtered light; exact definitions differ among references and plants. Morning sun with afternoon shade can be gentler than the same number of hours of hot afternoon exposure. Shade under a tree is also competitive: the canopy blocks light while established roots take up water.
Soil texture and drainage tell you how quickly water moves and how long it stays available. Sandy soil drains quickly and may dry between rains; clay soil can hold water but become compacted or poorly aerated. A simple infiltration check—observe a spot after a soaking rain or dig a small test hole and see whether water drains away within a reasonable period—can flag a problem, but it does not replace a laboratory soil test when pH or nutrient levels matter. If a planting repeatedly struggles, ask your local extension office whether a soil test is appropriate before adding lime, sulfur, or fertilizer.
Match moisture needs to the natural pattern of the site. Do not put a plant that needs consistently moist soil in a narrow bed under a roof eave, or a plant adapted to sharp drainage in a winter-wet hollow. The UF/IFAS plant-siting guide notes that choosing plants for the site’s natural moisture regime can reduce the need for irrigation or drainage. If the bed has different conditions, group plants into those zones instead of treating the entire border as one uniform space.
Use Hardiness Zones as a Filter, Not a Promise
The USDA Plant Hardiness Zone Map is based on average annual extreme minimum winter temperatures and helps estimate whether perennial plants, shrubs, and trees can survive winter outdoors. Use the zone printed on a plant label to screen for cold survival, then check regional recommendations for heat, humidity, rainfall, and growing-season length. Gardening Know How’s hardiness-zone guide also emphasizes that a zone does not tell you your frost dates, soil, light, or summer heat tolerance.
A zone is not a planting calendar. It cannot tell you whether it is safe to set out tender annuals after the last frost, when a particular bulb should be planted, or whether a plant will tolerate a hot reflected-light corner. Coastal exposure, elevation, urban heat, wind, snow cover, and the shelter of a wall can all change how a plant performs within the same mapped zone.
When local nursery advice conflicts with a national label, investigate the reason rather than choosing one blindly. A nearby botanical garden or Cooperative Extension office may have trial data from a climate closer to yours. For a container perennial, remember that roots are less insulated than roots in the ground; a plant that is hardy in a garden bed may need winter protection or a sheltered location in a pot.
Choose the Right Plant Type for the Time You Can Give
Plant categories describe life cycle, not difficulty. Annuals finish their life cycle in one growing season and are useful for quick color, containers, and filling gaps; the trade-off is that you replant them. Biennials typically grow foliage the first season, then flower and set seed in the next, though timing can vary with climate. Herbaceous perennials return from roots or crowns over multiple years, but many disappear aboveground in winter and may take time to fill out.
Woody perennials—trees, shrubs, and many vines—offer structure that lasts, but their mature size and root spread make placement more consequential. Bulbs, corms, and tubers can deliver concentrated seasonal color, yet their planting depth and season are specific to the plant and climate. Groundcovers cover soil and can help with erosion; Virginia Cooperative Extension defines groundcovers as low-growing plants, generally three feet or shorter, that spread into a relatively dense layer. A spreading habit is useful when it is intentional and a liability when it crosses into a lawn, path, or natural area.
| Plant type | Useful when you want | Main trade-off |
|---|---|---|
| Annuals | Immediate color, flexible seasonal combinations | Replanting and more frequent watering in pots |
| Perennials | Returning flowers or foliage after establishment | Seasonal dormancy, slower filling, and division for some kinds |
| Bulbs and corms | A defined flush of seasonal bloom | Planting depth and timing are crop-specific |
| Shrubs and trees | Height, screening, shade, or lasting structure | Long-term spacing and pruning needs |
| Groundcovers | Low planting layers and soil coverage | Some spread aggressively or are difficult to remove |
Choose the life span that matches your budget and attention. A low-maintenance design often uses a stable backbone of shrubs or grasses and smaller seasonal accents rather than a bed of high-care flowers that all demand the same attention at once.
Layer Flowers, Foliage, and Structure Across the Year
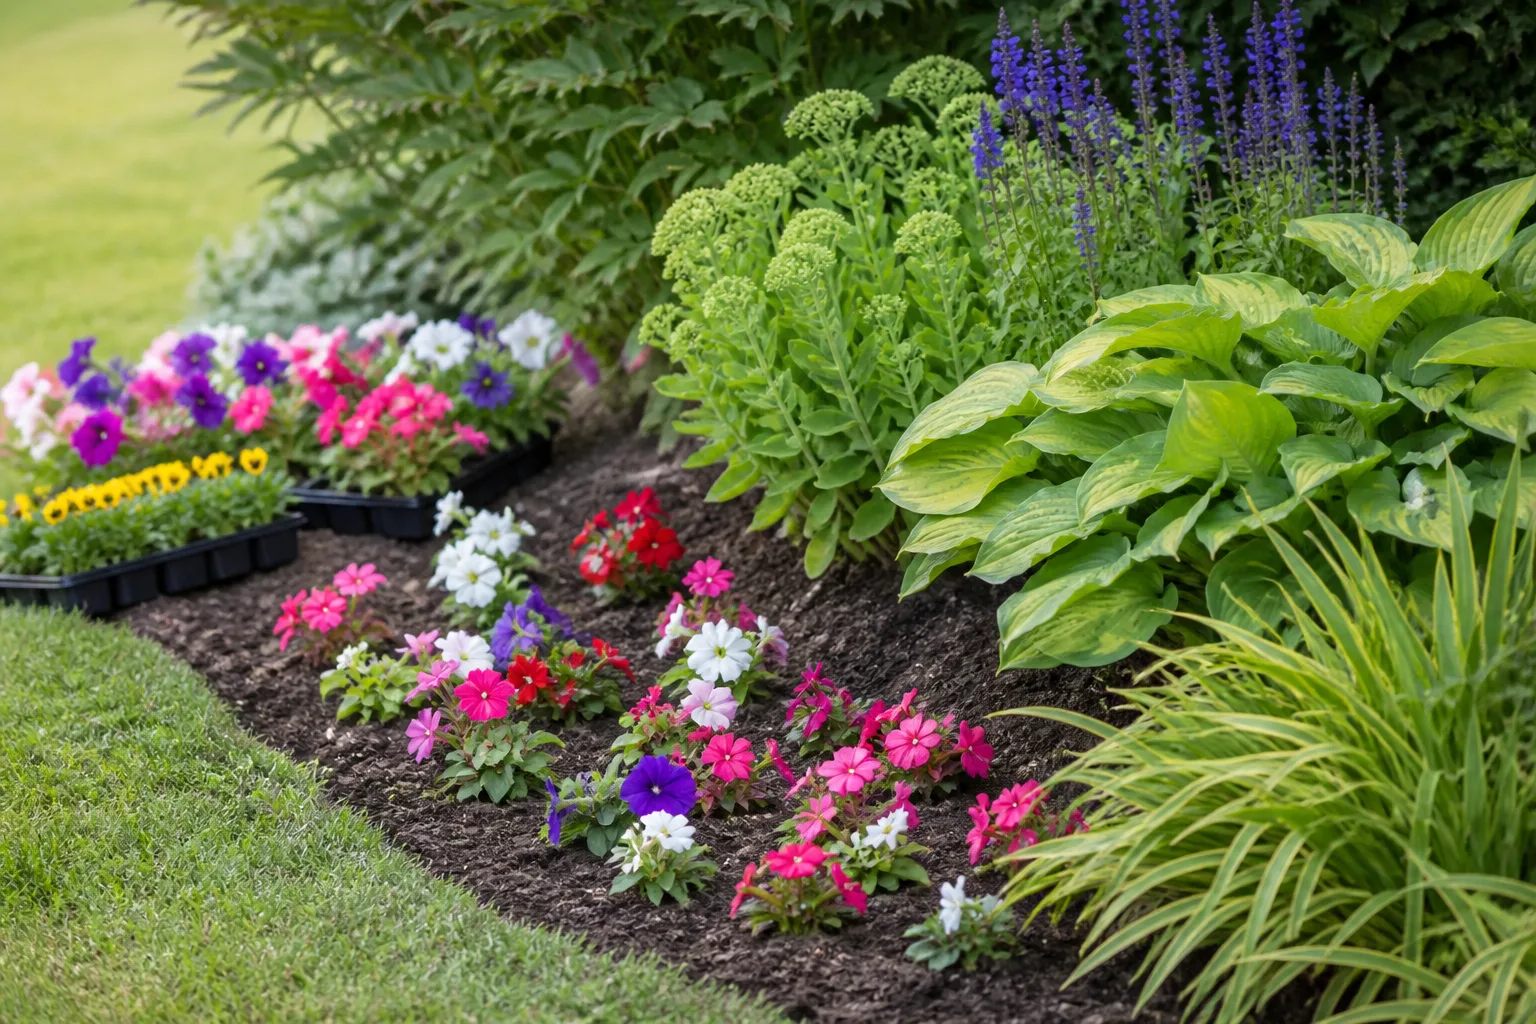
A flower garden that looks complete for only two weeks is usually missing layers, not more flowers. Combine plants with different bloom windows, then include foliage, seed heads, bark, and evergreen structure so the bed still has shape between flushes. Use a calendar with three columns—early, middle, and late season—and put the expected bloom time of each plant in the right column. This makes gaps visible before you spend money.
Repeat a few plants or colors instead of buying one of everything. Repetition gives a border rhythm and makes it easier to care for plants with similar light and water needs. For height, place taller plants toward the back of an island bed or center of a circular bed, and toward the rear of a border viewed from one side. Check sight lines and mature width so a shrub does not conceal windows or swallow a walkway.
Plan for what happens after bloom. Some flowers look tidy after deadheading; others provide seed for birds or winter structure and are better left standing until spring. If you want cut flowers, select varieties with suitable stem length and plant enough of each kind to harvest without stripping the display. For a small garden, choose a compact palette that overlaps in bloom rather than trying to include every favorite species.
Check Mature Size, Spread, and Local Invasiveness
A one-gallon pot is a temporary snapshot. Read the expected mature height and width, and use those dimensions to space shrubs and perennials rather than planting them shoulder-to-shoulder for instant fullness. A plant that needs yearly hard pruning to stay below a window was probably placed in the wrong spot or chosen for the wrong job. Near houses, sidewalks, overhead wires, and utilities, consider not only the mature crown but also roots, thorns, falling fruit, and maintenance access.
Spread can mean a clump that slowly widens, a runner that travels underground, a vine that roots at nodes, or seed that appears in neighboring beds. The word “vigorous” on a label deserves a follow-up question: how does the plant spread, can it be contained, and is it invasive in your region? A species that behaves politely in one climate may escape cultivation in another. Check state or local invasive-plant lists before purchasing, and do not plant known invasive species near waterways or natural areas.
Buy the right size for the site, not the largest specimen available. Smaller, healthy plants can establish well when their roots are protected and they receive appropriate care; a larger plant may give quicker impact but costs more to transport, water, and install. Where a mature tree or shrub has tight clearance, select a naturally compact cultivar or a different plant rather than relying on permanent shearing to hold it back.
Choose Plants for Wildlife, Pets, and People
A wildlife-friendly planting is not just a row of flowers. Aim for a succession of blooms and seed or shelter resources across the seasons, and favor locally native species when they suit the site and are available from reputable growers. “Native” is a regional term: a plant native somewhere in the country is not necessarily native to your county or ecoregion. A locally appropriate native plant often supports relationships with local wildlife, while noninvasive nonnative plants may still have a place in a designed garden.
Avoid claims that flowers will reliably repel pests simply by being nearby. A diverse planting can provide food and habitat for beneficial insects, but it will not prevent every pest or replace appropriate monitoring. If you choose plants for pollinators, select flowers with accessible nectar or pollen and avoid pesticide applications that conflict with the goal; follow product labels and local guidance if treatment is necessary.
Check safety before planting near children, pets, livestock, or a frequently used path. Common names can refer to multiple species, so identify the botanical name and verify toxicity through a reliable poison-control or veterinary source if ingestion is a realistic concern. Also consider thorns, irritating sap, strong fragrance, and plants that attract bees near a narrow doorway. Place plants with cautions where the risk is manageable and let garden users know.
Buy for Root Health and the Right Starting Method
A seed packet, plug, bare-root plant, and nursery-grown container solve different problems. Seeds offer the most varieties at low cost, but some need light, cold stratification, scarification, or a long indoor start; the packet should state sowing depth and timing. Plugs are small and economical for larger plantings but need protection while establishing. Bare-root trees and perennials are lightweight and often planted during dormancy, but their roots must not dry out before planting.
For a container-grown plant, inspect the leaves, stems, and root ball. Avoid plants with widespread yellowing, soft or blackened stems, obvious pests, or dry soil pulling away from the pot. A dense mass of circling roots may need careful loosening or a different specimen. Do not assume the biggest, most flower-covered pot is best: a plant pushed into bloom for retail display may need extra care after transplanting, and roots matter more than temporary flower count.
Read the full tag for botanical name, mature size, hardiness, light, moisture, and special requirements. A photograph and common name help with recognition but may conceal cultivar differences. If the tag lacks the information you need, look up the exact cultivar or ask the nursery. Before leaving, confirm your shortlist still fits the spot, budget, planting window, and ongoing-care limit.
Prepare the Soil Without Overcorrecting It
Start by removing perennial weeds, sod, and debris from the planting area. If you are establishing a broad bed, improve the whole bed rather than enriching tiny planting holes; roots need to grow out into the surrounding soil. Use a soil test to learn whether pH or nutrients actually need correction, particularly before applying lime, sulfur, or fertilizer. Recommendations differ by crop and region, so use your local lab’s guidance rather than a generic internet recipe.
Compost can improve organic matter and soil structure, but more is not always better and a rich pocket is not suitable for every plant. Many drought-adapted or native plants perform poorly in a heavily amended, consistently damp bed. The RHS recommends assessing soil and matching plants to the site, then using organic matter where it improves the particular soil and planting goal. Do not put gravel in the bottom of a planting hole to “fix” drainage; it will not transform a poorly drained site into a well-drained one.
For a new border, remove compaction where feasible, work when soil is moist but not sticky, and keep the finished grade from burying tree trunks or directing runoff toward the house. If drainage is persistently poor, choose plants tolerant of those conditions, raise or redesign the bed, or solve the underlying drainage issue before installing expensive plants. Soil preparation should make the root zone hospitable without trying to turn every part of the yard into the same soil.
Plant at the Right Time and Depth
Planting time depends on the species and local climate. Many trees and shrubs establish well during cool weather when soil remains workable and roots can grow before summer stress, while frost-tender annuals should wait until the danger of damaging cold has passed. Spring and fall are common planting windows in many temperate regions, but local extension recommendations and the plant’s own instructions matter more than a national rule. Avoid planting into frozen, waterlogged, or extremely hot, dry soil if you can wait for better conditions.
Water a container-grown plant before planting, then slide it out gently. Loosen tightly circling roots so they can grow outward, but do not shred a healthy root ball. Set the plant at the same depth it grew in the container unless its specific planting guide says otherwise. For a tree, locate the root flare—the point where the trunk widens into the top roots—and keep it at or slightly above finished soil grade; do not bury the trunk in mulch or soil.
Backfill with the soil you removed unless a soil test or specific plant requirement calls for another approach. Firm gently to remove large air pockets without packing the soil hard, then water thoroughly to settle it around roots. Follow plant-specific instructions for bulbs, corms, and bare-root stock because their planting depth and orientation differ. Label new plantings and mark them on a simple map so you do not dig into them while they are dormant.
Water to Establish Roots, Then Reassess
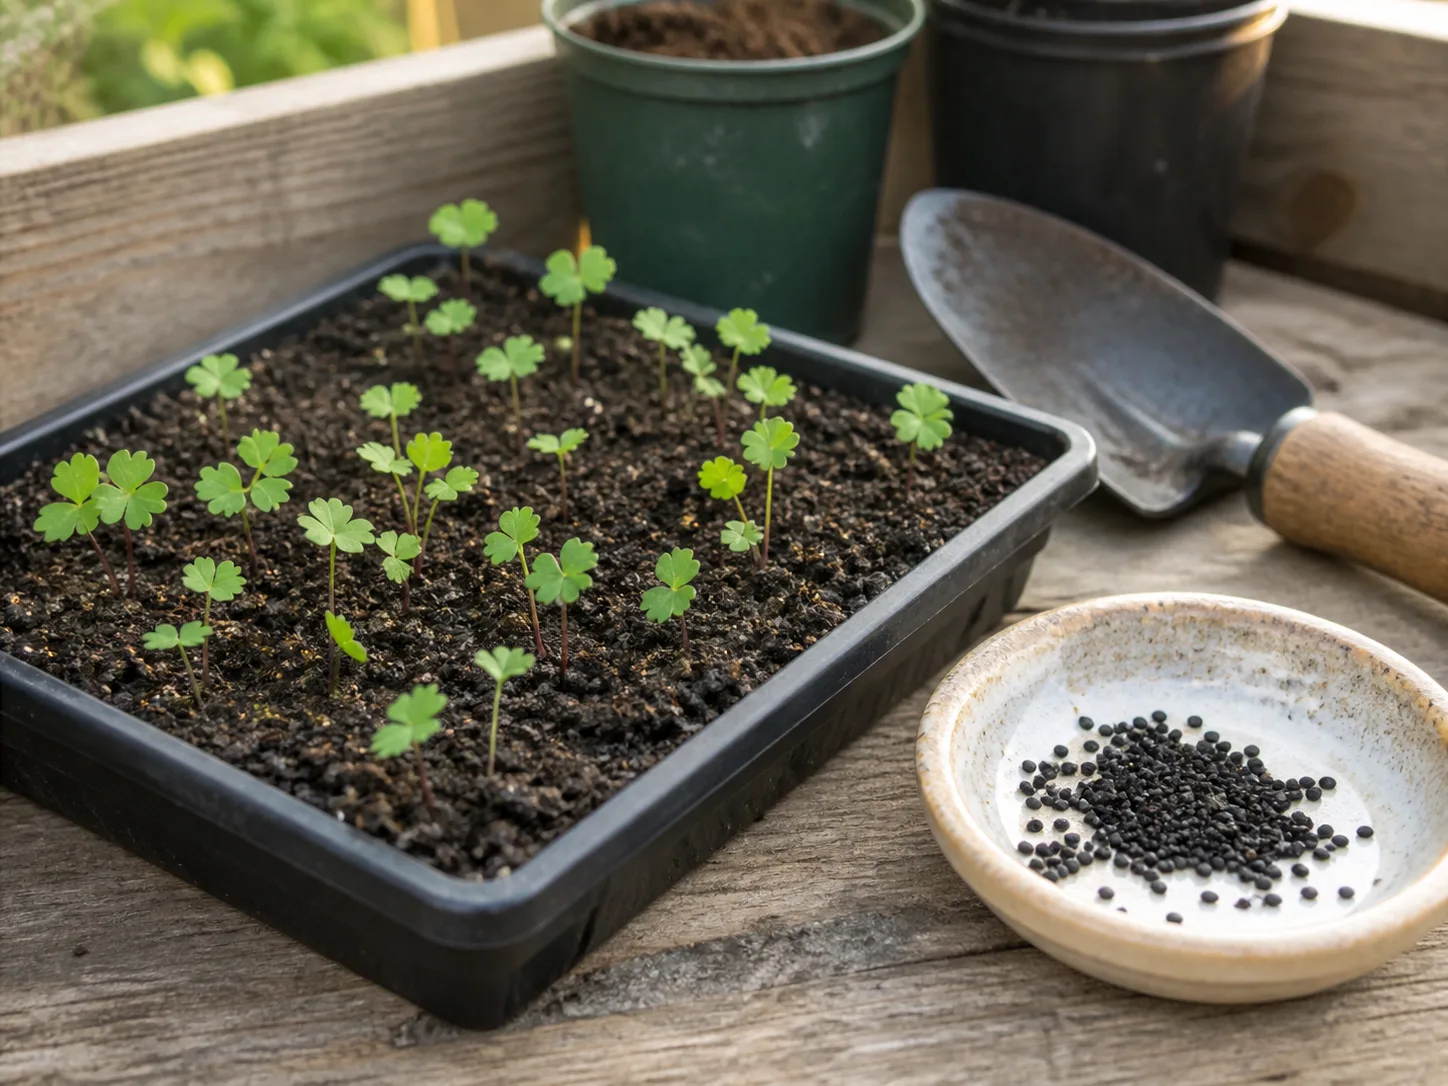
New plants need enough water to keep the root zone moist while roots expand into surrounding soil. That does not mean water every day: frequency depends on weather, soil, plant size, and whether it is in a container or bed. Check moisture a few inches below the surface rather than judging only by dry mulch. If the root zone is still damp, wait; if it is drying, water slowly and deeply enough to wet the root ball and nearby soil.
Prioritize new trees and shrubs during their establishment period, especially through hot or windy weather. Large balled-and-burlapped plants may need attention longer than small perennials because their root systems have been disturbed. Drought-tolerant on the label describes a plant after it is established, not immediately after planting. The RHS advises regular watering for newly planted trees, shrubs, and perennials, even when their mature forms tolerate dry conditions.
Use a watering can, hose at the soil line, or a suitable drip system to put water where roots can use it. Sprinklers can wet leaves and lose water to wind; they may still be practical for larger plantings if timed well. In containers, water until excess drains from the bottom, then empty saucers that keep roots standing in water unless the plant specifically needs boggy conditions. As plants establish and weather changes, lengthen the interval between watering and adjust based on soil moisture rather than retaining the nursery’s schedule.
Mulch, Feed, and Prune With a Reason
A moderate mulch layer suppresses weeds and slows moisture loss, but keep it away from stems and trunks. Two to three inches is a useful starting depth for many beds; use less where heavy or wet soil stays cool, and follow local guidance for specialized plantings. Do not create a “mulch volcano” against tree bark. Replenish mulch when it has decomposed or thinned instead of adding a new thick layer every season.
Fertilizer is not a rescue treatment for every yellow leaf or slow-growing plant. Too much nitrogen can produce soft growth, reduce flowering, or increase salt stress; the RHS cautions against feeding plants in drought-prone settings because lush growth can be more vulnerable to drying. Use test-based recommendations for deficiencies, and follow the product label. If a plant is in the wrong light, waterlogged, rootbound, or newly transplanted, fertilizer does not repair that mismatch.
Prune for a clear purpose: remove dead or damaged material, improve access, shape a plant according to its growth habit, or harvest flowers. The right timing depends on whether a shrub flowers on old or new wood, so identify the plant before cutting it hard. Deadhead only when it prolongs flowering or prevents unwanted seed; leave seed heads when they provide winter interest or wildlife food. Low-maintenance gardens often need fewer interventions, not a bigger list of weekly chores.
Match Container and Indoor Plants to Their Different Conditions
Containers dry faster than garden beds because they hold a limited volume of soil, warm on sunny patios, and lose water through drainage holes. Choose a pot with drainage, a growing medium made for containers, and a size appropriate to the plant’s root system. A very large pot filled with wet mix can stay saturated around a small root ball; a cramped pot may dry within hours in hot weather. Use a larger container when the plant’s mature size and watering needs justify it, not simply because it looks substantial.
Combine container plants that want similar light and moisture. A sun-loving herb and a shade-loving fern are poor partners even if their leaves look good together at the nursery. One vigorous plant can also dominate a mixed pot, so check expected size and growth habit. For long-lasting displays, include an upright or structural plant, a flowering or foliage focal point, and a trailing plant only when the container has enough room for all three.
Indoor plants face a different set of limits: window direction, seasonal day length, dry indoor air, heating vents, and the rate at which potting mix dries. Keep indoor potting mix distinct from garden soil, which can compact in containers. If a tropical plant spends summer outside, acclimate it gradually to stronger light and bring it in before temperatures fall below its tolerance.
Diagnose Setbacks Before Applying a Fix
When a plant looks unhealthy, begin with the timeline and the site. Did symptoms start after transplanting, a heat wave, a heavy rain, or a fertilizer application? Are older leaves affected first or new leaves? Is the entire plant stressed, or only growth facing a wall? These clues help distinguish water stress from nutrient issues, pests, disease, or normal seasonal change.
Check soil moisture at root depth before watering again. A wilted plant in dry soil may need water; a wilted plant in saturated soil may have roots without enough oxygen, and more water can make it worse. Look under leaves for pests and inspect nearby plants for similar symptoms. Photographing a leaf and the whole plant, noting the date, and identifying the species gives a local extension office or nursery a much better starting point than “my flowers are dying.”
Change one likely cause at a time and observe new growth. Do not apply pesticides, fungicides, or home remedies because a symptom vaguely resembles a disease; identify the problem and follow legal product-label directions if treatment is warranted. Remove dead material when it is diseased or unsafe, but avoid cutting healthy growth just to make a stressed plant look tidy. If the same problem returns, revisit the plant-site match before buying another of the same kind.
Use a Simple Seasonal Care Plan
A workable garden calendar is tied to plant life cycles and local weather, not a fixed month list copied from another climate. In late winter or early spring, remove damaged material, note what survived, and prepare beds only when the soil is not too wet to work. Start seeds indoors only when the crop’s lead time and your available light make it worthwhile. Plant bulbs and divide perennials in their recommended season, which varies by species and region.
During spring, plant when the soil and forecast are suitable, water new additions, and record labels and locations. In summer, prioritize establishment watering, weed before seeds mature, and inspect plants for stress while there is still time to correct light or irrigation problems. Do not mistake summer dormancy in some perennials for death; check whether the species naturally retreats before digging it up.
In fall, plant hardy perennials and woody plants during a suitable local window, replenish mulch where needed, and leave selected seed heads for winter interest. Take tender plants indoors before cold damage, and clean diseased debris rather than automatically stripping every bed bare. Keep a short log of what bloomed, struggled, spread, or needed too much work. Next year, remove one recurring frustration and add plants that solve the actual gap.
Conclusion
The most reliable way to grow plants and flowers is to work from the site outward. Decide what the planting should do, map light and moisture, check climate and mature size, then choose a plant type that fits both the conditions and your willingness to maintain it.
Buy for root health, prepare the soil according to evidence, plant at the right depth, and give new roots careful water before easing into a lighter routine. A garden built around good matches will still change with weather and time, but it will ask for fewer repairs and give you more of what you planted it to provide.



