January Garden Prep: What to Do Before Spring
A January garden prep checklist for cold and warm regions, with practical timing for seed starting, pruning, soil work, and frost-heave checks.
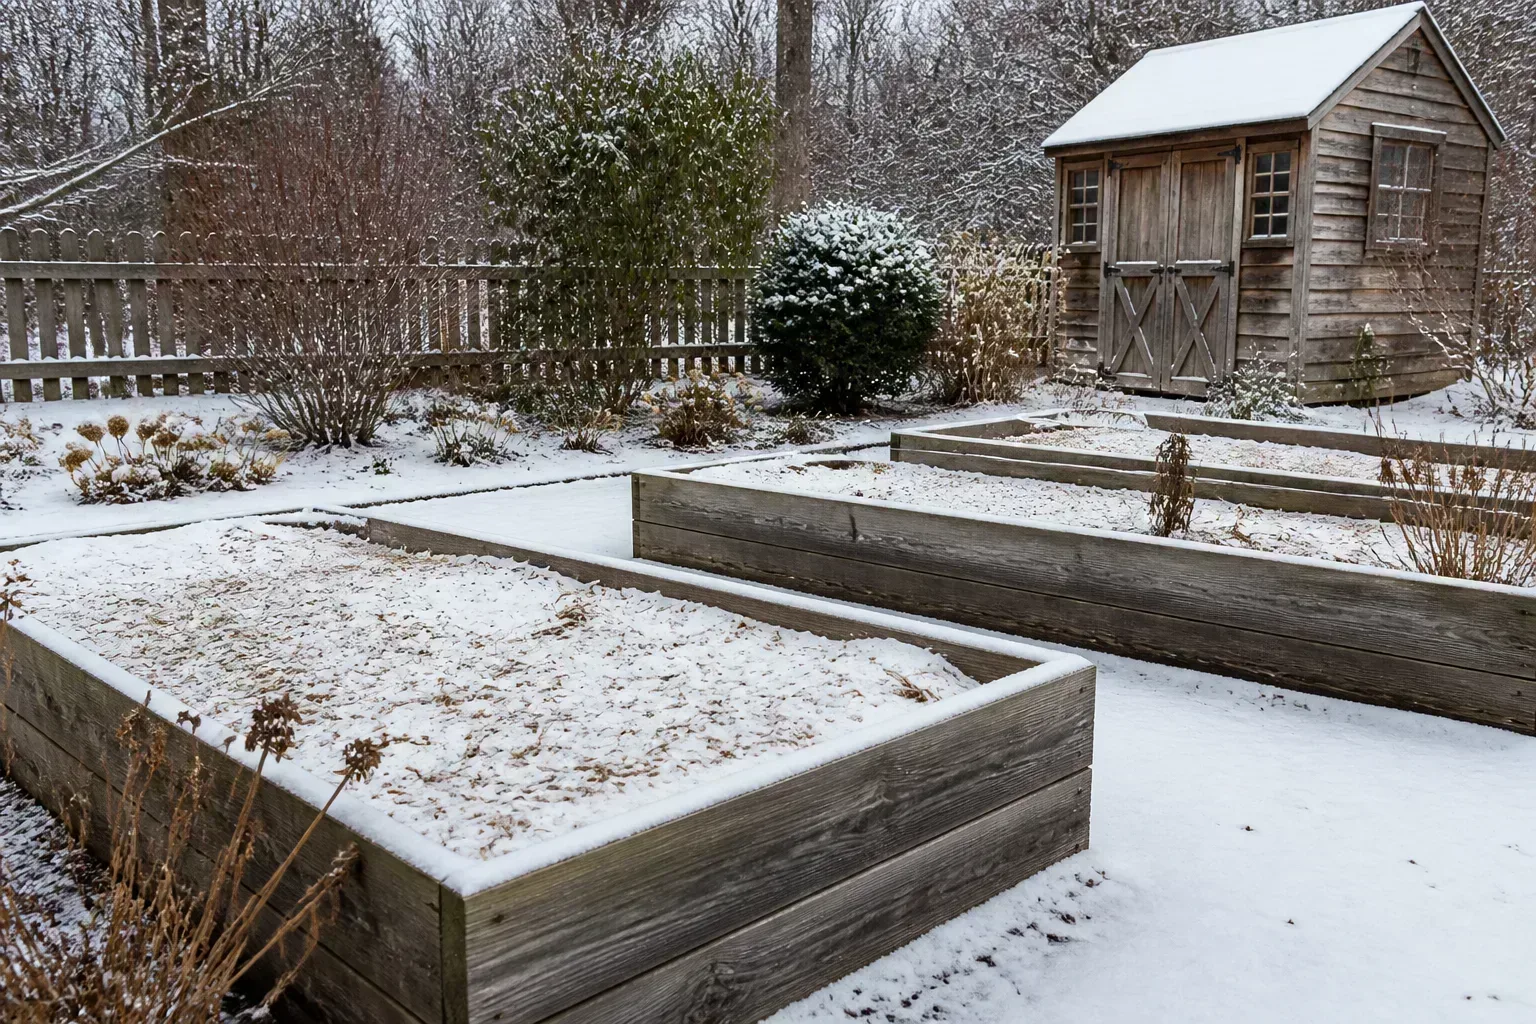
January garden prep is mostly a planning job. Before I buy seed or take pruners outdoors, I check what kind of winter the garden is actually having: the beds may be frozen solid, damp but workable, or already supporting cool-season growth. The calendar is a reminder to look ahead, not permission to plant, dig, or prune everything.
A useful order is simple: review last season, map this year’s beds, check the seed you already own, set sowing dates from local guidance, and then choose outdoor jobs that suit the weather. That sequence prevents the familiar winter mistake of getting busy before knowing what the garden needs. It also leaves room for a January routine to look very different in Pennsylvania, coastal California, Florida, or the Southern Hemisphere.
Start With Your Climate, Not the Calendar
Adjust for hemisphere and seasonal climate
January is deep winter across much of the Northern Hemisphere, but not everywhere. A gardener in a cold region may be planning from indoors and checking plants after thaws; someone in a mild coastal climate may be sowing cool-season crops under cover; a subtropical gardener may already be tending an active winter vegetable garden. In the Southern Hemisphere, January is summer, so a “winter prep” checklist is the wrong seasonal frame altogether.
Use local conditions to choose among those jobs. Look at your county or regional extension calendar, the forecast, the condition of your soil, and the needs printed on each seed packet. For a useful contrast, the RHS January advice for trees and shrubs describes a UK winter calendar, while Sow Right Seeds’ January guide separates cold-climate jobs from warm-climate work. Treat either as a starting point, then adapt it to your own growing season.
Use frost dates and plant needs, not zone alone
A hardiness zone helps you judge whether a perennial is likely to survive the coldest part of winter. It does not tell you when to sow a tomato, whether a bed has thawed, or whether a late freeze is likely. For annual vegetables and flowers, use your local average last-frost window together with the seed packet’s “weeks before transplanting” guidance; for direct-sown crops, check the soil-temperature and frost requirements.
Keep a note of the source and year for any frost-date estimate. It is an average, not a promise that frost cannot arrive afterward, so leave a margin for tender transplants and keep row cover or another suitable protection option available when a cold snap is forecast. If you are new to gardening, a simple regional calendar from a nearby extension service is more useful than a national list that treats every January as the same.
Review Last Season Before Buying Anything
Open last year’s notes, photos, seed packets, and bed labels before placing an order. Record what grew well, what failed, when a problem appeared, which varieties were worth repeating, and what you harvested too much or too little of. Even a few sentences per bed can reveal that a crop struggled because it was shaded, planted too close, watered inconsistently, or sown at the wrong time—not because you need a new product.
Make the review specific enough to change this year’s plan. “The beans did badly” is hard to use; “the pole beans shaded the lettuce after mid-June” points to a different layout. Mark empty spaces, plants that bolted early, pest or disease trouble, and any crop you want to try once rather than add permanently. University of Missouri Extension’s January garden guidance similarly recommends taking seed inventory and planning beds during winter, when there is time to make a considered list.
Test leftover seed before replacing it
Do not throw out a packet just because its printed year has passed. Seed life varies by crop and storage: cool, dry, sealed storage generally preserves viability better than a hot, humid shed, and a packet date cannot reveal exactly how well your seed was stored. Washington State University Extension notes that many previous-year vegetable and annual-flower seeds can still germinate when stored well, while viability depends on the kind of seed and its storage conditions (seed-propagation guidance).
For a questionable packet, test a small sample before you commit a full tray or row. Put ten seeds between damp paper towels, keep them in a loosely closed bag or container at the temperature recommended for that crop, and check them when the packet’s usual germination window has passed. If seven sprout, plan around roughly 70 percent germination: sow more thickly where spacing allows, or replace the packet if a low count would leave you short. Seeds that need a particular pretreatment may not germinate in this quick test unless you provide it, so check the packet or a reliable crop-specific guide first.
Map Beds and Rotate Crops With Purpose
Sketch the beds on paper before spring growth hides their shape. It can be a rough grid, not a polished garden design: mark the sunniest areas, shade, paths, trellises, water access, and anything permanent such as shrubs or raised beds. Add the crops you hope to grow, their approximate mature size, and the varieties that need support or room to spread. A map helps expose crowding and makes seed quantities easier to estimate.
Put plant families on paper before they move
For a vegetable garden, record plant families as well as crop names. Tomatoes, peppers, potatoes, and eggplants are all in the nightshade family; cabbage, kale, broccoli, and many other brassicas share another family. Moving related crops to a different bed helps organize rotation and can reduce the chance of carrying certain crop-specific pests and diseases from one season to the next, although rotation cannot solve every soil or disease problem by itself.
If you have several beds, plan a rotation across them and save last year’s map so you do not have to reconstruct it from memory. If you have one small bed, use whatever rotation is practical, remove diseased residue appropriately, and prioritize crop diversity rather than pretending a tiny garden can follow a perfect multi-year schedule. BBC Gardeners’ World includes crop rotation in its January garden checklist; the useful idea is to plan the move before plants are ready to go in.
Order Seed and Build a Realistic Sowing Calendar
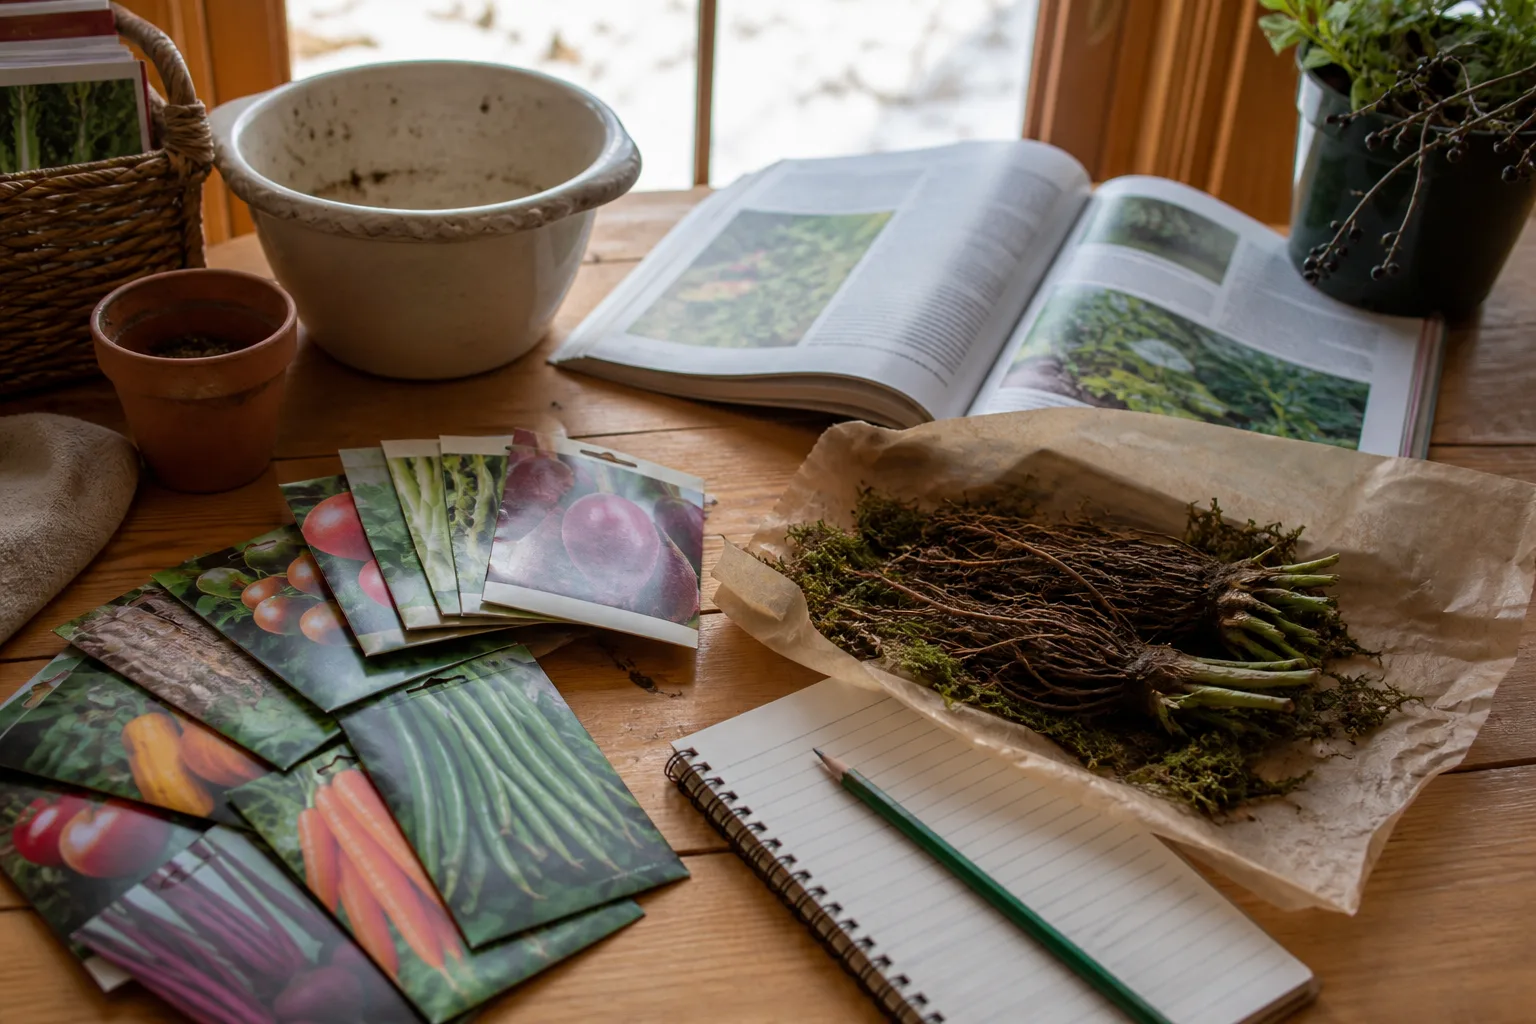
Once the map is settled, compare it with your seed inventory and order only the varieties and quantities the space can support. Check days to maturity, mature plant size, disease-resistance notes where relevant, and whether the variety suits your season length. If a local nursery carries the exact transplant you want, reserving it may be simpler than starting a large batch of plants that need lights, trays, and room for weeks.
Work backward from transplant day
Start with the expected outdoor planting window for your area, then count backward by the number of weeks listed on the seed packet. Add time for hardening off—gradually exposing indoor-grown seedlings to outdoor sun, wind, and temperature changes—rather than treating “ready to transplant” as “ready to leave a warm room today.” The WSU Extension seed guide explains that starting time depends on the crop and the conditions needed to raise a transplant; the Gardeners’ World January checklist is a practical reminder that some protected sowings can begin early while others belong later in the season.
Then make a short calendar with three dates for each crop: sow indoors or outdoors, begin hardening off if applicable, and transplant or thin. January may be the right indoor-sowing month for a slow-growing crop in a long-season garden, but it can be far too early for a fast-growing annual where spring planting is months away. Seedlings started early without adequate light or space often become leggy and difficult to manage, so wait if the calendar says you will not be able to give them the conditions they need.
Winter-Sow Only Seeds That Benefit From It
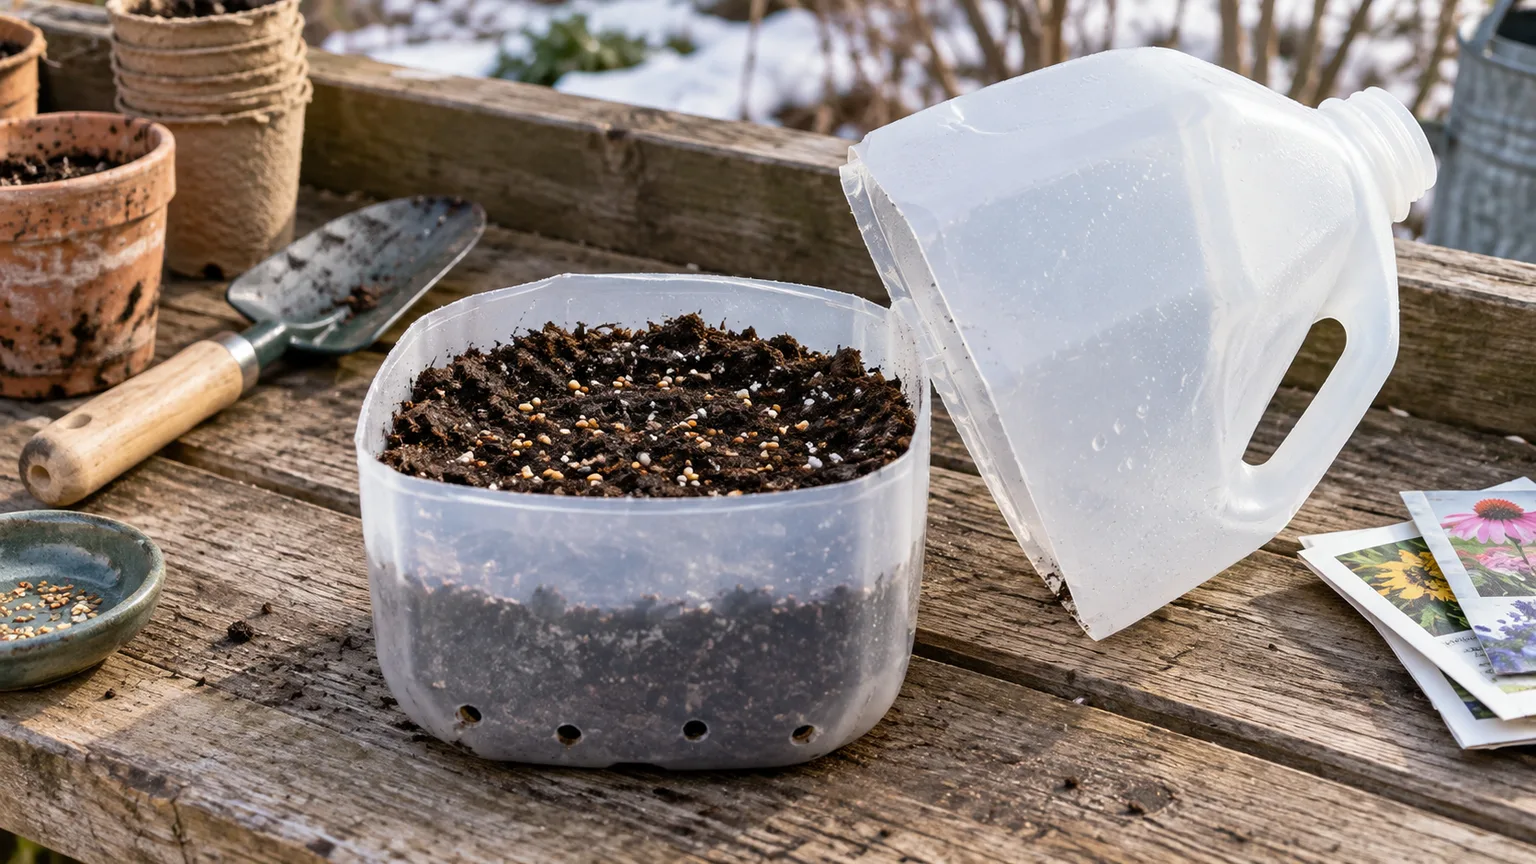
Winter sowing is a way to expose suitable seeds to outdoor seasonal conditions, often in a ventilated container with drainage. It can be useful for hardy native plants and perennials whose germination is improved by a period of cold, moist conditions, but it is not a shortcut for every seed. Some seeds need no cold treatment; others need a specific length or sequence of warm and cold stratification, and tender vegetables generally need a different start.
Read the species or seed-packet instructions before choosing a container. Use a clean, translucent container with drainage holes, add a few inches of moist seed-starting mix, sow at the depth the packet specifies, label the species and date, and leave a way for rain and air to reach the seedlings. Set containers outdoors where they receive natural light and cold but will not be knocked over, sealed under snow for weeks, or forgotten on a hot south-facing surface during a thaw. Check moisture periodically: the mix should not dry out completely, but waterlogged seed is also at risk.
The timing should match the seed’s biology, not a social-media calendar. University of Missouri Extension names native seeds requiring cold, wet stratification as a reason to sow outdoors in winter, while the WSU Extension seed resource describes how pretreatments vary by species. Label every container; once several trays germinate together, an unlabeled seedling is hard to identify. If you cannot confirm a seed’s cold-treatment needs, store it according to the packet and ask a local native-plant or extension resource before sowing.
Do Outdoor Work Only When Soil and Weather Allow
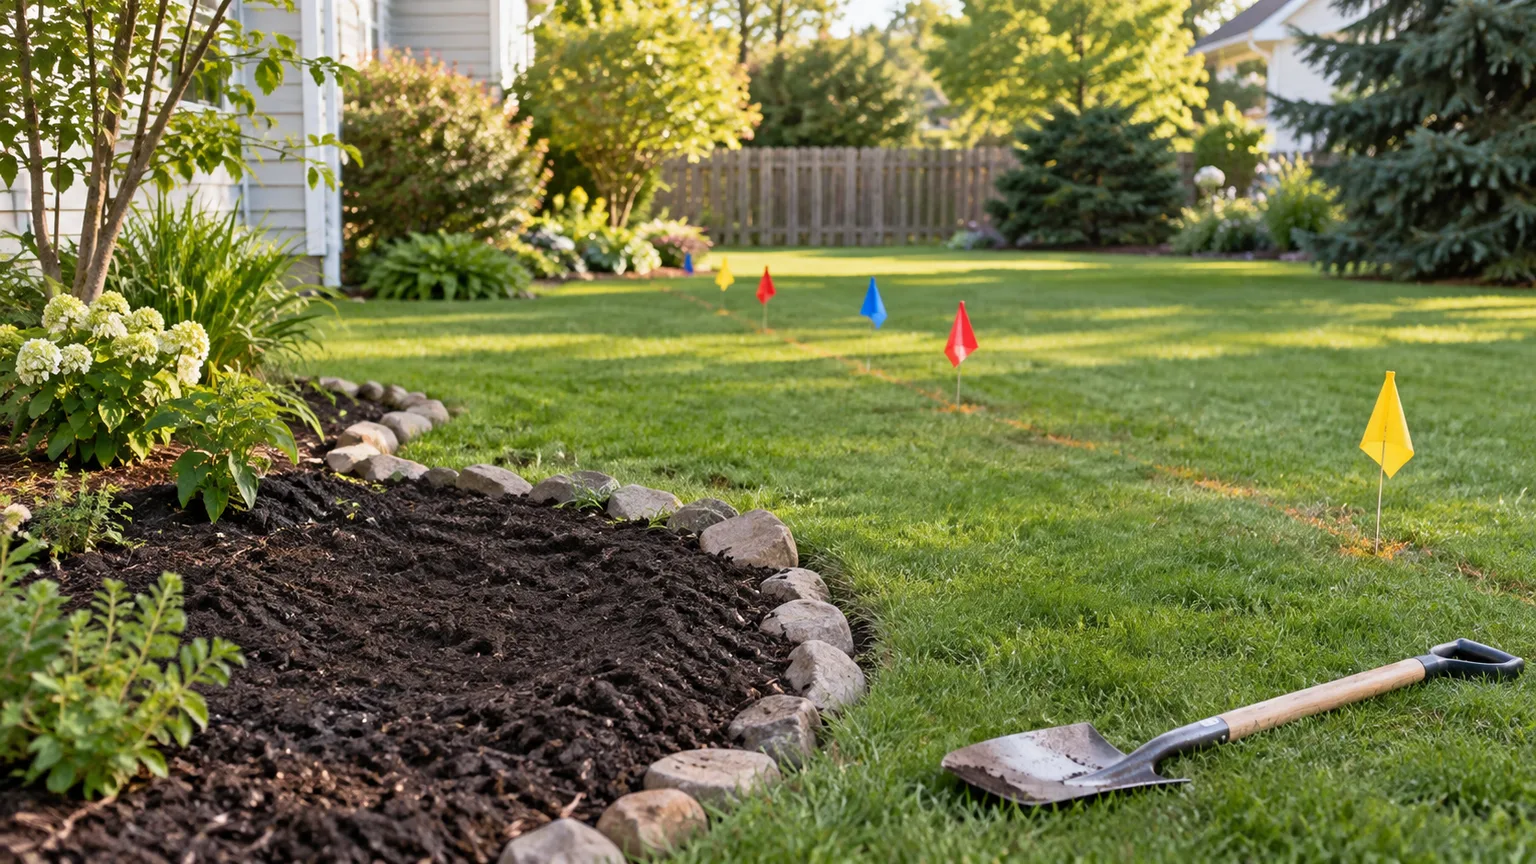
January does not make a bed ready to dig. If soil is frozen, saturated, or so wet that it sticks to a shovel and smears into a dense ribbon, stay off it; digging and repeated foot traffic can compact the soil and damage its structure. Use the time to clean pots, label stakes, repair a trellis, plan a path, or request a soil test. When the ground is friable and not waterlogged, you can take a soil sample by following the lab’s instructions, but do not guess at lime or fertilizer rates before you see the result.
In a mild-winter garden, the outdoor list may include cool-season sowing or planting under cover, weeding, and maintaining crops already in the ground. In a cold-winter garden, it may be limited to checking structures and plants during safe, workable weather. The Royal Horticultural Society’s January grow-your-own jobs make the same condition clear for bed preparation: seedbeds can be prepared and protected where the ground allows, while heavy soil should not be treated as workable simply because the month is on the calendar.
Check for frost heave after a thaw
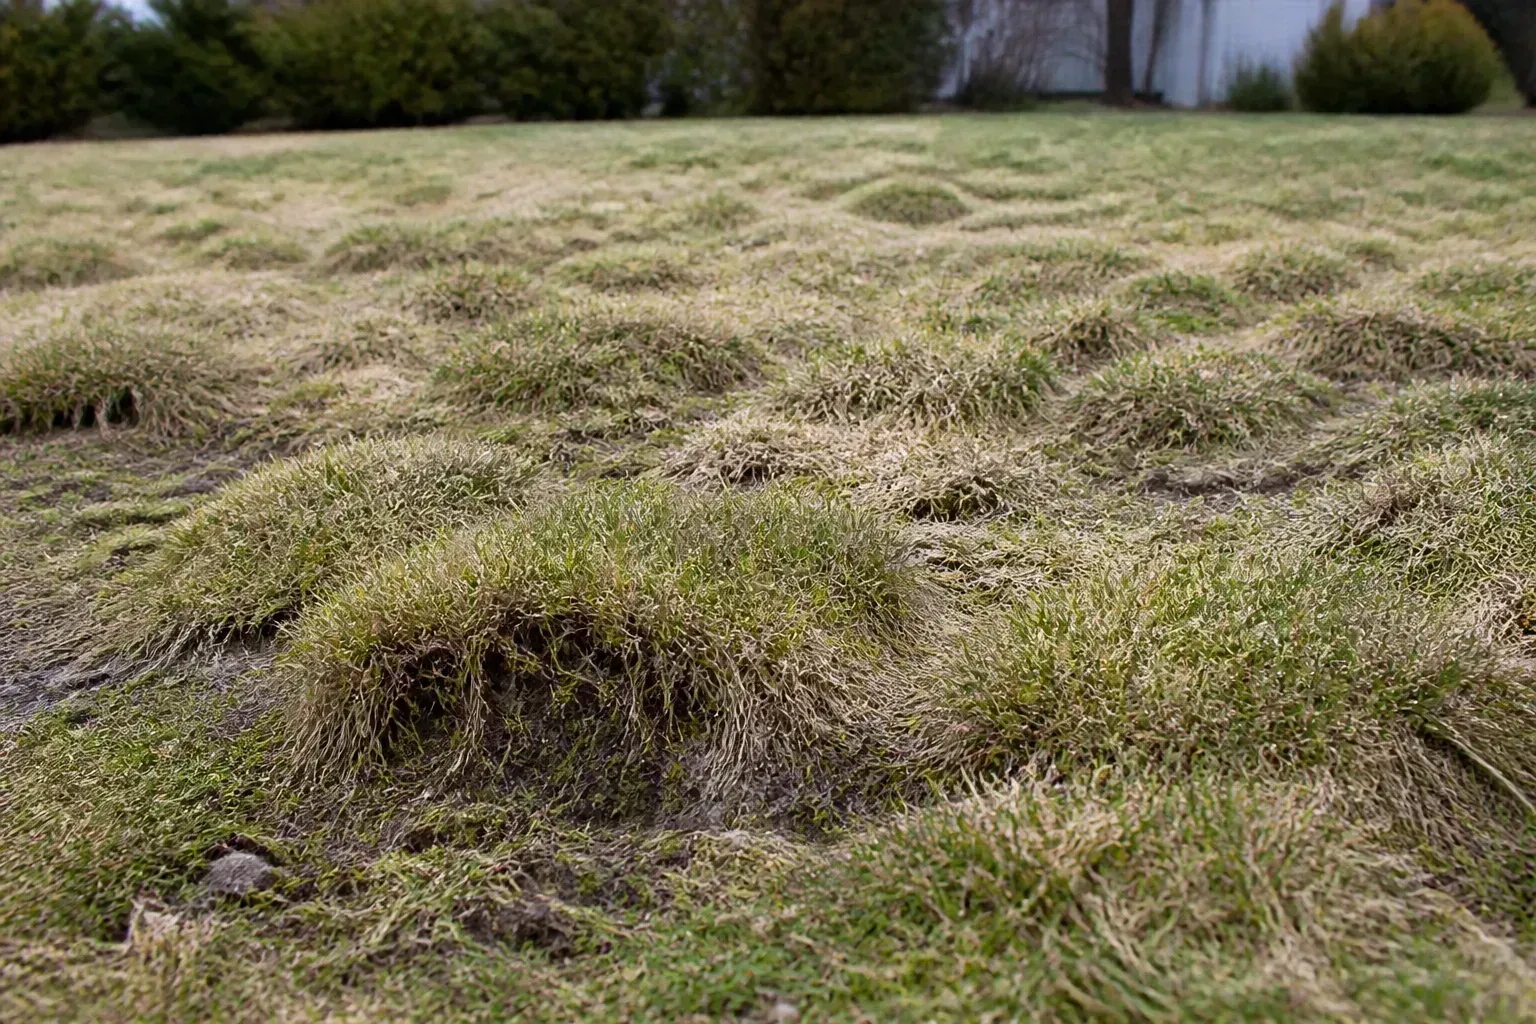
Freeze-thaw cycles can lift shallow-rooted or newly planted perennials and expose roots to cold, drying air. Look for roots showing above the soil line, a crown sitting higher than it did in fall, or a small plant that has been pushed loose. Young plants are especially worth checking after a stretch of temperature swings, but do not tug at them while the ground is still frozen.
Wait until the soil has thawed and is moist enough to work, then gently press the root ball or crown back into contact with the soil. Refill gaps, water lightly if the soil is dry, and restore a loose insulating mulch layer without burying the crown. Missouri Extension’s January recommendations advise checking for frost heave on warm days and firming lifted perennials back into place; the exact mulch depth should suit the plant and local conditions.
Prune by Plant, Not by Month
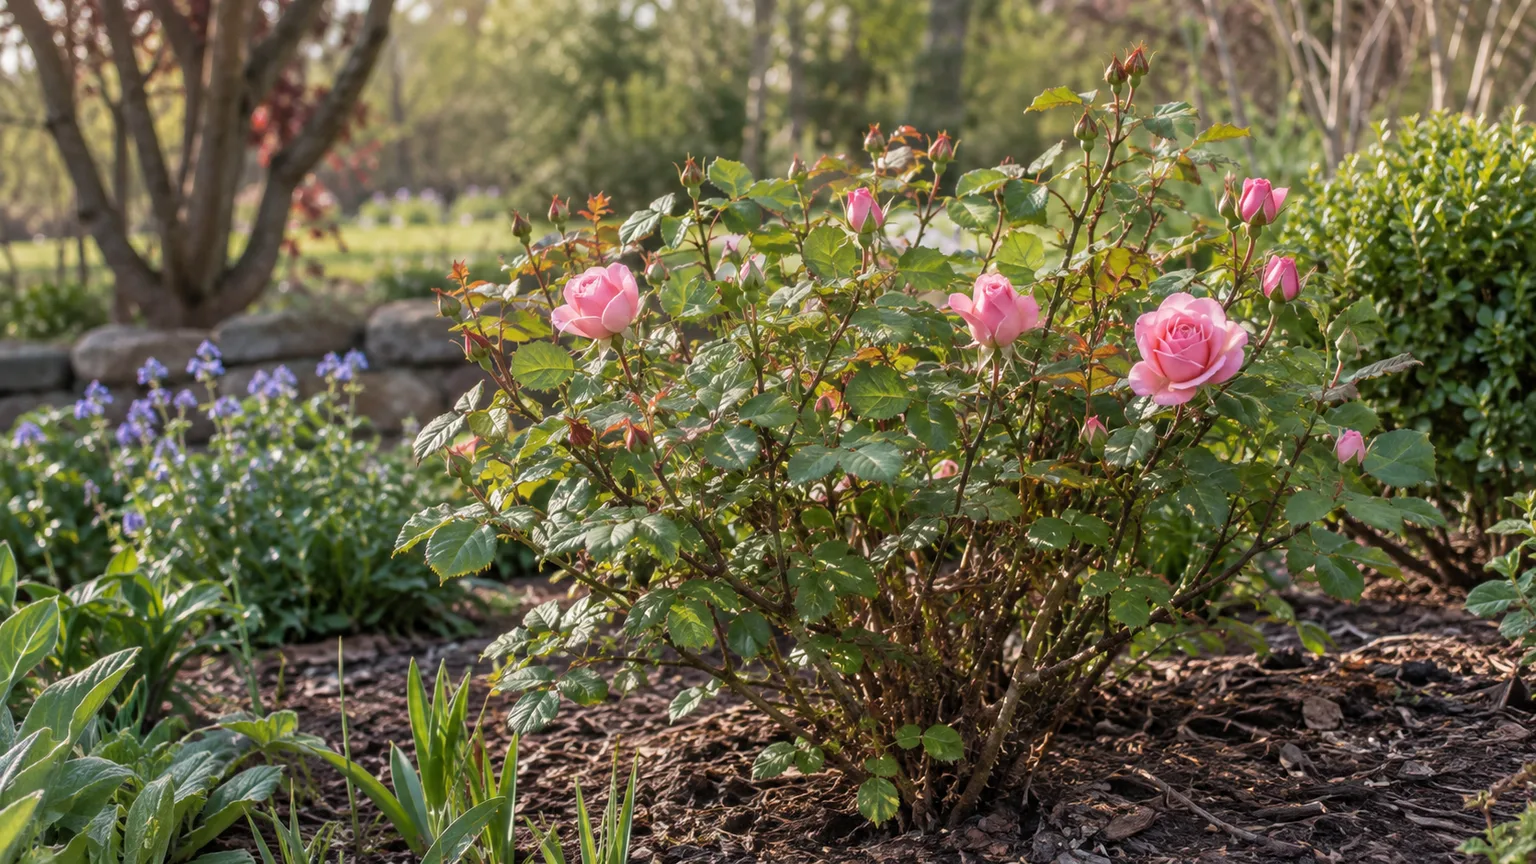
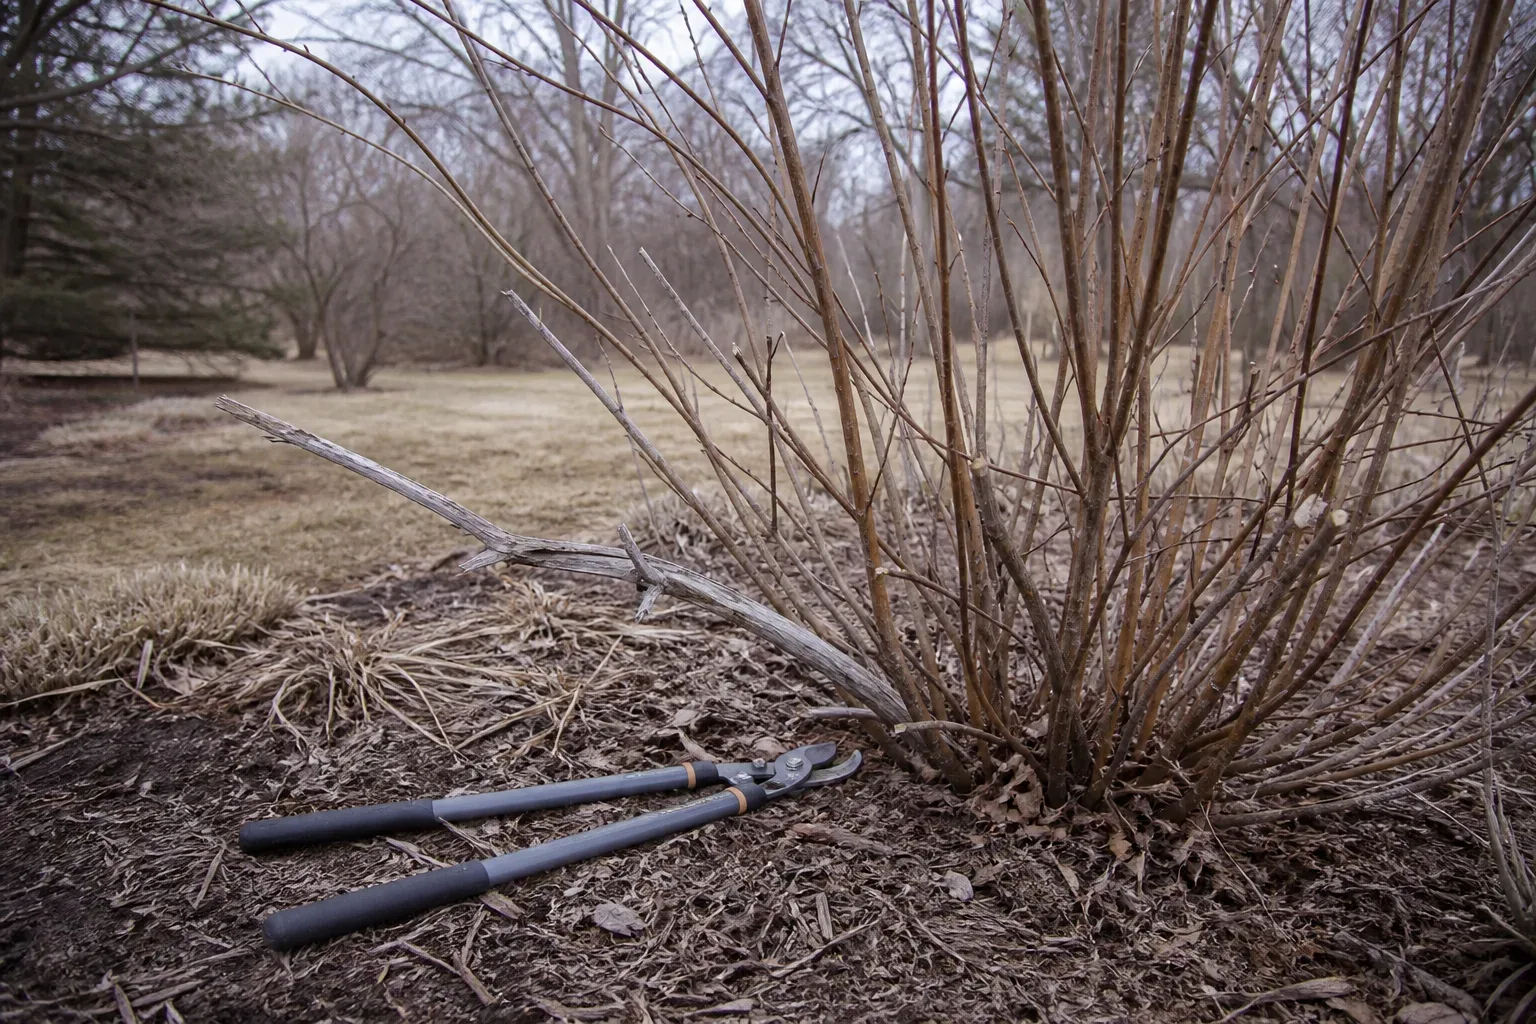
Dormancy can make a plant’s structure easier to see, and some deciduous trees and shrubs are pruned during the dormant season. But “January pruning” is not a universal job. Before cutting, identify the plant, decide what the cut is meant to accomplish, and look up that plant’s best window; a quick cleanup of a broken limb is different from reshaping a shrub or removing healthy growth.
Use clean, sharp tools and make only the cuts you can explain. Remove dead, damaged, or crossing branches when it is safe and appropriate, but do not shear every shrub into a tight outline or make large cuts simply because the garden looks dormant. If the plant is unfamiliar, if a limb is large or overhead, or if the cut could affect a power line or shared property, pause and get qualified local help rather than improvising.
Keep spring flowers and wildlife in mind
Many spring-flowering shrubs set flower buds before winter. Pruning them in January can remove the display you were hoping to enjoy; in many cases, the better time for shaping is soon after flowering. Other plants have disease-related timing exceptions: the RHS January trees-and-shrubs advice notes that tender plants, evergreens, and Prunus species such as ornamental cherries and plums may be better left until spring, and that winter pruning can raise silver-leaf concerns for Prunus.
Also decide whether a “messy” stem is actually a problem. Seed heads and hollow stems can provide winter interest and resources for wildlife, and they make it easier to see where plants are before new growth starts. BBC Gardeners’ World lists selective winter cleanup alongside jobs such as checking wildlife features and maintaining tools, a useful reminder that not every dormant bed needs to be stripped bare. When in doubt, leave healthy stems until you can identify the plant and confirm its pruning window.
Make a Follow-Up Plan for Woody Invasives
Leafless months can reveal woody vines and shrubs hidden by summer foliage, so January is a good time to map unwanted growth and identify it accurately. Do not treat “cut it to the ground” as a complete control plan: some invasive woody plants regrow from roots or stumps, and careless disposal can spread viable seed or plant pieces. First check which species you have, how it spreads, and what local guidance says about removal and disposal.
If removal is appropriate, plan the work around safe access, protective clothing, and a way to contain cut material. Some plants require repeated follow-up or a specific treatment timed to active growth; species and local rules matter, especially if any herbicide is considered. Make a dated follow-up note now so that a spring flush of regrowth does not get mistaken for a new plant or overlooked until it flowers and sets seed.
Service Tools and Stage Supplies
Use the quiet weeks to wash reusable pots and trays, sort labels, check that row cover and supports are intact, and make a short list of missing supplies. Clean soil from pruners and shears, dry the metal, sharpen blades as appropriate, and lubricate the moving joint. BBC Gardeners’ World includes cleaning and sharpening tools in its January task checklist; doing it before the rush means a tool is ready when a suitable weather window appears.
Make sure seed-starting lights, timers, trays, and heat mats work before sowing day, and keep supplies tied to the calendar you made instead of buying a full setup for every crop. If you had disease problems in a tray, clean it carefully before reuse; if a tool is damaged or unsafe, repair or replace it before putting it back into service. A tidy station is valuable because it removes friction, but it should support a realistic sowing schedule rather than tempt you to start everything early.
Conclusion
The January garden routine that pays off in spring begins with observation and a plan: review last year, map this year’s beds, test questionable seed, order what you will actually grow, and set sowing dates from local conditions. Outside, wait for soil that is workable, check for frost-heaved plants after thaws, and prune only when the plant and purpose call for it. A little preparation now makes spring calmer because the next action is already clear—and because you have not asked the garden to move faster than its season allows.