Can You Propagate an Orchid Leaf? What Works
An orchid leaf in rice will not make a new plant. Learn why, identify your orchid’s growth habit, and choose a realistic method for growing another orchid.
The short answer: rice cannot turn a leaf into an orchid
Putting a detached orchid leaf in rice is not a dependable way to grow a new orchid. For common houseplant orchids—especially Phalaenopsis—a leaf by itself usually has no viable bud or growing point from which a whole plant can develop. Rice cannot create that missing tissue.
If you want another orchid, look for a keiki (a baby plant already growing on a stem or flower spike), or identify whether your orchid can be divided. Mature sympodial orchids such as Cattleya and Oncidium can often be split at the rhizome; a typical moth orchid cannot. The American Orchid Society describes division, backbulbs, and offshoots as the practical vegetative routes for home growers, not detached leaves in pantry grains (American Orchid Society).
The useful question is therefore not “Which medium makes an orchid leaf root?” It is “Where is the living growth point on this particular orchid, and can it be separated without leaving the parent plant too weak?” Answer that first, and the right method becomes much easier to choose.
Why detached orchid leaves usually do not grow into plants
Many familiar houseplants can be propagated from a leaf or leaf section because the right tissues can form roots and shoots under suitable conditions. Orchids are not interchangeable with those plants. Their growth form varies by genus, and the structures that make new shoots are usually located on a stem, crown, rhizome, or pseudobulb—not in an isolated leaf blade.
This is why a leaf can stay green for a while after it breaks and still never become a plant. Staying alive temporarily is not the same as having the organized growing tissue needed to produce a new shoot, roots, and eventually a mature orchid. A detached leaf may use stored water and energy before it yellows, but that does not prove propagation is underway.
A leaf is not the same as a node or growing point
An orchid’s meristem is tissue where active growth can produce new plant parts. On a monopodial moth orchid, the main growing point is at the crown, where the newest leaves emerge; dormant buds may also sit at nodes along a flower spike. On many sympodial orchids, new growth develops along the rhizome, while the pseudobulbs store water and nutrients and support the plant.
When you see a keiki forming beside a Phalaenopsis flower spike, it is not a leaf spontaneously turning into an orchid. It is a small shoot arising from a bud at a node, and it eventually develops leaves and roots of its own. Likewise, a piece of cane or rhizome used for propagation carries a node or dormant eye; the leaf attached to it is not the active ingredient.
That distinction matters when a video shows a “leaf cutting” with a sliver of stem still attached. If the piece succeeds, the node or bud may be responsible. Copying only the leaf, or placing it in a different material, does not reproduce the conditions that made that stem piece viable.
Rice cannot replace the missing plant tissue
Rice is not a rooting hormone, an orchid bud, or a source of meristematic tissue. It may hold some moisture around a cutting, but moisture only helps when the cutting already contains plant parts capable of growth. A leaf with no viable growing point remains a leaf whether it sits in rice, water, bark, or moss.
There is also a practical medium problem. Repeatedly wet rice can turn soft and compact around a plant piece, making moisture and airflow harder to manage; if organic material stays wet, decay and microbial growth become more likely. That does not mean a few grains will poison an orchid. It means rice offers no reliable propagation advantage and can distract from the real issue: choosing the right plant structure and keeping it clean, airy, and appropriately moist.
If you already tried the hack, remove the leaf from the rice and check it. If the base is soft, dark, or foul-smelling, discard the decaying tissue rather than planting it beside a healthy orchid. If it is still firm, it may remain alive temporarily, but do not count on it to produce a new plant; keep the parent orchid healthy and use a viable propagation point instead.
Identify how your orchid grows before choosing a method
Before cutting anything, look at the plant’s architecture. This quick distinction prevents the most damaging mistake in home orchid propagation: treating a single-stem orchid as if it were a clump that can be divided down the middle.
The New York Botanical Garden explains that sympodial orchids spread along a rhizome and may be divided during repotting, while monopodial orchids grow upright from one point and generally do not need division (NYBG orchid potting and dividing guide). If the label is missing, compare the plant’s growth pattern with the descriptions below before you reach for a knife.
Monopodial orchids grow from one central stem
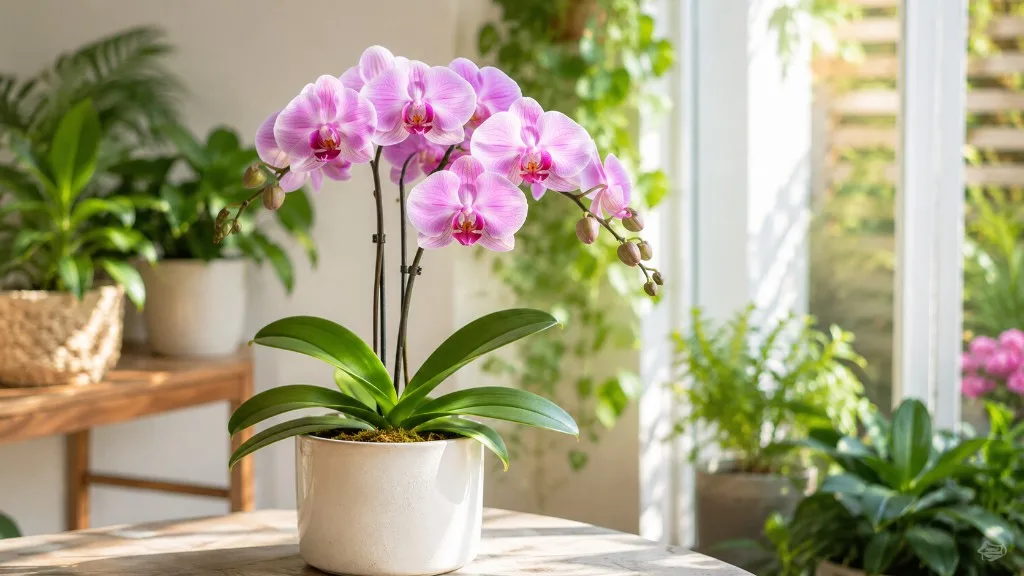
Phalaenopsis and Vanda are common examples. They grow upward from a central stem, producing leaves in sequence from the crown; roots can emerge along the stem, and flower spikes arise from leaf axils. A Phalaenopsis with two flower spikes is still usually one monopodial plant, not two clumps that should be split.
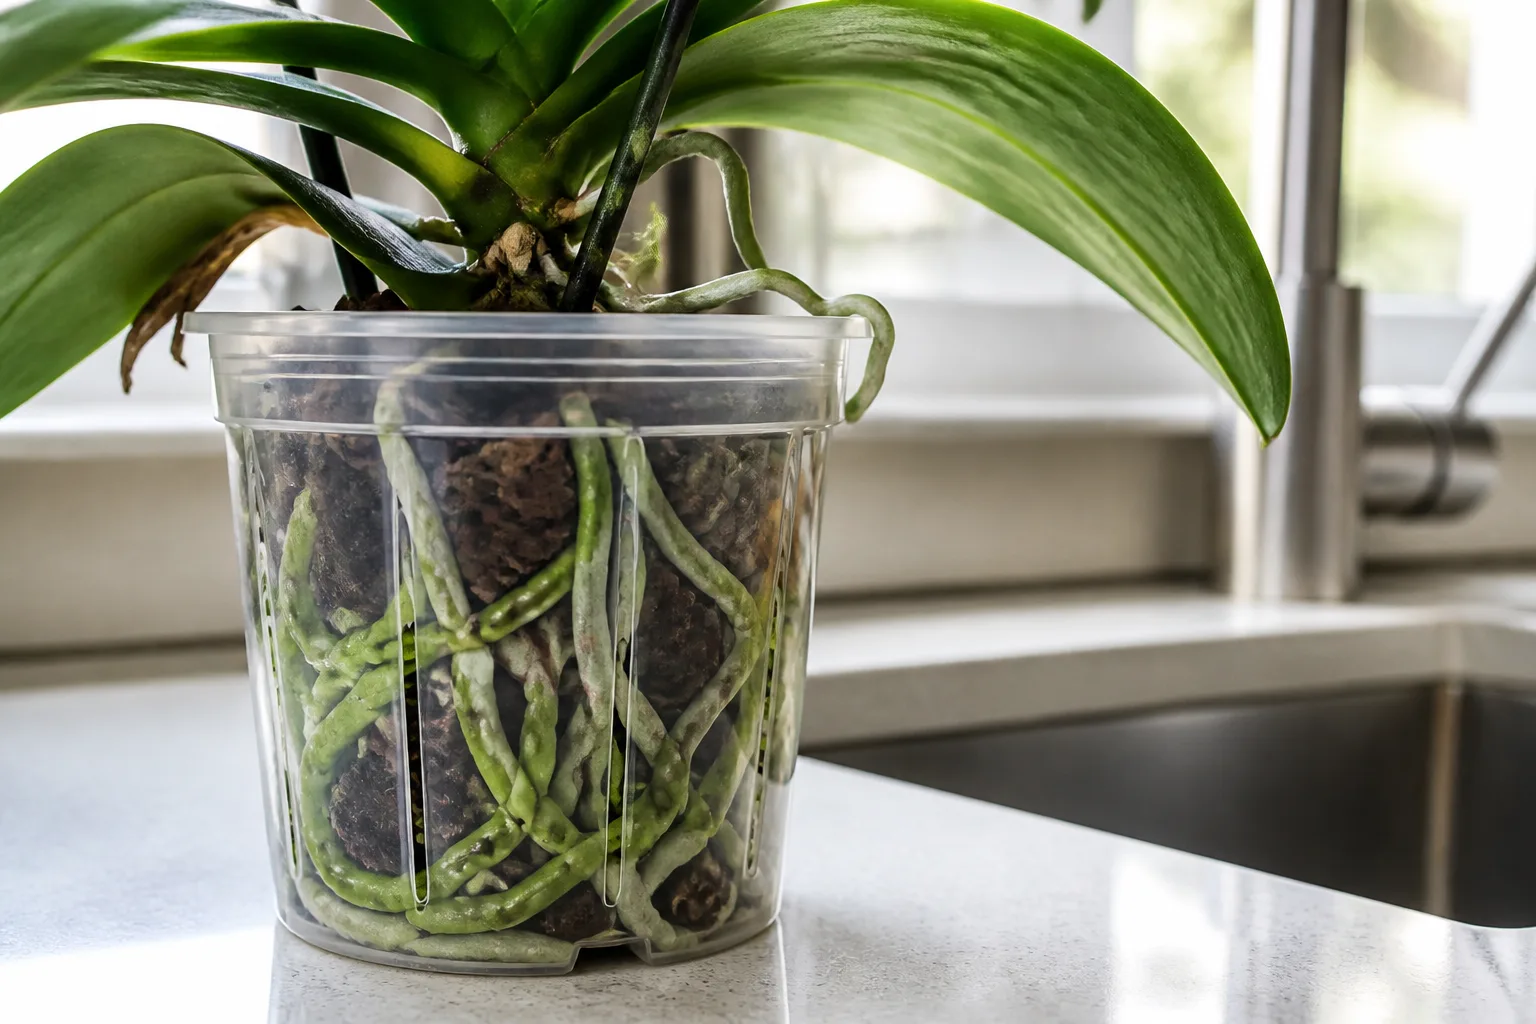
For a typical Phalaenopsis, the lower-risk home method is to let a keiki form naturally on a spike or, less commonly, near the base. Wait for the plantlet to develop several leaves and multiple roots long enough to pot securely. Do not cut the crown in half, peel off a healthy leaf as a “cutting,” or assume that every node will produce a baby if you apply paste.
Some very mature monopodial orchids can be top-cut when they have a long stem and a substantial set of aerial roots above the cut. That is a different, higher-risk technique: the top must retain roots and healthy stem tissue, and the lower plant must remain alive enough to produce new growth. It is not a shortcut for a compact grocery-store orchid, and it is unnecessary when the plant is healthy and has no suitable keiki.
Sympodial orchids spread along a rhizome
Cattleya, Oncidium, and Cymbidium are familiar sympodial orchids. Rather than making one ever-taller crown, they extend sideways along a rhizome and produce successive growths, often with thickened pseudobulbs. This structure gives a mature clump more than one growing point, which is why division can work for these orchids.
Look for several connected growths rather than just several leaves. A healthy division needs enough pseudobulbs to store energy, a live growth point or “lead,” and roots or the ability to re-establish roots. The NYBG recommends at least three pseudobulbs for a new division; the precise number varies with the plant’s size and vigor, so a small orchid with only a few growths is better left intact.
Dendrobium canes can produce keikis as well as being part of a sympodial plant. That does not make every cane section or detached cane a guaranteed cutting. Identify the type and follow a method specifically suitable for it; a single plant can have several tempting structures, but not all are ready to become independent plants.
Better ways to propagate an orchid at home
Home propagation works best when the new plant already has the tissue that can grow. Choose the least disruptive option that fits the orchid in front of you: a keiki for many monopodial orchids, division for a mature sympodial clump, or a backbulb if you accept a slower and less predictable result.
Grow a keiki from a stem or flower-spike node
A keiki is a plantlet with its own leaves and, as it develops, roots. Phalaenopsis keikis commonly appear at nodes on a flower spike, while Dendrobium keikis may grow along a cane. The American Orchid Society describes these offshoots as small but individual plants; Gardening Know How also distinguishes a keiki on a cane or spike from a basal shoot, which should not be treated as the same structure (American Orchid Society; Gardening Know How).
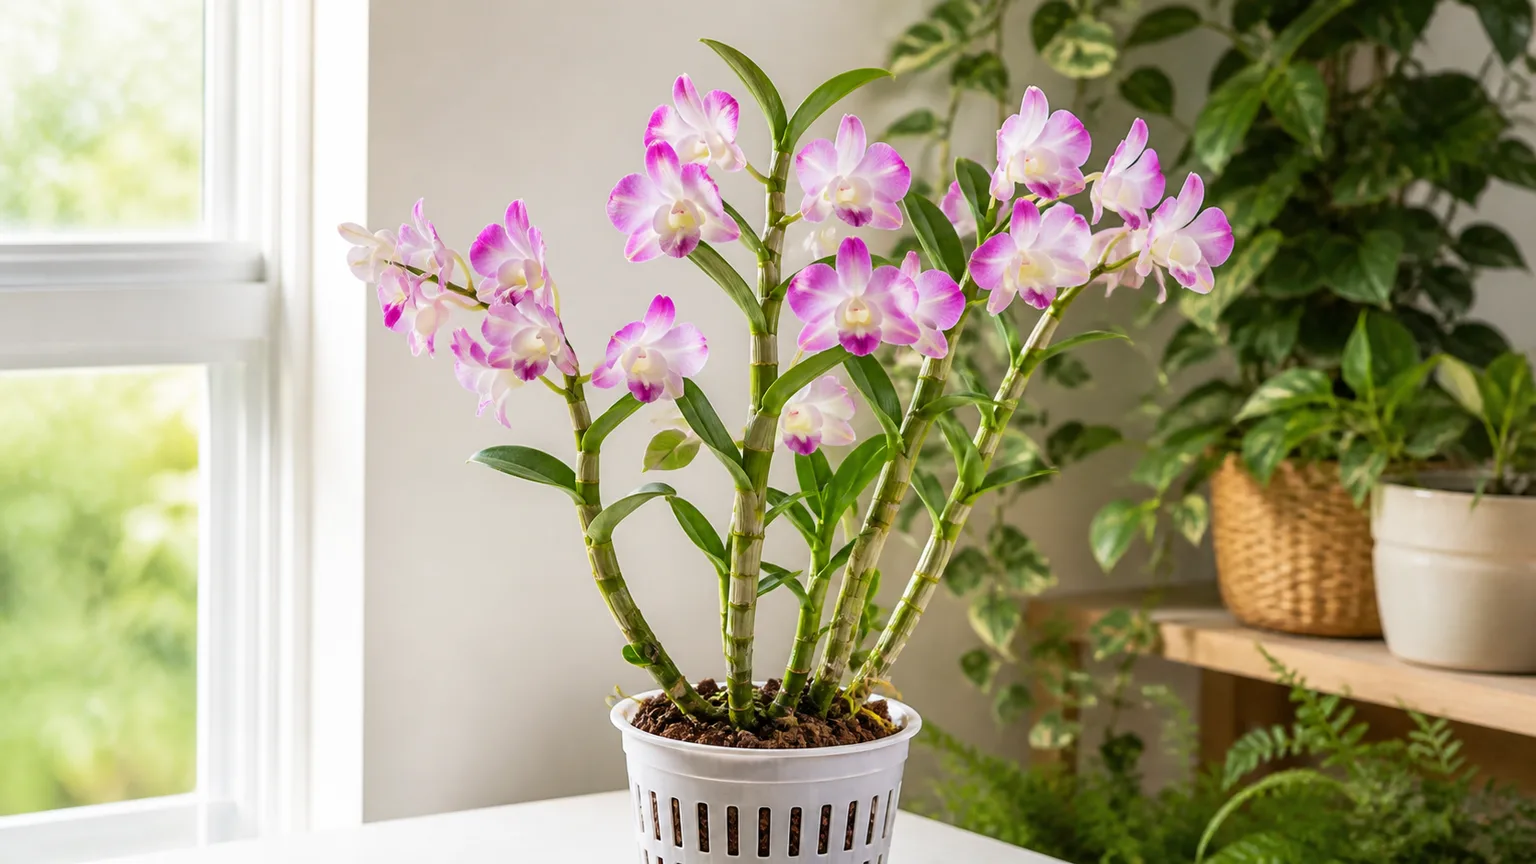
Wait for roots before separating it. A practical readiness sign is a plantlet with several leaves and at least two or three roots that are roughly 2 inches (5 centimeters) long. Those measurements are a useful rule of thumb, not a biological deadline: a keiki with one short root can struggle after removal, while a healthy plantlet may remain attached longer without harm if the parent is strong. Gardener’s Path likewise advises waiting until an offshoot has multiple roots before removal (Gardener’s Path orchid propagation guide).
When it is ready, use a sharp, clean blade to cut the spike or cane above and below the keiki, leaving a short piece of stem attached if needed to avoid cutting through its base. Set it in a small pot with fine orchid bark or loosely packed sphagnum moss, keeping the leaves above the medium and the roots in contact with it. The medium should be lightly moist and airy, not waterlogged; stake the plantlet if it wobbles, because repeated movement can injure new roots.
Keikis can take time to reach flowering size, and not every spike node will produce one. Keiki paste is sometimes used on a suitable dormant node, but it cannot turn an ordinary leaf into a plant or guarantee a healthy result. Do not apply it indiscriminately to several nodes or use it to force a stressed parent orchid to produce more growth than it can support.
Divide a mature sympodial orchid
Division is a better fit for an established orchid that has several healthy growths and has outgrown its pot. It is often convenient during repotting, when the rhizome and roots are already visible, but there is no benefit in dividing a small, weak, recently repotted, or actively declining plant just to make another orchid.
Remove the plant carefully, loosen old medium, and trace the rhizome to find natural places between growths. Use a sterile blade to separate sections, aiming for at least three pseudobulbs per division and preserving roots and an active lead on the front division. The American Orchid Society notes that a group with an active lead is a division, while older pseudobulbs without active growth may be treated as backbulbs; the NYBG gives three pseudobulbs as a useful minimum for a new piece.
Pot each division in an orchid medium suited to the genus and use a container that fits the roots without leaving a large volume of mix wet around them. Keep the rhizome at the right height for that orchid; do not bury pseudobulbs or the crown simply to make the plant stand upright. Secure a loose division with a stake until the new roots anchor it, then resume normal watering as fresh root growth becomes established.
Do not divide a standard Phalaenopsis by cutting its central crown. It has one main growing point, not a chain of separate pseudobulb-bearing sections; splitting that crown can remove the only point from which the plant grows. If your moth orchid has a natural basal keiki with its own roots, treat it as a keiki, not as half of a divided crown.
Try a backbulb only if you can wait
A backbulb is an older pseudobulb on a sympodial orchid. It may have no active leaves or lead, but can remain alive and hold a dormant eye capable of producing a new growth. A detached orchid leaf is not a backbulb: one is an older section of stem with a bud, and the other is a leaf blade.
Keep a backbulb only if it is firm and still green enough to be viable, ideally with a visible eye. Set it in a small pot or on barely moist sphagnum in a warm, bright-indirect-light location with airflow. Keep it from shriveling completely, but do not soak it or seal it in stagnant, wet conditions; rot can destroy the bulb before the dormant eye wakes.
This is a patient grower’s method, not the fastest way to get a flowering orchid. The American Orchid Society notes that a dormant eye may break in weeks, but it can also remain inactive for a long time, even around two years. If you need a reliable new plant soon, a healthy keiki or a proper division is usually a better bet.
Treat cane cuttings and tissue culture as specialized methods
Some orchids can be propagated from cane sections or other stem tissue, but the piece must contain a viable node or bud and the technique depends on the genus. It is not equivalent to placing a detached leaf in rice. Gardener’s Path discusses stem cuttings for selected orchids, while the American Orchid Society emphasizes division, backbulbs, and offshoots as the beginner’s main vegetative methods; that difference is a reason to confirm the exact orchid and method before cutting (Gardener’s Path; American Orchid Society).
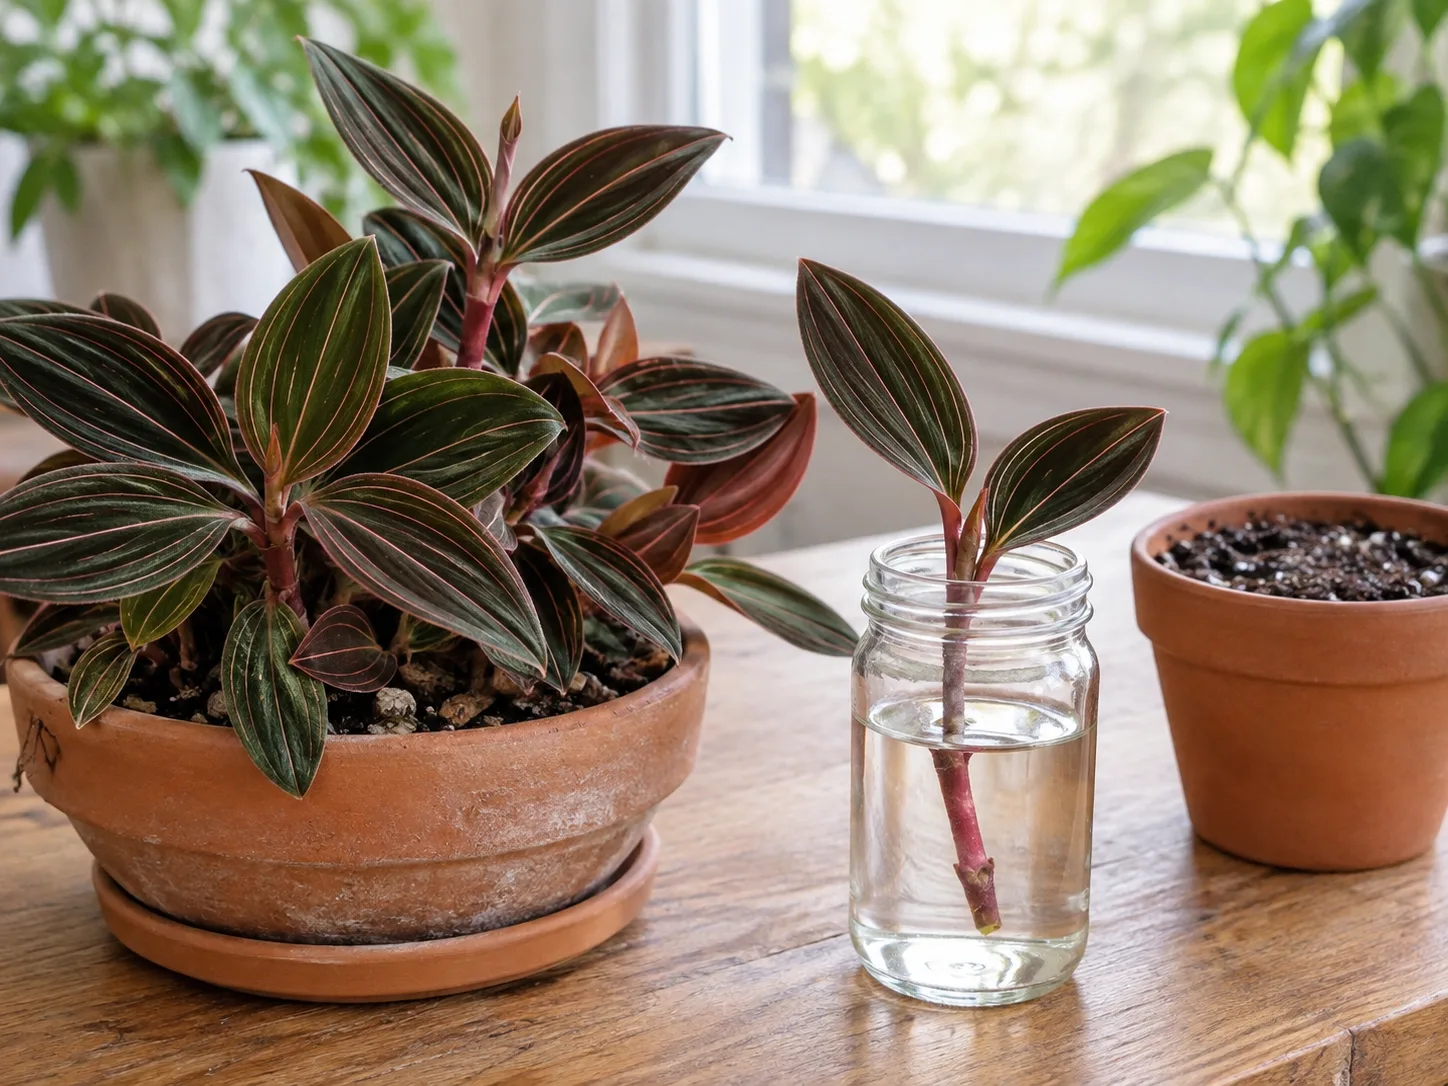
Seed propagation and laboratory tissue culture are also real, but they are poor substitutes for a simple home leaf cutting. Orchid seeds are tiny and are normally germinated under specialized sterile conditions, while tissue culture uses controlled conditions and selected plant tissue to multiply plants. If your goal is one extra houseplant, do not improvise a lab protocol with rice, kitchen containers, or an unverified internet recipe.
What to do if an orchid leaf is already detached
First, check whether the piece is truly just a leaf. If it is only a firm leaf blade with no stem, crown, node, or attached roots, do not spend weeks changing rooting media; there is no dependable home method to make that leaf into a standard Phalaenopsis or similar orchid. You can discard it, compost it where appropriate, or keep it briefly as a foliage cutting for display, but do not use it as a reason to cut another leaf from the parent.
If a section of stem or crown came away with the leaf, inspect that piece without pulling it apart. A visible node, dormant bud, or healthy root changes what you have, but the result depends on species and how much live tissue remains. A stem piece with a growth point is not proof that it will root, and a damaged Phalaenopsis crown is particularly vulnerable; keep it separate from healthy plants and ask an orchid society or experienced grower before potting an uncertain specimen.
For the parent orchid, keep the remaining leaves and crown dry after accidental damage, provide its usual bright indirect light, and avoid compensating with extra water or fertilizer. If the break is at the base and the crown or newest leaf is damaged, monitor for soft, dark tissue and keep water from sitting in the crown. The priority is preserving the established plant; it is usually more valuable and more likely to recover than an improvised cutting.
Choose the method that fits your orchid
Use the plant’s form and condition as the decision rule. This quick comparison is more reliable than choosing the method shown in a short video without checking whether it applies to your orchid.
| What you have | Better option | Avoid |
|---|---|---|
| A detached leaf with no stem tissue | Keep the parent healthy; accept that the leaf is not a reliable cutting | Rice, water jars, or repeated re-cutting |
| A Phalaenopsis or Vanda with a rooted keiki | Wait until the roots and leaves are developed, then pot the keiki | Splitting the crown or removing a rootless plantlet |
| A mature Cattleya, Oncidium, or Cymbidium clump | Divide along the rhizome during suitable repotting | Making tiny sections with too few pseudobulbs |
| A viable old pseudobulb with a dormant eye | Try backbulb propagation if you can wait | Expecting a fast or guaranteed result |
| A cane or stem section from a less-common orchid | Confirm the species-specific node method first | Assuming any orchid cane or leaf roots the same way |
If you cannot identify the orchid, pause before cutting. A clear photograph of the whole plant, its base, and any suspected keiki or pseudobulbs is often enough for a local orchid society or reputable specialist to help you identify the growth habit. For a broader walkthrough of the established home methods, see our orchid propagation guide, but use the species and plant condition—not a general list—to choose among them.
Give a new division or keiki a stable start
Use clean hands, a sharp blade, and a clean work surface whenever you divide or remove a keiki. Disinfect the blade between plants so you do not transfer disease, and let cleaning residue evaporate before making a cut. If a plant looks diseased or the cut tissue is already rotting, do not reuse tools on another orchid without cleaning them.
Choose an airy orchid medium and a pot sized to the roots. Fine bark or sphagnum can help a small keiki stay in contact with moisture; larger divisions usually need a mix and pot suited to their genus and root size. Ordinary garden soil and compacting food grains stay too dense or wet for most epiphytic orchids, whose roots need both moisture and air.
For the first weeks, prioritize steady conditions rather than constant intervention. Keep the new plant in bright, indirect light, protect it from cold drafts and hot direct sun, and water according to how quickly its particular medium dries. A small keiki in moss may need checking more often than a mature division in coarse bark, but neither should sit in standing water.
Hold fertilizer until the piece shows signs that it is establishing—such as new root tips or a new leaf—and then resume a dilute routine appropriate for that orchid. A fresh division may pause while it repairs roots; a backbulb may take much longer before visible growth. Do not keep unpotting it to look for progress, because repeated disturbance can set root establishment back.
Mistakes that can damage the parent orchid
The most serious mistake is cutting before you know where the growing point is. A leaf, a flower spike, a cane, a pseudobulb, and a crown are not interchangeable pieces; if you do not see a viable node or a natural division point, wait and identify the orchid first.
The next mistake is choosing a technique because it worked on another plant or a different orchid genus. A leaf-propagated succulent does not prove an orchid leaf will root, and a Dendrobium cane method does not automatically apply to a compact Phalaenopsis. Even within orchids, a genus-specific recommendation may depend on plant age, growth cycle, and whether the section retains healthy roots or a dormant eye.
Avoid dividing a small clump, removing a keiki before it can support itself, or stripping every backbulb from a parent that needs those storage organs. Do not use a tight sealed container as a substitute for good humidity and airflow, and do not leave cut material sitting in wet rice or saturated moss. The aim is not to maximize the number of pieces; it is to create one viable new plant without setting back the original.
Conclusion
An orchid leaf in rice is not a practical propagation method for the orchids most people grow at home. Rice cannot supply the node, bud, or growing point a new plant needs, and a leaf that stays green is not necessarily rooting or forming a shoot.
Look for a rooted keiki on a stem or flower spike, divide a mature sympodial orchid along its rhizome, or try a viable backbulb only if you accept a long wait. If all you have is a detached leaf, protect the parent plant and skip the rice experiment; matching the method to the orchid’s actual growth structure is the step that gives propagation a real chance.