How to Propagate Orchids Four Different Ways
Learn how to propagate orchids by division, back bulbs, keikis, and aerial-root cuts—with timing, tools, and aftercare for monopodial and sympodial types.
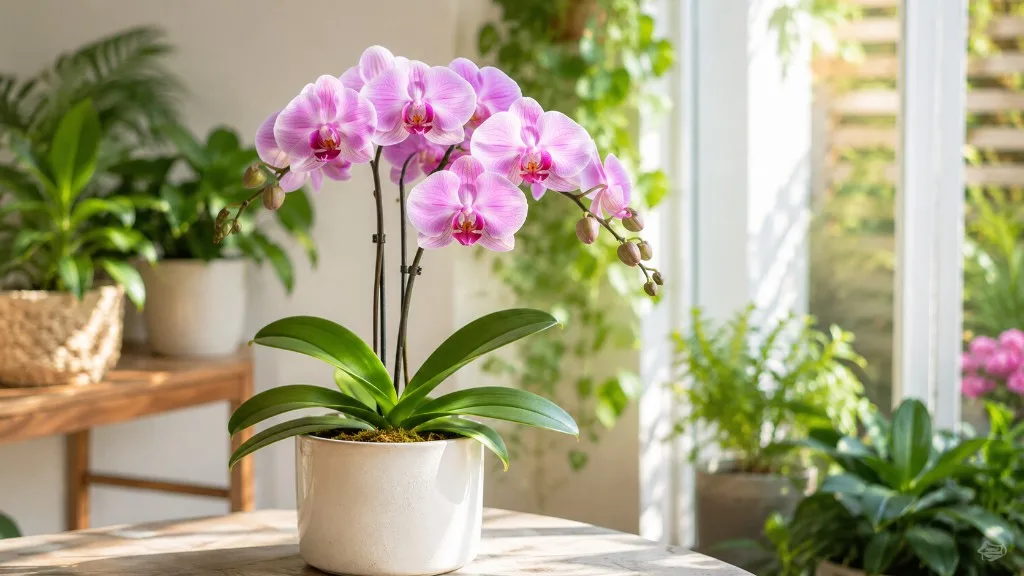
You cannot propagate most orchids the way you propagate a pothos—snip a stem, drop it in water, and wait for roots. Orchids are epiphytes with specialized storage structures, and the propagation method depends entirely on how the plant grows. Get that wrong and you will either rot a cutting that was never designed to root alone or chop a monopodial Phalaenopsis in half and kill both pieces.
Home growers have four reliable vegetative routes: sympodial division, back-bulb cultivation, keiki removal, and aerial-root or lower-stem division on certain monopodial types. Seed germination and laboratory meristem cloning exist, but they require sterile lab conditions and years of patience—fine for commercial growers, not for a kitchen windowsill. The American Orchid Society frames hobby propagation around division and keikis as the practical paths for sharing plants with friends. (American Orchid Society propagation)
This guide walks through all four home methods with decision rules, timing, sterile technique, and realistic bloom timelines. For ongoing care after you pot the new plant, keep our basic indoor orchid care and Phalaenopsis care guide handy.
Why Orchid Propagation Is Not Like Other Houseplant Cuttings
Most familiar houseplants root from soft stem cuttings because they have undifferentiated tissue ready to form adventitious roots. Orchids store water and carbohydrates in pseudobulbs (sympodial types) or in leaves and roots along a single stem (monopodial types), and their roots are wrapped in velamen—a spongy layer that needs air as much as moisture. A random stem slice without nodes, eyes, or attached roots usually desiccates or rots before it establishes.
Vegetative propagation produces a genetic clone of the parent—useful when you want the same flower color, fragrance, or growth habit. The AOS notes that division and back-bulb work are the easiest vegetative routes for sympodial orchids, while keikis serve monopodial and some sympodial genera. (AOS orchid breeding and hybridizing)
Vegetative Methods vs. Seed and Lab Cloning
Sexual propagation from seed can yield millions of genetically unique seedlings per capsule, but orchid seeds lack endosperm and depend on symbiotic fungi in nature—home sowing without flask culture fails almost every time. Meristem cloning in a lab duplicates award-winning cultivars at commercial scale (the millions of identical grocery-store Phalaenopsis are mericlones), yet it is not a weekend kitchen project.
That leaves the four vegetative techniques below. Each has a different speed-to-bloom profile, and choosing the wrong one for your genus is the most common beginner mistake.
Know Monopodial vs. Sympodial Growth Before You Cut
Before you touch a blade, answer one question: does the orchid grow on a single vertical stem or on a horizontal rhizome with pseudobulbs? Smithsonian Gardens lead orchid horticulturist Justin Kondrat, quoted in horticulture press, stresses that all propagation technique flows from this split—monopodial orchids make keikis; sympodial orchids divide like irises. (Better Homes & Gardens, April 2026)
Monopodial Orchids (Phalaenopsis, Vanda)
Monopodial orchids add leaves from a terminal growing point at the top of one central stem. Flower spikes and aerial roots emerge from nodes where leaves meet the stem. Phalaenopsis (moth orchids) are the indoor default; Vanda and related genera also grow monopodially, often with long exposed root systems.
Missouri Botanical Garden describes Phalaenopsis as growing vertically from a terminal point, with one or two new leaves per year while older basal leaves senesce. (Missouri Botanical Garden Phalaenopsis) For these plants, keiki propagation is the home method—not rhizome division. Attempting to split a healthy Phalaenopsis crown is rarely appropriate unless you are performing a careful lower-stem procedure on a very tall, multi-rooted specimen.
Sympodial Orchids (Cattleya, Oncidium, Dendrobium, Cymbidium)
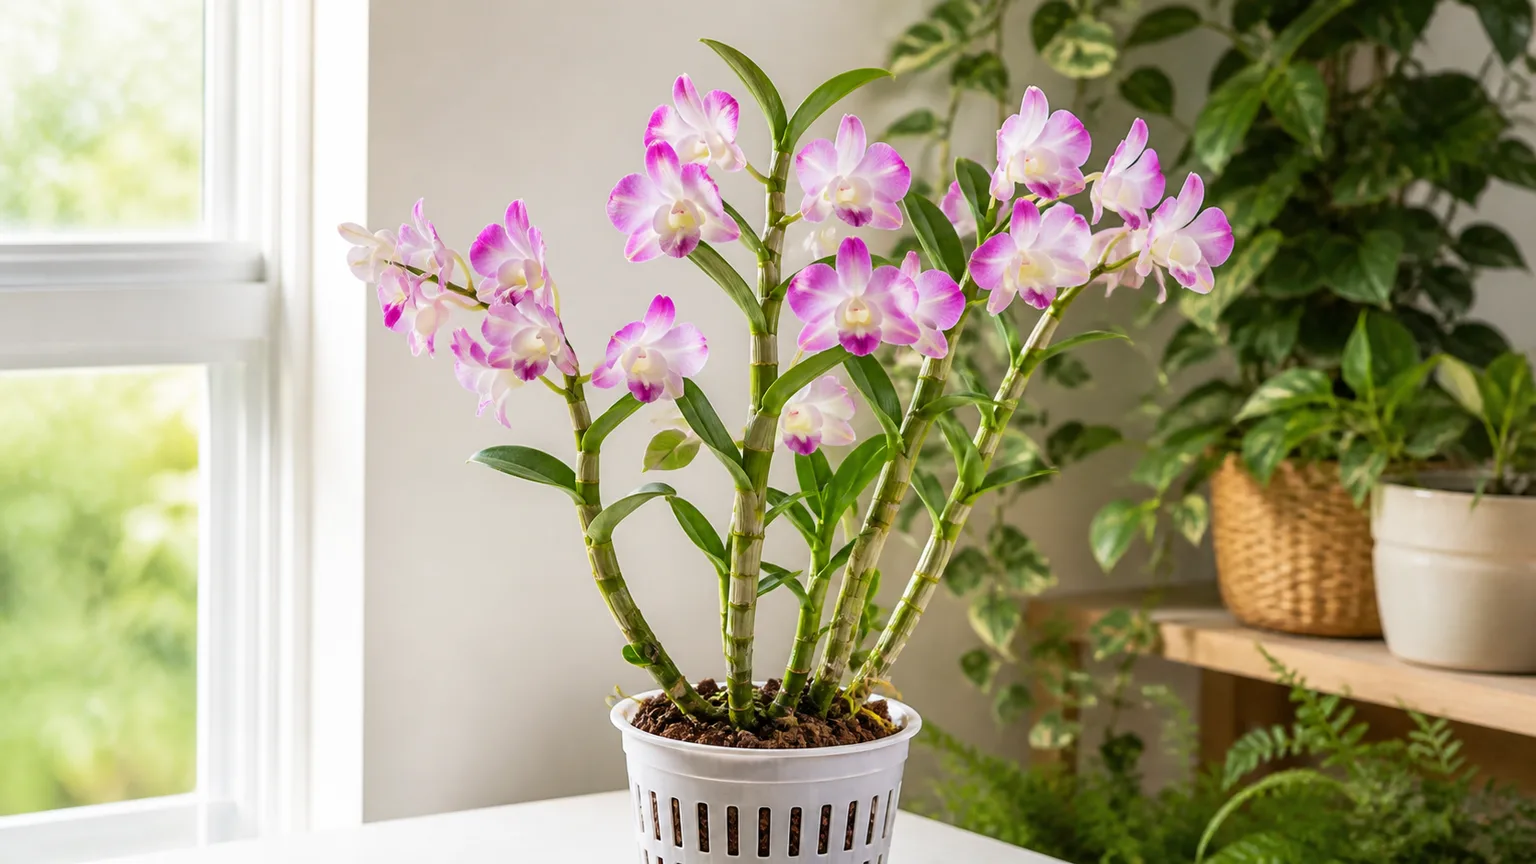
Sympodial orchids spread horizontally. A rhizome produces pseudobulbs—thickened stems that store water and nutrients—each potentially sprouting leaves, roots, and bloom spikes. Cattleya, Oncidium, Dendrobium, and Cymbidium fall here.
You propagate these primarily by division during repotting, optionally saving back bulbs (older, leafless pseudobulbs with dormant eyes). Some Dendrobiums also produce stem keikis, but division remains the standard path when the rhizome has outgrown its pot. For genus-specific cane care after you divide, see our Dendrobium growing guide.
Which of the Four Methods Fits Your Plant
Use this routing table before you gather tools. It saves plants and months of waiting.
| Your orchid type | First-choice method | Second option | Usually skip |
|---|---|---|---|
| Phalaenopsis (moth orchid) | Keiki from spike or base | Lower-stem/aerial-root division on very mature plants | Sympodial-style rhizome division |
| Vanda / ascocentrums | Aerial-root clump division | Keiki if present | Back-bulb work |
| Cattleya / Laelia alliance | Rhizome division at repot | Back-bulb cultivation | Keiki (uncommon) |
| Oncidium / intergenerics | Division with 3–5 bulbs per piece | Back bulbs on old growth | Leaf cuttings |
| Dendrobium | Division of new and old canes | Keiki on canes (some types) | Stem slices without nodes |
| Cymbidium | Division; back bulbs in flats | — | Single-bulb divisions |
The AOS recommends waiting until a sympodial plant has at least eight healthy pseudobulbs before dividing, keeping four or five per division (three minimum). Dividing too small a plant removes storage tissue and can stall both sections for years. (AOS vegetative propagation guidance)
When to Propagate—and When to Wait
Best window: after the orchid finishes its bloom cycle and before you refresh potting medium—usually during repotting season in spring or early summer for many genera. Kondrat advises tying division to repotting so you disturb roots once, not twice. If a keiki appears on a monopodial spike while the mother still blooms, you may remove it once it has its own roots—you do not have to wait for the whole plant to finish flowering.
Wait if:
- The mother plant is weak, recently repotted, or fighting rot, pests, or dehydration
- A sympodial orchid has fewer than eight pseudobulbs total
- You cannot identify whether the orchid is monopodial or sympodial
- Environmental stress (heat spike, bud blast, crown damage) is ongoing—fix culture first
Kondrat is explicit: never divide an unhealthy plant. Propagation is not rescue surgery; it multiplies vigor. Feed, stabilize roots, and confirm new growth before you cut.
For Phalaenopsis specifically, NC State Extension notes that mature plants are typically repotted every one to two years after flowering when bark breaks down—natural timing to check for keikis or, on oversized sympodial neighbors in a collection, division. (NC State Phalaenopsis)
Supplies, Sterility, and Workspace Setup
Orchid tissue is succulent and fungal-prone once cut. A clean bench matters as much as technique.
Tools
- Sharp knife, razor blade, or pruners—flame-sterilized or wiped with 70% isopropyl alcohol between cuts
- Spray bottle with water for misting
- Labels and waterproof marker (cloned plants look identical later)
Potting
- New pots one size up for divisions; 2½–3 inch pots for back bulbs and keikis
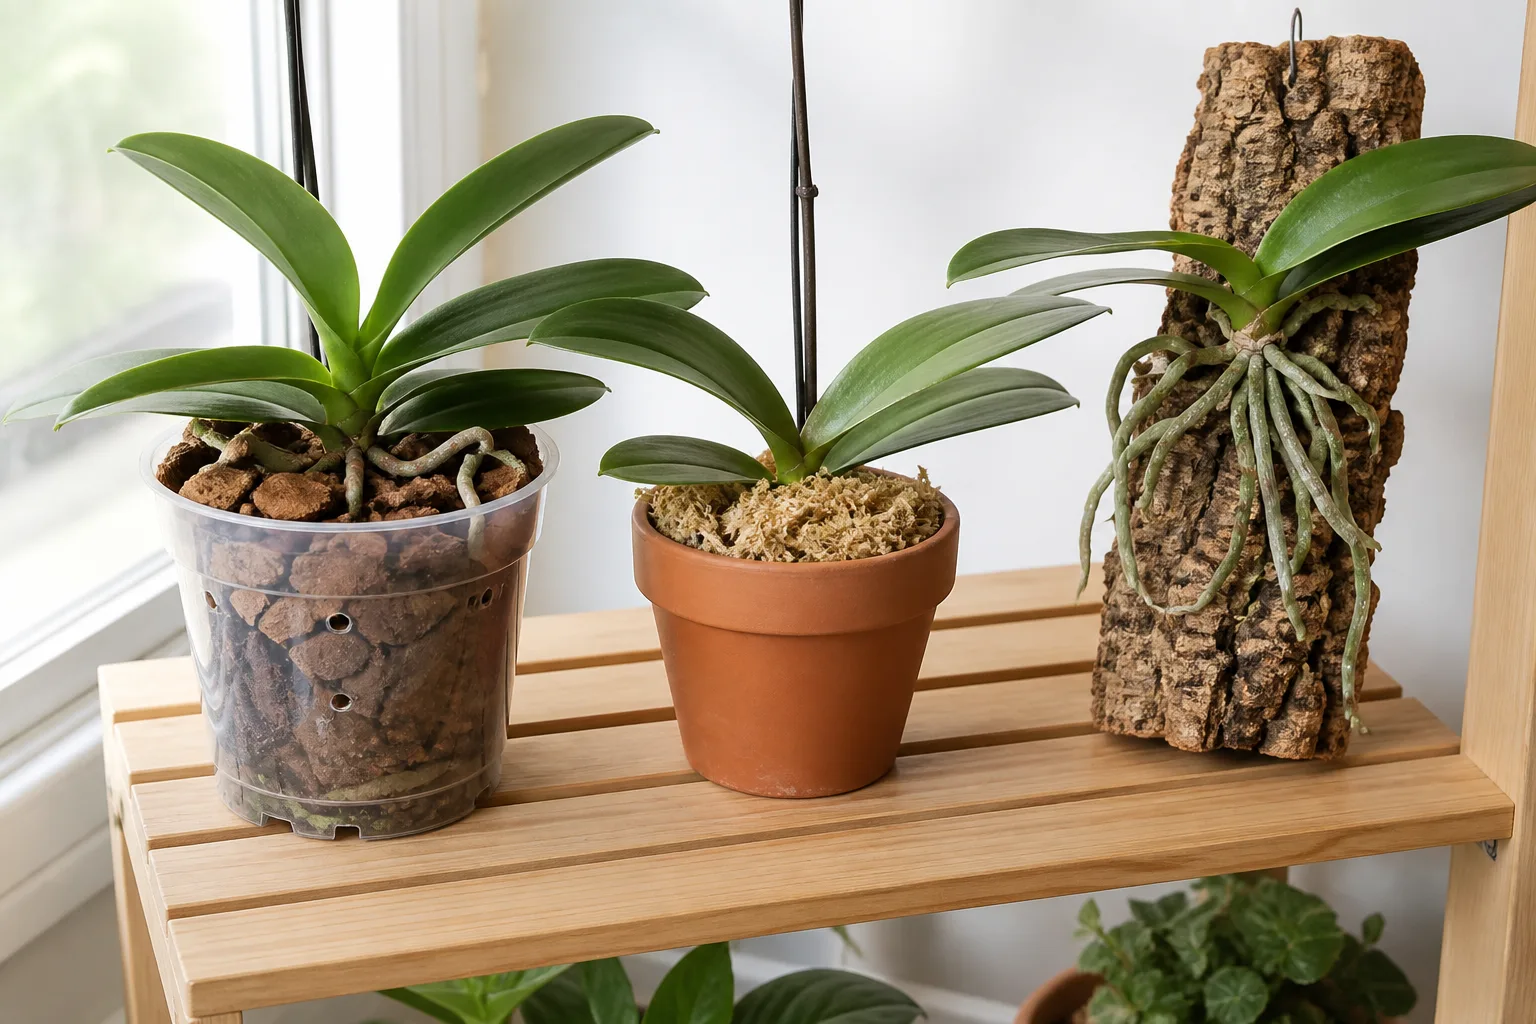
- Fine-grade orchid bark mix for keikis; coarser bark for mature divisions
- Sphagnum moss for back-bulb waking and very small keikis (keep it loose, not packed)
- Optional: ground cinnamon, hydrogen peroxide, or orchid fungicide on cut surfaces
Environment
- Bright indirect light—never direct sun on fresh cuts
- Warm room (65–80°F) with gentle airflow
- Humidity tray or grouped plants while roots establish; avoid water sitting on crown
Lay out newspaper or a washable mat, sterilize tools, and pre-moisten mix so you are not fumbling with dry media while roots are exposed.
Method 1: Dividing Sympodial Orchids
Division is the fastest home route to a blooming-sized sympodial orchid. Done on a mature Cattleya or Oncidium, the front division may flower the next season if it keeps four or five active pseudobulbs with roots.
Reading Pseudobulbs, Leads, and Roots
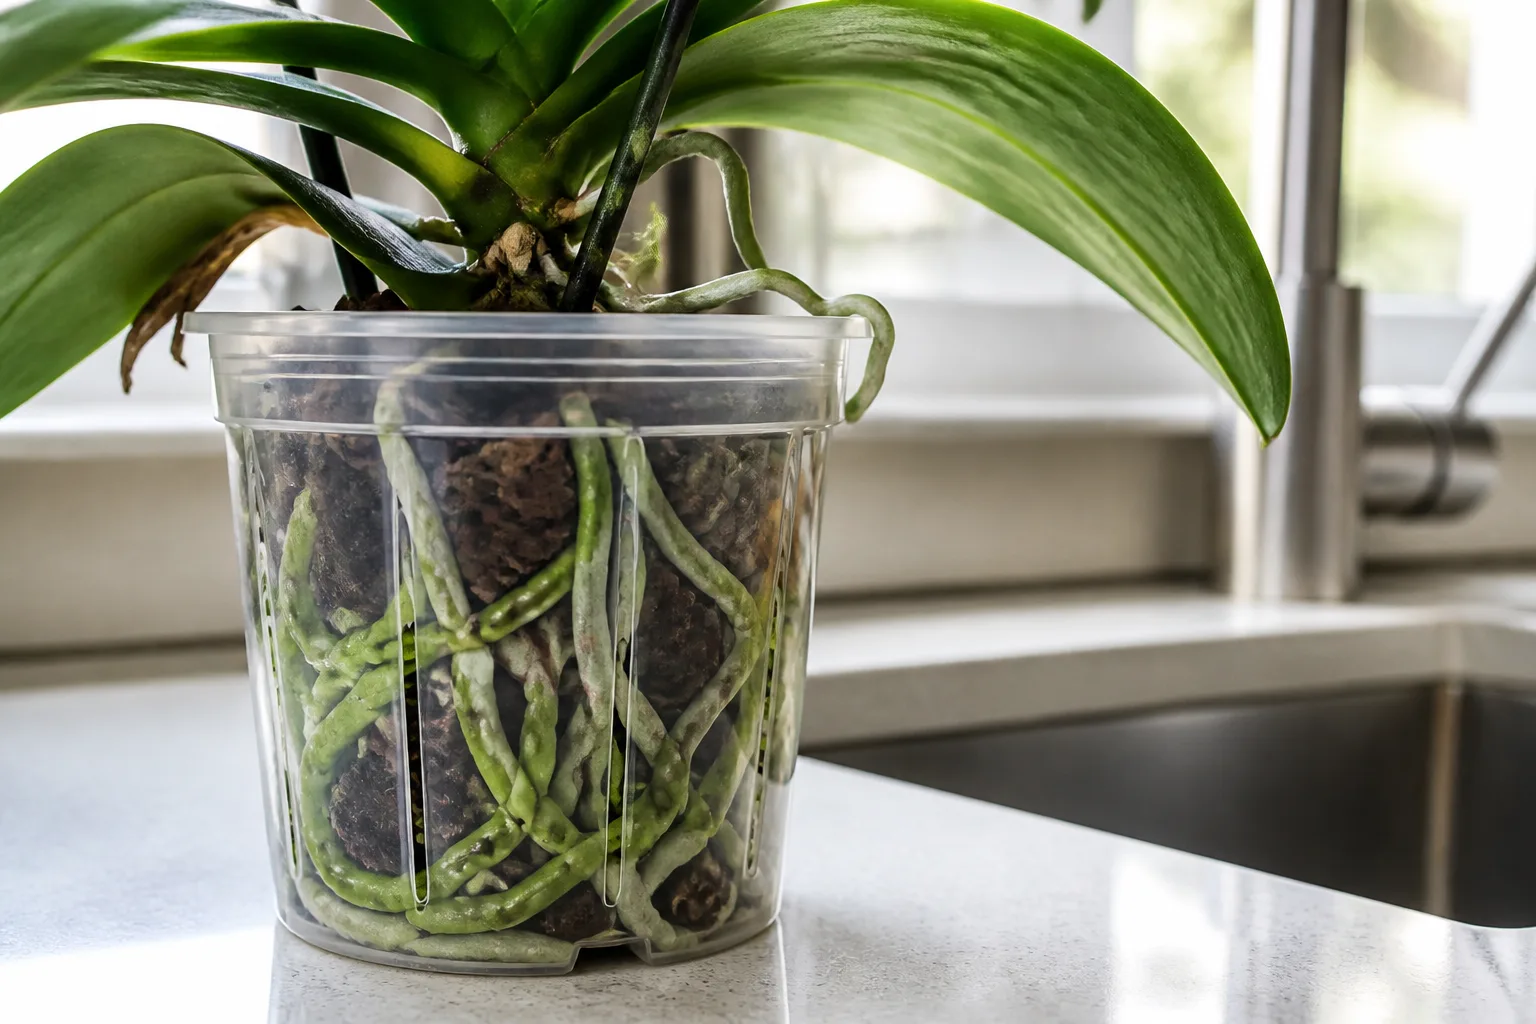
Unpot gently—squeeze the pot, tip sideways, and coax the root ball out rather than yanking pseudobulbs. Rinse old bark away with lukewarm water so you can see the rhizome clearly.
Look for:
- Active leads—pseudobulbs with green leaves and new root tips
- Back bulbs—older, often leafless pseudobulbs that are still firm and green, with visible “eyes” (dormant buds)
- Dead tissue—brown, hollow, or shriveled bulbs to discard
Identify natural split points where the rhizome can be severed so each piece retains at least three pseudobulbs, preferably four to five with healthy roots. The AOS stresses that each division must retain enough storage to survive the stress of separation.
Cut through the rhizome with a sterile blade, keeping as many roots intact as possible. It is normal to lose a few fine roots; avoid stripping the lead bulbs bare.
Treat cut rhizome surfaces with cinnamon or dilute hydrogen peroxide if you wish—optional but reduces fungal entry on warm, humid benches.
Potting Divisions and First-Month Aftercare
Choose a pot that fits the root mass, not the wishful thinking of next year’s growth. Position the oldest pseudobulb toward the pot rim so the lead has room to grow forward—sympodial orchids advance in one direction.
Hold the division upright while you tuck bark around roots. Do not bury pseudobulbs deep; the rhizome should sit at or just above medium level. Stake if wobbly.
Watering: Mist lightly for the first week if roots were damaged, then transition to thorough soak-and-drain once new root tips appear. Withhold fertilizer until you see new root growth or fresh leaf expansion—usually several weeks. Kondrat recommends waiting about a month before feeding so roots anchor first (Better Homes & Gardens, 2026).
Method 2: Propagating From Back Bulbs
Back-bulb propagation rescues genetic material from older pseudobulbs that no longer carry leaves but remain green and firm. It is slow—think years, not months—but worthwhile for rare cultivars you cannot replace.
The AOS describes back bulbs as living pseudobulbs that have lost foliage but retain dormant nodes. In genera like Cymbidium, they are often started in flats of the same mix used for adults until eyes break and roots form. (AOS vegetative propagation)
Notching and Waking Dormant Eyes
Locate back bulbs at the outer edge of a sympodial clump—papery sheaths, no active leaves, but green tissue and one or two eyes.
In-place method (less disruptive): With a sterile knife, cut a small V-shaped notch in the rhizome behind the back bulb while it remains on the mother plant. Leave the pot undisturbed in warm, humid, bright indirect light until an eye swells and opens leaves.
Removal method: If the back bulb is already separated, place it on a layer of moist sphagnum in a small pot or tray, eyes up, in a warm humid spot. Mist regularly; do not let it desiccate or sit in pooled water.
When new growth is several inches tall with root initials, sever the back bulb fully and pot it in fine bark or moss using the same cautious watering as a keiki—moist, not soggy, until roots lengthen.
Method 3: Removing and Potting Keikis
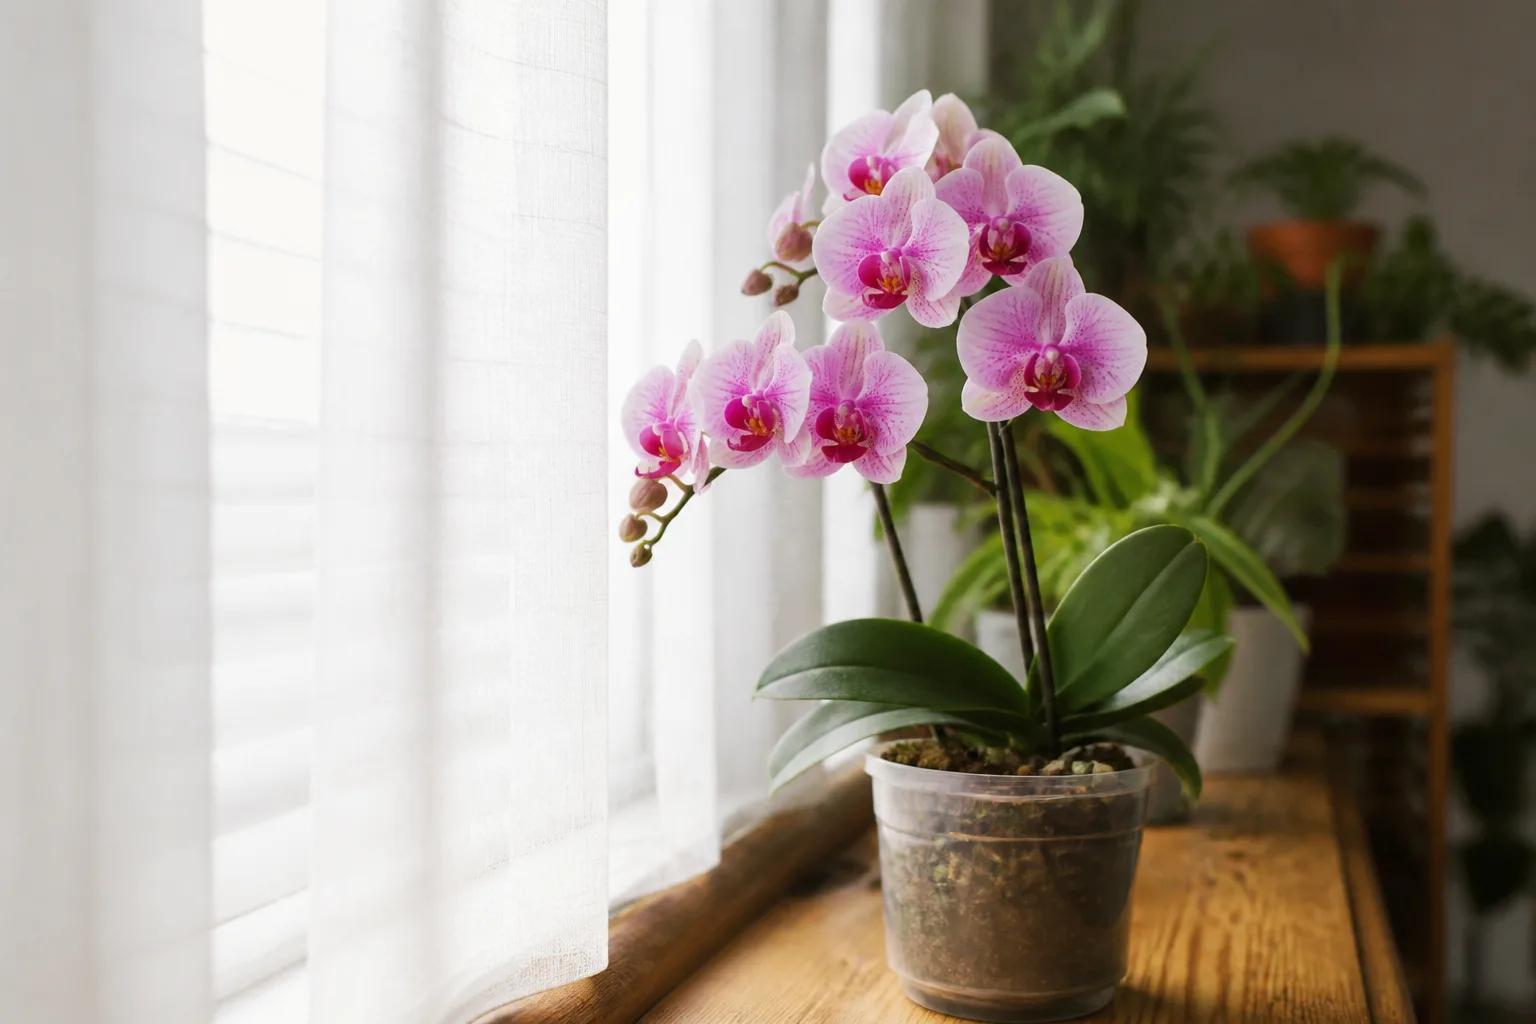
A keiki (Hawaiian for “baby”) is a vegetative clone that forms on a monopodial stem or flower spike node. Phalaenopsis keikis are the ones most indoor growers encounter—mini plants with their own leaves and roots dangling from a spent spike.
The AOS advises removing a keiki once it has two or three leaves and roots 1–2 inches (2.5–5 cm) long, then potting separately with more frequent watering until its root system catches up. (AOS keiki guidance)
Steps:
- Wait until the keiki has three to four roots several centimeters long—removing too early is the top failure mode.
- Sterilize your blade. Cut the spike above the keiki attachment and below the keiki’s longest root, leaving a short stub on the baby if needed.
- Optional: dab fungicide or cinnamon on both cuts.
- Pot in a small container with fine orchid mix or loose sphagnum. Kondrat suggests moss for very small keikis because it holds moisture evenly (Better Homes & Gardens, 2026).
- Keep humid, bright indirect, and water when the top of the mix approaches dryness—keikis dry out faster than mature plants.
If no keiki appears naturally, some growers apply keiki cloning paste (cytokinin gel) to a dormant node on a green spike after blooms fade. Scar lightly, apply paste per product directions, and wait weeks. Results vary by hybrid; it is optional, not required.
Expect one to three years to first bloom on a Phalaenopsis keiki, depending on light and feeding.
Keikis as Clones—and as Stress Signals
A keiki on a healthy, mature Phalaenopsis after bloom is often welcome. A keiki emerging from the same bud as an active flower spike can signal stress—excess nitrogen, temperature swings, root loss, or a recent medium change. Review watering, light, and fertilizer before celebrating.
On Dendrobium canes, keikis may appear when flowering cues are missing; our Dendrobium guide covers seasonal triggers. Do not remove cane keikis until they have multiple roots and enough foliage to photosynthesize independently.
Method 4: Aerial Root and Lower-Stem Division
This method applies mainly to tall monopodial orchids—Vanda and some mature Phalaenopsis with layered aerial roots—not to typical grocery-store moth orchids still in their first few years.
After unpotting, identify a lower section where aerial roots have clustered into a dense, corm-like mass below newer growth at the top. Using a sterile blade, remove that lower root ball from the main stem, trim damaged root tips, and pot with long roots directed downward in coarse bark. The cut crown of the root section stays above medium; only roots enter the mix.
Some growers soak roots in tepid water before potting; others water thoroughly once and drain completely. Place on a humidity tray with bright indirect light and maintain even moisture while new top growth activates.
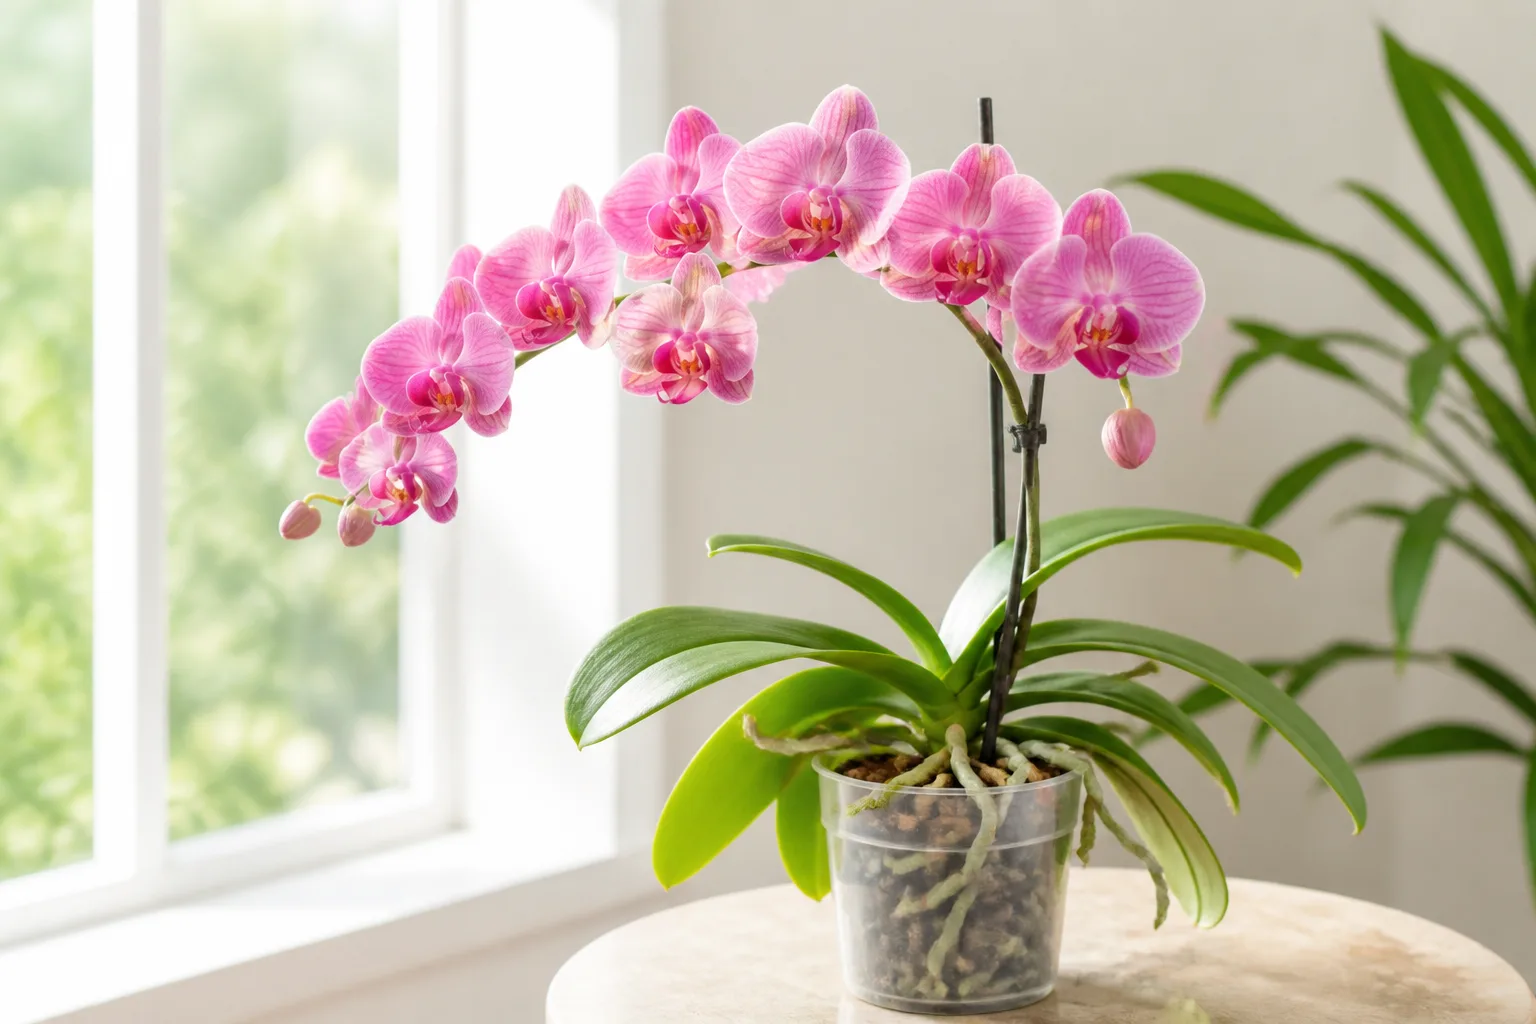
Timeline honesty: Aerial divisions and back bulbs are the slowest paths to flowers—often several years—because the plant must rebuild vegetative mass before blooming. Division of vigorous sympodial leads remains the quickest route to a display-sized plant.
First-Year Care for New Orchid Starts
Propagated orchids are seedlings in spirit even when they look like mini adults.
Watering: Err on slightly moist for keikis and back-bulb starts; slightly drier for fresh sympodial divisions with wounded roots. Always drain completely—epiphytic roots hate stagnant water. NC State recommends morning soak-and-drain for Phalaenopsis culture; the same rhythm suits keikis in fine bark. (NC State Phalaenopsis)
Fertilizer: Wait three to four weeks after potting, then use quarter-strength balanced orchid fertilizer (20-20-20) weekly during active growth—Kondrat’s “little and often” model mimics nutrient drips in the wild canopy (Better Homes & Gardens, 2026). Skip feed in winter slowdown unless under lights.
Light: Bright indirect; a bit more shade than the mother for the first month reduces transpiration stress on limited roots.
Repotting: Leave young starts alone 12–18 months unless mix collapses or rot appears. For mother-plant repot timing, see should you cut the orchid stem after blooms and our how long orchids live guide for lifespan context.
Bloom expectations
| Method | Typical time to first bloom on offspring |
|---|---|
| Sympodial division (strong lead) | 1–2 years |
| Keiki (Phalaenopsis) | 1–3 years |
| Back bulb | 2–5+ years |
| Aerial-root division | 3–5+ years |
Patience is part of the method—not a sign of failure.
Troubleshooting Failed Propagation Attempts
Division collapses or shrivels: Usually underwatering on a rootless section or overwatering rotted cuts. Examine roots—firm and green/silver is viable; mush is not. Trim rot, remount in fresh bark, and shade more aggressively.
Back bulb never wakes: Eye was dead, bulb desiccated, or environment too cool/dry. Re-check firmness; if wrinkled and brown, discard. Living green bulbs can take a full growing season to break.
Keiki yellows after removal: Removed too early, medium too wet, or crown stayed wet. Ensure three to four roots before separation; pot loosely; improve airflow.
Fungal spots on cuts: Remove affected tissue back to healthy color, dust cinnamon, reduce humidity briefly, and isolate from collection.
Mother plant declines after division: Pieces were too small, plant was already weak, or repot + divide + bloom recovery stacked stress. Stabilize culture—light, drain, no fertilizer—before attempting further surgery.
If roots are broadly rotting on the parent, propagation is the wrong tool; address culture and rot first via our orchid care resources on the Phalaenopsis hub.
Conclusion
Orchid propagation rewards patience and precision more than enthusiasm. Identify whether your plant is monopodial or sympodial, match it to division, back bulbs, keikis, or aerial-root separation, and propagate only when the mother is healthy and large enough to survive the split. Sterile tools, proper pseudobulb counts, and conservative first-year watering turn four intimidating techniques into a realistic way to expand a collection—or share a clone of a plant you already trust.
Start with the method your orchid’s anatomy supports, not the method you saw on social media. A well-timed keiki or a four-bulb division beats a heroic rescue cut every time—and the blooms, when they come, will be worth the wait.



