How to Propagate Monstera Deliciosa: 3 Methods
Learn how to propagate Monstera deliciosa from a node cutting in water, soil, or moss. Choose the right method, prevent rot, and pot it successfully.
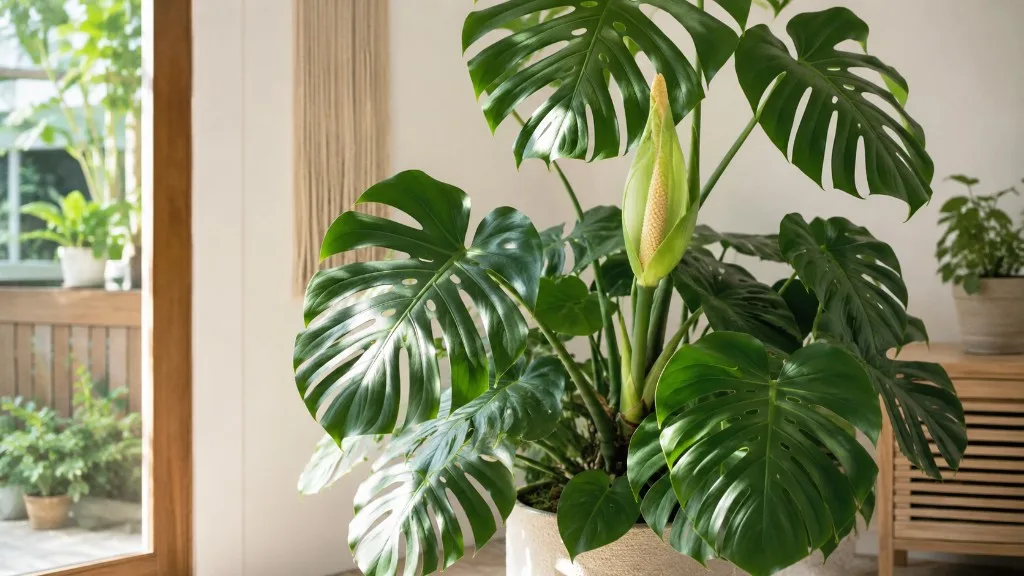
Propagating Monstera deliciosa is less about finding a secret rooting potion and more about making one correct cut. The piece you save must include a node, then it needs a rooting environment that stays moist without becoming airless. Once you understand those two decisions, water, soil, and air layering are three workable ways to reach the same goal.
Start with a healthy parent plant, a clean blade, and enough time to watch the cutting. Spring and summer usually give the fastest response, but an indoor Monstera can be propagated outside that window if you can provide warmth, bright indirect light, and steady care.
Choose the method around your goal
Choose water if you want to see root development and you are comfortable changing the water regularly. It is the most reassuring method for a first attempt because a clear jar lets you inspect the node without disturbing it, but the cutting will later need to adjust from water-grown roots to potting mix.
Choose direct soil if you want the roots to develop in their final type of medium and would rather skip that transition. You lose the easy visual check, so moisture control matters more: the mix must be damp enough to keep the node from drying while still holding enough air around it.
Choose air layering when the stem is valuable, large, or still attached to a plant you do not want to cut immediately. The new roots form around a node while the stem continues receiving water and sugars from the parent, which makes the method lower-risk than removing an unrooted cutting. It takes more materials and patience, but it is a good insurance policy for a rare or especially handsome section.
The node is the non-negotiable part
A node is a joint on the main stem where a leaf, bud, and often an aerial root emerge. That joint contains the growth tissue needed to produce new roots and a new shoot. The University of Minnesota Extension’s Monstera guidance makes the practical consequence explicit: a leaf or petiole without a node will not create a new plant, even if it stays green in water for weeks (University of Minnesota Extension).
The node is usually a slightly swollen ring, bump, or crease on the thicker stem. It is not the long, smooth leaf stalk. If you are holding a leaf with a petiole and no section of the main stem attached, put the shears down; that piece may remain attractive, but it has no place from which to make a new stem.
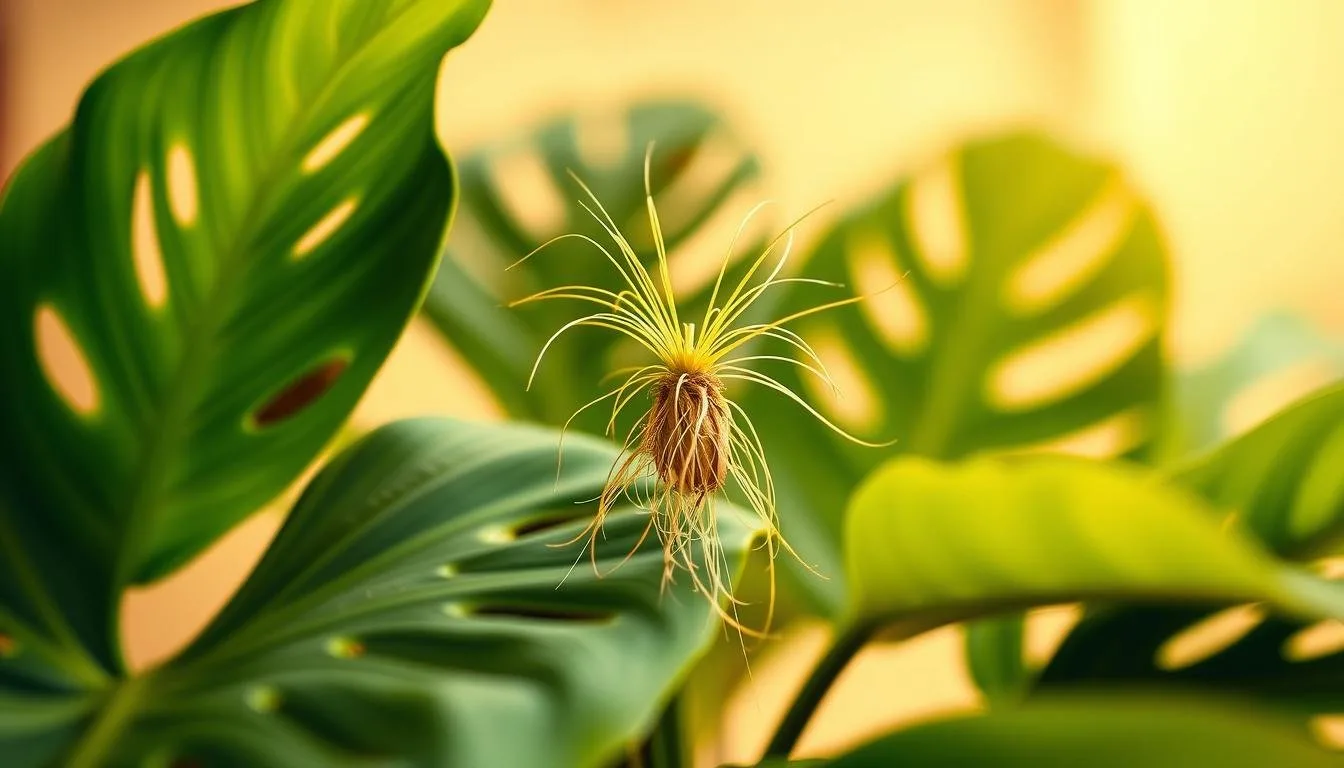
Node, internode, petiole, and aerial root: what you are seeing
The internode is the stretch of stem between two nodes. An internode alone is just stem tissue between growth points, so cutting a smooth section without a node cannot be rescued by extra humidity, rooting hormone, or a longer wait. An axillary bud may look like a tiny nub beside the node; protect it, because it is the likely source of the next shoot.
An aerial root is the thick, cordlike root that grows from the stem into the air. It can help a cutting establish quickly and can be guided into water, moss, or soil, but it is not the same thing as a node. A node without an aerial root can still root; an aerial root attached to a leaf-only piece cannot replace the missing growth point. The useful rule is simple: node first, aerial root bonus.
Time the cut for active growth
The most forgiving time to propagate is spring through early summer, when a Monstera has longer days, warmer temperatures, and more active growth. Gardening Know How also notes that indoor plants can technically be propagated year-round, but rooting and new growth are generally quicker during the growing season (Gardening Know How).
Do not take a cutting from a parent that is already struggling with pests, root rot, severe dehydration, or a recent move. Penn State Extension recommends starting with plants free from disease, insects, and stress and using clean tools and media (Penn State Extension). A cutting is a smaller plant with fewer reserves; it has less margin for error than the established parent.
If you must propagate in fall or winter, give the cutting the warmest stable room you have, keep it away from cold glass and heating blasts, and expect a longer pause before roots or leaves appear. A grow light can compensate for short days, but it cannot make a cold, waterlogged jar or pot behave like an active growing season.
Gather clean tools and a light rooting medium
You do not need an expensive propagation station. Assemble a sharp knife or bypass pruner, rubbing alcohol for cleaning the blade, a clean jar for water, and a small pot with drainage holes for soil. For direct rooting, use a fresh, airy houseplant mix amended with perlite, fine orchid bark, or another material that creates pore space; avoid garden soil, which is heavy and more likely to stay wet in a small pot.
Penn State Extension lists bright indirect light, moist but not saturated media, moderate-to-high humidity, and a rooting-media temperature around 75–80°F as favorable general conditions for houseplant propagation. Treat that temperature as an optimum, not a requirement or a guarantee. In a normal home, consistency matters more than chasing a precise number.
Rooting hormone is optional for Monstera. A light dusting may be used for a difficult direct-soil cutting, but it is not a substitute for a node, clean tools, or good oxygen around the stem. Gardening Know How specifically notes that Monstera cuttings generally root without it (Gardening Know How). Never pile powder onto a wet cutting; excess can slow development rather than improve it.
Take and prepare a Monstera cutting
First decide how much leaf the cutting can reasonably support. One healthy leaf with one node is a manageable beginner cutting; a short tip with one or two leaves is also useful. A giant section carrying four or five mature leaves looks impressive, but it loses water through all that foliage before it has roots to replace the loss.
Clean the blade with alcohol and let it dry. Find the node you want to keep, then make a decisive cut about 1–2 inches below it so the node remains on the cutting. Leave enough stem below the node to anchor the piece in water or media, but do not keep a long bare tail just because it is available. The parent plant should be cut just above a node when possible, leaving that node on the rooted plant so it can produce a replacement shoot.
Keep the cutting right-side up. The leaf and its petiole point upward; the cut end and node point down or sideways depending on the method. Remove any leaf that would sit below the waterline or be buried in the pot. Do not strip healthy leaves unnecessarily, and do not cut off a firm aerial root simply because it is brown and woody; color alone is not a rot diagnosis. A root that is black, soft, or collapsing is different and should be removed with a clean blade.
Letting a cut end sit for an hour or two in a clean, shaded place is optional for a Monstera. It is not a cure for a soggy medium, and it is not needed before water propagation. The important pause is the one that lets you inspect the cut, confirm the node, and set up the container before the stem is exposed to dirty water or compacted soil.
Method 1: Root a Monstera cutting in water
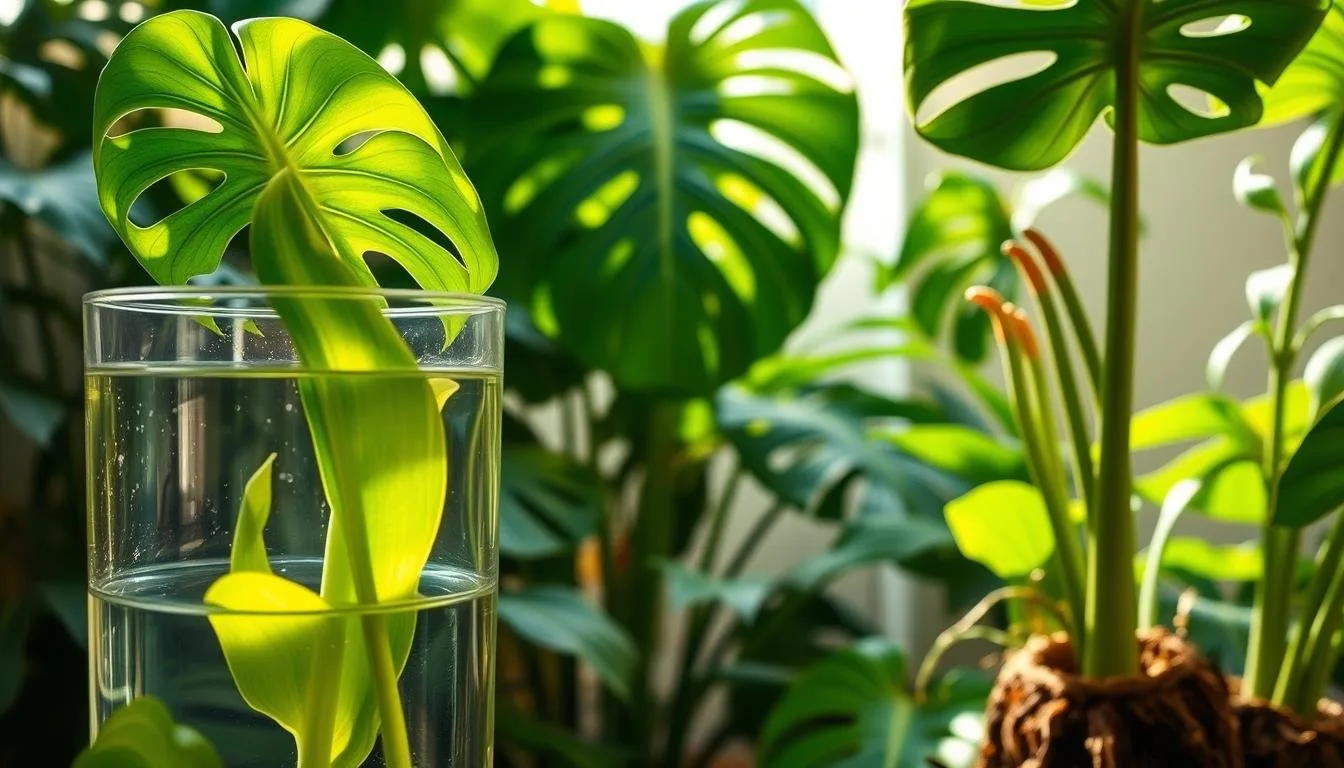
Water propagation is the easiest method to monitor. Use a clean, narrow-necked jar or vase that supports the stem without crushing it. Fill it with room-temperature water high enough to cover the node and any healthy aerial root, while keeping every leaf and petiole above the surface.
Place the jar in bright indirect light. Direct sun can overheat the water and scorch the leaf, while a dark corner slows the cutting’s metabolism. Change the water every few days to weekly, and change it sooner if it becomes cloudy, smells sour, or develops debris. Fresh water is not magic, but it reduces the stagnant, low-oxygen conditions that invite a mushy stem.
Look for small pale root points emerging from the node or aerial root, followed by longer, branching roots. A root nub after two weeks is encouraging, not a signal to pot immediately. Wait until there are several firm roots, commonly around 2–4 inches long, with enough branching to hold the cutting steady in a small pot. Timelines vary with temperature, light, cutting size, and the parent plant’s condition.
Do not add fertilizer to a fresh water cutting. It has no established root system and does not need a nutrient solution to begin the job. If you are keeping a healthy rooted cutting in water temporarily, refresh the water and plan the eventual move to a pot rather than treating the jar as a permanent shortcut to a large, mature plant.
Move a water-rooted cutting into soil
Prepare a small pot with drainage holes and a lightly moistened, airy mix before removing the cutting from water. Make a hole deep enough to place the roots without folding them sharply, then set the node and roots into the mix while keeping the leaf above the surface. Firm the mix gently; compacting it hard around the stem removes the air spaces the new roots need.
Water once to settle the mix, let excess drain, and keep the pot in the same bright indirect light. For the first couple of weeks, do not let the mix become bone-dry, but do not keep it saturated either. Water roots are accustomed to constant access to water, so a sudden dry-out is stressful; the answer is even moisture and a small pot, not a permanently wet cachepot.
Some droop after potting is normal. Remove only leaves that are yellowing rapidly or collapsing, and wait for the plant to show resistance when gently nudged or, better, a new leaf or visible root growth before moving it again. Repeatedly unpotting a fragile cutting to “check” it can break the roots you are waiting to grow.
Method 2: Root a Monstera cutting directly in soil
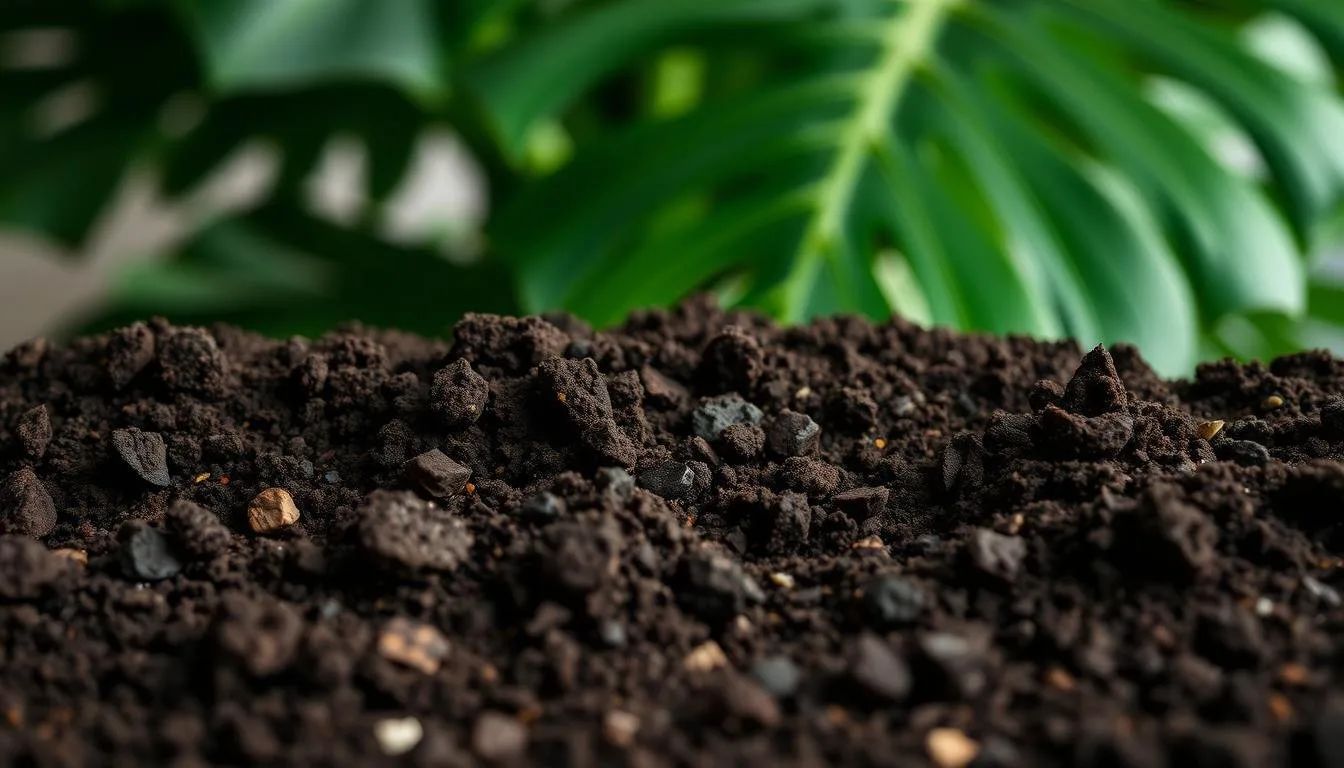
Direct soil propagation avoids the water-to-soil transition and produces roots in the medium where the plant will live. Use a small pot, not a large decorative container: extra unused mix stays wet longer and makes it harder to judge what the cutting needs.
Pre-moisten an airy mix so it is evenly damp but not dripping. Make a hole with a dibber or clean finger, place the cutting so at least one node is below the surface, and cover any healthy aerial root you can fit without bending it into a tight knot. Keep leaves, petioles, and the upper stem above the mix. If the cutting wobbles, use a small stake rather than burying it deeper.
Water enough to settle the medium, then wait until the upper layer begins to dry before watering again. The surface may dry while the center remains wet, so use the pot’s weight, a wooden skewer, and your finger at the edge of the pot instead of following a weekly calendar. Fine Gardening’s Monstera guidance also emphasizes checking moisture rather than watering on a fixed schedule and warns that soggy soil can lead to root rot (Fine Gardening).
Place a loose clear bag or propagation dome over the pot only if the room is dry and the leaf is losing water faster than the rootless stem can replace it. The cover should not press on the leaf, and it must be opened or removed if condensation stays heavy, mold appears, or the mix refuses to dry. High humidity helps prevent the cutting from desiccating; it does not make poor drainage safe.
Because the roots are hidden, measure progress by stability and new growth rather than digging weekly. A cutting that remains firm and green may be rooting even when nothing is visible. After several weeks, a gentle resistance test is more useful than a calendar, but do not tug hard enough to tear new roots.
Method 3: Air-layer a Monstera while it stays attached
Air layering is the best fit when you want a large, leafy section or a rare node to root before it is separated. Select a healthy node on a stem that is easy to reach. A node with an existing aerial root is convenient, but the node itself remains the essential part.
Soak long-fiber sphagnum moss, then squeeze it until damp rather than dripping. Pack the moss around the node and any aerial root, forming a snug bundle. You can make a shallow wound just below the node with a clean blade if you are comfortable doing so, but do not cut through the stem; the parent must continue supplying the attached section.
Wrap the moss with clear plastic and secure both ends with ties. The plastic holds humidity and lets you see roots forming, but it should not be so tight that it crushes the stem. Check the bundle weekly. If the moss is drying, add a little water at the top and reseal it; if it is waterlogged, open it briefly and correct the moisture rather than adding more.
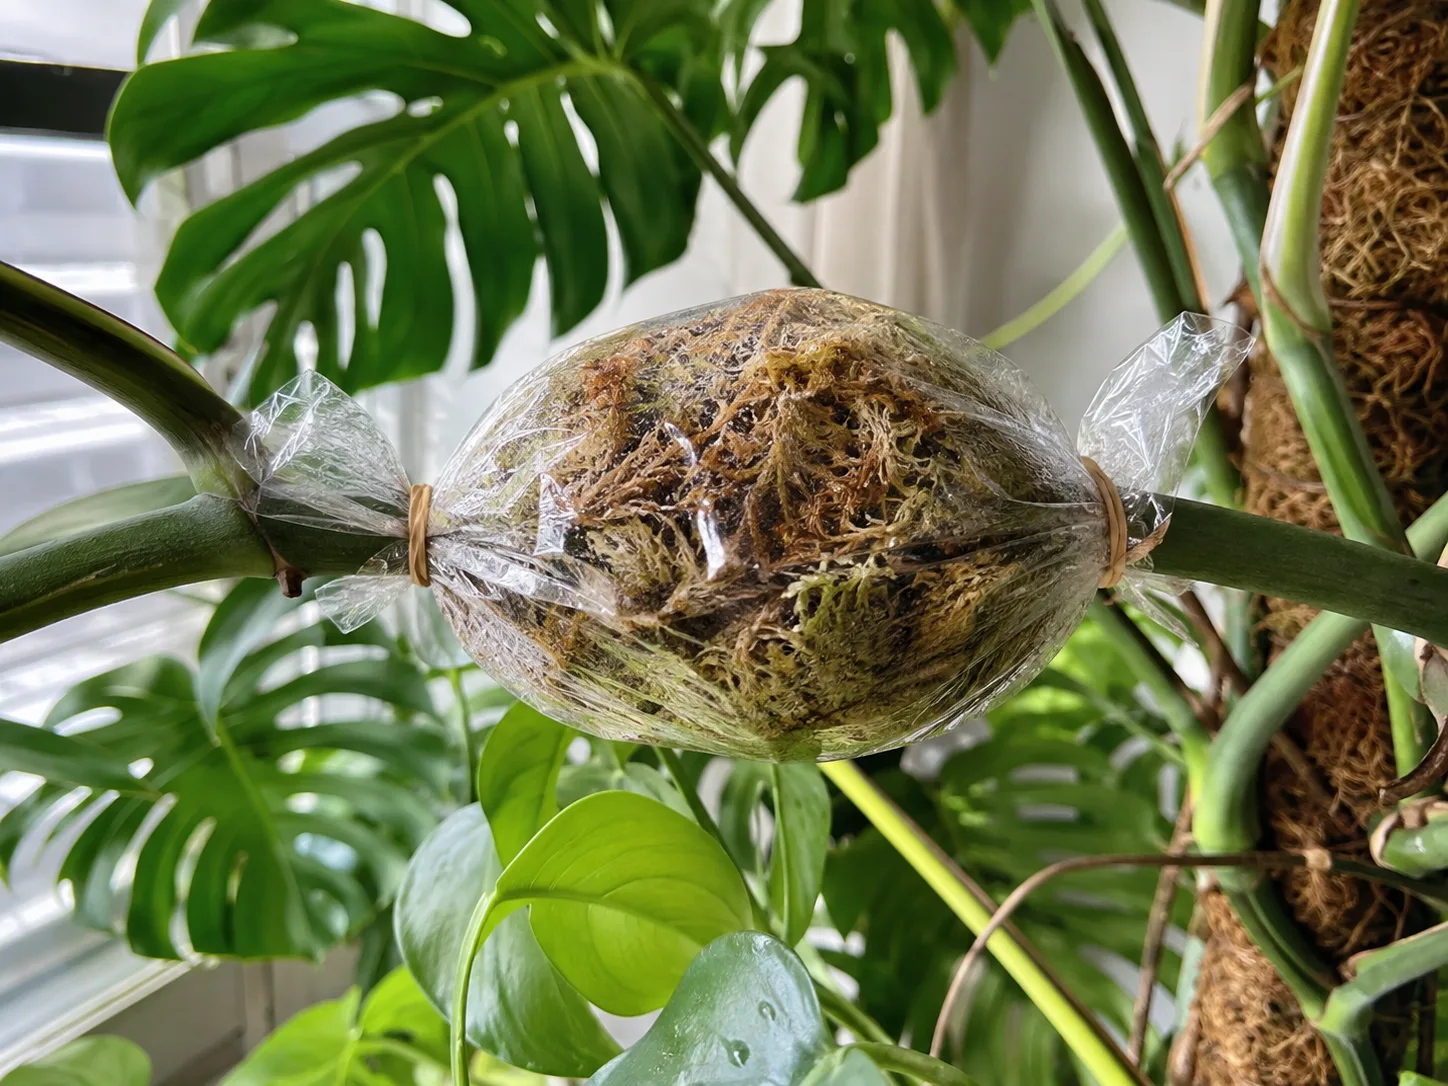
Roots may appear in a few weeks or take longer in cool, dim conditions. Wait for a visible network of firm roots rather than separating the stem at the first pale strand. Air layering reduces the risk of a cutting drying out before it roots, but it does not eliminate rot; stale wet moss, a damaged stem, or a hidden pest can still cause failure.
Separate and pot the air-layered section
When the moss bundle contains enough roots to hold the new section, use clean shears to cut the stem below the rooted area. Keep the moss around the roots while you transfer the piece to a small pot. Do not peel every strand away just to make the root ball look clean; disturbing a newly formed root network creates more risk than leaving a little damp moss in an airy mix.
Set the root ball at the correct height, with the node and stem above the mix and the roots covered. Water lightly to settle the pot, then keep the new plant warm, bright, and evenly moist while it adjusts. The attached parent may look sparse after the separation, but a healthy remaining node can activate a new shoot with adequate light and time.
Advanced options: node-only pieces, division, and seed
A node-only cutting, often called a wet stick, is possible when you want to use a bare section of stem. It must still contain a viable node and growth tissue; it can be placed horizontally on lightly damp sphagnum moss or another airy medium with the node oriented correctly. Keep it warm and humid, but treat it as an advanced project because there is no leaf to provide immediate energy and progress can take months.
Division is appropriate only when the pot contains separate rooted stems or plantlets, not when one vine is merely crowded. Unpot the plant carefully, identify which stems have their own roots, and separate only where you can preserve a viable root system and node for each division. A cut stem with no roots is a stem cutting, not a division.
Seed propagation is a different project altogether. Fresh seed can be difficult to obtain and seedlings take much longer to become recognizable houseplants, so it is rarely the practical answer when the goal is to make a clone of a favorite indoor Monstera. Stem cuttings and air layering preserve the parent’s traits more directly.
Water vs. soil vs. air layering: which is best?
There is no universal winner. The best method is the one that fits the cutting, your room, and how closely you can monitor it.
| Method | Best for | Main advantage | Main risk or trade-off |
|---|---|---|---|
| Water | Beginners, visible nodes, small cuttings | Roots are easy to see | Water must stay fresh; roots need a careful soil transition |
| Direct soil | A cutting with manageable leaf load and a well-draining setup | No transplant step; roots adapt in place | Progress is hidden; overwatering is easy |
| Air layering | Large, valuable, or hard-to-replace stems | The stem stays attached while roots form | More setup; moss moisture must be checked |
| Node-only | Experienced propagators with spare stem pieces | Uses material without a leaf | Slow, less forgiving, and no instant visual feedback |
If you are unsure, start with water for a modest one-node cutting, direct soil for a cutting you can keep evenly moist, or air layering for the best section of a large plant. Do not make several experimental cuts from a stressed parent just to compare methods. One carefully chosen cutting teaches you more than three rushed ones.
Care for a new Monstera during its first 90 days
The first goal after rooting is establishment, not speed. Keep the new plant in bright indirect light, away from hot afternoon sun, cold drafts, and a heating vent. BBC Gardeners’ World recommends a bright or partly shaded position for established M. deliciosa and notes that the plant needs support as it grows (BBC Gardeners’ World); the same gentle conditions are a good starting point for a young propagation.
For the first few weeks in soil, check moisture more often than you would for a mature Monstera, because a small root system can dry quickly in a small pot. At the same time, do not water by fear. Wait until the upper mix is beginning to dry, then water thoroughly enough to moisten the root zone and let excess drain away. Empty any saucer so the pot never sits in standing water.
Do not fertilize immediately after a stressful transfer. Once the cutting is stable and actively growing, use a normal, diluted houseplant fertilizer only according to its label and the season. New roots need oxygen, not a strong feeding program. If the plant is resting in winter, patience is more useful than extra fertilizer.
Support and light determine the next leaf
Monstera is a climbing aroid. A small stake keeps a new cutting upright, and a moss pole or trellis becomes more useful as the stem lengthens. Fine Gardening notes that bright indirect light supports stronger growth and better fenestration, while dim conditions slow growth; it also recommends support for climbing forms (Fine Gardening).
Do not expect the first new leaf to match the parent’s largest split leaves. A propagated cutting may produce smaller, juvenile leaves first, especially if it has not yet climbed. Leaf fenestrations depend on maturity, adequate light, and a growth pattern that lets the plant climb; a healthy young plant can need several new leaves before it looks like the specimen it came from.
Diagnose stalled, rotting, or wilting cuttings
When a propagation fails, inspect the cutting and the environment in that order. A viable node in a warm, bright, clean setup can still take its time; a smooth internode cannot root no matter how perfect the jar is.
No roots after several weeks: Confirm that the cutting actually contains a node and that the node is not buried in a compact, cold, or saturated mix. If the node is present, improve warmth and bright indirect light, refresh stale water or mix, and stop moving the cutting around. In winter, a long pause may be normal; if the stem is still firm, give it time rather than cutting it again.
Black, soft, or foul-smelling stem: Remove the cutting from water or mix immediately. With a sterilized blade, cut back to firm tissue, discard the rotten portion, rinse the remaining healthy section, and restart it in a clean container with fresh water or fresh airy medium. If no firm node remains, there is nothing to save. Do not pour stronger disinfectants into the water or drench the mix with home remedies; cleanliness, airflow, and correct moisture are the durable fixes.
Roots but no new leaf: Roots usually develop before top growth. Check the light, keep the mix from cycling between flood and drought, and wait for a growth point at the node. A cutting may spend weeks building a root system before it can afford a leaf, especially after a water-to-soil move.
Wilting after potting: Some droop is transplant stress, but rapid collapse can mean damaged roots, a buried petiole, too much leaf for the root system, or a mix that is either bone-dry or waterlogged. Confirm drainage, keep humidity steady without sealing the plant in stagnant air, and avoid adding more water until you know which condition you have.
Yellowing or algae in the jar: One older leaf may yellow as the cutting reallocates stored resources, but widespread yellowing with cloudy water suggests stress. Change the water, move the jar out of direct sun, remove any leaf below the waterline, and inspect the node for firmness. Algae on the glass is less important than a sour smell or soft stem, but an opaque outer sleeve can keep the water cooler and darker.
When to expect fenestrated leaves
Rooting and leaf maturity are separate milestones. A cutting can be successfully rooted while its next leaf is small, solid, or only lightly split. That is not evidence that propagation changed the plant’s identity; it is the normal juvenile phase of a new plant.
Give the young Monstera enough bright indirect light to build energy, then add support as it grows. Avoid forcing the leaves open, cutting off a healthy unsplit leaf, or moving the plant repeatedly in search of a faster result. New fenestrations arrive through successive growth, not by treating the existing leaf.
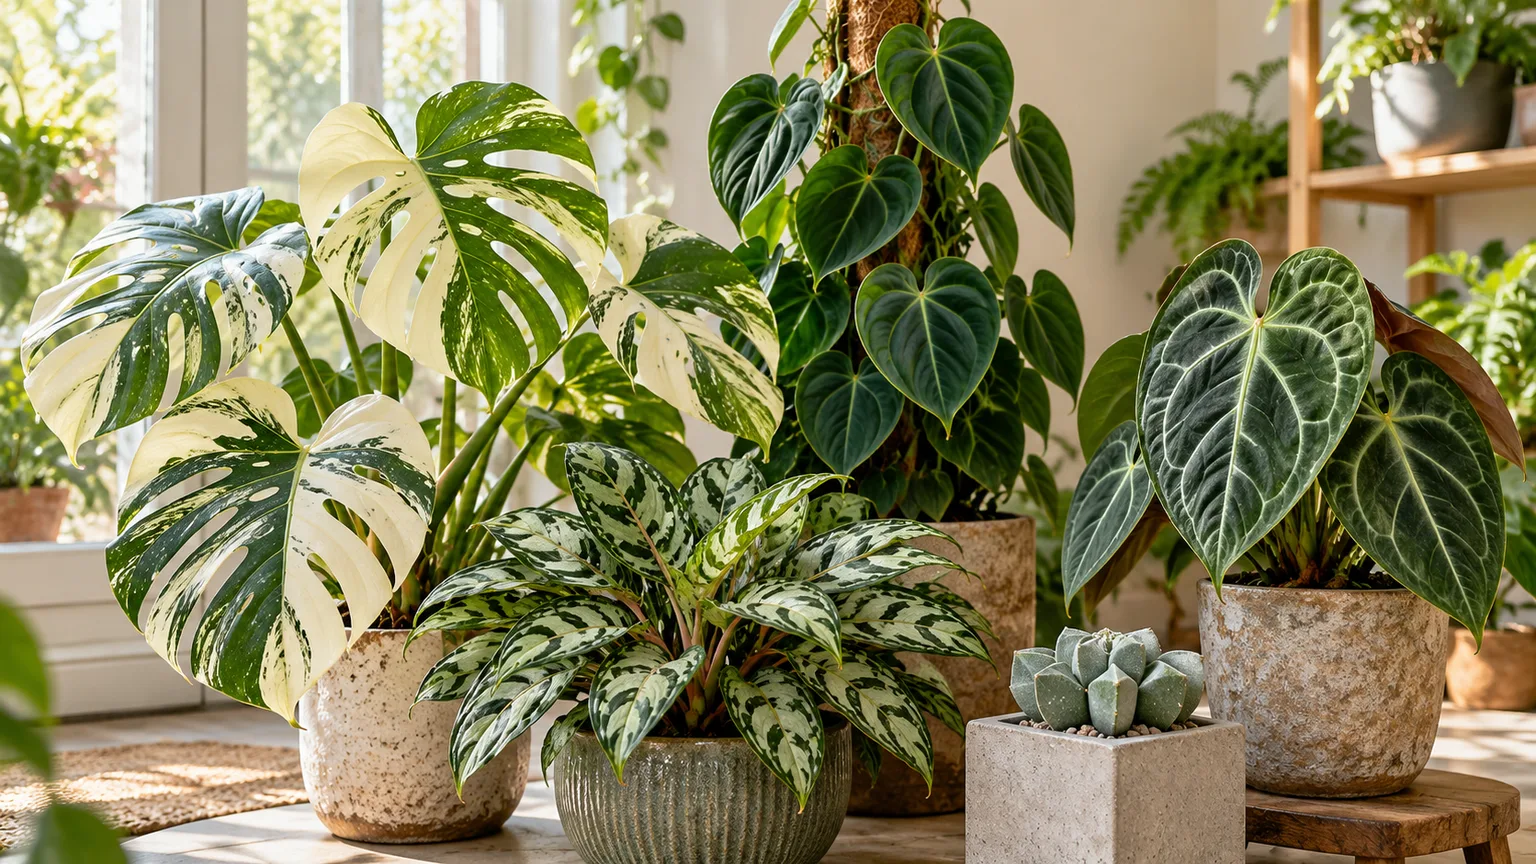
For variegated forms, cuttings preserve only the traits carried by the node you selected. A highly variegated leaf does not guarantee that every future node will produce the same pattern. Take the cutting from a healthy, desirable section and be prepared for slower growth and a closer watch on light and moisture.
Conclusion
To propagate Monstera deliciosa, find a real node on the main stem, make a clean cut below it, and choose the medium that matches your situation. Water gives the clearest view, direct soil avoids a root transition, and air layering lets a valuable stem root before you separate it.
The strongest setup is modest: a healthy parent, one well-chosen node, bright indirect light, warmth, clean water or airy media, and enough patience to let roots form before you intervene. If you keep the node intact and respond to what the cutting is showing you—firm or mushy, damp or stagnant, stable or collapsing—you can turn one Monstera into a new plant without guessing at every step.