Catnip Indoor Care: How to Grow a Healthy Plant
Learn how to grow catnip indoors from seed or a starter, prevent leggy growth and root rot, and harvest fresh or dried leaves without stressing the plant.
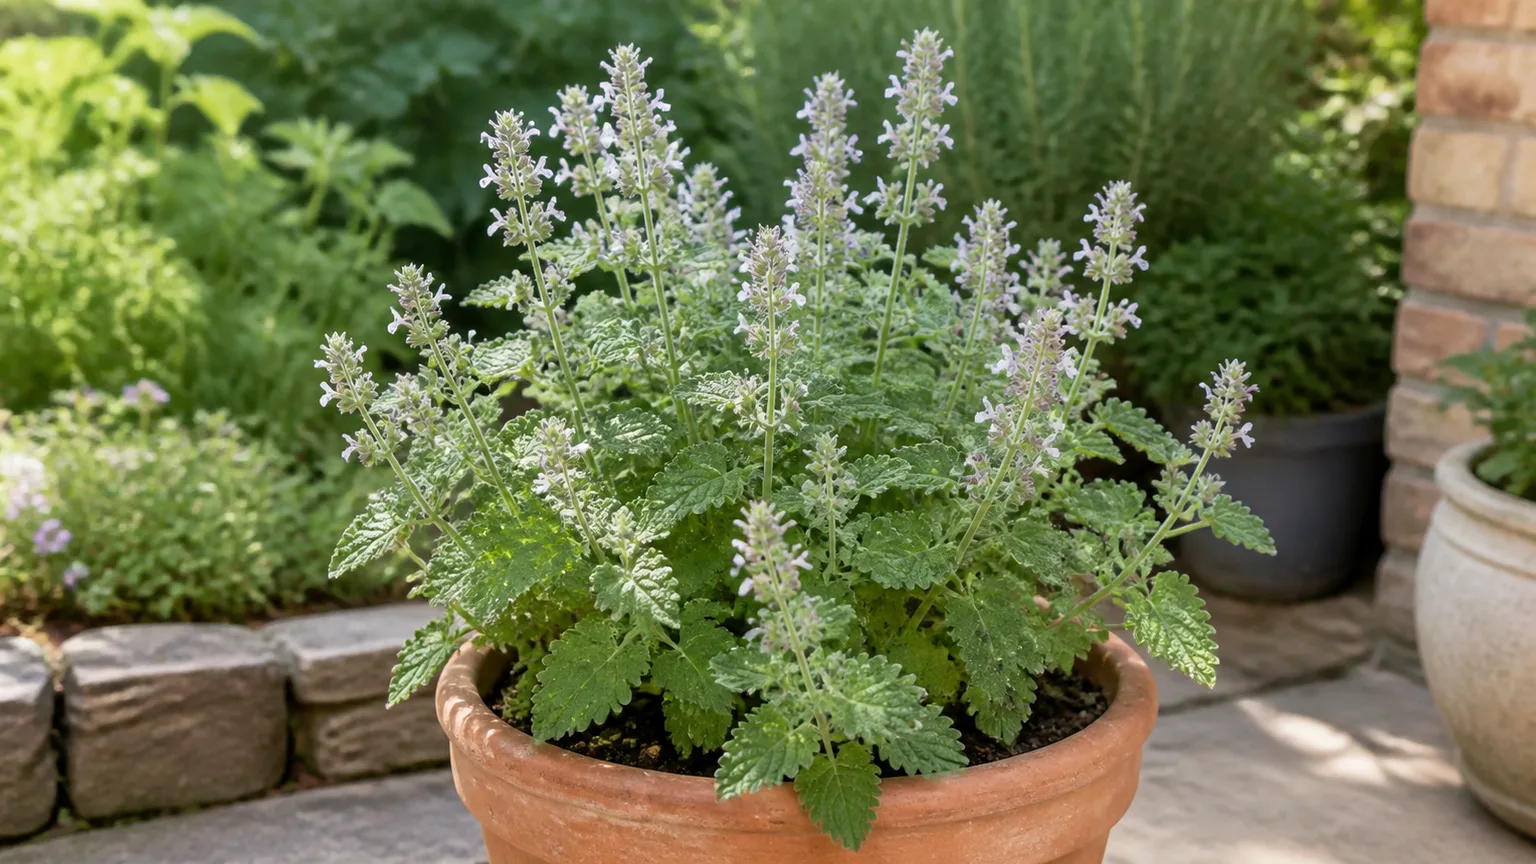
You can grow catnip indoors if you give it a bright window, a pot that drains, and enough room to develop without letting a curious cat flatten it. The plant is forgiving once established, but it is not a low-light houseplant: weak light is the main reason indoor stems stretch, lean, and produce sparse leaves.
Choose Nepeta cataria if you want the herb cats respond to, then water by checking the potting mix rather than following a weekly schedule. With regular pinching and careful harvesting, one plant can provide fresh leaves while remaining compact enough for a windowsill or plant shelf.
Can you grow catnip indoors?
Yes. Catnip is a perennial herb in the mint family and can grow in a container inside, although indoor conditions usually produce a smaller, less bushy plant than a sunny outdoor bed. The University of Wisconsin–Madison Extension describes catnip as a vigorous, somewhat weedy perennial that grows best in full sun and average, well-drained soil; it also notes that it can be grown in containers and may need protection from cats that chew or roll on it (UW–Madison Extension’s catnip profile).
Treat it as a bright-window herb rather than a decorative plant that will thrive anywhere in a room. A healthy indoor plant may stay compact with pruning, but it can still reach upward toward light, flower, and eventually become woody or sparse. If growth declines after a year or two despite good care, replacing it or rooting a fresh cutting may be easier than trying to revive an old, leggy base.
Start with true catnip, not ornamental catmint
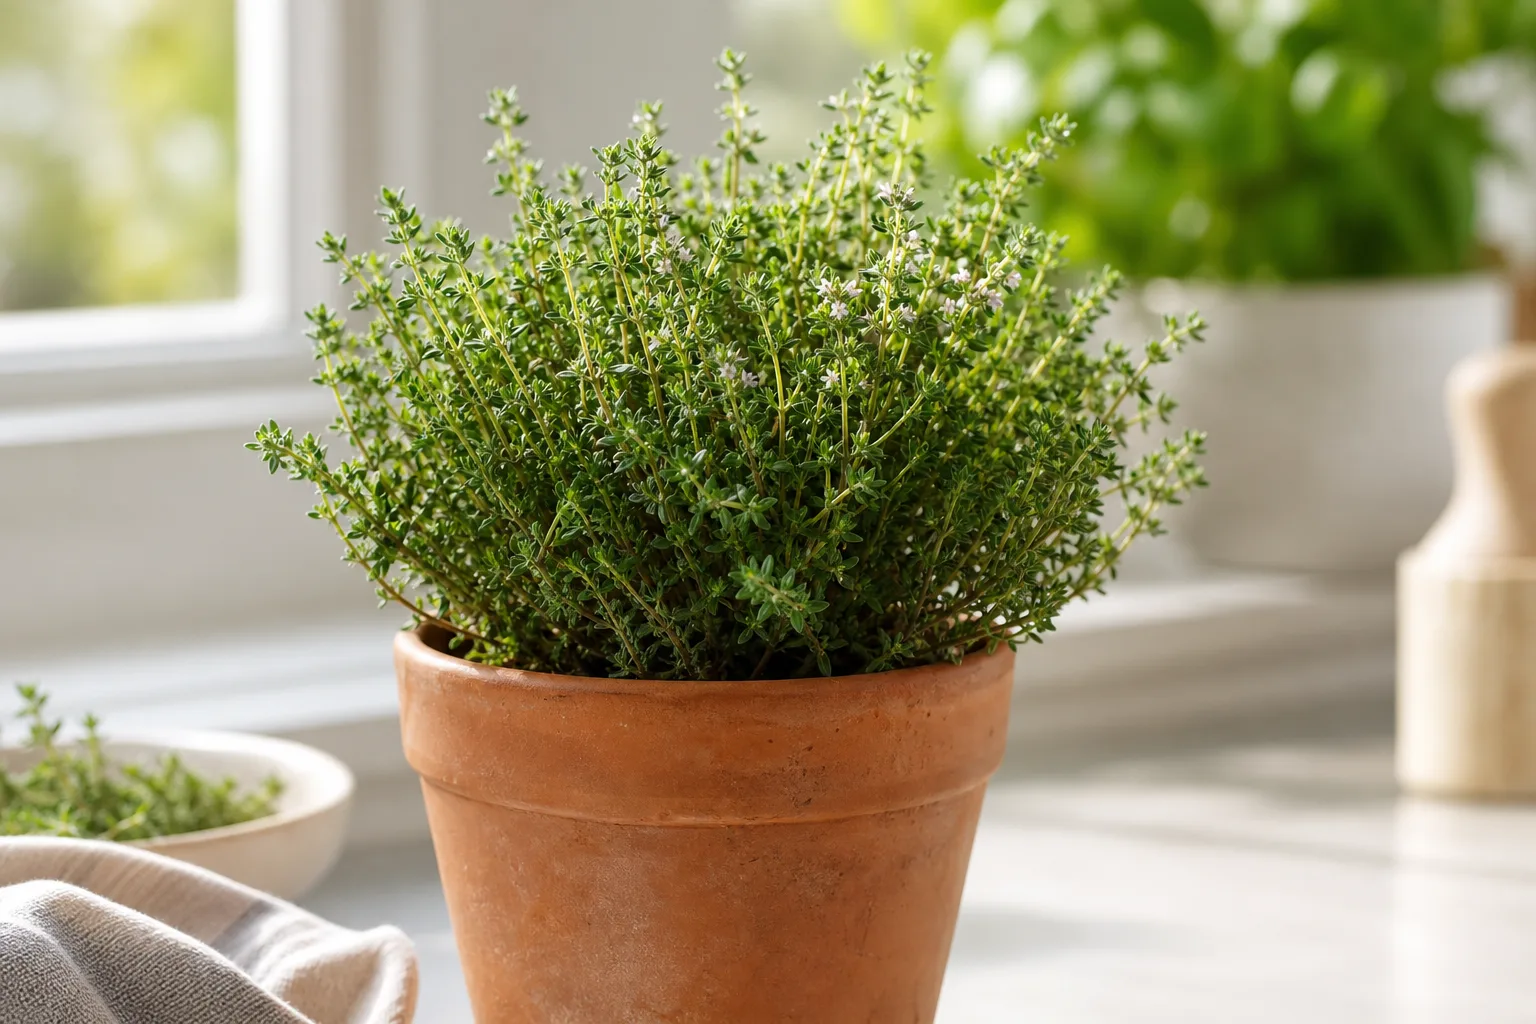
The plant most commonly called catnip is Nepeta cataria. The genus also includes ornamental catmints grown for showy flowers, and a plant labeled only “catmint” may be another Nepeta species rather than the cat-attracting herb. The Royal Horticultural Society’s profile identifies N. cataria by its aromatic gray-green leaves and white flowers with violet markings, and lists full sun as its preferred position (RHS profile of Nepeta cataria).
Check the botanical name on a seed packet or nursery label before buying. If the main reason you want the plant is to offer leaves to a cat, choose N. cataria rather than an ornamental selection sold for flowers; if your goal is a flowering border plant, other catmints may have a tidier habit but are not interchangeable with true catnip for this purpose.
Choose a nursery plant or start from seed
A small nursery plant is the quickest route to fresh leaves. Look for several sturdy stems, evenly green foliage, and no webbing, sticky residue, or clusters of insects under the leaves. A plant with a few roots showing through the drainage holes can still be healthy, but a tight root mass that dries almost immediately after watering may need repotting soon.
Seeds are a better choice when you want several plants or enjoy starting herbs from scratch. Catnip can germinate unevenly, so sow extra seeds instead of expecting every cell to fill. Epic Gardening’s growing guide describes catnip as easy to grow from seed and recommends a bright, warm start; it also notes that established plants tolerate more drying than seedlings (Epic Gardening’s catnip guide).
Sow seeds shallowly and keep them evenly moist
Fill a small tray or pot with damp seed-starting mix, scatter the seeds on the surface, and press them in lightly. Cover them only with a dusting of fine mix or vermiculite; burying small seeds deeply can make emergence harder. Keep the surface evenly moist—not saturated—and warm, then move seedlings into strong light as soon as they emerge so the stems do not stretch while they are small.
Once seedlings have several true leaves and are large enough to handle, pot them individually. Water young plants more consistently than mature catnip: their shallow roots dry faster, and a seedling that repeatedly wilts may stall. Let the new plant establish before pinching it hard or allowing a cat to chew it down.
Pick a stable pot and fast-draining mix
For one plant, start with a pot about 8 inches wide and deep, with at least one unobstructed drainage hole. A very small pot dries quickly and gives the stems little support; a huge container can hold wet mix around a small root ball for too long. If the nursery plant is already root-bound, move up only one pot size and use fresh mix rather than burying the crown deeper.
Use a standard indoor potting mix that drains freely but does not become bone-dry immediately. A small amount of perlite or pumice can improve airflow in a dense mix, but there is no need for a specialized herb formula. Set the pot in a saucer, then empty any runoff after watering. Catnip tolerates some dryness better than constantly wet roots, and a heavy outer pot or stable plant stand can help keep the container upright if a cat rubs against it.
Give the plant the brightest window you have
Place catnip close to the brightest available window, where it receives direct sun for part of the day. A south-facing window is often strongest in the Northern Hemisphere; west-facing glass can also work, while a north-facing window may be too dim for steady compact growth. The exact exposure changes with latitude, season, nearby buildings, and trees, so judge the plant by how it grows rather than by the compass direction alone.
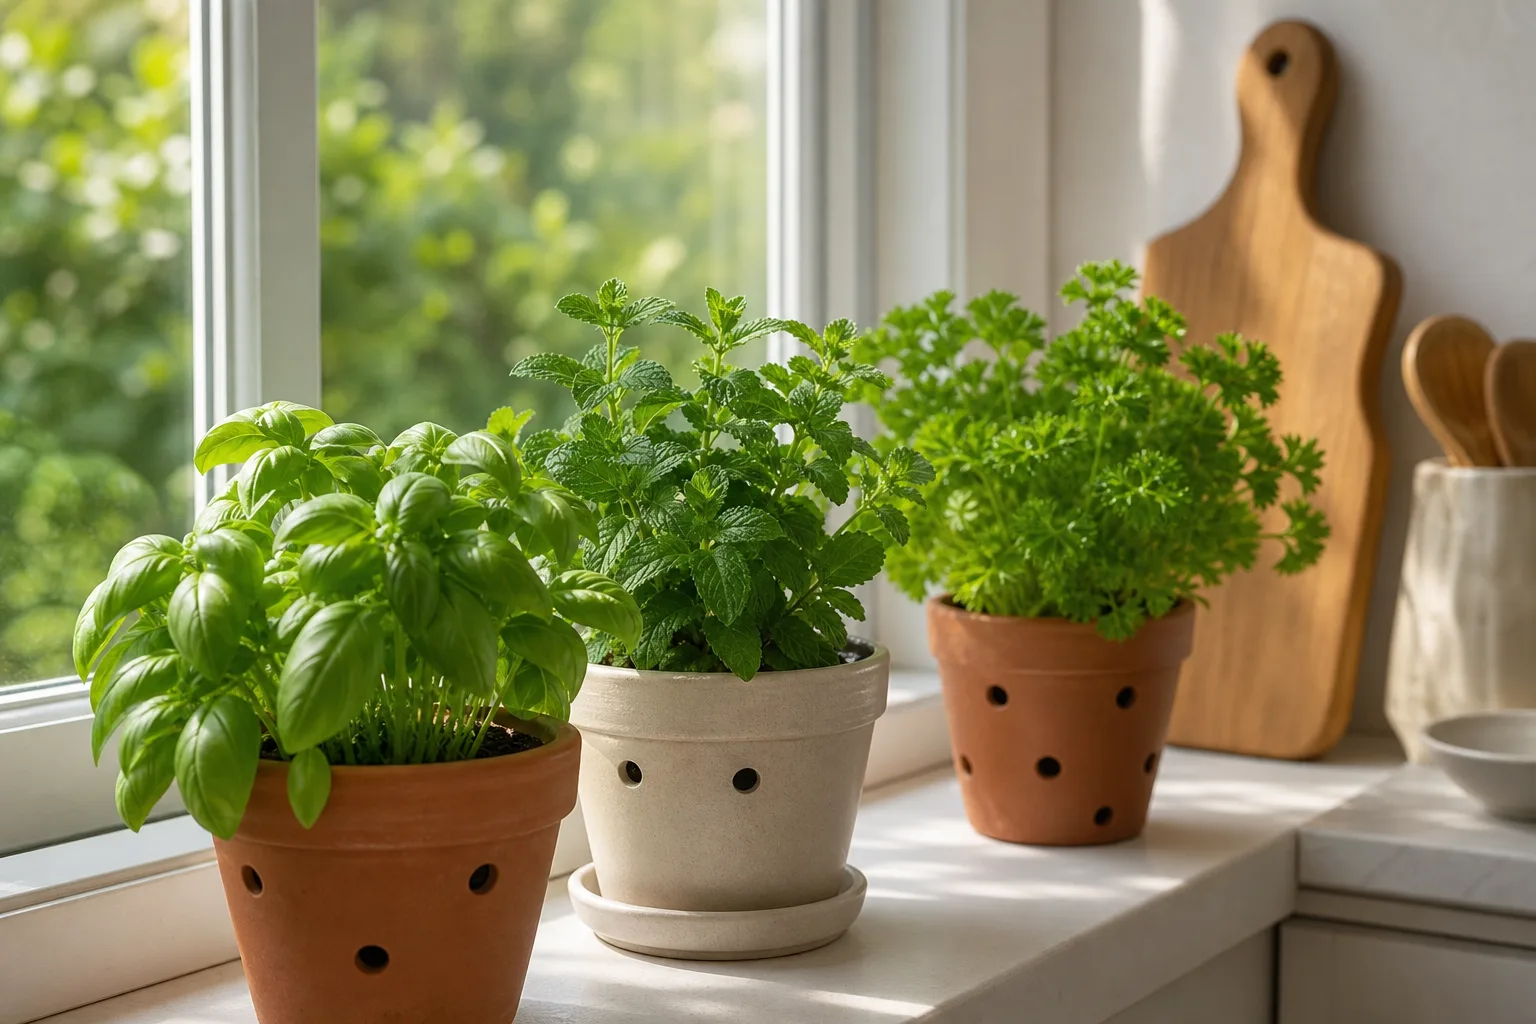
The RHS recommends full sun for N. cataria, and Epic Gardening likewise places indoor plants at a sunny south- or west-facing window. If new stems are long and floppy, leaves are spaced far apart, or the plant leans sharply toward the glass, move it closer to the window and rotate the pot a quarter turn every week or two. Do not suddenly move shade-grown leaves into intense outdoor sun; they can scorch before they acclimate.
If the room has no bright window, use a full-spectrum grow light above the plant. Follow the fixture maker’s distance and daily-use instructions because LEDs vary widely in strength. Put the light on a timer for a consistent day, and adjust only after watching new growth: stretching suggests more light is needed, while bleaching or crisp patches directly beneath a hot or very close lamp suggest the plant needs more distance.
Water when the top layer dries
Do not water catnip by the calendar. Press a finger about an inch into the mix; when that layer feels dry, water slowly until some drains from the bottom, then empty the saucer. In a warm, sunny room a small pot may dry quickly, while a larger pot in winter can stay moist for much longer. Both the container and the season matter more than a fixed “once a week” rule.
Seedlings are the exception: keep their small root zone lightly and evenly moist while they establish, without leaving the tray standing in water. Mature catnip is more tolerant of short dry periods. If it droops and the mix is dry, water thoroughly and check for recovery; if it droops while the mix is wet, do not add more water. Check that the drainage hole is open and that the pot is not sitting in runoff.
Repeatedly wet soil deprives roots of air and can lead to yellow leaves, a sour smell, or soft, dark roots. Allow the upper mix to dry between waterings, but do not let the entire root ball shrink away from the sides of the pot. If water runs straight down the sides without wetting the mix, rehydrate slowly in two passes and consider refreshing compacted soil at the next repotting.
Keep temperatures comfortable and air moving
Ordinary household temperatures suit catnip, so it does not need a humidifier or a greenhouse-like setup. Keep it away from a cold draft, a heating vent, or a hot appliance that can dry one side of the pot while leaving the other cool. Moderate air movement helps leaves dry after watering, but do not place the plant where a fan blows directly on it all day.
Humidity is rarely the limiting factor. Avoid routine misting: wet foliage does not fix a dry root zone, and leaves that stay damp in a crowded corner are more vulnerable to mildew. If the room is comfortable for people and has some air circulation, it is usually comfortable enough for catnip; focus on strong light and drainage first.
Fertilize sparingly
Catnip does not need frequent feeding to produce leaves. Fresh potting mix generally supplies enough nutrients for early growth, and overfeeding can leave excess salts in a small indoor pot or push soft growth that needs more light than the room can provide. Epic Gardening notes that catnip can grow without regular fertilizer, with compost or worm castings as an optional light supplement.
If growth is pale or slow, check the roots, light, and watering before reaching for fertilizer. If those conditions are sound and the plant is actively growing, use a balanced liquid fertilizer at a diluted rate allowed by its label, then pause during winter or when growth slows. “Organic” does not automatically mean harmless to a pet; store products securely and keep a cat away from treated foliage until the label says it is safe to re-enter the area.
Pinch and harvest for a bushier plant
Catnip can become tall and open indoors, so begin shaping it after the plant is established and has several healthy pairs of leaves. Pinch or snip the growing tip just above a pair of leaves. Those leaf joints can produce side shoots, turning one upright stem into a fuller plant. Use clean scissors for thicker stems, and avoid removing most of the foliage at once; the remaining leaves are the plant’s energy source for regrowth.
Harvesting can double as pruning. Take tender tips or a few leaves when the plant has enough growth to spare, cutting just above a leaf pair rather than stripping bare stems. If you want a regular supply, take small amounts often instead of making one severe cut. A weak or newly repotted plant should be allowed to recover before you harvest heavily.
Decide whether to keep or remove flowers
Flowering is normal and does not mean the plant is failing. Pinch flower buds if you want to direct more growth toward leafy tips or keep the plant compact; leave some flowers if you enjoy the bloom or want seeds. Outdoors, catnip flowers can draw pollinators, and the University of Wisconsin–Madison Extension notes that plants can reseed readily if seed heads are left to mature. Indoors, spent flowers can simply be snipped off before they scatter seeds or look untidy.
The advice to remove every bud is too rigid for a home grower. Decide what you want from the plant: leaf production, flowers, or seed. If a flowering stem has become tall and sparse, cut it back to a healthy pair of leaves and let new shoots form; if the whole plant is already compact, there is no need to prune just because a few flowers appeared.
Dry and store extra leaves
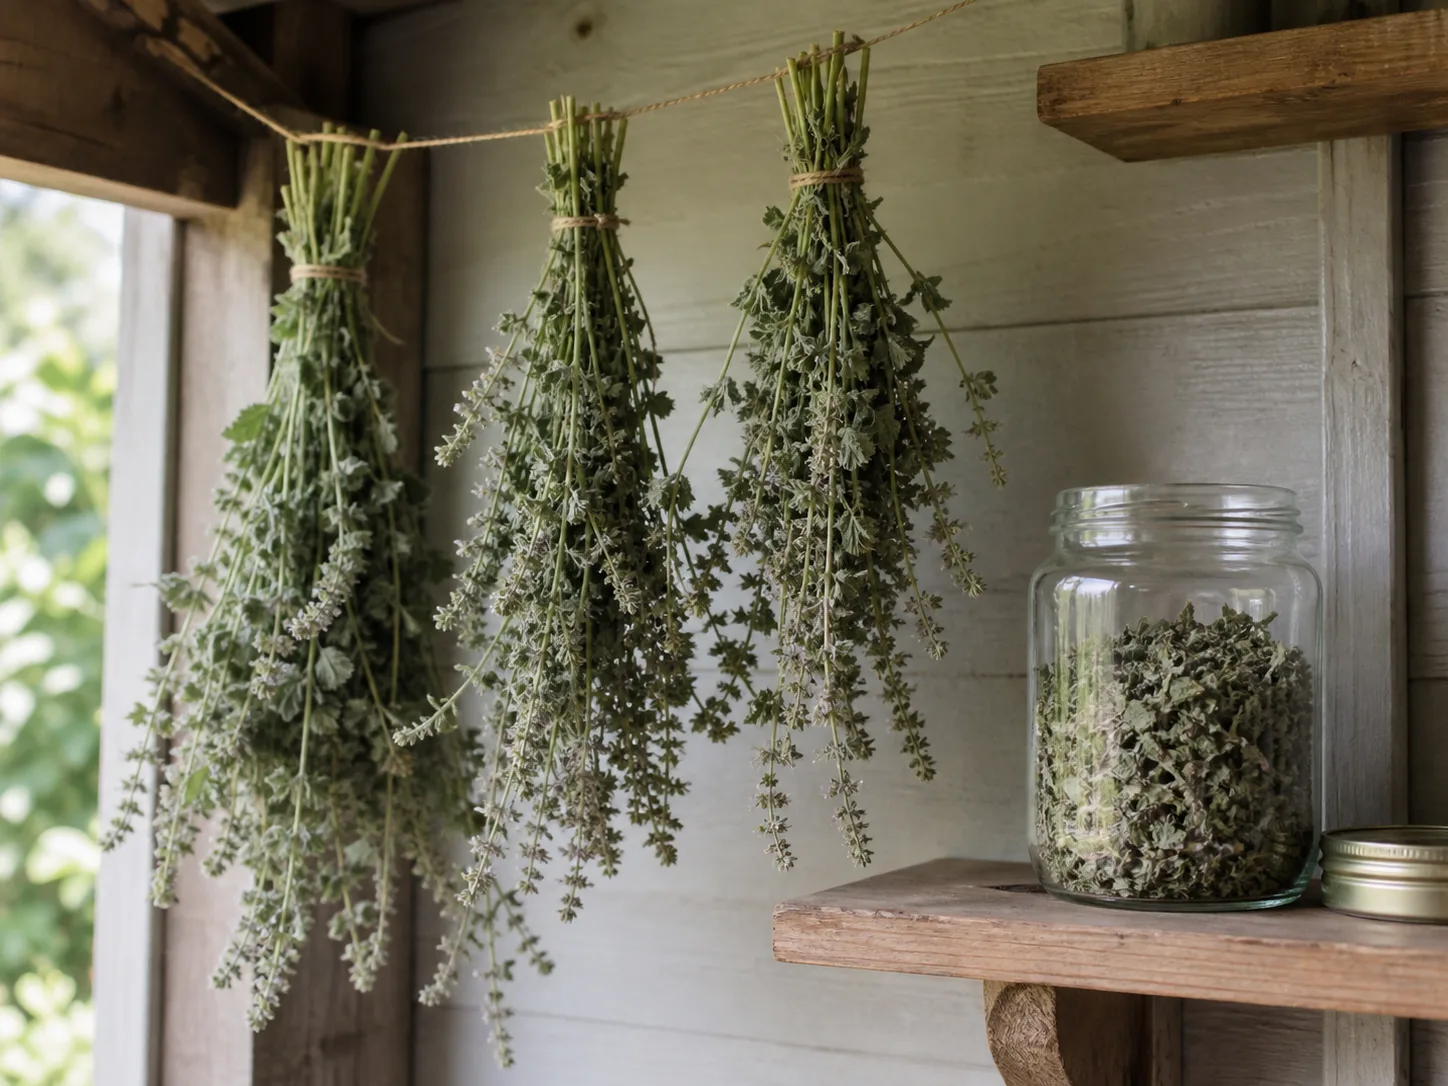
Fresh leaves can be offered in a small amount, while extra stems can be dried for later. Harvest clean, dry foliage and discard anything with pest residue, mildew, or fertilizer spray on it. For drying, tie only a few stems into each bundle and hang them in a dry, shaded place with good airflow; thick bundles trap moisture and can mold before the leaves crisp.
When the leaves crumble easily, strip them from the stems and store them in an airtight container away from heat and light. Label the jar and keep it where a cat cannot tear into it. Dried catnip is less messy to portion than a whole living plant, which can make it a better option if your cat tends to flatten pots or eat every new shoot.
Protect the pot from cat attention
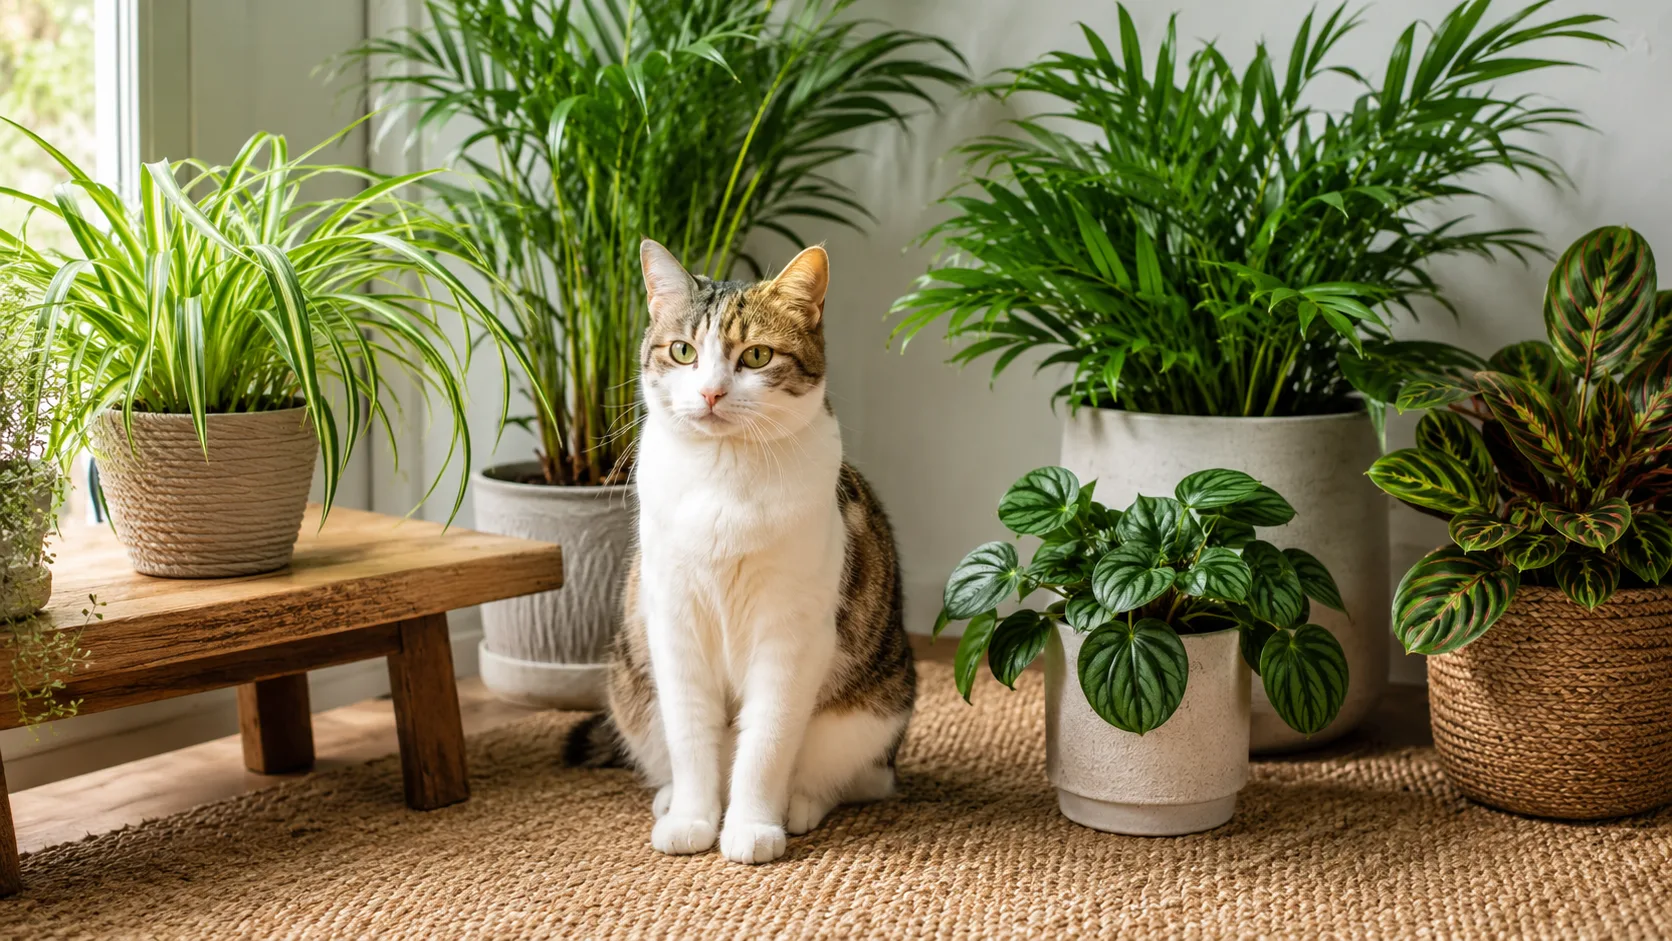
Many cats rub, roll, or chew when they encounter catnip, but individual responses vary. A cat can break young stems or tip a pot long before the plant is large enough to recover; Bob Vila’s catnip growing guide also points out that a fascinated cat can physically damage the plant. Put it on a stable surface that is not beside a launch point such as a shelf or chair, and use a heavier cachepot only if the inner nursery pot can still drain freely.
If your cat has access to the room, treat the plant as a managed snack rather than an unattended buffet. Offer a clipped leaf or stem in a separate spot and observe how the cat responds; the ASPCA’s catnip entry notes that larger amounts can cause vomiting or diarrhea, and that reactions may differ between cats (ASPCA catnip entry). Do not use plant sprays, systemic pesticides, or fertilizer on leaves that a cat may chew unless the product label allows the intended use and the treated area is safe for pet access.
For a cat that repeatedly knocks the plant over, use a securely mounted shelf or a closed room instead of relying on a light hanging pot. The University of Wisconsin–Madison Extension describes caging or a hanging basket as ways to reduce cat damage outdoors; indoors, the equivalent is simply separating the growing plant from playtime and bringing out a few leaves when you want to offer them.
Move catnip outside in summer only if it helps
Catnip can spend warm months outdoors, where brighter light may produce sturdier growth. Wait until frost has passed and temperatures are mild, then set the pot in a sheltered spot for a few hours at first. Over about a week, increase its time outside and exposure to direct sun; an abrupt move from a dim room to a hot, exposed patio can scorch leaves and stress roots.
An outdoor stay is optional, not a requirement. If your indoor window and grow light provide adequate brightness, the plant can remain inside. If you do move it out, keep the pot contained because catnip can self-seed, and protect it from outdoor cats that may flatten it. Before bringing it back inside in fall, inspect both sides of the leaves and the soil surface for pests, remove dead growth, and rinse or isolate the plant if you find insects.
Troubleshoot leggy stems, yellow leaves, and pests
When catnip looks unhappy, check light and soil moisture before changing several things at once. Long gaps between leaves and leaning stems usually point to insufficient light; move the plant closer to a brighter window or add a grow light, then pinch only after new growth begins to compact. Yellowing can follow either too much or too little water, so test the mix rather than assuming the cause from leaf color alone.
| What you see | Check first | Practical next step |
|---|---|---|
| Long, floppy stems | Distance from window; direction of lean | Increase light gradually and rotate the pot; then pinch new tips |
| Yellow lower leaves with wet mix | Drainage hole, saucer, and root condition | Let the mix dry more between waterings; repot if roots are soft or dark |
| Wilting with dry, shrunken mix | Moisture inside the root ball | Water slowly until the mix is evenly damp and drains freely |
| Fine webbing, sticky leaves, or tiny insects | Leaf undersides and stem joints | Isolate the pot, rinse pests off, and use only a labeled treatment if needed |
| White powdery patches | Crowding, damp foliage, stagnant air | Remove affected leaves, improve spacing and airflow, and avoid misting |
Indoor catnip can attract aphids, spider mites, or whiteflies, particularly after a summer outdoors. Isolate an infested plant from other herbs, rinse the foliage with water, and repeat inspections over the next several days. If you need a treatment, choose one labeled for the plant and use it exactly as directed; do not assume a home remedy or an “organic” product is safe for cats or for leaves they may eat.
Propagate a healthy plant from cuttings
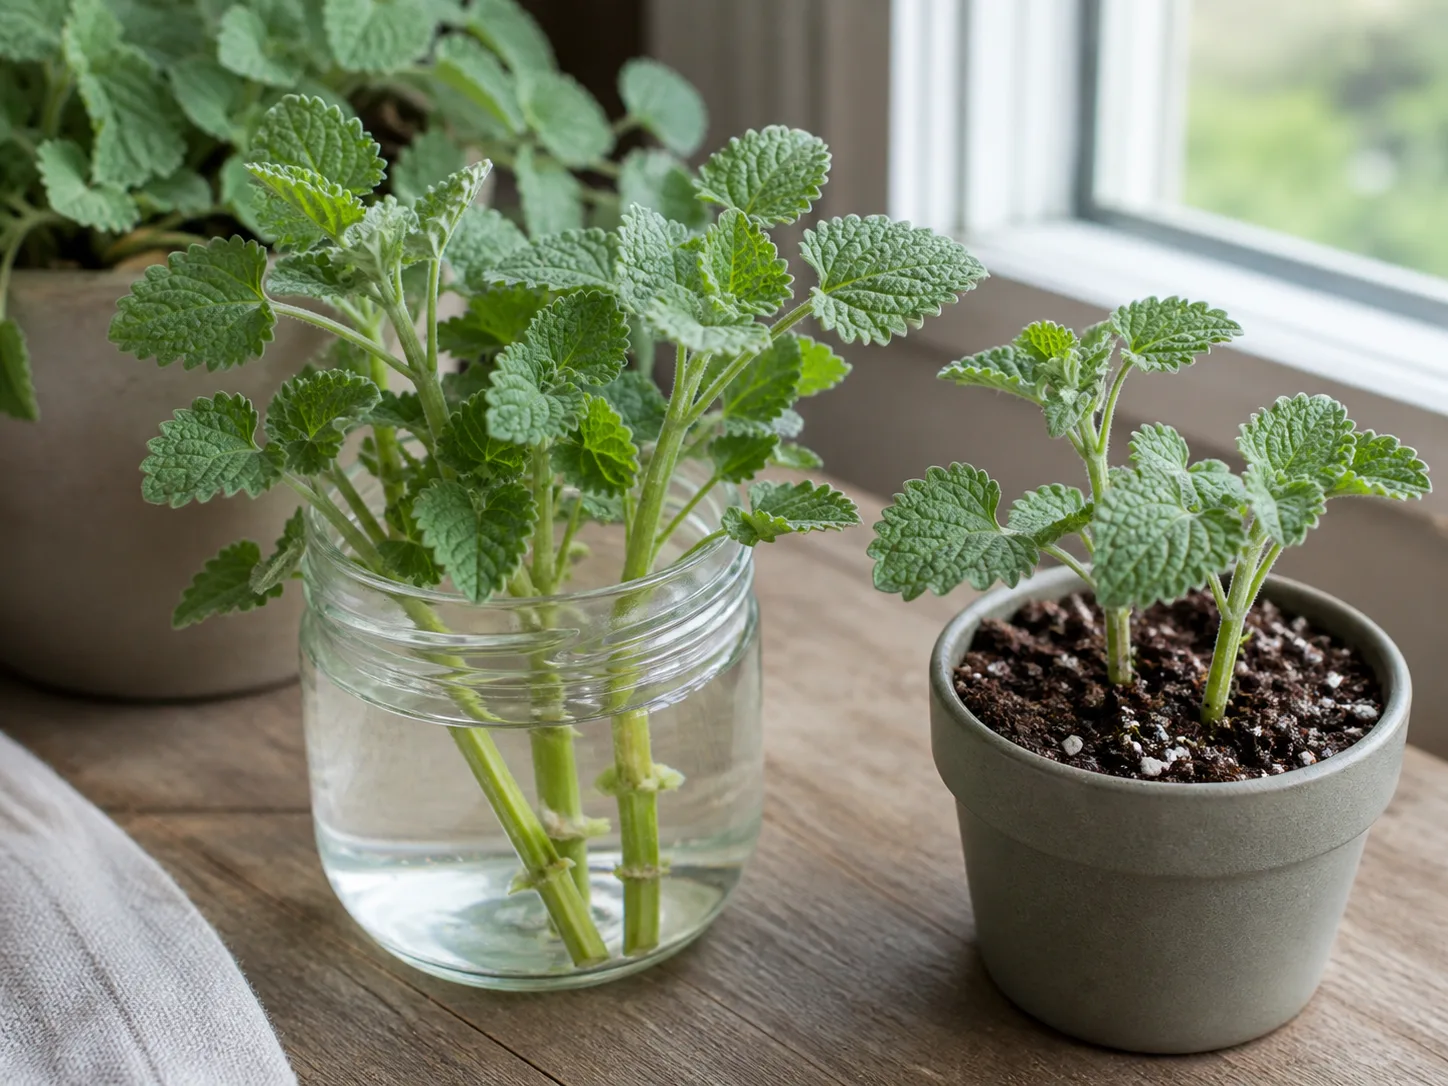
Stem cuttings are a simple way to replace an aging plant or keep a second pot as backup. Choose a healthy, non-flowering tip about 4 to 6 inches long and cut just below a leaf joint. Remove leaves from the lower portion so they will not sit in water or mix, then place the stem in a glass of water or in moist, airy propagation mix.
Keep the cutting in bright, indirect light while roots form, and change the water if it becomes cloudy. If you use mix, keep it damp but not soggy. Once the cutting resists a gentle tug or shows several roots, pot it into a small container with drainage and move it gradually into stronger light. Avoid leaving it in a tiny propagation glass indefinitely; roots need a potting mix and room to branch for a durable plant.
Conclusion
Indoor catnip is easiest to manage when you solve the light and cat-access questions first. Start with true Nepeta cataria, use a stable pot with drainage, and wait for the top of the mix to dry before watering again. A bright window, occasional pinching, and small harvests will keep the plant more compact than a shaded shelf and a hard monthly pruning.
If the stems stretch, add light before adding fertilizer; if leaves yellow, check the soil before watering; and if a cat can reach the pot, offer clipped leaves rather than risking the whole plant. With those simple checks, you can grow fresh catnip indoors without treating it like a tropical houseplant or committing to a rigid care calendar.