How to Remove Rose Bushes Safely and Effectively
Learn how to remove a rose bush, from protecting yourself and cutting thorny canes to digging the crown, disposing of debris, and checking for regrowth.
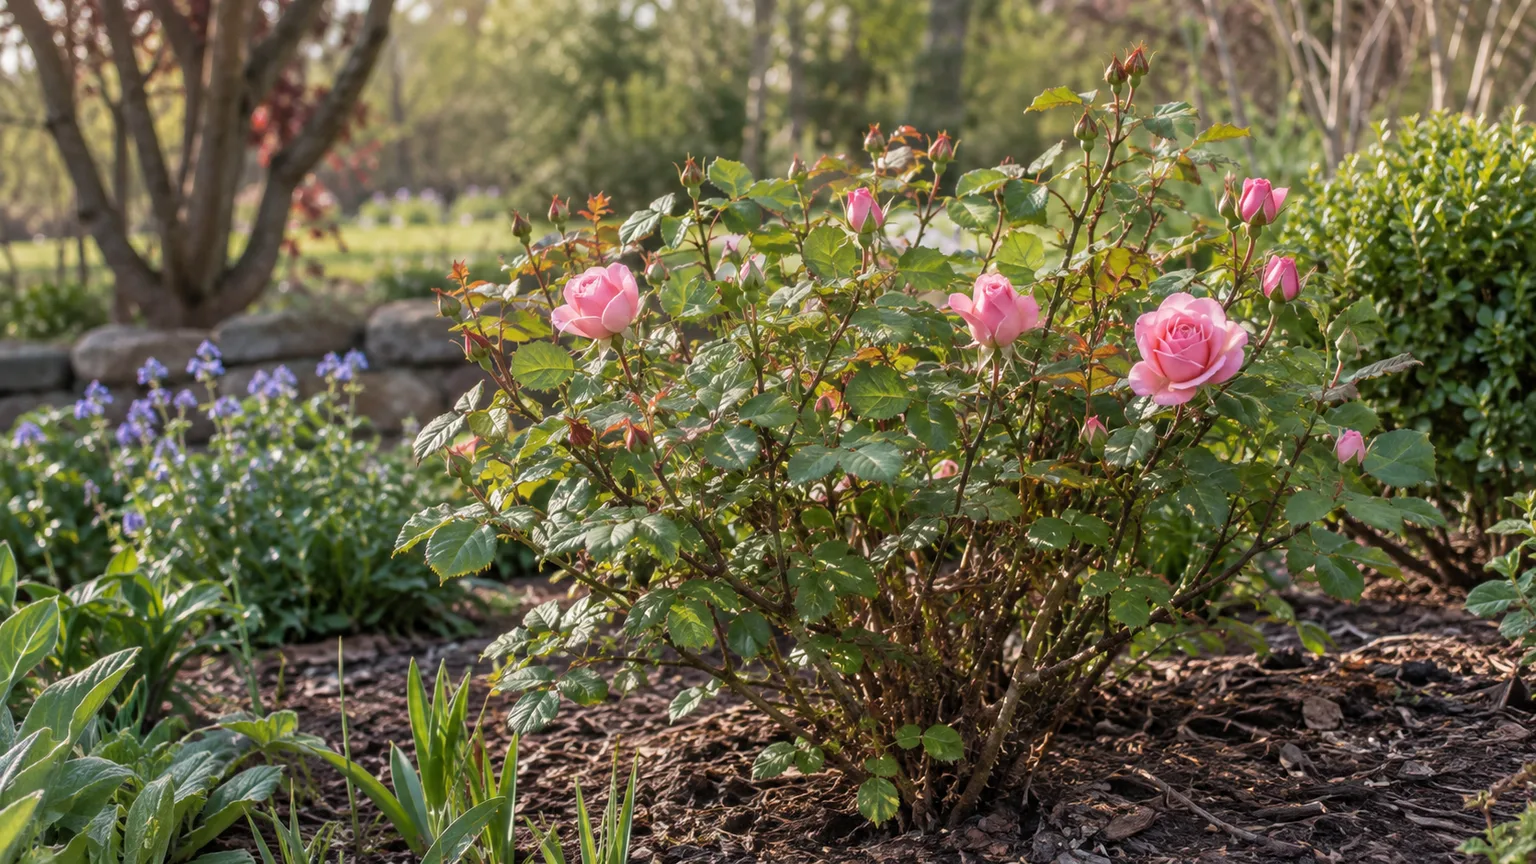
To remove a rose bush, cut its thorny canes into short, controlled sections, expose and lift the crown, then dig out the large roots that can send up new shoots. The job is easier when you identify the rose first, wear thorn-resistant protection, and check for buried utilities before putting a shovel into the ground. You do not need to excavate every hairlike feeder root, but leaving the crown or substantial live roots can mean another round of removal.
Decide Whether to Remove, Prune, or Relocate the Rose
Start by naming the job. A rose that is healthy but too large may need pruning or a move; a plant with dead canes may only need renovation; a diseased, badly damaged, or unwanted bush may justify complete removal. Cutting a rose nearly to the soil line is not the same as removing it: the crown and roots remain alive and can push out fresh canes.
If you are unsure whether the rose is worth keeping, pause before cutting. Check an old plant tag, garden plan, purchase receipt, or a neighbor’s memory; a named cultivar can be valuable, and a healthy established shrub may be easier to give away than replace. If the plant is growing into a path, against a foundation, or through a fence, those constraints can make removal the sensible choice even when the rose itself is healthy.
For a rose that is unwanted because it has “turned into” a different rose, look at the graft union before deciding. A vigorous shoot below the graft may be rootstock growth rather than the variety you bought. K-State Research and Extension explains that shoots emerging from below the graft union belong to the rootstock; if the named rose has died and only the rootstock remains, removing the plant is often more practical than repeatedly cutting it back. (K-State Research and Extension)
Choose a Work Day and Season That Make Digging Easier
For a rose you plan to discard, the calendar is flexible. A dormant plant in late fall or winter is often easier to see and handle because it has fewer leaves and flowers, but you do not have to wait for dormancy if the rose is unsafe, diseased, or in the way. The more important conditions are soil that is workable, weather that lets you take your time, and enough daylight to see the crown and tool edges.
Avoid digging when the ground is frozen, bone-dry and hard, or waterlogged. Frozen soil can make a spade glance off; powder-dry soil resists clean excavation; saturated soil collapses around the hole and makes a heavy rootball slippery. If the soil is dry but not frozen, watering the area the day before can help the shovel enter more easily. Do not soak a clay bed into mud.
Pick a calm day rather than working in a rush before guests arrive or darkness falls. Wind can whip long cut canes into your face, while heat and fatigue make it more likely that you will grab a thorny stem carelessly or force a tool. If the rose is tangled into a neighboring plant, mark the boundary and identify what you want to save before making the first cut.
Identify the Rose and Its Likely Root Behavior
The word “rosebush” covers compact hybrid teas, broad shrub roses, climbers trained across supports, ramblers, and wild or species roses. Their crowns, canes, and root systems do not all behave identically, so the removal plan should follow the plant in front of you rather than a fixed claim about how deep every rose root grows. Soil texture, age, rootstock, and nearby obstacles all change how far you may need to dig.
Look for a swollen graft union near the base, often a knobby junction where the named rose joins its rootstock. Also note whether canes appear to emerge from one central crown or from roots some distance away. A rose that has sent up shoots beyond its original crown may require a wider search than a compact bush with a single rootball.
Grafted and Own-Root Roses Behave Differently
Many modern roses are grafted, while others grow on their own roots. On a grafted plant, the above-ground variety is joined to a separate rootstock; a shoot that begins below the graft may have different foliage, vigor, or flowers. UConn’s Home & Garden Education Center describes how rootstock shoots can become conspicuous when their leaves or flowers differ from the purchased variety. (UConn Home & Garden Education Center)
For a practical visual check, Epic Gardening’s rose-sucker guide also recommends tracing a suspect cane to where it emerges instead of judging it by color alone.
When removing the entire bush, this distinction changes what counts as “the plant.” If the rootstock is still attached, the crown and rootstock need to come out together. If an own-root rose has spread, shoots that emerge from its roots may still be the same rose; remove the whole unwanted patch or keep the portion you want and sever the connecting growth carefully.
Climbers, Ramblers, and Wild Roses Need More Planning
A climber may be tied to a trellis, arbor, wire, or fence, and its long canes can be woven through other plants or hardware. Before cutting, locate ties and attachment points, and check whether the structure is supporting the canes. A rambling or wild rose can spread beyond the visible center, so watch for canes emerging from the ground at a distance and do not assume the first crown you uncover is the only live growth.
If the rose is tangled through a fence or overhead support, freeing it may be more work than digging it. Cut and remove one section at a time, keep the loose canes away from your face and legs, and stop if the structure is unstable or the plant is too high to reach safely.
Protect Yourself and Locate Buried Utilities
Wear sturdy thorn-resistant gauntlet gloves that cover your forearms, long sleeves, long pants, and closed-toe footwear with a firm sole. Add eye protection when cutting, especially if branches are springy or overhead. Thick gloves reduce scratches, but they are not armor: avoid sliding a hand along a cane, reaching blindly into the crown, or using your fingers to clear soil around a hidden thorn.
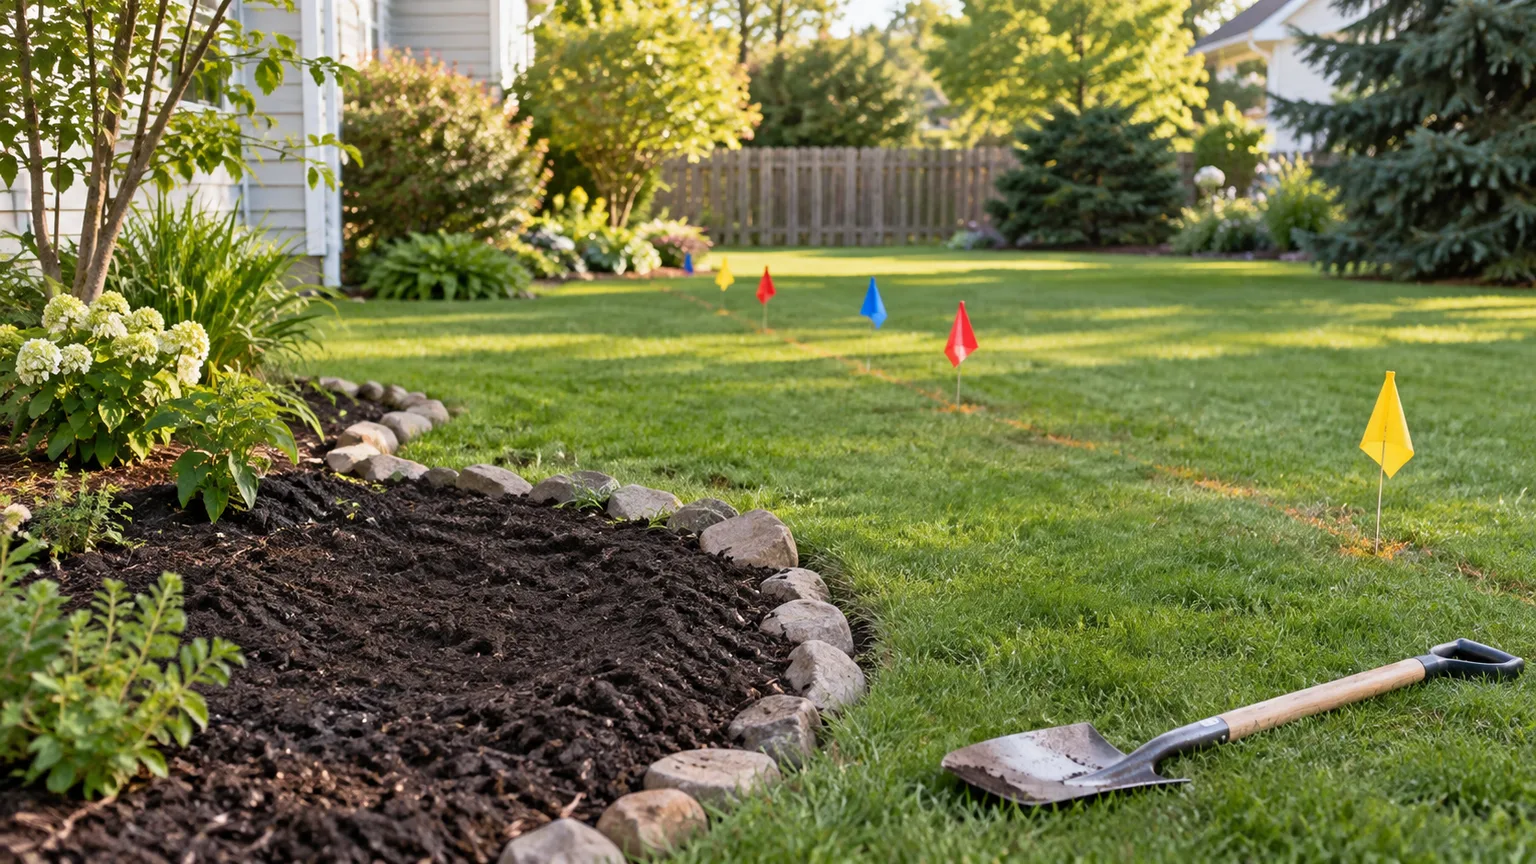
Before digging, contact your local utility-locating service. In the United States, Call811 says to contact 811 before putting a shovel in the ground, including for a small planting or shrub project; utility lines may be close to the surface, and the required notice period varies by location. Ask for the work area to be marked and follow the local instructions around any marked line. (Call811: Before You Dig)
Do not assume a previous marking is current or that a rose’s small footprint makes a strike impossible. If a marked line runs through the root zone, hand work may still be restricted or risky; follow the locator’s guidance and call a qualified professional if you cannot safely reach the crown. A garden plan or a guess based on where a meter sits is not a substitute for a current utility locate.
Gather Tools That Match the Bush
For a small shrub, start with clean bypass pruners, long-handled loppers, a sharp spade, and a tarp or sturdy garden tub. Add a pruning saw for older canes too thick for your loppers. A digging fork can loosen soil around a rootball, but it should not replace the utility locate or be driven blindly into a marked area.
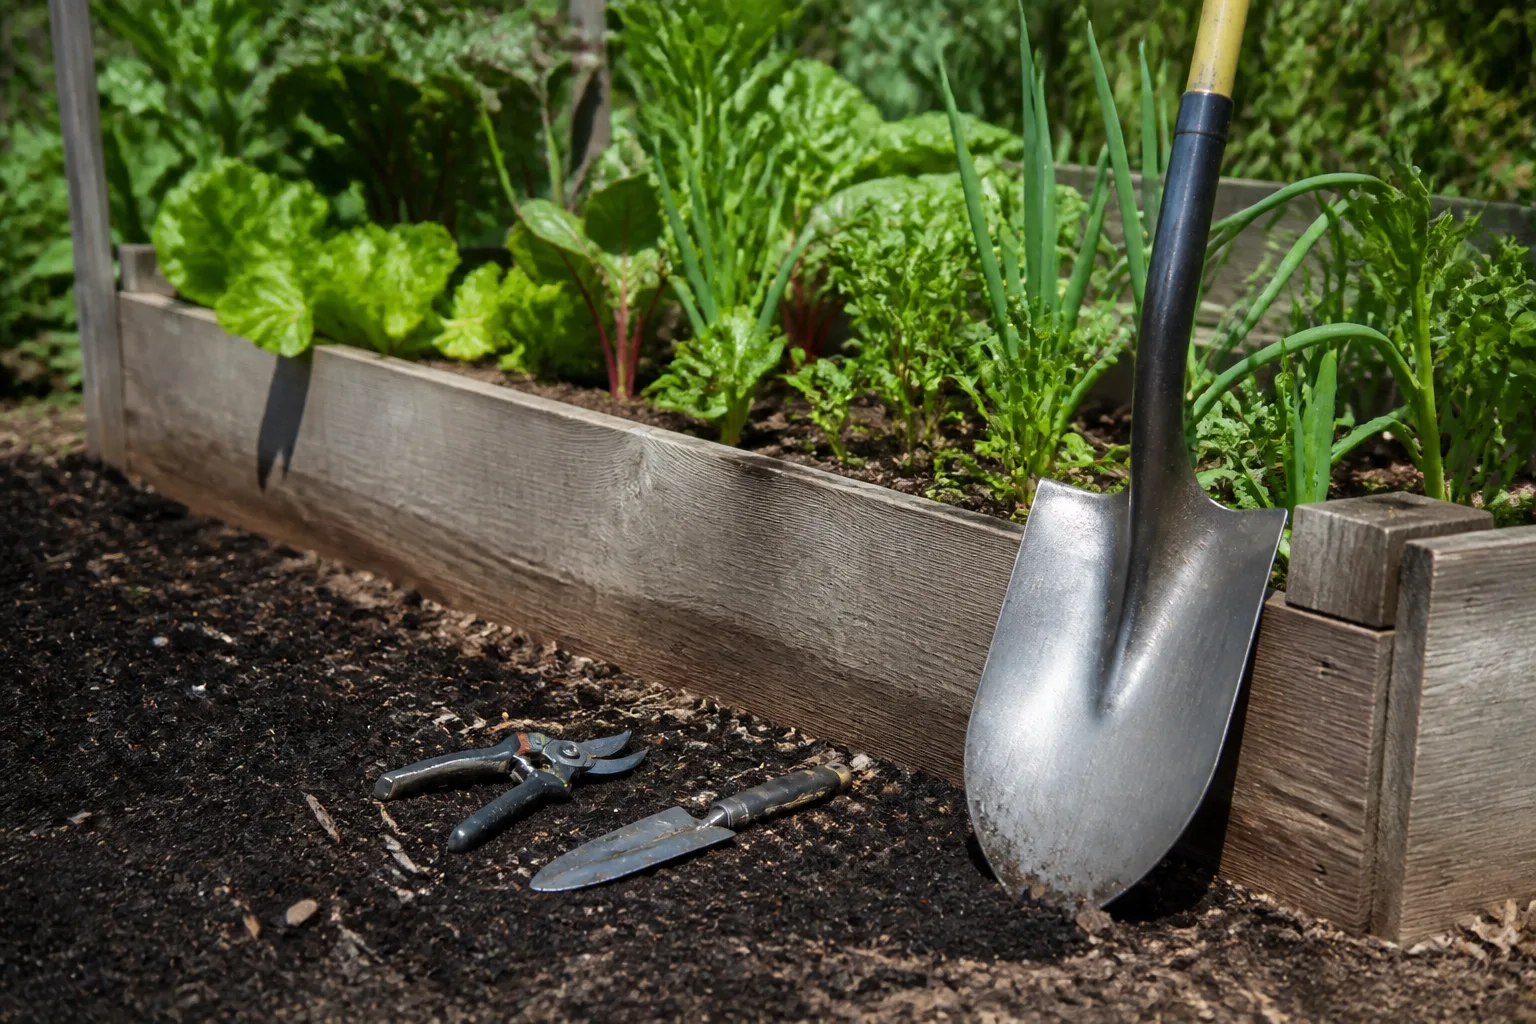
For a large rose, use tools rated for the cane thickness and keep a clear route for carrying debris. Long loppers provide reach, while a pruning saw handles woody canes with less force than repeatedly crushing them in undersized pruners. If the rootball is heavy, plan a second person, a tarp, or a garden cart before you start lifting.
Check the lopper lock, saw teeth, handles, and spade blade before work. Dull blades make cuts ragged and require more force; a loose handle or damaged saw can slip. Keep tools on the tarp or a stable surface, not hidden in grass where you could step on them, and clean soil from blades before putting them away.
Prepare the Bed and Set Up a Thorn-Safe Work Area
Clear toys, hoses, pots, and loose tools from the immediate area. Move children and pets away until the cut canes and tools are contained. If you are working beside a walkway, make sure people can pass without brushing against the plant or stepping over sharp debris.
Set a tarp close enough that you can place each cut section down without carrying it through the garden. Have a lidded bin, yard-waste bag, or disposal container ready before you cut; the goal is to avoid a thorn pile that later needs to be moved by hand. If stems are long, choose a cutting length that fits your local yard-waste rules or container without forcing canes down.
Rake mulch away from the crown so you can see where canes meet the soil. Avoid pulling hard on a cane that disappears underground; it may be connected to the crown or may run through another plant. On a climbing rose, loosen or remove ties as you work rather than cutting every cane first and letting the unsupported mass fall.
Cut the Canes Down in Manageable Sections
Start at the outer edge and remove the longest, easiest-to-control canes first. Cut each one into short sections that stay on the tarp, and work progressively toward the center. This staged approach reduces the chance that a heavy branch will whip, snag nearby plants, or land across your arms.
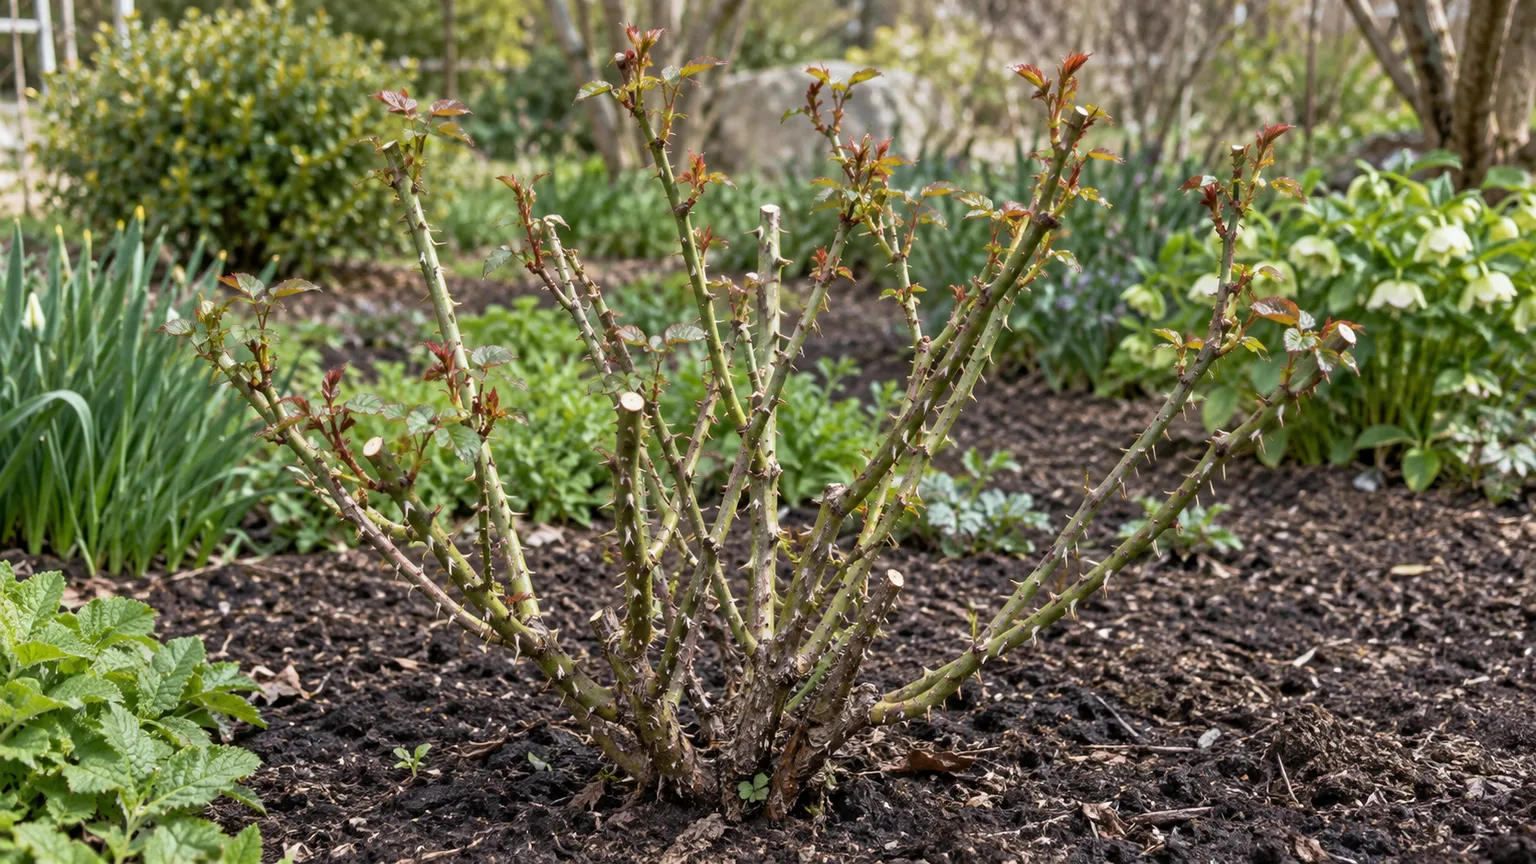
Use pruners for small green canes, loppers for thicker woody stems within their rated capacity, and a pruning saw for canes that resist the loppers. Keep your non-cutting hand behind the blade path, brace only the portion you need to control, and watch where the tip will move when the cane separates. Do not put your face over a branch that is under tension.
Leave short stubs temporarily if they help you grip or locate the crown, then shorten them once you have access. Cutting every stem flush to the soil at the outset can hide the crown and make it harder to distinguish the rose from neighboring growth. For a plant threaded through a fence, sever ties and cut small sections free instead of yanking a long cane through the structure.
If a cane is too thick for your tools, the saw binds, or the rose is above shoulder height, stop and change the plan. Do not climb a ladder while holding a saw and wrestling thorny branches. A tree-service or landscape professional is a better choice when the plant is large enough to create a falling-branch hazard.
Dig Around the Crown Without Chopping Blindly
Once the top growth is reduced, expose the crown. Use a hand trowel or gloved fingers only where you can see what you are touching; otherwise, loosen the mulch with the back of a tool and remove soil in small amounts. The crown is the thick base where the canes join, not every thin root branching away from it.
Begin a trench outside the crown, widening it if you meet major roots before the rootball loosens. For a compact rose, this may be a modest ring; for a broad shrub or spreading rose, start farther out. The exact distance is a working choice, not a universal root measurement: the goal is room to reach beneath the crown without severing every fine root in the bed.
Drive the spade down around the perimeter with the blade angled slightly away from the crown. Work around several sides, then test whether the rootball rocks. If the shovel hits a thick root, do not repeatedly chop in the same spot; expose enough of the root to see its direction, then decide whether it belongs to the rose or crosses into a plant you want to preserve.
Avoid using the spade as a long lever while standing on its edge. A blade can slip, a handle can break, and sudden movement can injure your back or bring your hand into a thorn. Instead, loosen soil in small arcs around the plant and alternate sides so the crown releases gradually.
Loosen the Rootball and Lift the Main Crown
When the trench is open, work the spade or fork underneath the rootball from more than one direction. Use controlled pressure to lift the base a little, then shift position and repeat. The aim is to expose the anchor roots that still hold the plant, not to jerk the bush free in one pull.
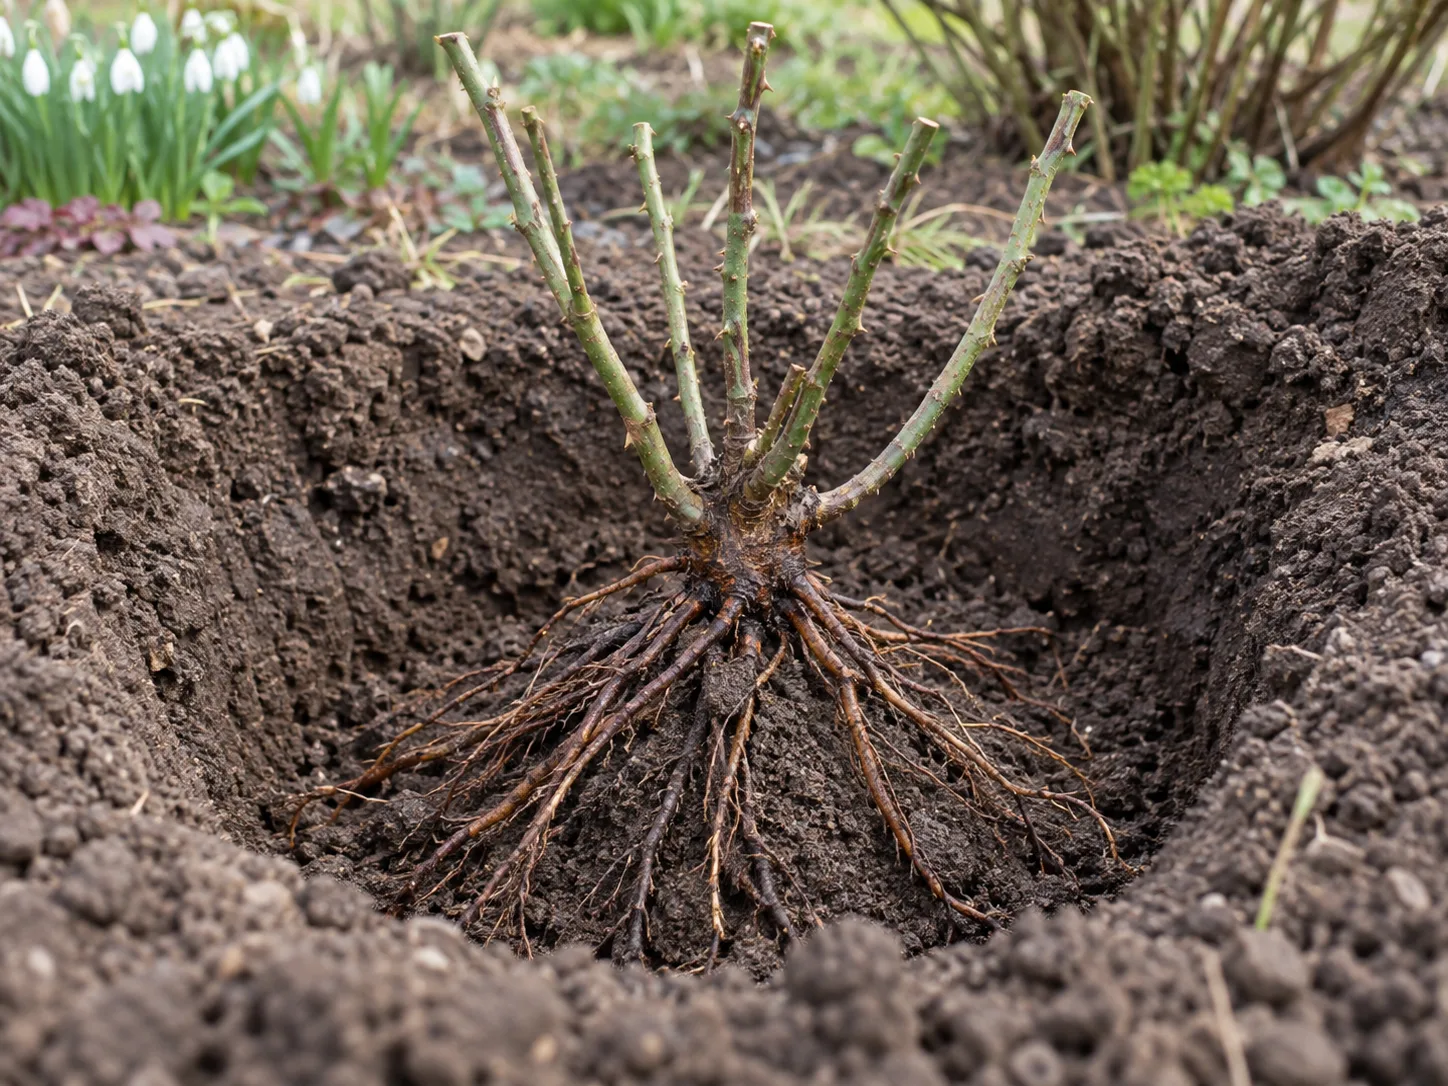
If the rose rocks but will not lift, look for the root that is acting as a hinge. Clear soil from around it and cut it with a lopper or pruning saw sized for the root. Keep the cutting hand and your legs out of the line where the tool could slip. Do not swing a hatchet toward the ground near your feet or use one where buried utilities have not been cleared.
Before lifting, make sure no long cane remains caught under the plant or in a neighboring shrub. Tip the rootball onto a tarp if possible, keeping thorns directed away from your body. A heavy, waterlogged, or unusually large crown can be awkward even when the rose is short; use a second person or mechanical help rather than twisting while lifting.
Gardeners’ World describes digging a trench around a shrub and cutting the deeper anchoring roots beneath the rootball when moving it. For removal, the same controlled sequence helps release a bush without turning the shovel into a lever, although a discarded rose does not need to retain a transplant-quality rootball. (BBC Gardeners’ World Magazine)
Remove Major Roots and Inspect the Hole
Shake or brush loose soil from the rootball over the hole so you can see what remains. Remove the crown and the thicker live roots that are attached to it or continue beyond it. You do not need to chase every fine feeder root through the entire bed; that would disturb far more soil and neighboring plants than most home removals justify.
If a root extends under a path, wall, or established plant, expose only enough to identify it. Cut at a visible, accessible point rather than pulling hard and tearing up the adjacent area. If it appears to enter a utility corridor, stop and follow the locator’s instructions instead of probing further.
Inspect the hole and surrounding soil for a missed crown piece, woody root section, or a cane emerging from a lateral root. Roses vary: a young compact plant may lift with a tight rootball, while an older or own-root rose may have roots extending beyond the visible canopy. K-State and UConn guidance on rose rootstock shoots is a reminder that growth can originate below ground or below the graft, so a tidy-looking stump is not proof that every living source is gone.
Fill the hole temporarily with the excavated soil if you are not ready to replant. Keep the spoil pile separate from sharp debris, and do not leave an open hole where someone could step into it. If you uncover an unexpected cable, pipe, or line, stop digging and contact the utility or a professional; do not cover or handle it yourself.
Contain and Dispose of Rose Canes and Roots
Rose canes can puncture thin bags and snag clothing long after the bush is out of the ground. Carry them by the thicker cut end with thorns pointing away, or use a rake or fork to move sections onto the tarp. Bundle only as much as you can lift securely; an oversized bundle is hard to control and can spring open.
Follow your municipality’s yard-waste rules for thorny prunings, roots, and diseased material. Some programs accept woody garden debris only when it is cut to a stated length or placed in a particular container; others require bagging or exclude diseased plants. If home composting, do not assume a cool backyard pile will kill pathogens or every viable root fragment. Keep rose debris out of regular compost if you cannot break it down completely and reliably.
Do not burn rose canes as a disposal shortcut. Burning may be prohibited locally, and thorny branches can pop or shift unpredictably as they burn. If the rose has hips or you are removing a spreading species rose, contain fruit and seeds as well as roots, and ask a local extension service or waste program how to handle a species considered invasive in your area.
Clean soil from tools outdoors before storage and wash gloves and clothing separately from household laundry if they are muddy or thorny. Inspect the tarp for hooked stems before folding it, and store sharp tools with blades closed or covered. A few minutes of cleanup prevents the next person from finding a thorn with a bare hand.
Check for Regrowth and Deal With New Shoots
Some roses can produce new shoots from live roots left behind, so treat follow-up as part of the removal rather than a sign that the first session failed. Mark the former crown with a small stake or note the location, then inspect it periodically during active growth. A shoot that appears later is easier to trace while it is small.
When a shoot emerges, do not just mow it and forget it. Loosen the soil around it enough to see whether it connects to a remaining root or crown fragment, then remove the piece if it is accessible without damaging another plant or approaching a utility. If the root runs beneath a structure, repeated cutting of new top growth may be the least disruptive option; for a vigorous wild or spreading rose, ask local extension about the species and available control methods.
Avoid pouring salt, bleach, gasoline, or household cleaner into the hole. These materials can damage soil and nearby plants, and they do not offer a careful way to distinguish the rose from roots you want to keep. Herbicides are rarely the first step for one garden rose; where a large invasive stand is involved, use only a product labeled for that plant and site, or hire a qualified applicator.
When a Rose Can Be Saved or Transplanted
If the plant is healthy and the problem is only its location, you can consider moving it instead of discarding it. Prepare the new site first, move the rose during its dormant period when local weather and soil allow, and lift as much of the rootball as practical. Keep roots from drying and replant promptly.
Be realistic about survival. BBC Gardeners’ World notes that roses particularly resent root disturbance, so a mature specimen may not respond as well to relocation as another deciduous shrub. A small, young rose is generally easier to move than an old bush with a broad root system; if it is valuable, ask a local rosarian or extension office about the cultivar and your climate before digging.
For an unwanted rose that is otherwise healthy, giving it away while still planted may be safer than trying to extract and transport a large rootball. If you plan to rehome it, label the variety if known and tell the recipient whether it is grafted or own-root. If it is diseased, heavily pest-ridden, or the new site is unsuitable, moving the problem may simply create another one.
Restore the Bed After Removal
After the crown and accessible major roots are out, rake through the disturbed soil and remove any obvious cane fragments. Refill with the soil you excavated, breaking clods and removing stones or debris as you go. If the soil is compacted, loosen the bed broadly with a fork rather than digging one narrow, heavily amended planting pocket.
Do not automatically pour fertilizer or a large amount of compost into the hole. If you are planting something new, choose a plant suited to the light, drainage, and available space, then prepare the whole planting area according to that plant’s needs. If the rose had a confirmed soilborne disease or severe root problem, avoid immediately replanting a susceptible rose in the same spot until you have checked local guidance.
Leave the site visible for a while if you are uncertain whether roots remain. A small flag makes new shoots easier to find before they disappear among groundcovers or fresh mulch. Once the bed stays clear through a period of active growth, finish the new planting or apply mulch without burying emerging shoots that you still need to monitor.
Conclusion
Remove a rose bush in stages: identify its growth habit, check for buried utilities, protect your skin and eyes, cut the canes into controlled sections, and dig around the crown until you can lift it and remove its major roots. The crown matters more than a tidy cut at soil level, and the root system can extend farther than the visible plant suggests.
Work slowly enough to see where every tool is going, contain thorny debris before the pile grows, and inspect the site for new shoots afterward. If the rose is very large, woven into a structure, or close to utilities, bringing in a professional is the safer and often faster choice.