8 January Garden Tasks to Prepare for Spring
Use January to map beds, test seed, set sowing dates, check stored bulbs, and protect soil. See what to do now—and what to wait on.
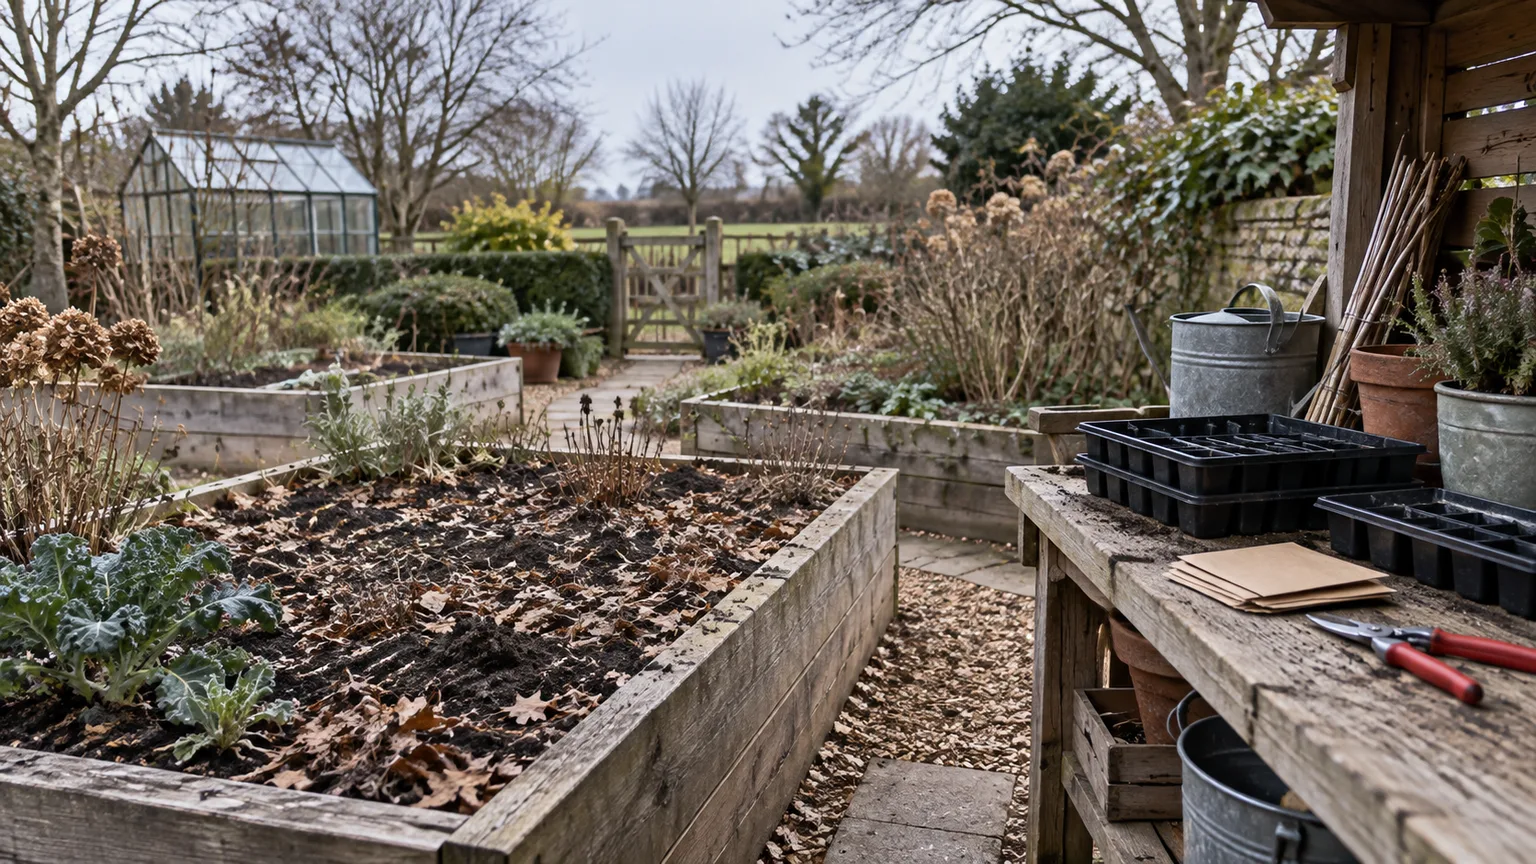
January garden work is less about getting everything planted and more about making the next season easier. In a cold region, that may mean checking stored tubers, reviewing seed packets, and staying off saturated beds. In a mild-winter garden, the same month may allow cool-season sowing or bare-root planting. The date alone cannot tell you which job is right.
This guide focuses on temperate Northern Hemisphere gardens, where January is usually winter. If you garden in the Southern Hemisphere, treat these as seasonal jobs and follow your local summer calendar instead. In either hemisphere, use the plant’s growth stage, local planting guidance, and the soil under your feet to decide what to do.
January is a planning window—not a universal planting date
A professional January routine starts with three observations: Is the ground frozen, merely cold, or workable? Are your plants dormant, actively growing, or protected under cover? And how soon is your next safe planting window? Those answers determine whether you should sow, mulch, prune, or simply make a plan indoors.
A useful rule is to separate jobs into any-weather tasks and weather-gated tasks. Inventorying seed, sketching beds, and cleaning tools can happen on a kitchen table. Digging, planting, pruning, and spreading winter protection depend on the plant and on local conditions. Missouri Extension’s January garden recommendations make the same regional distinction: some jobs suit the month, while others depend on a mild day or local crop calendar.
| Garden conditions | January priorities | Wait on |
|---|---|---|
| Ground frozen or covered in snow | Review records, test seed, check stored plants, service tools | Digging, planting, walking on beds, routine pruning |
| Soil thawed but wet | Plan, weed only where soil is not smeared, inspect mulch | Treading on or turning heavy soil |
| Mild winter and workable soil | Follow local dates for cool-season sowing and bare-root planting | Heat-loving crops or any task that conflicts with the local calendar |
Decide which winter your garden is having
“Cold climate” is not one set of conditions. A garden with frozen soil and repeated freeze-thaw cycles has different needs from a coastal garden with rain, or a subtropical bed where lettuce and peas are already growing. Even two gardens in the same hardiness zone can have different frost dates, exposure, drainage, and wind.
Use your local extension planting calendar and the seed packet’s timing, then check the actual bed before acting. Soil that crumbles when squeezed is generally easier to work than soil that sticks in a wet clump; if it is frozen, waterlogged, or easily compacted, leave it alone. The RHS January jobs calendar is useful for seeing how a seasonal checklist can change by region, but its crop recommendations are written for the UK and should not be copied as dates for a North American garden.
1. Review last season and map this one
Start with evidence from your own yard before buying a packet of seeds or a new plant. Look through photos, notes, receipts, and harvest records; write down what thrived, what struggled, where water pooled, when pests appeared, and which plants outgrew their space. A short note such as “beans shaded the path by July” is more useful than a vague resolution to “plant better.”
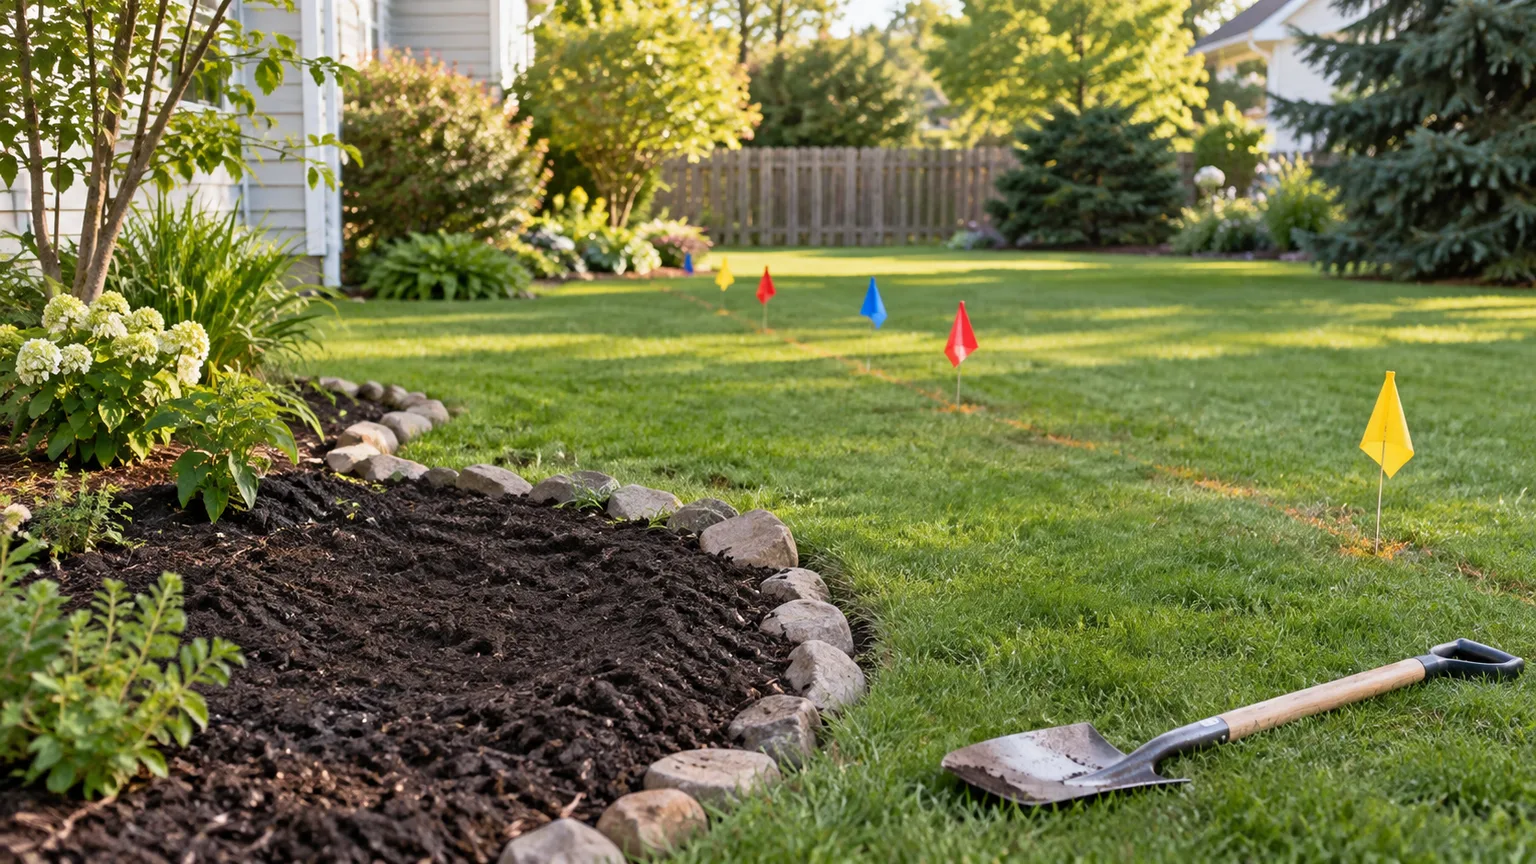
For vegetables, draw each bed and mark what grew there last year. Rotating crop families can help you avoid repeating the same crop in the same place and makes it easier to plan spacing, supports, and access paths. In ornamental beds, note mature size, sun exposure, bloom gaps, and plants you want to move or divide later. Missouri Extension recommends recording plant locations and past performance before making landscape changes; that habit turns January planning into a practical review instead of an inspiration-board exercise.
Then make only a few changes. If one bed was hard to water, consider grouping thirsty crops together or making the path easier to reach. If you had more zucchini than you could use, reduce the number of plants rather than adding another variety. Mark the planned planting windows next to each crop, but leave a margin for weather; the map is a guide, not a promise that spring will arrive on schedule.
2. Audit seed packets before placing an order
Put all your seed packets in one place and sort them by crop, planting method, and season. Check the cultivar, quantity, packet date, and any instructions for direct sowing, indoor starting, light, temperature, or pre-treatment. Compare that inventory against your bed map so you buy what is missing rather than doubling up on seeds you already have.
A packet date is a clue, not a universal expiration date. Seed life varies by crop and storage conditions; heat, moisture, and repeated temperature swings can shorten viability. Washington State University Extension notes that seed longevity depends on the kind of seed and how it has been stored, and Missouri Extension recommends testing older seed before ordering replacements. Keep usable packets sealed in a cool, dry place and follow the storage directions for any seed you saved yourself.
For a quick germination check, place 10 seeds between damp paper towels, slide them into a loosely closed bag or container, and keep them at the temperature recommended for that crop. Check after the packet’s typical germination period; keep the towel moist, not dripping. If 8 of 10 sprout, that small test suggests about 80 percent germination, so you can sow a little more thickly or replace the packet if you need a reliable full tray. A 10-seed test is only a rough sample, especially for expensive or rare seed, but it is more informative than discarding a packet just because the date looks old.
Before ordering, read for days to maturity and plant size as well as flower color or fruit type. Choose varieties suited to the length of your growing season, and avoid buying seeds simply because a catalog makes them sound urgent. Order early when a variety is genuinely important to your plan; otherwise, wait until the map tells you how many plants you have room to grow.
3. Make a sowing calendar that works backward
Do not start with “What can I sow in January?” Start with the date you expect to transplant outdoors, then count backward by the number of weeks listed on the seed packet. If a crop should be started indoors six weeks before transplanting and your local transplant window is in early May, the arithmetic points to late March—not January. That is an example only; varieties, light, and regional guidance can shift the date.
Write down three dates for each crop: indoor sowing, hardening off, and planting out. Hardening off is the gradual adjustment of indoor-grown seedlings to outdoor sun, wind, and temperature. Add a reminder to check the forecast before moving plants permanently; a warm afternoon does not guarantee warm nights. Washington State University Extension’s seed-propagation guide explains why seed-starting timing and conditions depend on the crop, while RHS’s January calendar lists indoor sowing for selected early crops rather than a blanket start-everything rule.
Some cool-season vegetables and slow-growing annuals may belong on a January schedule, particularly where the local season is mild or a protected growing space is available. In a colder region, January may instead be the time to clean trays, test lights, label pots, and prepare the calendar. Heat-loving tomatoes, peppers, and other summer crops are often better started later; sowing them too early can leave you with tall, weak plants that outgrow their containers before the garden is ready.
Before sowing, make sure you have enough bright light and room to grow seedlings on. A sunny winter windowsill is not always bright enough for sturdy transplants, especially in a cloudy climate. If you do not have suitable light or a way to manage seedlings as they grow, waiting a few weeks can produce stronger plants with less fuss than an early start.
Cold stratification and winter sowing are different jobs
Some perennial and woody seeds need a period of moist chilling to break dormancy. That treatment is called cold stratification, and the required temperature and duration vary by species; some seeds also need a warm period first. Read the packet or species-specific propagation directions rather than refrigerating every seed or guessing at a fixed number of weeks. WSU Extension describes those different germination requirements and cautions that the treatment is individual to the seed.
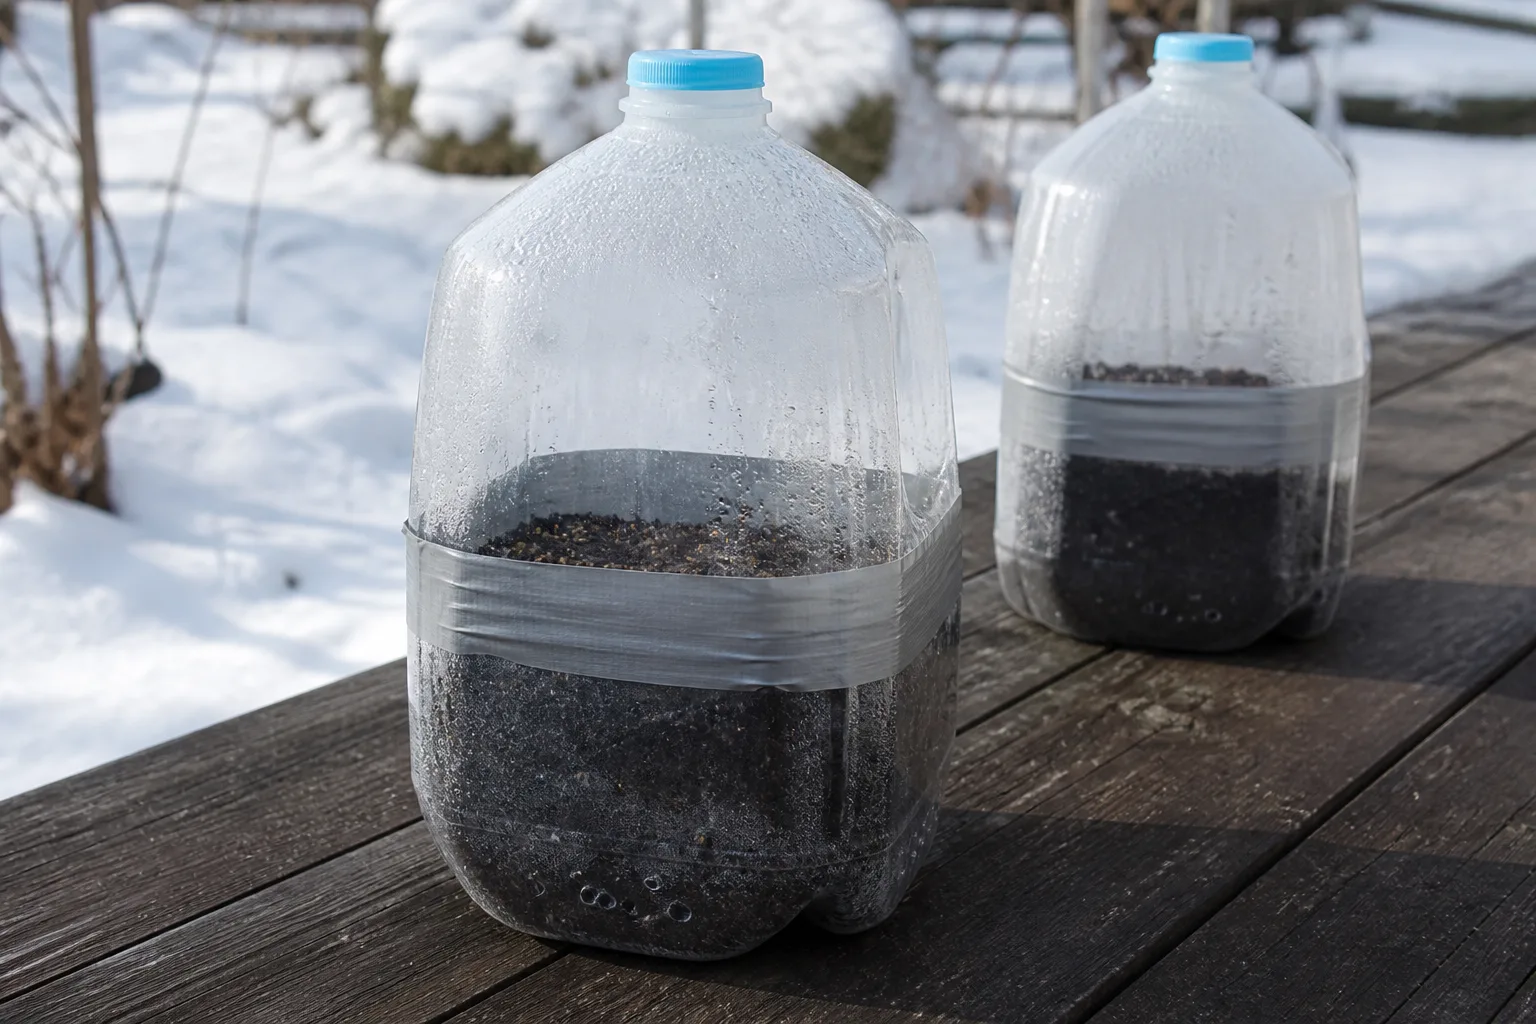
Winter sowing is a way to provide outdoor seasonal conditions in a protected container. Gardeners sow suitable seeds in a ventilated jug or other covered container, set it outside, and monitor moisture and emergence as temperatures change. It is not interchangeable with cold stratification for every species, and a closed container can overheat or dry out when the weather turns sunny. If you try it, label the container with the plant and sowing date, provide drainage and ventilation, and follow the seed’s instructions. The existing winter-sowing scene shows the sort of outdoor container setup this method uses.
4. Inspect stored bulbs and overwintered roots
If you lifted tender bulbs, corms, or tubers for winter storage, check them periodically rather than waiting until planting day to discover a problem. Look for material that has become soft, wet, badly shriveled, or moldy, and remove affected pieces before rot spreads through a box or bag. Keep the labels with the plants; different species have different storage needs, so do not assume that every dormant root wants the same temperature or packing material.
Also check stored pots and dormant plants for conditions that changed during the month. A shed that was cool in December may warm on a sunny day, while a cold snap can expose containers that were assumed to be protected. Follow the nursery or species instructions for moisture and temperature; dormant does not mean “never inspect,” but it also does not mean “water on a schedule.” The goal is to catch a storage issue while there is still time to correct it.
Bulbs already planted in the ground generally need no January excavation. Leave them undisturbed unless you have a specific reason to intervene, such as exposed bulbs after soil heaving or clear signs of rot. If you plan to force spring bulbs indoors, confirm whether that kind needs a chilling period before potting; Missouri Extension notes that tulips and hyacinths need to be pre-chilled for indoor forcing. Do not transfer that requirement to every bulb or tuber in the garden.
5. Check mulch before adding more
Winter mulch is not the same job as refreshing a decorative layer in spring. In colder regions, its purpose is often to reduce repeated freezing and thawing around dormant perennials, not to keep the ground from freezing altogether. Wisconsin Extension advises waiting until plants have gone dormant and the soil has started to freeze before applying winter protection; a calendar date by itself is not enough.
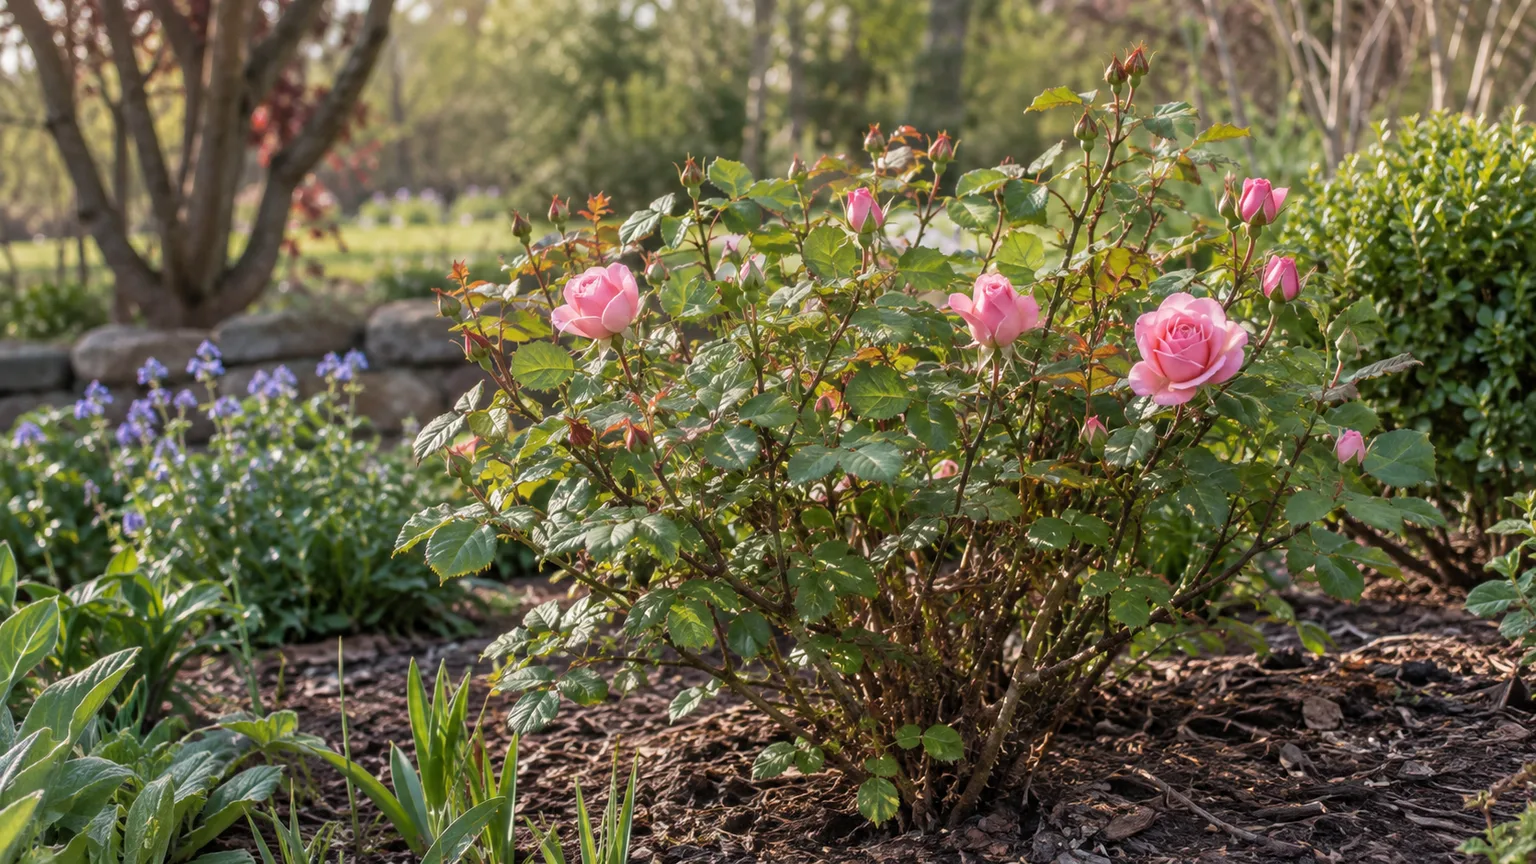
Walk the beds and look for bare spots, mulch piled against crowns or trunks, and leaves that have matted into a wet layer. If the bed already has an even, loose covering, adding more may do little and can smother low crowns or emerging bulbs. If a particular perennial has lifted during a thaw, gently settle it back into contact with the soil once the ground is workable, then use an appropriate loose cover; Missouri Extension recommends at least two inches of mulch for perennials that have frost-heaved.
Use a material suited to the plant and climate. Chopped leaves, straw, or evergreen boughs can work in different settings, but whole wet leaves may mat and block air. Keep mulch away from woody stems and tree trunks, and do not bury crowns or the bases of plants that are sensitive to heavy coverage. The Wisconsin Extension winter-protection guidance explains the freeze-thaw purpose of winter mulch and why healthy perennial foliage can sometimes remain in place. In a mild, wet winter, inspect drainage and existing coverage rather than adding a thick layer automatically.
6. Tidy selectively to protect soil and wildlife
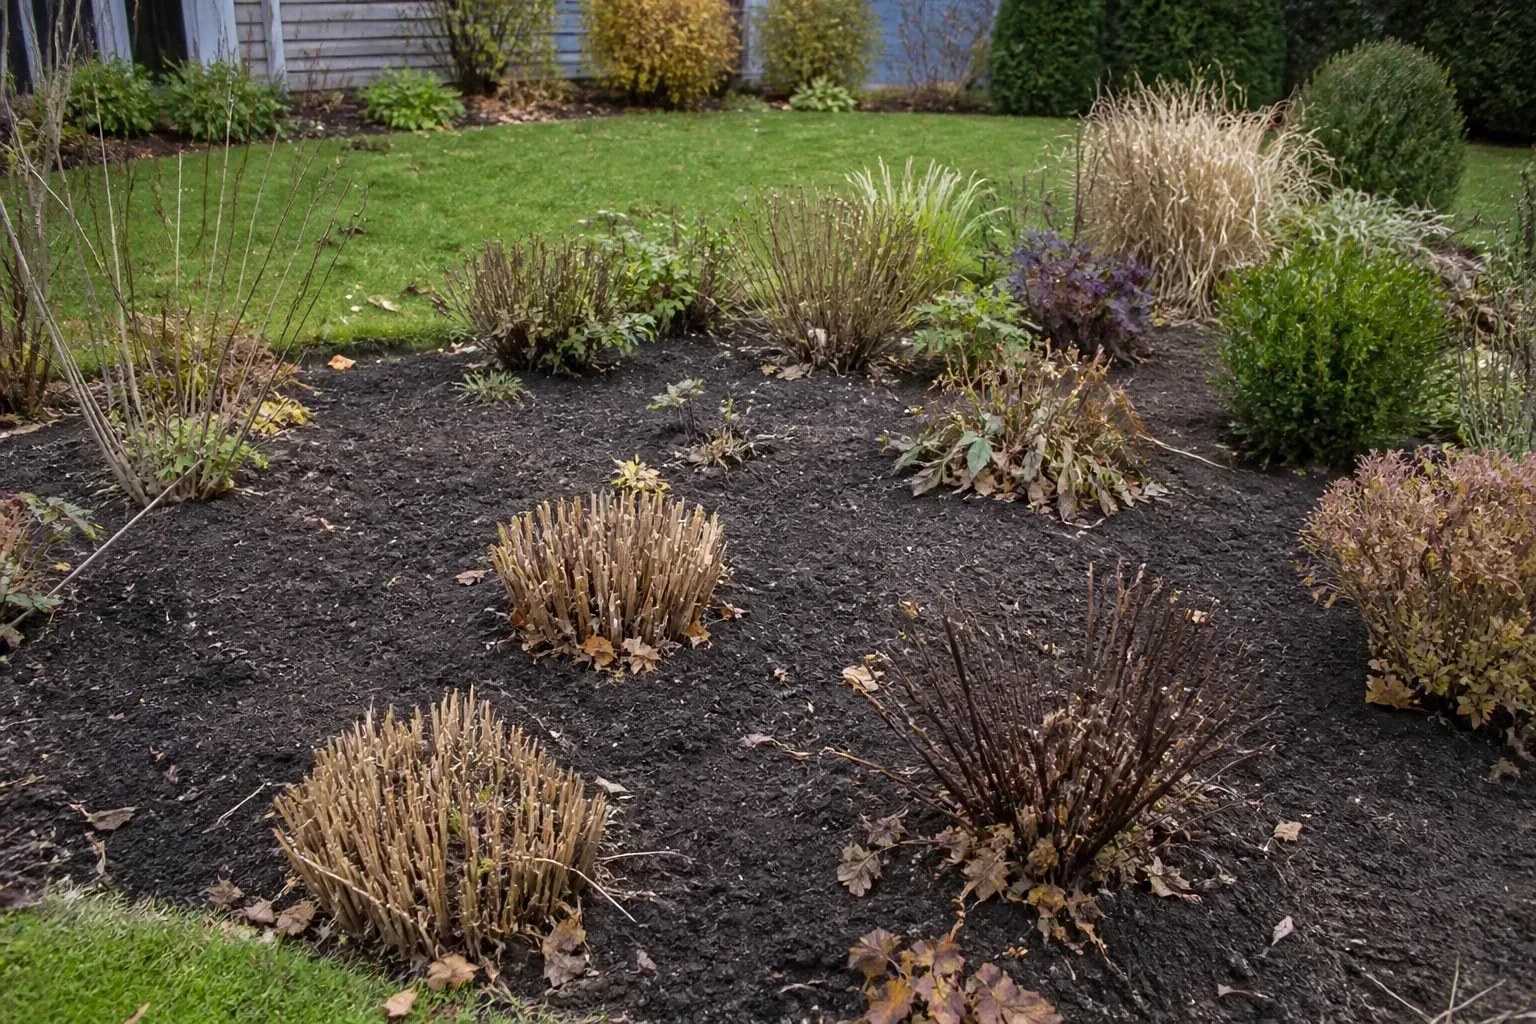
January can be a good time to pull small weeds from paths, bed edges, and other places where the soil is firm enough to work. Removing a few weeds before they set seed is easier than letting a patch spread into spring. Choose a dry or gently thawed day, and stop if your boots leave deep impressions or the soil smears when disturbed.
Do not turn “clean up” into stripping every bed bare. Dead or diseased foliage, broken stems, and plant debris that can harbor a known problem deserve attention, especially in vegetable beds. Healthy stems and seedheads may provide winter structure, food, or shelter; leaving them also makes plant locations easier to recognize before new growth appears. Wisconsin Extension notes that healthy perennial foliage can remain over winter where it does not collapse, while diseased plants should be removed.
Remove diseased material; leave what can stay
Separate sanitation from tidiness. Remove clearly diseased material and dispose of it according to local guidance rather than placing it in a home compost pile that may not reach temperatures needed to destroy pathogens. For ordinary healthy stems, leave them standing through winter if they are stable and not blocking a path or hiding a problem. In spring, cut them back before new growth is damaged or obscured.
The same rule applies to fallen leaves: use them where they are healthy and appropriate, but move thick, wet mats from lawns, crowns, and drainage channels. A thin layer in a garden bed can protect soil; a soggy blanket pressed against plant bases can do the opposite. The aim is a garden that is protected and inspectable, not a perfectly bare one.
7. Clean, sharpen, repair, and organize tools
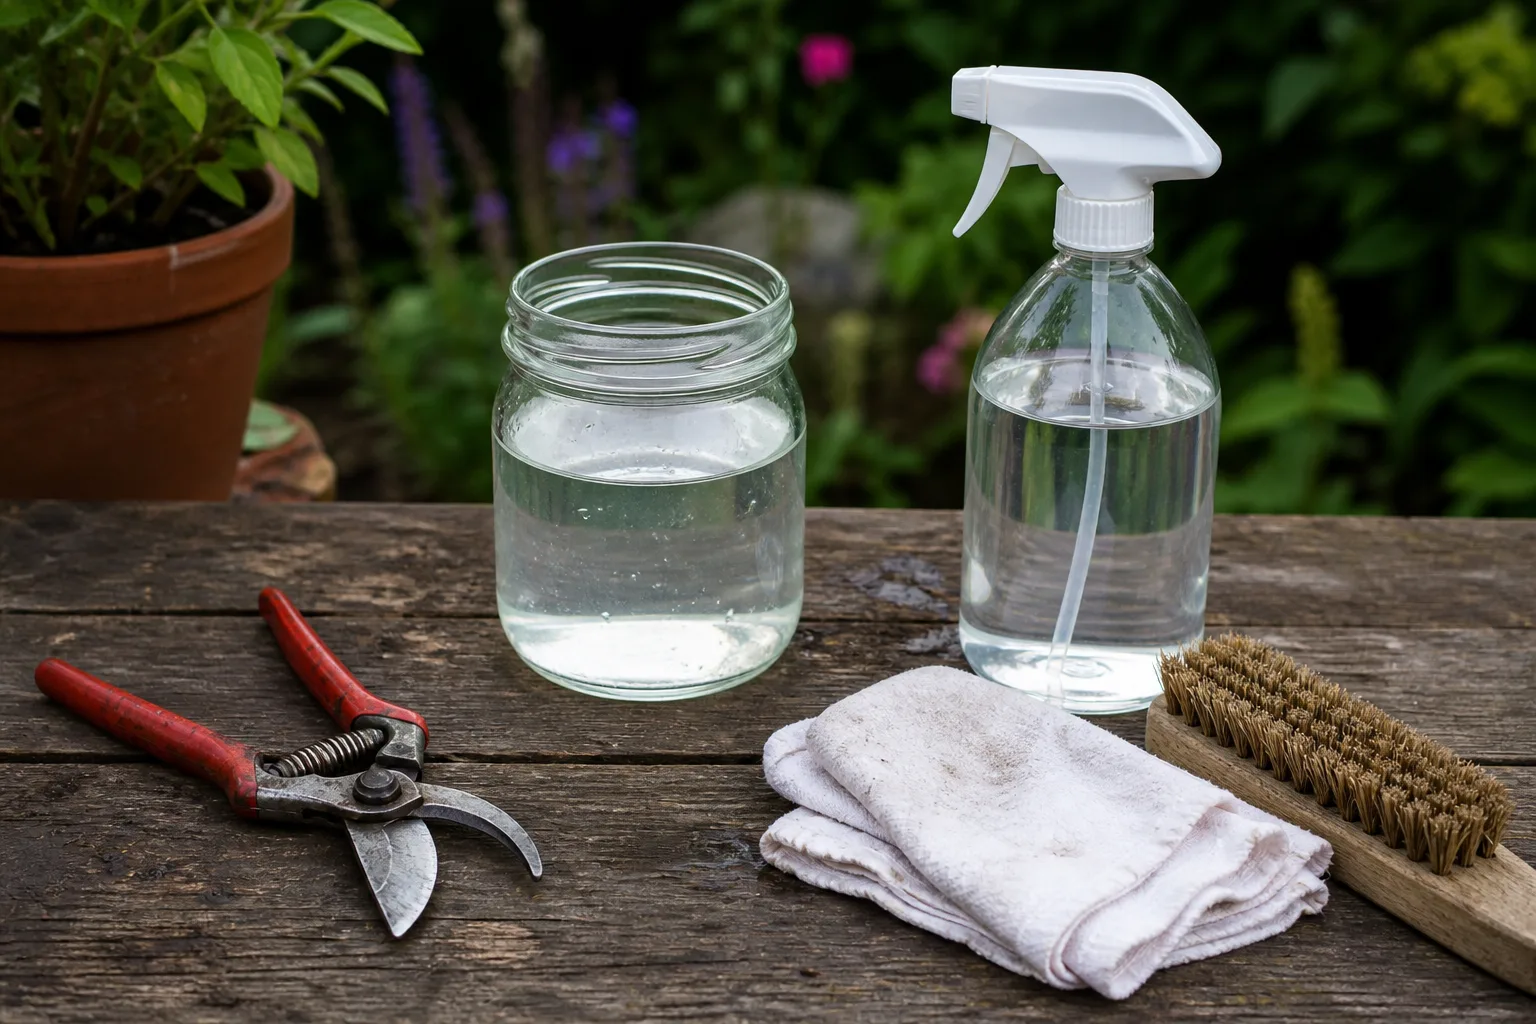
Bring tools into a dry workspace and inspect them before the first busy weekend. Brush off soil, remove sap and rust where present, wash tools that need more than a dry clean, and let metal dry fully before storing it. Check pruner blades for nicks, loose bolts, and poor alignment; check wooden handles for cracks and replace or repair anything likely to fail under pressure.
Sharpen cutting tools when the edge is dull, following the tool maker’s instructions and keeping the bevel consistent. A clean, sharp blade makes a cleaner cut and is easier to control. Lightly oil exposed metal and moving joints after cleaning, then keep tools in a dry place. If a tool touched diseased tissue, clean it between plants and use a disinfecting method appropriate to the tool and product label; do not rely on a quick wipe over visible dirt. Both Missouri Extension’s January list and Epic Gardening’s spring-preparation guide include tool maintenance among the useful jobs to do before outdoor work picks up.
Use the same session to inventory stakes, ties, labels, row cover, and hoses. Repair a split handle or replace a missing label now, when you are not trying to finish a planting before sunset. Put the tools you use most in one accessible place, and keep sharp blades covered so they cannot catch clothing or skin when you reach into storage.
8. Use workable days for local outdoor jobs
When the forecast offers a mild, dry stretch, choose one or two outdoor jobs that suit your garden rather than trying to complete a full spring cleanup. Check for wind damage, exposed roots, frost-heaved plants, loose stakes, broken ties, and blocked drains. On a snowy day, avoid working beneath ice-loaded branches; inspect from a safe position and wait for conditions to improve before handling damaged limbs.
January is also a sensible month to arrange a soil test if the ground is unfrozen and dry enough to sample. Take samples from one management area at a time, not from a mix of lawn, vegetable bed, and ornamental border. Penn State Extension recommends collecting 8 to 10 garden cores from 6 to 8 inches deep and mixing them for a representative sample; follow your local lab’s kit instructions because testing methods differ. A lab report can guide pH and nutrient adjustments, which is a better basis for lime or fertilizer than guessing from leaf color or buying a product because it is on sale.
Cold-winter gardens
In a region with frozen ground, keep the outdoor list short. Check whether mulch has shifted, whether young tree guards remain in place, and whether animals have damaged bark; brush heavy snow from vulnerable branches only when it can be done safely, and never try to knock ice off a limb. If a perennial has heaved, wait until the soil softens before settling it back and replacing loose cover.
Use indoor time for planning and tool care. Do not walk across a frozen or thawing bed just to inspect it more closely; footprints can compact soil and injure plants beneath the surface. A quick photo from the path, followed by a note on your garden map, is often the better January action.
Mild-winter gardens
Where soil stays workable, follow a local planting calendar for crops suited to cool conditions. Depending on your region, protected sowing or planting of selected vegetables and bare-root plants may be possible; the RHS January list, for example, allows certain bare-root planting only when the ground is not frozen and recommends working from a board on wet soil to reduce compaction. That is a useful condition, not a universal North American schedule.
Keep checking rain and drainage, since a mild winter can still leave roots saturated. If the garden is actively growing, maintain only what those plants need now—harvest, water during dry spells, protect seedlings, and watch for pests—rather than applying a dormant-garden routine to a bed that is in production. In the Southern Hemisphere, use the same principle for midsummer: respond to heat, water, and crop stage instead of copying a Northern Hemisphere winter checklist.
What to postpone until conditions are right
Do not dig, till, or walk repeatedly over soil that is frozen or saturated. Wet soil compacts easily, and turning it while sticky can leave clods that are difficult to break later. If you need to reach a bed on a damp day, use a stable board to spread your weight, or wait for the soil to dry.
Avoid pruning everything simply because branches are bare. Some fruit trees and shrubs are pruned while dormant, but spring-flowering shrubs often set flower buds on older growth and can lose that season’s bloom if cut at the wrong time. Check the species and local guidance first; remove only broken or hazardous branches promptly, and postpone structural pruning during severe cold or when the plant is not clearly identified.
Do not sow warm-season crops early unless the seed packet and your local calendar support that date and you can provide adequate light and room. Seedlings that grow too large indoors become harder to manage and may be weaker at transplanting than a later, properly timed batch. Likewise, do not apply lime or fertilizer without a soil test or specific recommendation, and do not pile fresh mulch over plant crowns just because the old layer looks less attractive.
Finally, do not treat every stem, leaf, or seedhead as waste. Remove diseased material and anything that creates a real hazard, but let healthy winter structure remain where it benefits the bed. A good January garden is not the one with the most chores crossed off; it is the one where the next useful action is clear.
Conclusion: Make a calmer spring by making January specific
Choose a short January routine: review last year, map this year’s beds, test and sort seed, set sowing dates, check stored plants, inspect mulch, service tools, and use outdoor days only when soil and weather allow. You do not need to do all eight tasks in one weekend; a few well-timed checks can prevent rushed purchases and avoidable spring repairs.
The best gardeners make the season work for their place. If the ground is frozen, plan and maintain. If it is wet, stay off it. If it is mild and workable, follow local guidance for the crops and plants that can use the opening. Let the calendar start the checklist, then let conditions make the decision.