How to Grow and Care for a Thanksgiving Cactus
Learn Thanksgiving cactus care from light and watering to soil, pruning, propagation, bloom triggers, bud drop, yellow segments, and root-rot checks.
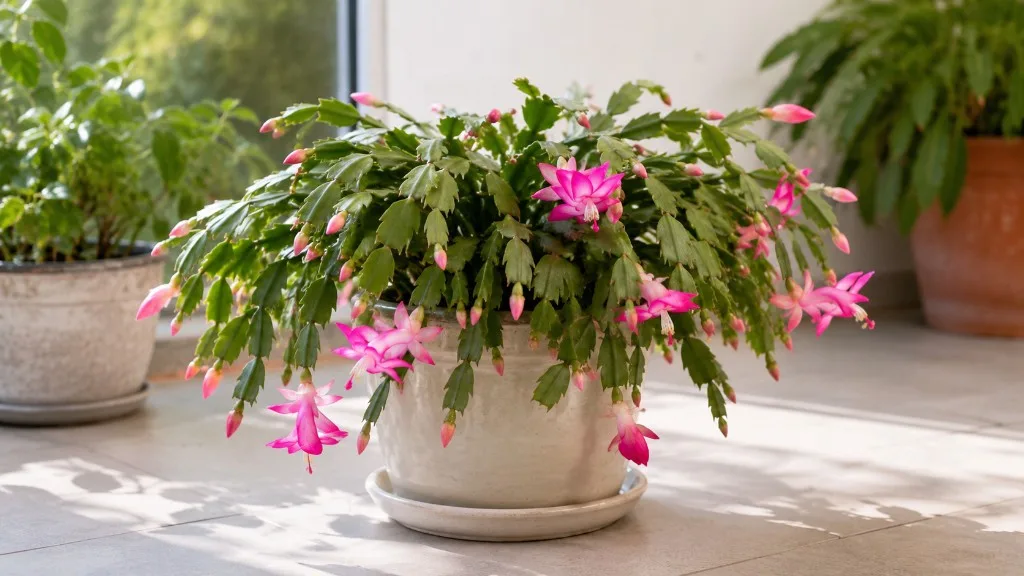
Thanksgiving cactus is often sold as a Christmas cactus, then blamed for being “fussy” when it blooms early or drops its buds. The plant is usually easier than that story suggests. Give it an airy root zone, filtered light, even moisture, and a stable cool-dark period in fall, and it can become a long-lived houseplant rather than a one-holiday decoration.
The name refers to Schlumbergera truncata, a Brazilian forest cactus with flat, jointed stems and flowers that commonly open in late fall. The practical challenge is timing: care that helps leafy growth in spring is not exactly the care that helps flower buds set in September and October. Use this guide as a seasonal sequence, not as a single watering rule that stays unchanged all year.
Identify the plant before changing its care
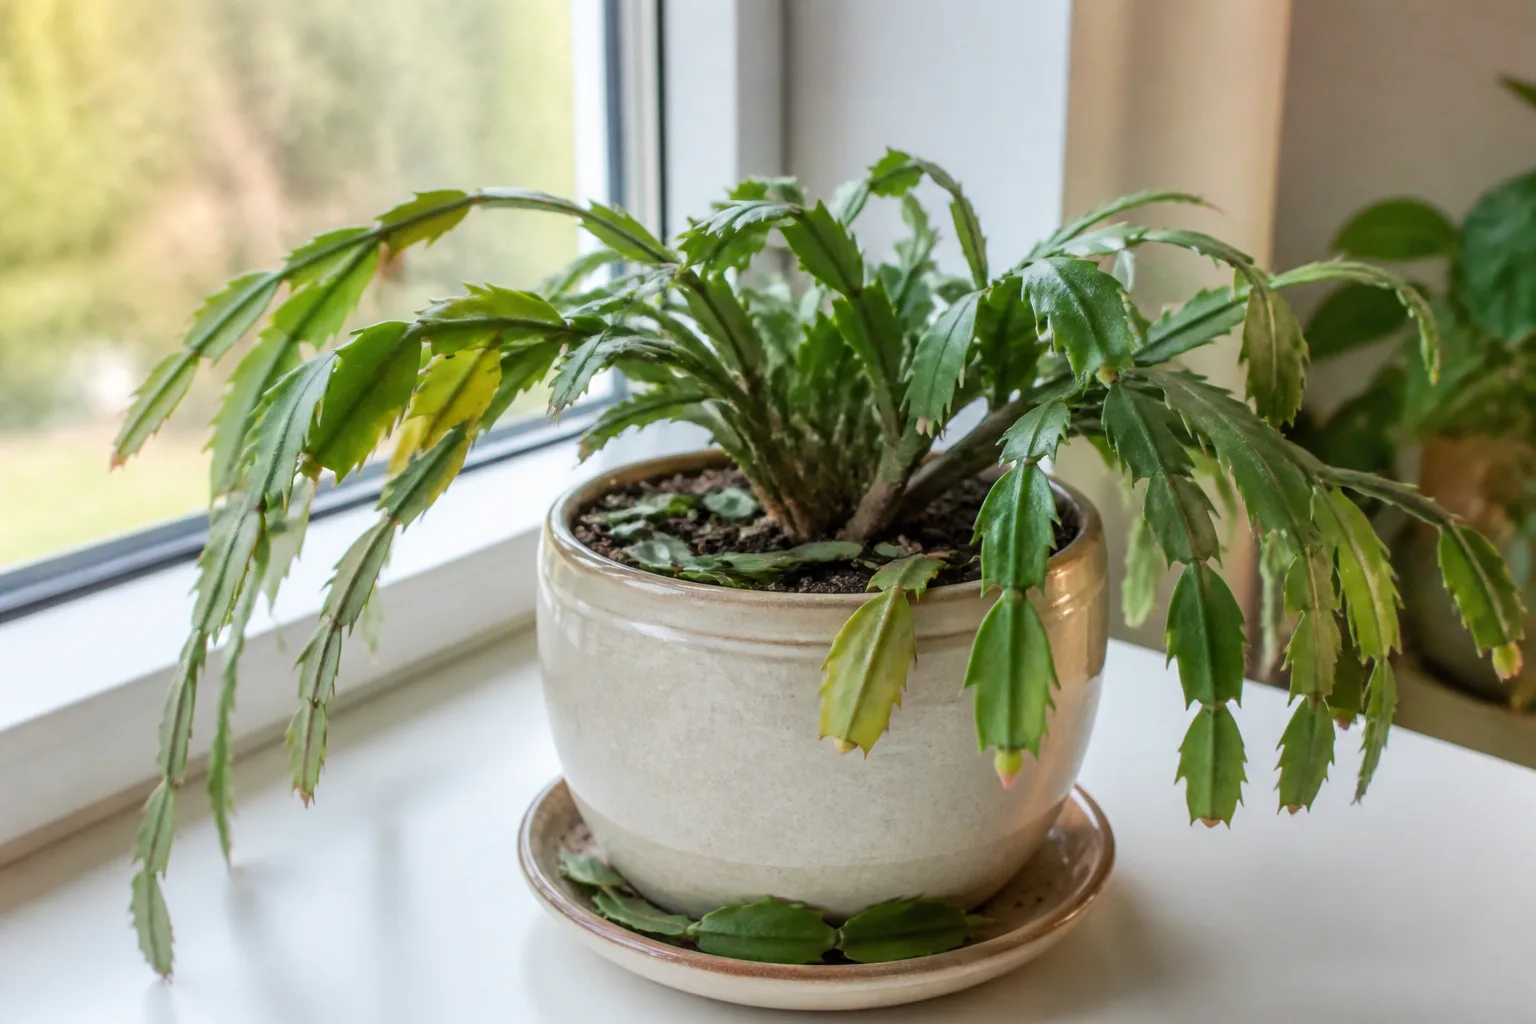
Start with the stem, not the label on the pot. Thanksgiving cactus has flattened green stem segments with pointed, claw-like projections along the edges; its flowers usually project outward or upward and have yellow anthers. Those segments are technically phylloclades, not true leaves, but “leaves” is a useful everyday shorthand.
The plant is an epiphyte: in its native rainforest habitat it grows above the forest floor in pockets of leaf debris, moss, and moisture that drain quickly. That explains the care paradox. It appreciates regular moisture and humidity, but its roots also need air. A heavy pot that stays wet is more dangerous than a missed watering followed by a thorough drink.
Thanksgiving, Christmas, and Easter cactus are not the same plant
The three holiday cacti share a forest-cactus lifestyle, so their basic indoor care overlaps. Their names are not interchangeable, however, and the stem shape is a better clue than the bloom date alone. NC State Extension identifies Thanksgiving cactus by its pointed stem projections and late-November flowers, while Gardening Know How compares its claw-like edges with the rounded segments of Christmas cactus and the bristled segments of Easter cactus. PlantSolve also cautions that bloom timing can shift with light and temperature, so it is better used as a clue than as a sole identification test.
| Plant | Stem clue | Flower and usual season |
|---|---|---|
| Thanksgiving cactus (Schlumbergera truncata) | Pointed, saw-toothed projections | Tubular, often angled outward; usually November to early winter |
| Christmas cactus (Schlumbergera × buckleyi) | Rounded or scalloped margins | More pendant flowers; usually December into January |
| Easter cactus (Hatiora gaertneri) | Rounded margins with tiny bristles | Star-shaped flowers; mainly spring |
Hybrid ancestry and growing conditions blur those dates, so use at least two clues before repotting, pruning, or changing a plant’s bloom plan. Many retail plants carry a broad “holiday cactus” label, and their care is close enough that a small identification mistake is rarely fatal. It is still useful to know what you have when you are counting backward from a target bloom period.
Set up a growing space that copies its forest habitat
A Thanksgiving cactus usually does well in a bright room where the pot can drain freely and the plant is not being moved every few days. A north- or east-facing window is an easy starting point; a brighter south or west window can work if a sheer curtain softens intense sun, especially in spring and summer.
Give it bright filtered light, not hot afternoon sun
Use bright, indirect light for routine growth. Gentle morning sun can be helpful, but strong summer afternoon rays through glass may bleach, redden, or scorch the flattened stems. A plant that receives too little light may remain green but produce weak, stretched growth and fewer flowers; a plant that receives too much intense sun may turn pale or develop dry, tan patches.
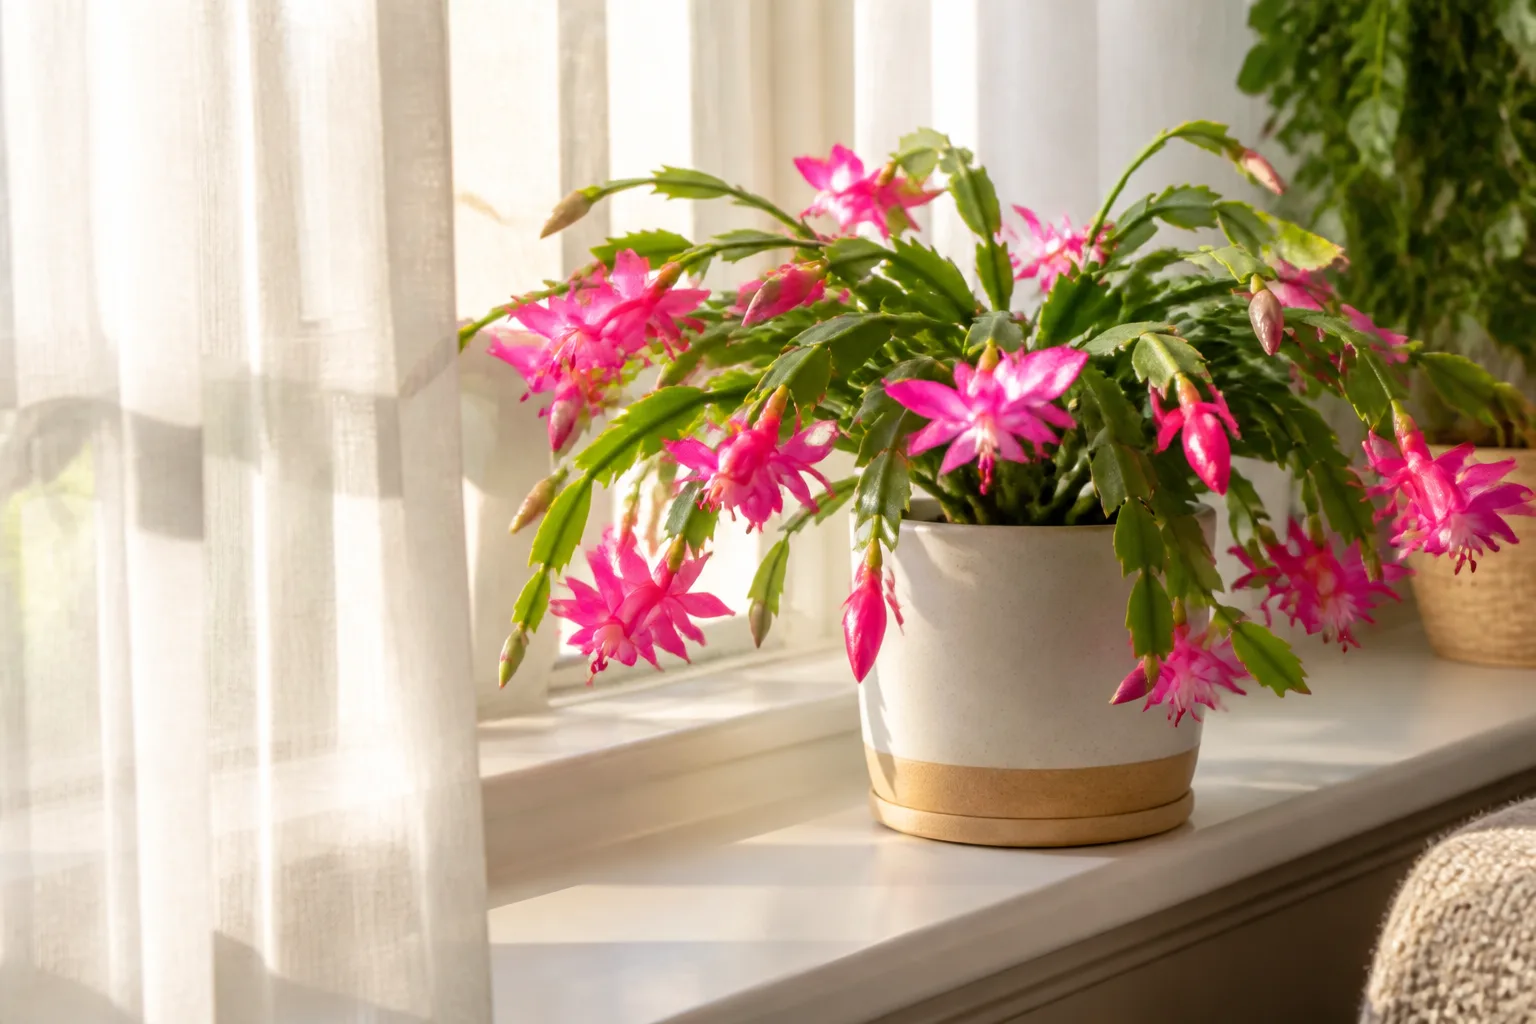
In fall and winter, move the plant toward the brightest filtered light available, but do so before buds are obvious. Once buds form, keep the position stable. The useful goal is not “maximum sun”; it is enough light for sturdy growth and flower development without overheating the stems or forcing the plant through a sudden change.
Water by the root zone, not by the calendar
Press a finger into the top inch of mix before watering. When that layer feels dry but the pot is not bone-dry from top to bottom, water slowly and thoroughly until a little drains from the bottom. Empty the saucer after the pot has finished dripping. The exact interval may be four days in a warm, small pot or two weeks in a cool, large pot, so a calendar reminder should prompt a check rather than replace it.
During spring and summer, allow a modest dry-down between thorough waterings. In late summer and during bud set, do not swing from drought to flood. Keep the mix lightly and evenly moist once buds are swelling, but never leave the pot standing in water. Clemson Extension recommends watering when the growing medium is dry to the touch, avoiding both waterlogging and complete dry-out, and keeping the mix evenly moist after buds set.
Water less often after flowering if the plant is resting in a cooler, dimmer room, but do not treat that rest as a desert-cactus drought. Wrinkled segments can mean thirst, yet they can also appear when overwatering has damaged the roots. Check the mix and the roots before adding more water.
Use an airy mix, a snug pot, and useful humidity
Choose a loose, well-drained potting mix that holds some moisture without becoming dense. A commercial cactus or succulent mix amended with perlite, pumice, fine orchid bark, or another airy component is more dependable than garden soil. The pot must have a drainage hole; a decorative cachepot is fine only if you remove the nursery pot for watering and let it drain fully.
Thanksgiving cactus can flower well when slightly snug in its pot. That does not mean keeping it root-bound forever. A pot only one size larger is enough when roots have filled the container, the mix has collapsed, or water now sits on the surface instead of moving through. UW–Madison Extension describes the natural balance well: these forest cacti receive frequent rain but grow where water runs away quickly, so regular watering only works with good drainage.
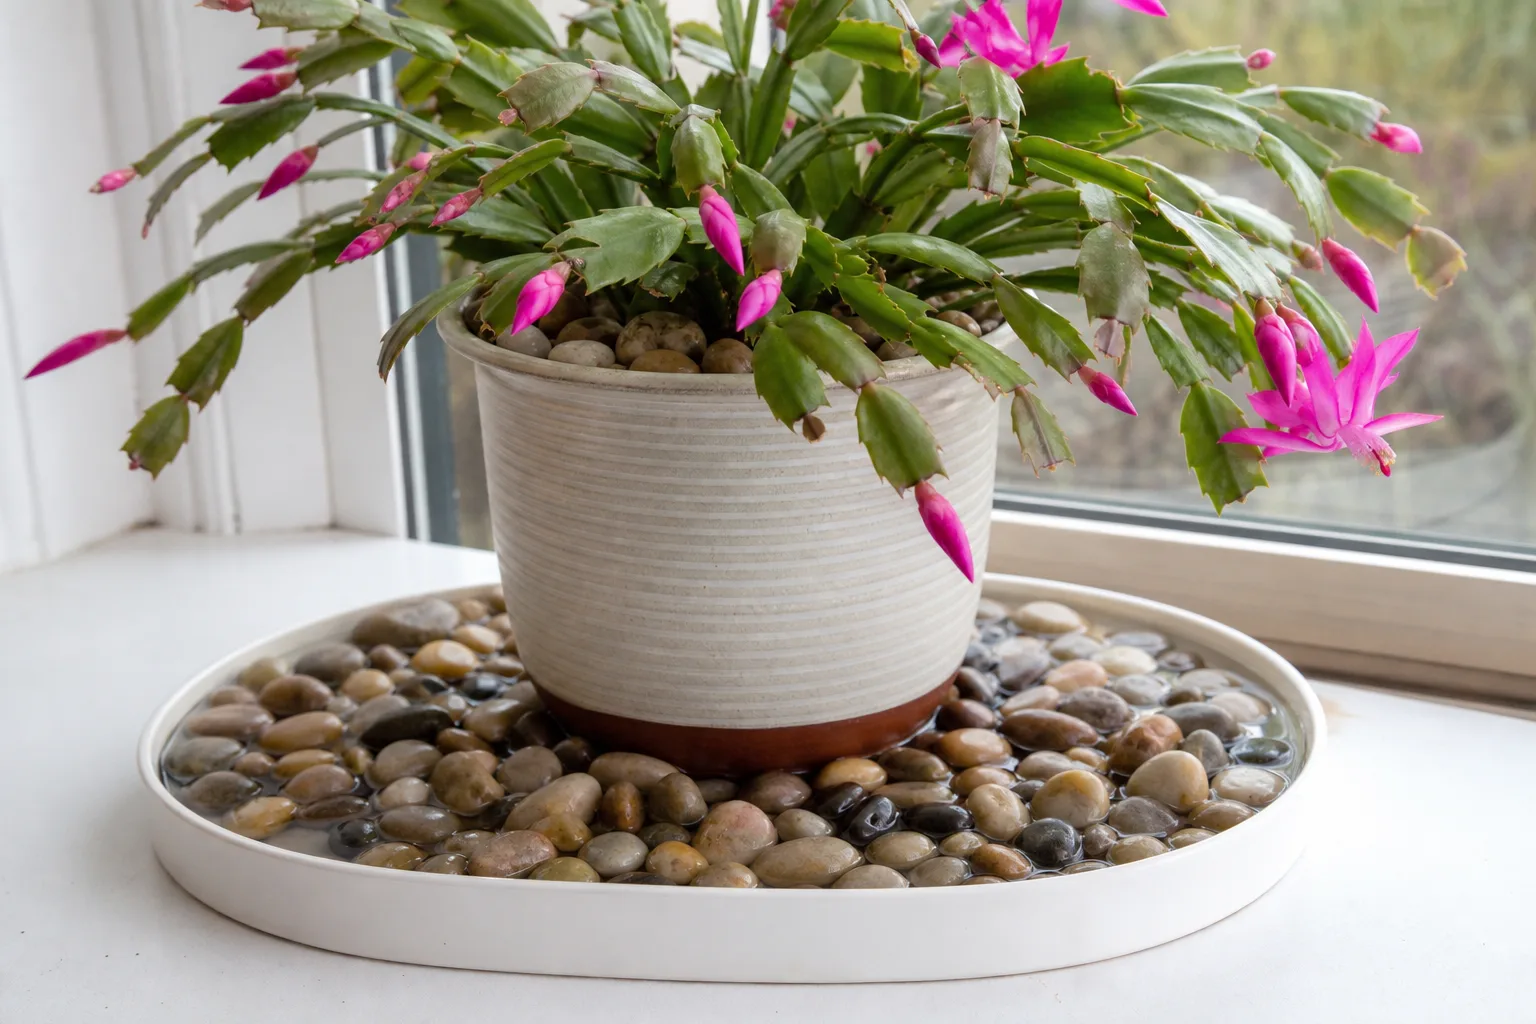
Moderate humidity helps, especially in heated winter rooms, but humidity is not a substitute for a healthy root zone. Group the cactus with other plants, run a humidifier nearby, or place the pot on a correctly assembled pebble tray with the pot base above the waterline. Do not let the container sit in the tray water, and do not keep the foliage constantly wet in a room with weak airflow.
Follow a seasonal cycle instead of one fixed routine
Think of the plant in four phases: active growth after flowering, leafy growth through spring and summer, bud setting in fall, and flowering followed by a short rest. The dates shift with hemisphere, cultivar, indoor temperature, and whether the plant was grown under controlled nursery conditions. The sequence matters more than a promise that every Thanksgiving cactus will flower on one exact holiday.
Use cool nights and long darkness to set buds
Thanksgiving cactus is a short-day plant. It needs long, uninterrupted nights plus suitable temperatures to initiate flower buds. For a Northern Hemisphere bloom around November, begin the routine roughly six to eight weeks beforehand, often in mid-September or early October.
Give the plant bright light during the day and about 14 hours of uninterrupted darkness each night. A room that is naturally dark works best. If you use a closet, move the pot at the same time every evening and return it to light in the morning; if you cover it, make sure air can circulate and the fabric does not press against the stems. A nearby lamp, bright hallway, or streetlight can interrupt the dark period enough to reduce bud set.
Cool nights can help, but cold is not automatically better. A range around 55 to 60°F (13 to 16°C) is a reasonable target for a healthy plant, while temperatures around 60 to 68°F (16 to 20°C) can support fall bud development. Protect the cactus from frost, cold glass, heater vents, and abrupt temperature swings. Penn State Extension recommends filtered light, winter temperatures near 68°F by day and 60°F at night, and at least 12 hours of uninterrupted darkness for flowering. Use those numbers as a starting framework rather than a guarantee, because hybrids do not all respond identically.
During the cool-dark preparation, keep moisture steady but do not fertilize heavily. The plant needs enough water to avoid drought stress, not a saturated pot. Once small buds are visible, the photoperiod is no longer the main lever; stability becomes the priority.
Keep conditions steady during bloom and after flowers fade
When buds appear, stop rotating or relocating the pot. Keep it away from a heating vent, a frequently opened exterior door, a cold draft, and a sunny window that becomes dramatically hotter in the afternoon. Water when the top of the mix begins to dry, and drain the saucer every time.
Flowers last longer when temperatures are moderate and the plant is not being disturbed. Spent flowers can be pinched off gently once they shrivel, but there is no need to tug on healthy buds or cut whole stems after bloom. A Thanksgiving cactus may produce a lighter second flush under good conditions, but do not force a second display by keeping it cold, dark, and stressed indefinitely.
After the last flowers fade, reduce watering slightly while the plant rests, then return to brighter light and normal growth care as new segments appear. This is also the safest window to take cuttings or plan a spring repot. The University of Wisconsin–Madison’s holiday-cactus guidance emphasizes that these plants can live for decades and that moving them after bud formation can cause buds to abort.
Combine feeding, pruning, and repotting with the growth cycle
The best time to build a fuller plant is when it is actively growing, not when it is covered in buds. Good timing keeps routine maintenance from competing with the plant’s flowering program.
Feed and pinch during active growth, then pause for bud set
Begin feeding when new growth starts after the post-bloom rest. Use a balanced, water-soluble fertilizer at half strength about monthly through spring and summer, or follow the label of the product you already use. Water the plant first if the mix is very dry, and never increase the dose because the plant is not blooming yet; extra fertilizer cannot replace the light and night conditions needed for bud set.
Stop regular feeding in late summer as you begin the cool-dark bloom routine. Continuing heavy fertilization while buds are forming can encourage leafy growth at the wrong time and may contribute to poor flowering. A dedicated magnesium supplement is sometimes recommended for holiday cacti, but do not add it routinely without a reason: repeated salts can build up, and a balanced fertilizer plus occasional thorough flushing is a safer default for most home growers.
Prune by pinching or twisting off one or two terminal segments in spring or early summer. Each shortened branch can produce new branching, which gives the next bloom more potential flower sites. Do not strip a sparse plant or remove more than you need to shape it. Healthy cuttings can become new plants.
Repot only when the mix or roots need it
Repot in late winter or spring after flowering, once the plant is no longer carrying buds. Look for roots circling densely, roots emerging from drainage holes, a mix that stays wet far longer than it used to, a sour smell, or a plant that repeatedly declines despite sensible watering. If the plant is healthy and blooming well, leaving it in the same pot is often better than repotting on a rigid annual schedule.
Use fresh, airy mix and a container only slightly larger than the old one. Set the root ball at the same depth, firm the mix lightly, and let excess water drain. Keep the newly repotted plant in bright, indirect light for a few days while disturbed roots recover, then resume normal care. Do not repot a flowering plant just because it arrived in a decorative pot; wait until the display is over unless the current pot has no drainage or the roots are in immediate trouble.
Propagate Thanksgiving cactus from healthy stem segments
Propagation is easiest when the parent plant is actively growing and free from pests or root problems. Select a firm, green stem with two to five segments, separate it cleanly at a joint, and note which end was closest to the parent plant. That original lower end must go down. A cutting planted upside down may remain alive for a while but is unlikely to root well.
Choose soil or water rooting and keep the cutting oriented correctly
Direct soil rooting is the best default because the cutting does not need a later water-to-soil transition. Let the cut end dry for a day or two in bright shade, then insert the lower end about 1 inch into a lightly moistened, airy mix. Keep the pot warm, bright, and out of direct sun. The mix should be barely moist, never sodden; rootless tissue cannot use repeated heavy watering.
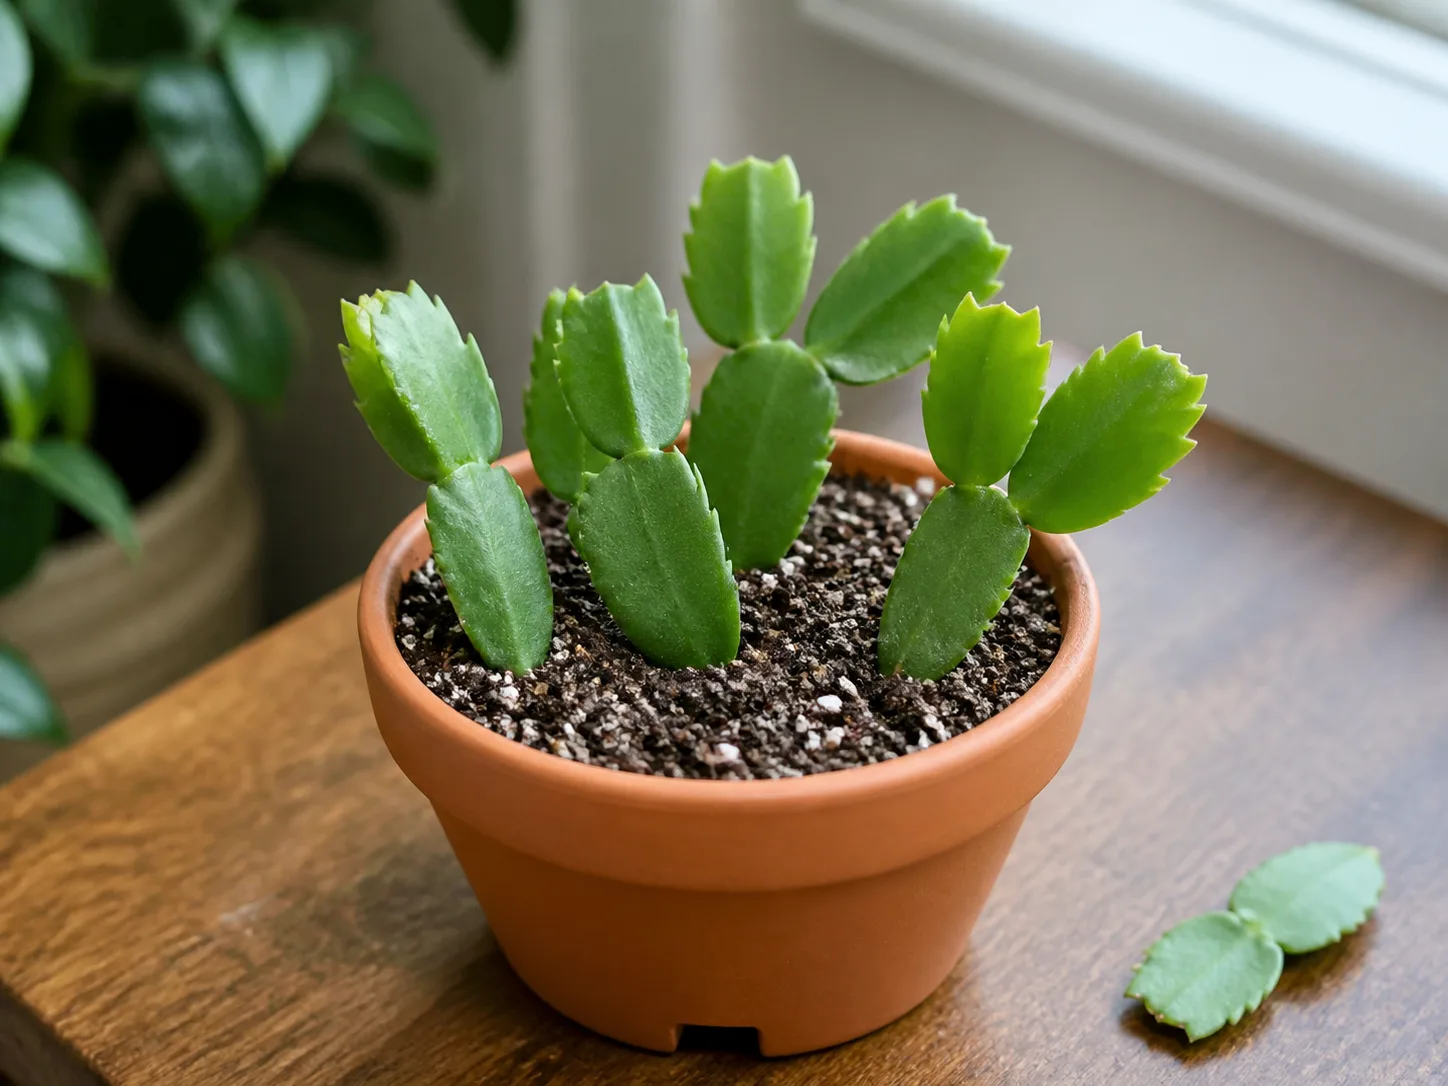
Water rooting is useful if you want to watch the first roots form. Place only the lowest joint or segment in clean water and keep the upper segments dry. Change the water when it clouds, give the glass bright indirect light, and pot the cutting into airy mix once it has several firm roots. The water method offers visibility, not a guarantee of faster growth.
Rooting may take three to eight weeks, depending on warmth, light, season, and cutting health. Resist the urge to tug every few days. A firm cutting can look unchanged for weeks; a soft, translucent, darkening base is a better reason to intervene. Penn State Extension recommends three- to five-segment cuttings, bright indirect light, and a three- to eight-week rooting window.
Troubleshoot the symptoms that cause most losses
Before changing three variables at once, write down the recent pattern: when you last watered, whether the pot drained, where it sits, whether a window or heater changed, and whether buds are present. Thanksgiving cactus problems often look alike above the soil while the cause is below it.
Buds drop before opening
The first suspects are a sudden move, a temperature swing, a draft, drought stress, a hot window, or an interrupted dark period during bud initiation. A plant moved from a cool nursery to a warm, bright room may drop some buds even when the long-term care is good. That is an acclimation problem, not proof that the plant is doomed.
Keep the plant in one stable place, check the mix before watering, and keep it away from vents and cold glass. Do not add fertilizer, repot, or move it into deeper shade in response to one dropped bud. If no buds formed at all, review the six-week cool-dark routine and the plant’s light level instead. Clemson Extension lists sudden changes in temperature, light, moisture, and the long-night requirement among the common reasons holiday-cactus buds fail.
Segments turn yellow, limp, or wrinkled
Yellowing with a dry, crispy surface can point to too much direct sun or severe drought. Yellowing with a soft base, persistently wet mix, a sour smell, or leaf-segment drop points more strongly toward root stress and possible rot. Limp segments in genuinely dry soil call for a thorough watering; limp segments in wet soil call for a root inspection, not another drink.
If the plant is declining while the pot stays wet, slide the root ball out carefully. Firm, pale roots are reassuring; dark, mushy, foul-smelling roots are not. Remove only clearly dead material with a clean tool, repot into fresh airy mix, and water sparingly while new roots recover. Take healthy cuttings before a severe root problem spreads through the plant.
Pests, root rot, and gray mold need different responses
Inspect joints, flower bases, and the undersides of segments for mealybugs, scale, aphids, or spider mites. Fungus gnats are more often a signal of persistently wet mix than a problem created by dry air. Isolate a suspect plant, remove visible pests with a cotton swab or gentle rinse when appropriate, and use only a product labeled for indoor plants and the pest in question. Follow the label; do not improvise a stronger concentration.
Root rot is a moisture-and-oxygen problem, not a disease that a pebble tray can solve. Gray mold is more likely when crowded foliage, high humidity, and poor airflow keep tissue wet. Improve drainage, air movement, and watering judgment first. The NC State Plant Toolbox lists root rot, gray mold, aphids, mealybugs, scale, and spider mites among possible Thanksgiving-cactus problems.
For homes with cats or dogs, the ASPCA lists Christmas cactus as non-toxic to those pets, but holiday-cactus names are often mixed in stores and chewing any plant can still cause stomach upset. Keep the pot out of reach, avoid pesticide-treated foliage where pets chew, and contact a veterinarian or poison-control service if an animal eats a treated plant or develops symptoms. See the ASPCA species listing for its current pet-safety classification.
Conclusion: make the plant’s season work for you
Thanksgiving cactus care becomes much simpler once you stop treating it like a desert cactus and stop asking one routine to do every job. Grow it in bright filtered light, an airy mix, and a pot that drains; water when the root zone begins to dry, then change the rhythm as the plant moves from active growth to bud set, bloom, and rest.
The reliable bloom plan is equally practical: give the plant a long, uninterrupted night for several weeks in fall, keep temperatures moderate, and stop moving it once buds appear. Prune and propagate in active growth, repot after flowering only when the roots or mix need it, and diagnose yellow or limp segments from the soil upward. With that seasonal approach, a Thanksgiving cactus can keep its place in the window long after the first holiday display is over.



