How to Propagate Geraniums From Stem Cuttings at Home
Propagate geraniums from healthy stem cuttings with clear advice on timing, rooting mix, watering, light, root checks, and growing bushier plants for spring.
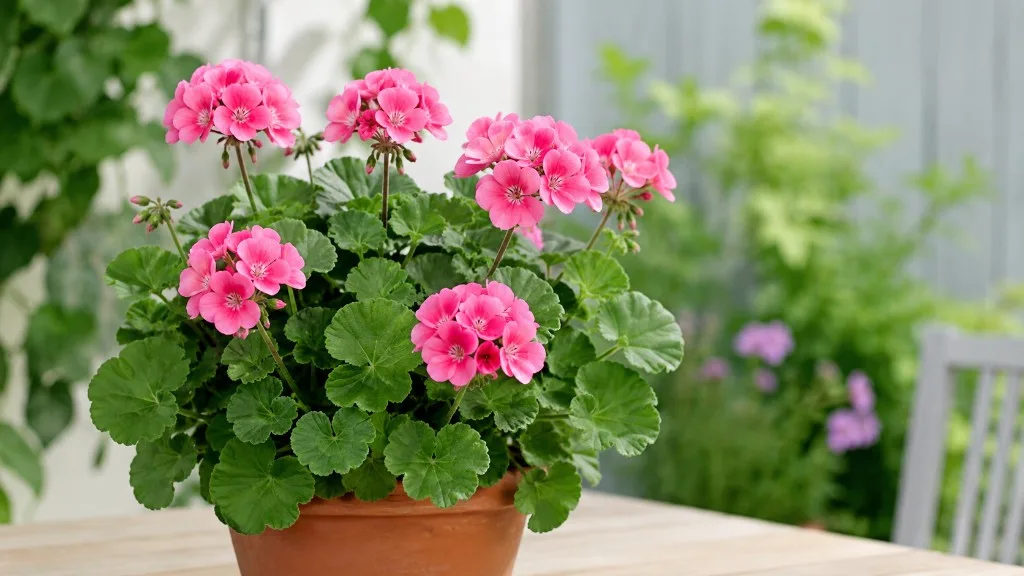
A favorite geranium does not have to disappear when summer ends. Take a few stem cuttings while the plant is healthy, root them in a small pot of airy mix, and grow the new plants on in a bright, frost-free place. This is especially useful for keeping a color or trailing form you love, or for replacing tender plants that cannot survive winter outdoors.
First, check what “geranium” means in your garden. Most vivid bedding geraniums and patio plants are Pelargonium, tender perennials that can be kept through winter indoors; hardy Geranium, often called cranesbill, is a different group and is usually multiplied by division. For the common potted Pelargonium, stem cuttings are the reliable home-gardening route. The process is simple, but the success factors are specific: use healthy nonflowering growth, keep the medium damp rather than wet, and wait for roots before treating a cutting like a mature plant.
First, Make Sure Your Geranium Is a Pelargonium
The plants most gardeners call annual geraniums are usually Pelargonium. Zonal types have upright succulent stems and often a dark leaf marking; ivy-leaved types trail from baskets; regal or Martha Washington types have large, showy flowers; scented-leaved forms are grown partly for fragrant foliage. These tender plants are the focus here. They can live for several years where they are protected from frost, even if they are sold and grown as seasonal bedding plants.
The name matters because a true hardy Geranium, or cranesbill, behaves differently. It returns from an outdoor root system in suitable climates and is more naturally propagated by dividing an established clump than by treating it like a soft-stemmed patio Pelargonium. The Royal Horticultural Society’s Pelargonium growing guide distinguishes the tender genus from hardy geraniums and lists cuttings as a way to propagate Pelargonium. If the plant label says Geranium and the plant spreads as a garden perennial, check the species before you cut.
When Division Is Better Than Cuttings
Division is the better first choice when you have a mature hardy cranesbill and want several plants quickly. Lift it when conditions are mild and the soil is workable, separate a section with healthy roots and shoots, and replant promptly; an unrooted stem cutting can be slower and less predictable for many hardy perennial forms. If you are not sure whether a plant is hardy, use its label or identify its botanical name rather than relying on the common name alone.
For a Pelargonium, choose stem cuttings when you want to preserve the flower color, leaf pattern, scent, or trailing habit of a particular parent. A cutting is a vegetative copy of that parent, while seed-grown plants may not come true to a named garden variety. The parent still needs enough leafy stems to keep growing, so take a few cuttings from a vigorous plant instead of stripping a small or stressed specimen.
Choose Timing Around Light, Not Just the Calendar
Take cuttings when the parent is actively growing and has firm, healthy shoots. In a cold-winter region, late summer to early fall is a practical window: there is still active growth, and rooted cuttings can be moved indoors before frost. The RHS recommends late-summer cuttings as an overwintering method for zonal Pelargoniums; the aim is to give them time to root and settle before indoor winter conditions slow growth.
You can also propagate in spring or earlier summer if you have a bright, warm place for the cuttings and want plants ready for the outdoor season. The RHS classifies Pelargonium among plants that can be propagated with softwood cuttings, while its general softwood guidance focuses on young flexible shoots taken in spring and early summer. In warm climates, avoid taking cuttings during extreme heat or from a plant wilting in the afternoon; choose a mild spell and keep new cuttings protected until they root.
Use the plant and your setup as the calendar. A healthy parent with fresh growth, a place around normal warm indoor temperatures, and several hours of bright light is a better signal than “September” on its own. If daylight is already short and you cannot supply strong window light or a grow light, taking fewer cuttings earlier may be more successful than filling your windowsill with weak stems in late fall. Always root tender Pelargonium cuttings in a frost-free location.
Gather a Small, Clean Propagation Setup
You do not need a greenhouse, special propagator, or large container. Prepare clean small pots with drainage holes, fresh seed-starting or propagation mix, a saucer, and sharp scissors or pruners. A light, free-draining medium matters more than a branded formula; if ordinary potting mix stays wet for days, blend in perlite or another coarse aerating material so air can reach the cutting base.
Water the mix before planting and let excess drain. It should feel evenly moist, not glossy, muddy, or dripping when squeezed. A small pot is easier to manage than a large one because the unused wet mix in an oversized pot can stay saturated around a short stem. Label varieties before taking several colors, and wipe cutting blades clean between parent plants, especially if one shows spotting, distorted new growth, or other signs of disease.
Rooting hormone is optional and usually unnecessary for an easy-to-root Pelargonium. Some gardening guides recommend it; others find that geranium stems root readily without it and caution that excess powder on a damp stem can contribute to rot. The simplest starting method is a clean cut and a suitable mix. If you choose a commercial product, follow its label and use only a light coating on the base; do not improvise a homemade hormone solution or use more than directed.
Select a Stem That Can Root Well
Choose a vigorous, green shoot with a firm stem and healthy leaves. The very soft tip can wilt quickly, while a thick, woody lower stem may root more slowly; a section just below the tender tip is usually a useful balance. Avoid any stem with brown or black tissue, insects, mottled leaves, or flowers already drawing energy. If the parent is in bloom, you can still find a nonflowering side shoot or remove a flower bud from the cutting after you take it.
Cuttings around 3 to 5 inches long are manageable for most home pots. The exact length is less important than having at least two nodes: one at the base to sit in the medium and one above it to support leaves and new growth. The RHS softwood-cutting guide recommends young shoots and a cut just below a node, the joint where leaves attach to a stem and roots can form. Keep the cutting shaded and move briskly from cutting to planting so the exposed stem does not dry out.
Cut Below a Node and Remove Lower Leaves
Make a clean cut just below a leaf node with a sharp blade. Remove leaves from the lower portion that will be buried, leaving a small top cluster—usually two or three leaves—to support the cutting while limiting water loss. Strip off flower stems and visible buds; a cutting that tries to keep flowering before it has roots is spending limited energy on a display rather than establishment.
If the remaining leaves are very large, you can trim one or two in half with clean scissors, but do not strip the cutting completely bare. Leaves supply energy for root formation, and an intact growing tip helps you recognize fresh growth later. Do not leave a prepared cutting lying in direct sun or set it aside for several days to “callus.” Pelargoniums can rot if kept too wet, but drying the entire cutting can also make it wilt before roots form; prepare the pot first, then insert the stem promptly.
Root Geranium Cuttings in Potting Mix
For most gardeners, rooting directly in a small pot of mix is the best starting point. It avoids a later move from water into soil, and the cutting begins forming roots in the same kind of airy medium it will grow in. the Thompson & Morgan horticultural team describes short Pelargonium cuttings planted into warm, damp compost, while noting that high humidity can make the stems prone to rotting. These details are why a small draining pot and careful watering are more useful than a sealed mini-greenhouse.
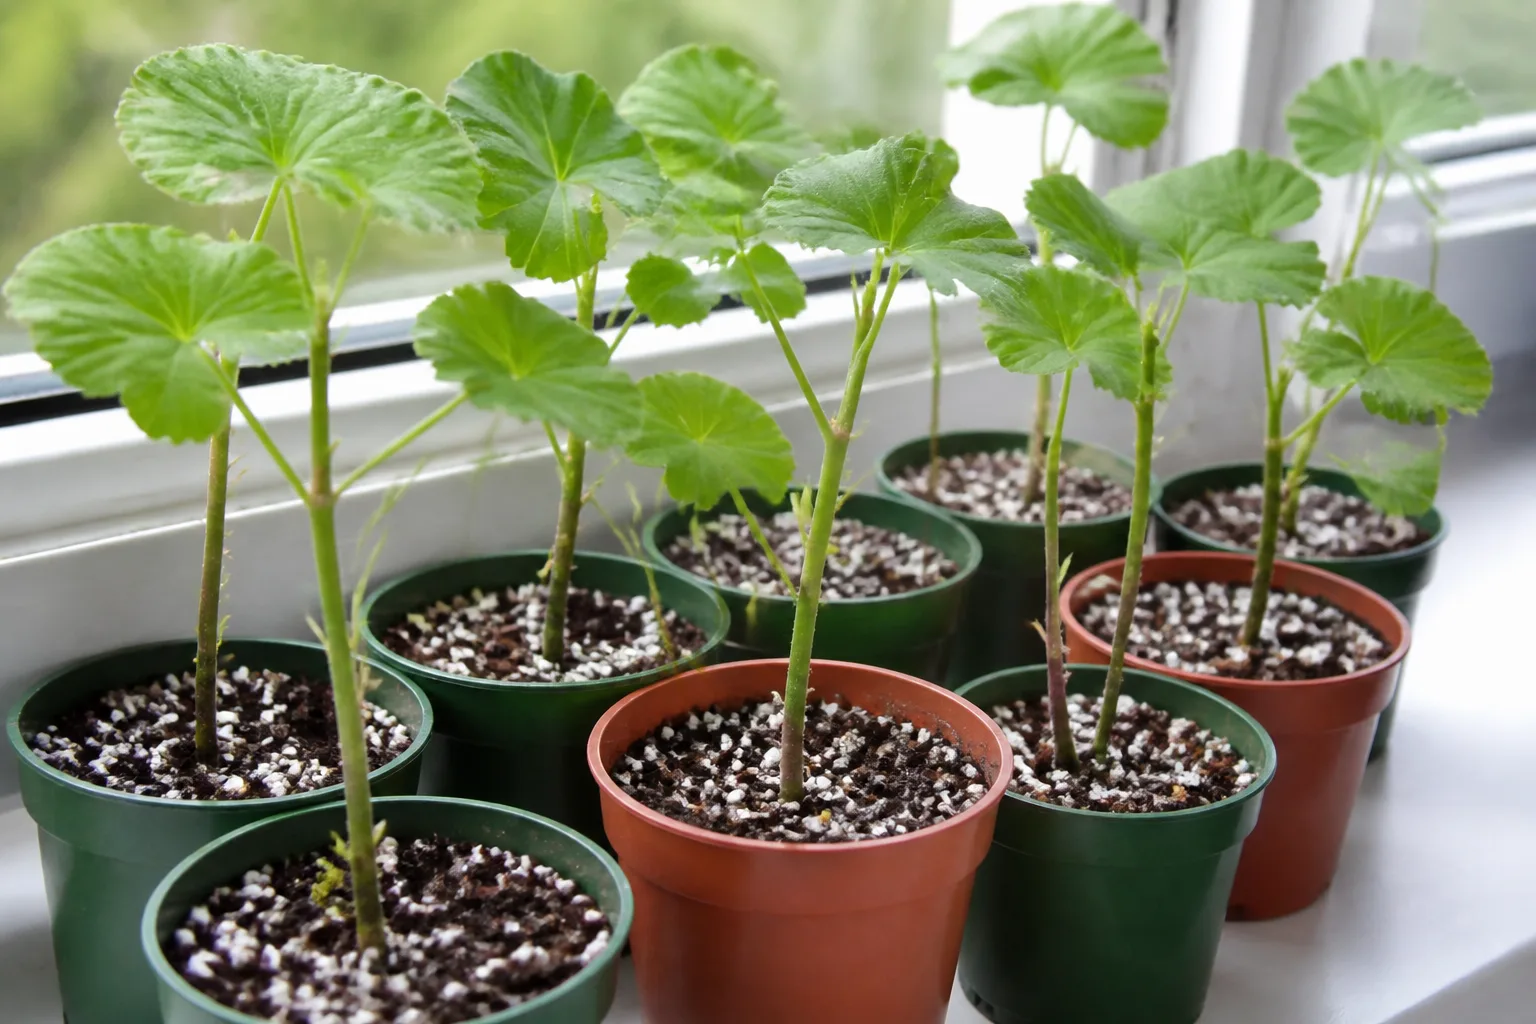
Set one cutting in each small pot if you want to monitor it separately, or place a few around the inside edge of a wider pot with space between them. Avoid leaves touching the mix or each other; crowded, wet foliage is harder to keep clean and ventilated. Press the medium around the buried stem just enough to hold it upright, and water gently if the mix has dried during planting. Empty any water left in the saucer rather than letting the pot sit in it.
Insert the Cutting Without Crushing It
Use a pencil, chopstick, or dibber to make a hole before inserting the stem. This keeps the base and any optional rooting powder from scraping off against the mix. Bury at least one bare node, then lightly firm the medium around the stem so it stands without being jammed tightly in place. A cutting that falls over is not necessarily doomed; remake the hole and support it with mix rather than forcing it deeper.
Place the pot where you can check it easily and mark the date. That small record helps you avoid pulling the cutting up every few days to see whether it has rooted. If taking several cultivars, label each pot with the name or flower color; cuttings can look similar until they mature, and the label is easy to lose once new leaves appear.
Keep Cuttings Bright, Warm, and Just Moist
Set the pot in bright, indirect light or near a bright window that does not bake the leaves at midday. A warm, stable room is generally better than a cold sill or a spot beside a radiator that alternates between heat and dry air. A range around 65–75°F (18–24°C) is a useful target for indoor rooting, but household conditions vary; avoid chilling drafts and excessive heat rather than chasing an exact thermostat reading.
Check the mix with a fingertip. If the surface is starting to dry, water until a little drains from the bottom, then empty the saucer; if it still feels damp, wait. A cutting with few roots cannot use water like a mature plant, so frequent small drinks can leave the base permanently wet. Do not mist the foliage as a substitute for watering the mix, and do not add fertilizer before roots are established.
Pelargoniums need some humidity while they root, but a tightly sealed bag or closed dome can trap condensation around leaves and stems. The RHS describes ventilated protection for many softwood cuttings, while Thompson & Morgan cautions that Pelargonium cuttings are especially prone to rot in high humidity. For home propagation, start without a cover in an ordinary room; if the air is exceptionally dry and cuttings repeatedly wilt, use a loose, ventilated cover and remove it regularly. Condensation, musty odor, or softening stems means the setup is too damp or poorly ventilated.
Check for Roots Before Potting On
Geranium cuttings commonly root over several weeks; roughly four to eight weeks is a realistic planning range, not a deadline. Warmth and bright light help, while low winter light or cool mix can slow progress. The RHS gives a shorter two-to-four-week range for general softwood cuttings under controlled conditions, but home Pelargonium cuttings can take longer, so inspect their condition instead of discarding a firm stem just because it has not rooted by a particular day.
Look for roots at the drainage holes or gently tug once after the cutting has had time to settle. A slight resistance suggests roots are anchoring it; do not repeat the test often, since that can tear fine new roots. New leaves are encouraging, but they are not proof by themselves: some stems push a small amount of growth using stored energy before they have made a sturdy root system.
When several roots are visible or the cutting holds in the mix and continues to grow, move it into its own small pot if it is sharing space. Lift it with the root ball intact, use fresh potting mix, and water enough to settle the soil around the roots. Avoid jumping straight into a very large container; a snug pot dries more evenly and is easier to manage while the young plant fills out. Let it recover in bright light before increasing sun or feeding.
Soil or Water: Which Method Should You Use?
Soil is the straightforward choice if your goal is a plant that will grow on in a pot or garden bed. The cutting forms roots in a solid medium, so there is no transfer from a jar and fewer opportunities to snap tender roots. It also keeps the article’s key care rule simple: maintain an airy mix that is evenly moist, not waterlogged.
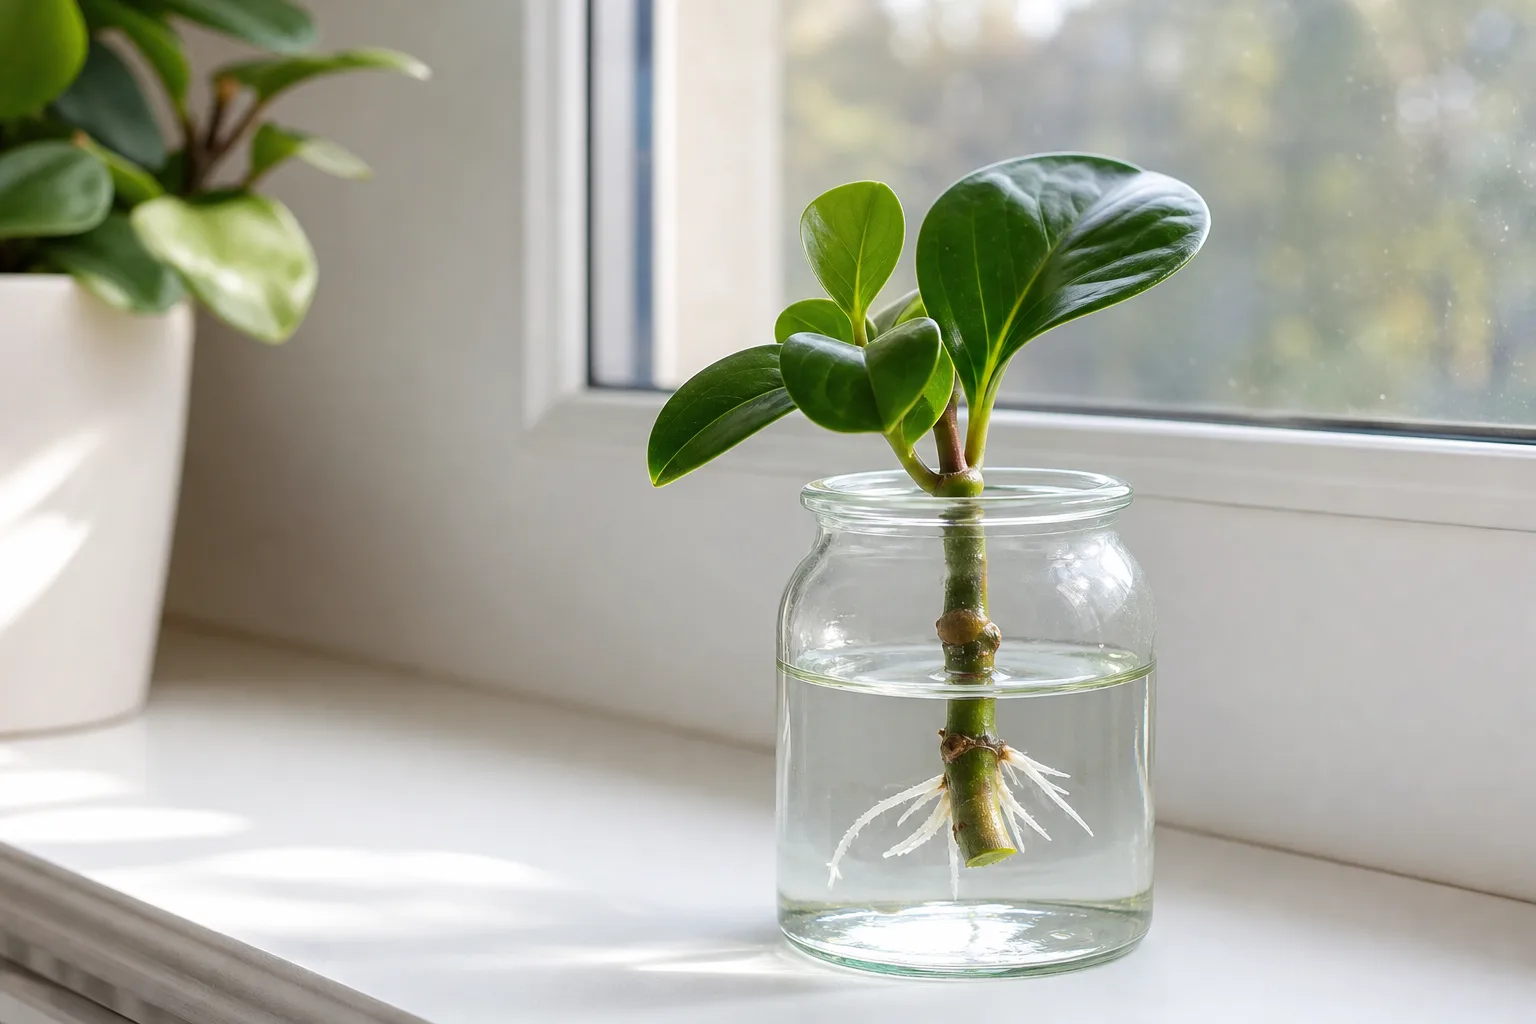
Water rooting can still work, especially if you like being able to see whether roots are forming. Gardener’s Path describes a clean glass with the lower stem submerged and leaves kept above the water, and reports that visible roots may appear in about a month in suitable conditions. The drawback is the extra potting step: roots formed in water must adjust to a less saturated medium, so handle them gently and keep the new potting mix evenly moist while the plant settles.
Water Rooting Makes Progress Visible but Adds a Transfer Step
If you choose water, use a clean, clear glass and submerge only the bare lower stem and a node; leaves should remain above the waterline. Keep the jar in bright indirect light, refresh the water every few days or whenever it clouds, and inspect the stem for softening. Pot the cutting once it has several roots about an inch or two long rather than waiting for a tangled mass that is difficult to separate.
Neither medium guarantees success, and sources vary on which they prefer. For a first try, root most cuttings in mix and keep one in water as a comparison; that small trial lets you learn which method fits your indoor conditions without risking every stem. If the water-rooted cutting wilts after potting, reduce direct sun, keep the mix lightly moist, and give it time to adjust instead of immediately pulling it back out.
Fix Common Geranium Cutting Problems
Most failures trace to one of three mismatches: the cutting is losing water faster than it can replace it, the base is staying wet without enough air, or there is not enough warmth and light to support new roots. Look at the stem base, leaf condition, and mix together. One yellow lower leaf is not an automatic failure, but a dark, soft base that smells sour is a clear sign to act.
If several cuttings are in one pot, remove the decaying stem and check that the rest are not touching it. If every cutting is soft or moldy, discard the batch, wash the pot, and start again with healthy shoots and fresh mix. Reusing soggy medium or a dirty tool can repeat the same problem, so clean the container and let it dry before another round.
Rot, Wilting, Yellow Leaves, and Slow Roots
- Black or mushy base: too much moisture, stagnant air, or infected tissue is likely. Cuttings with rot up the stem are unlikely to recover; discard them and reduce watering or improve ventilation for healthy ones.
- Wrinkled, limp stem: the cutting may have dried before rooting, or the room may be too hot and sunny. Move it out of direct sun and check that the mix is lightly moist; do not compensate by soaking it.
- Yellowing lower leaf: remove a leaf only if it is collapsing or touching wet mix. If the stem remains firm, keep conditions steady and wait; a lower leaf can yellow as the cutting adjusts.
- No visible roots: confirm that the base is still firm, the pot drains, and the location is warm and bright. If those are right, wait another week or two rather than unpotting it repeatedly.
- Mold or heavy condensation: remove a cover, separate crowded stems, and keep leaves dry. Good airflow matters more than creating a sealed humid chamber for these cuttings.
Grow Rooted Cuttings Into Bushy, Blooming Plants
A rooted cutting is not ready for immediate full-sun exposure or a heavy dose of fertilizer. Give it a few days in bright, protected conditions after potting, then increase light gradually. If it was rooted indoors and will live outside, harden it off over about one to two weeks after frost danger has passed: begin with a few hours in a sheltered bright-shade spot, then add outdoor time and gentle morning sun over successive days.
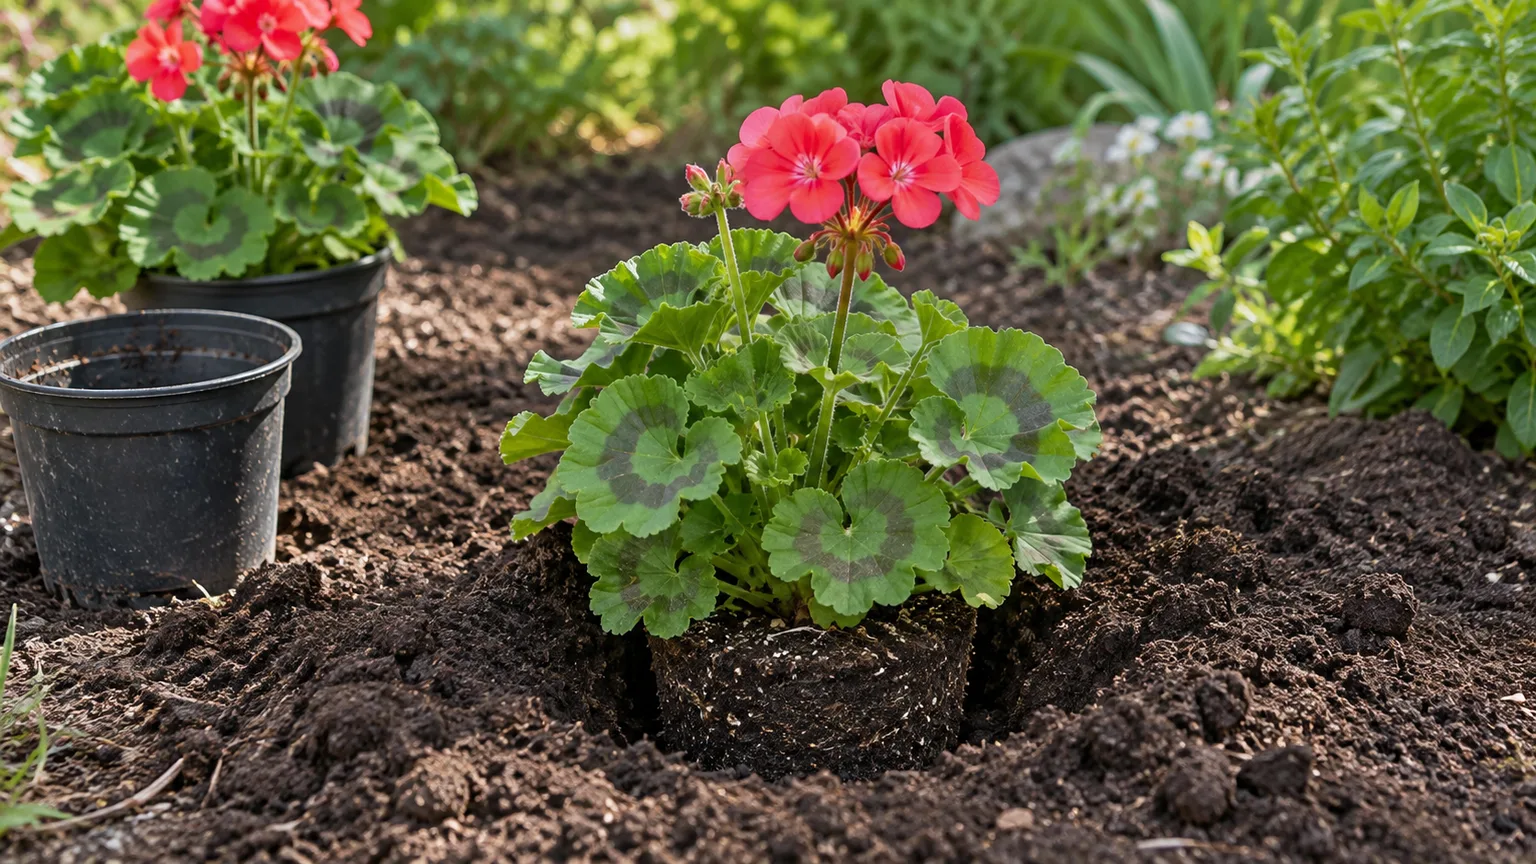
Once the plant has resumed growth and has several healthy leaves, pinch the growing tip just above a leaf pair to encourage side shoots. More branches create more places for future flower stems, but pinching too early can set a weak cutting back. Wait until roots hold the plant securely and the stem is extending. Remove new flower buds if the plant is still tiny and you want it to put energy into branching first; let a robust, established plant flower normally.
For the most flowers, place the established Pelargonium in the light conditions suited to its type. Many zonal and ivy types bloom best in a sunny position, while some regal types appreciate partial shade; the RHS Pelargonium guide describes these differences. Water the mature plant when the potting mix begins to dry, use a container that drains freely, and feed only according to a suitable product’s label during active growth. Excess nitrogen can encourage leafy growth at the expense of flowers, so more fertilizer is not a shortcut to a fuller display.
In cold-winter areas, keep rooted cuttings indoors through frost season and return them outdoors only after they have been acclimated and the risk of frost has passed. The RHS recommends bright indoor overwintering for rooted Pelargonium cuttings and hardening them off before outdoor planting. For a step-by-step spring planting window, see our guide to overwintering geraniums; the same frost-aware approach applies to young cuttings.
Conclusion
To propagate a tender geranium successfully, start with a healthy Pelargonium, take a short nonflowering stem cutting below a node, and set it into a small pot of airy mix. Bright light, steady warmth, careful watering, and enough ventilation do more for rooting than complicated equipment or a sealed plastic cover. Wait for roots before potting on, then acclimate and pinch the plant only after it begins growing strongly.
Timing depends on your climate and the light you can provide: late summer works well for overwintering cuttings in cold regions, while spring and early summer suit gardeners with a warm, bright place to grow them on. Prepare more than one cutting if you want a backup, but judge readiness by firm stems and visible root growth rather than a promised number of days. With that sequence, a single favorite plant can become several well-branched plants ready to flower again.